
First Things First! Planning
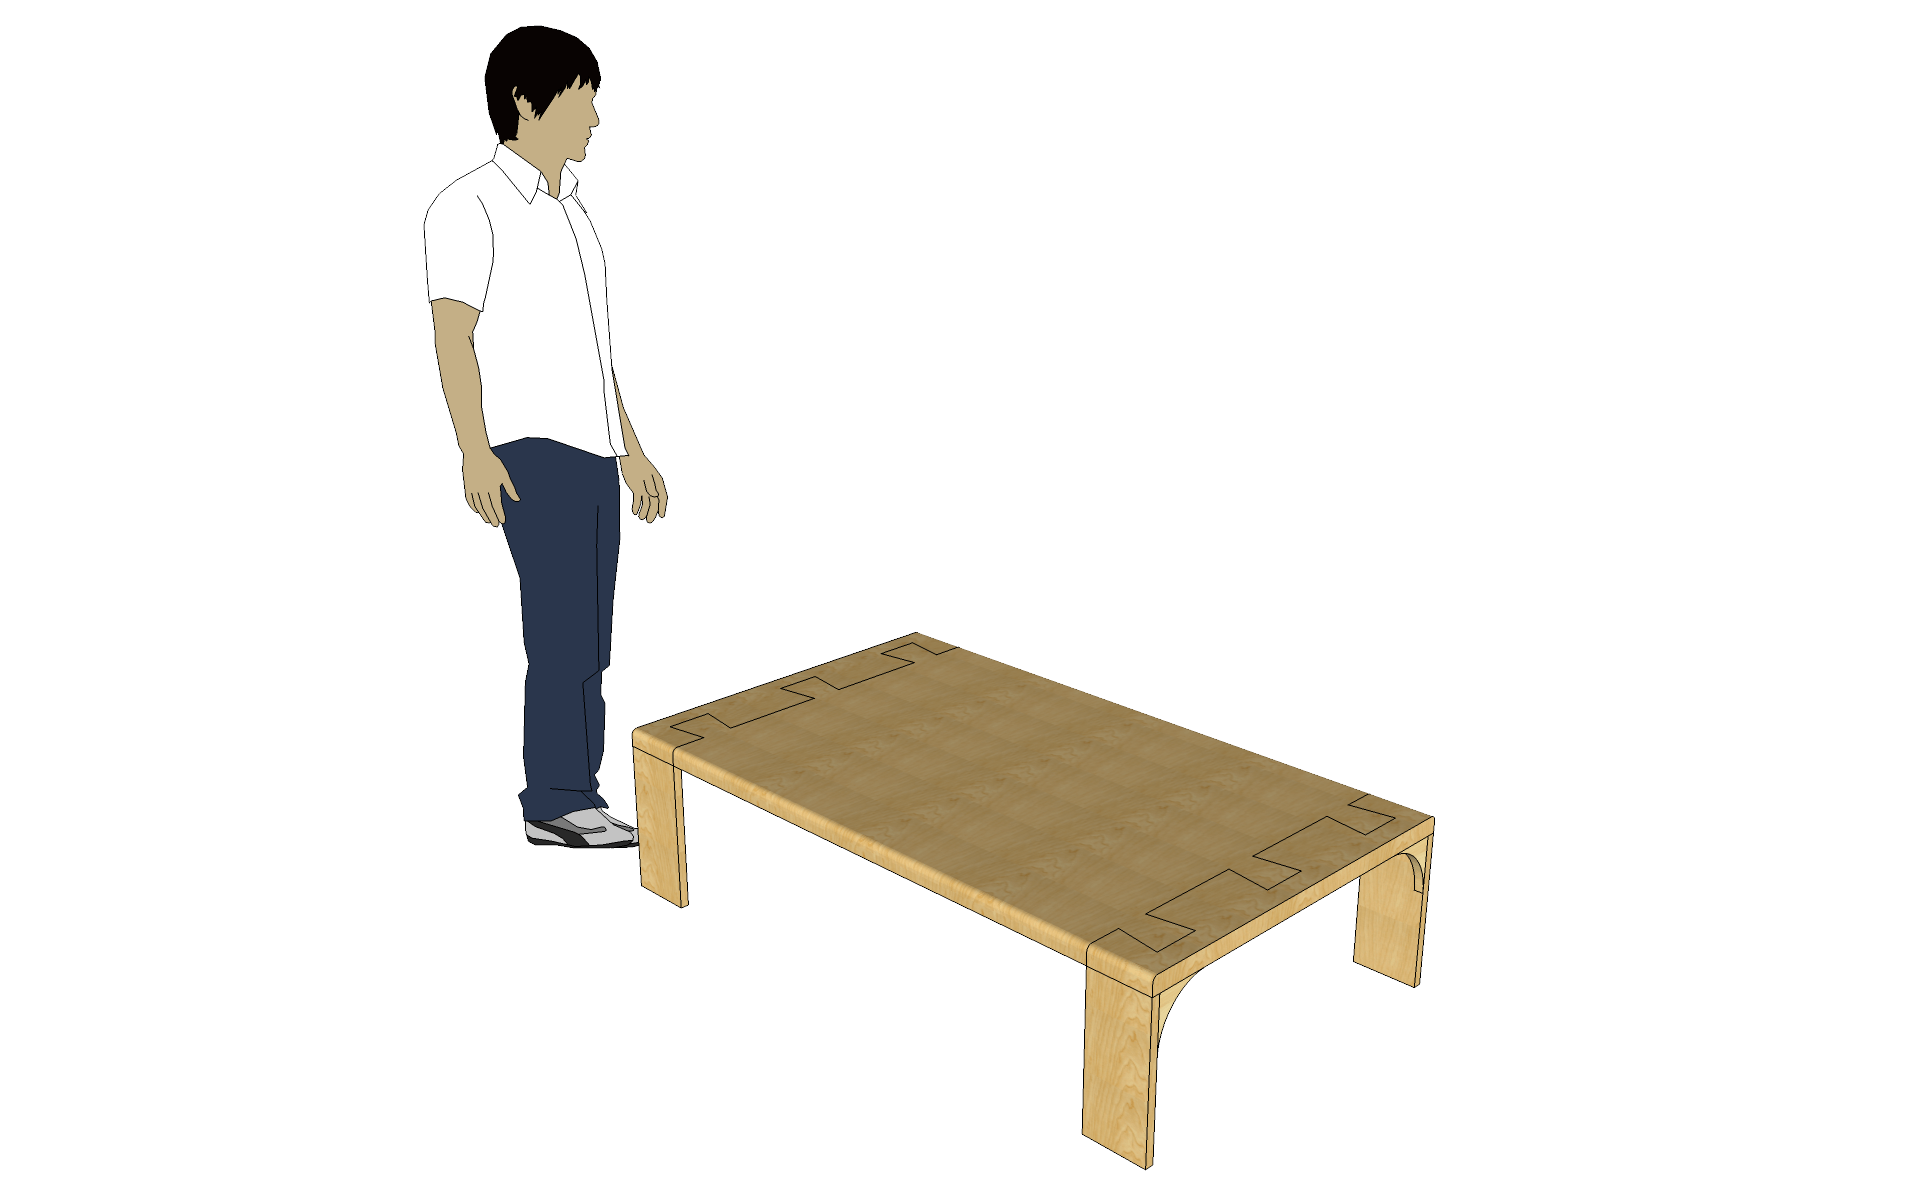
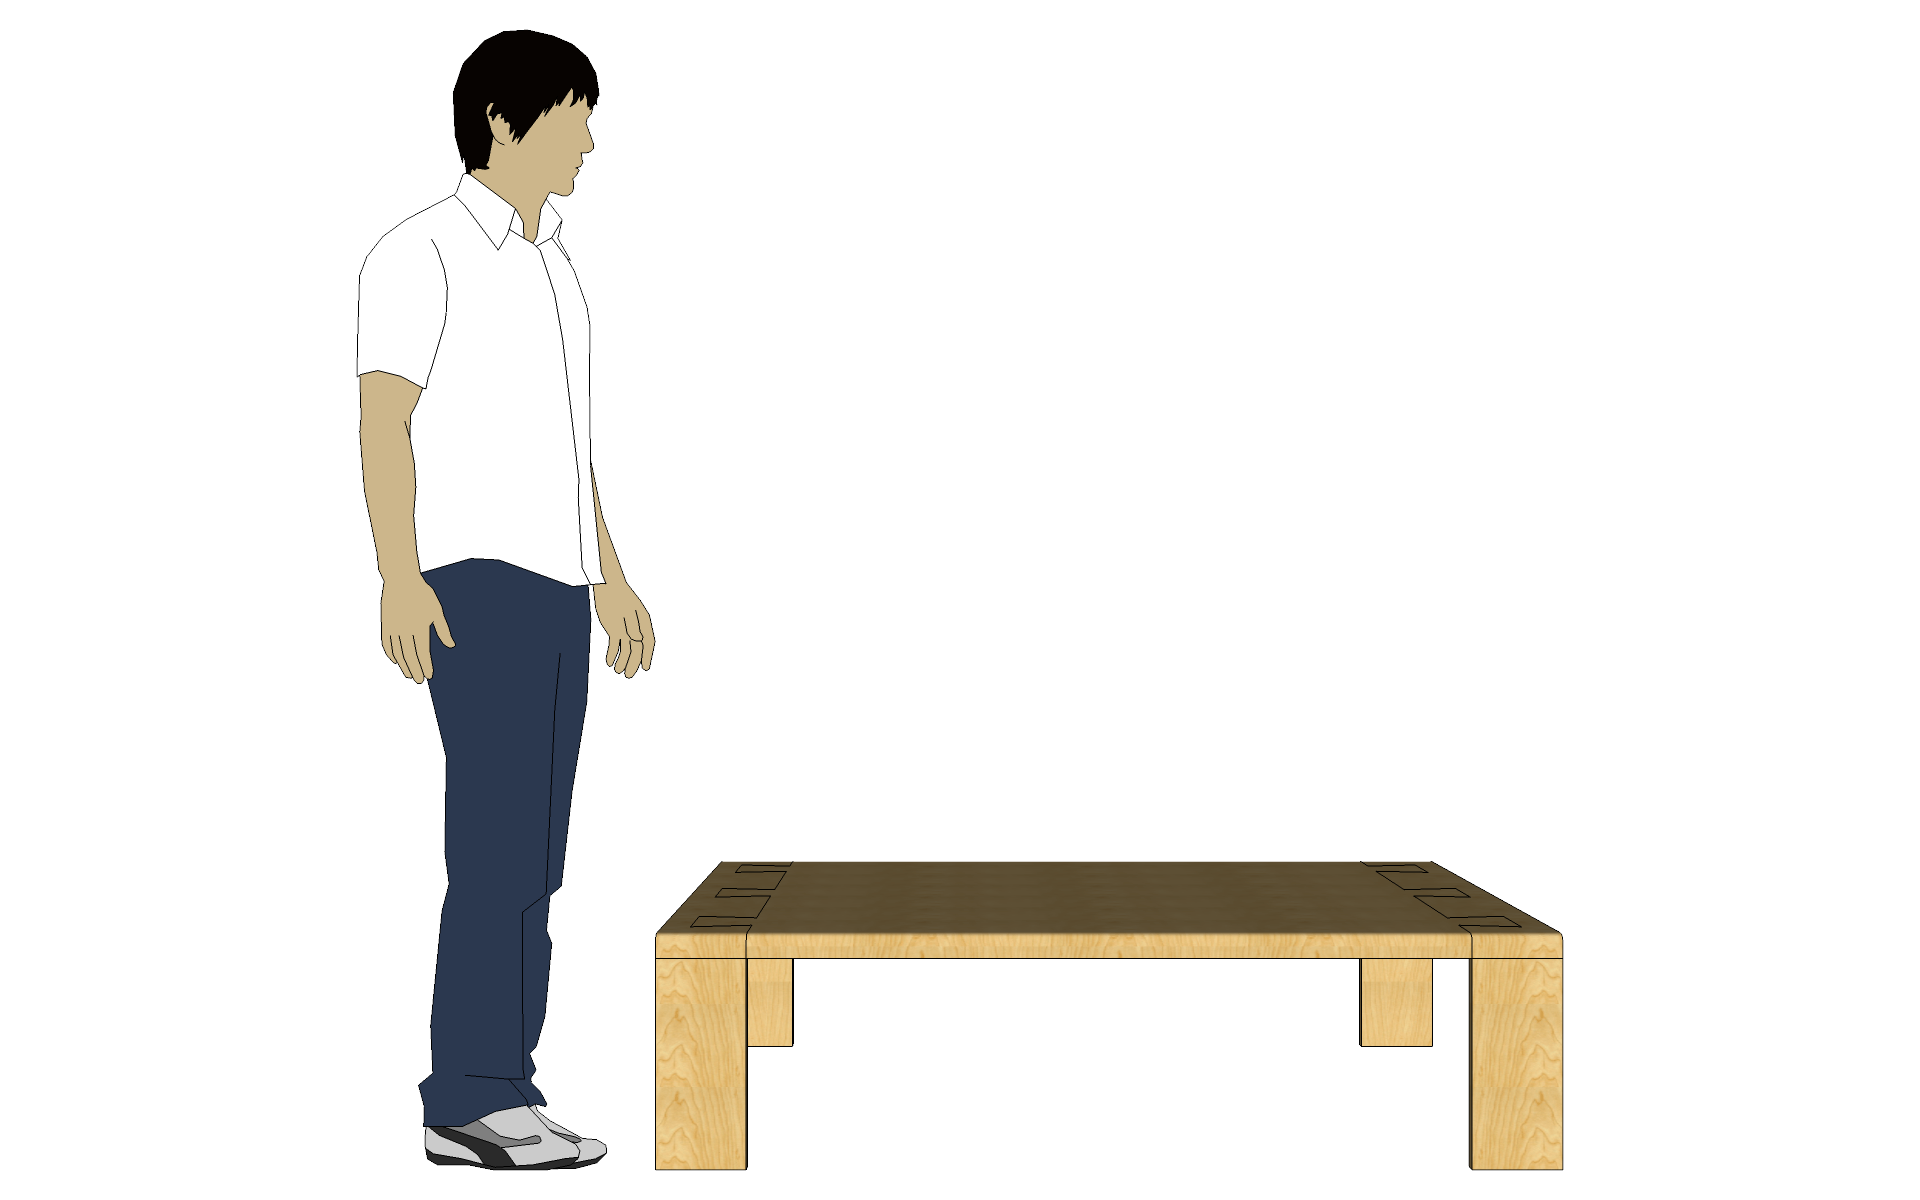
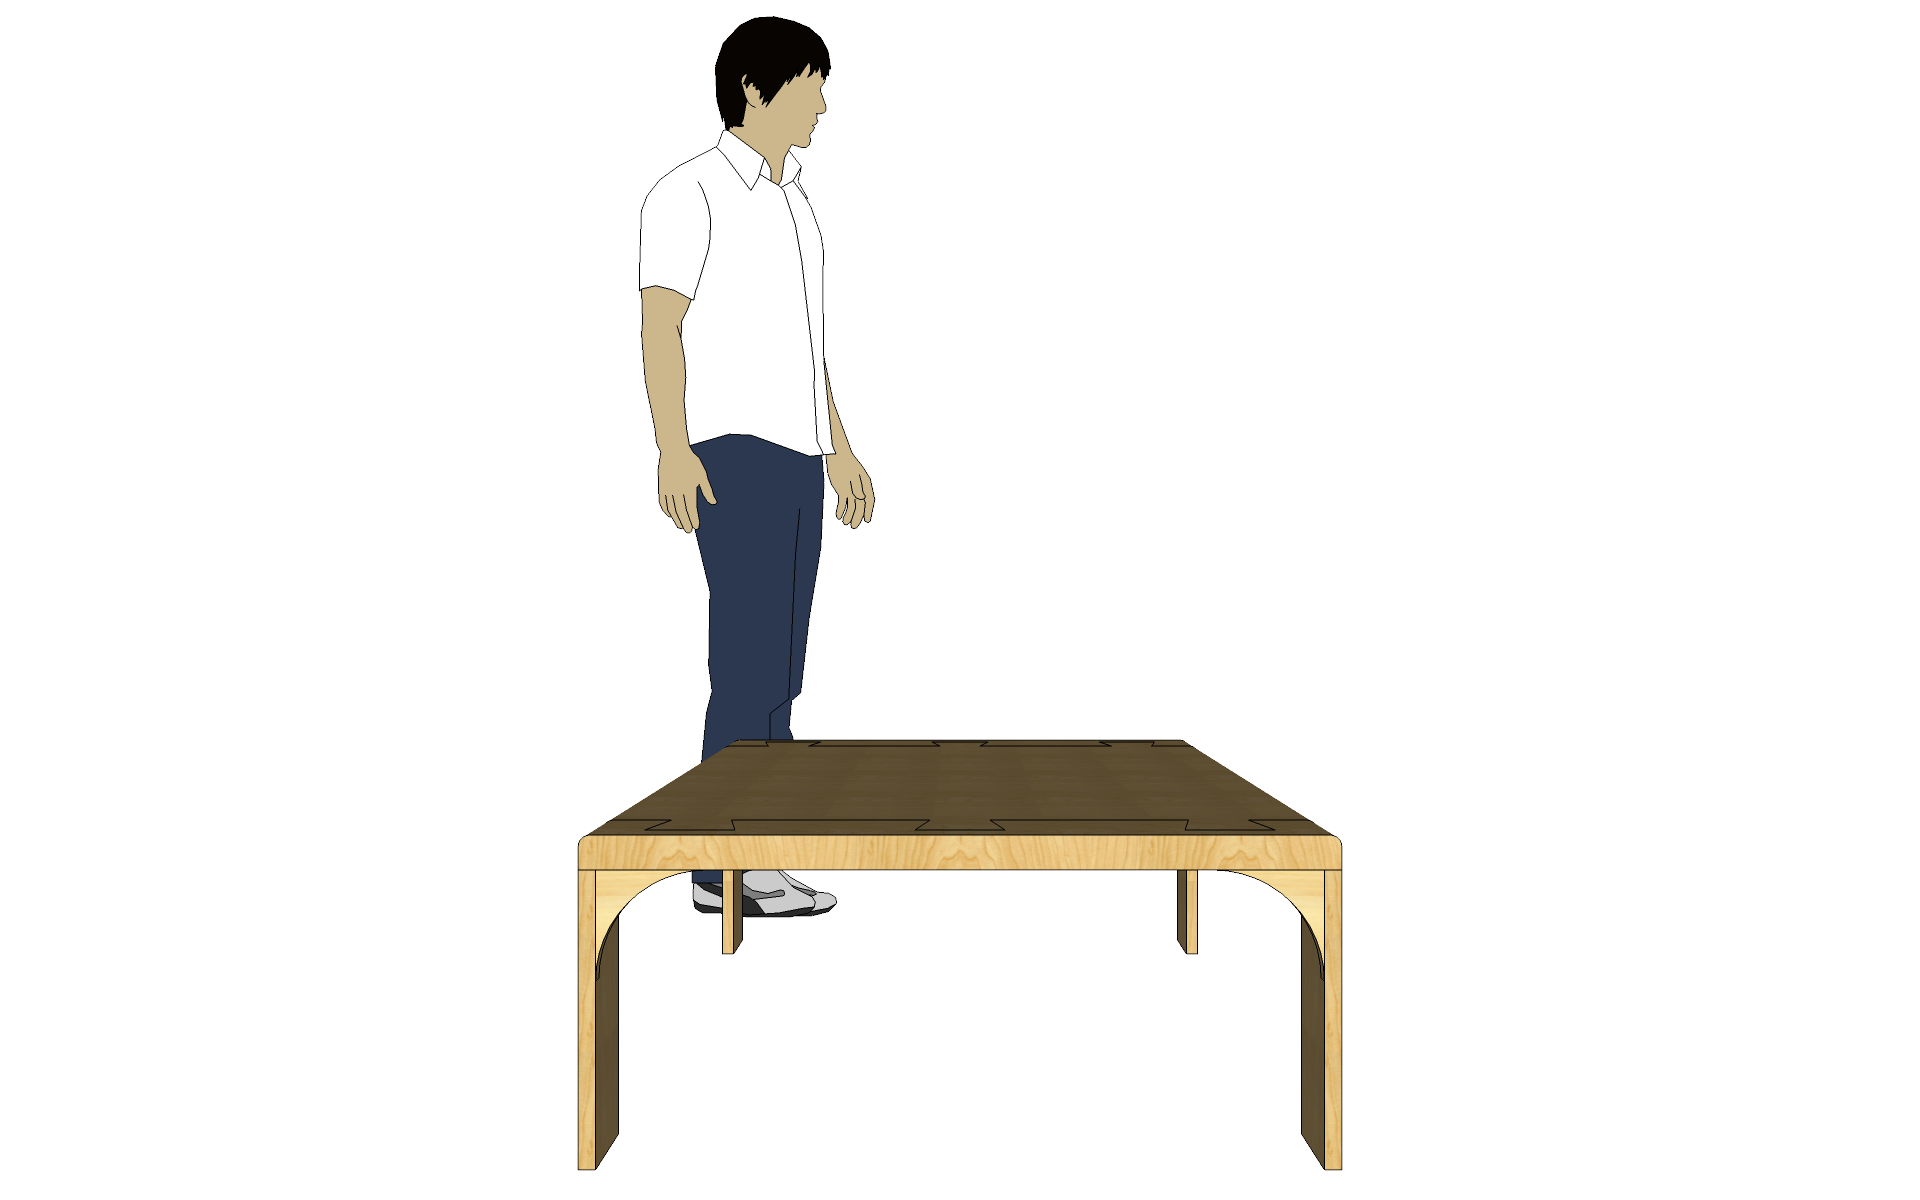
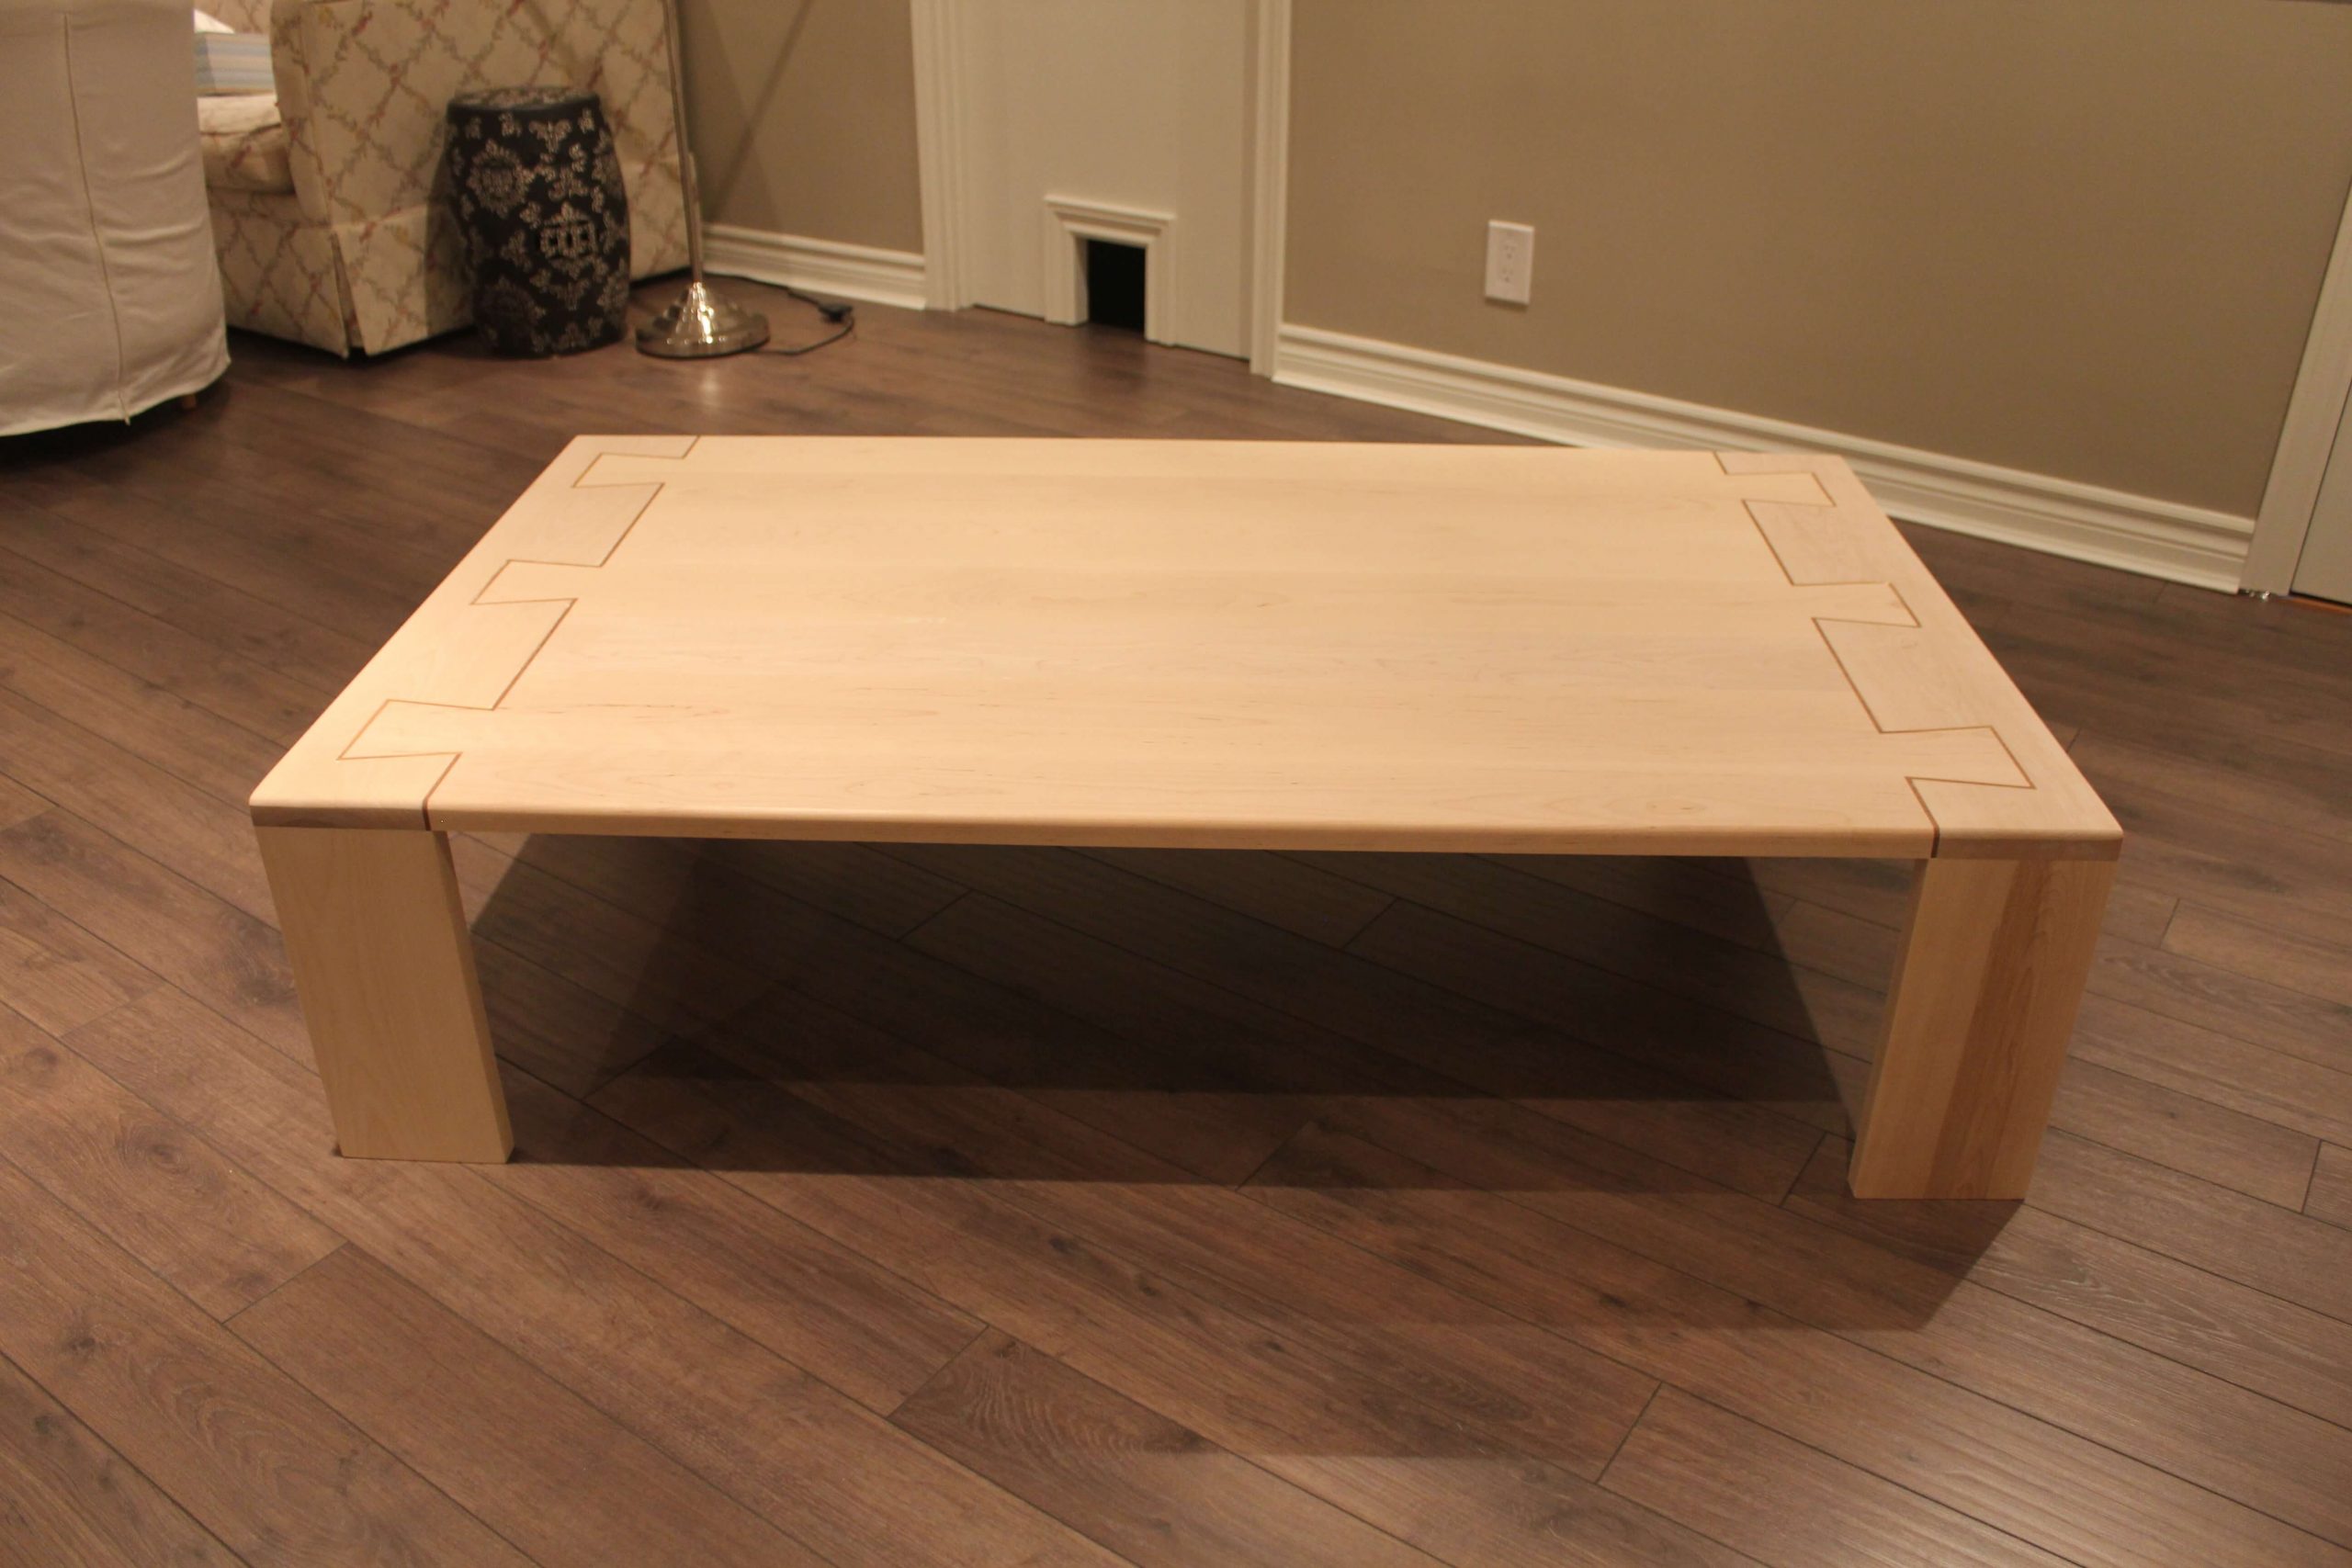
After some research on the design of Japanese tables, their uses and their dimensions, I designed and drew the plans of this one. It will be a family table capable of accommodating 4 to 6 people.
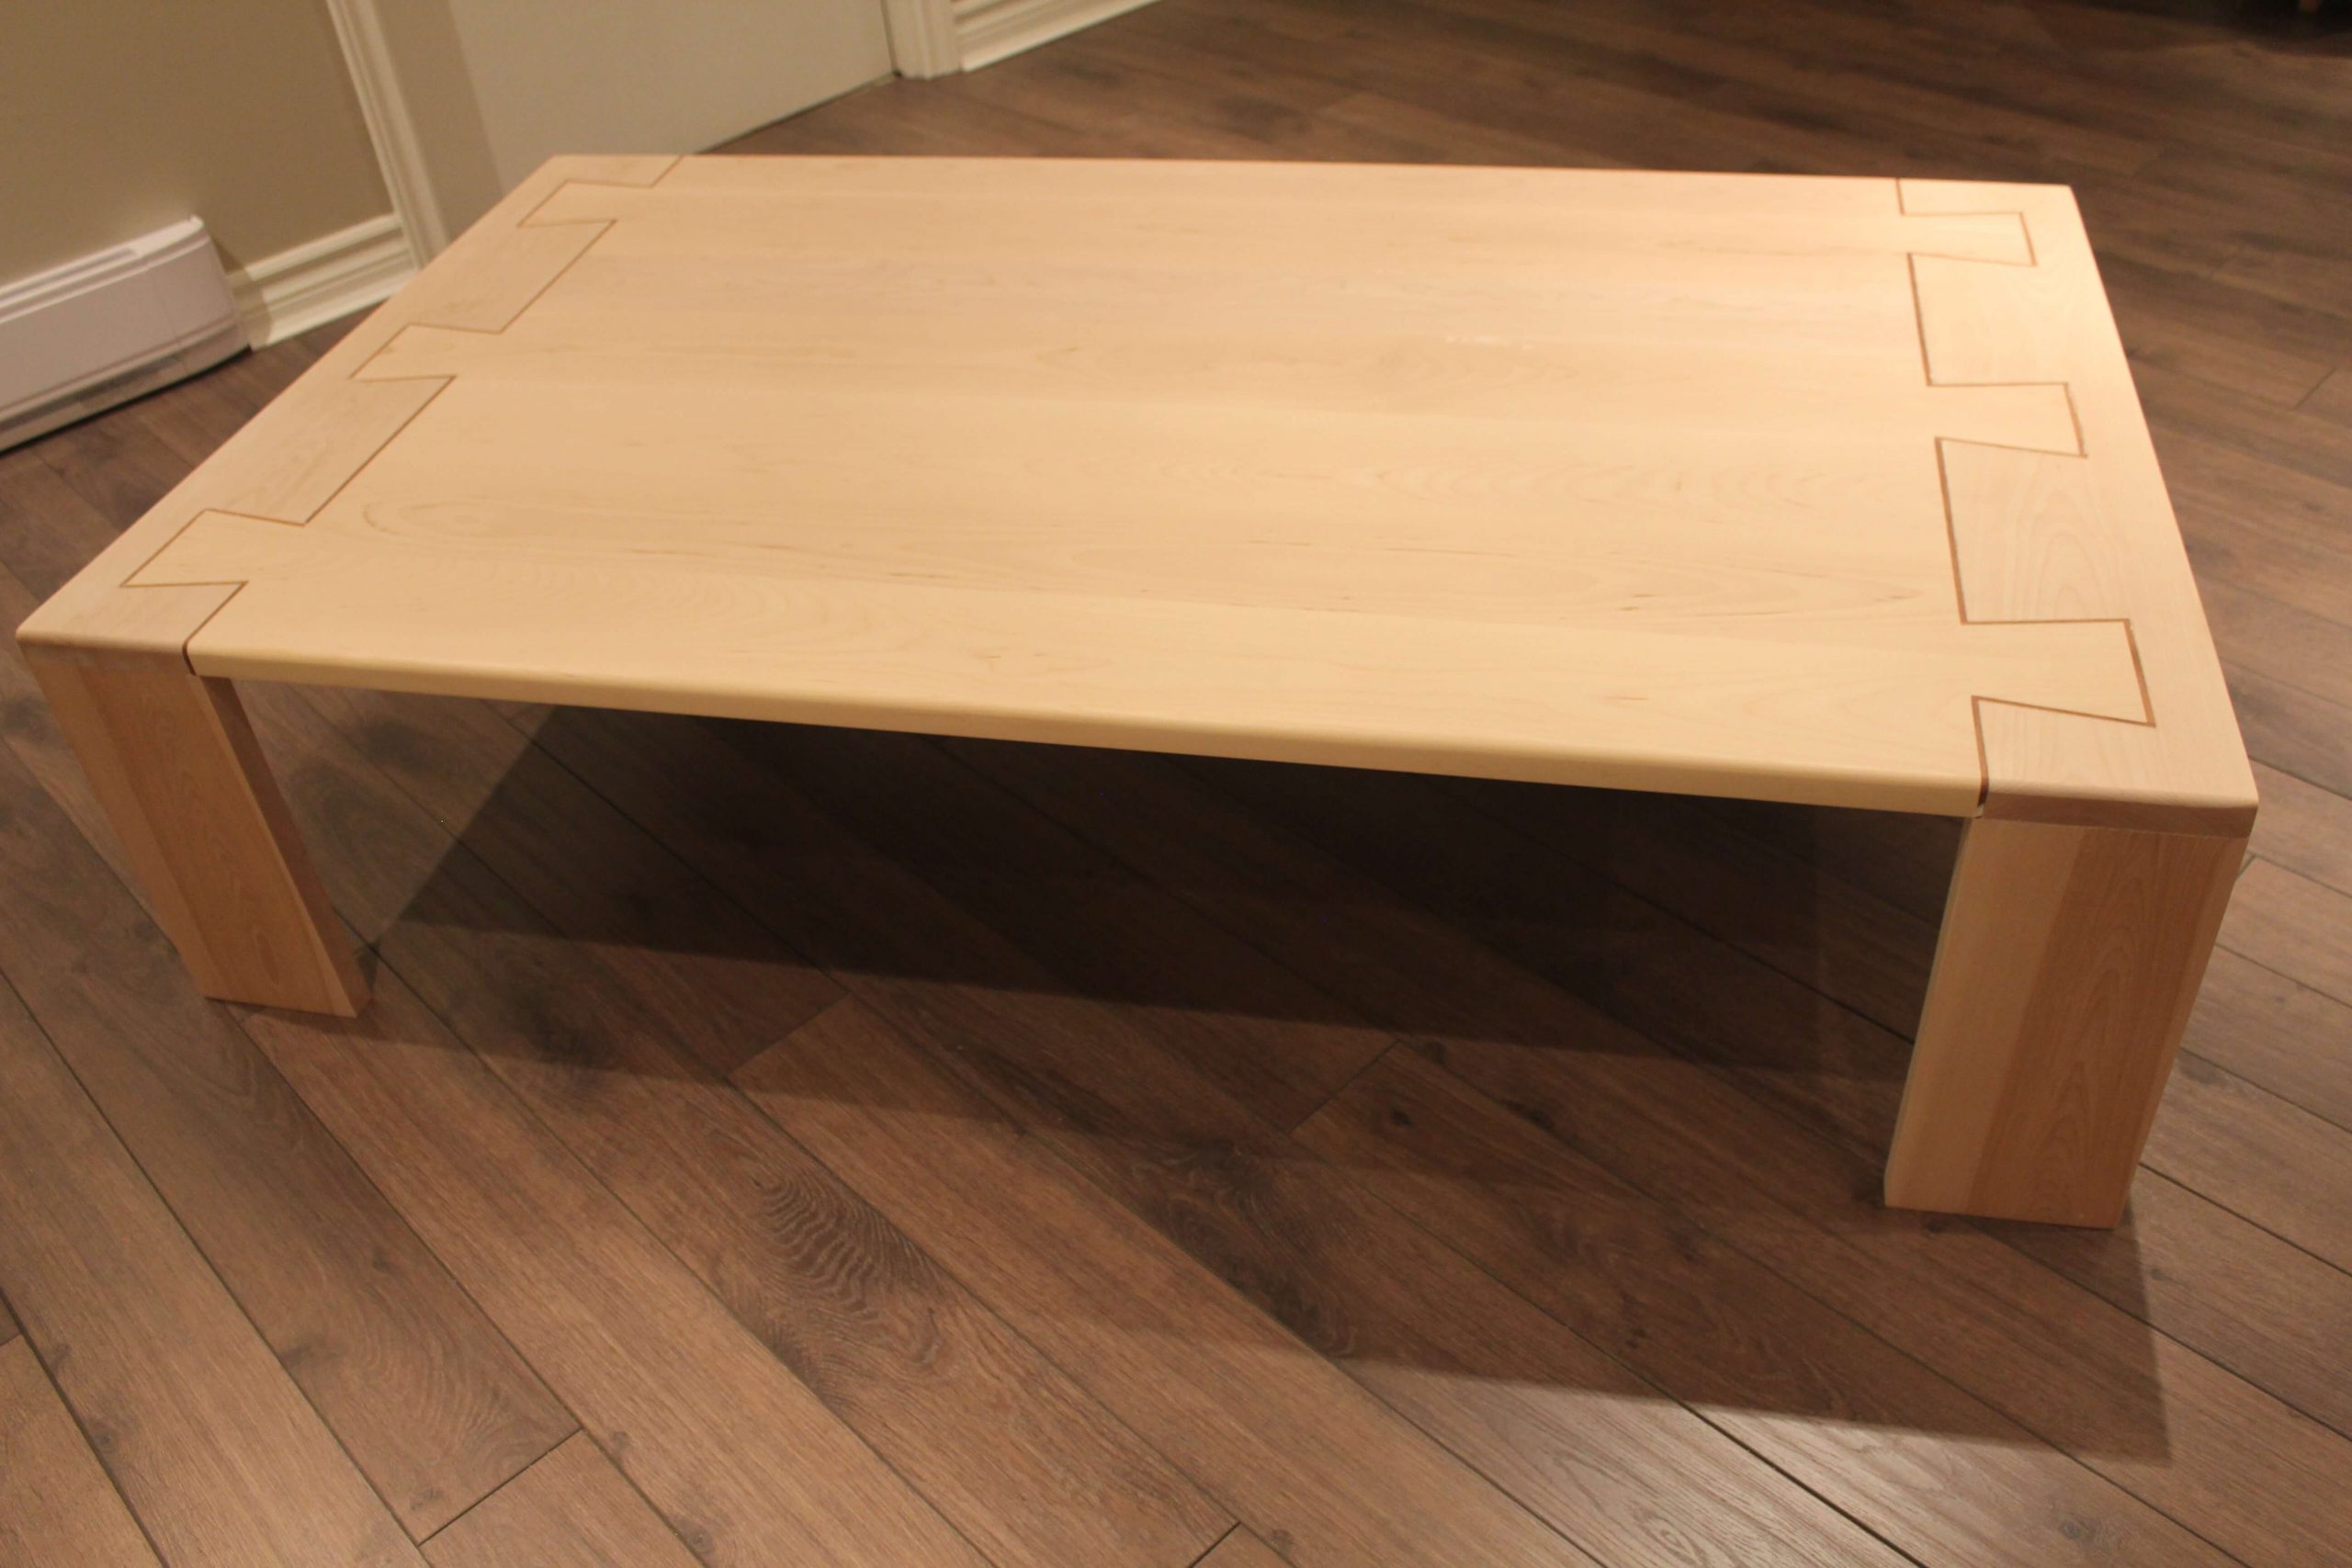
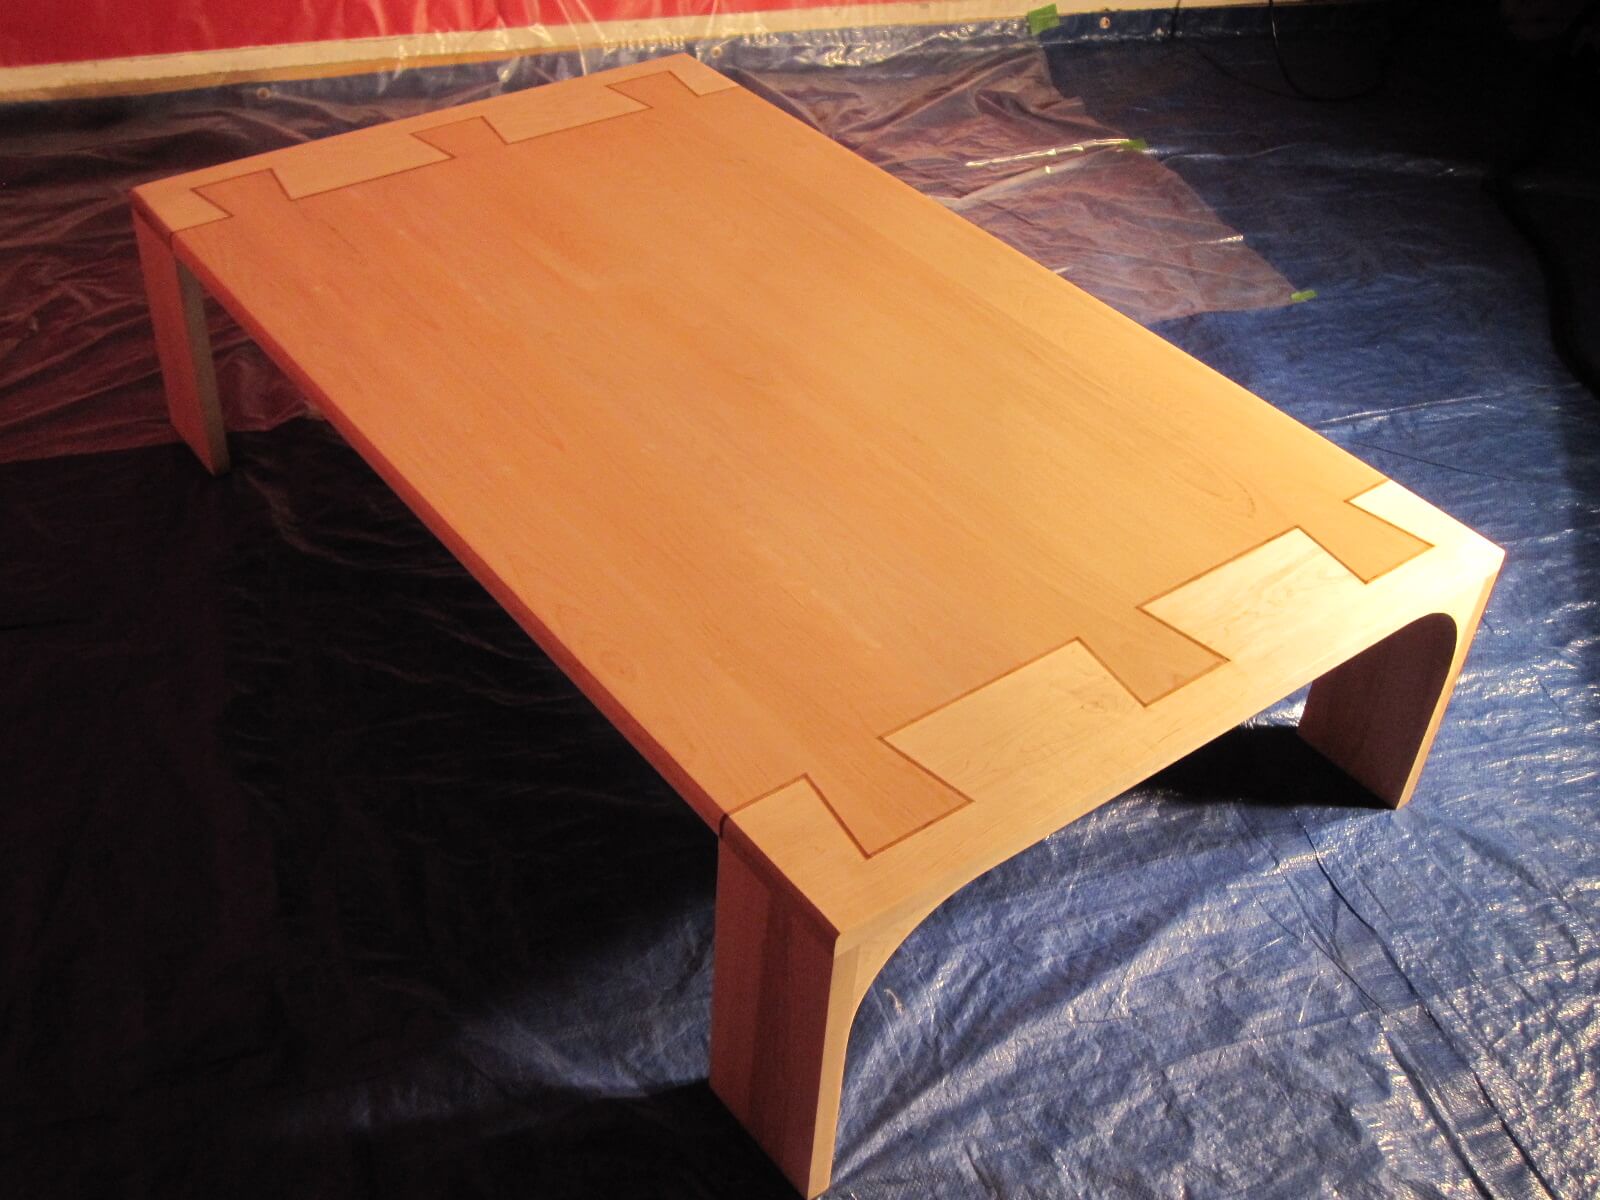
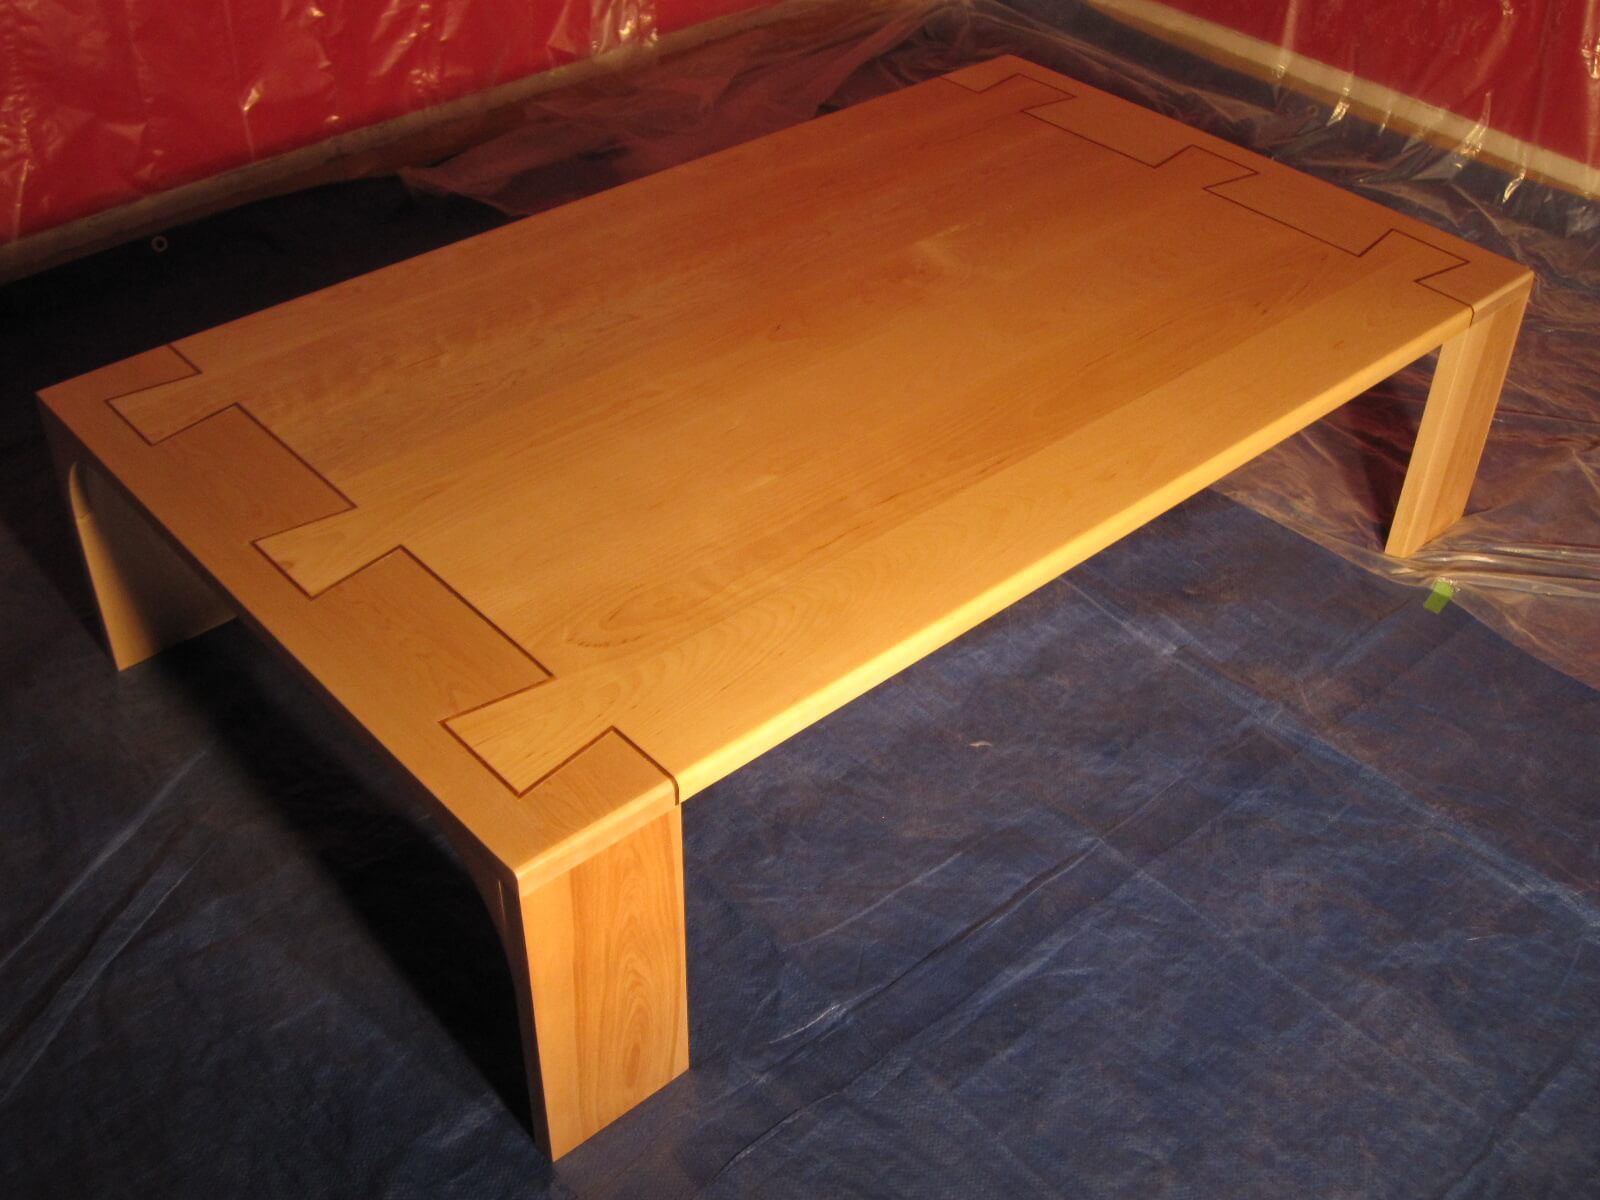
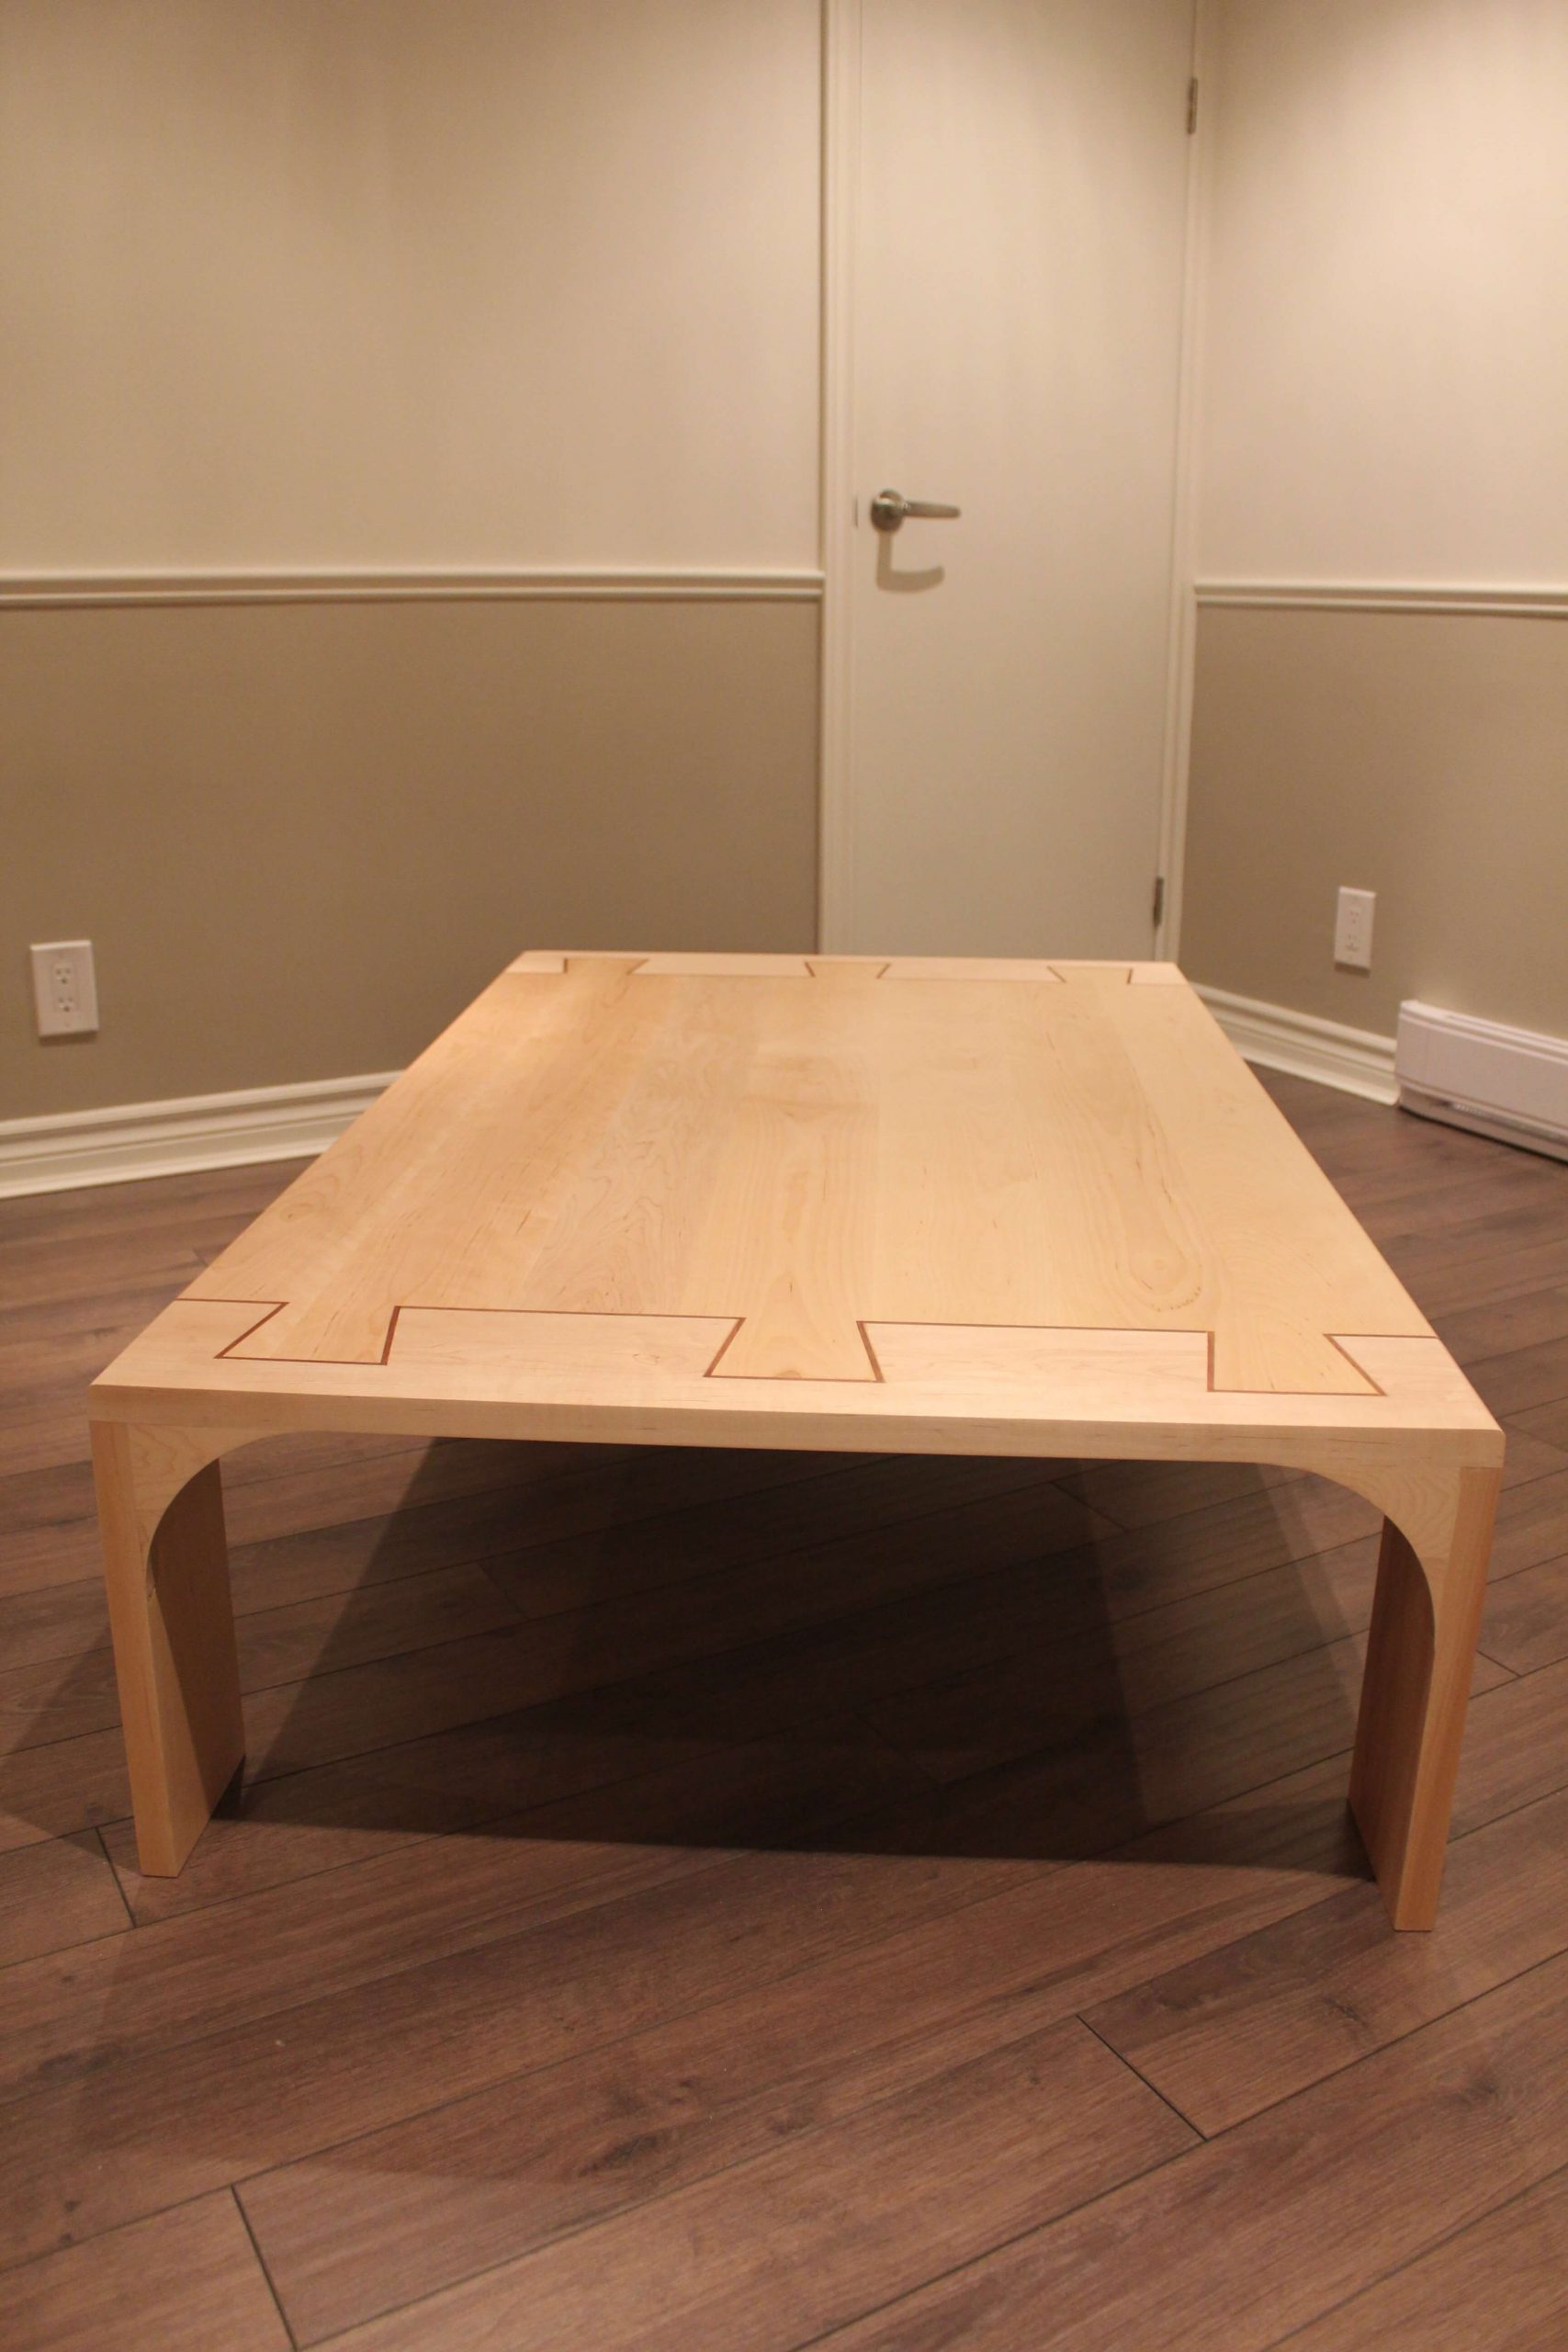
I wanted a table with linear curves and the most natural possible. His style will be more refined but slightly raised by a decoration due to the effect of the assembly. It will consist of a large plate that will fit together, thanks to 3 dovetail type tenons, in the ends of the table supported by the feet.

This table will consist of five types of parts:

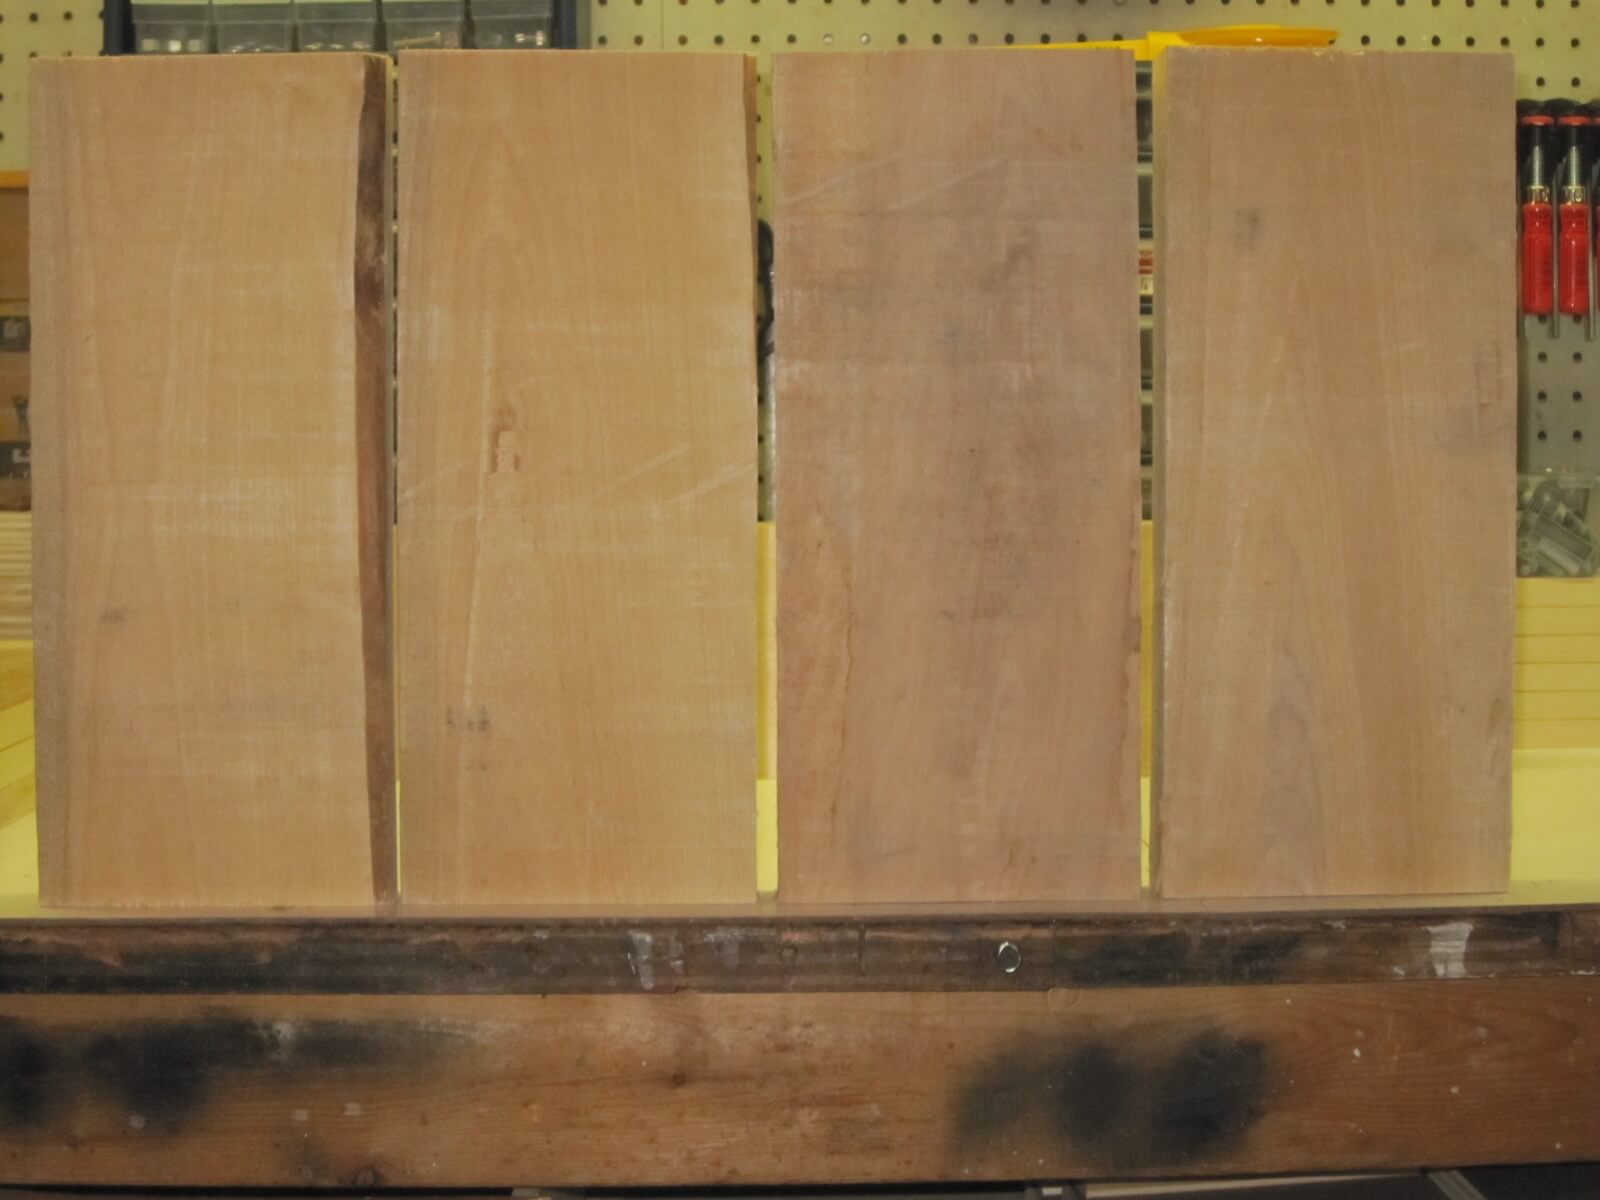
Wood Selection
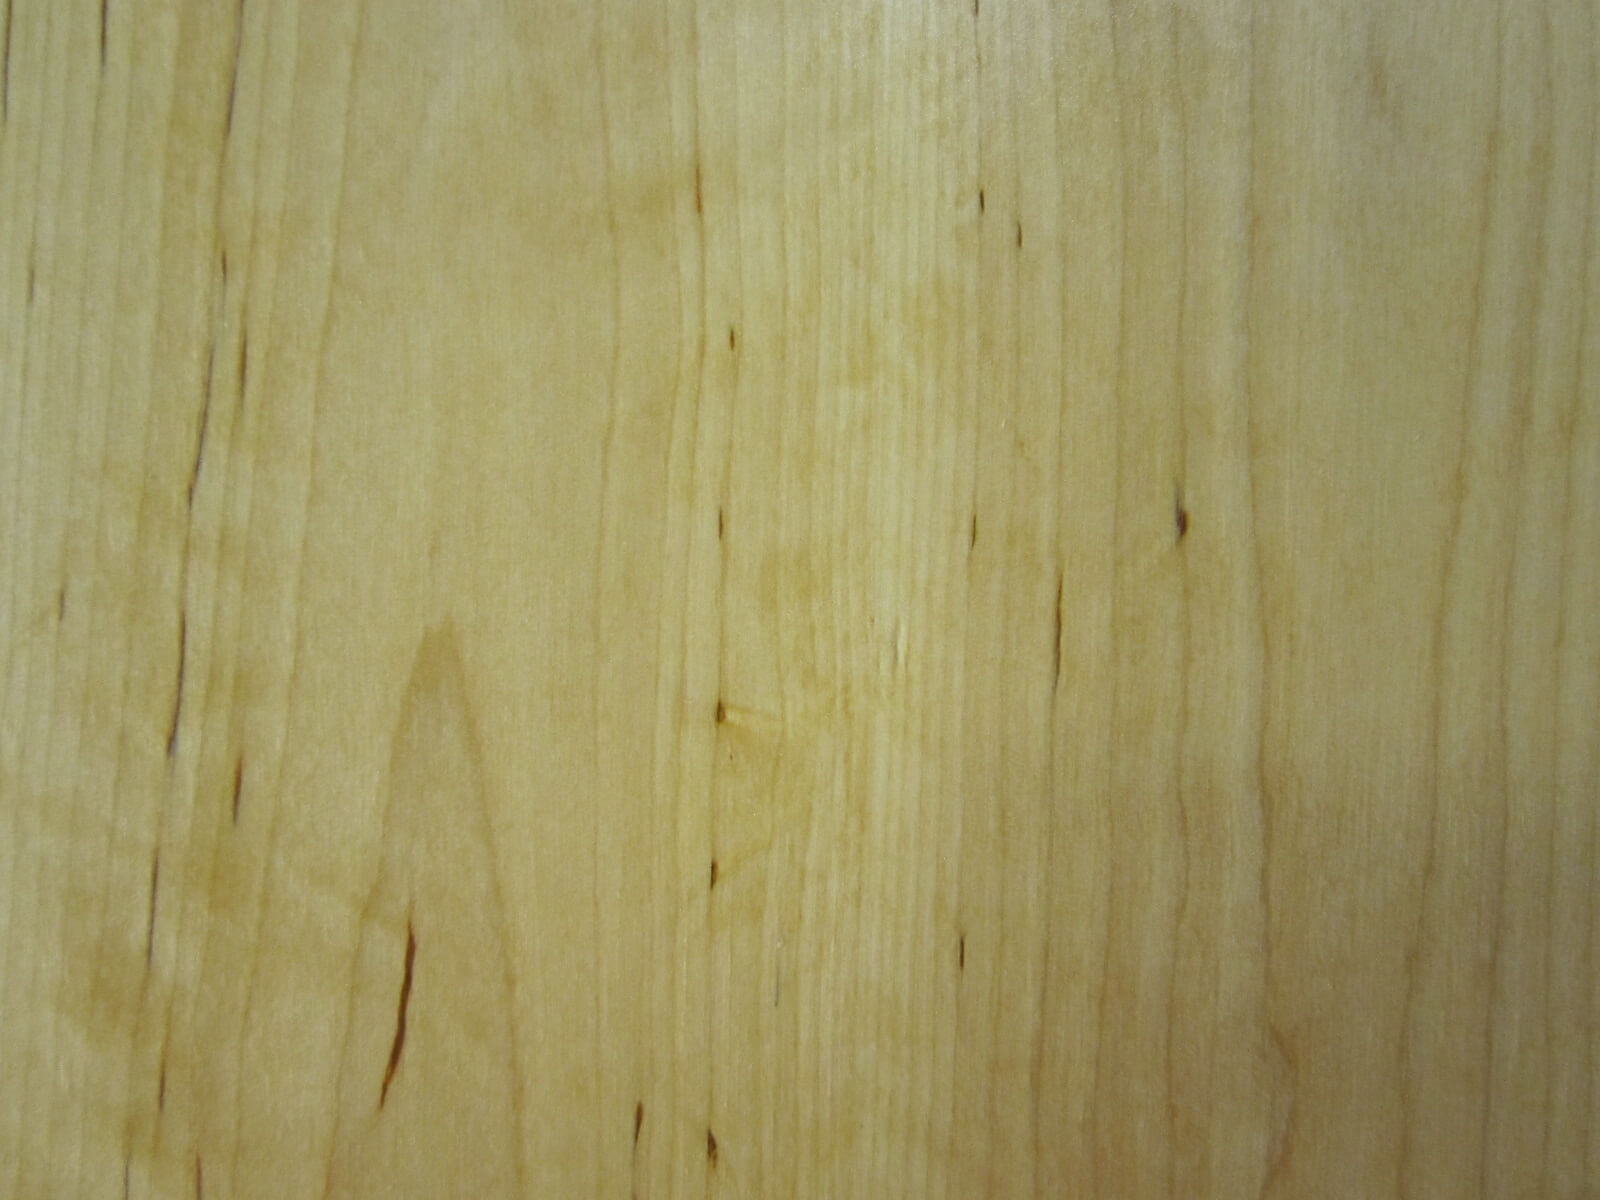
An important step if any. For this project, I chose maple and jatoba for their beauty, robustness and contrast.
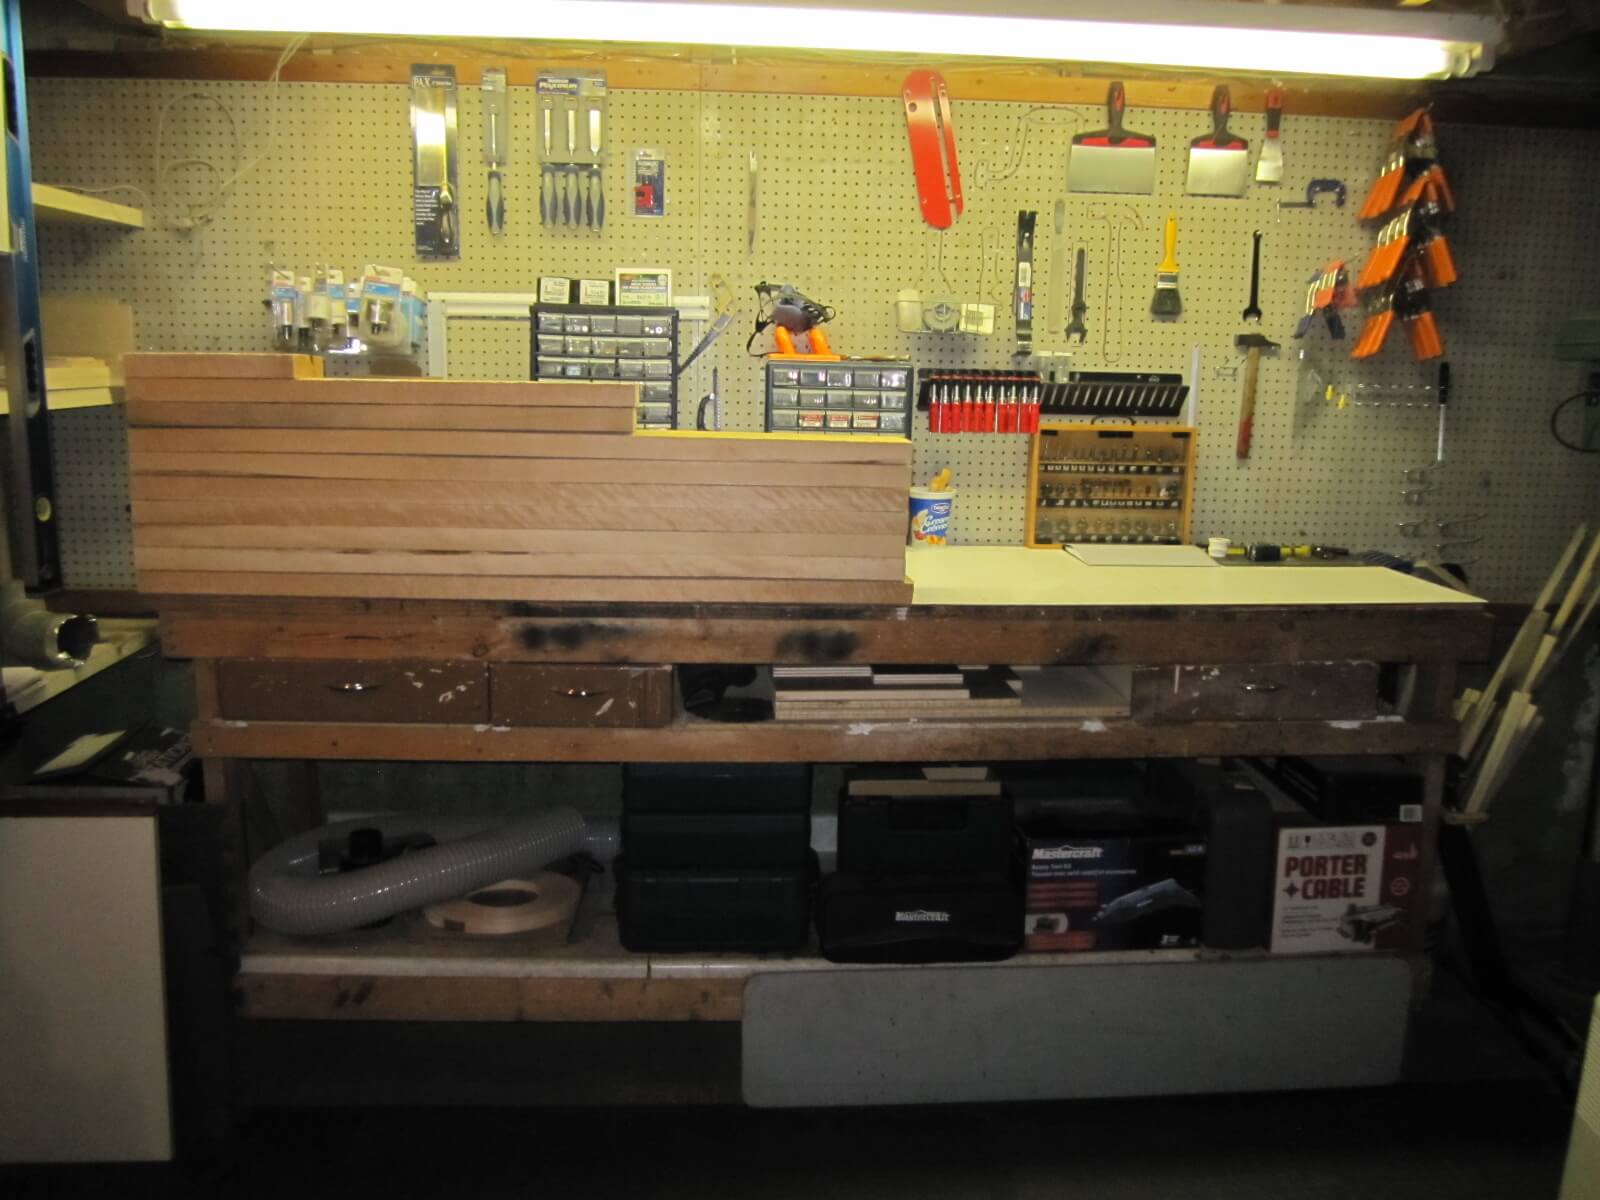
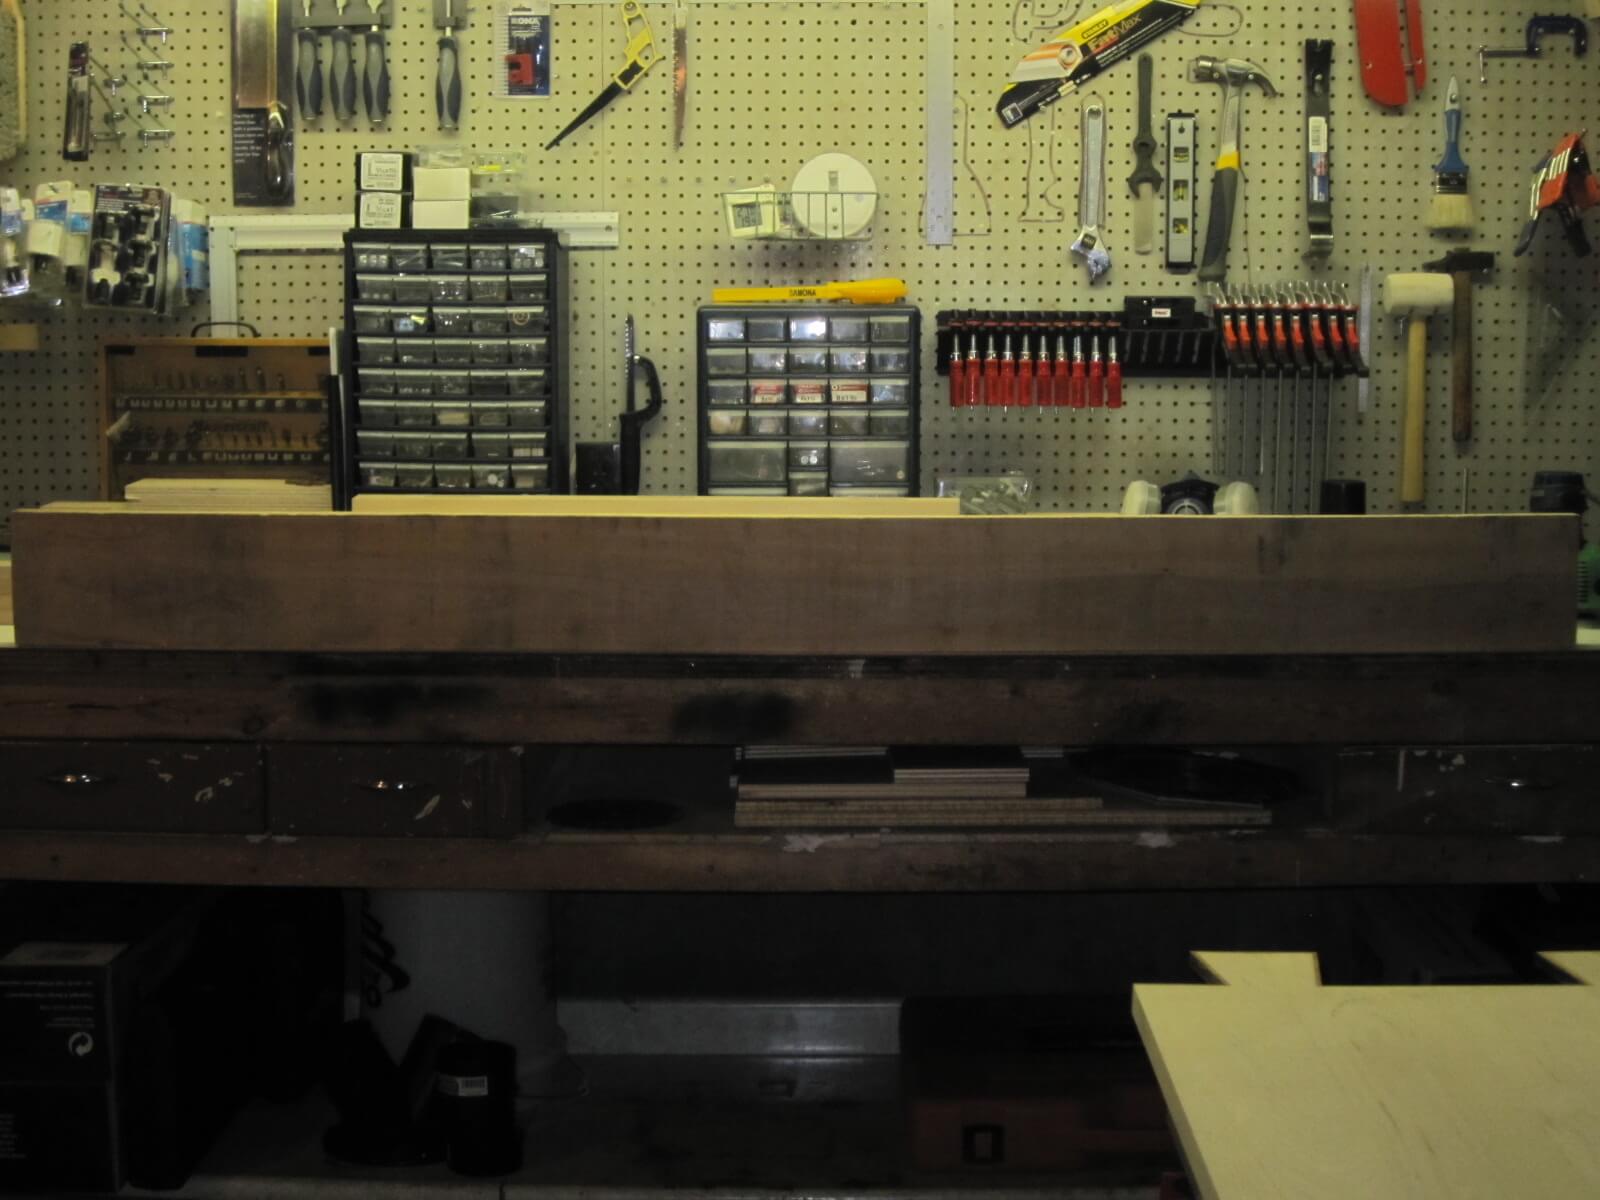
After calculating the volume of BMF needed for the realization, I went to choose the raw wood planks at my usual sawmill.
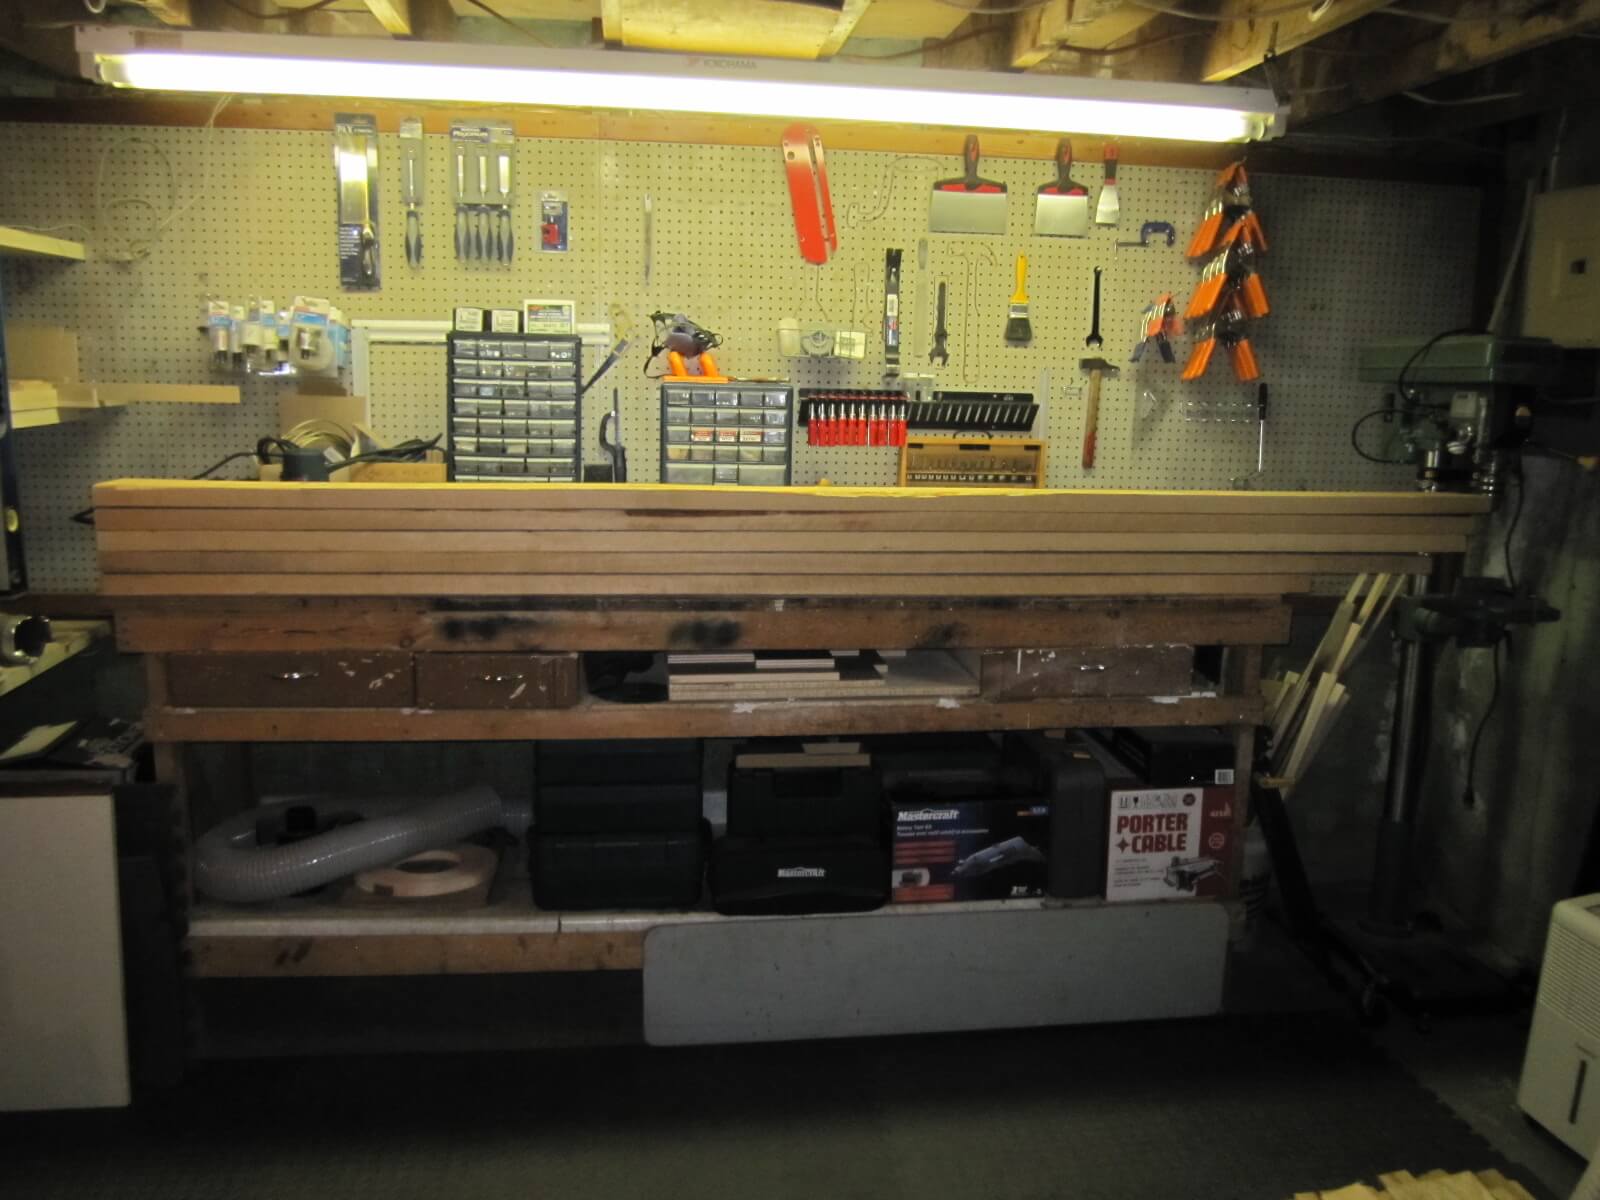

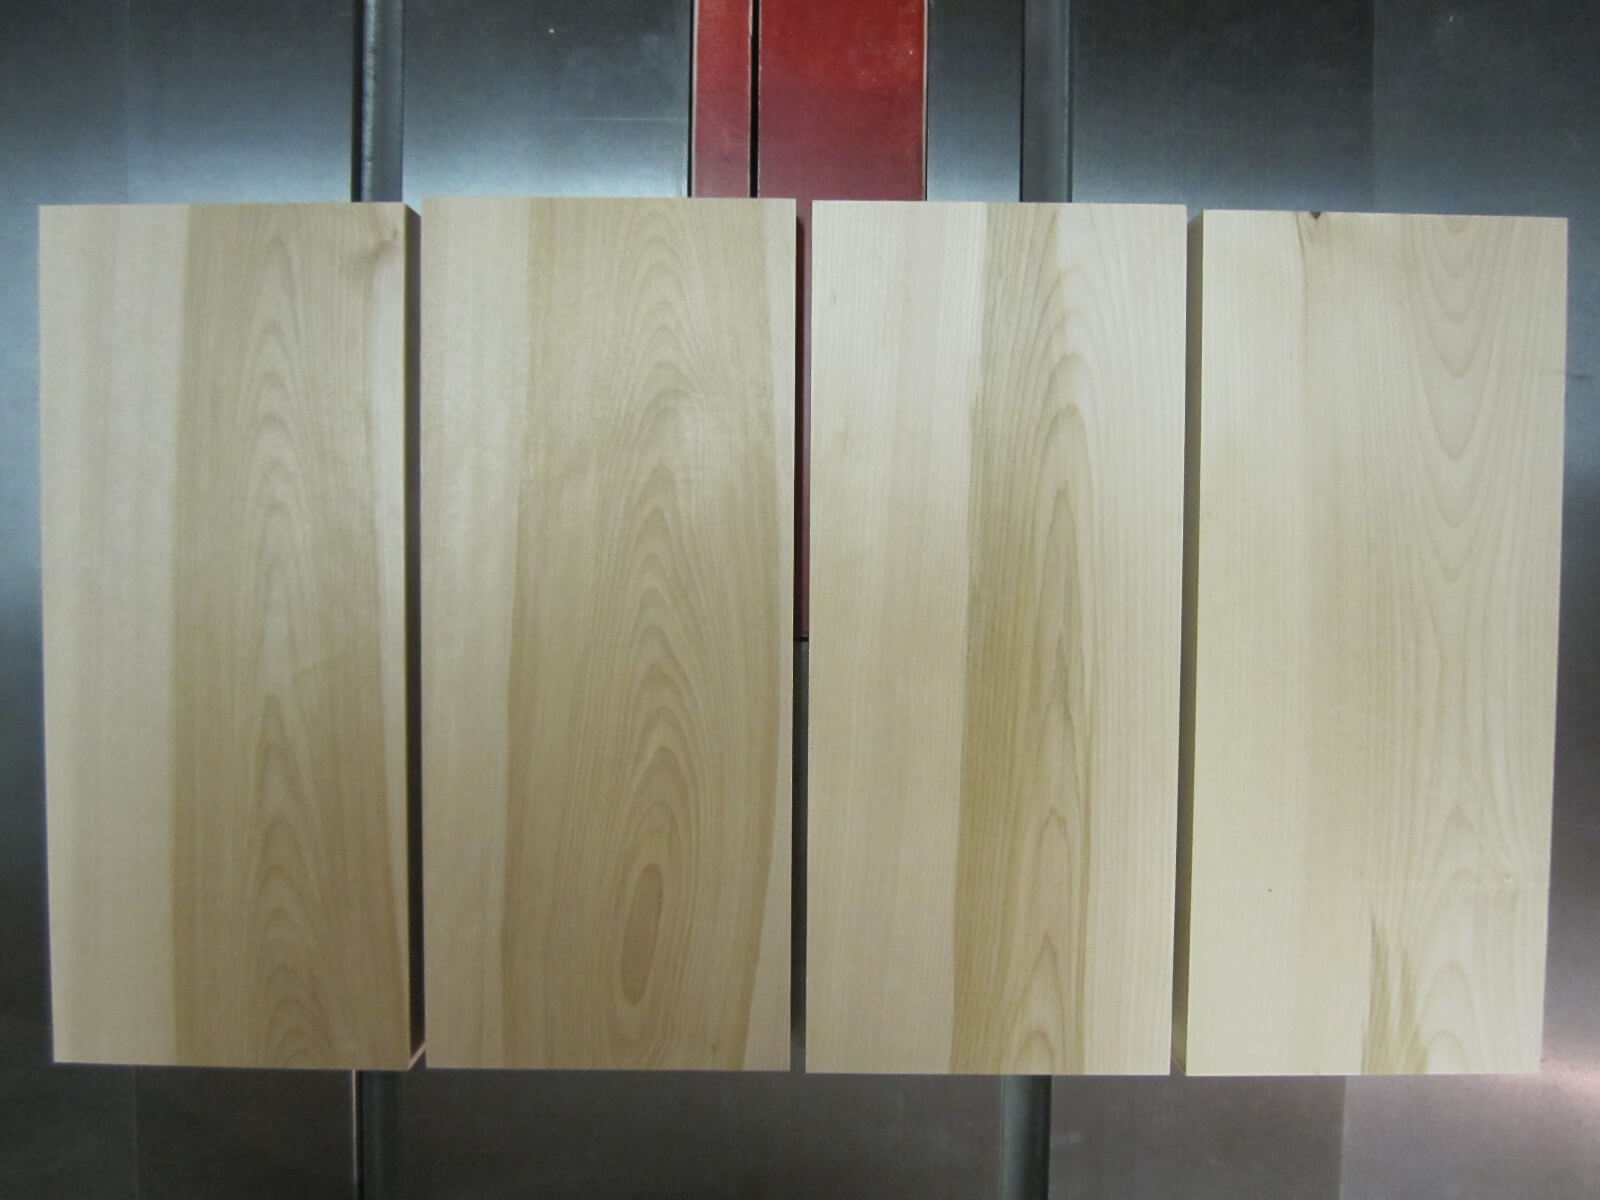
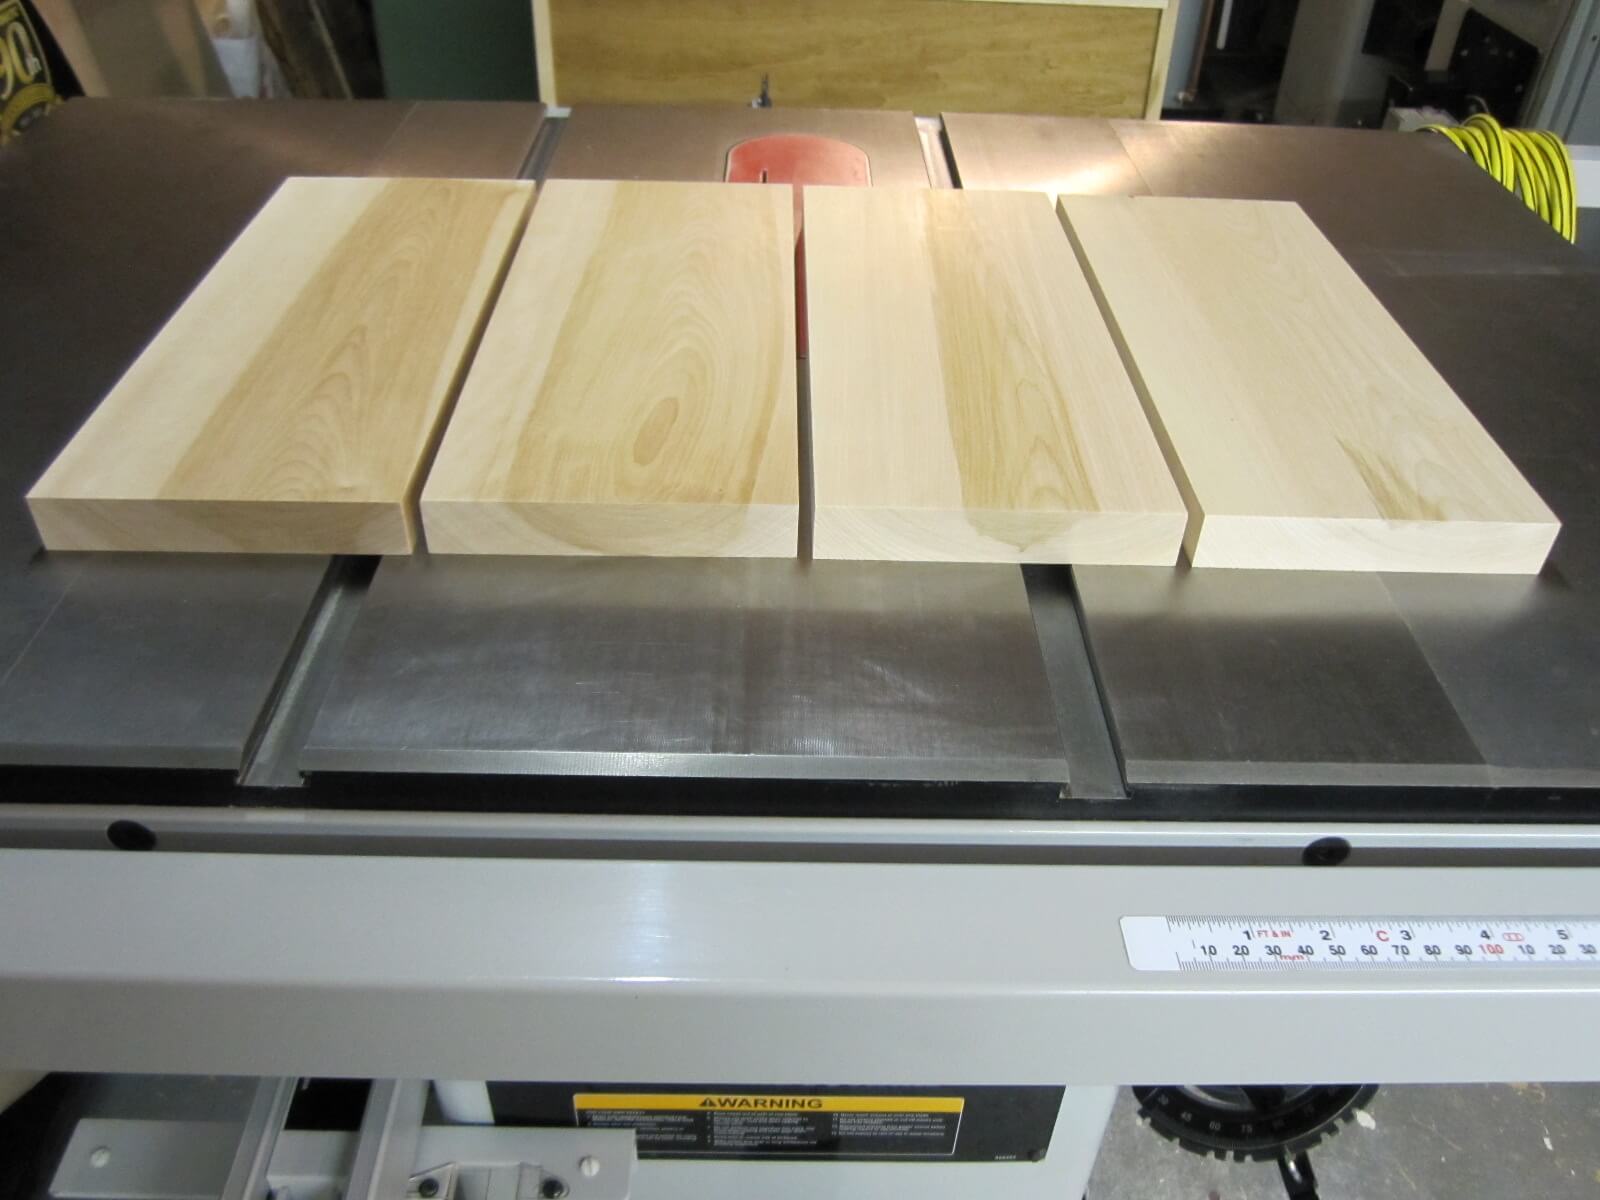
Boards preparation
- First step: size the boards in length by leaving a little game for the final cup.
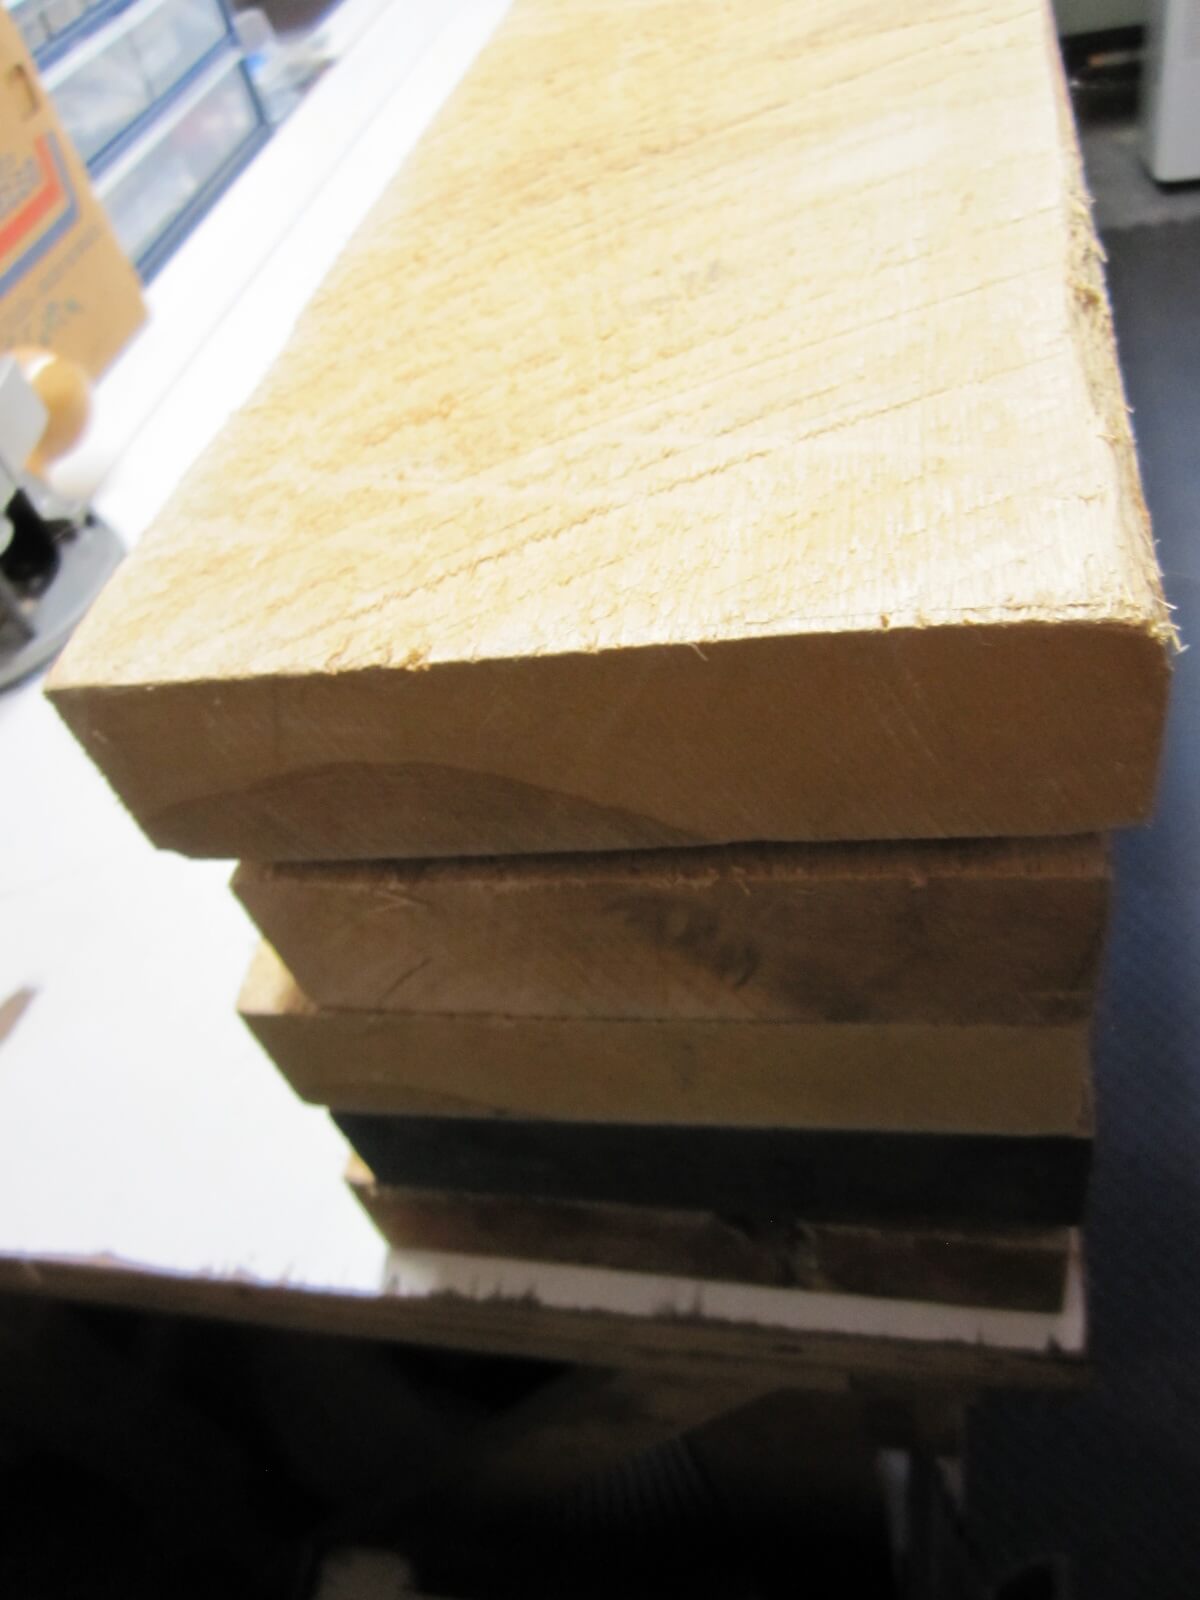
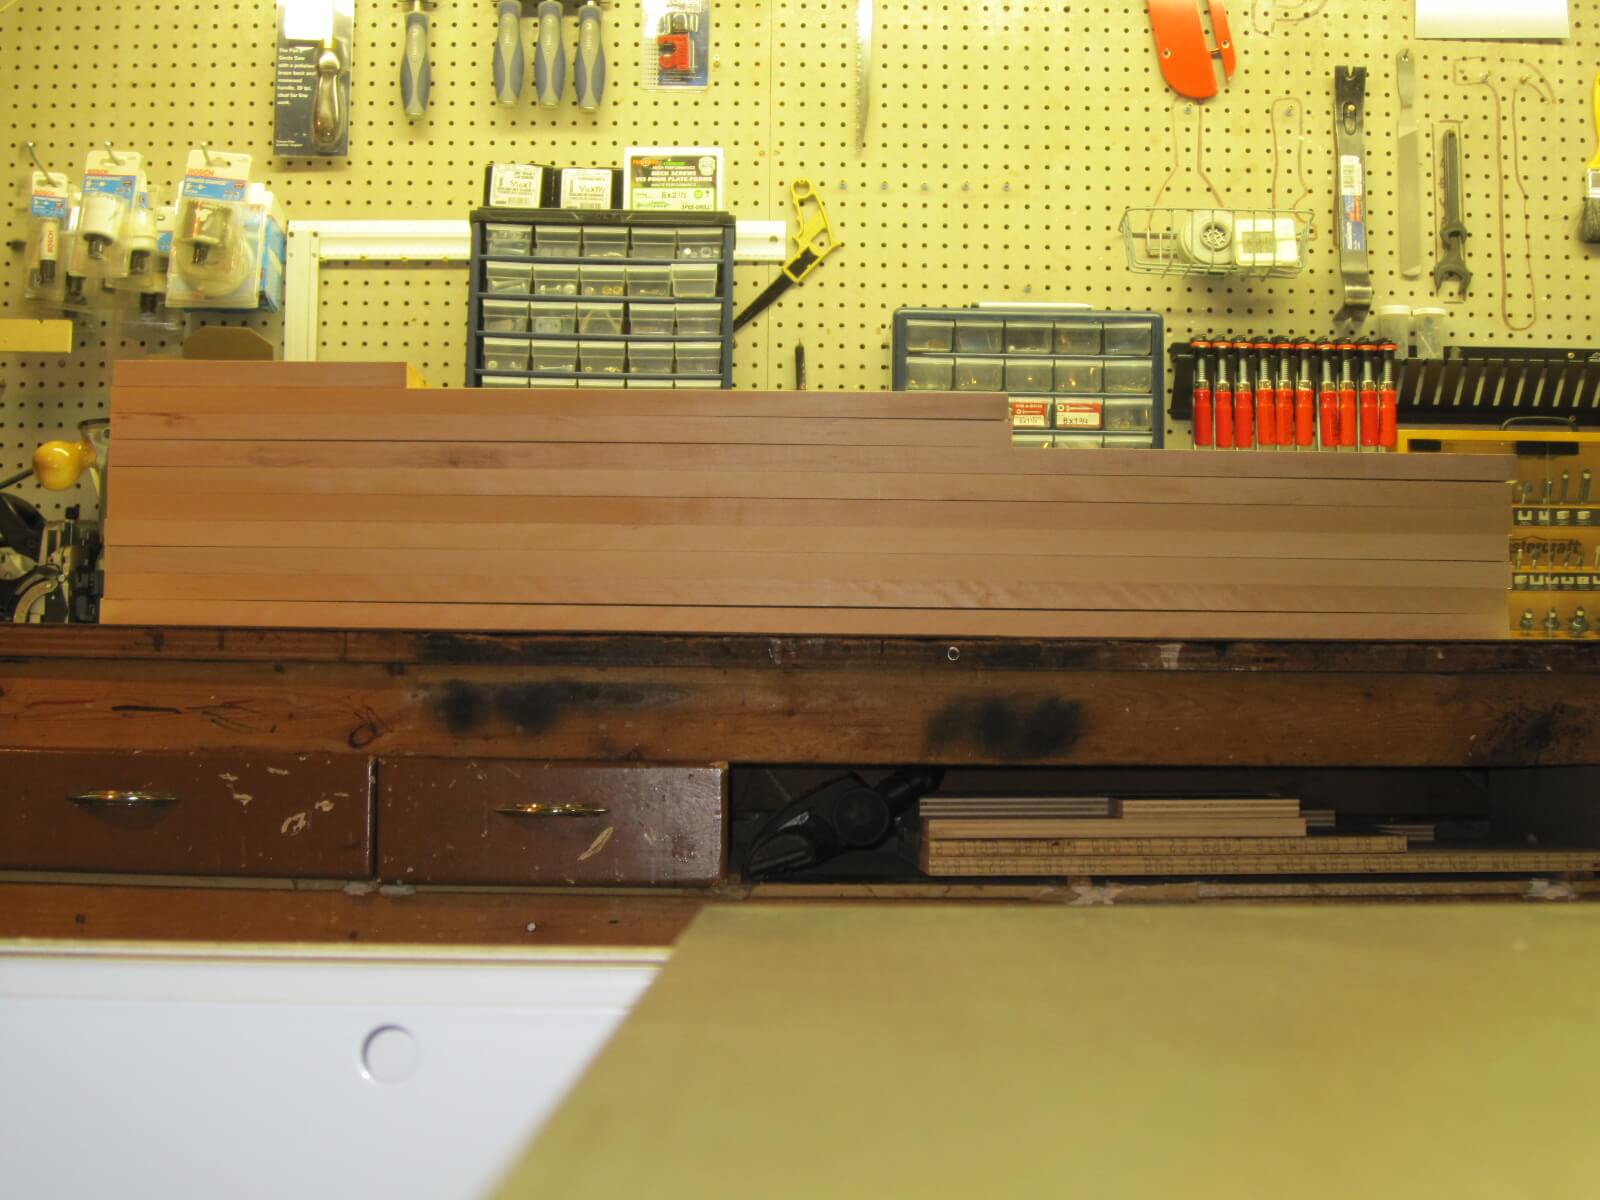
- Second step: pass the boards to the jointer to have two flat surfaces and at right angles.
- Third step: move the boards to the planer to obtain two parallel surfaces and to the desired thickness.
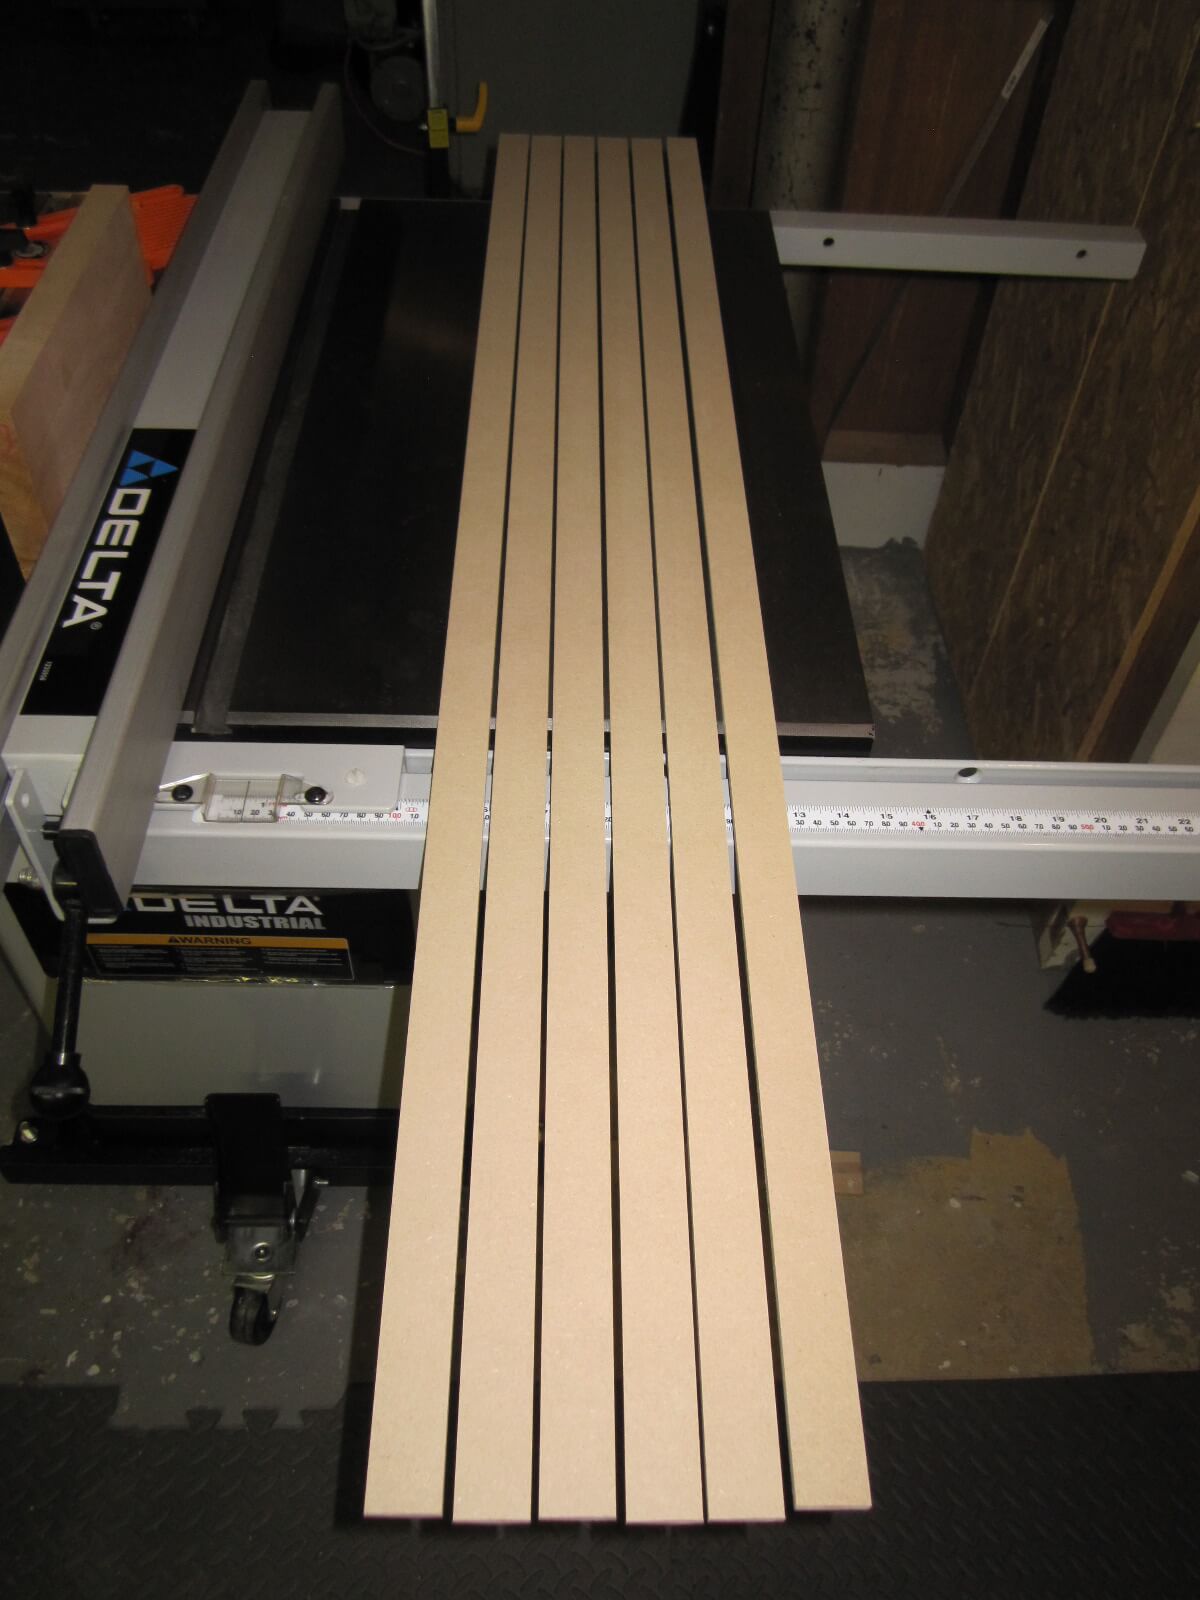
- Forth Step: Slit the boards to the table saw to obtain the desired width and finish squaring.
- Final step: cut the boards with the miter saw to get a right angle to the ends and the desired length. At this point, the boards are ready for use.

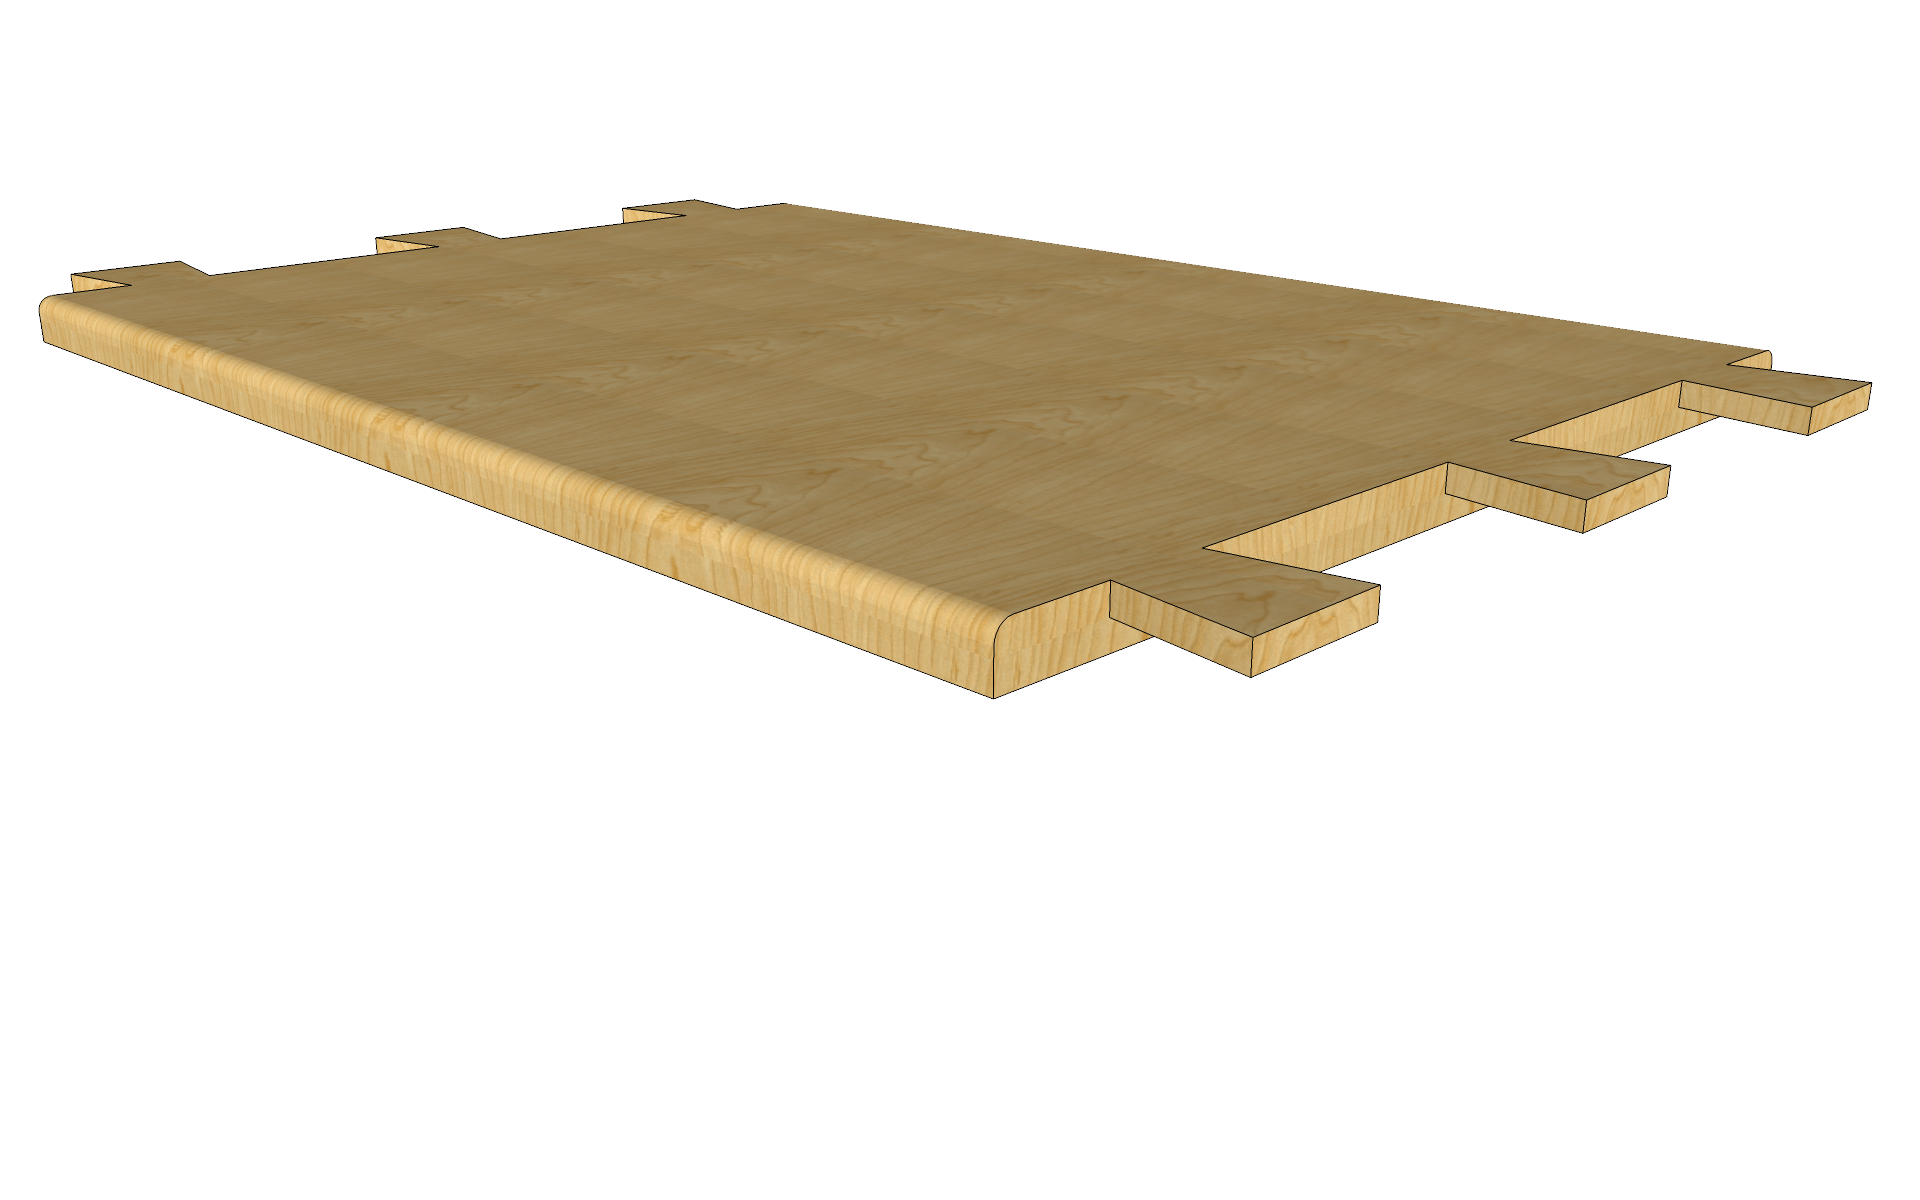
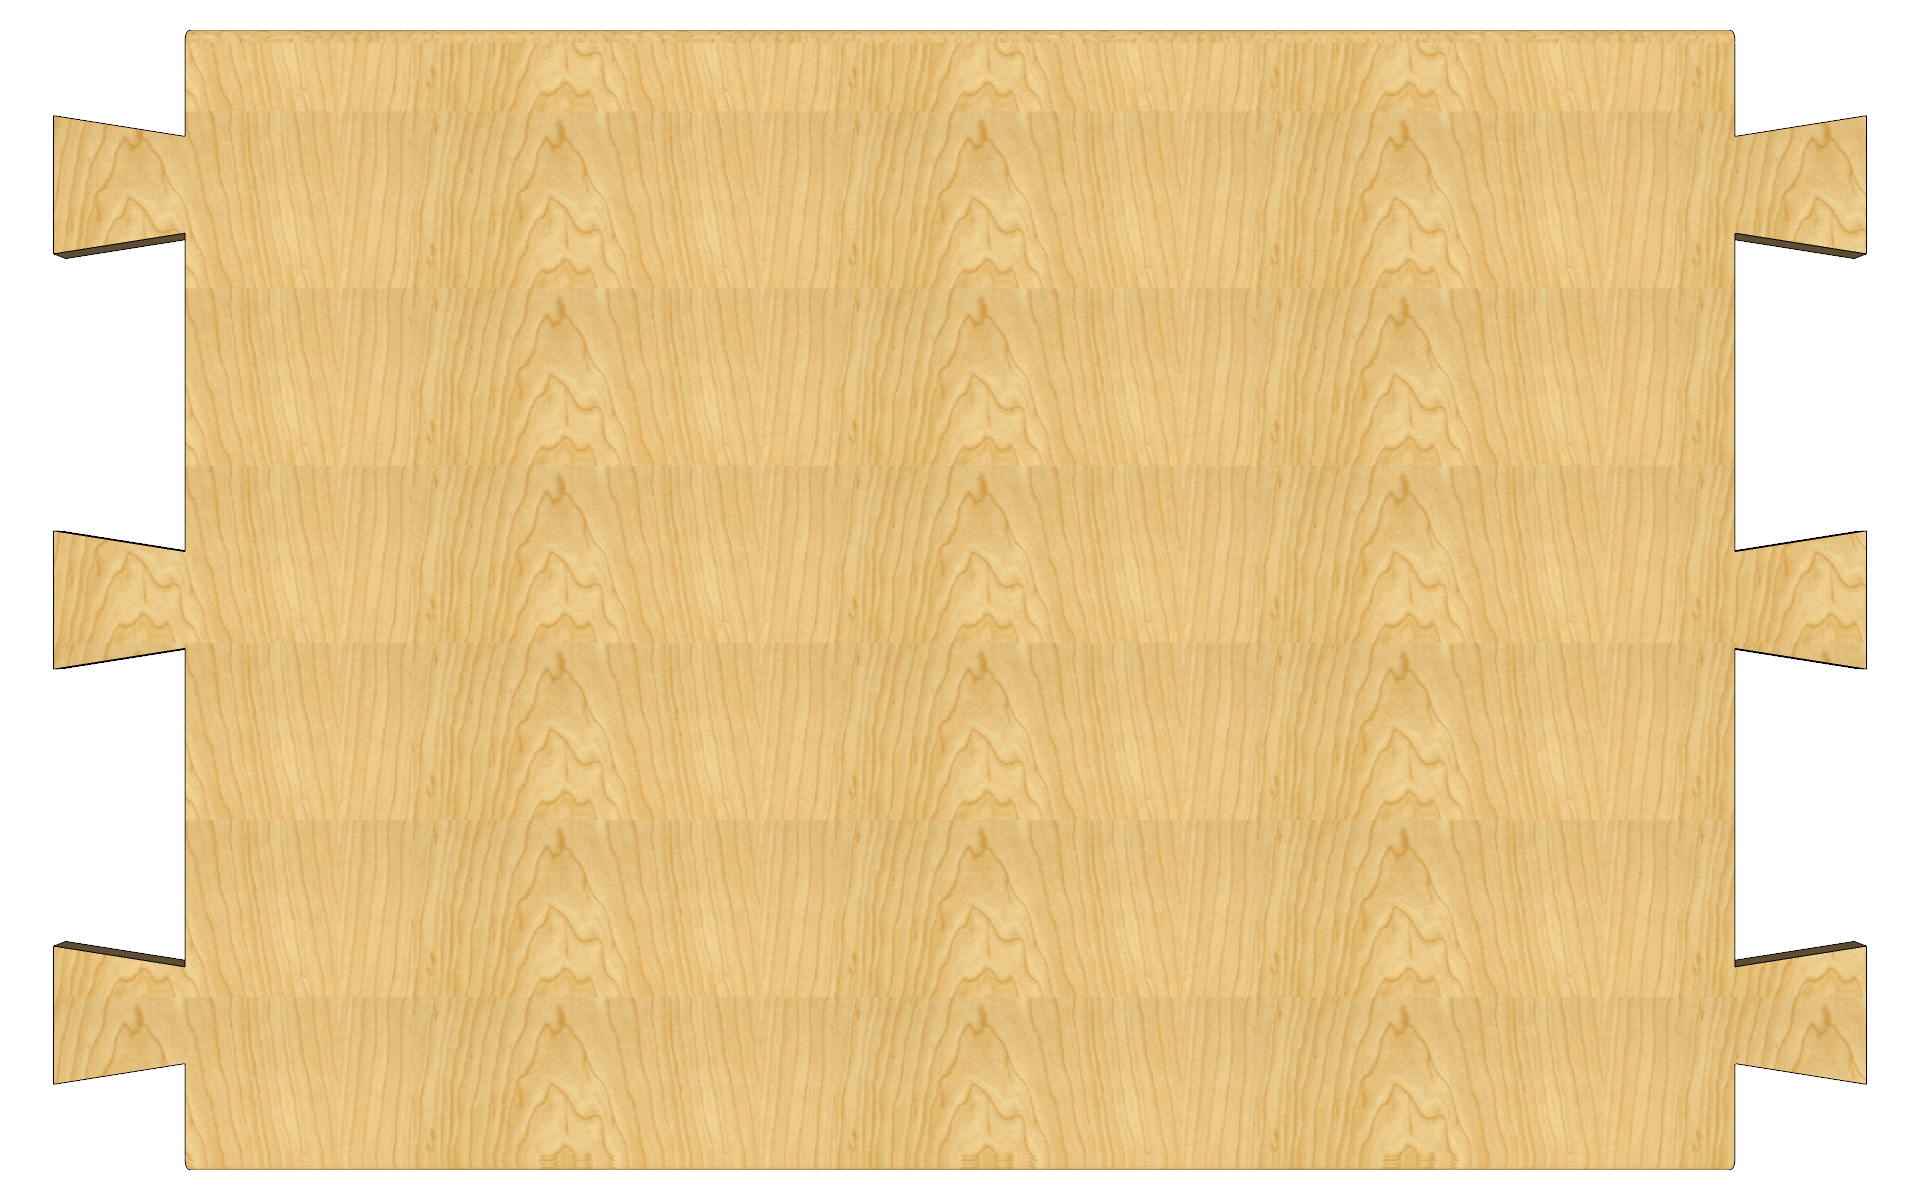
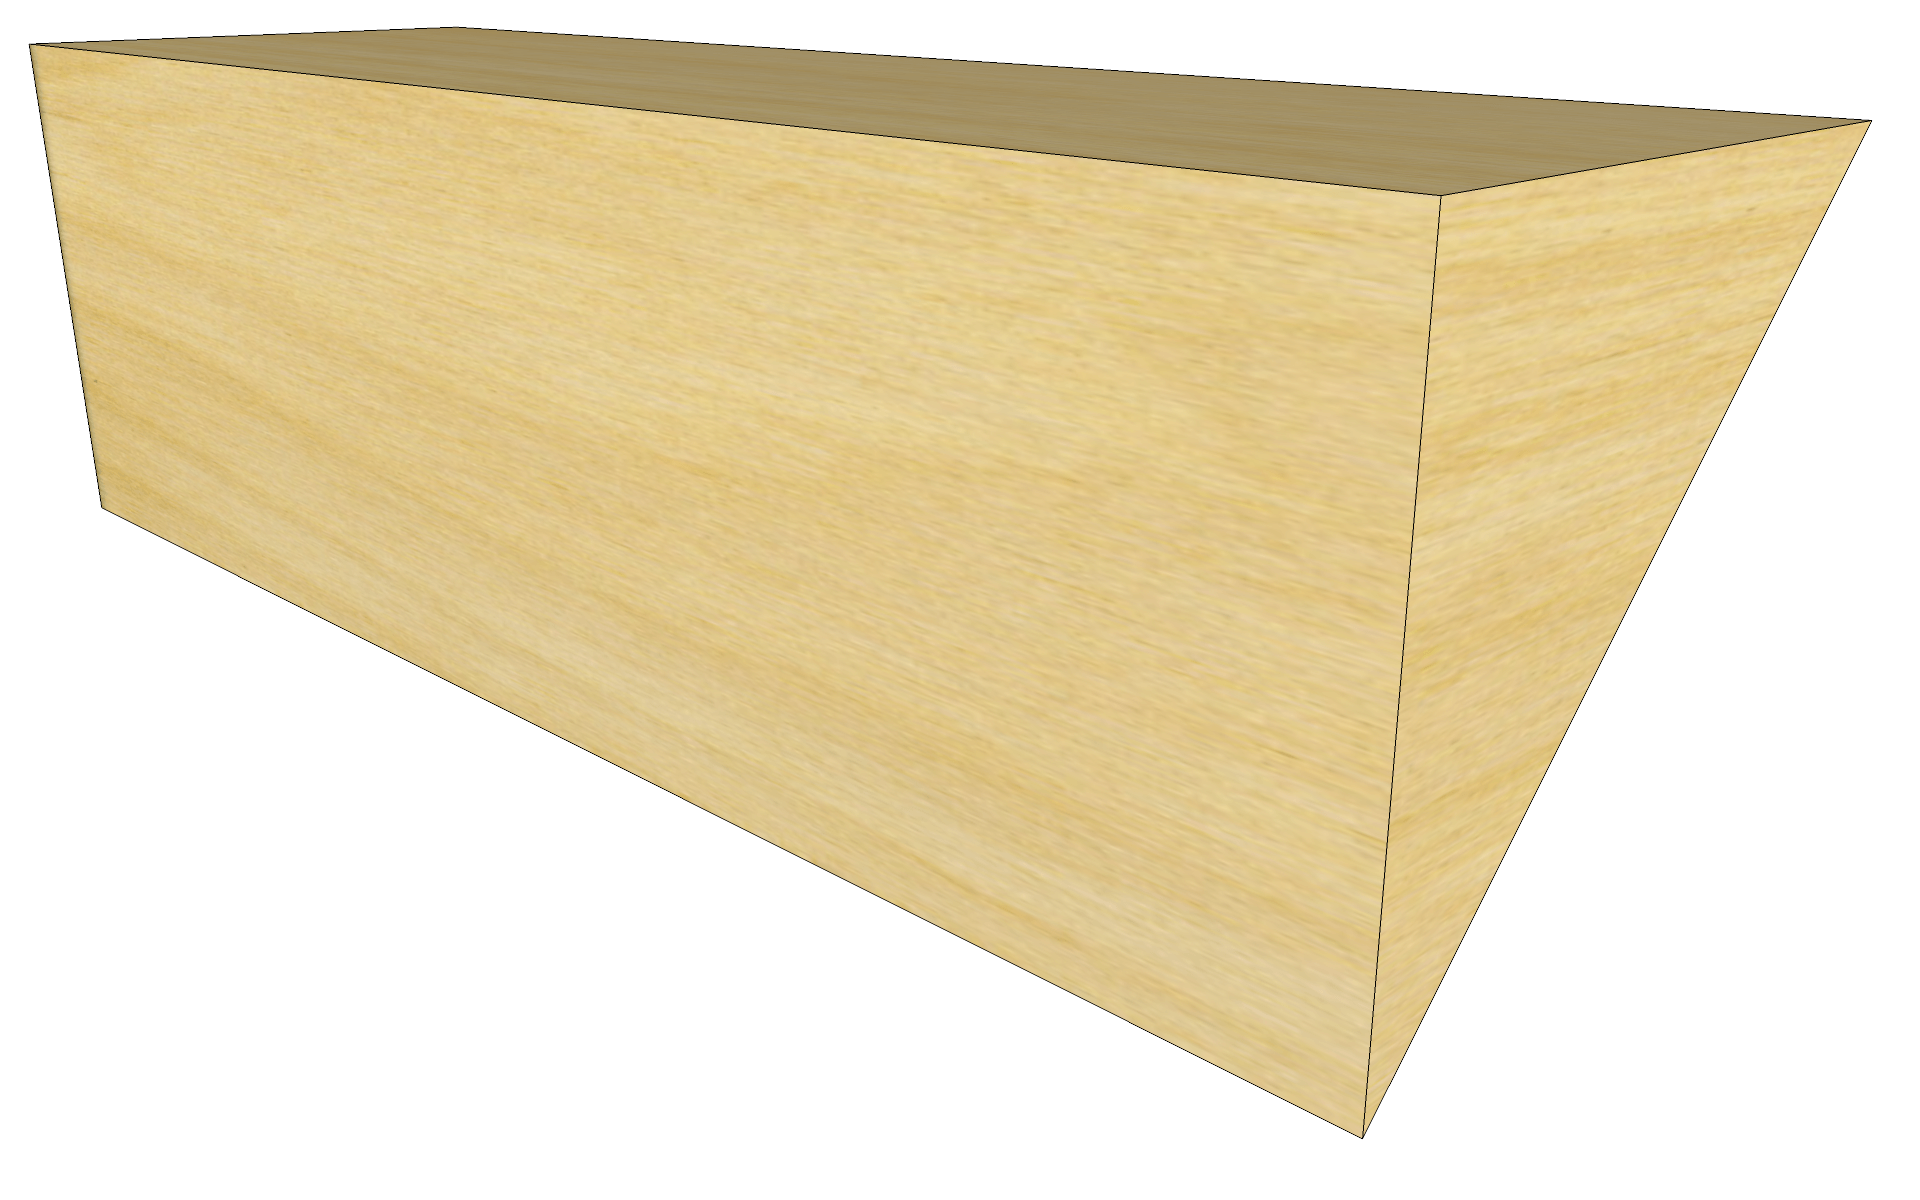
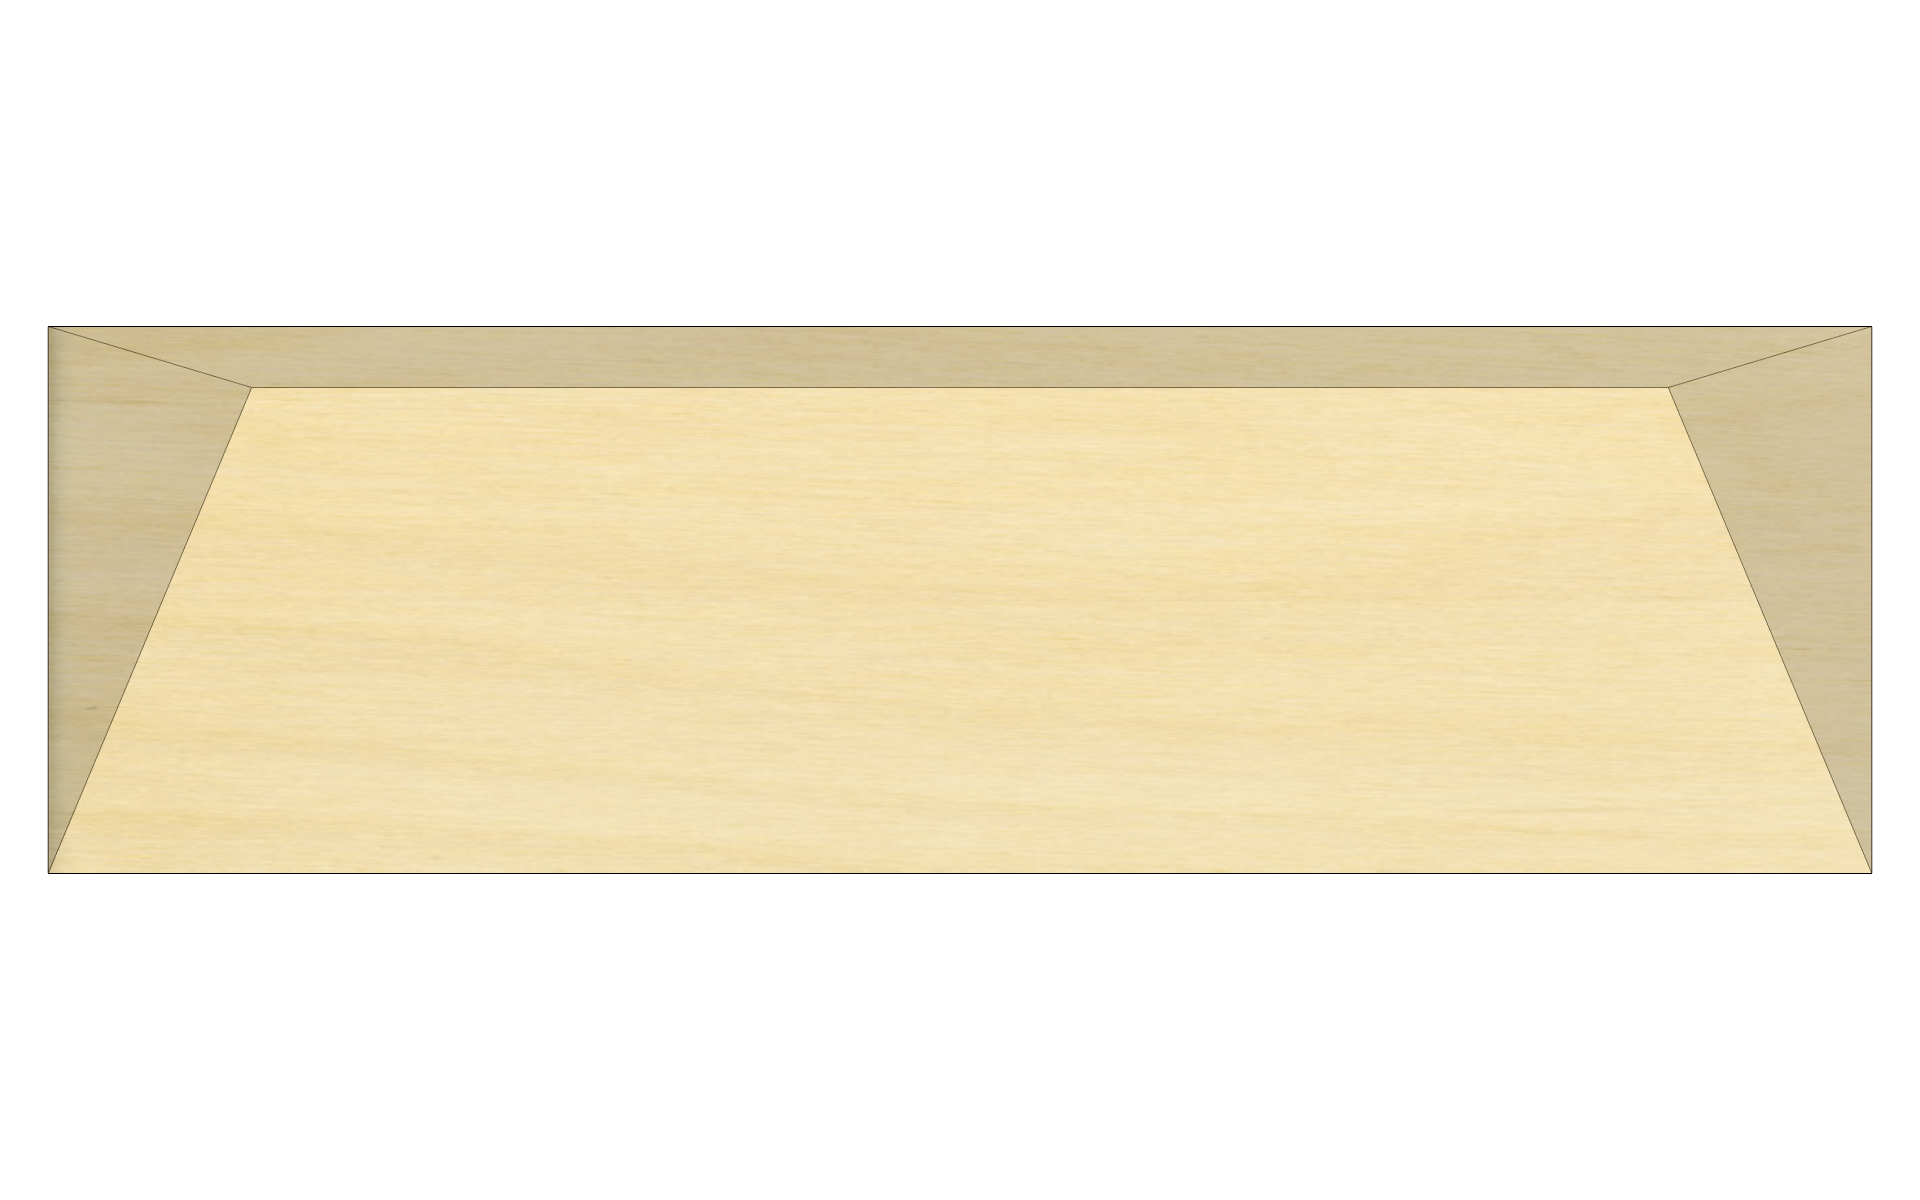
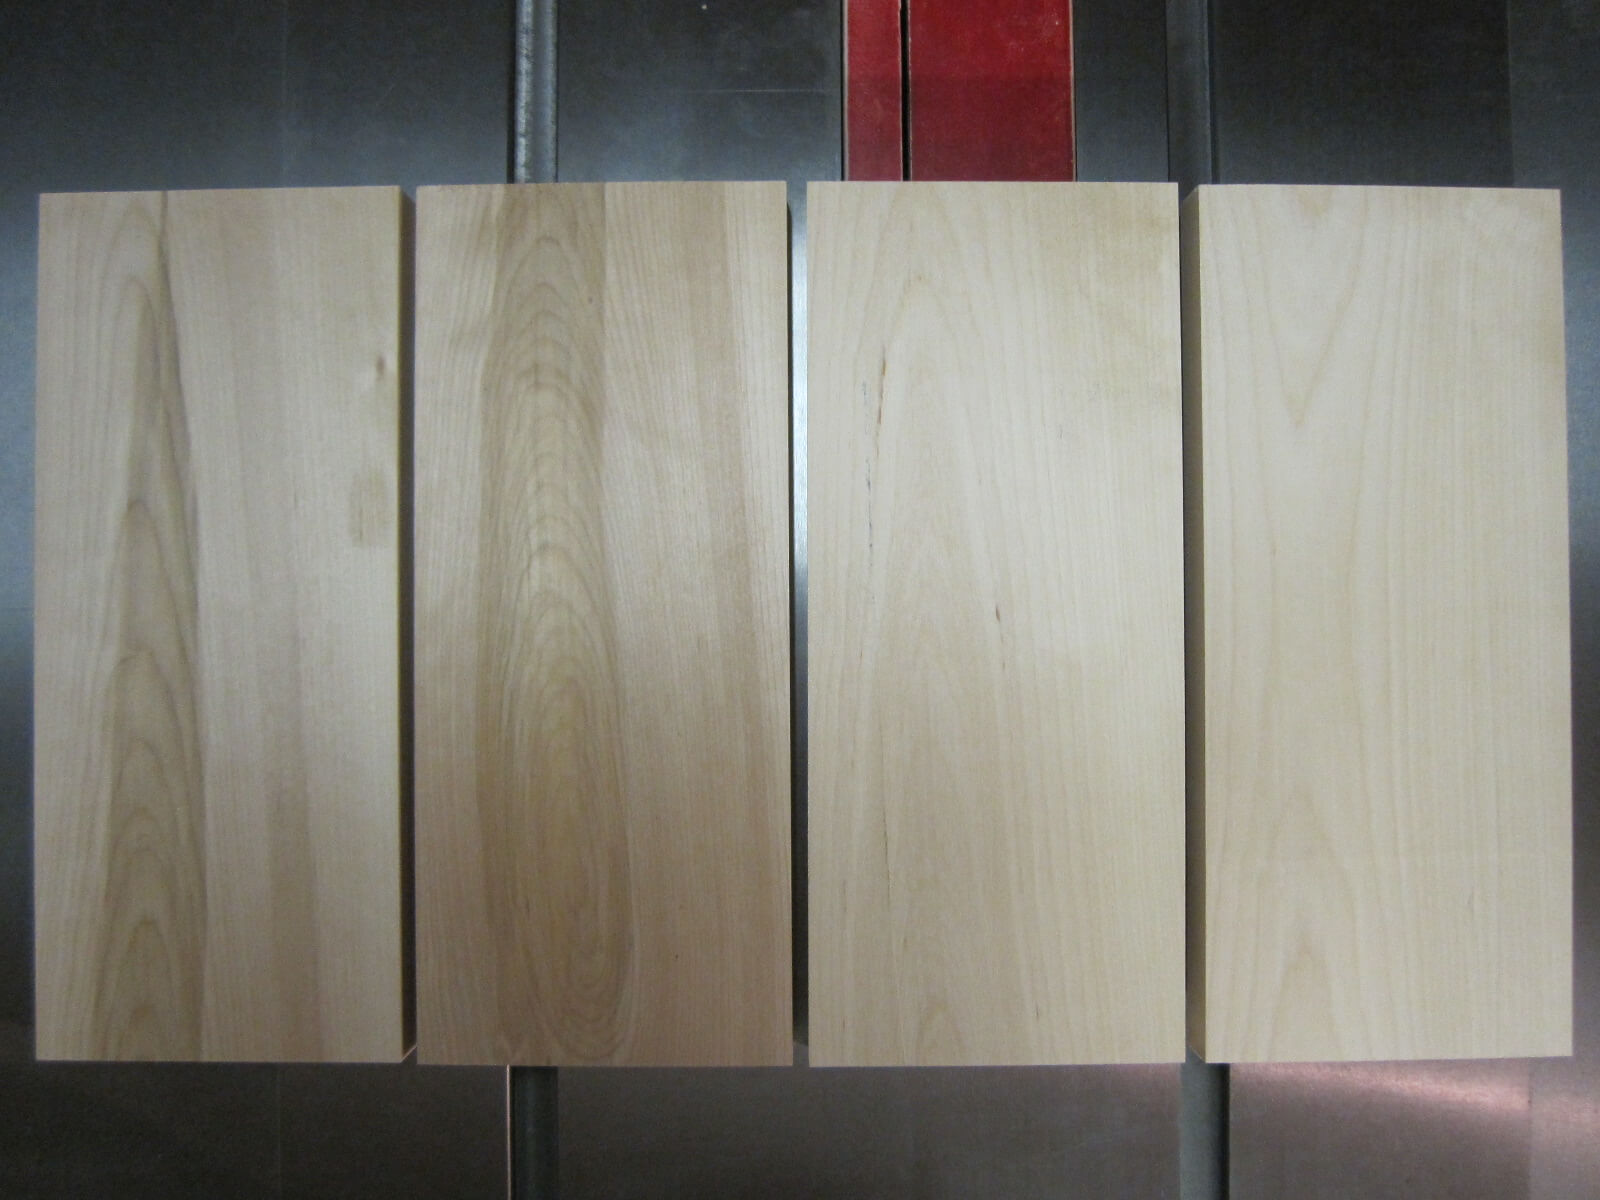
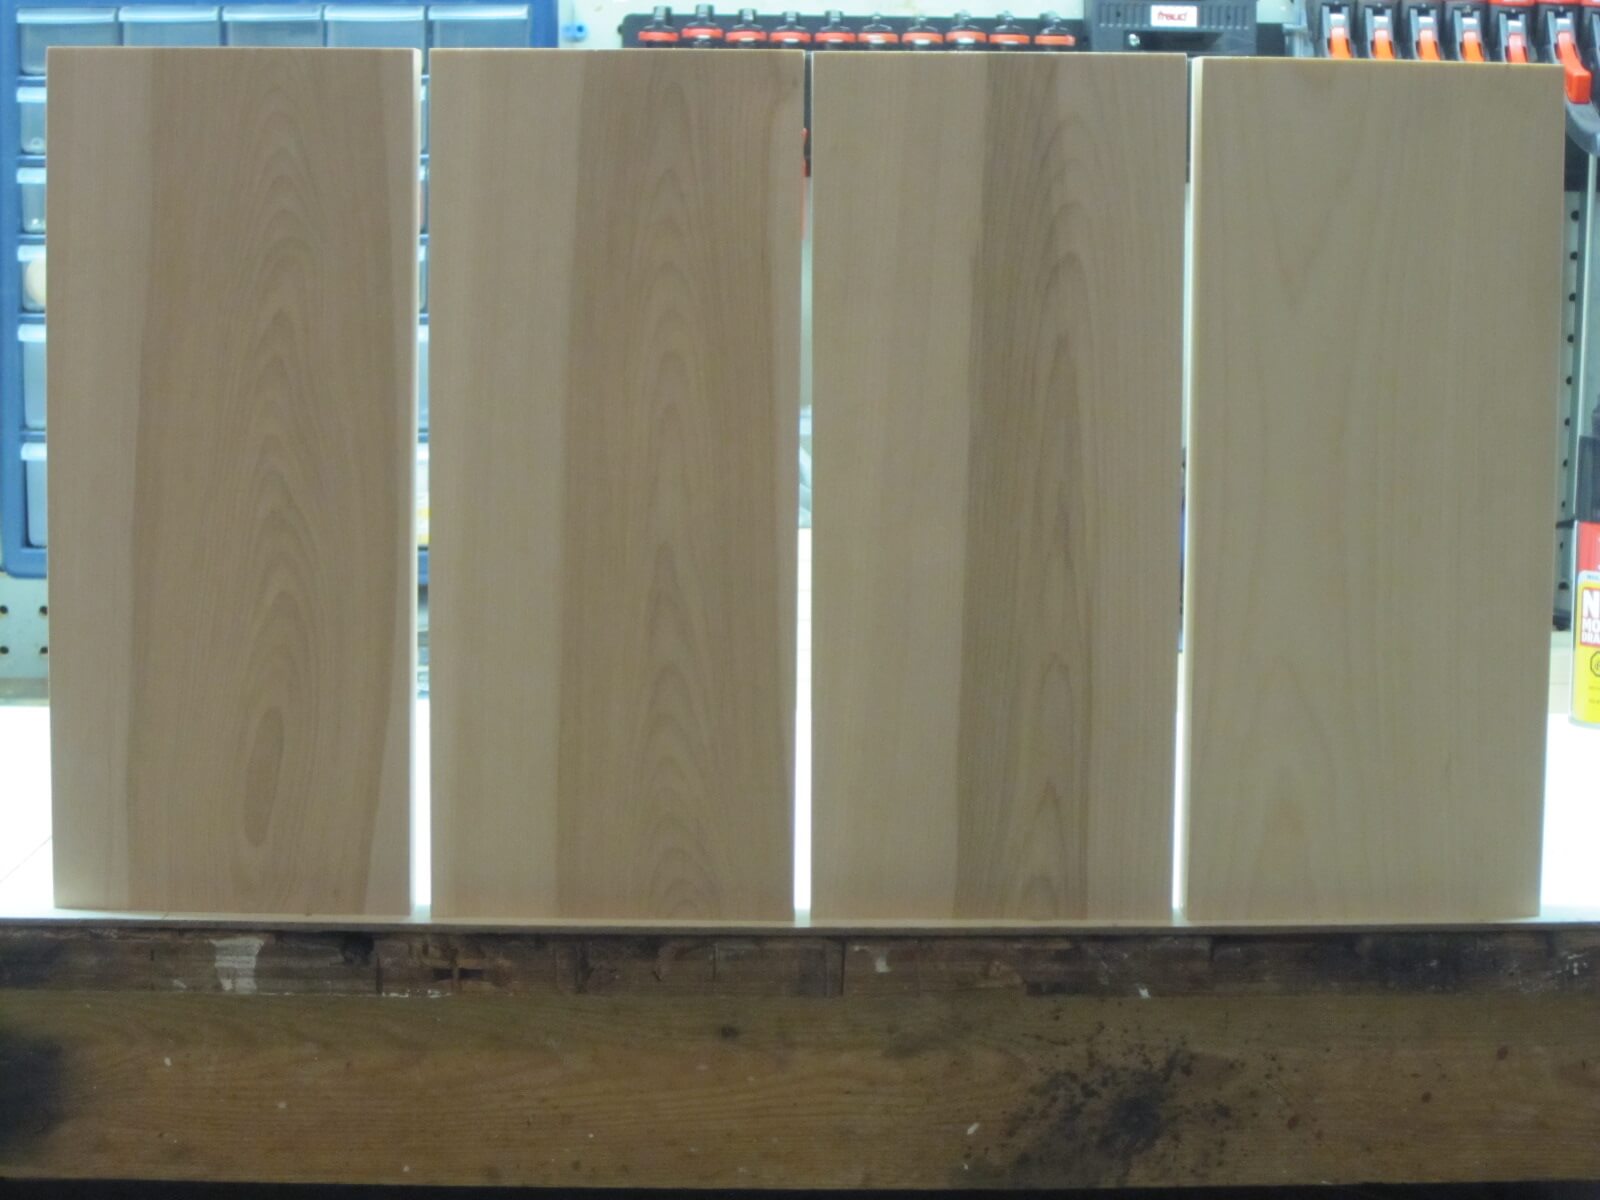
The table top
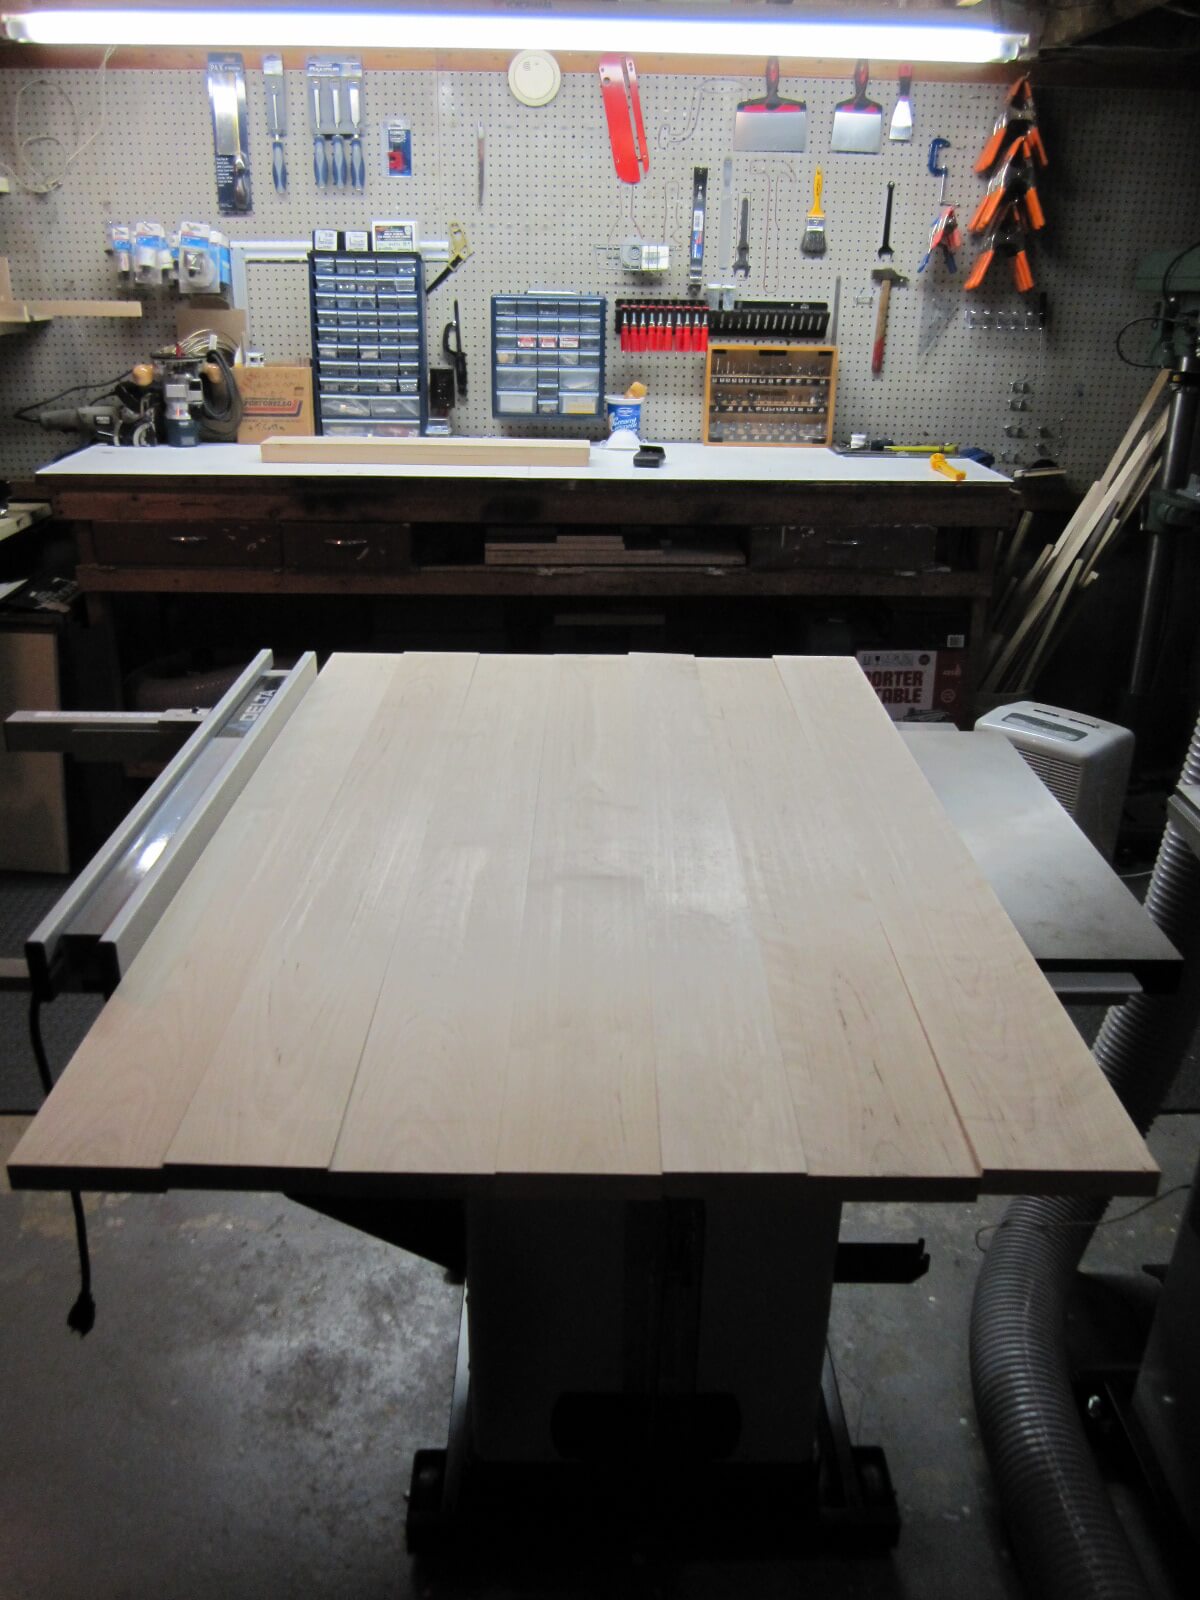
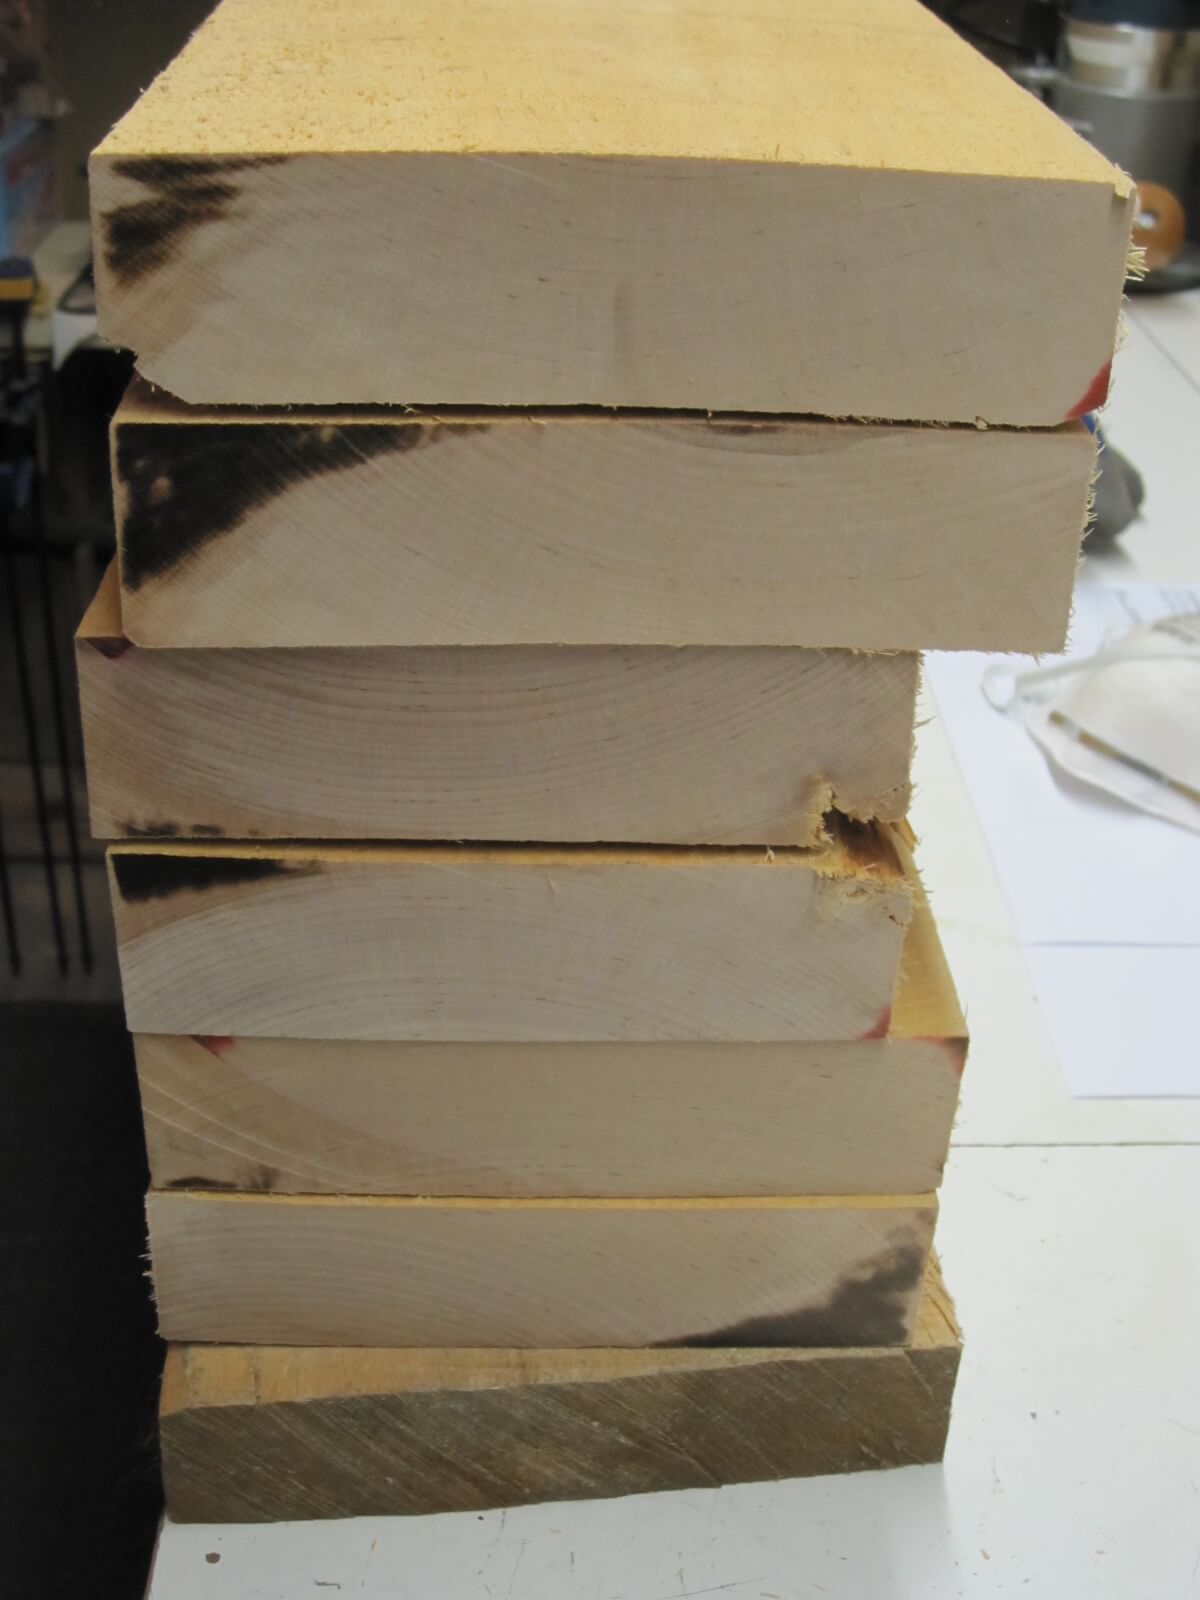
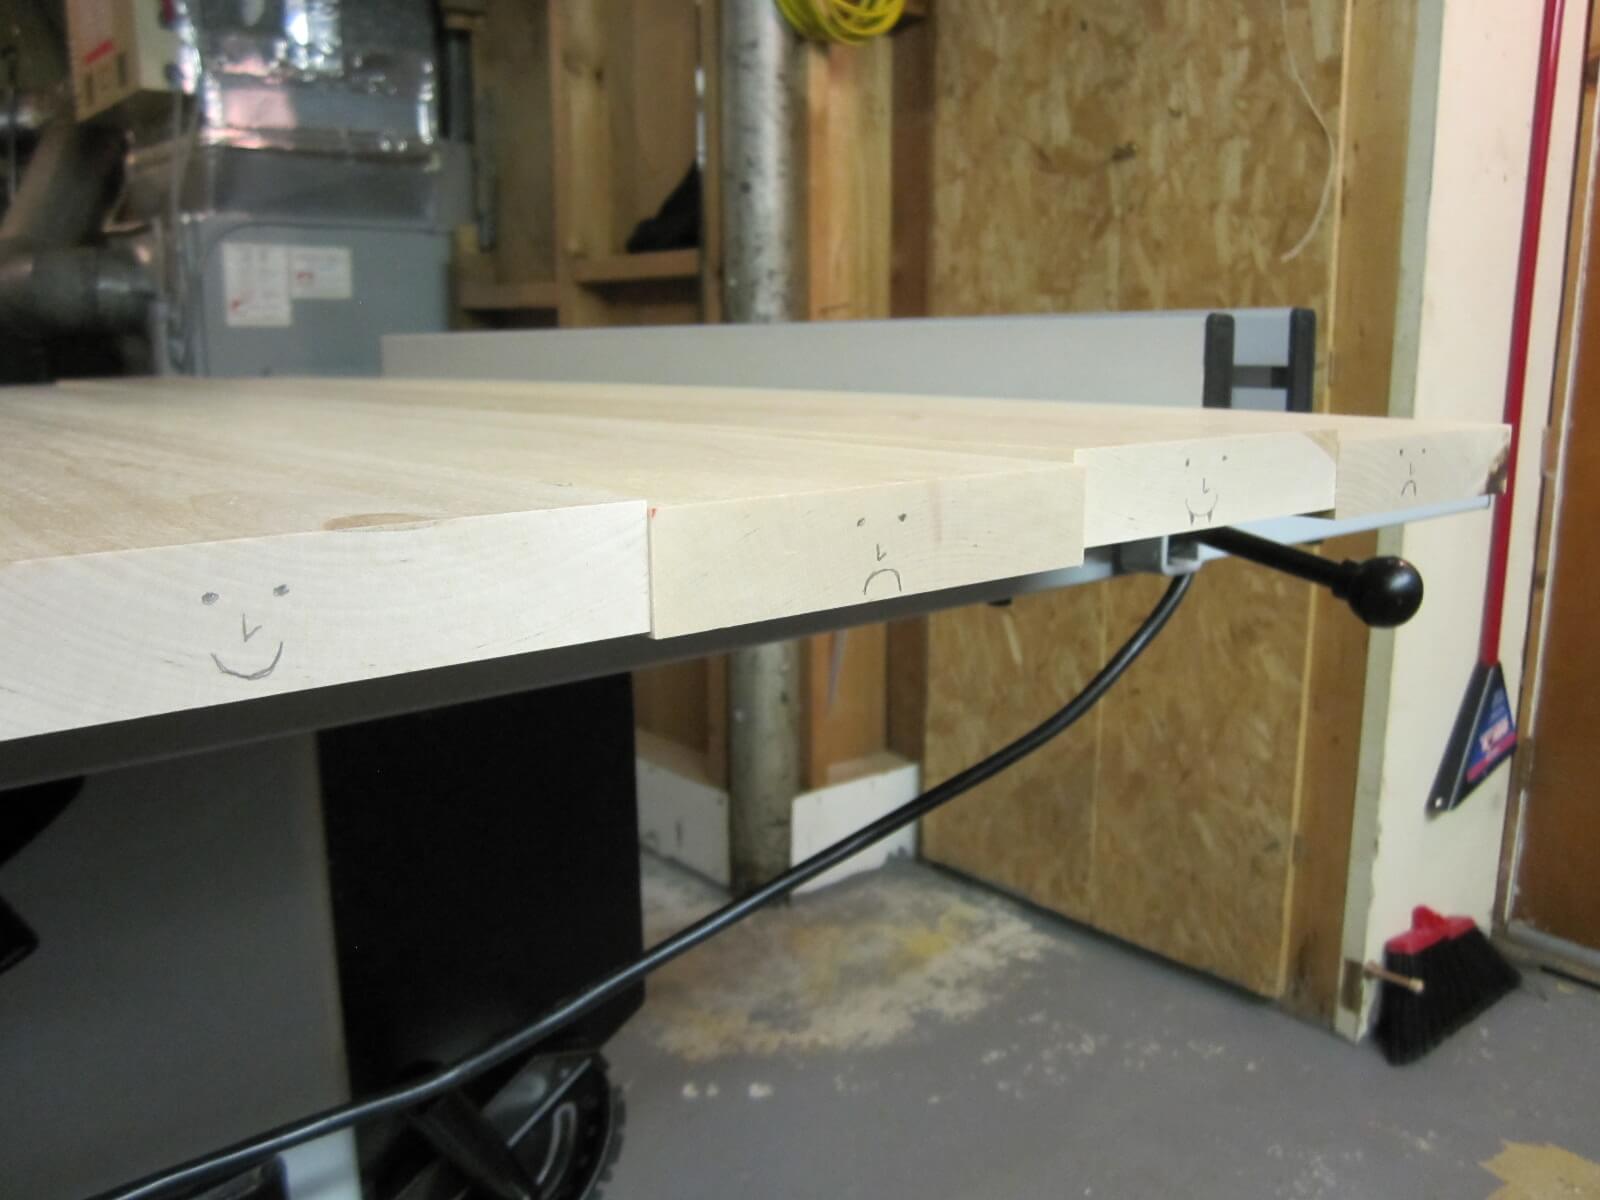
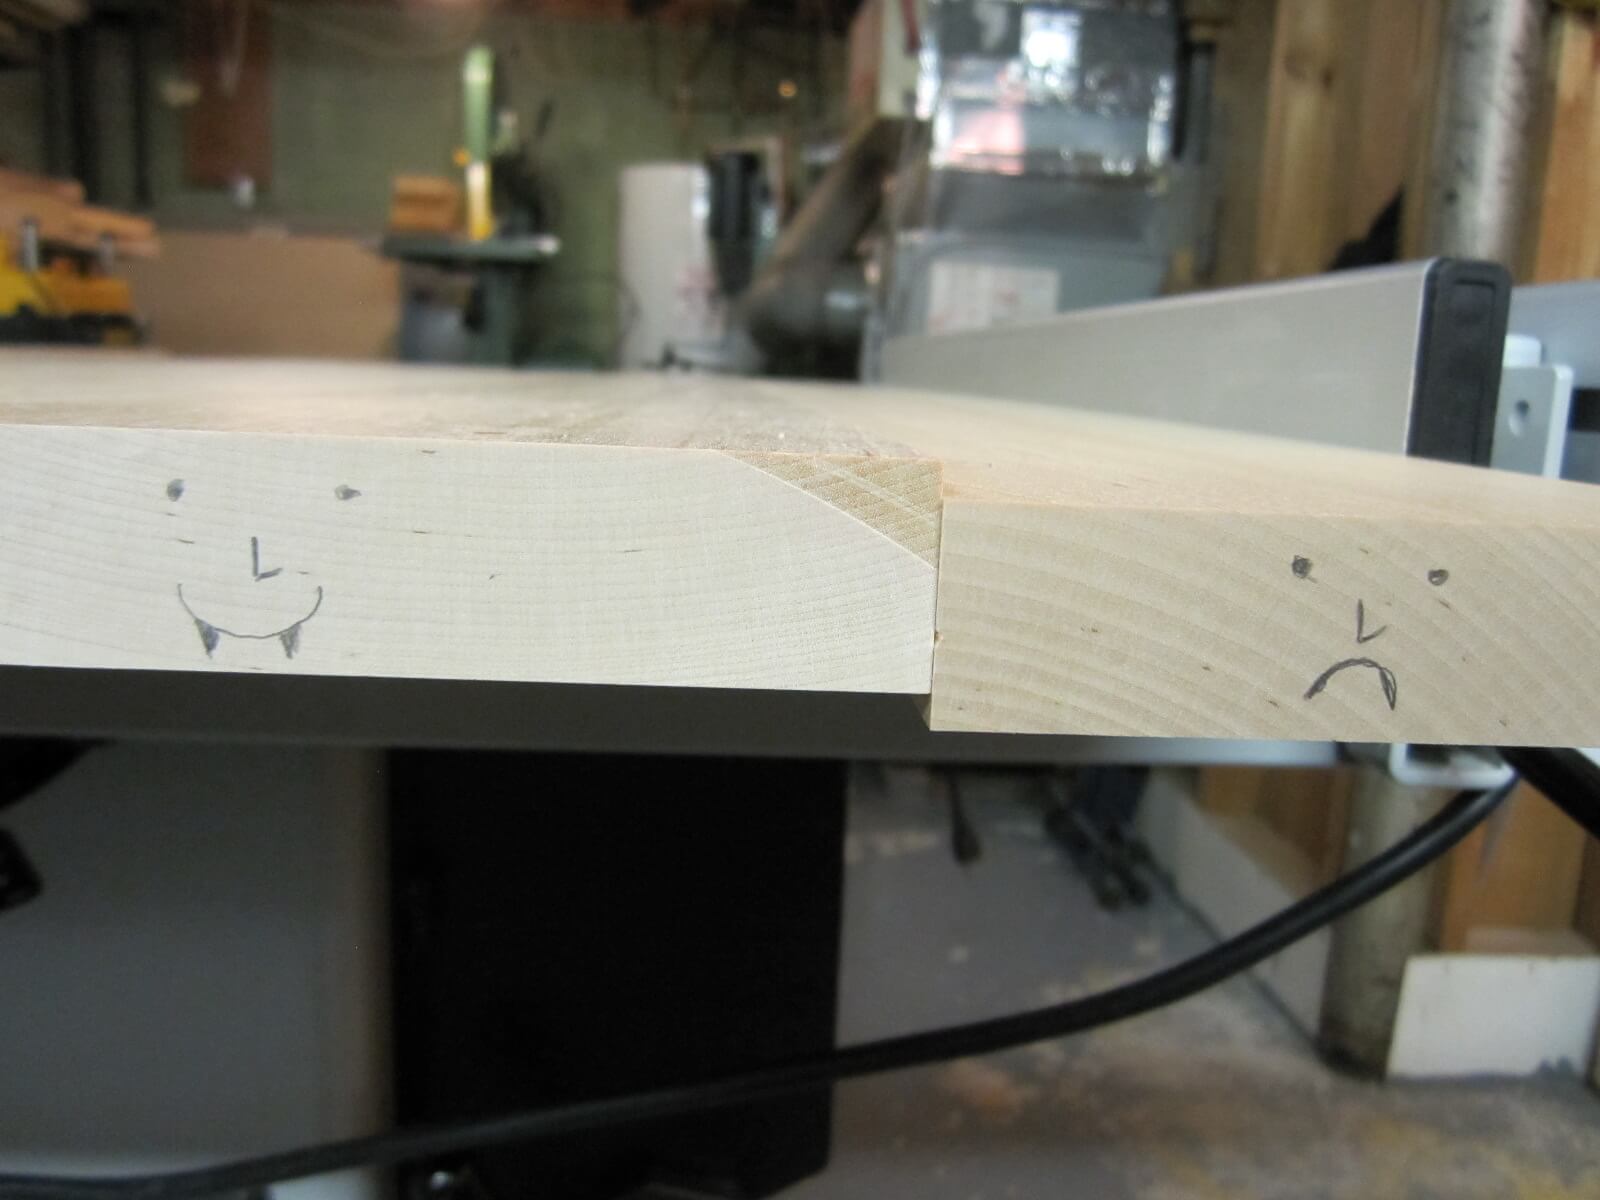
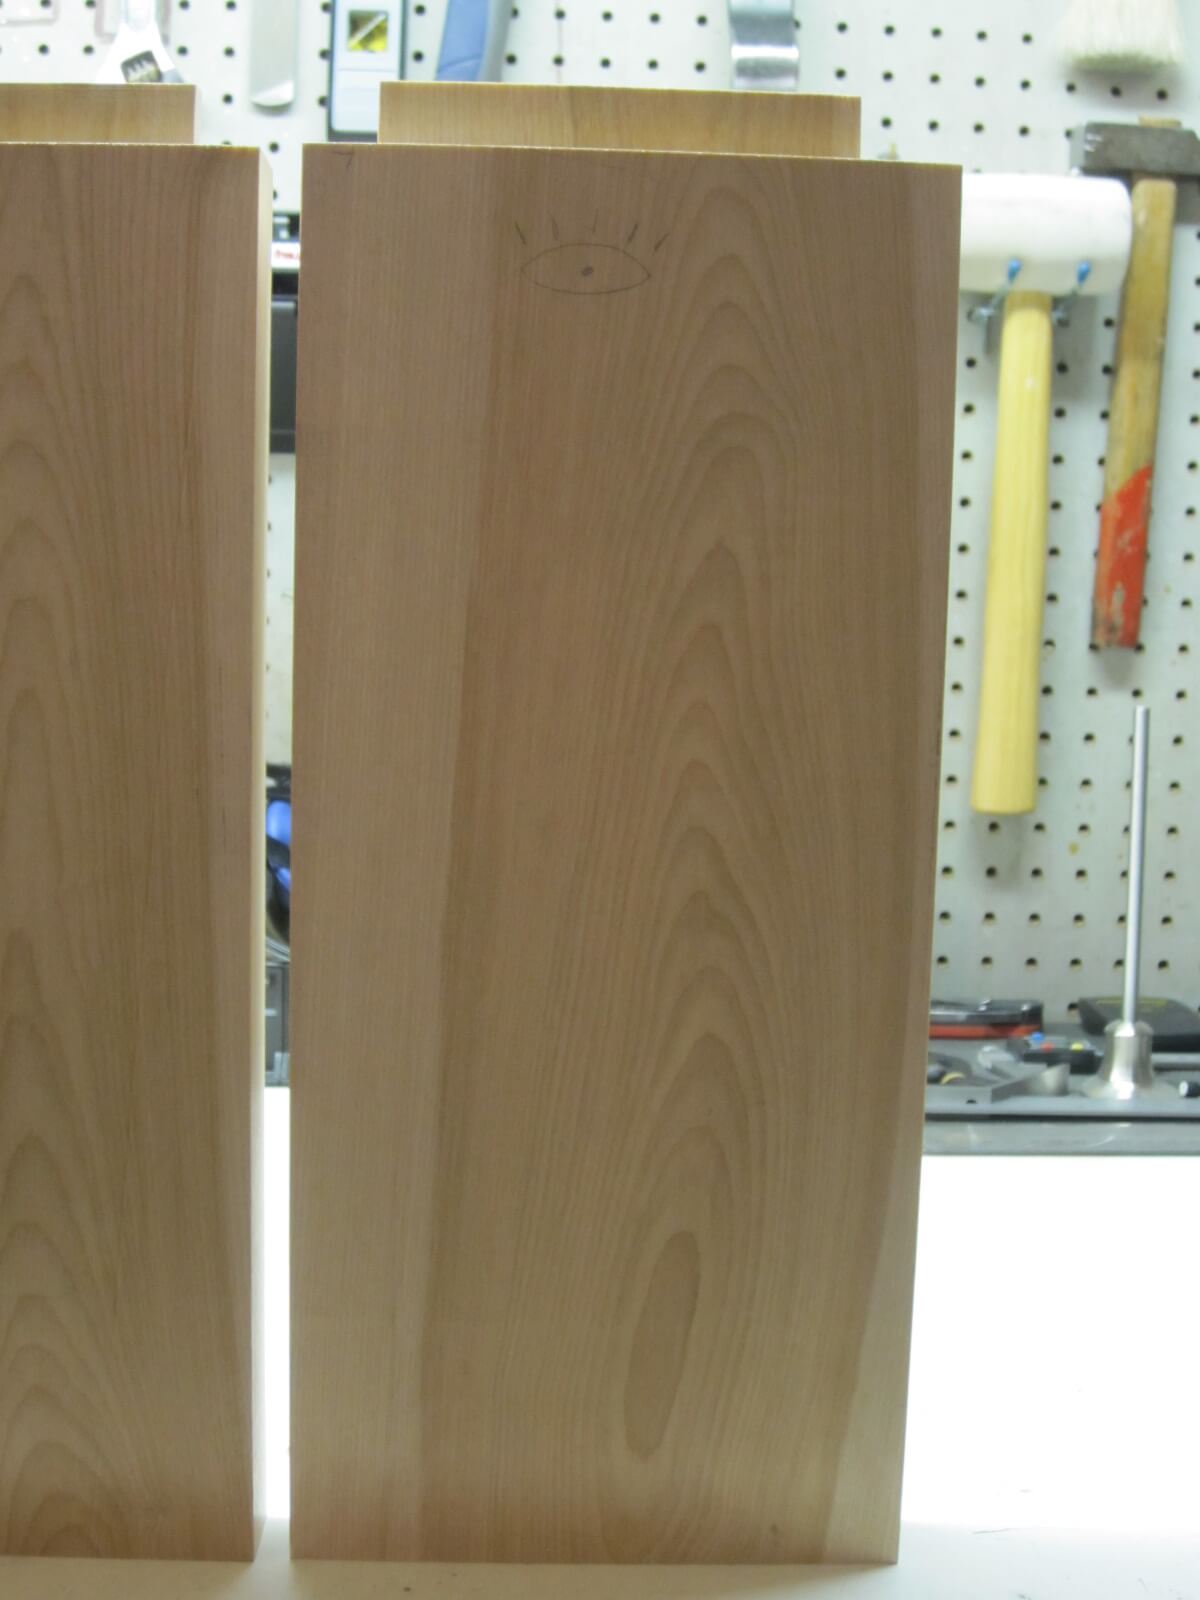
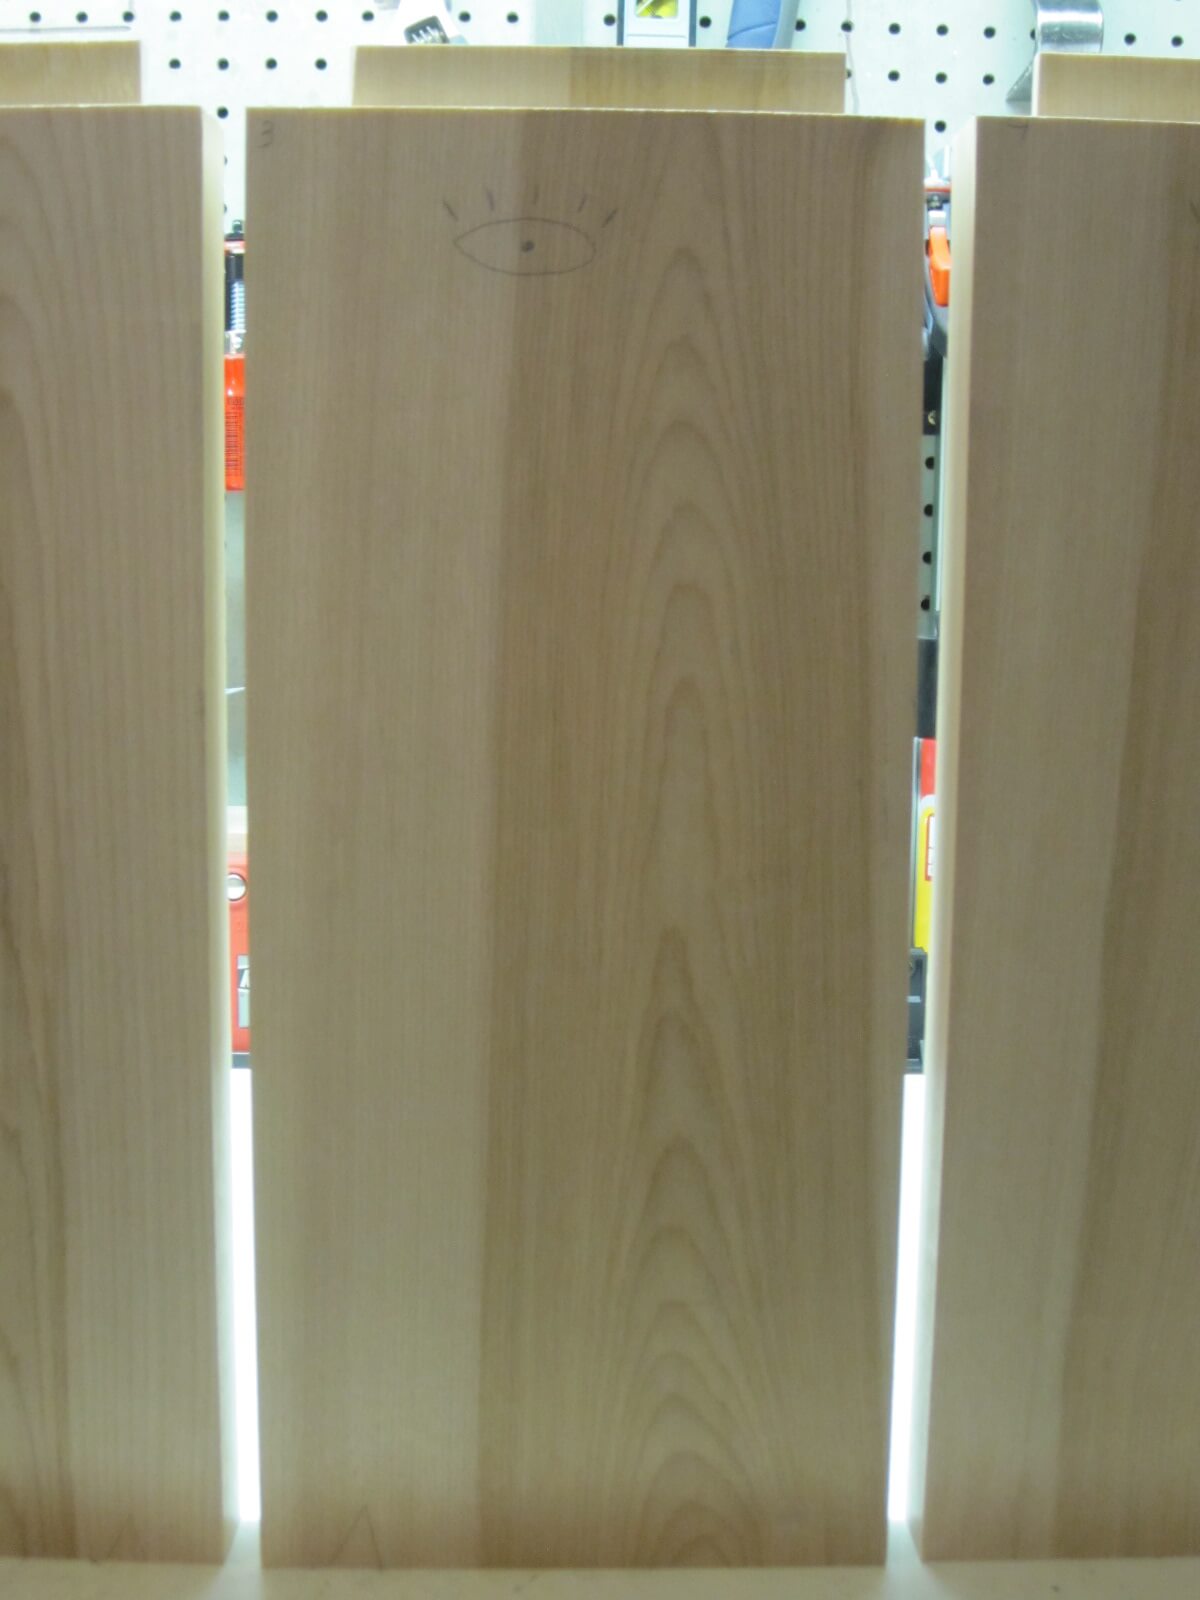
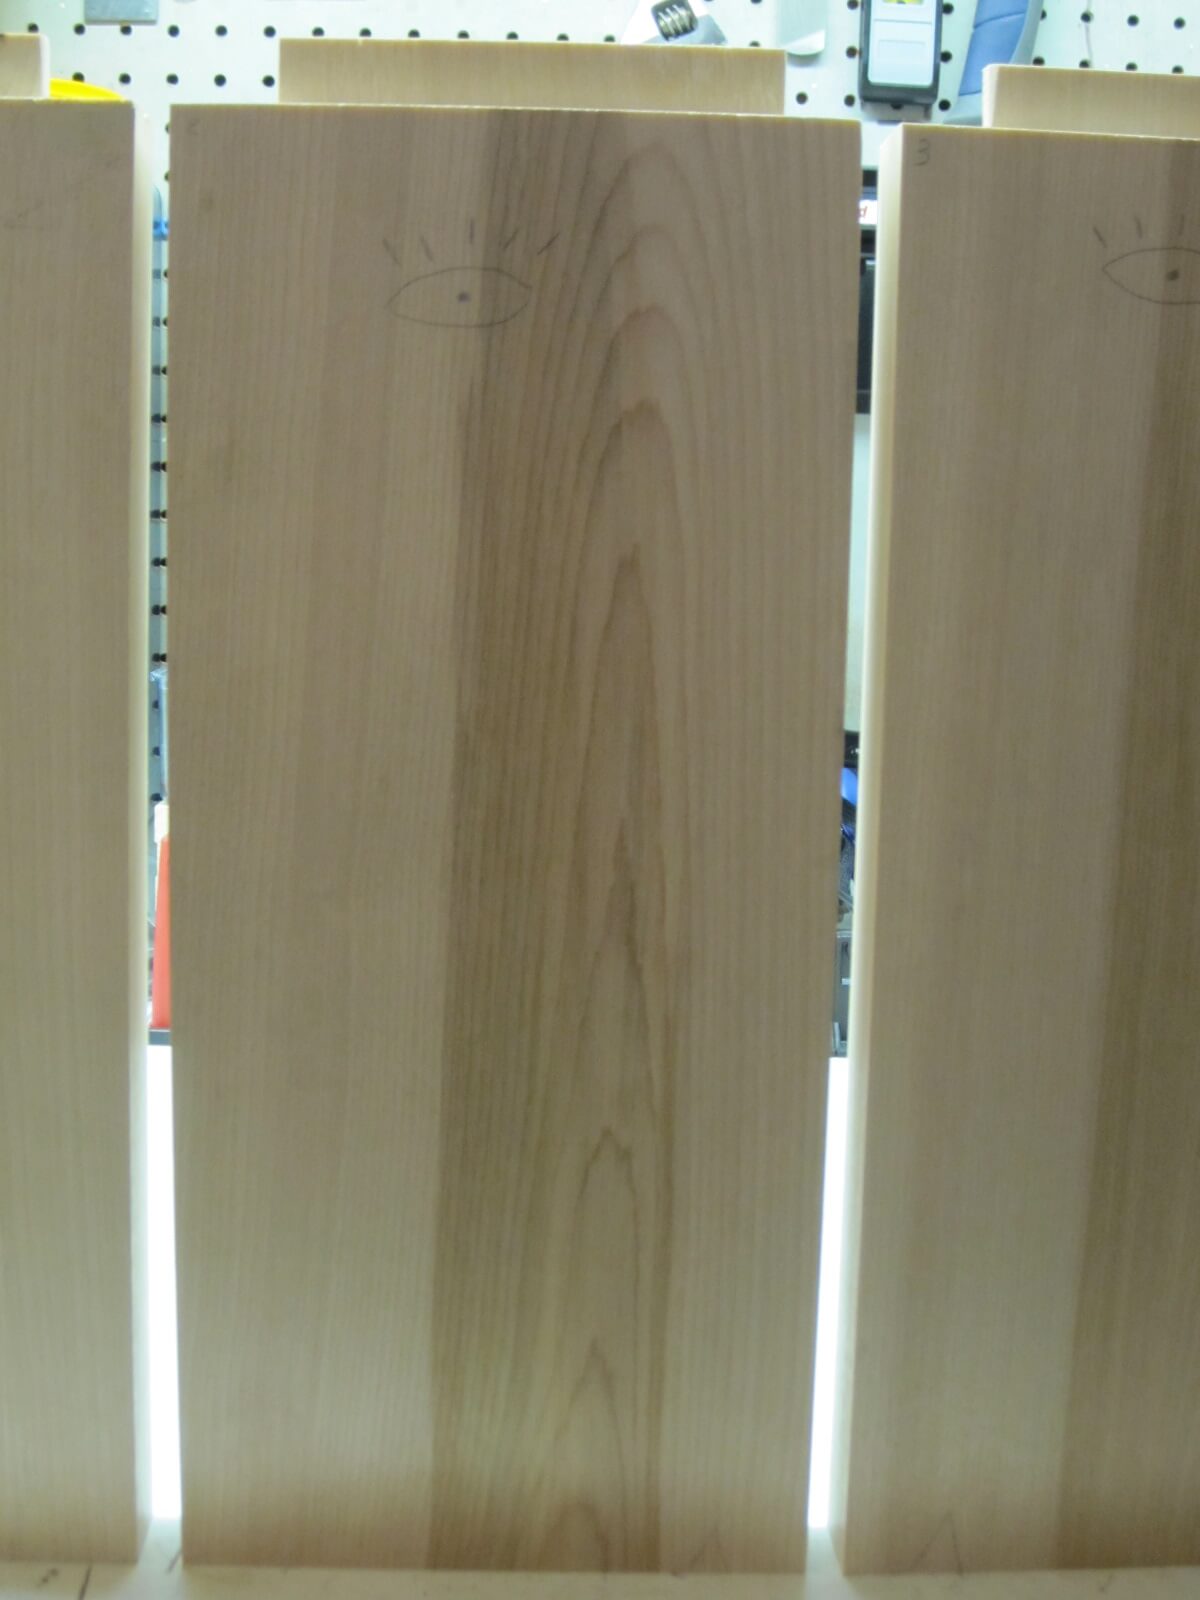
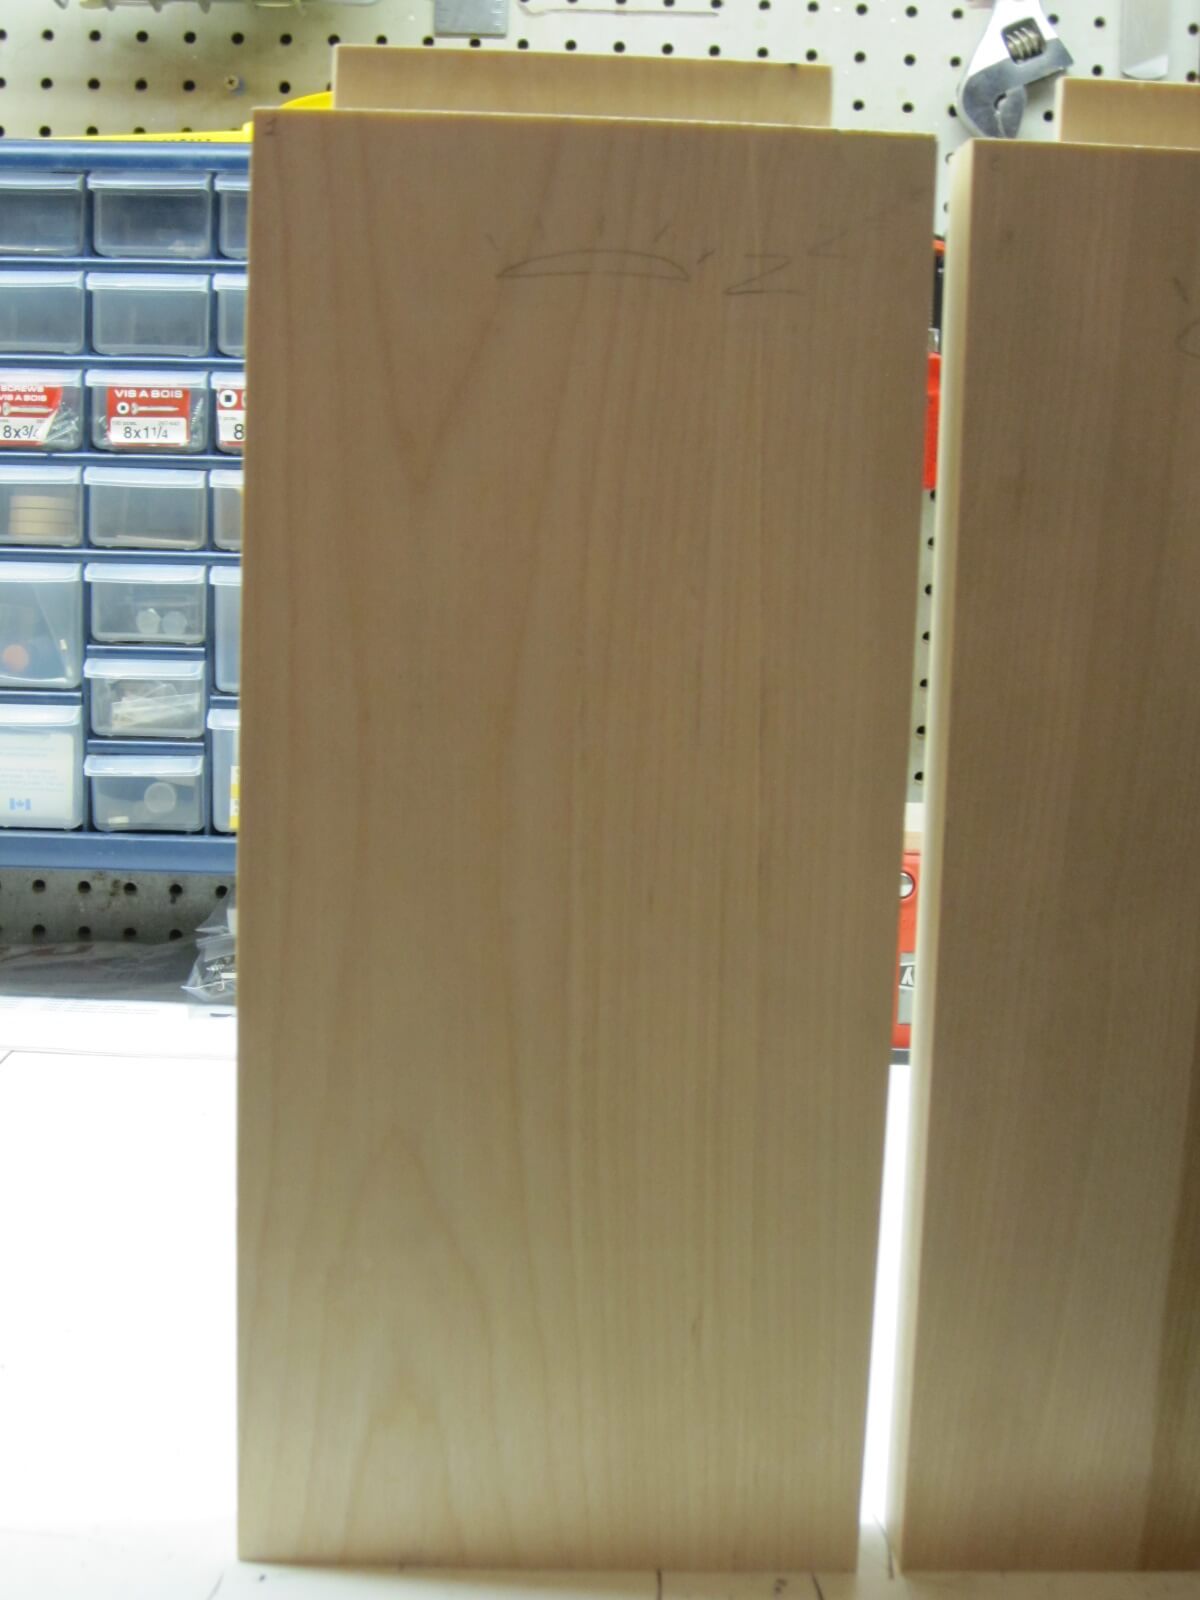
The boards will be assembled by alternating the orientation of the growth rings to counter the work of the wood which, let’s not forget, is a living material.
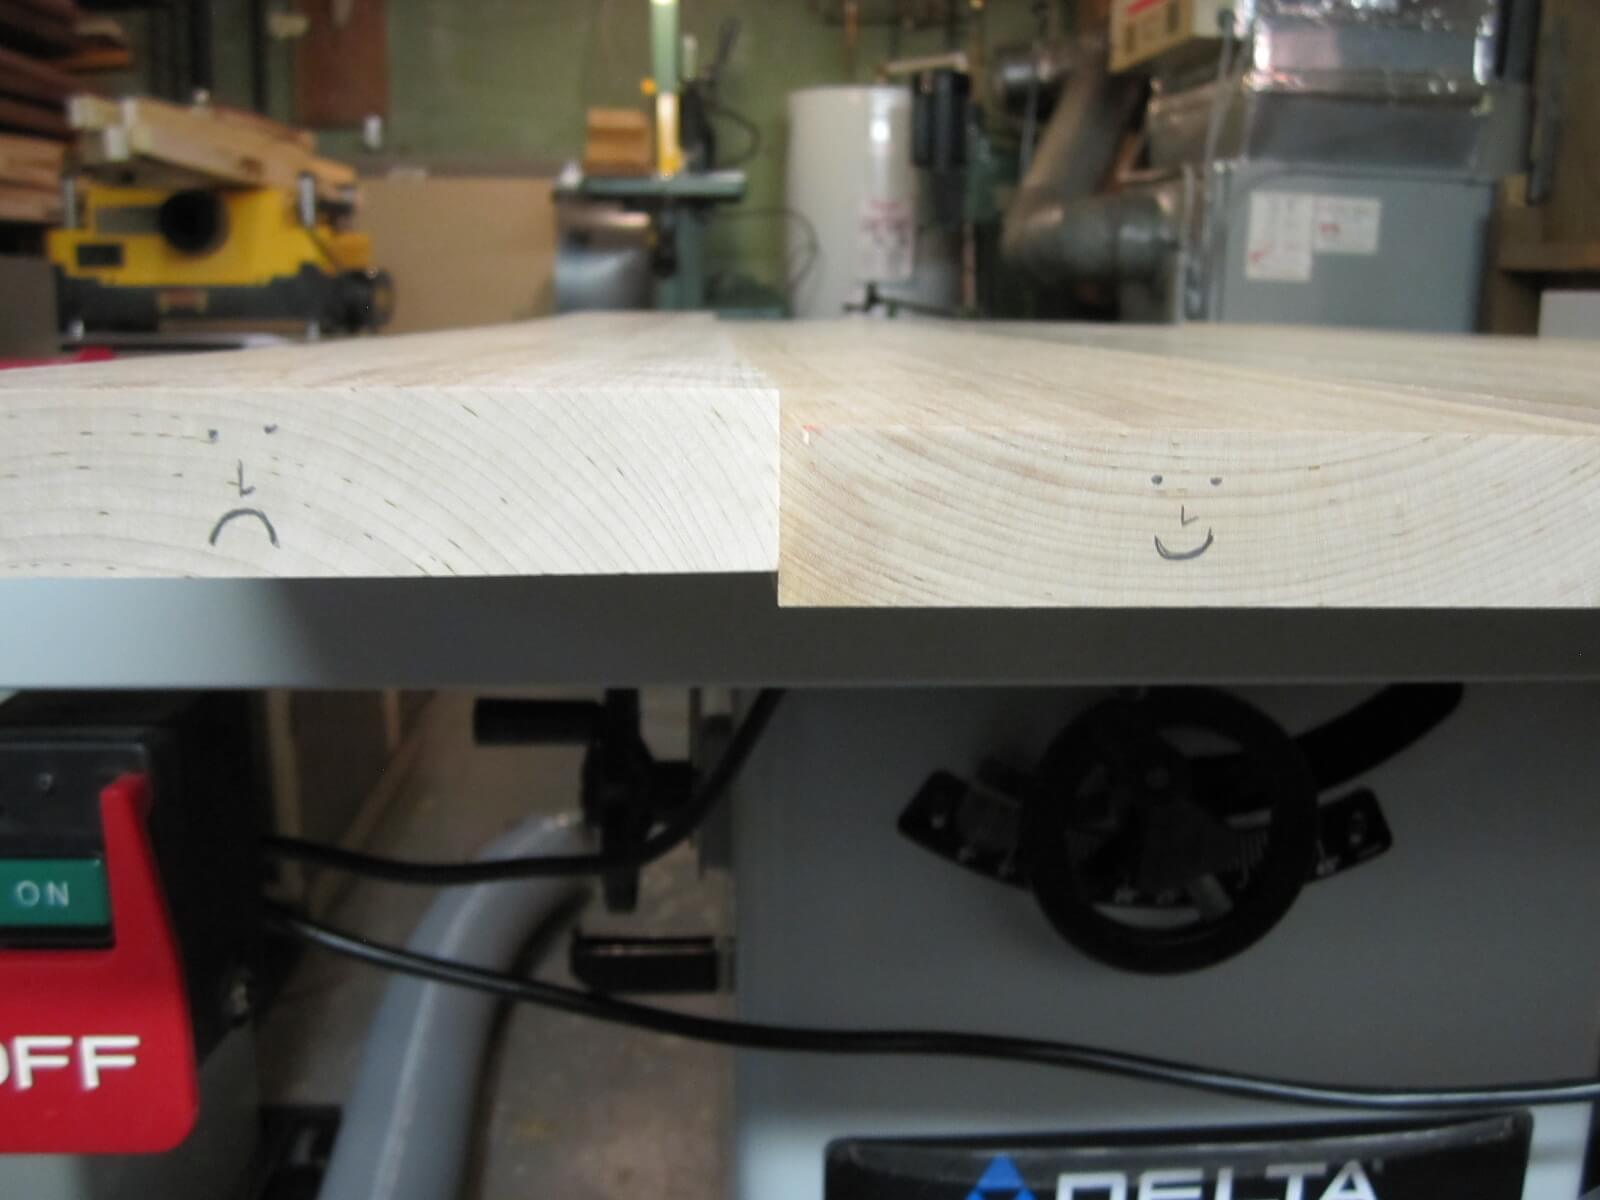
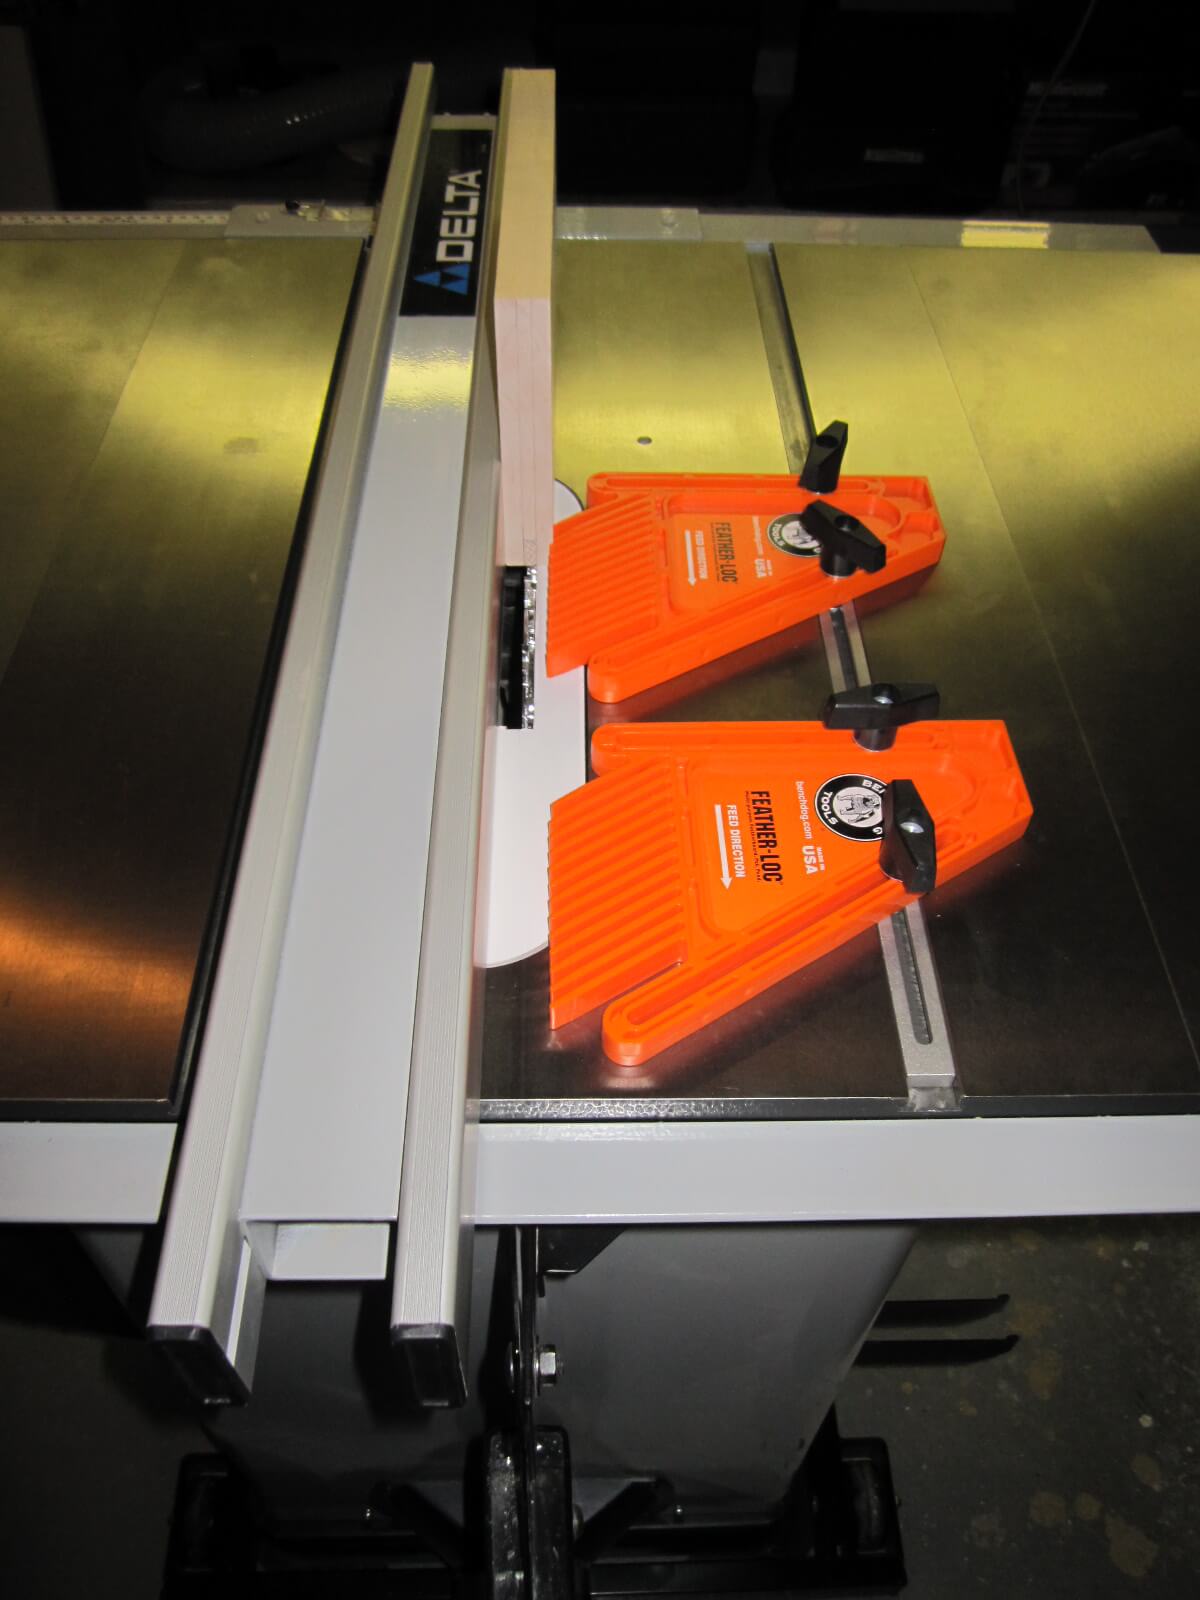
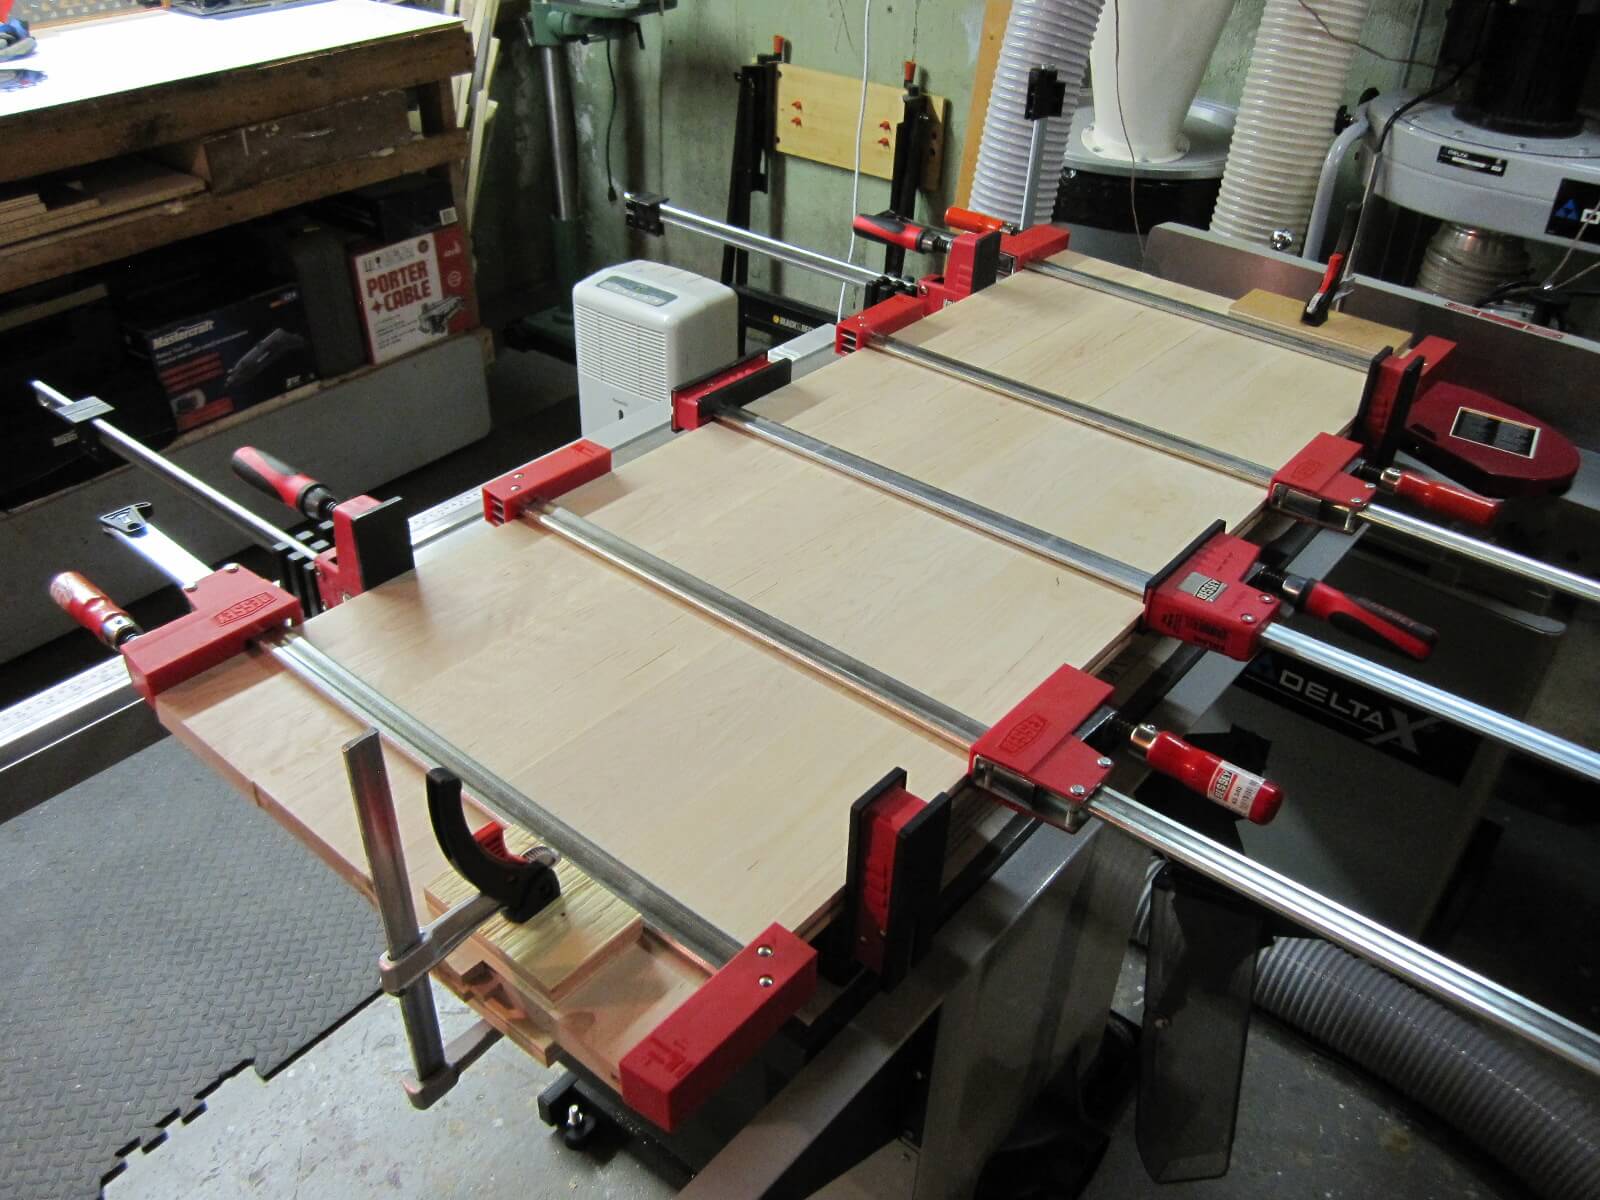
For the assembly of the table top, I will use the grooves and the tongues. I will make the tabs in 1/4″ MDF and grooves on the saw bench with a grooving blade.
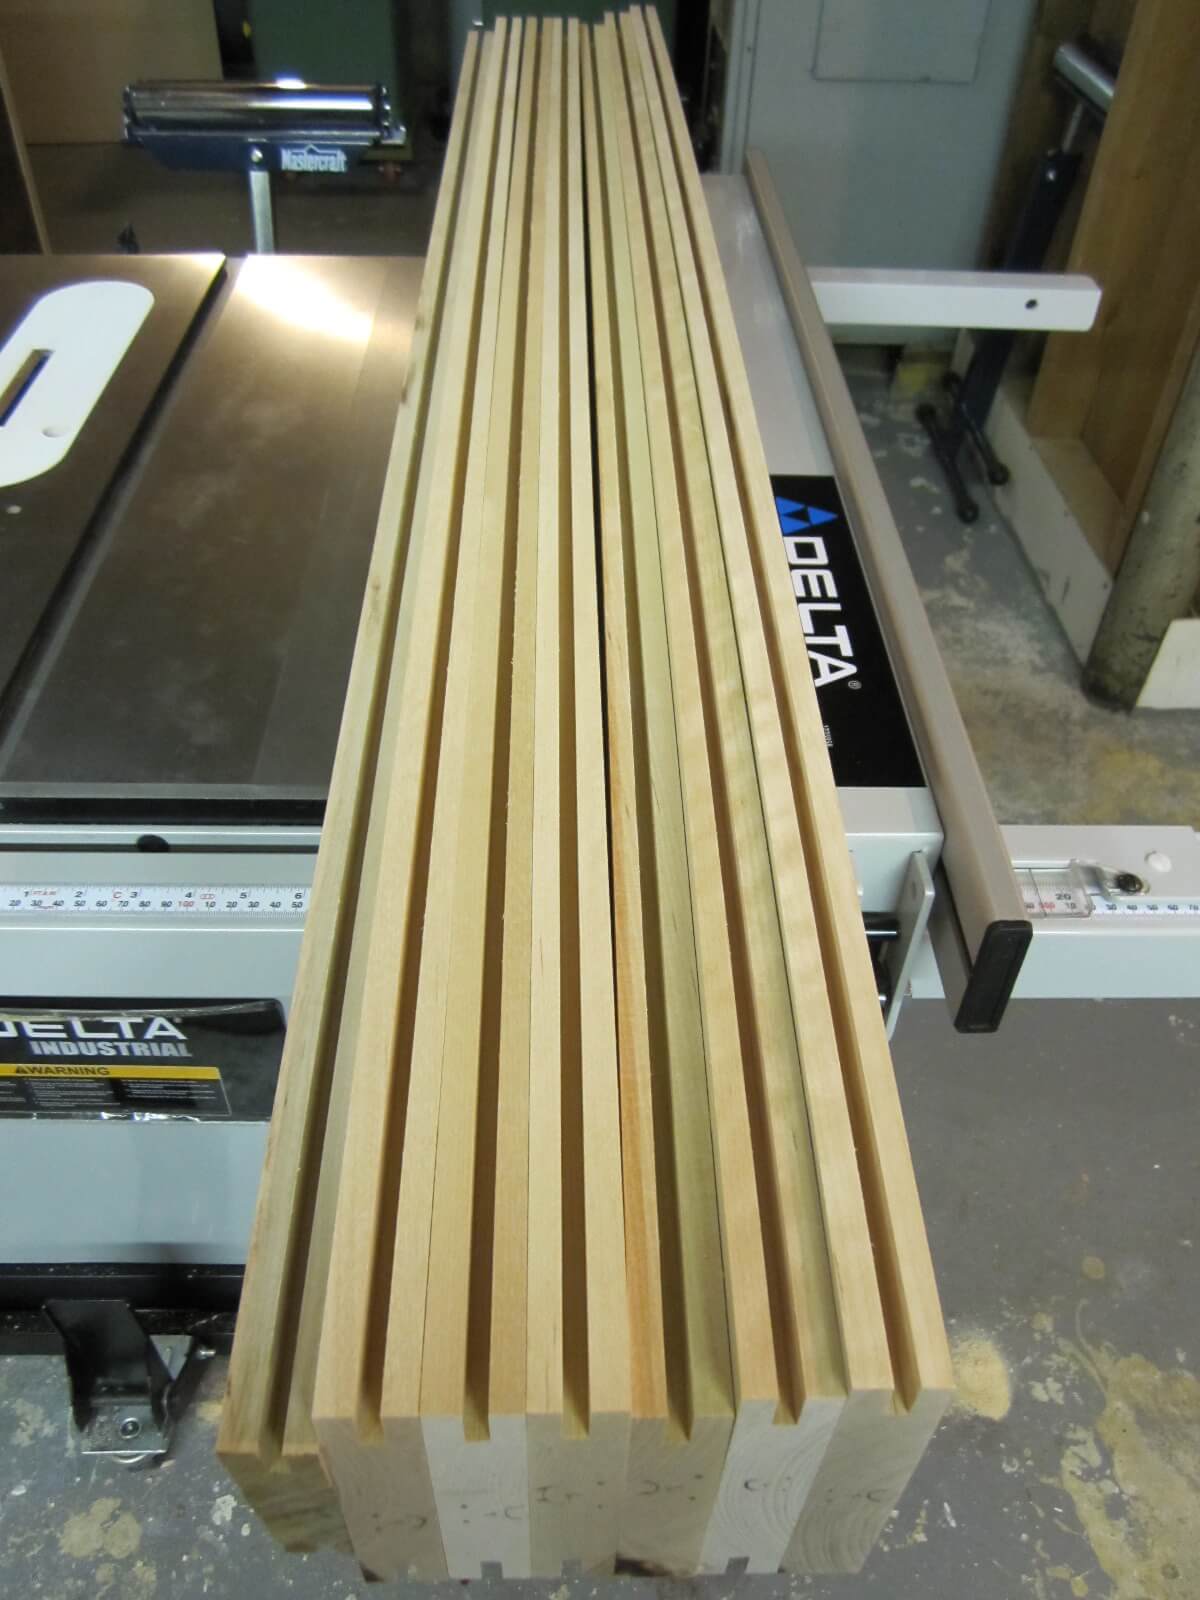
The boards will be assembled by alternating the orientation of the growth rings to counter the work of the wood which, let’s not forget, is a living material.
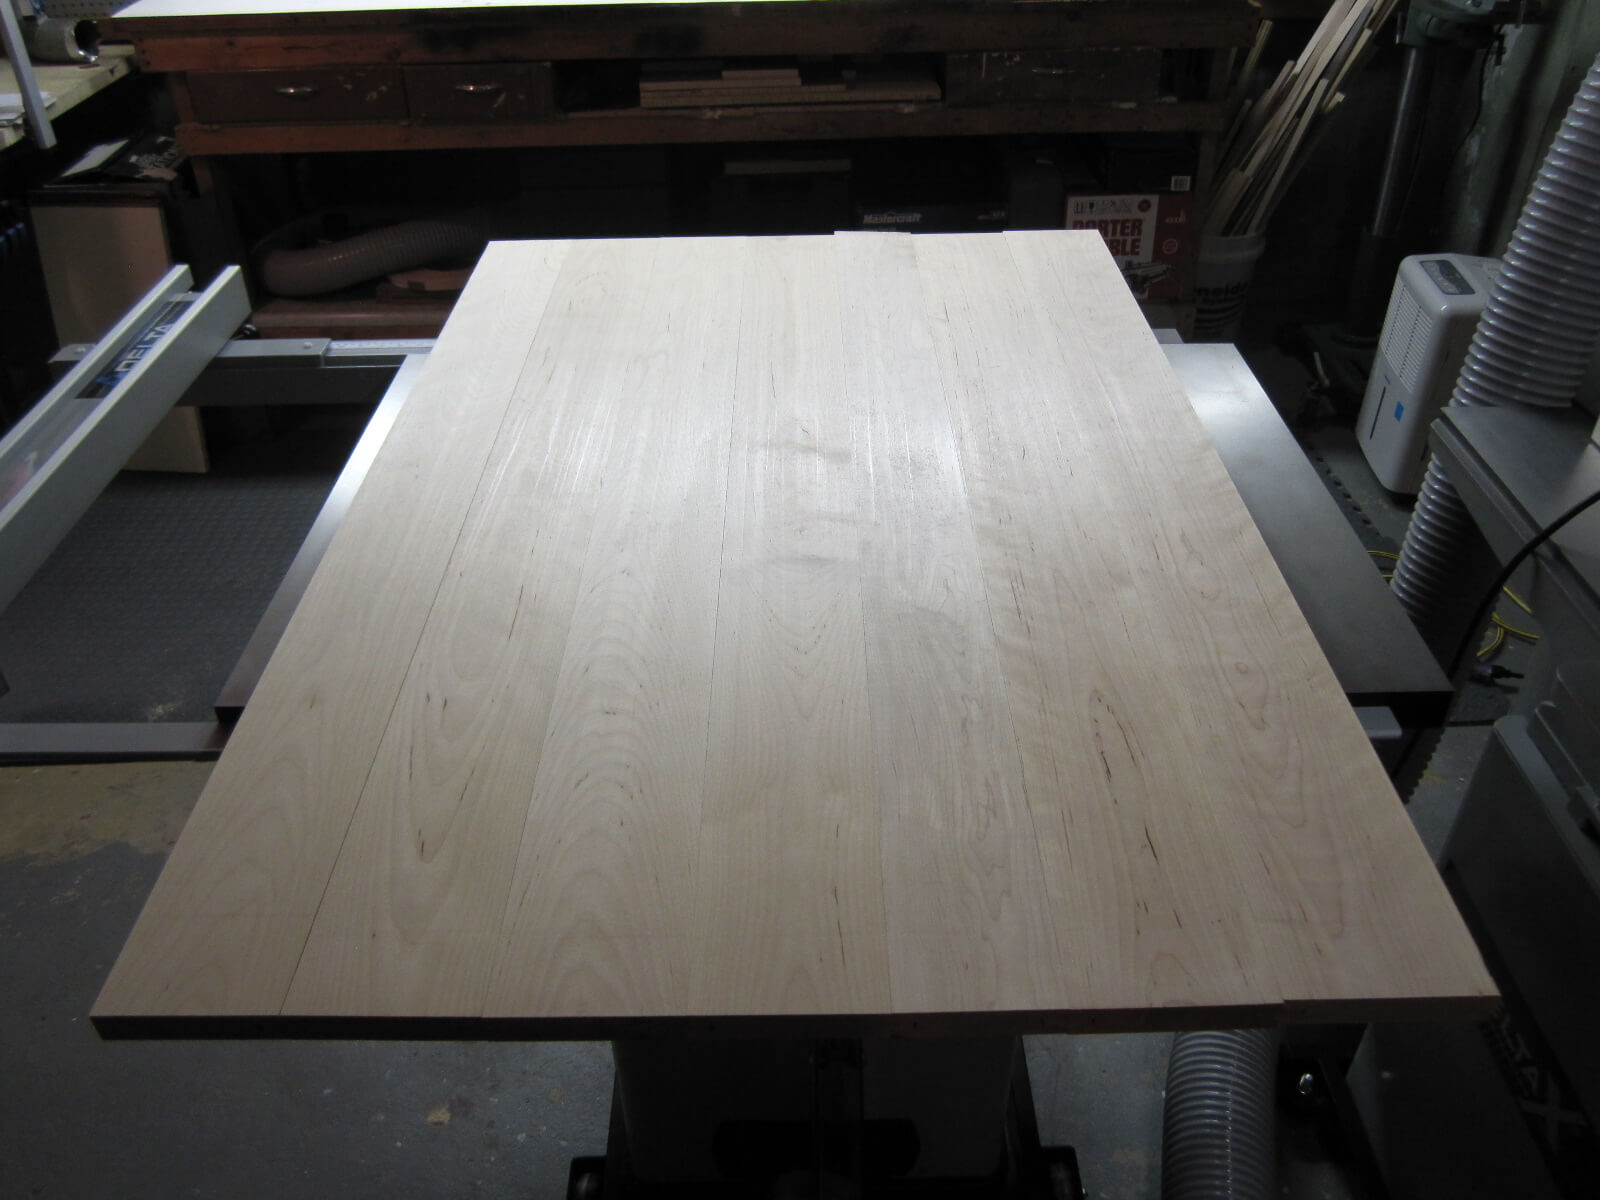
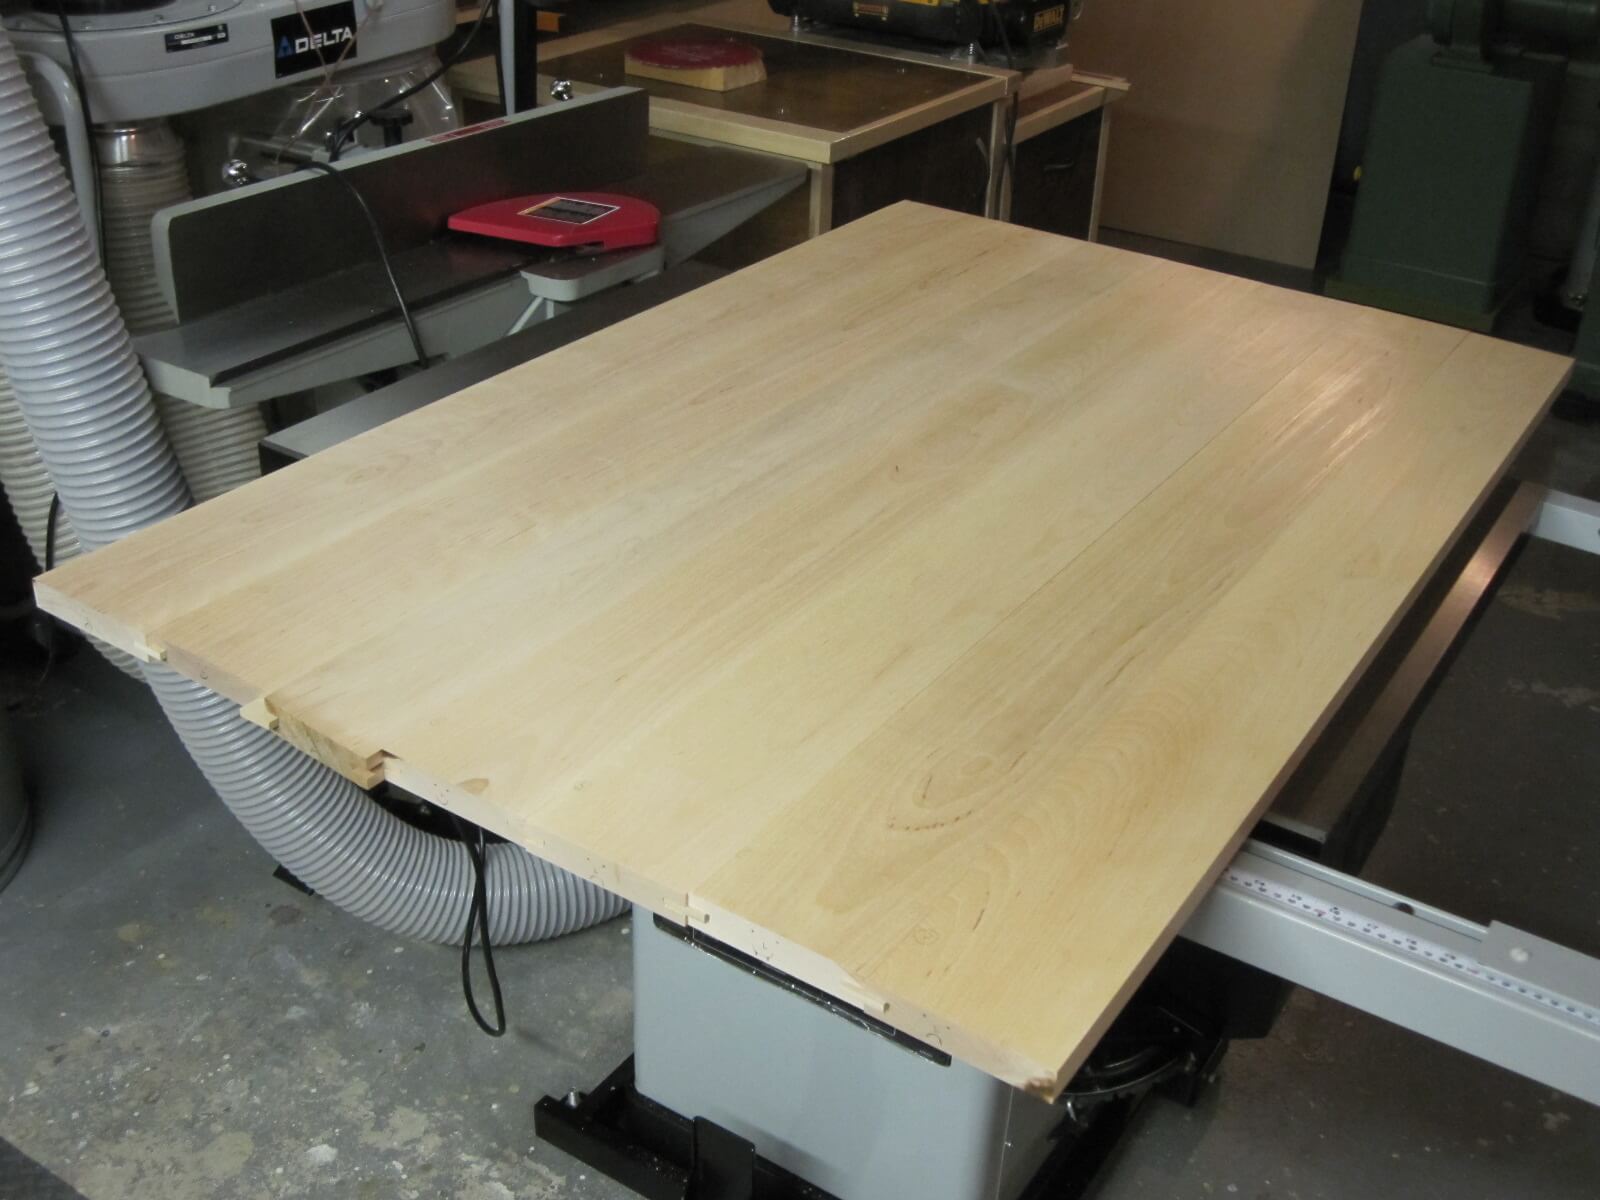
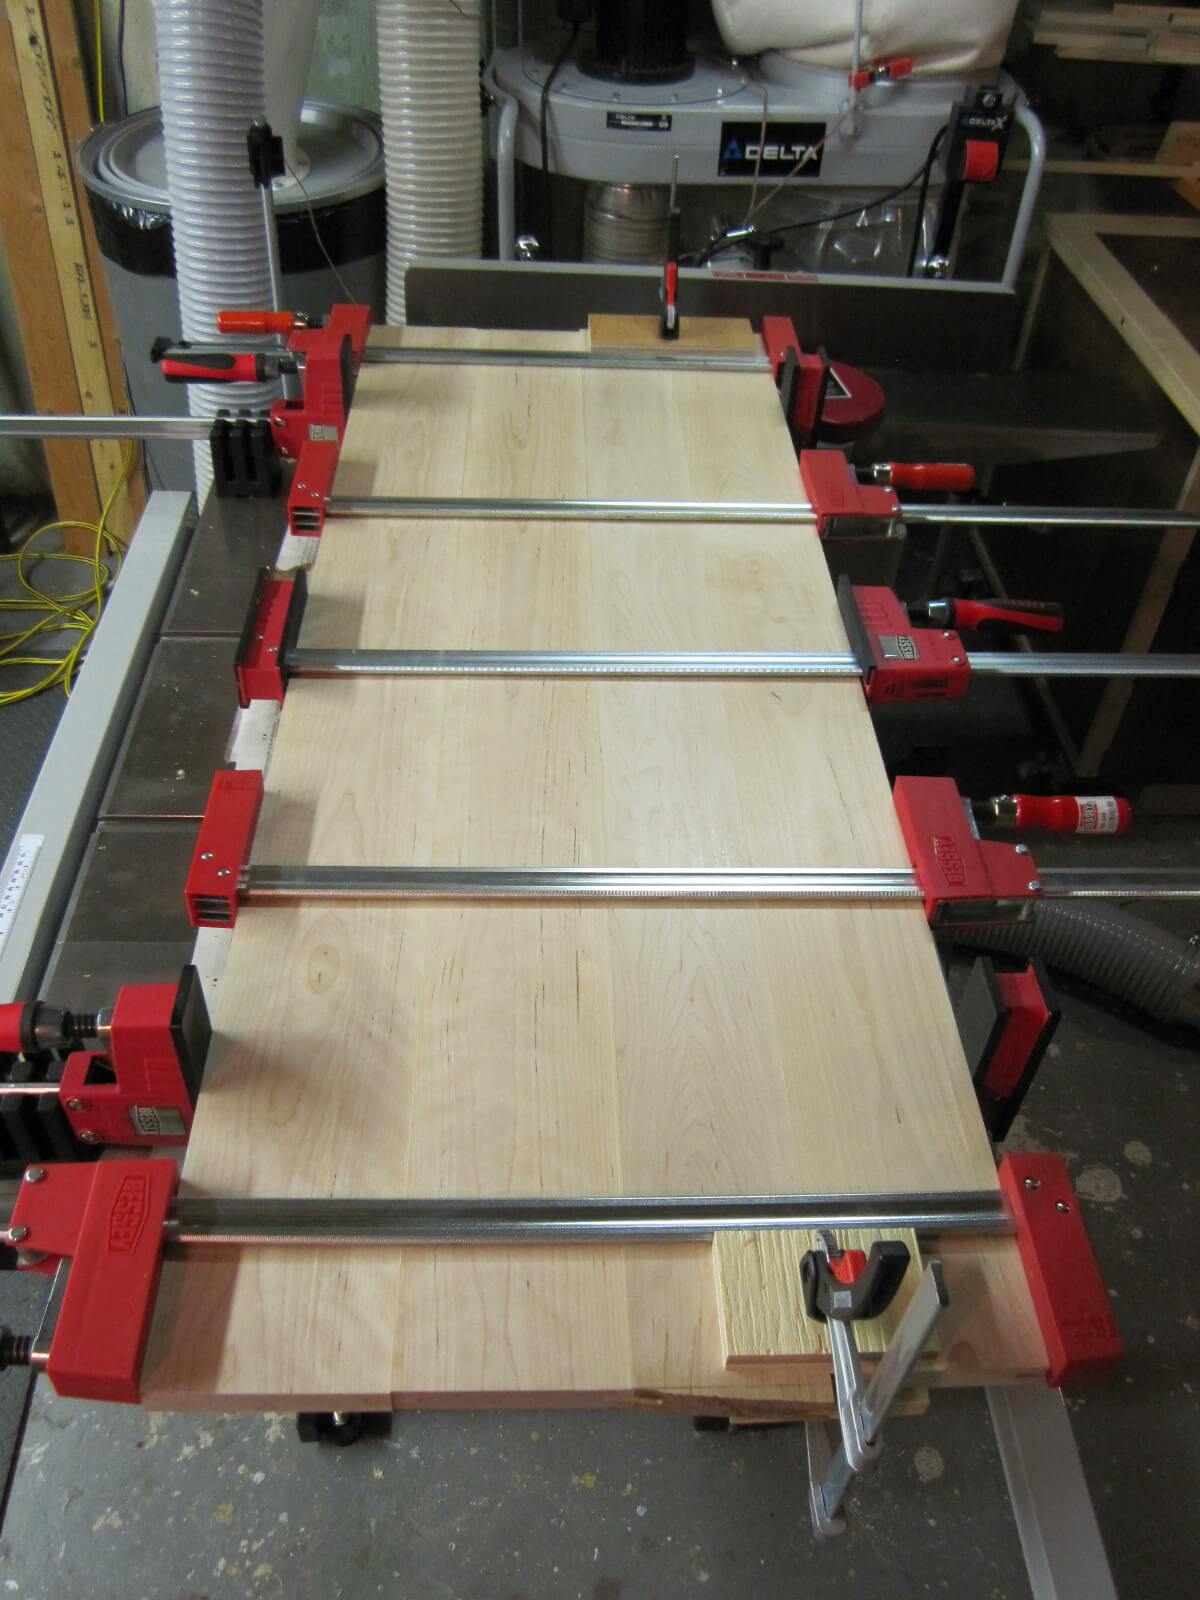
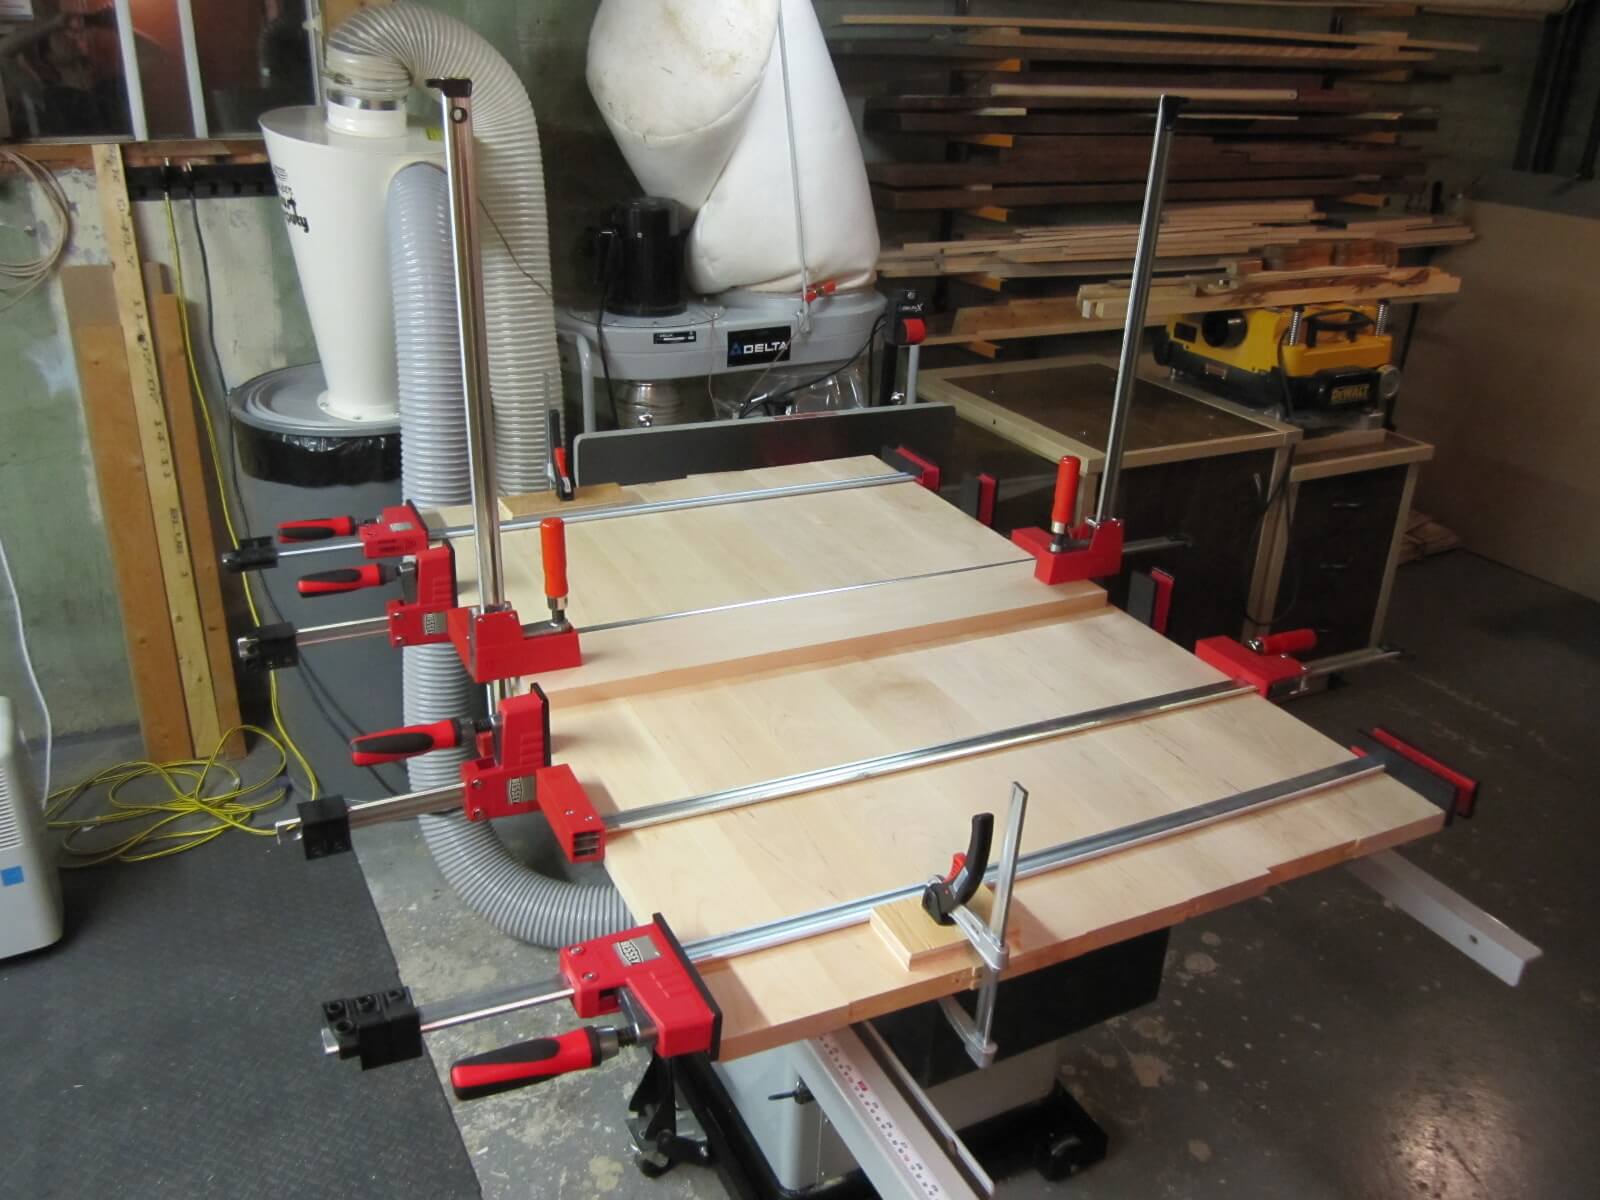
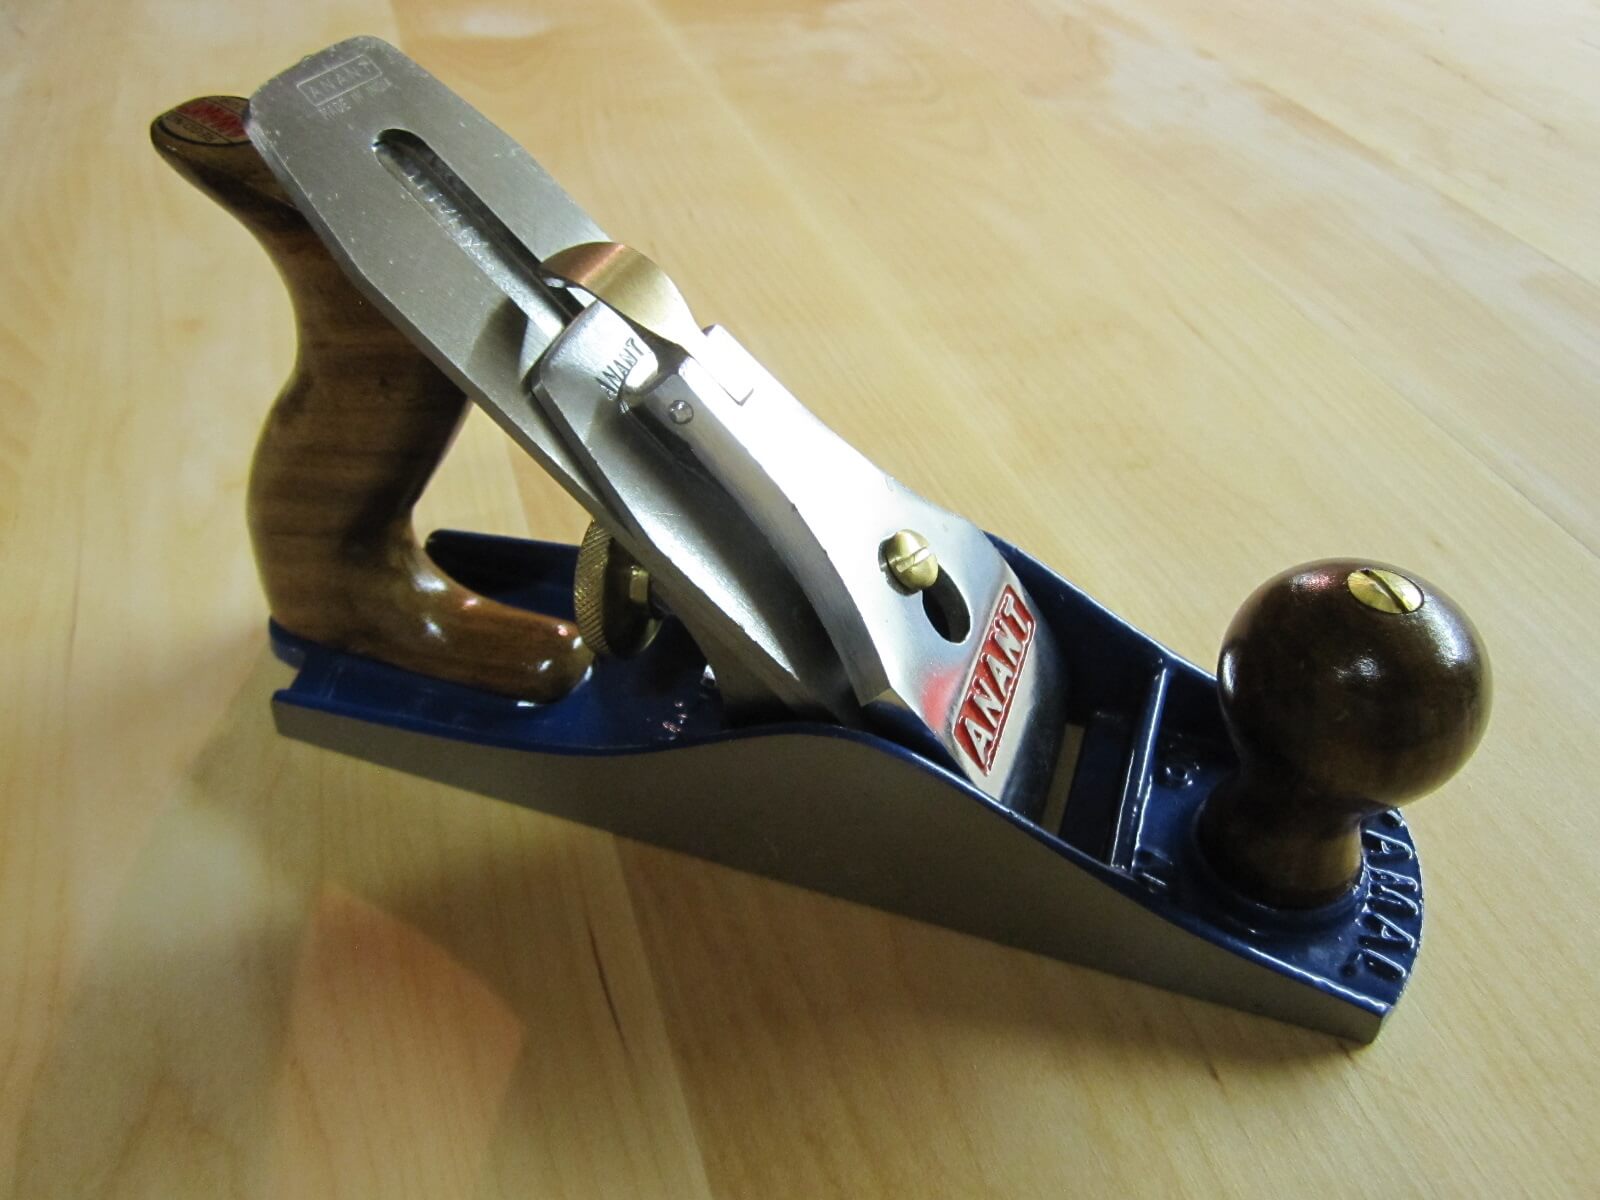
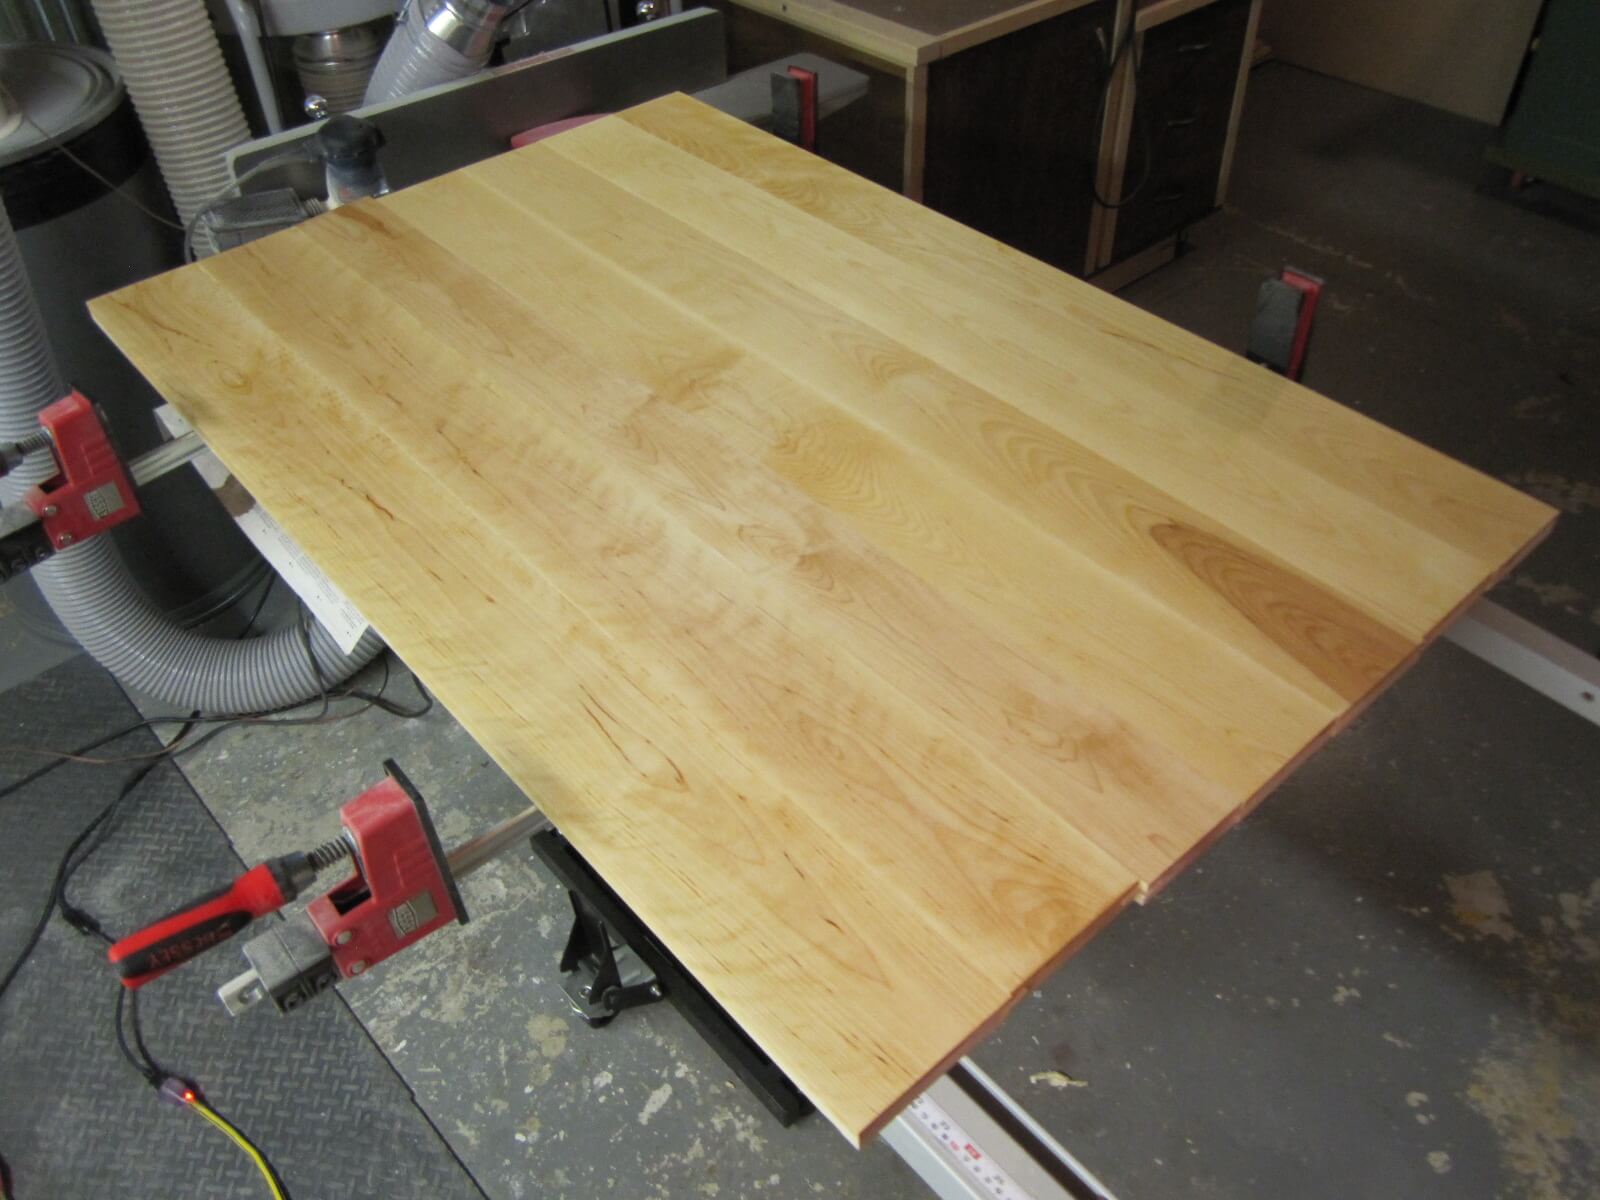
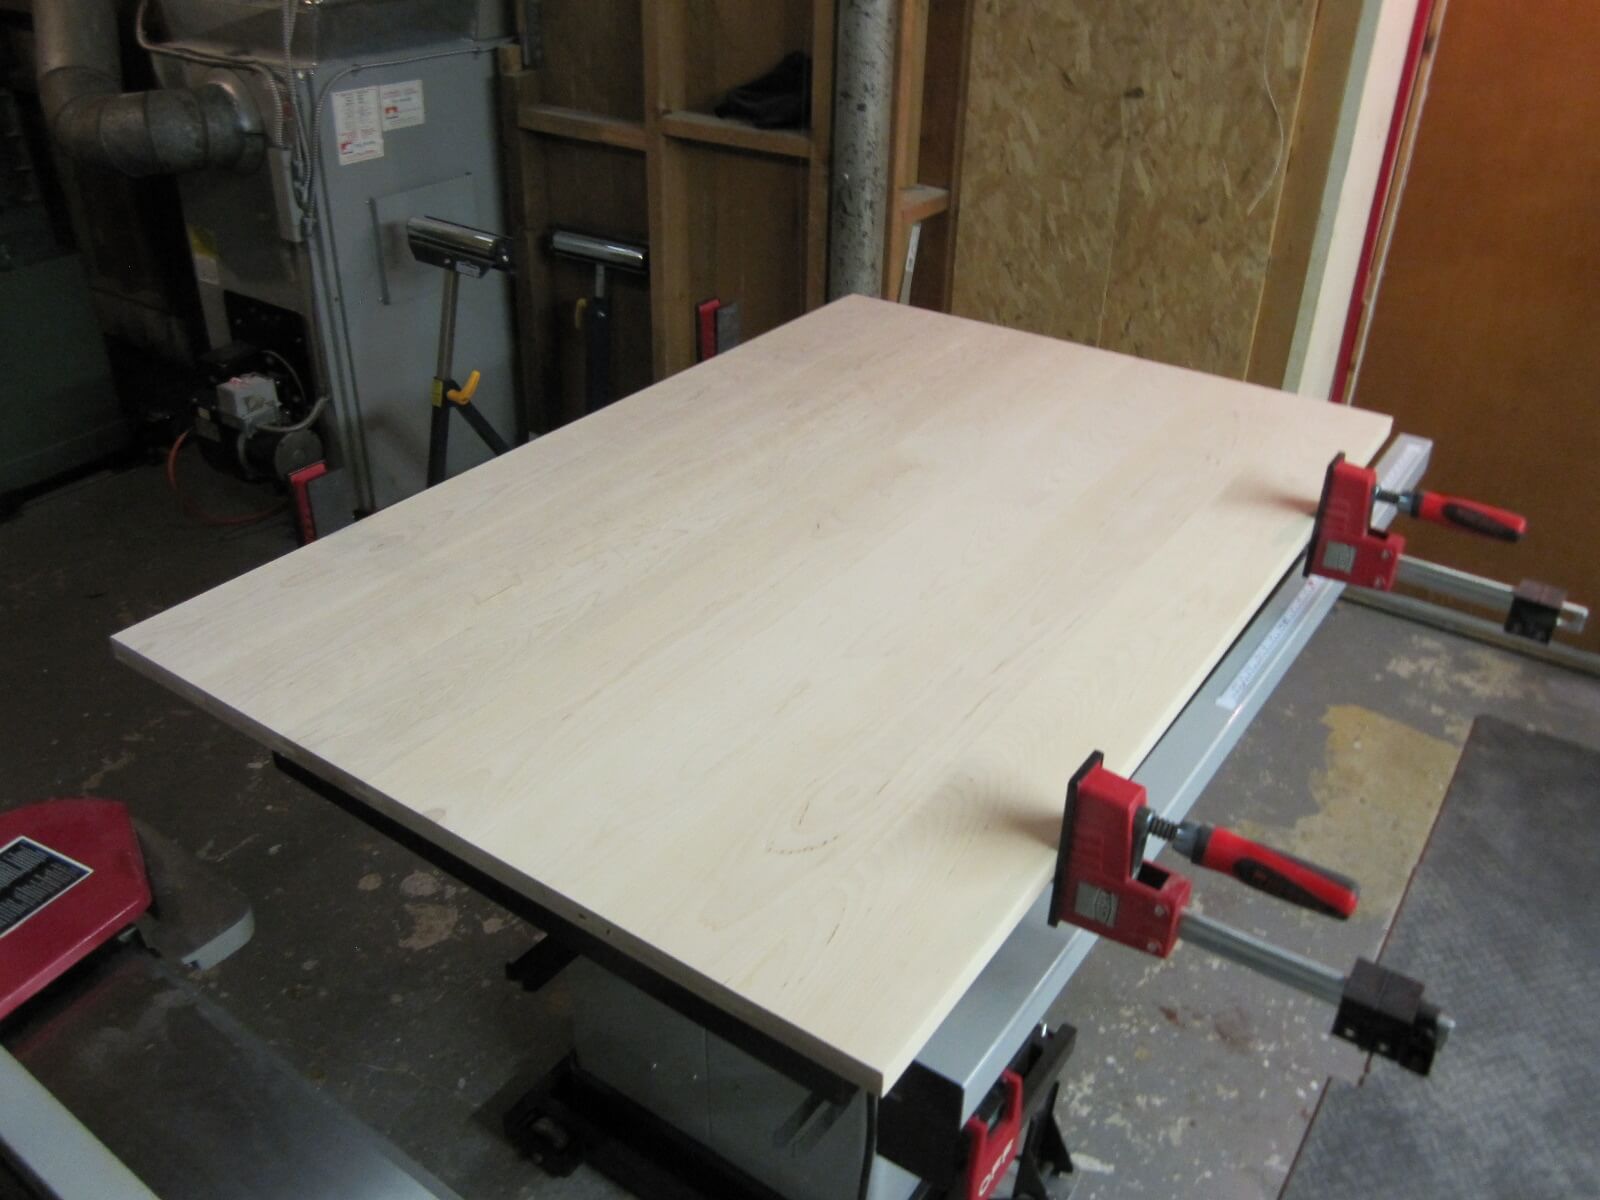
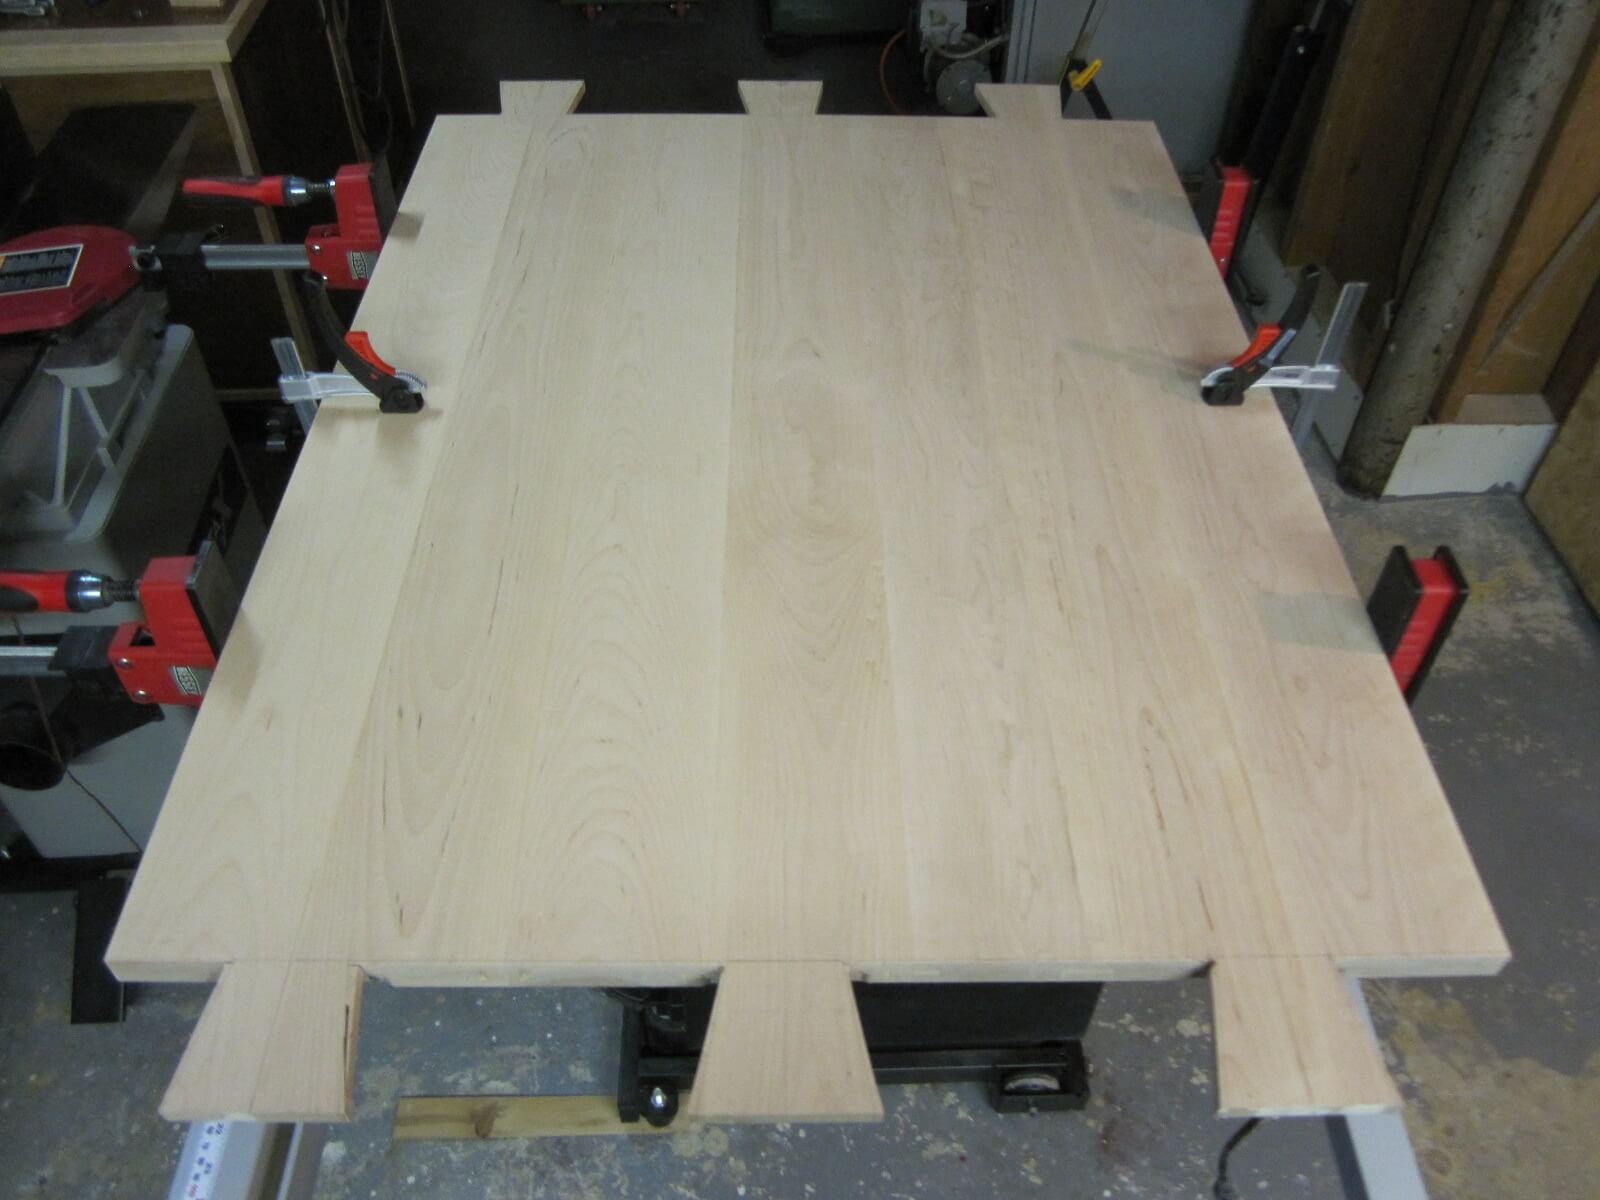
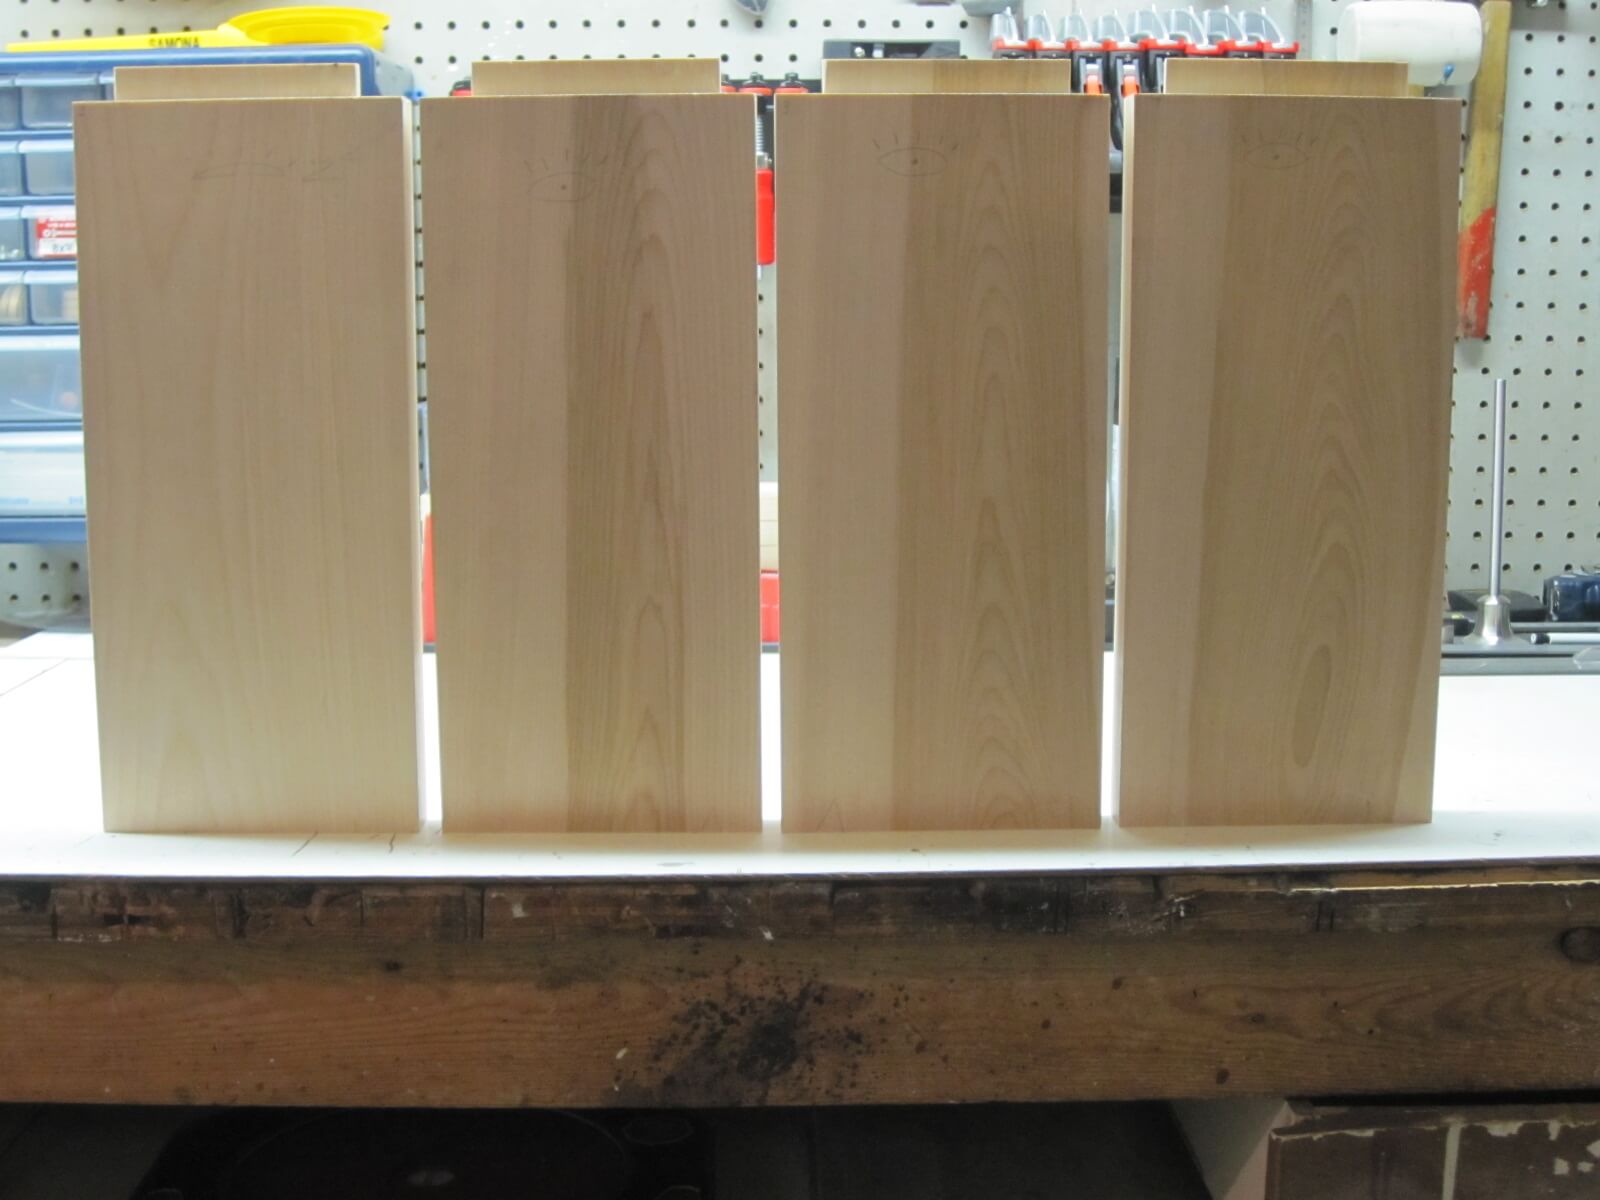
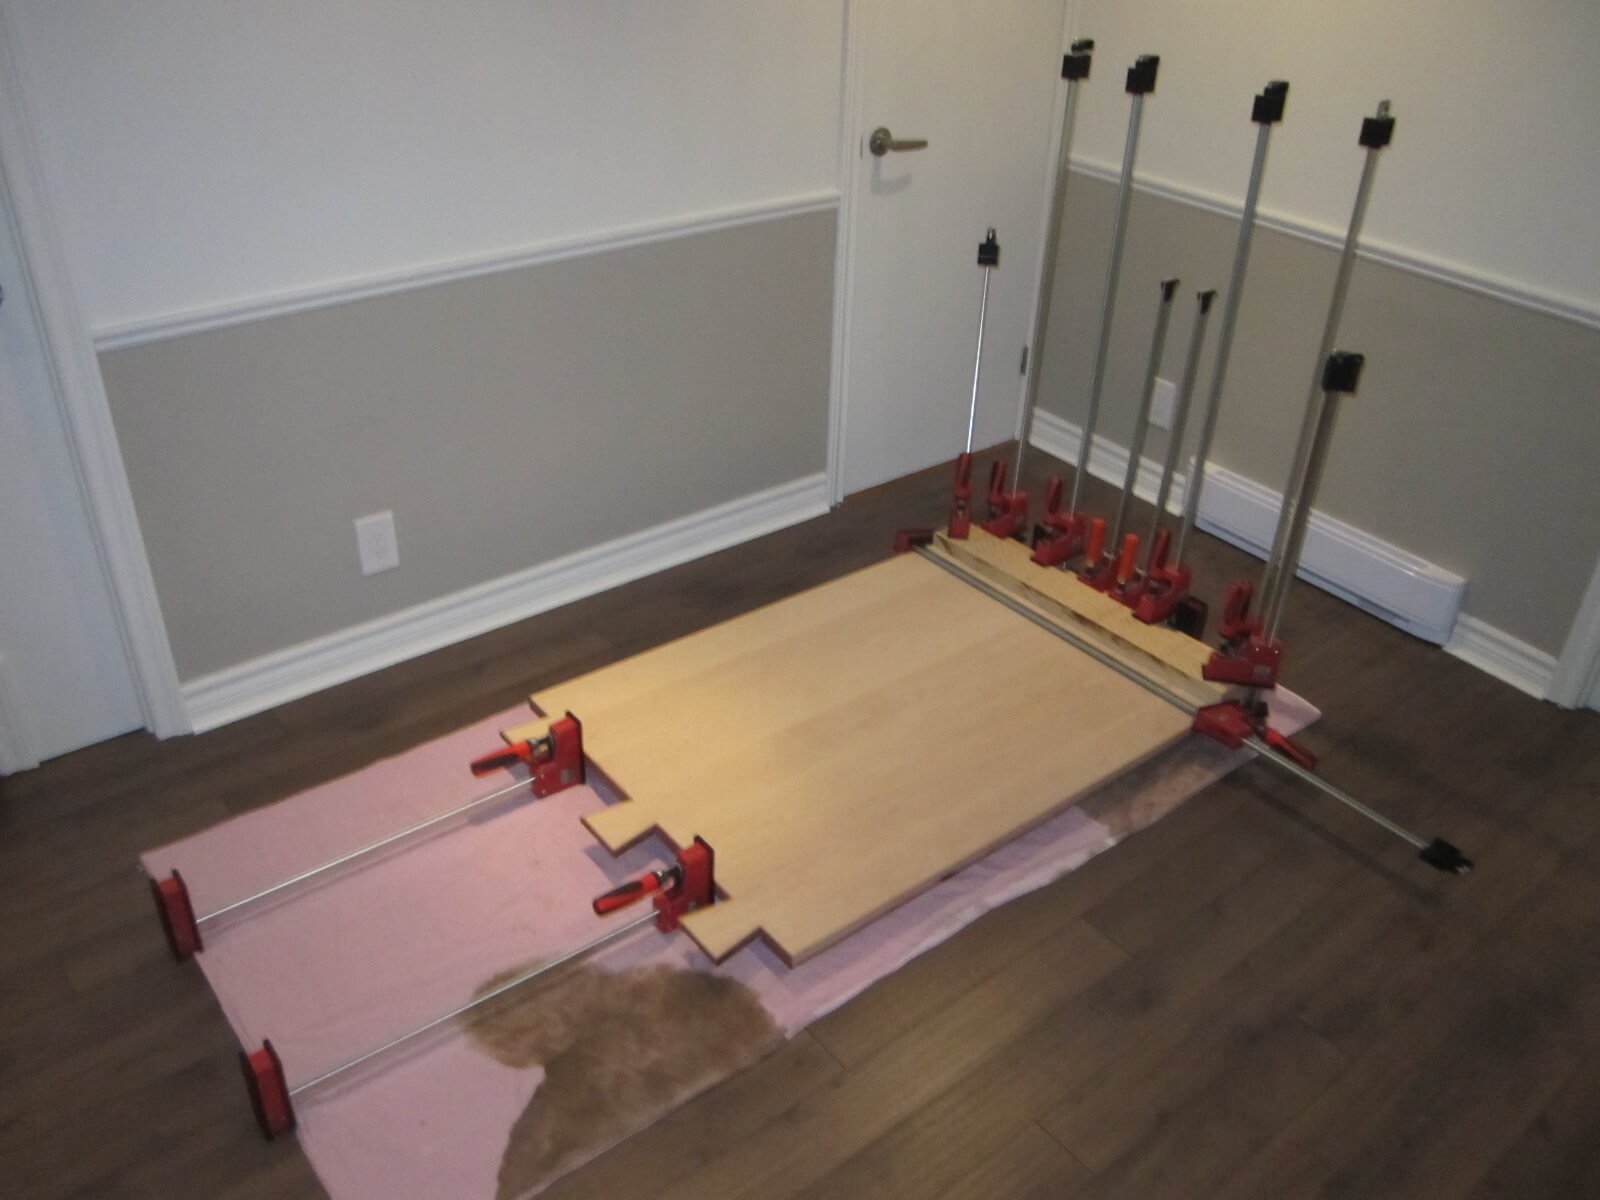
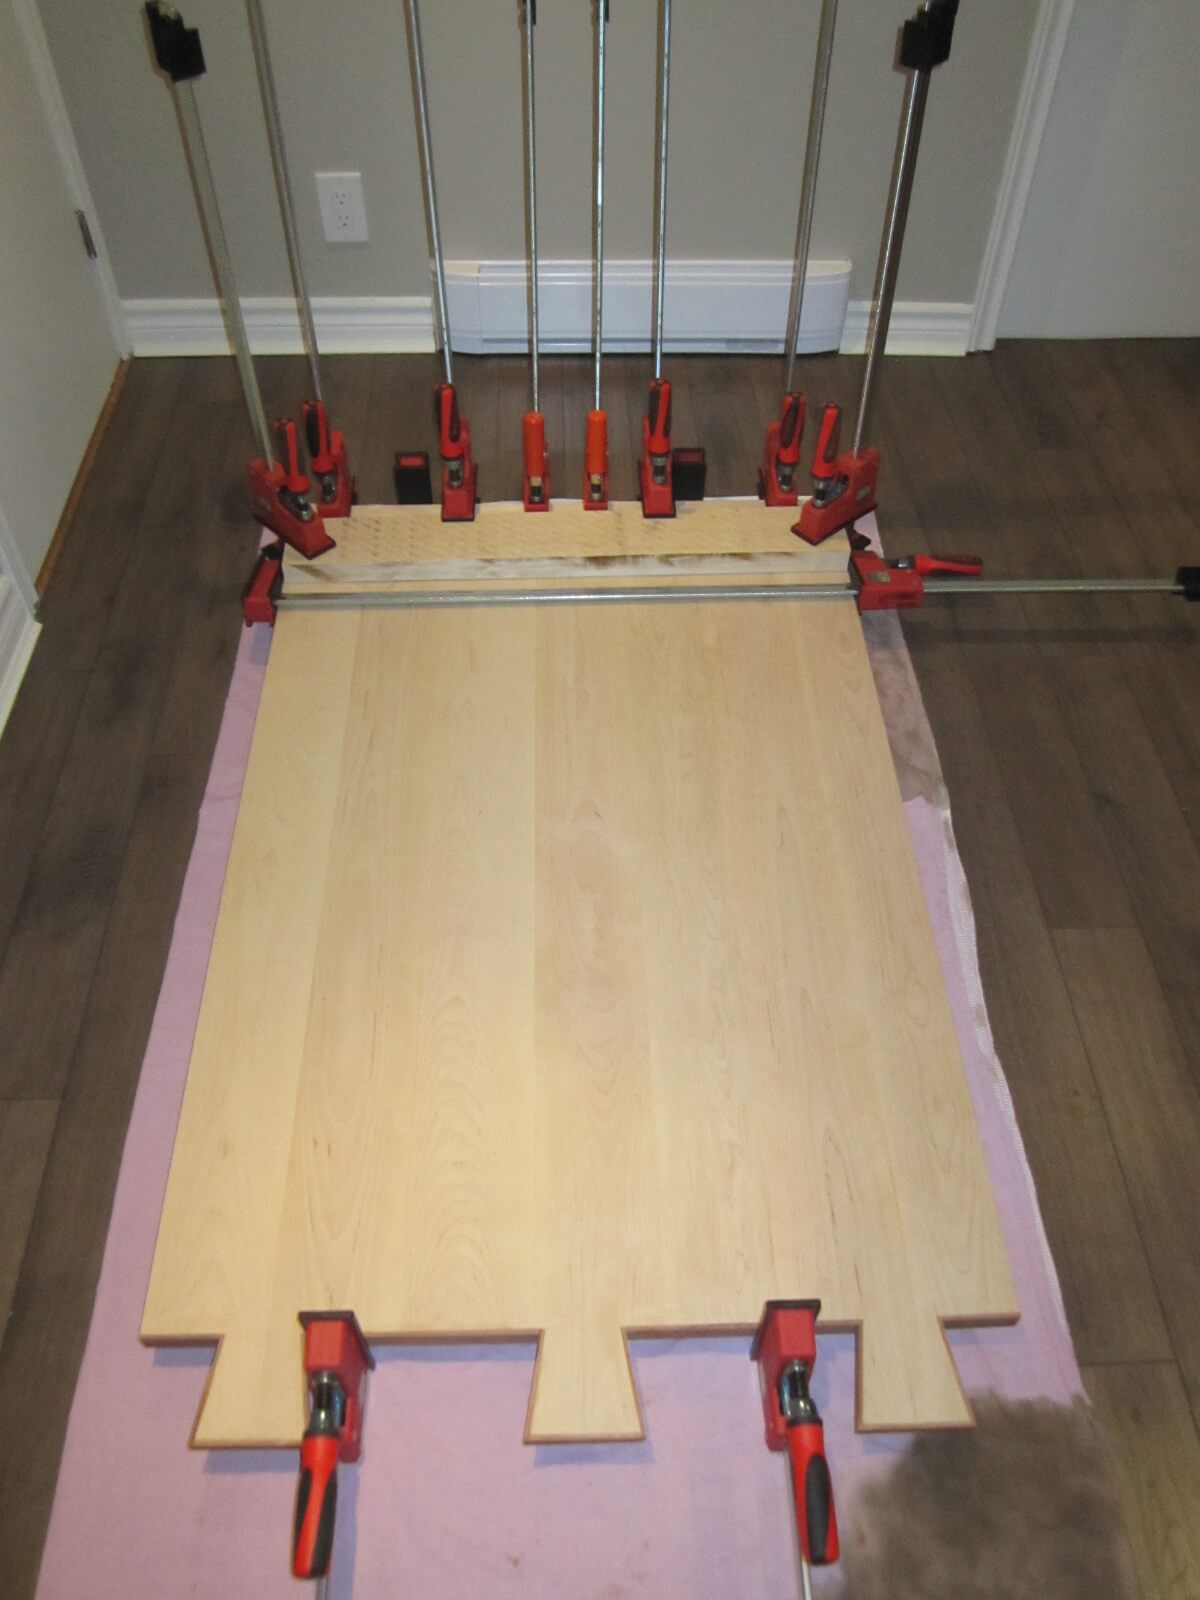
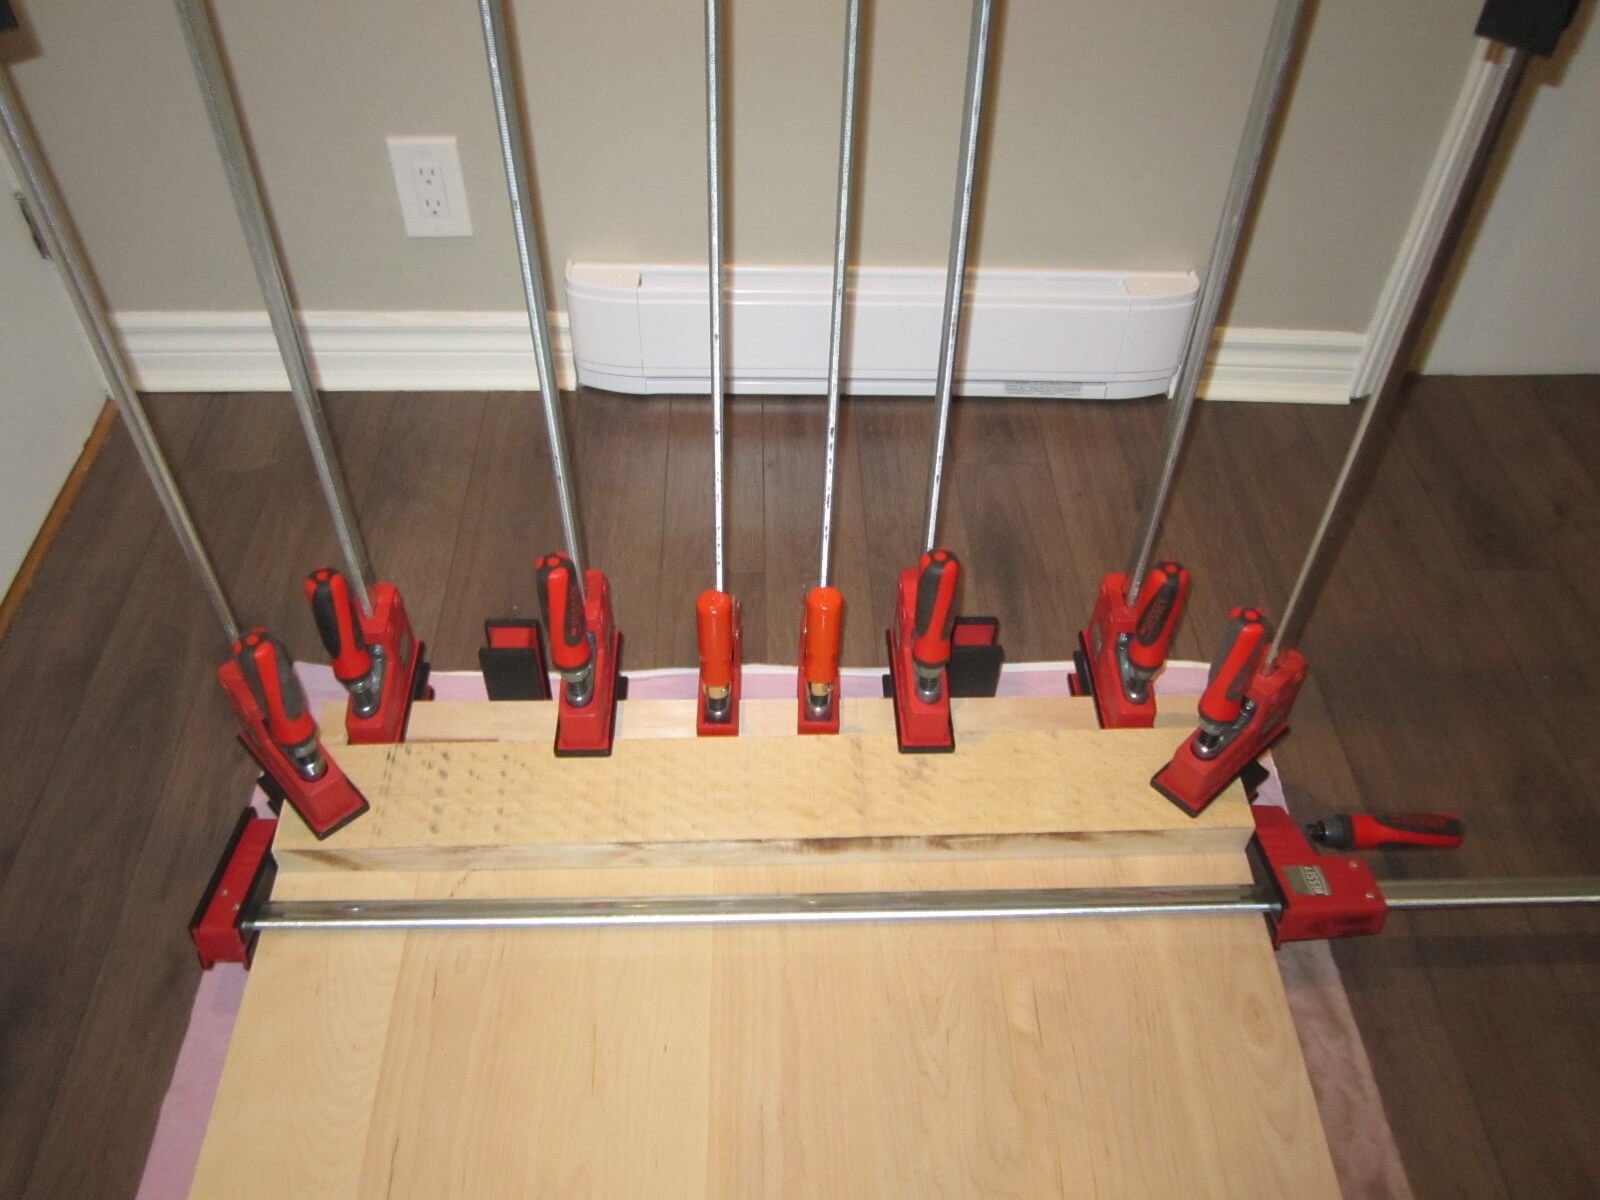
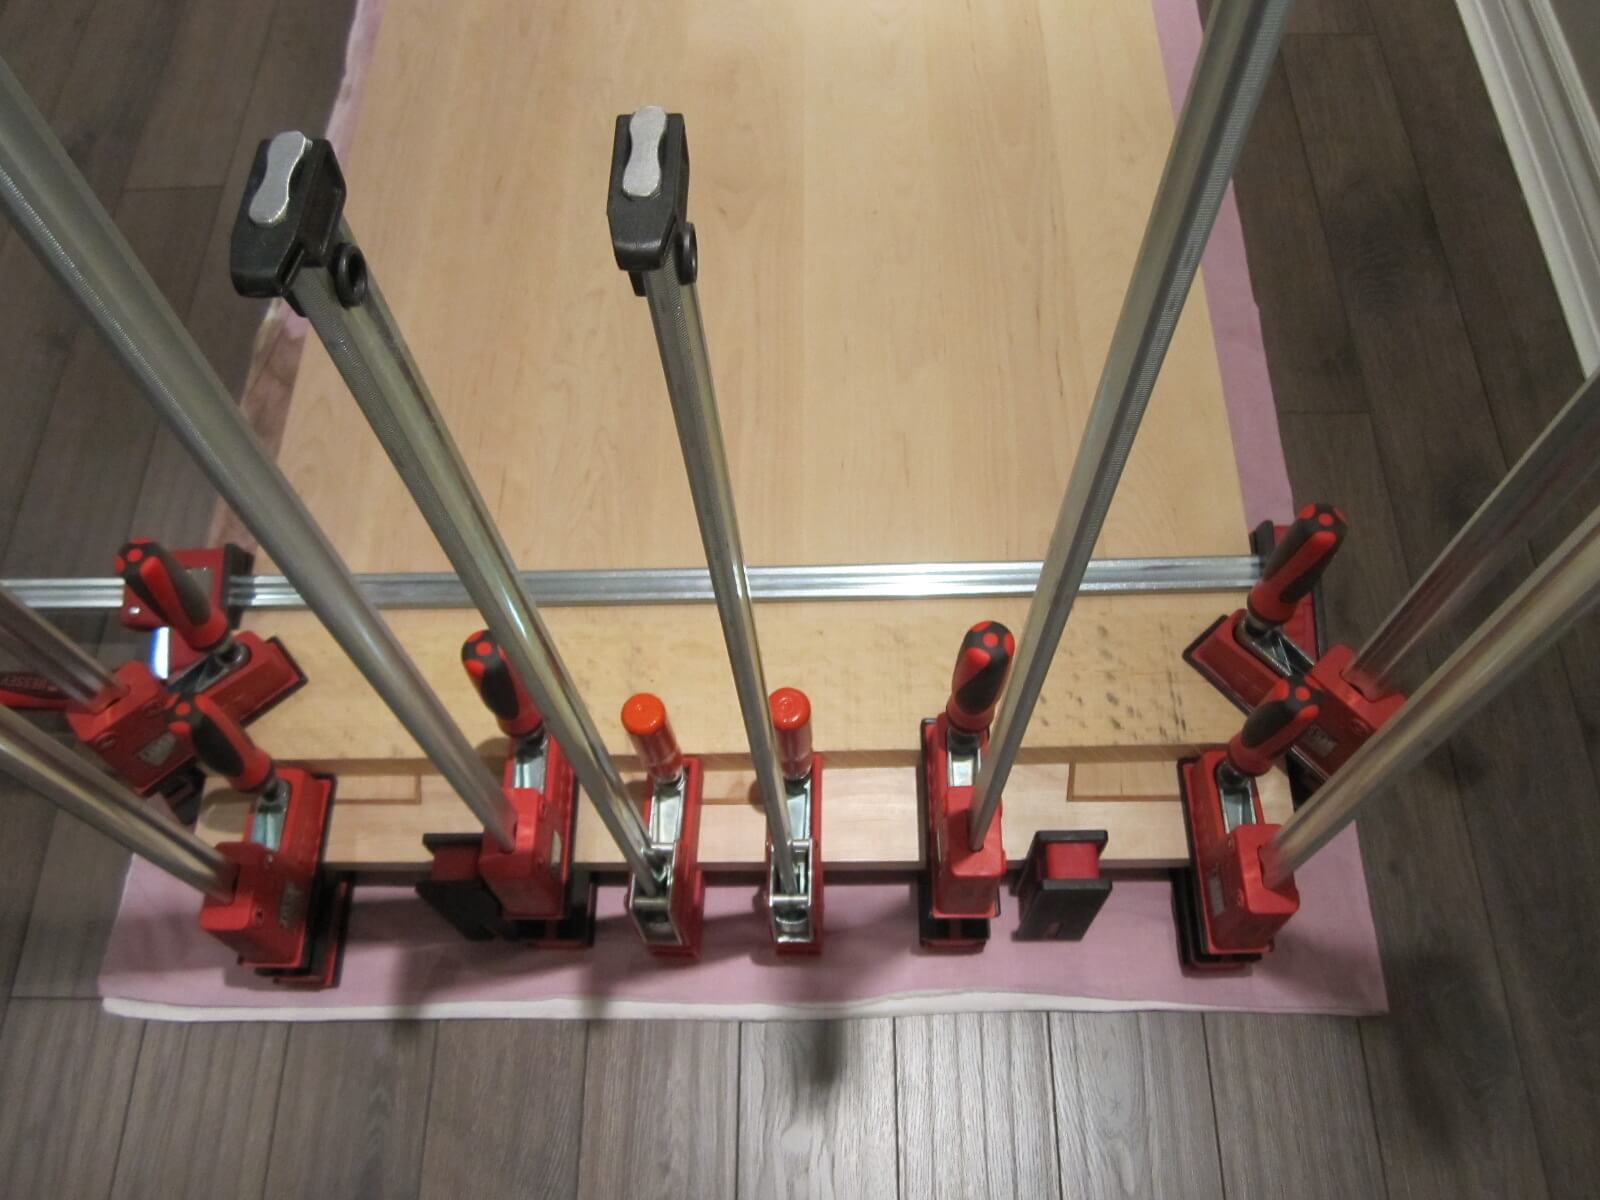
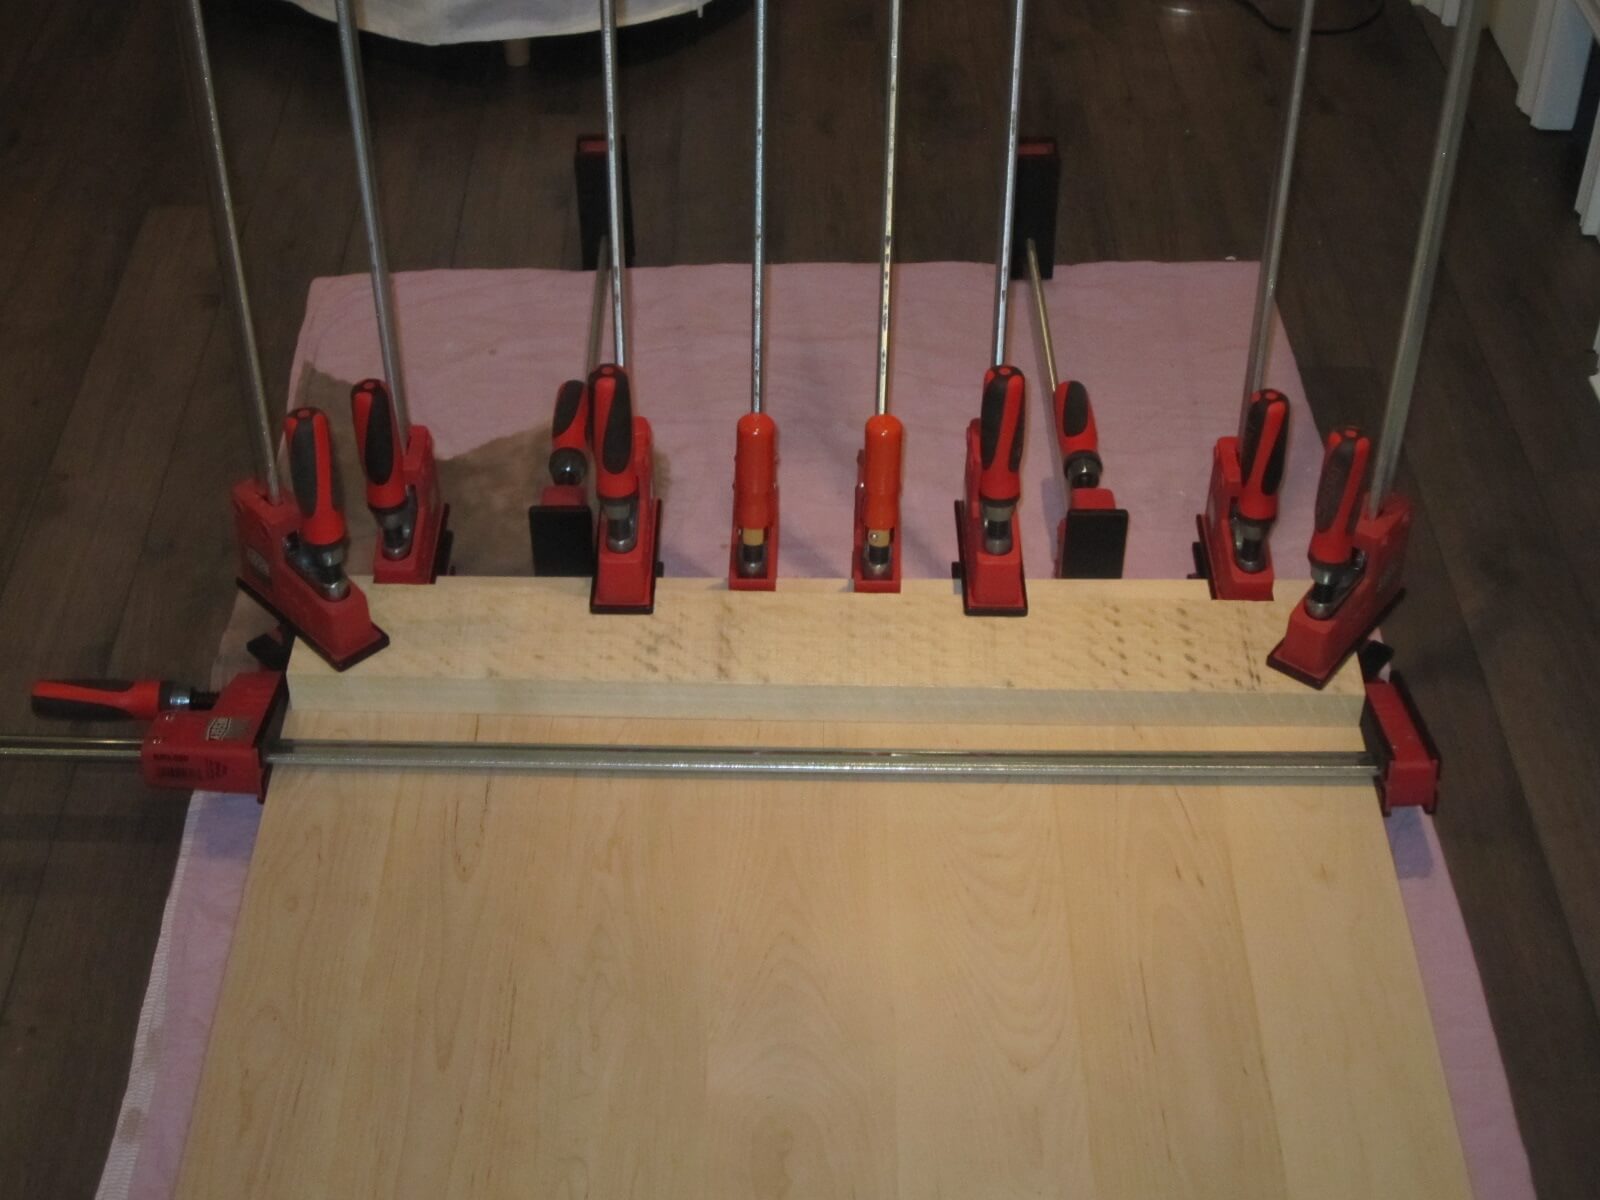
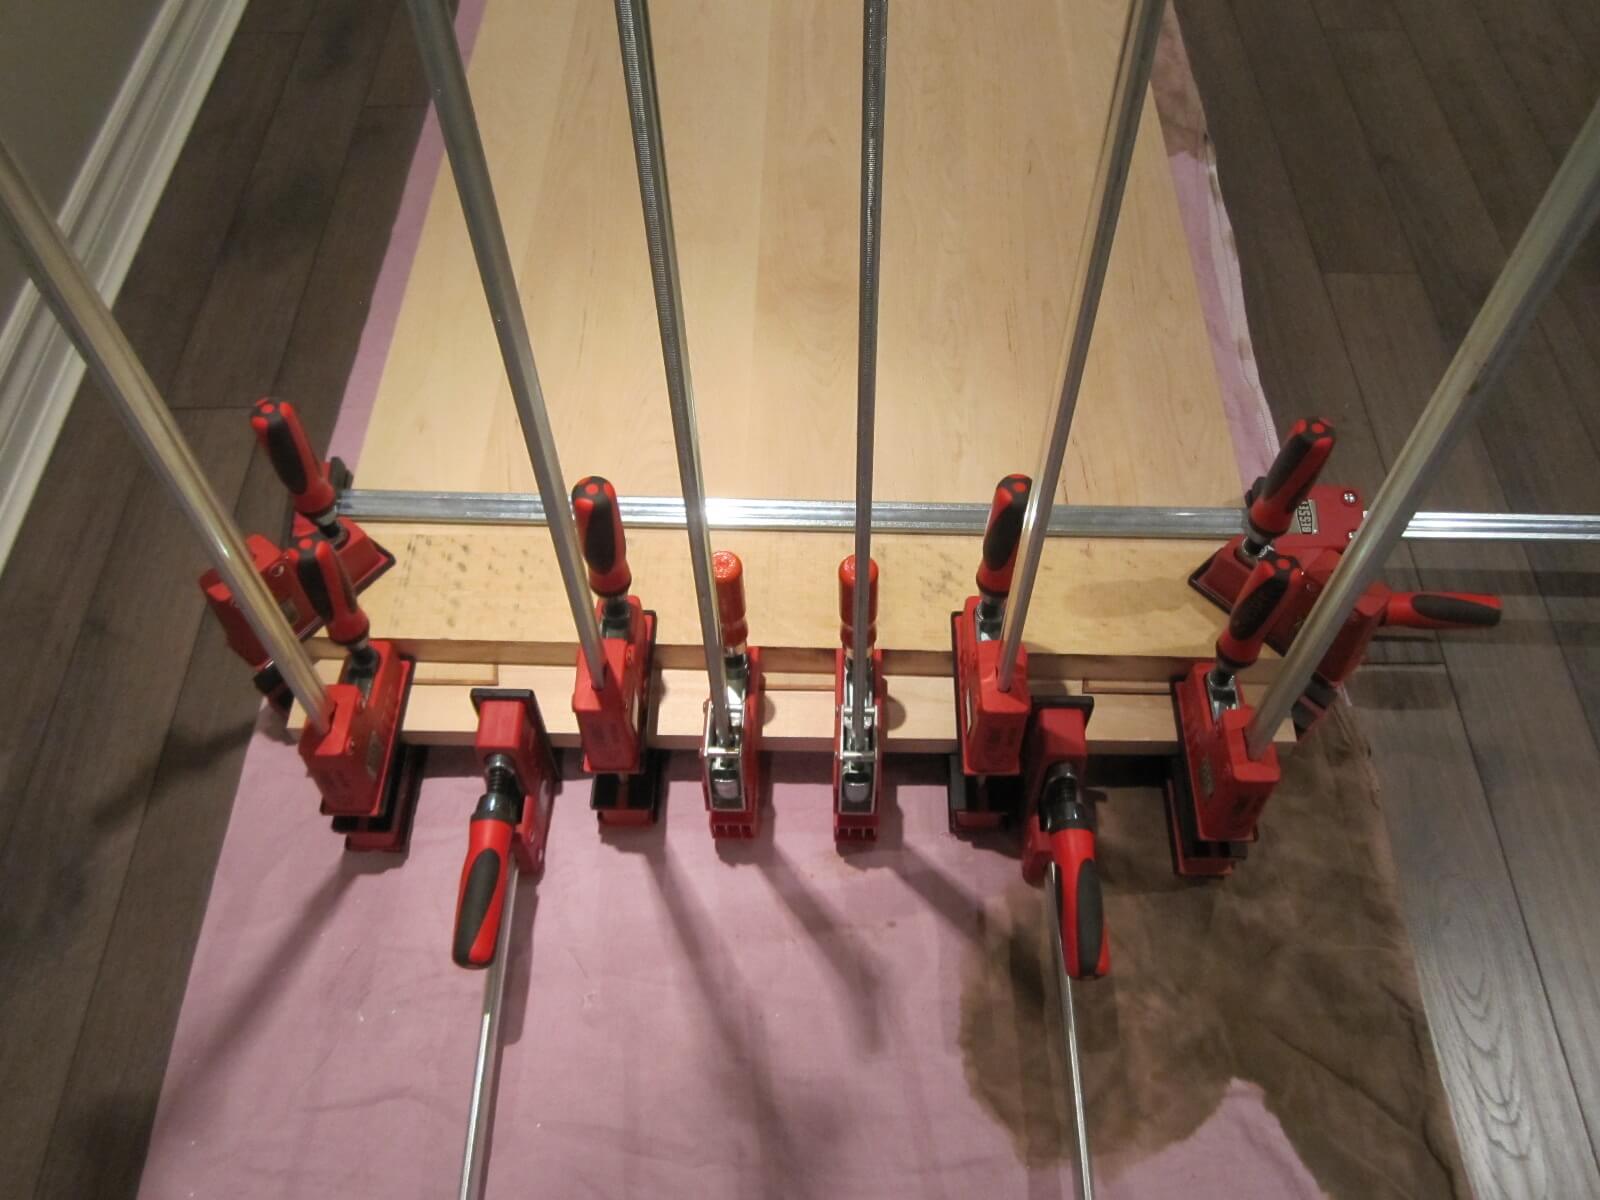
We can go to glue. I will do it in two pieces because my planer can not take more than 13″ (about 330 mm) .When everything will be glued, I will spend the #4 plane by hand.
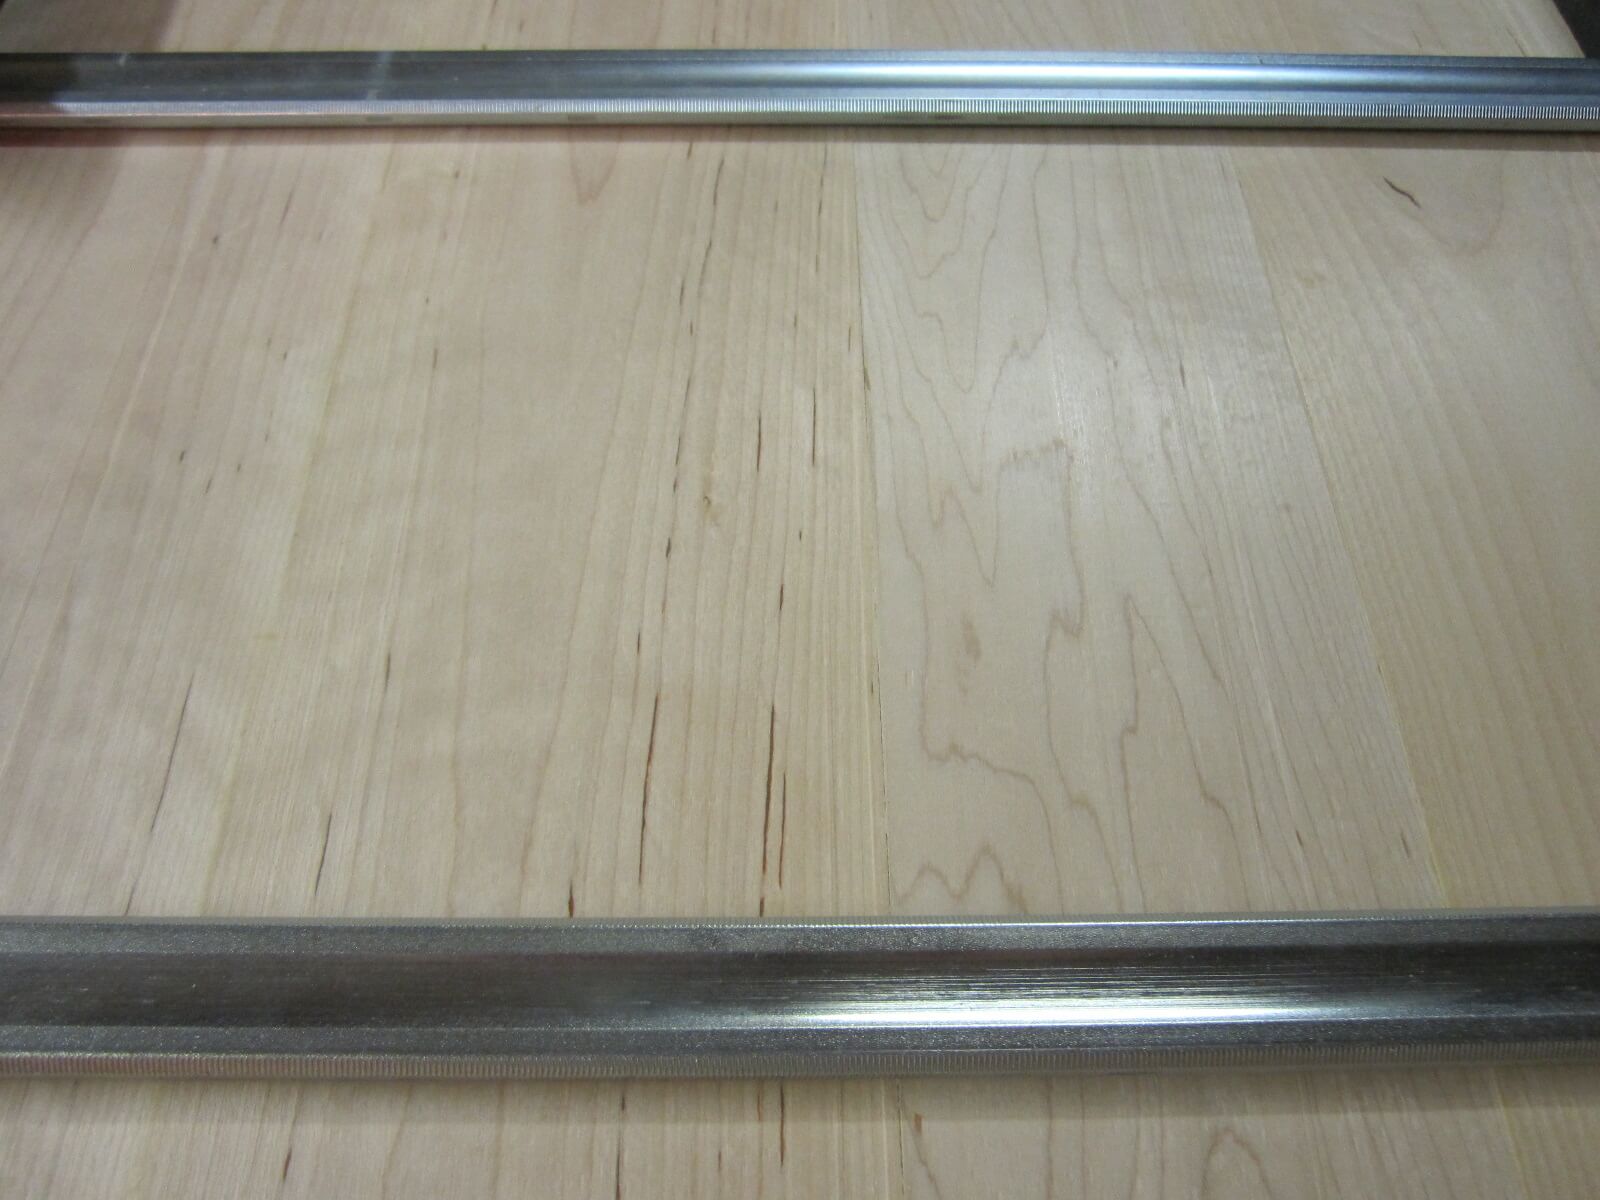
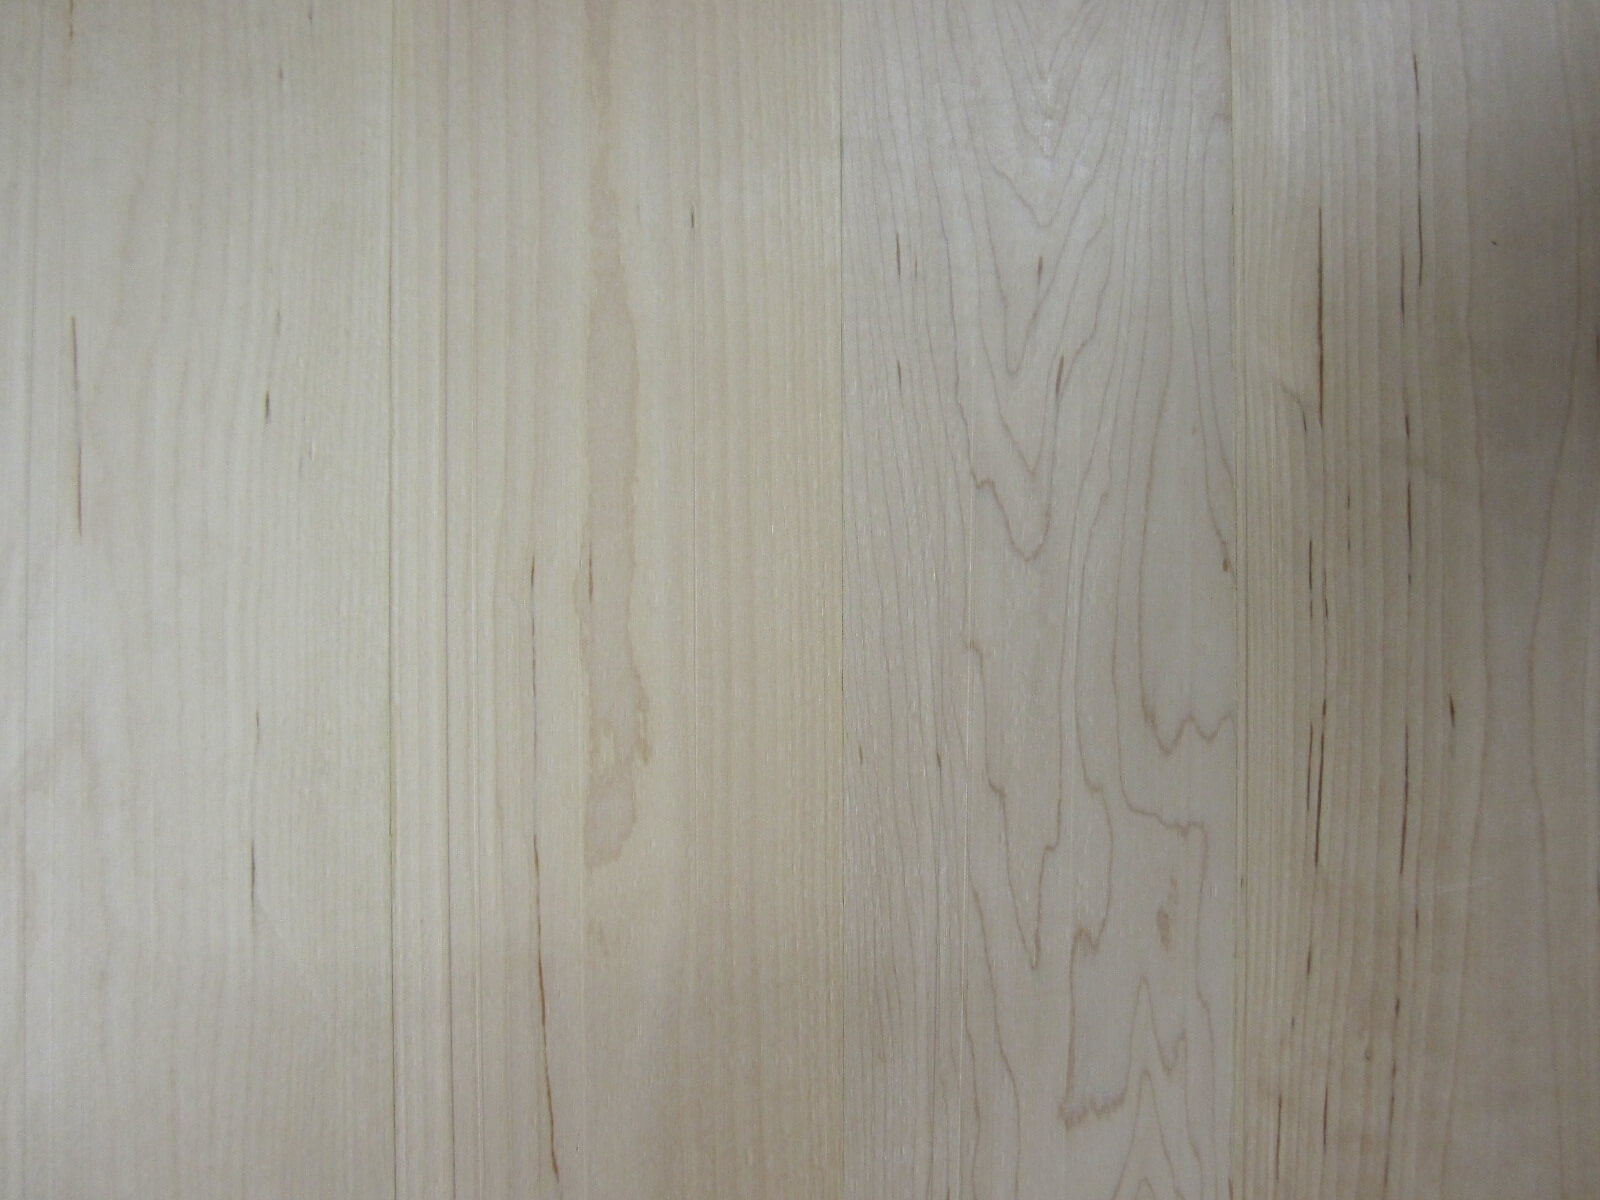
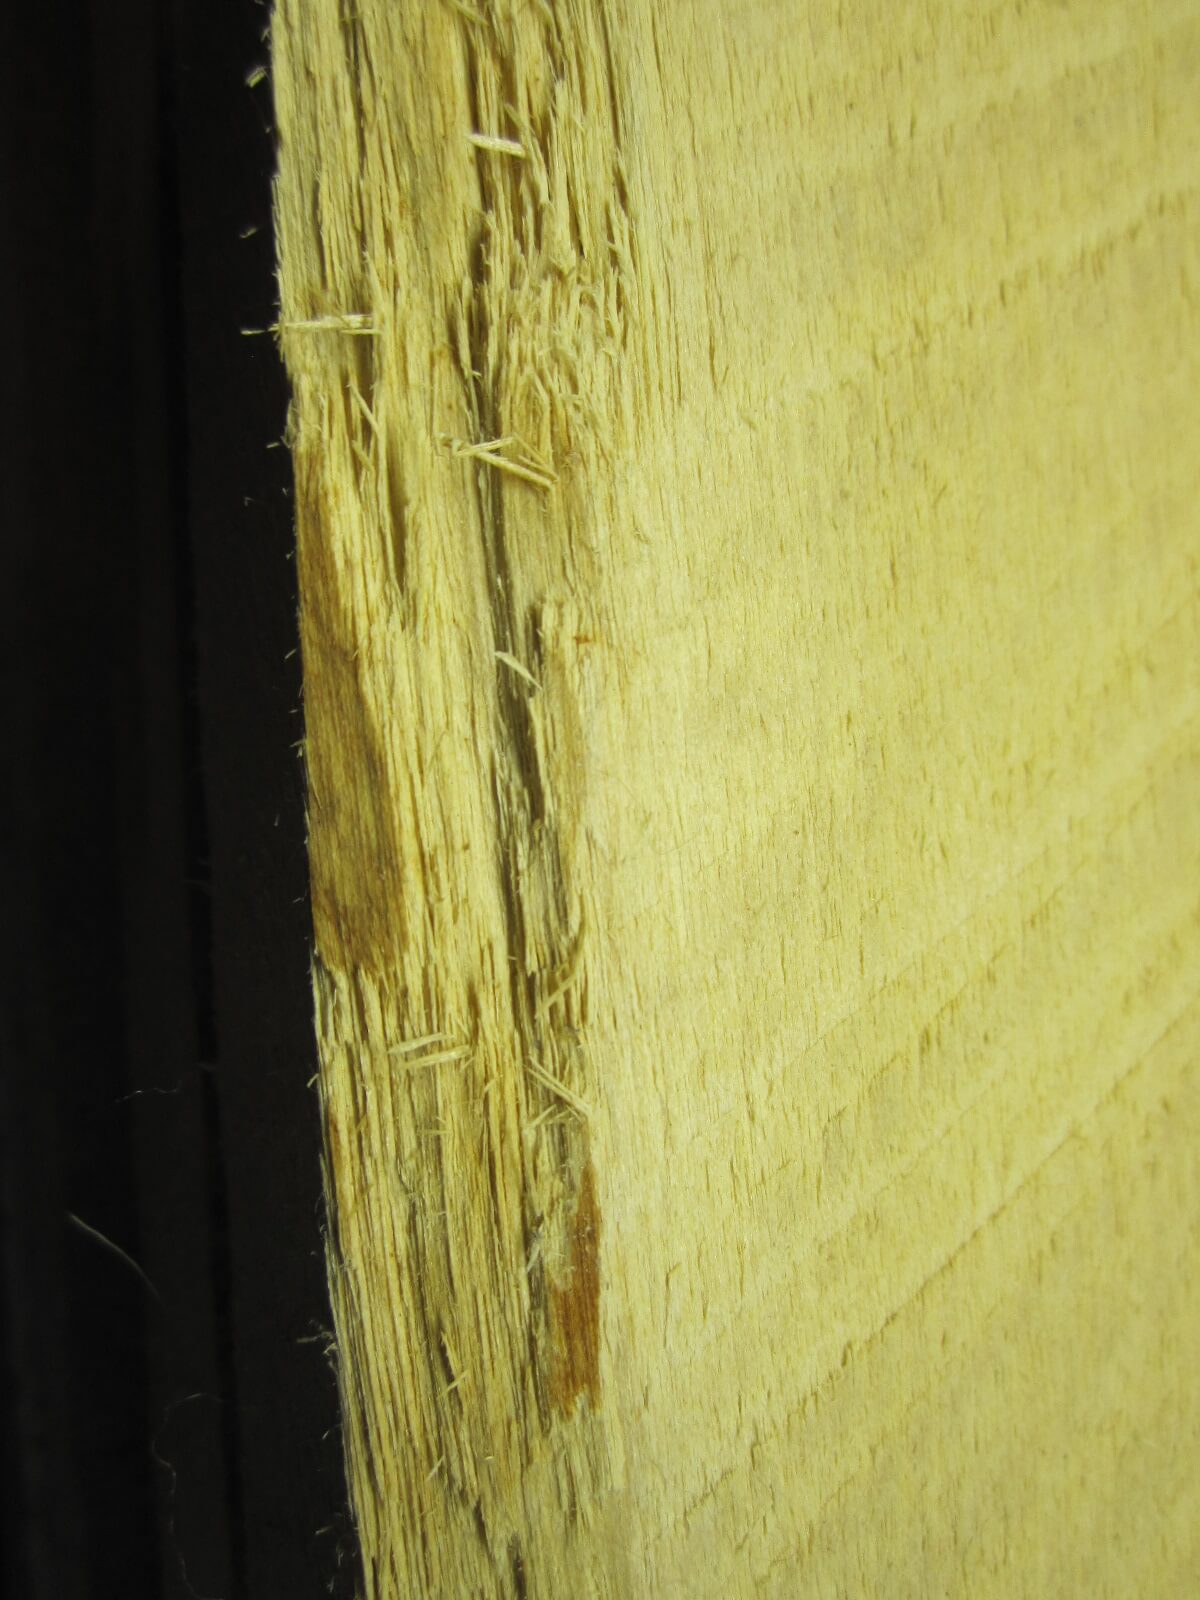
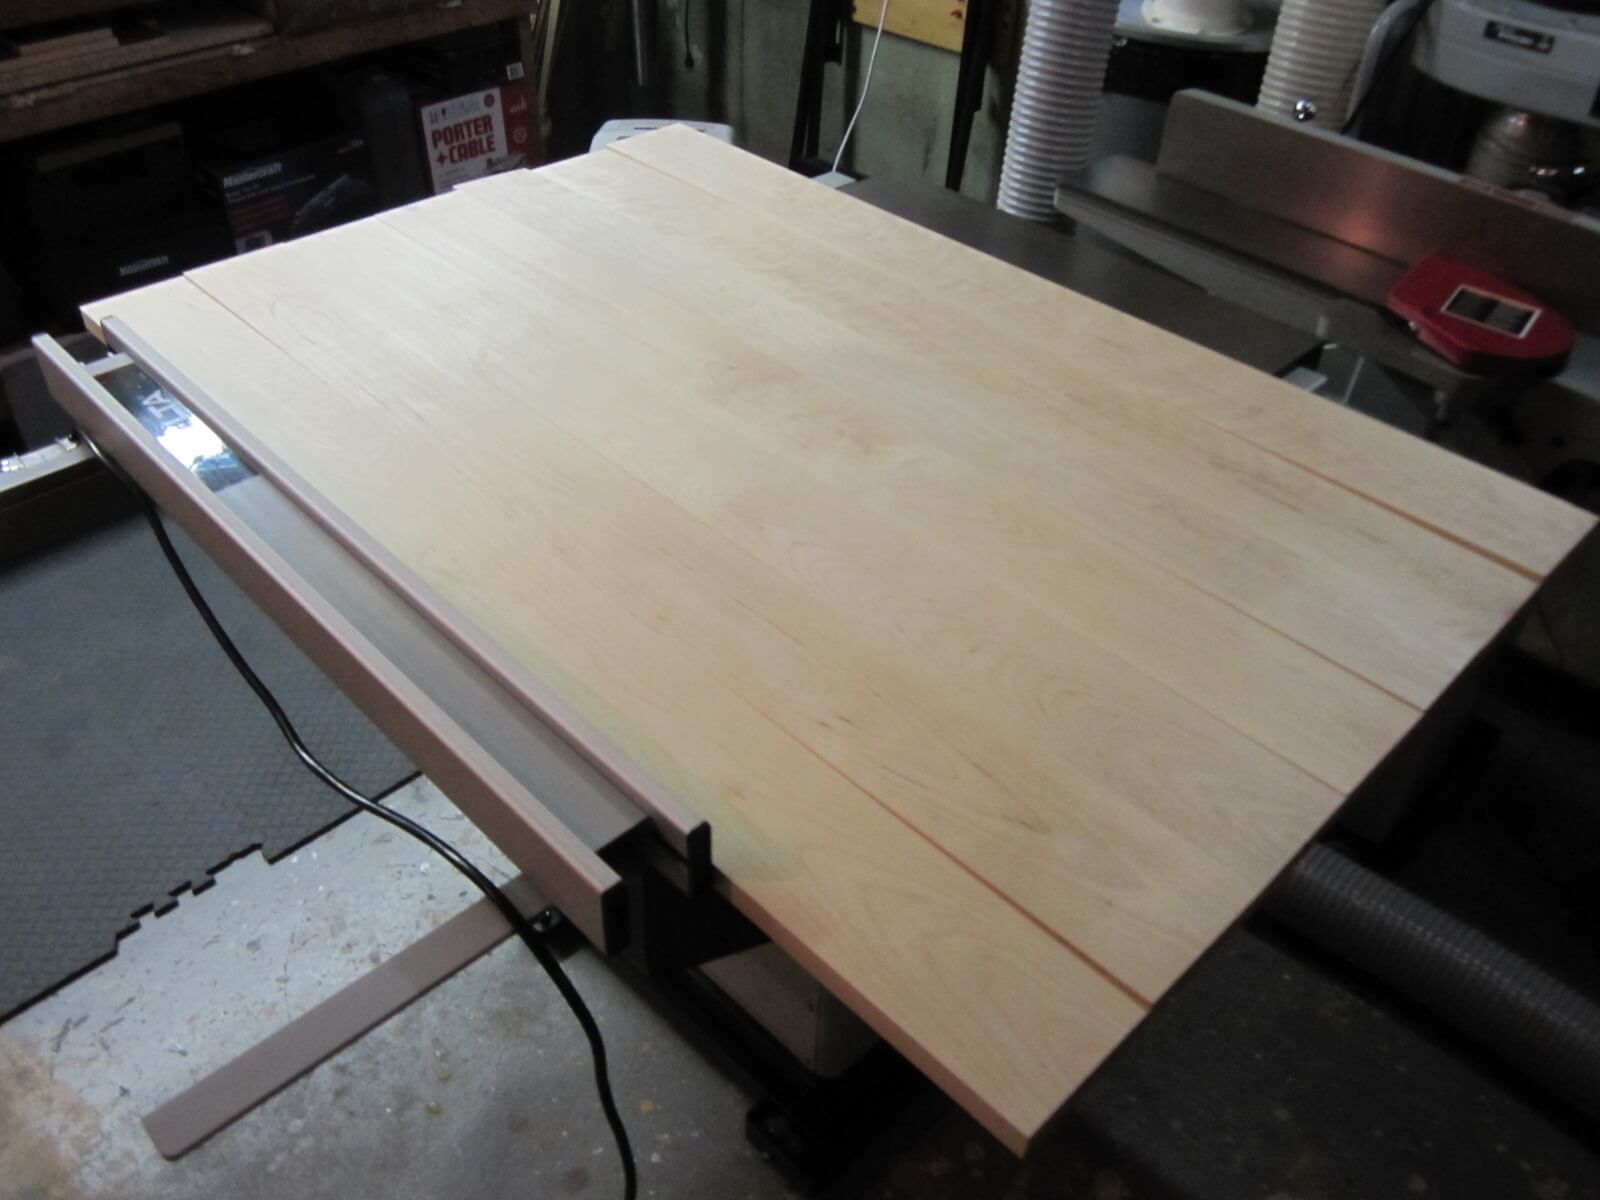
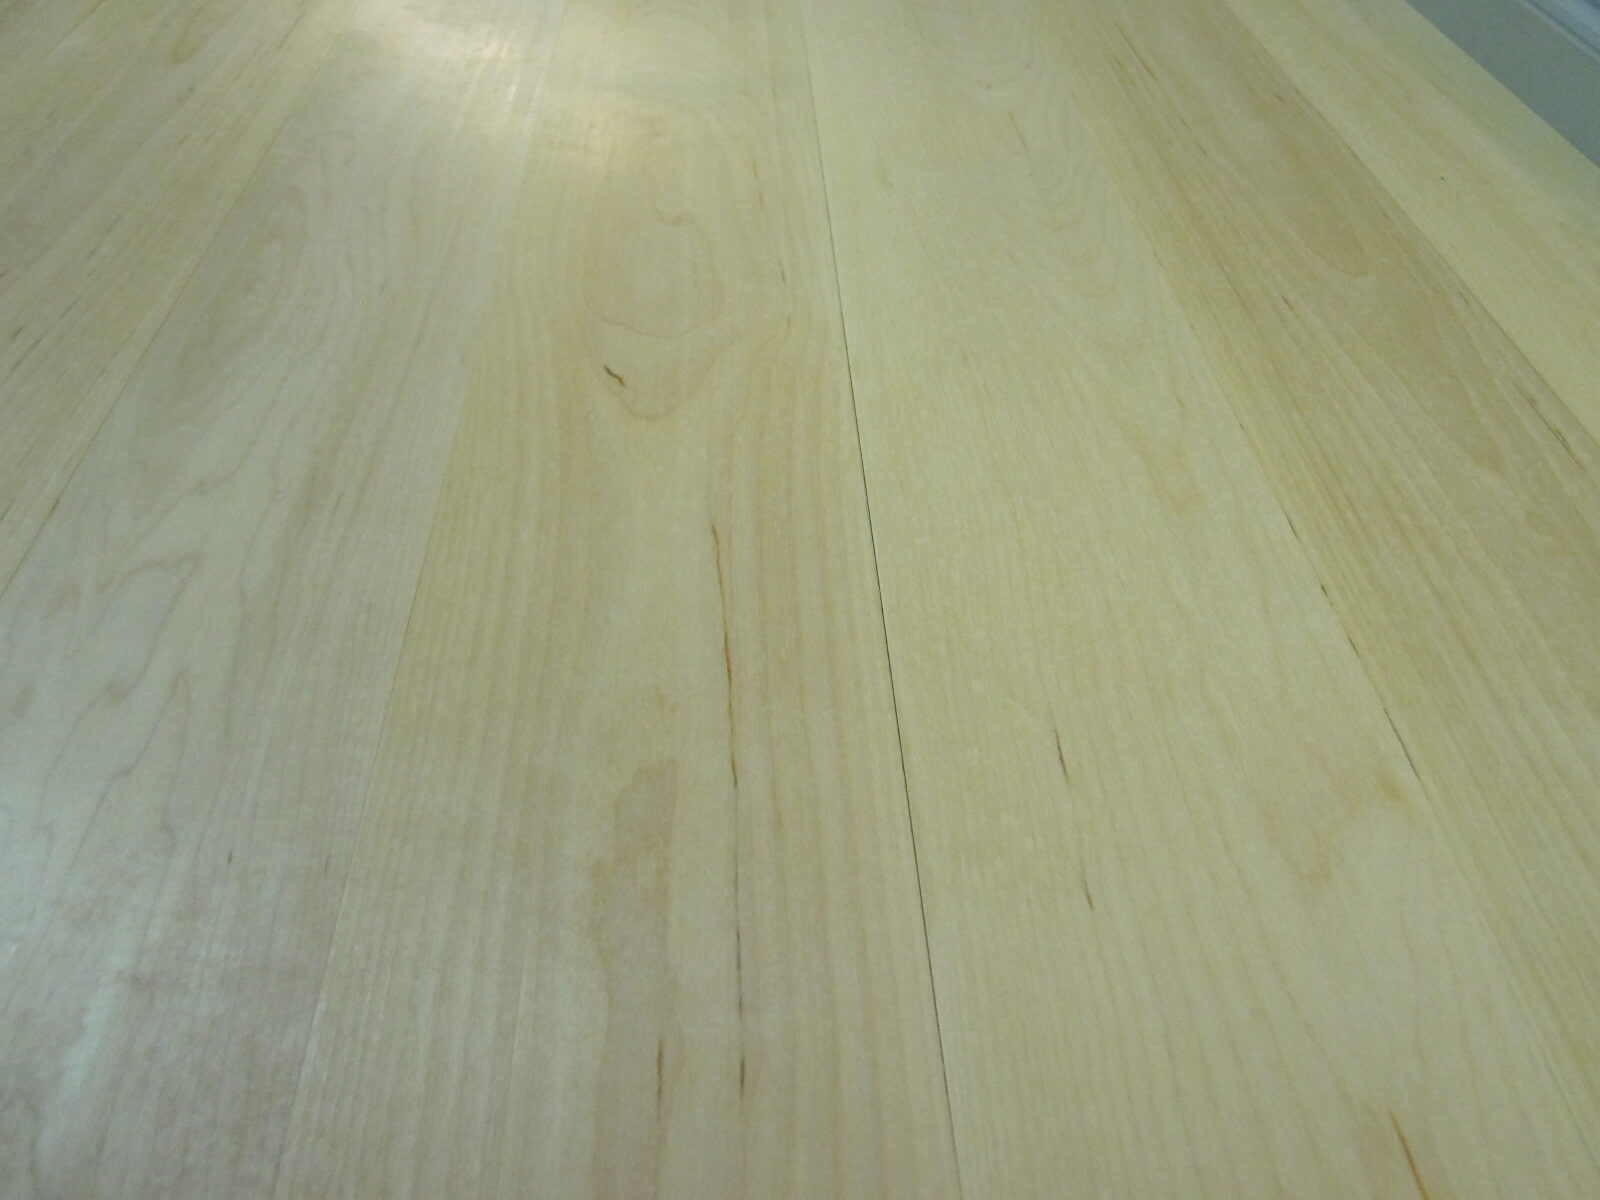
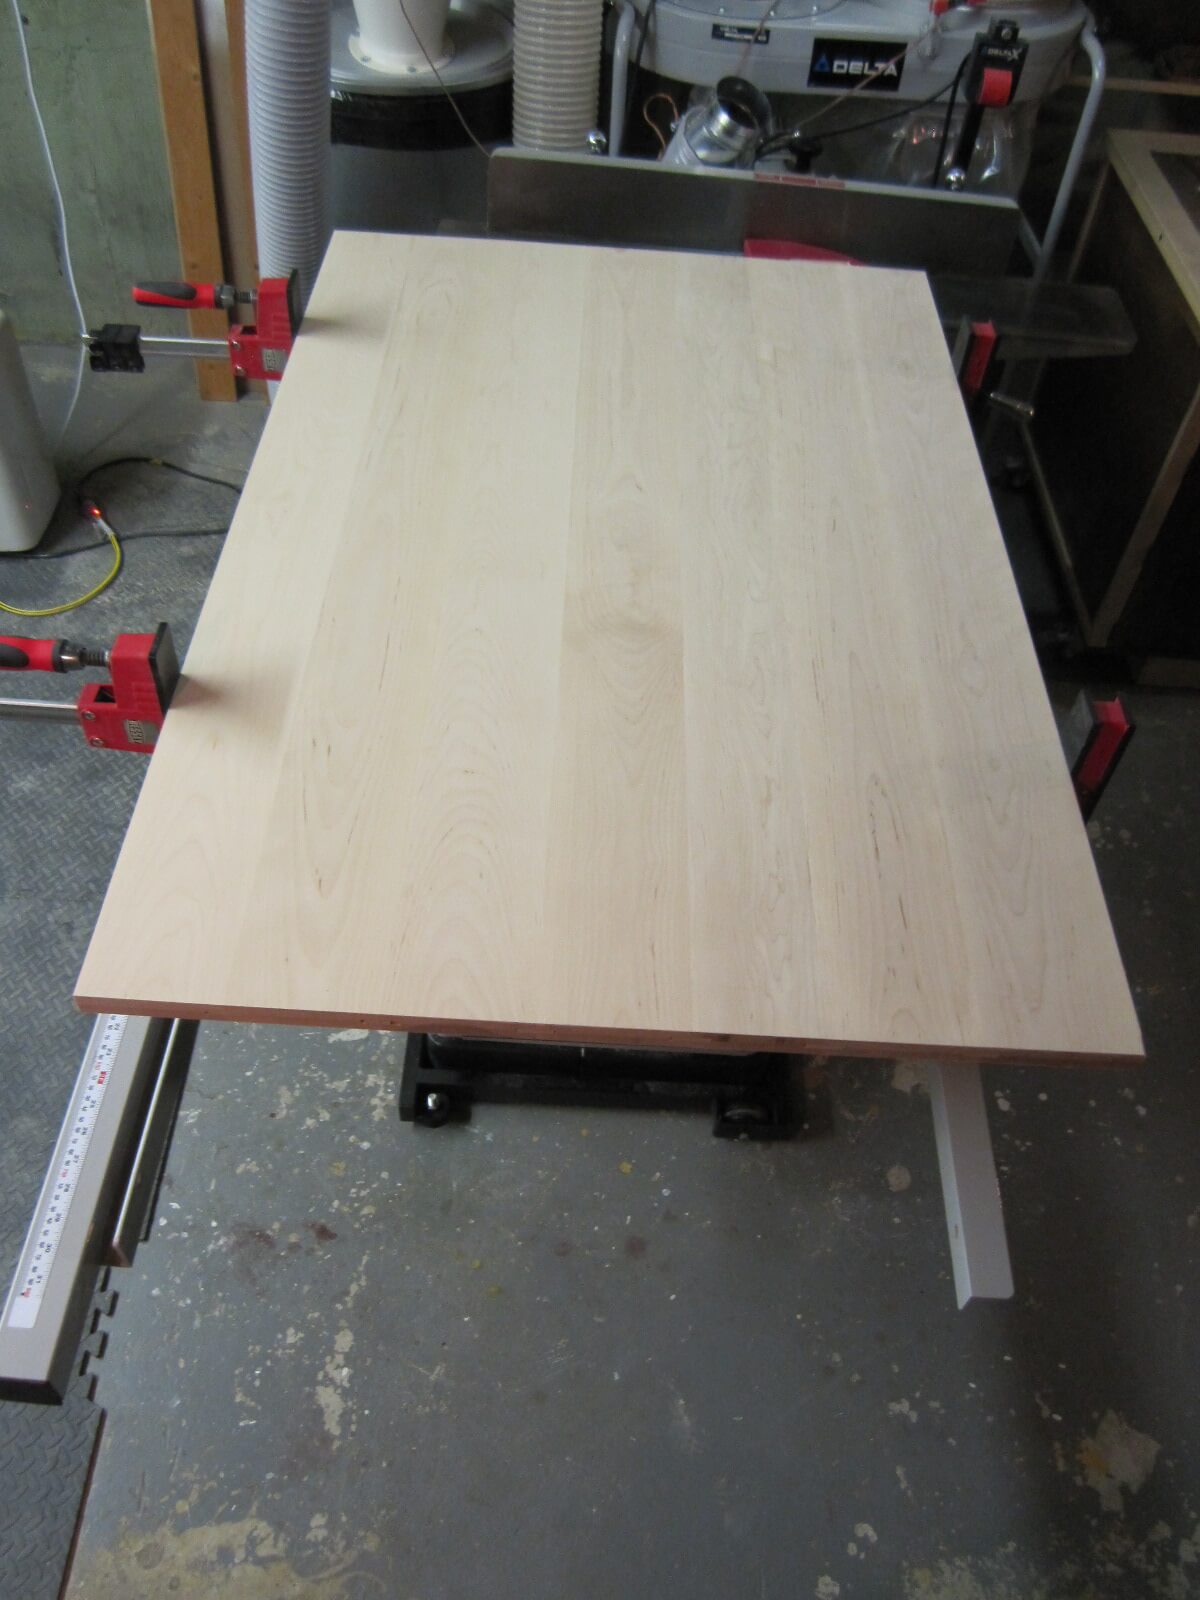
We are at the “wetting” stage. It makes it possible to highlight the defects and straighten the fibers of the wood which I will eliminate with the sanding before the application of the varnish with water base.
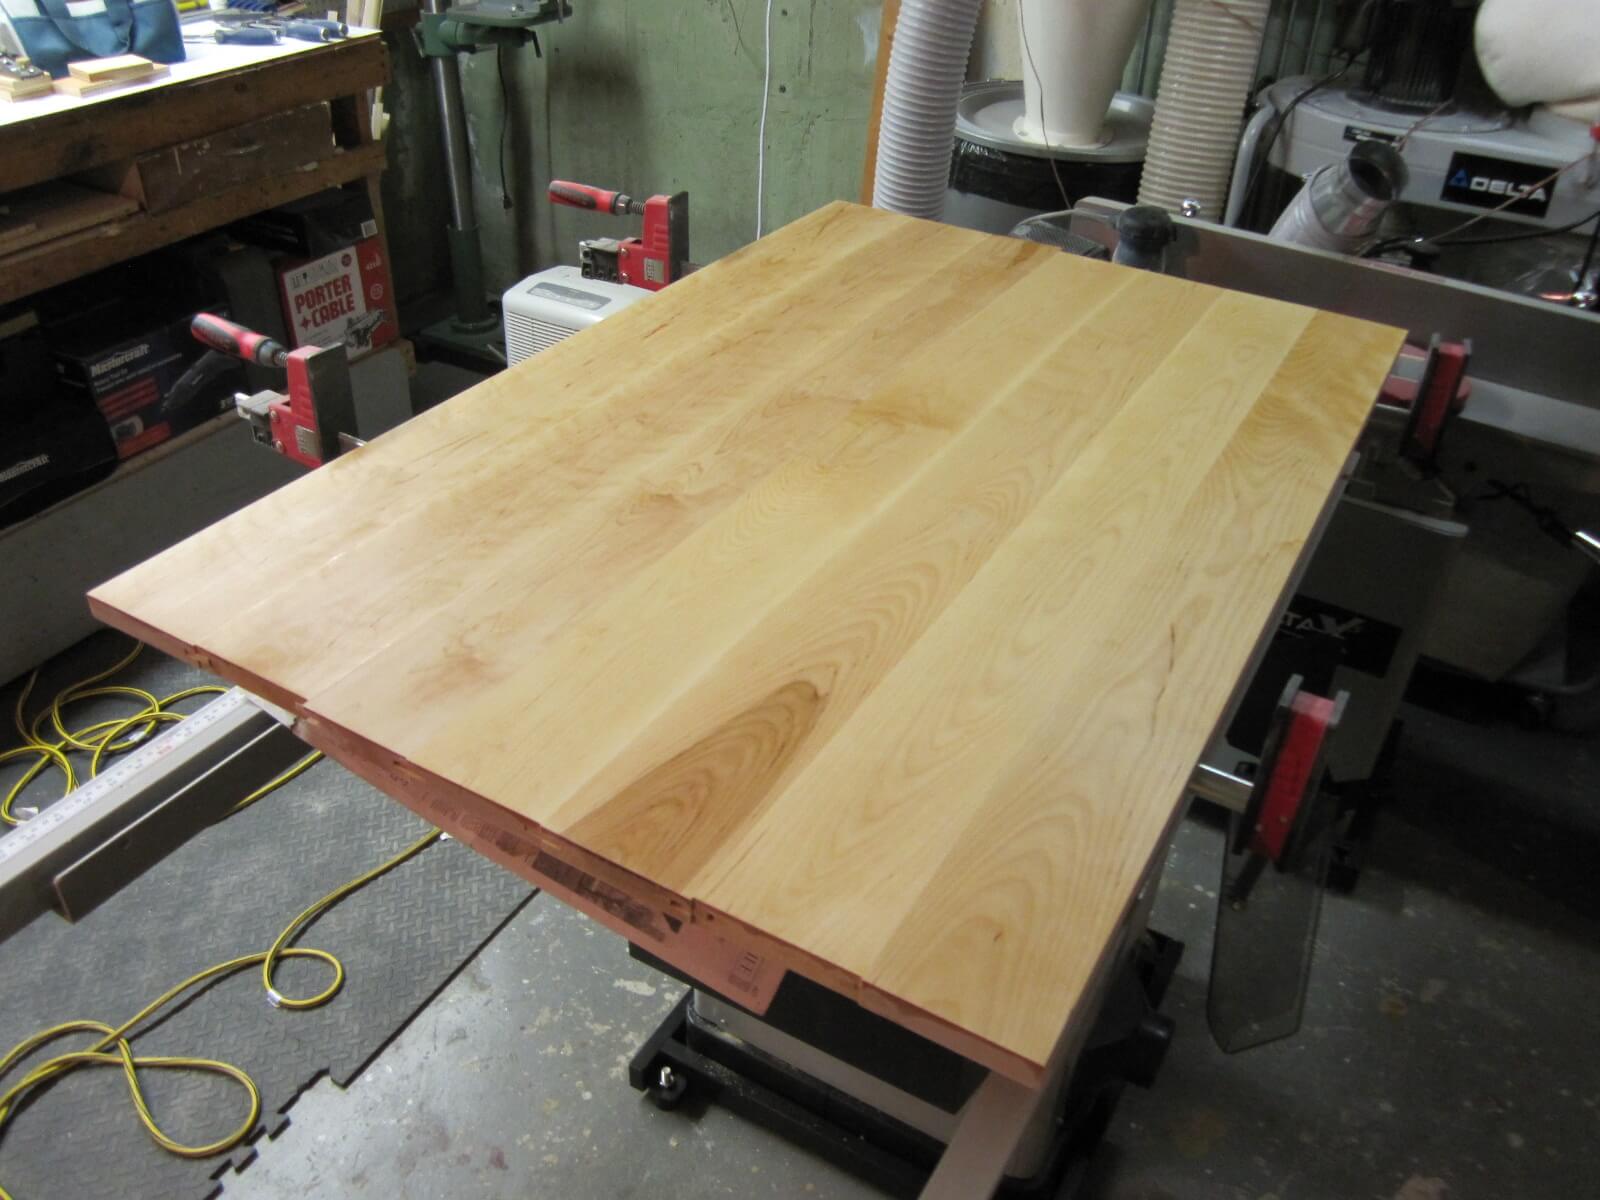

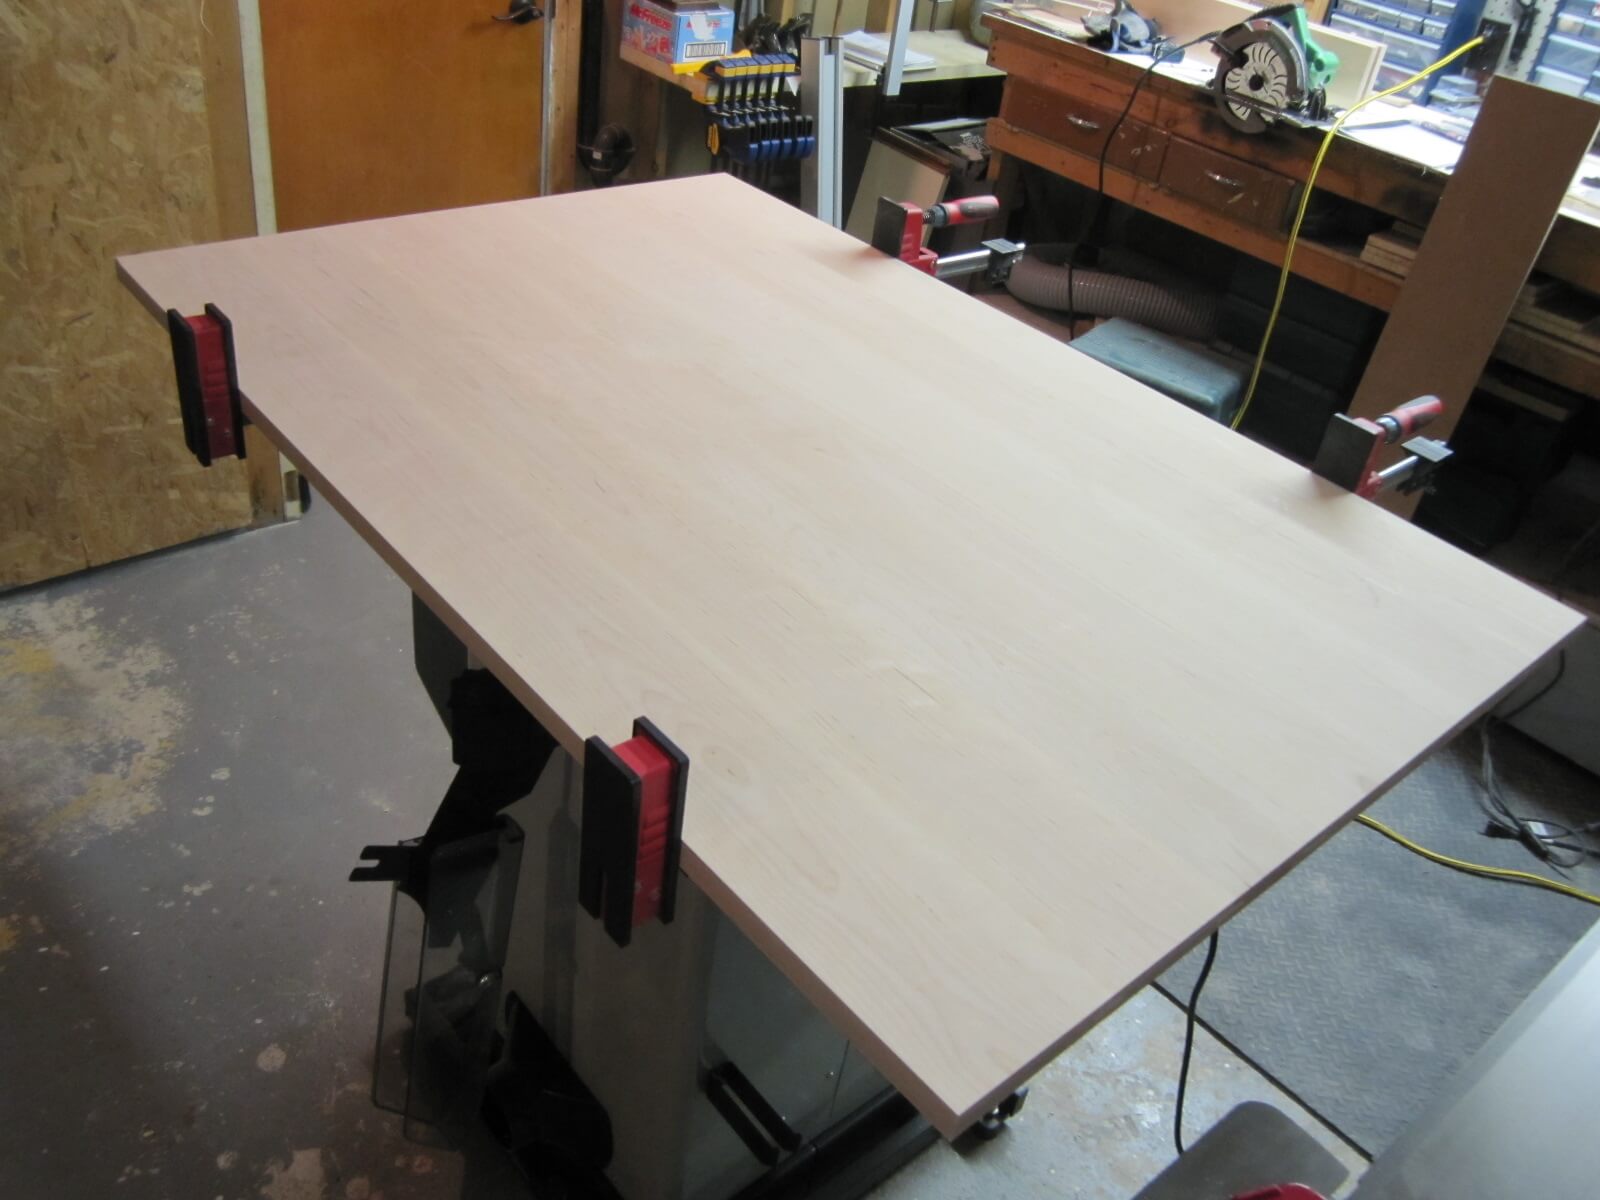
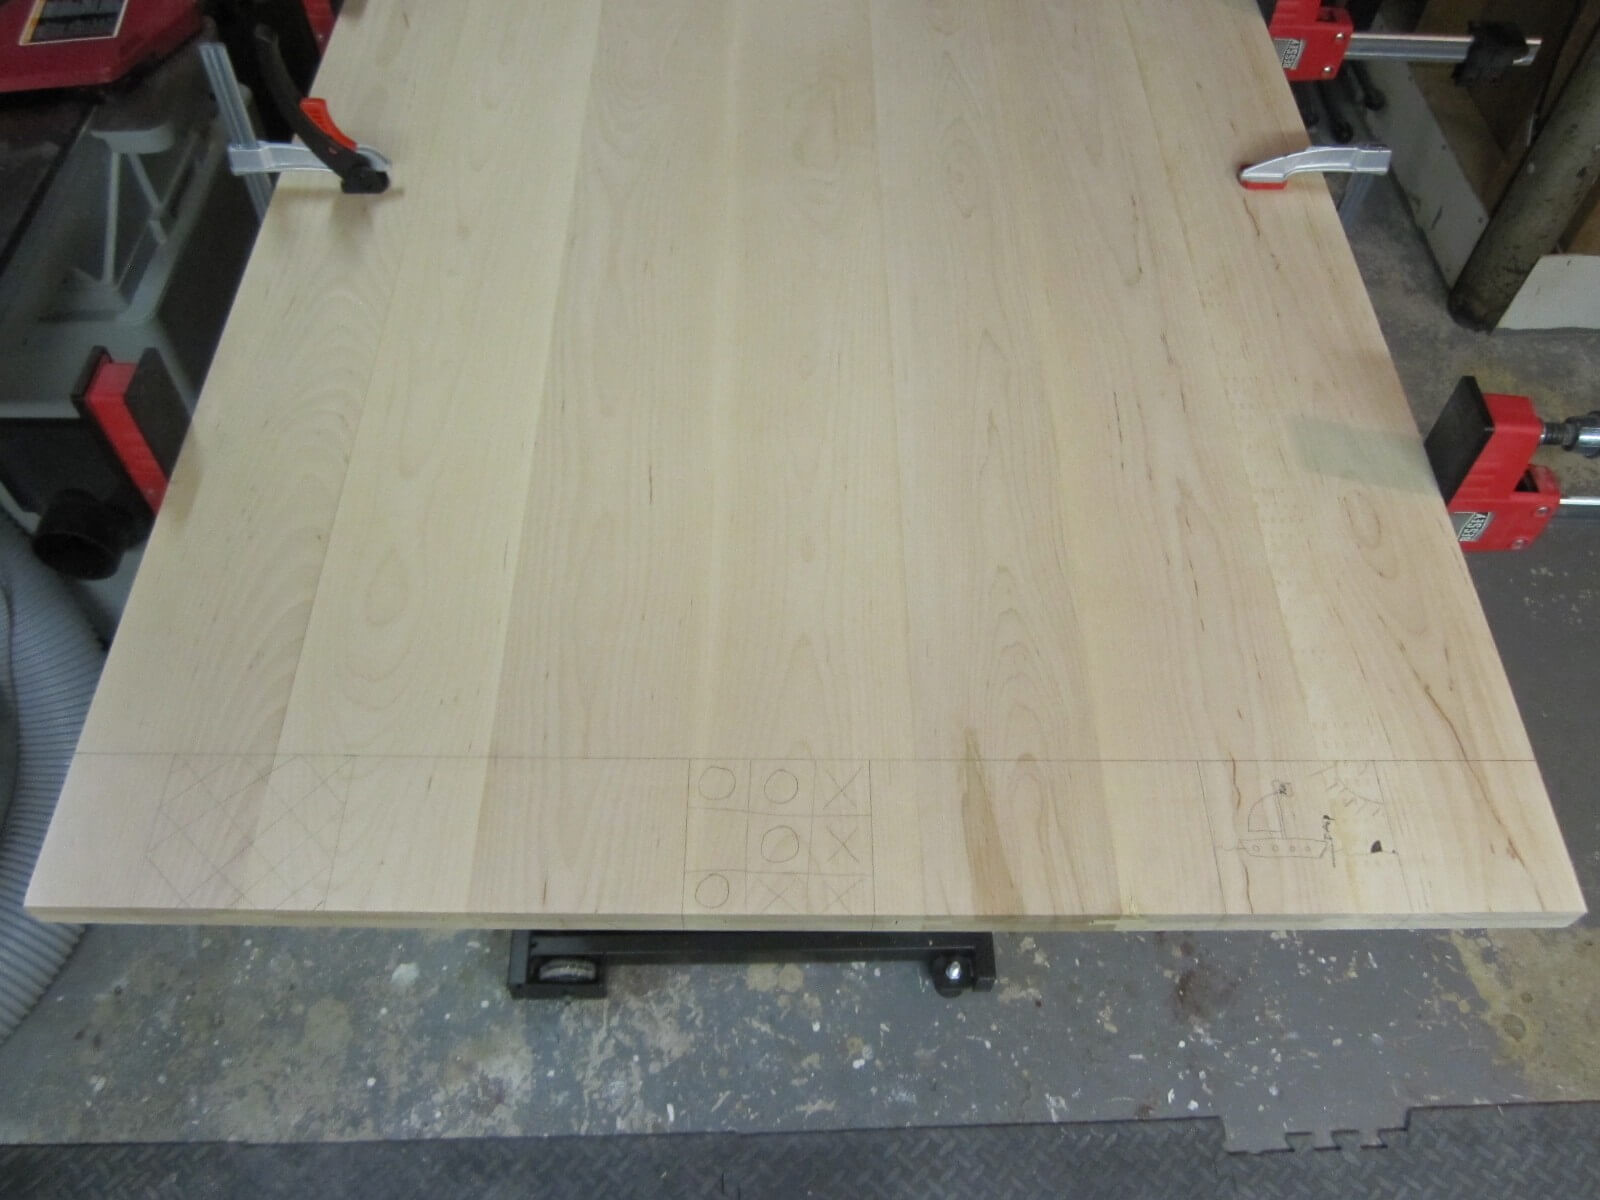
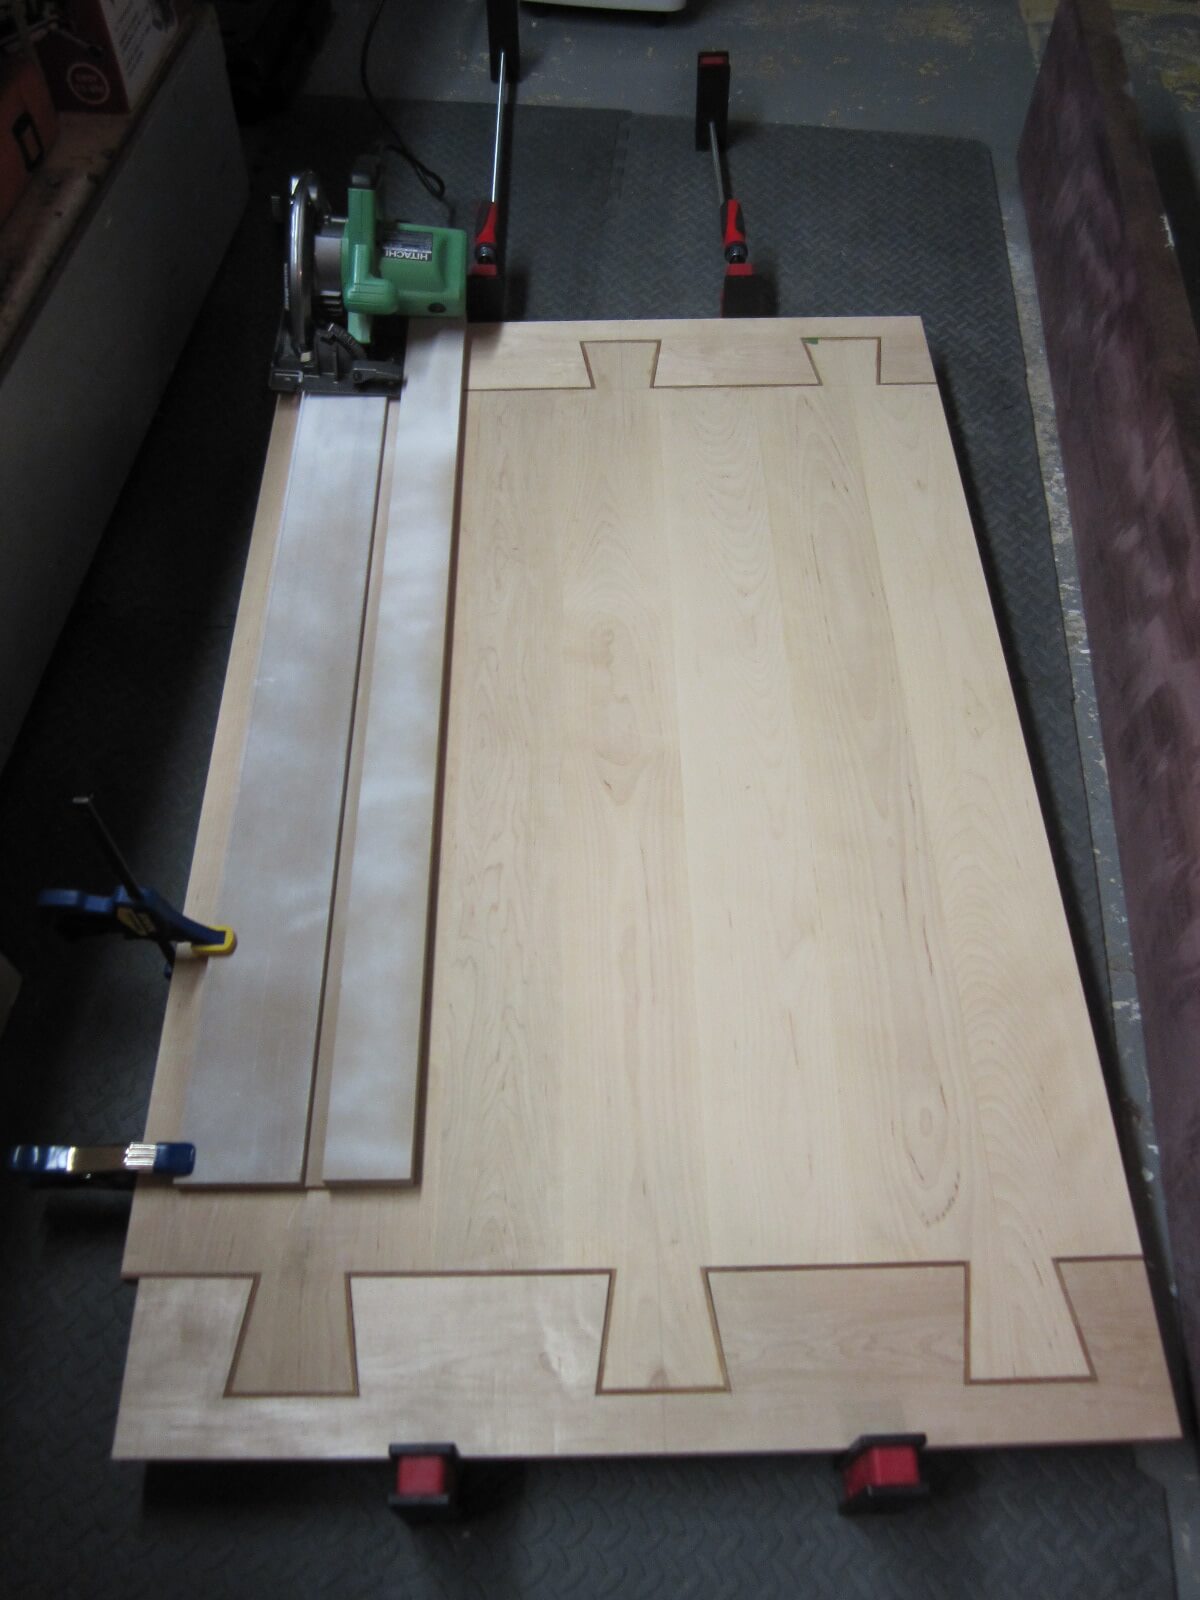
I can now cut the board to the final length with a circular saw. For that, I used the guide that you presented in this article.
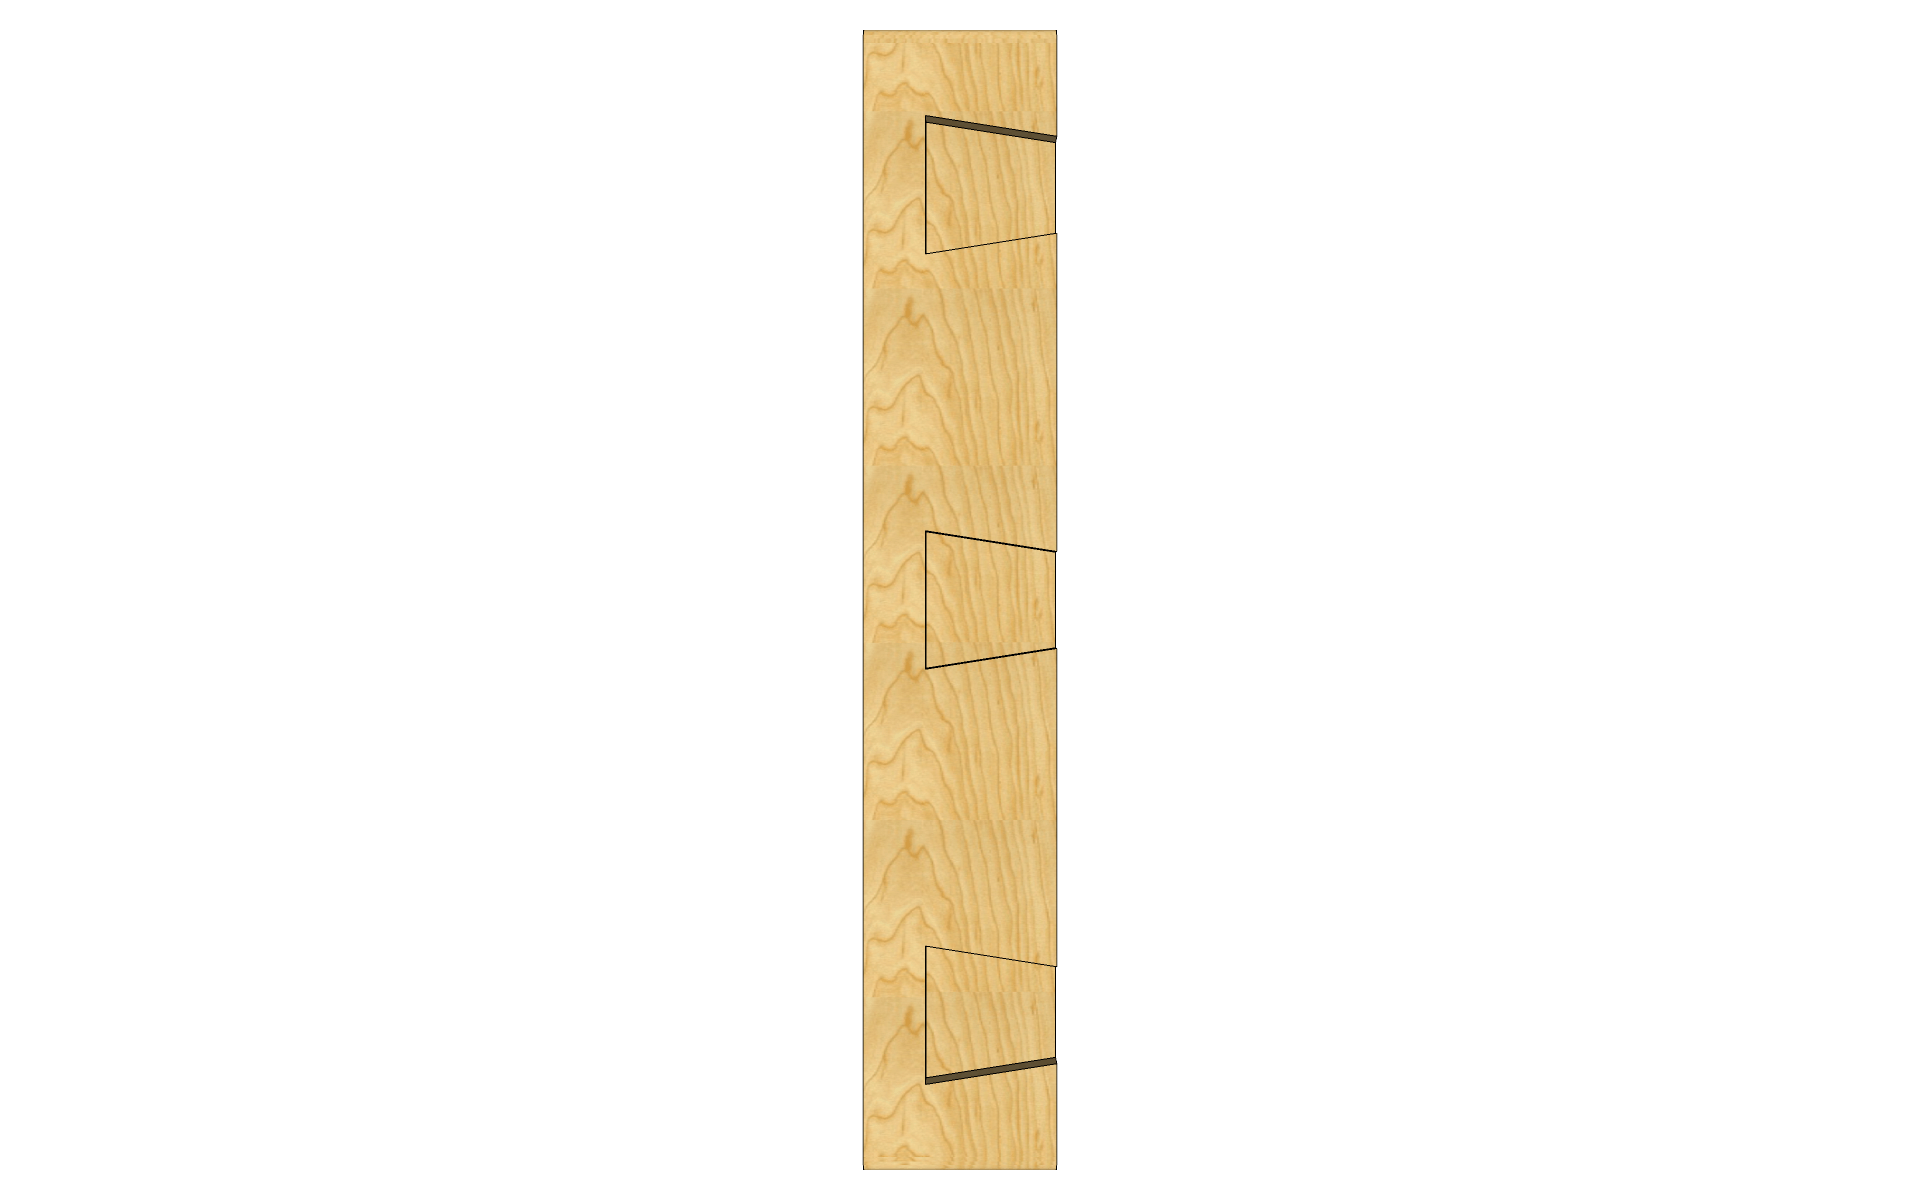
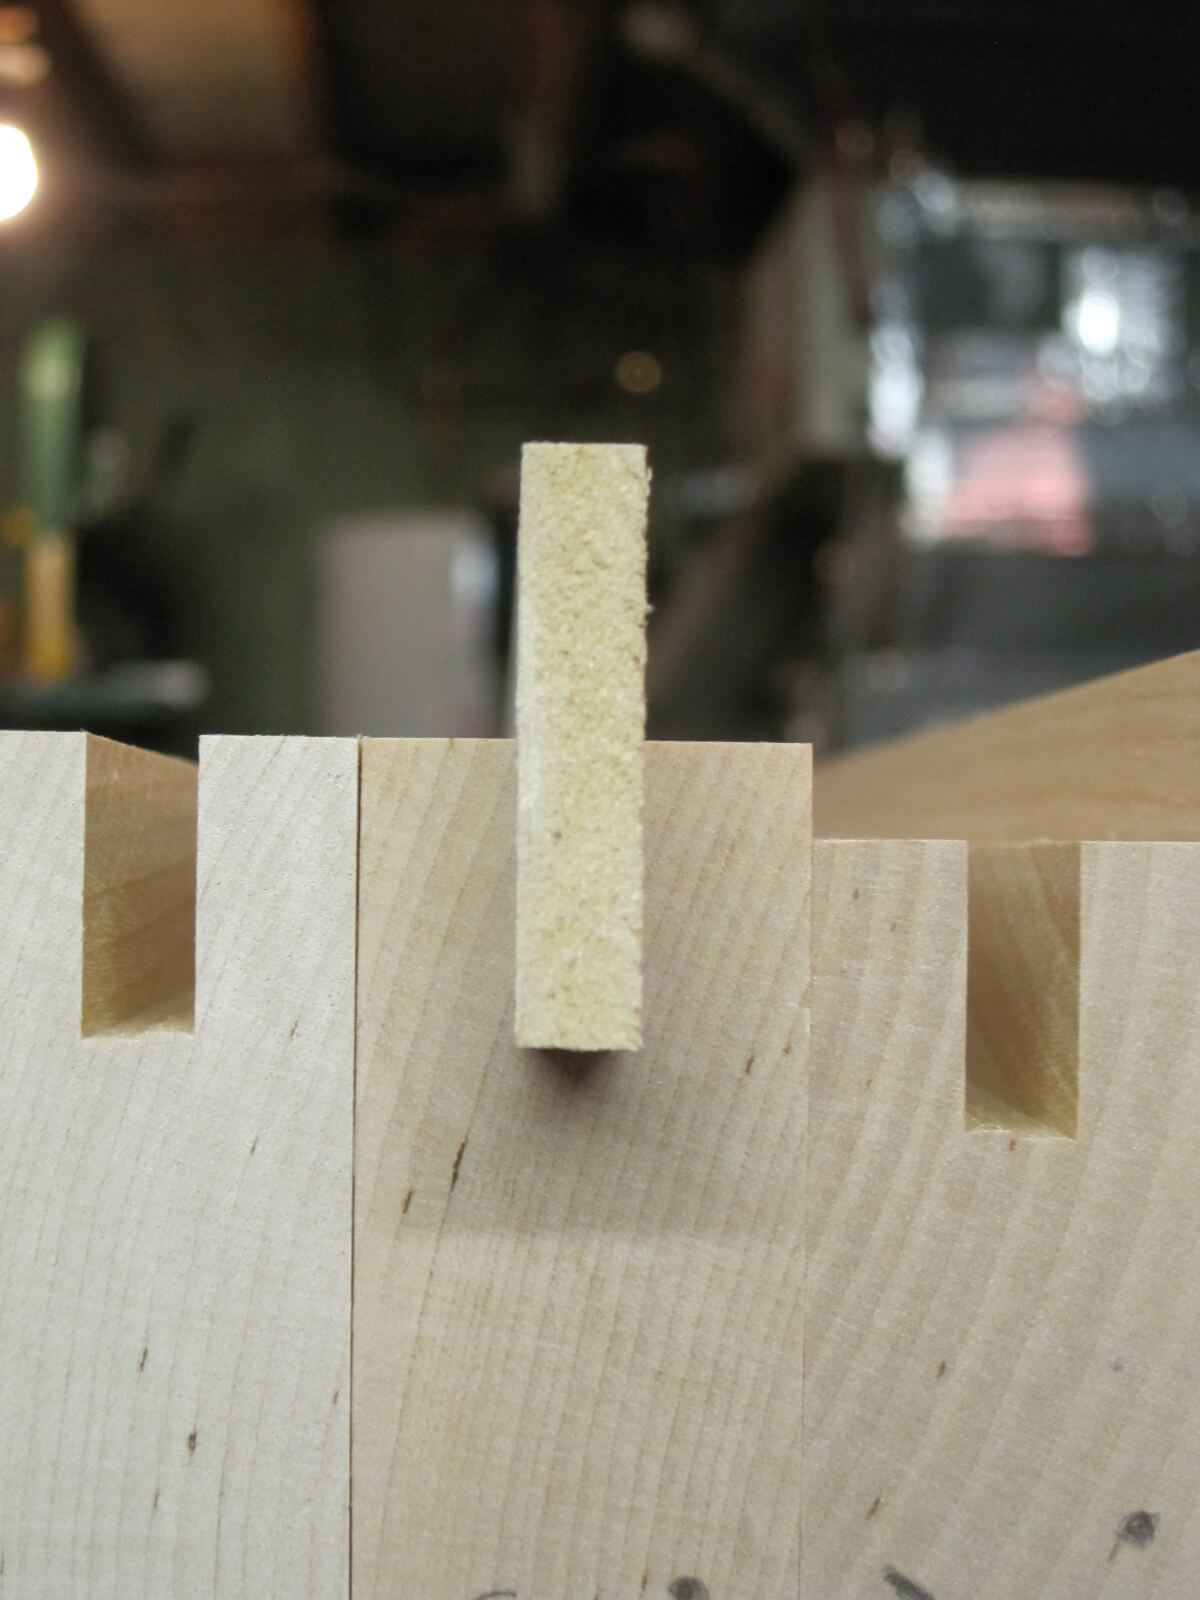
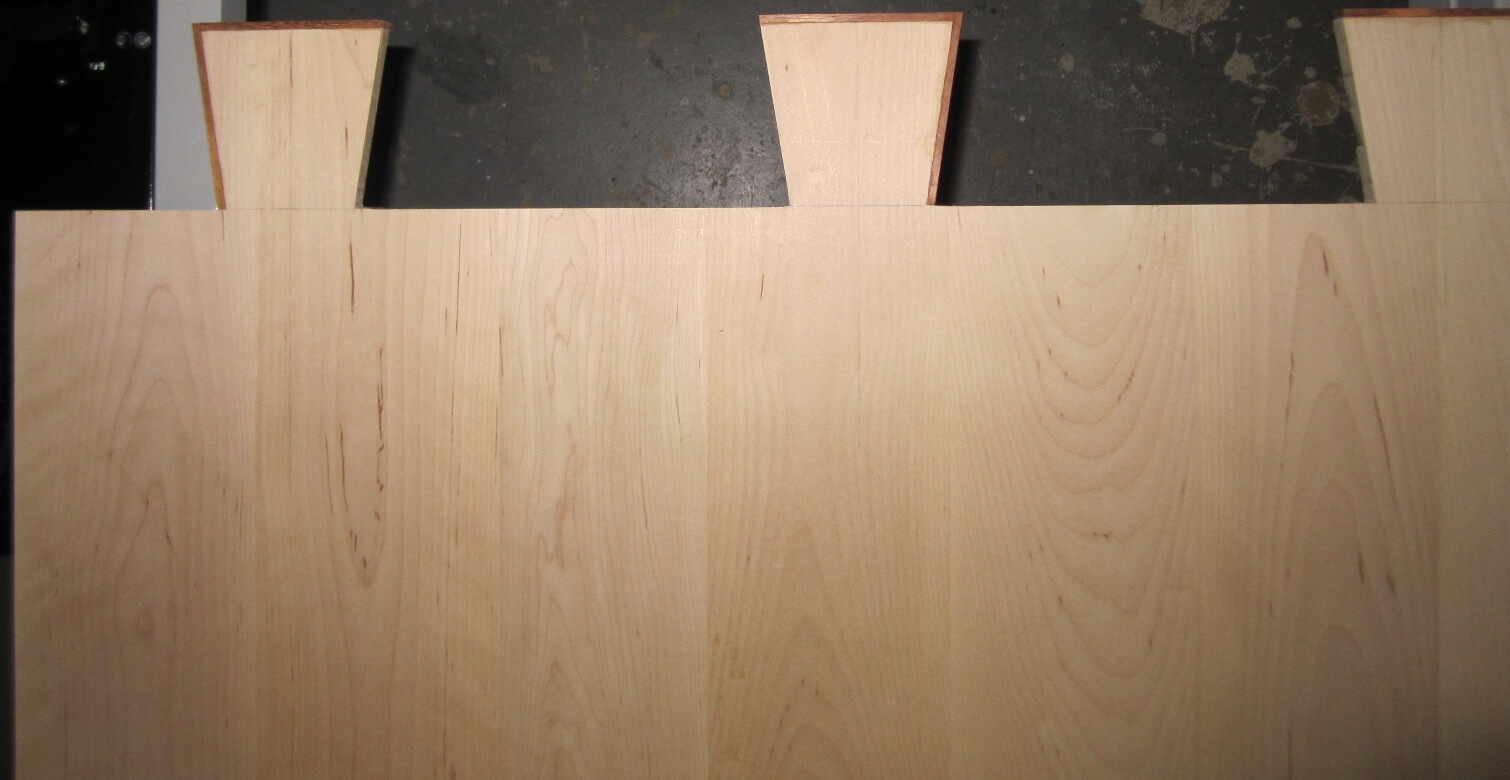
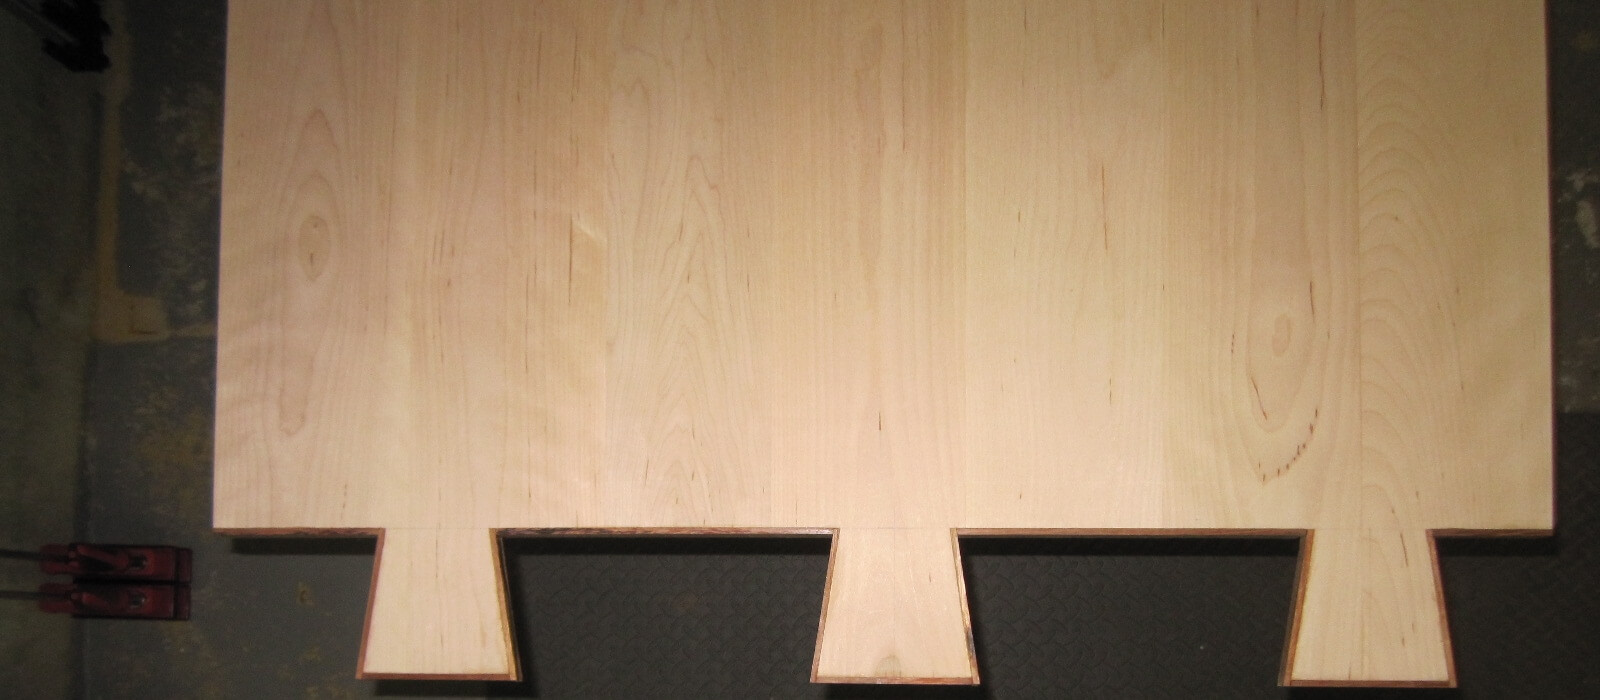
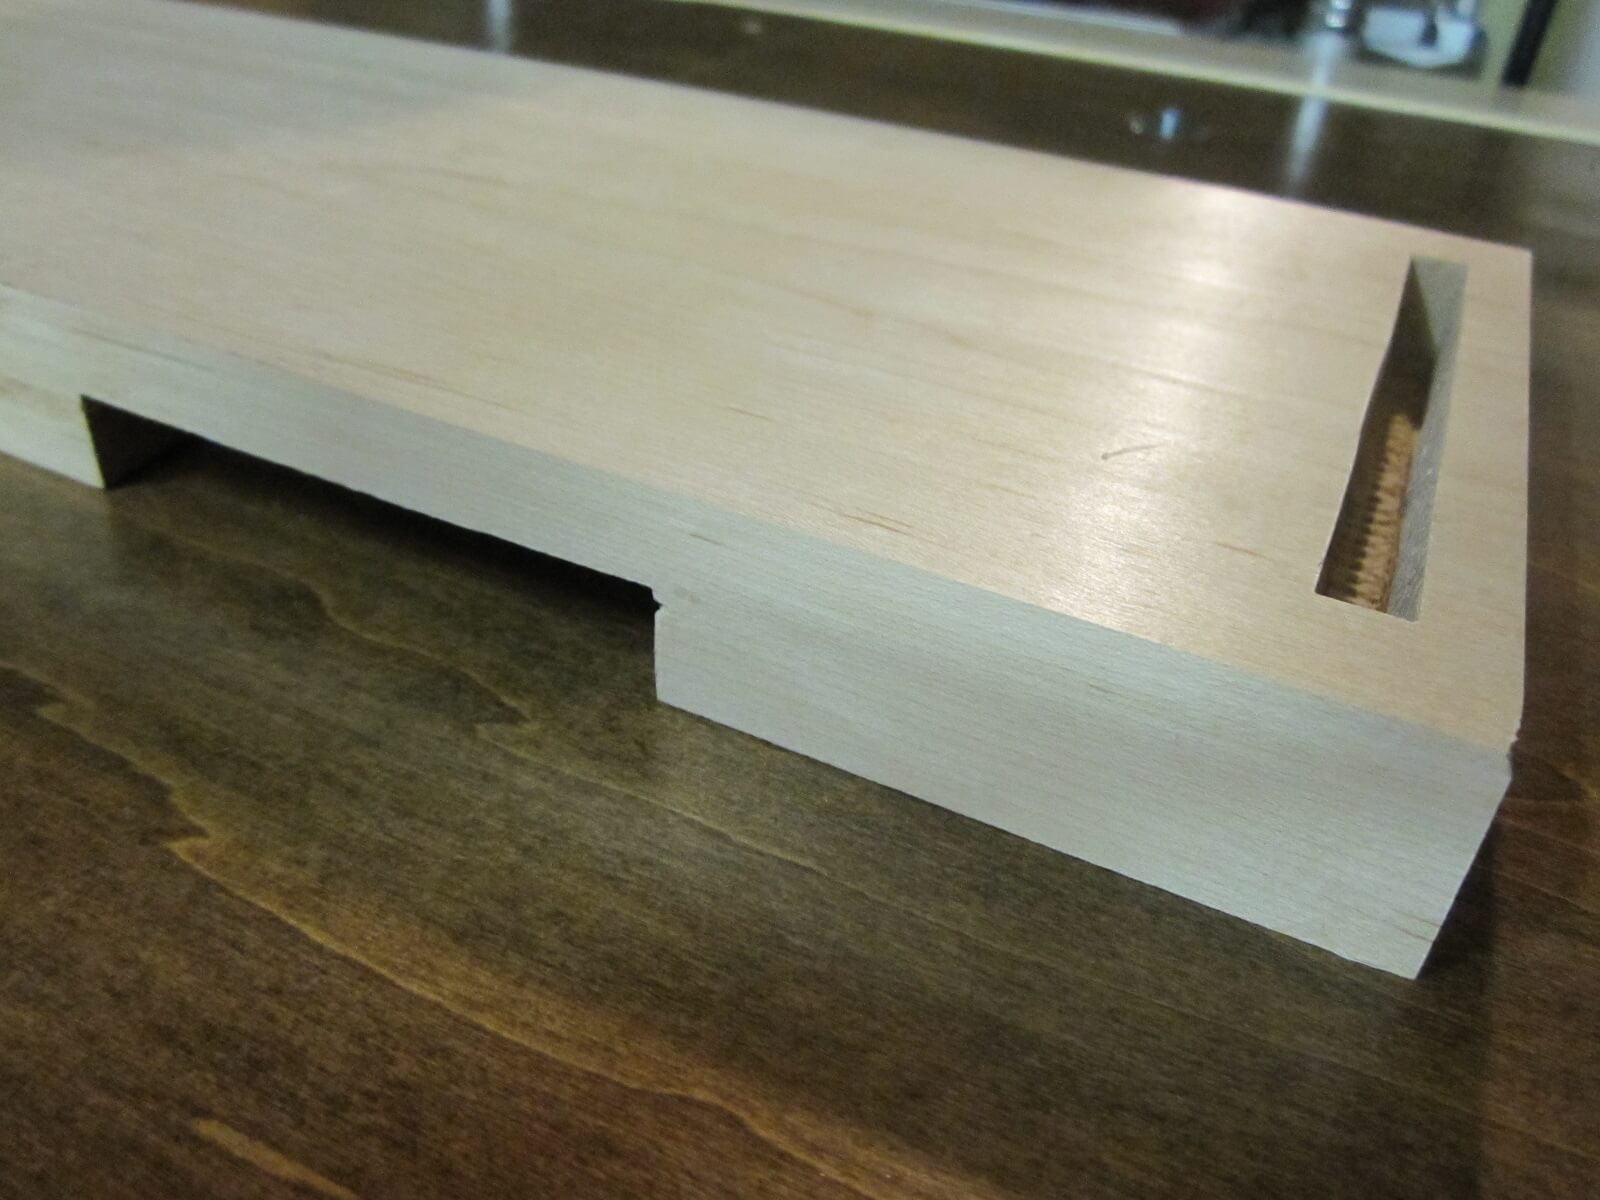
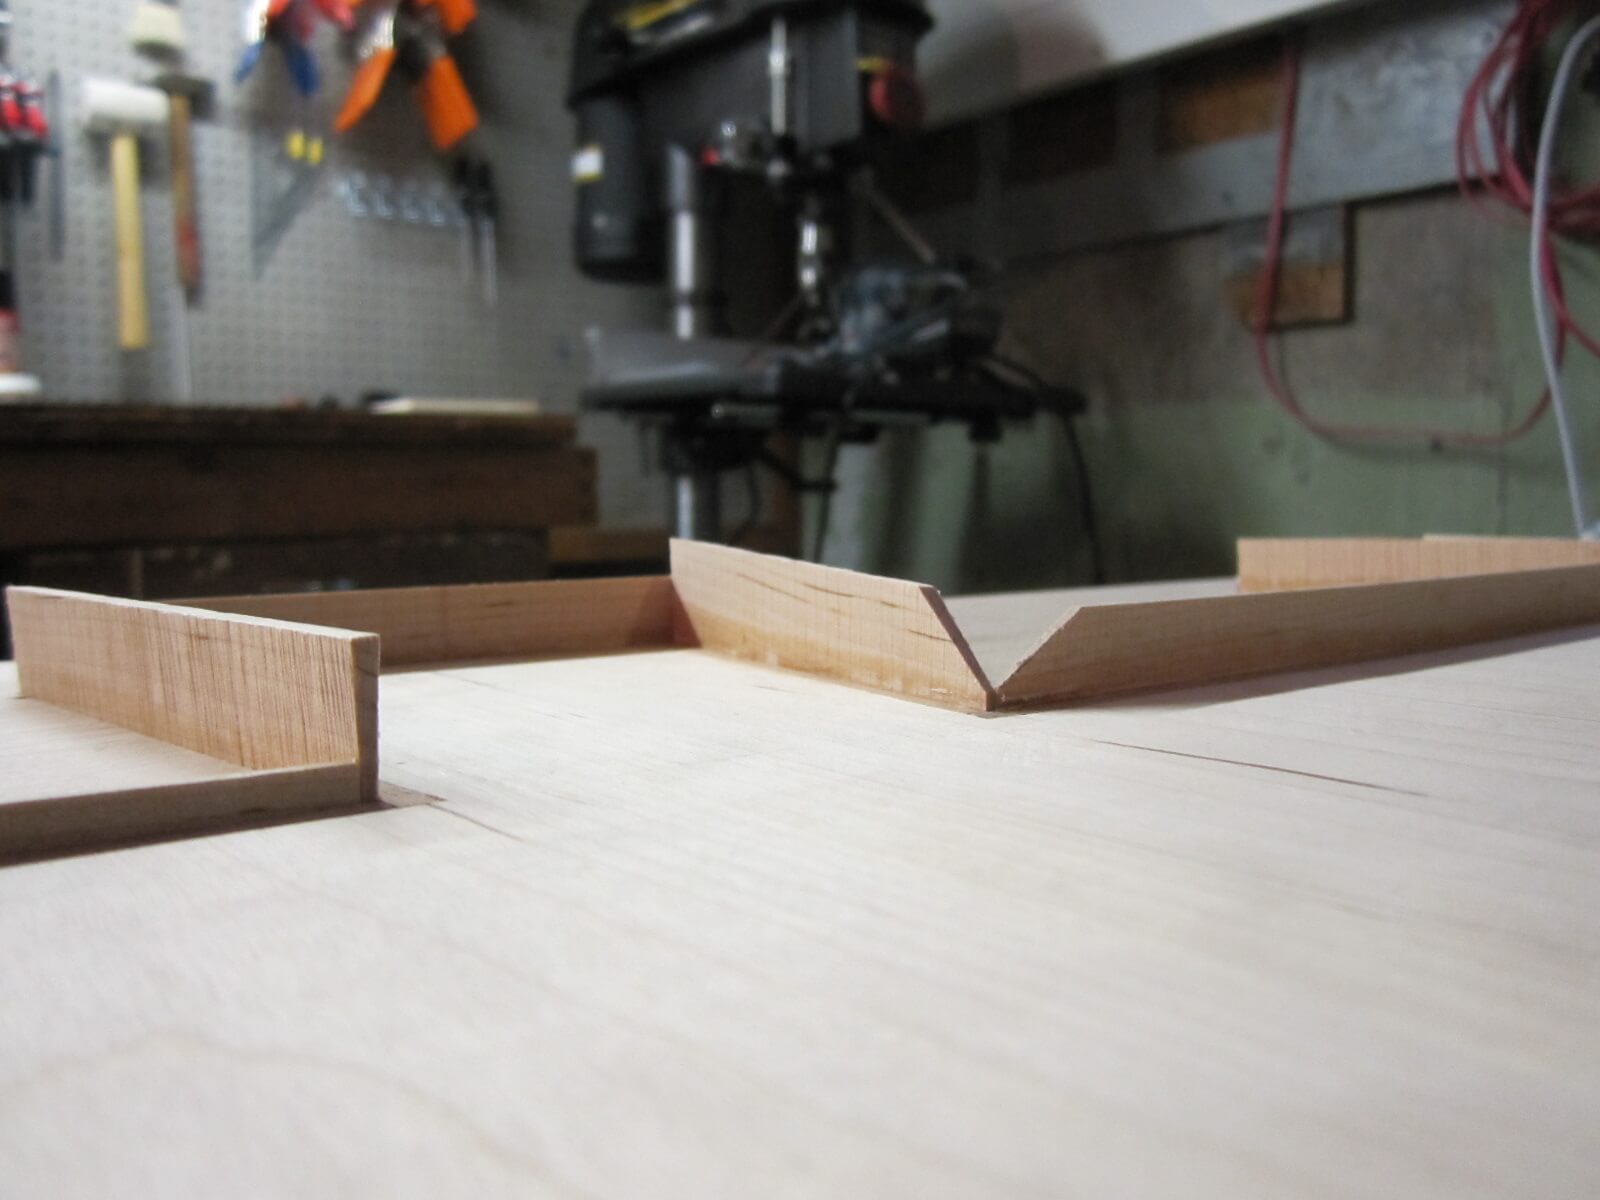
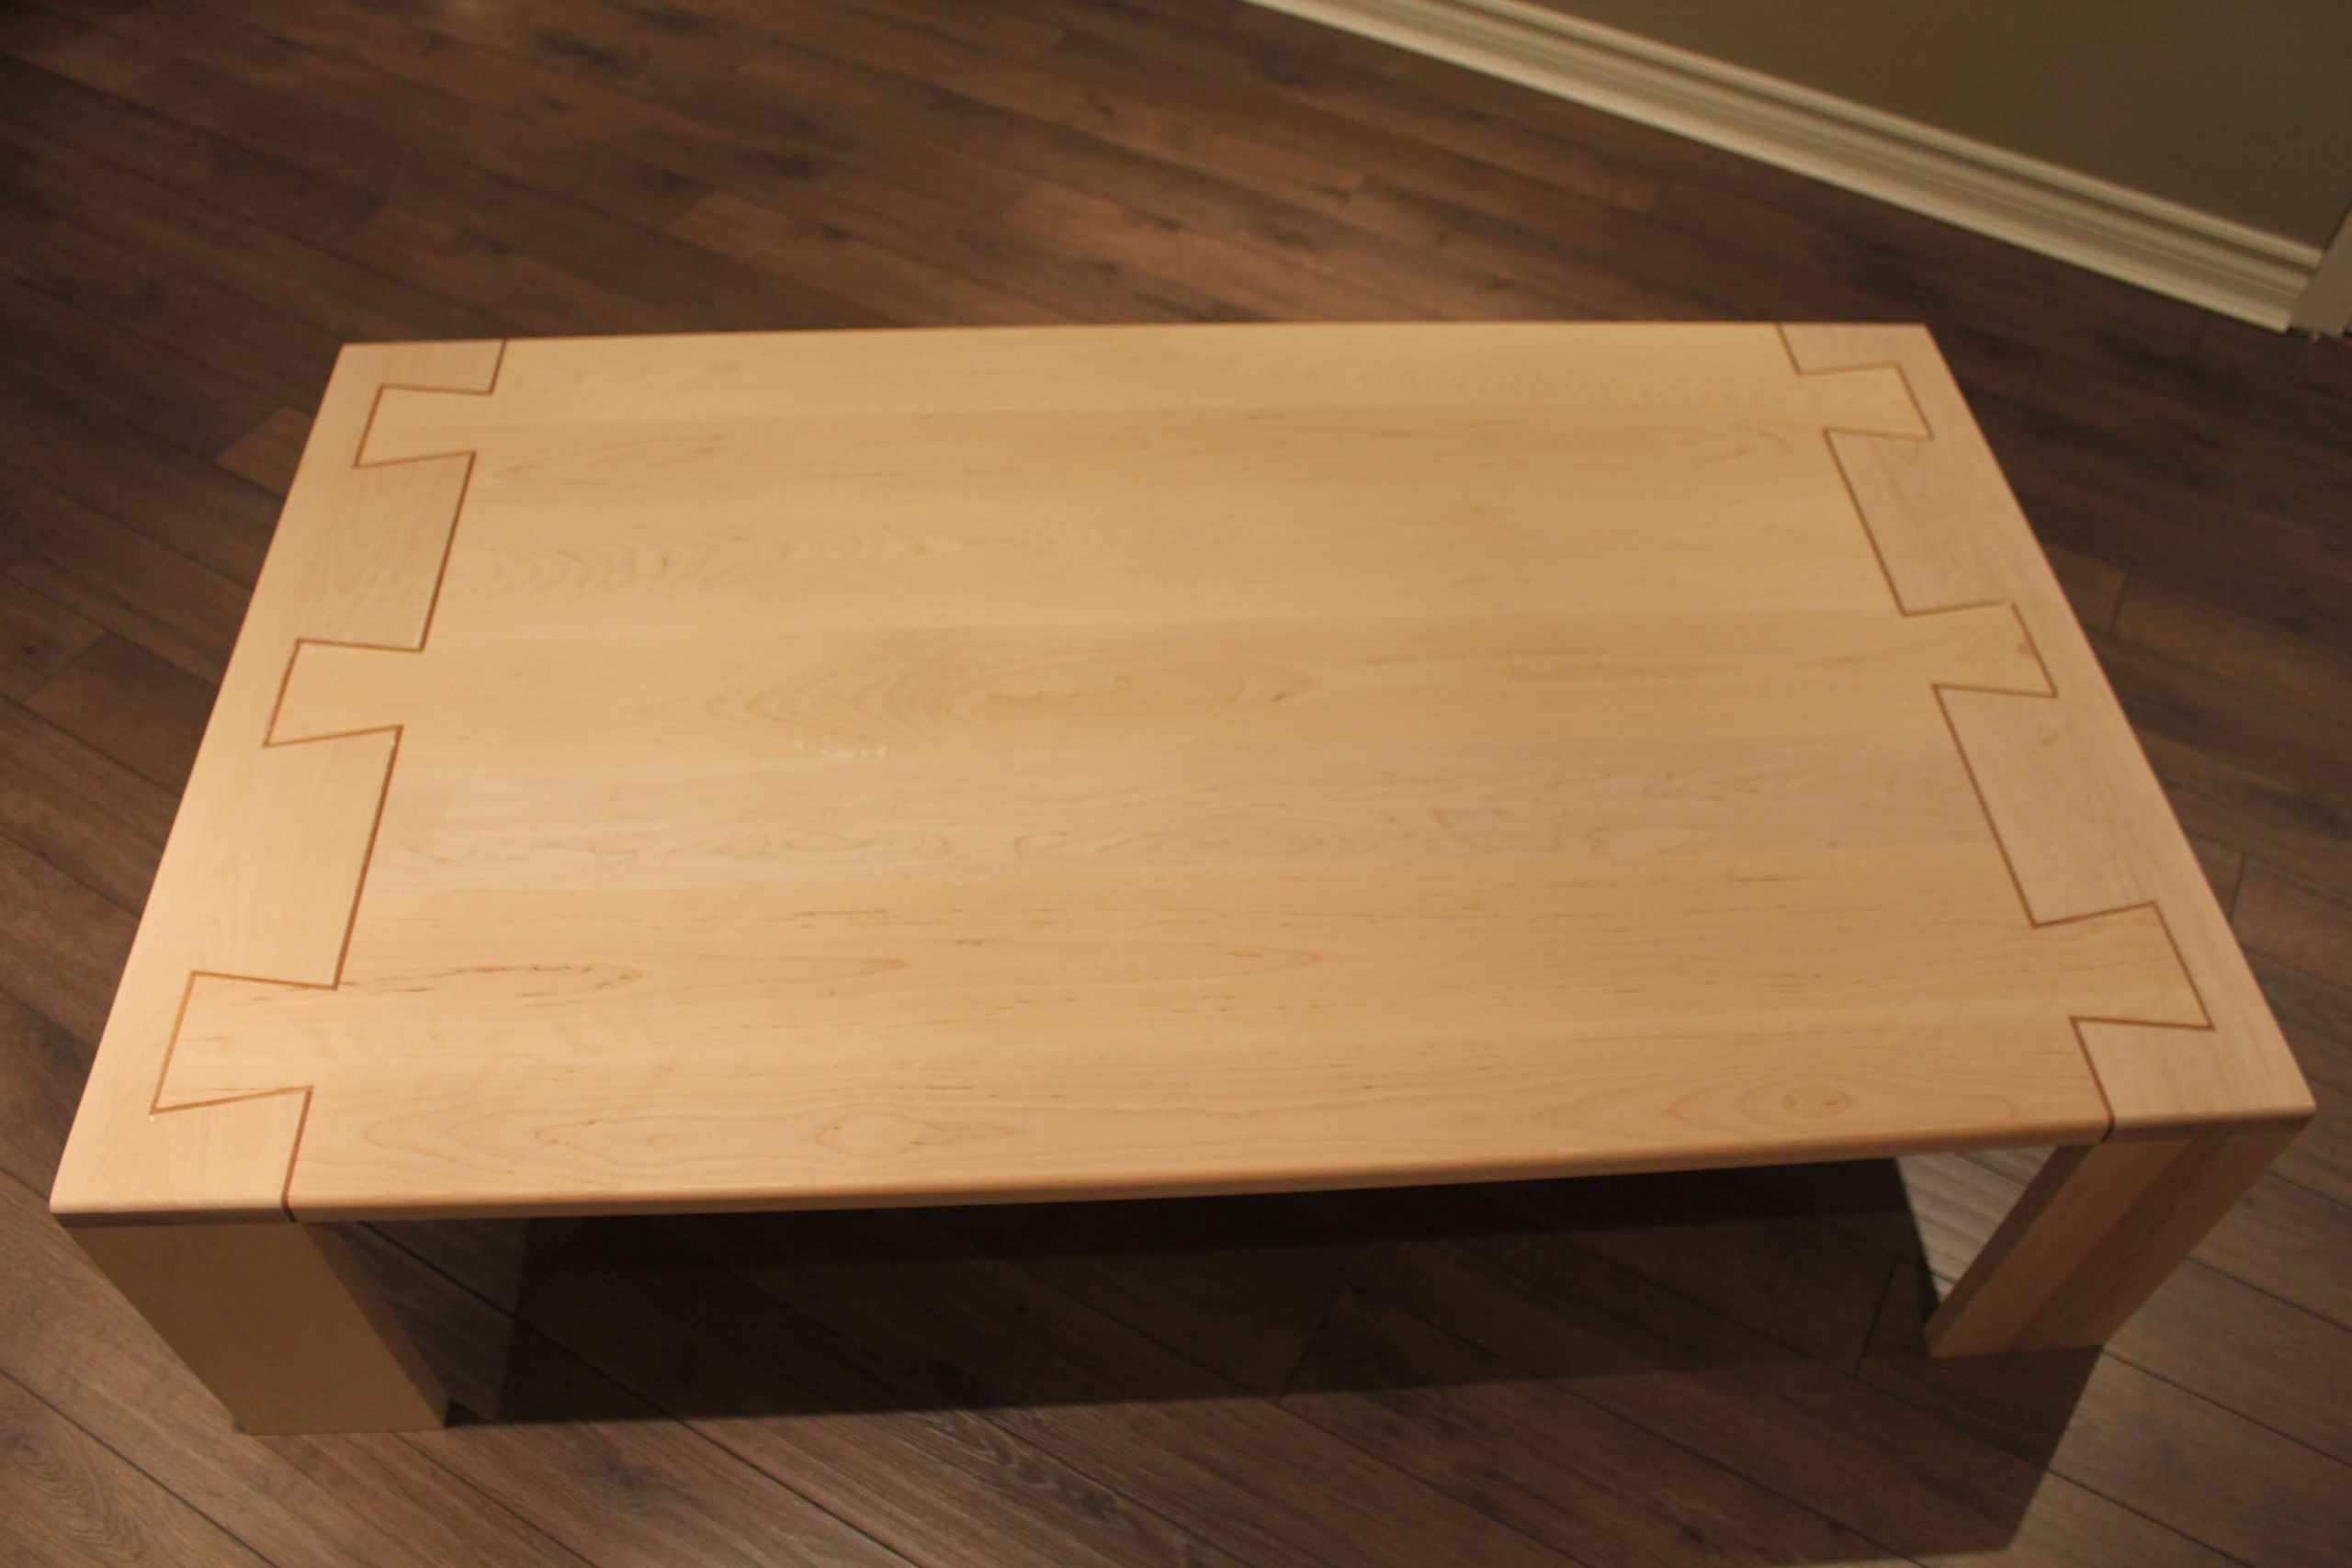
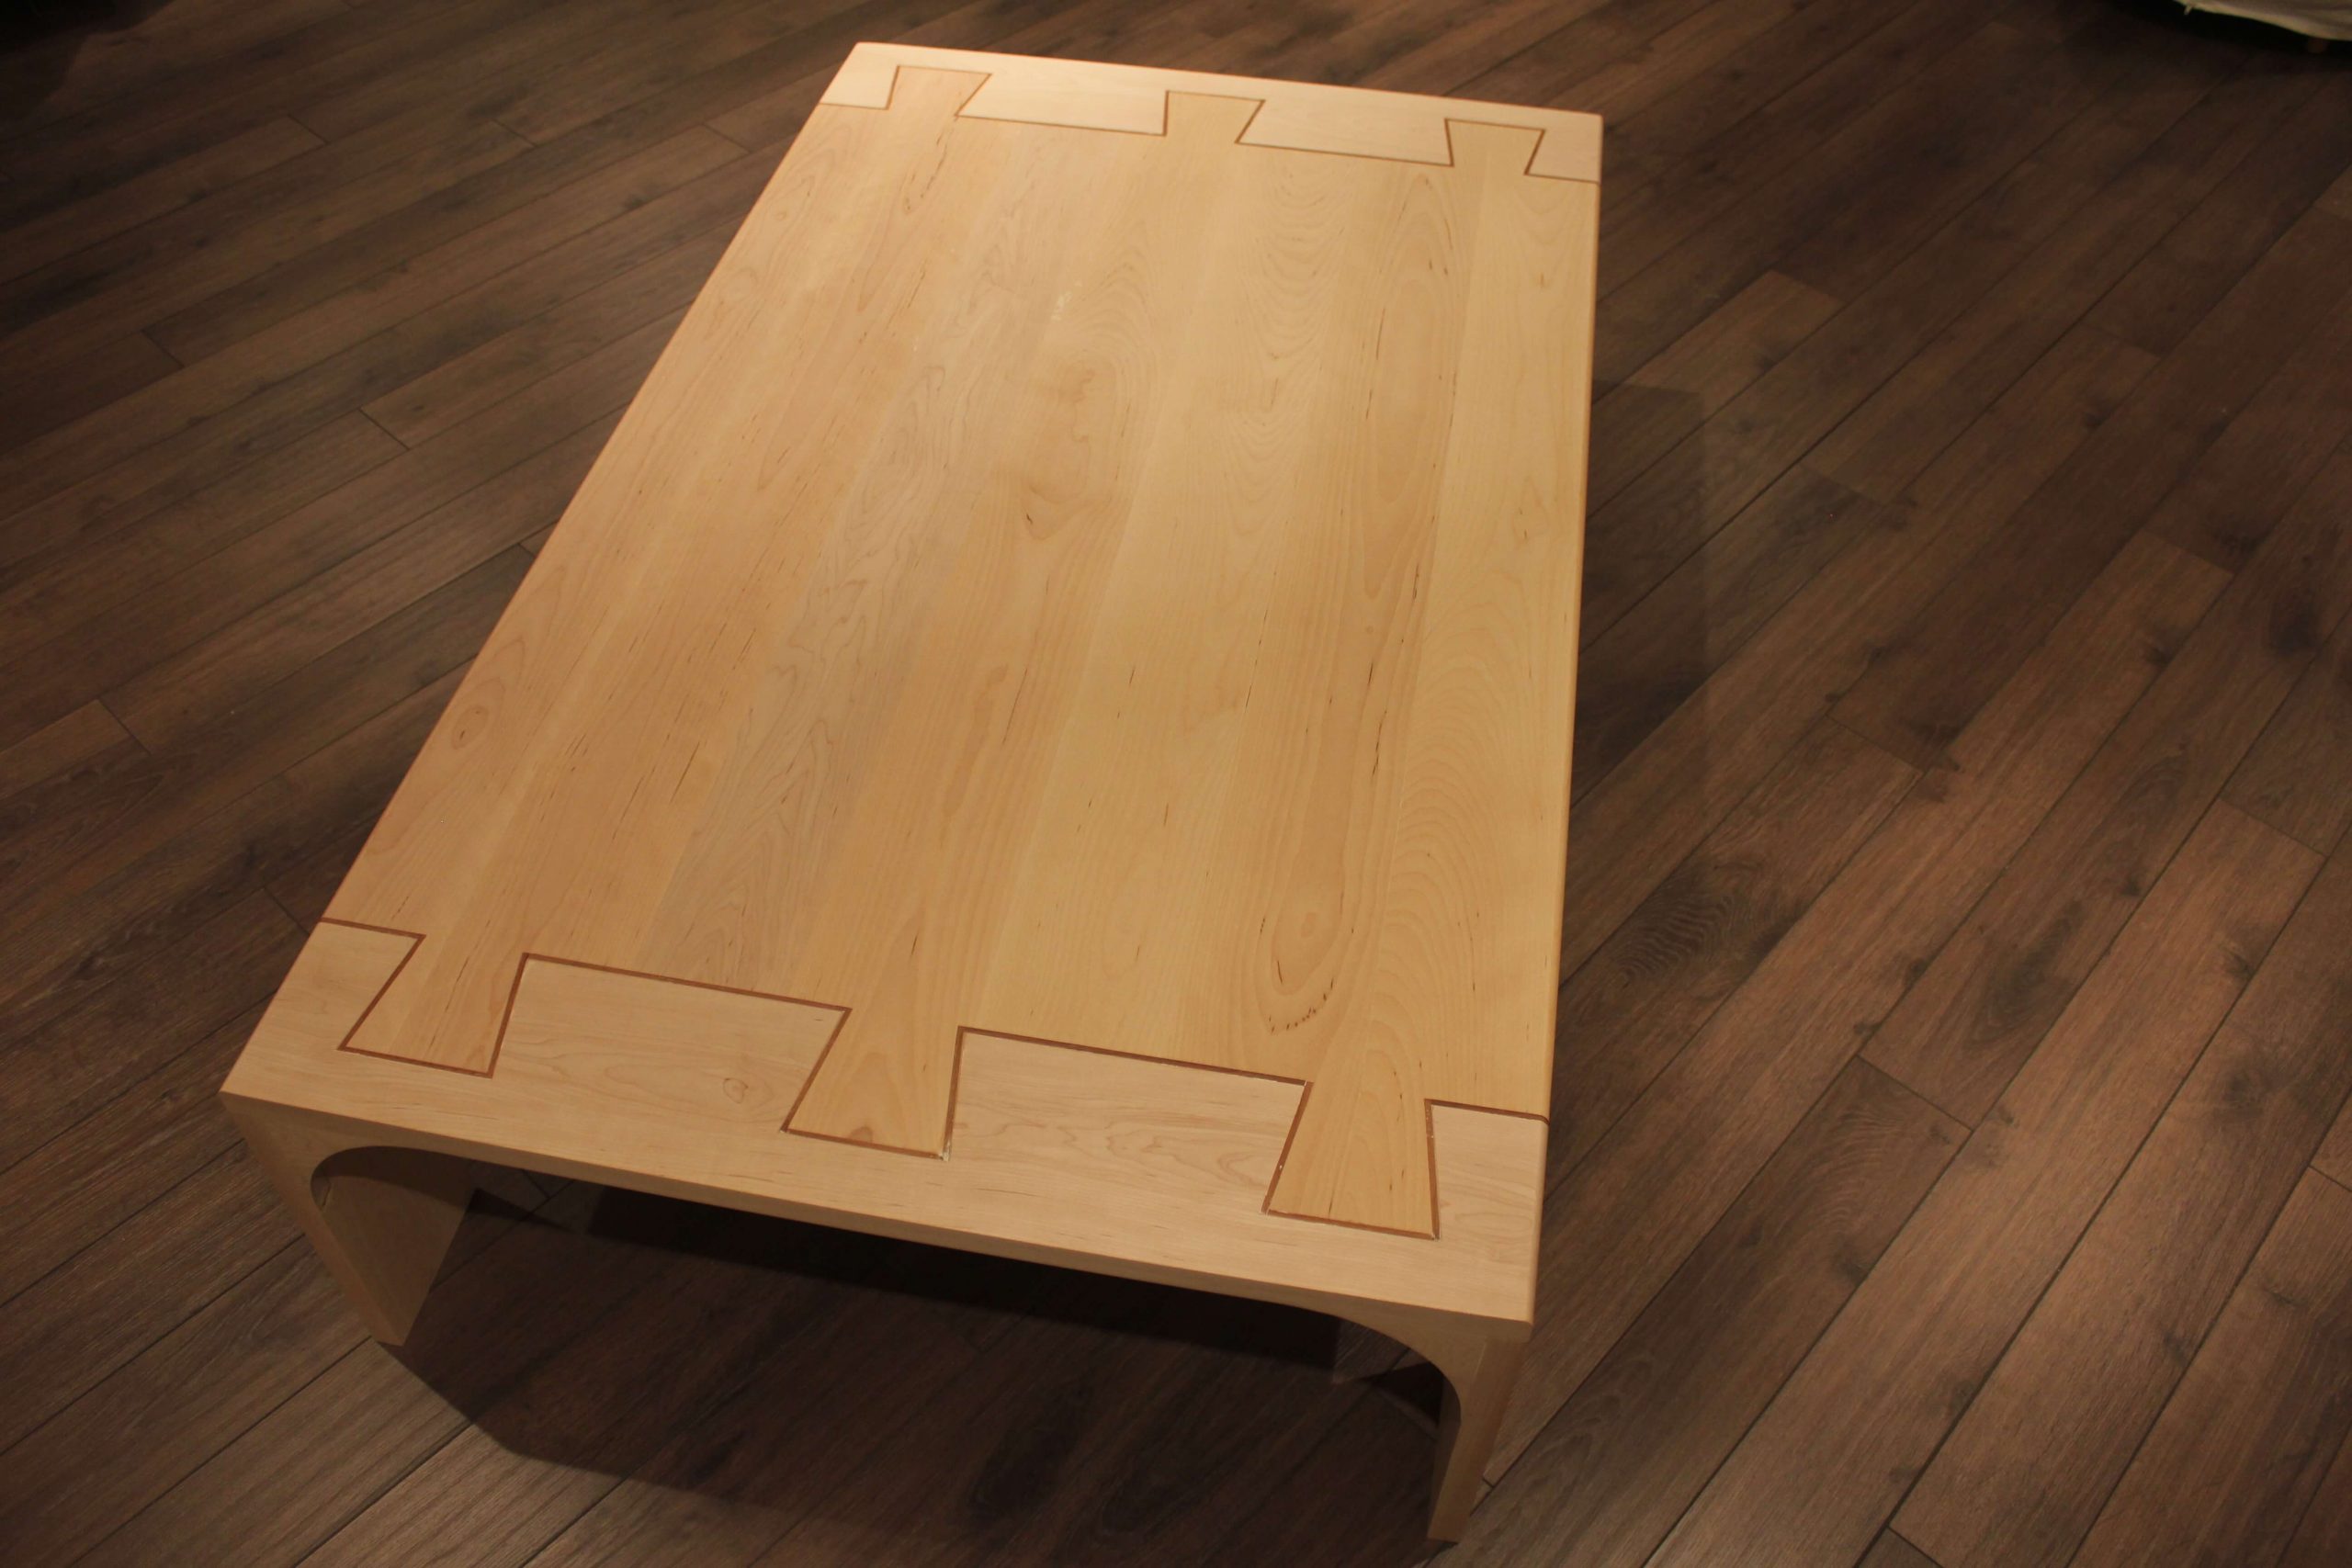
The dovetails
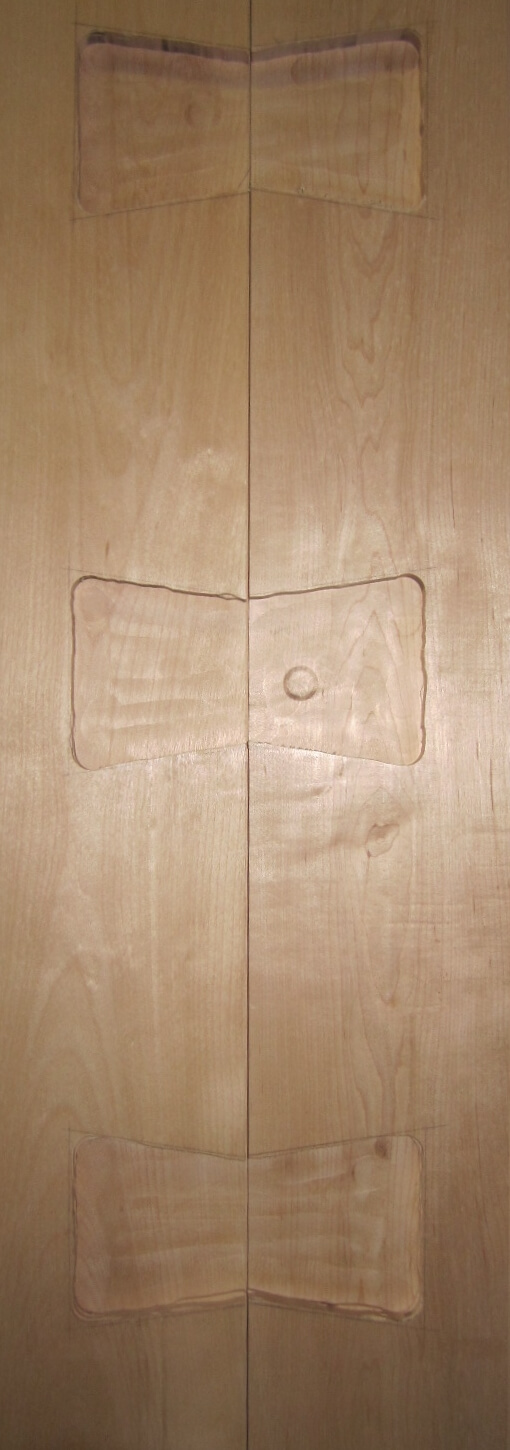
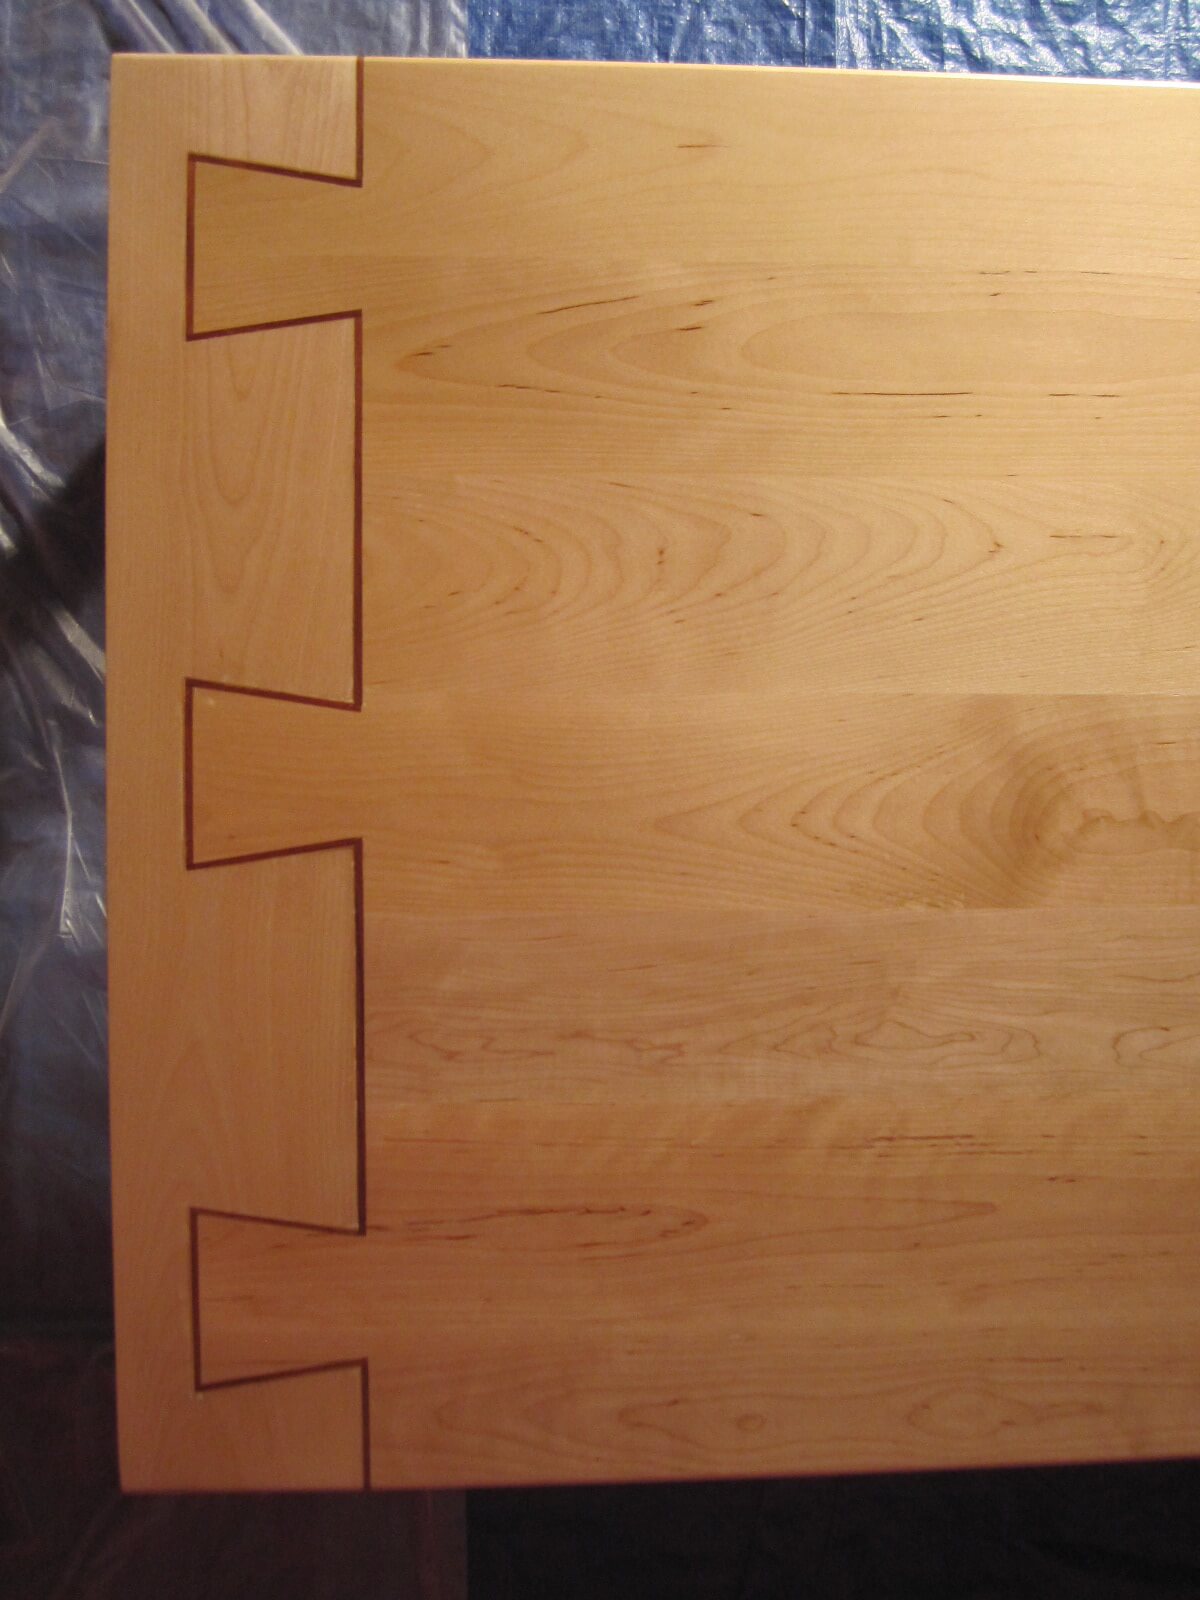
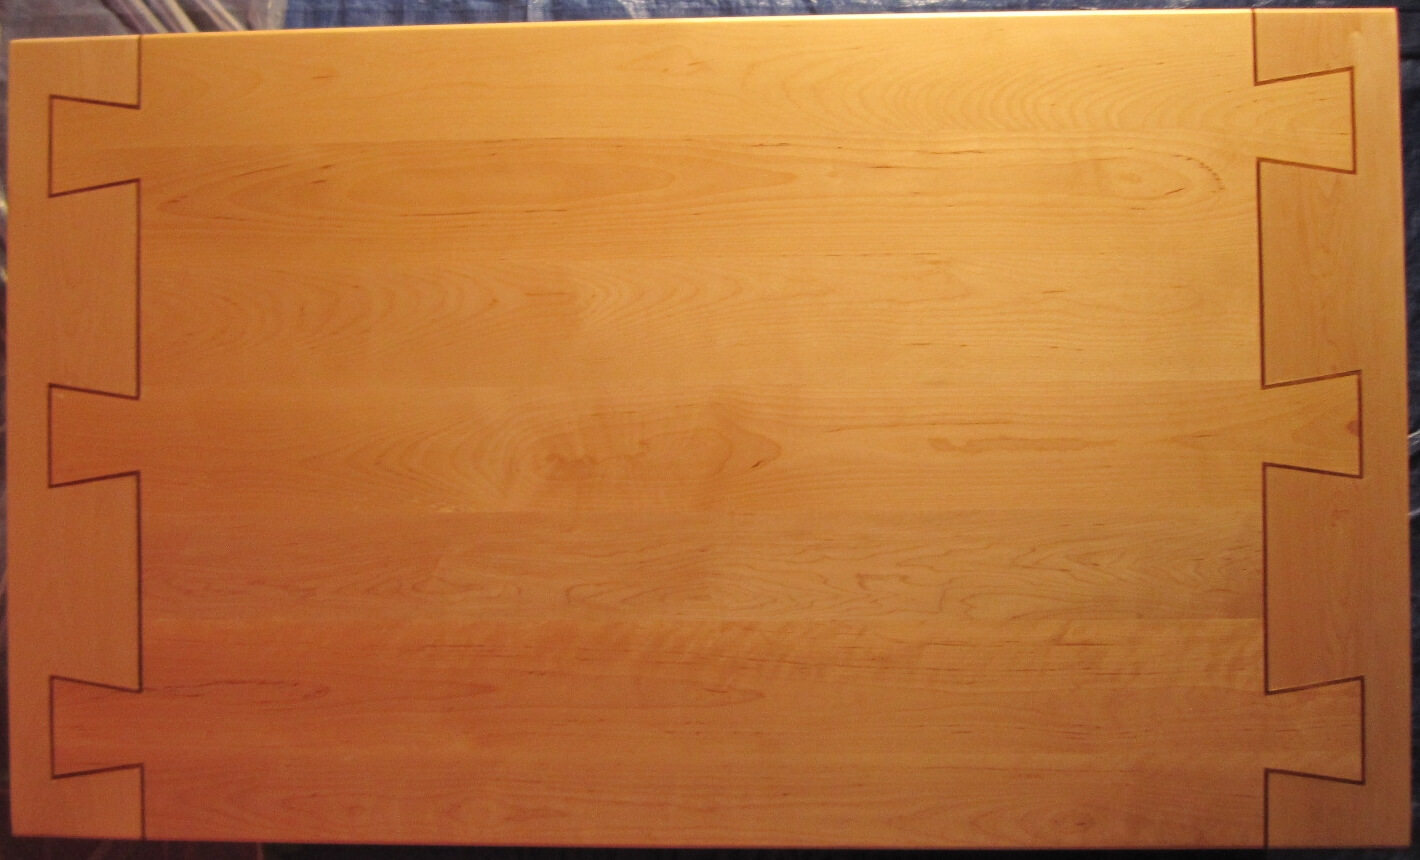
Each end of the tray will be completed by 3 “semi-blind” dovetails that will be assembled to the end pieces, themselves, assembled with the feet.
This type of assembly is very pretty but very difficult to achieve because it requires a lot of precision and the difficulty increases with the number of dovetails. However, it offers interesting mechanical characteristics and is particularly strong.
The difference between a dovetail and a semi-blind dovetail, or covered, is that one completely crosses the piece of wood and the other also realizes a mid-wood assembly. She stops halfway.
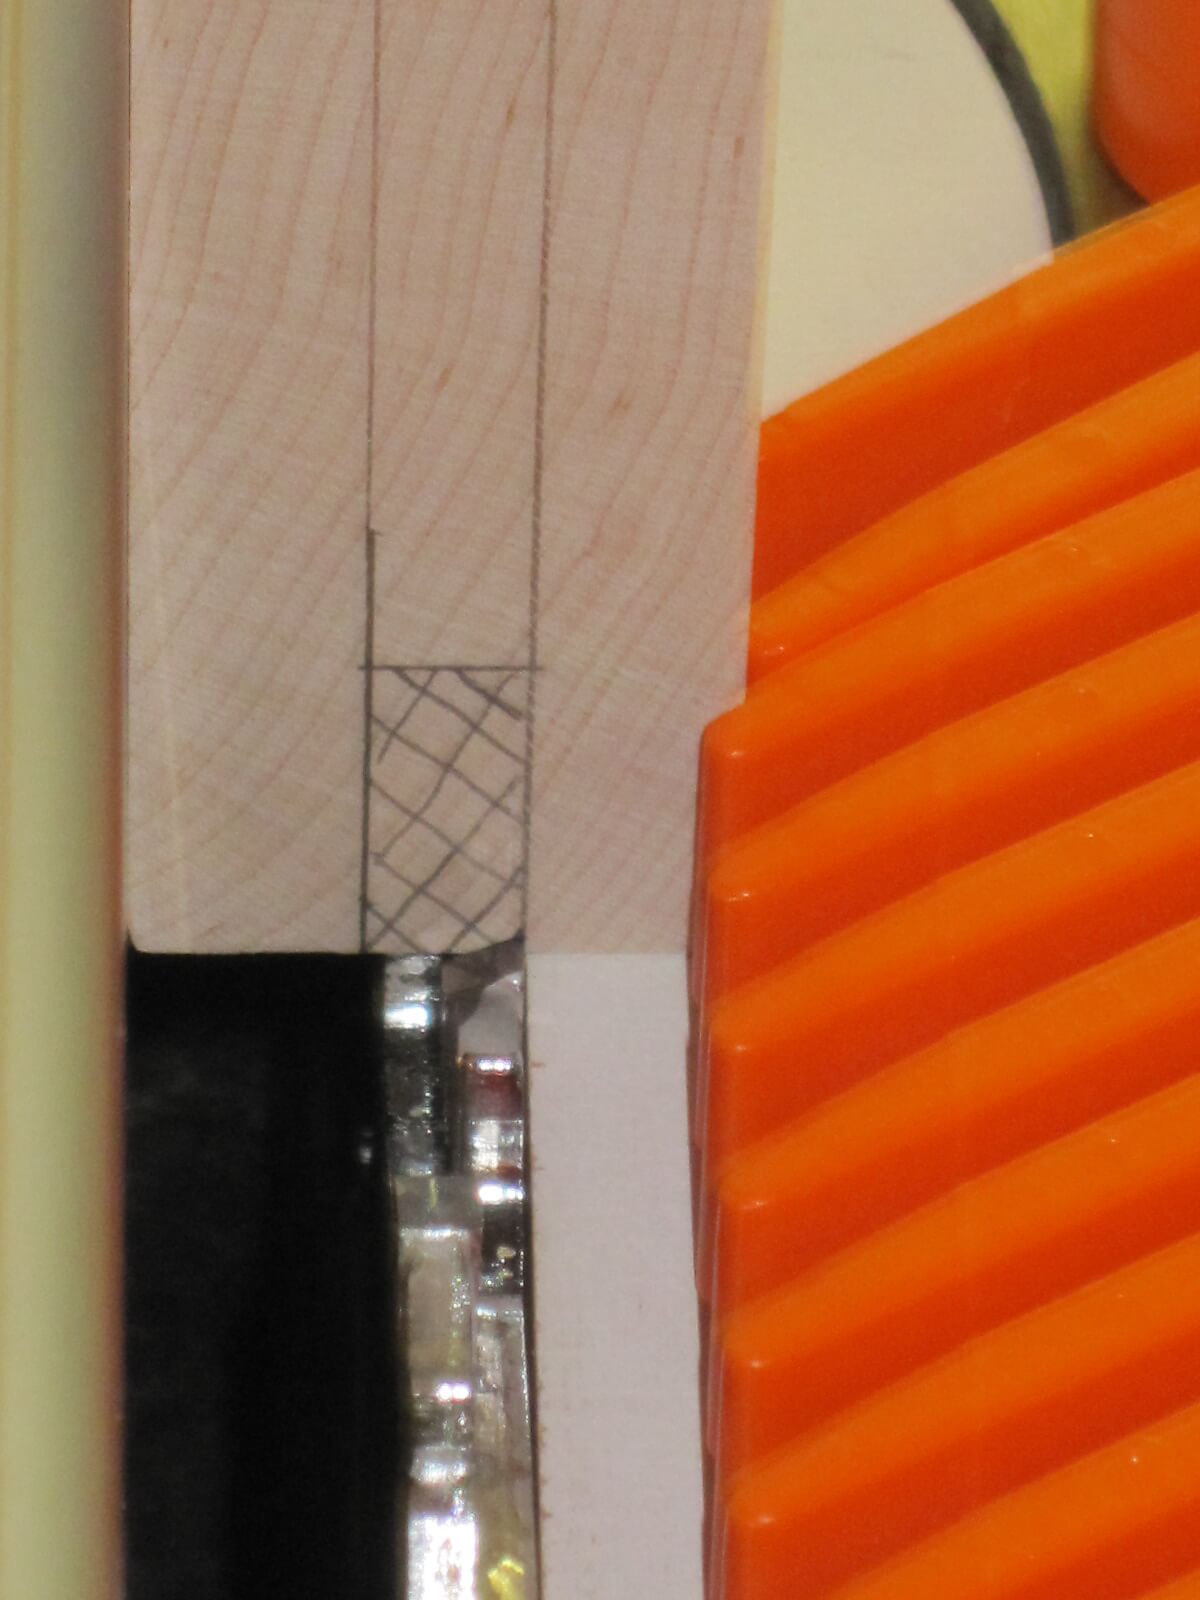
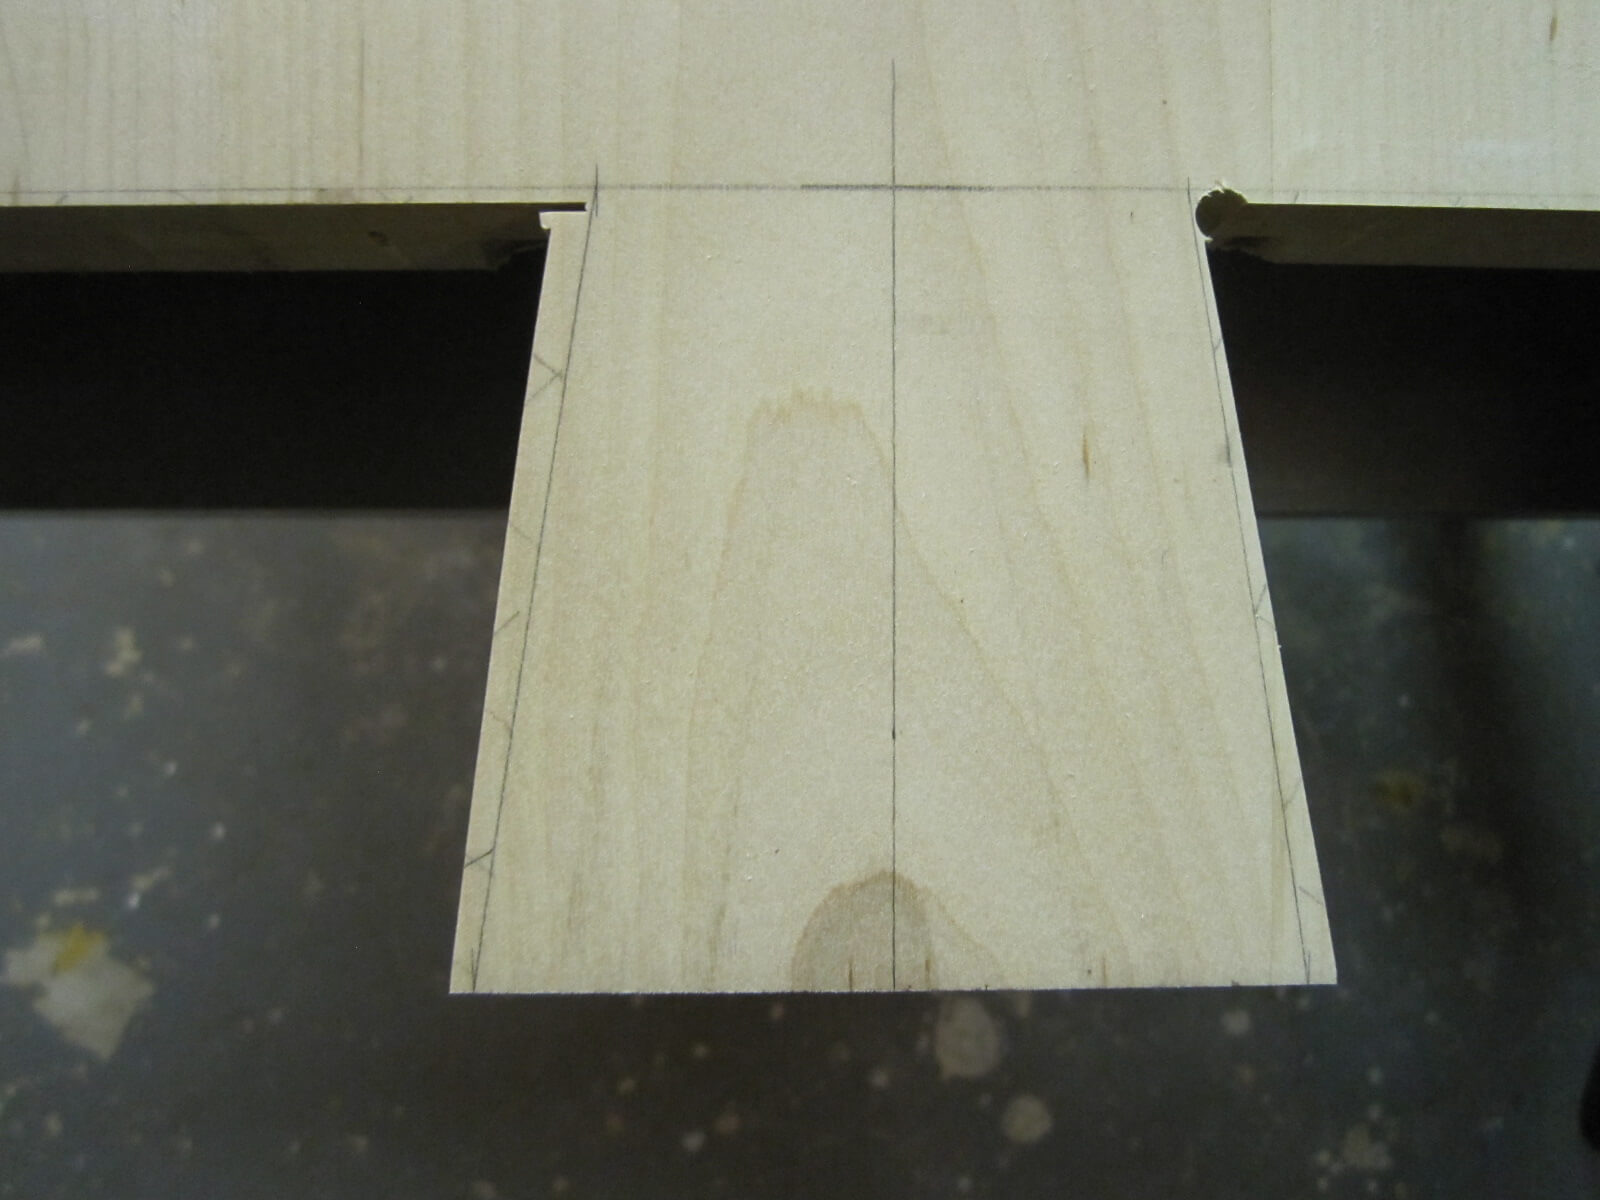
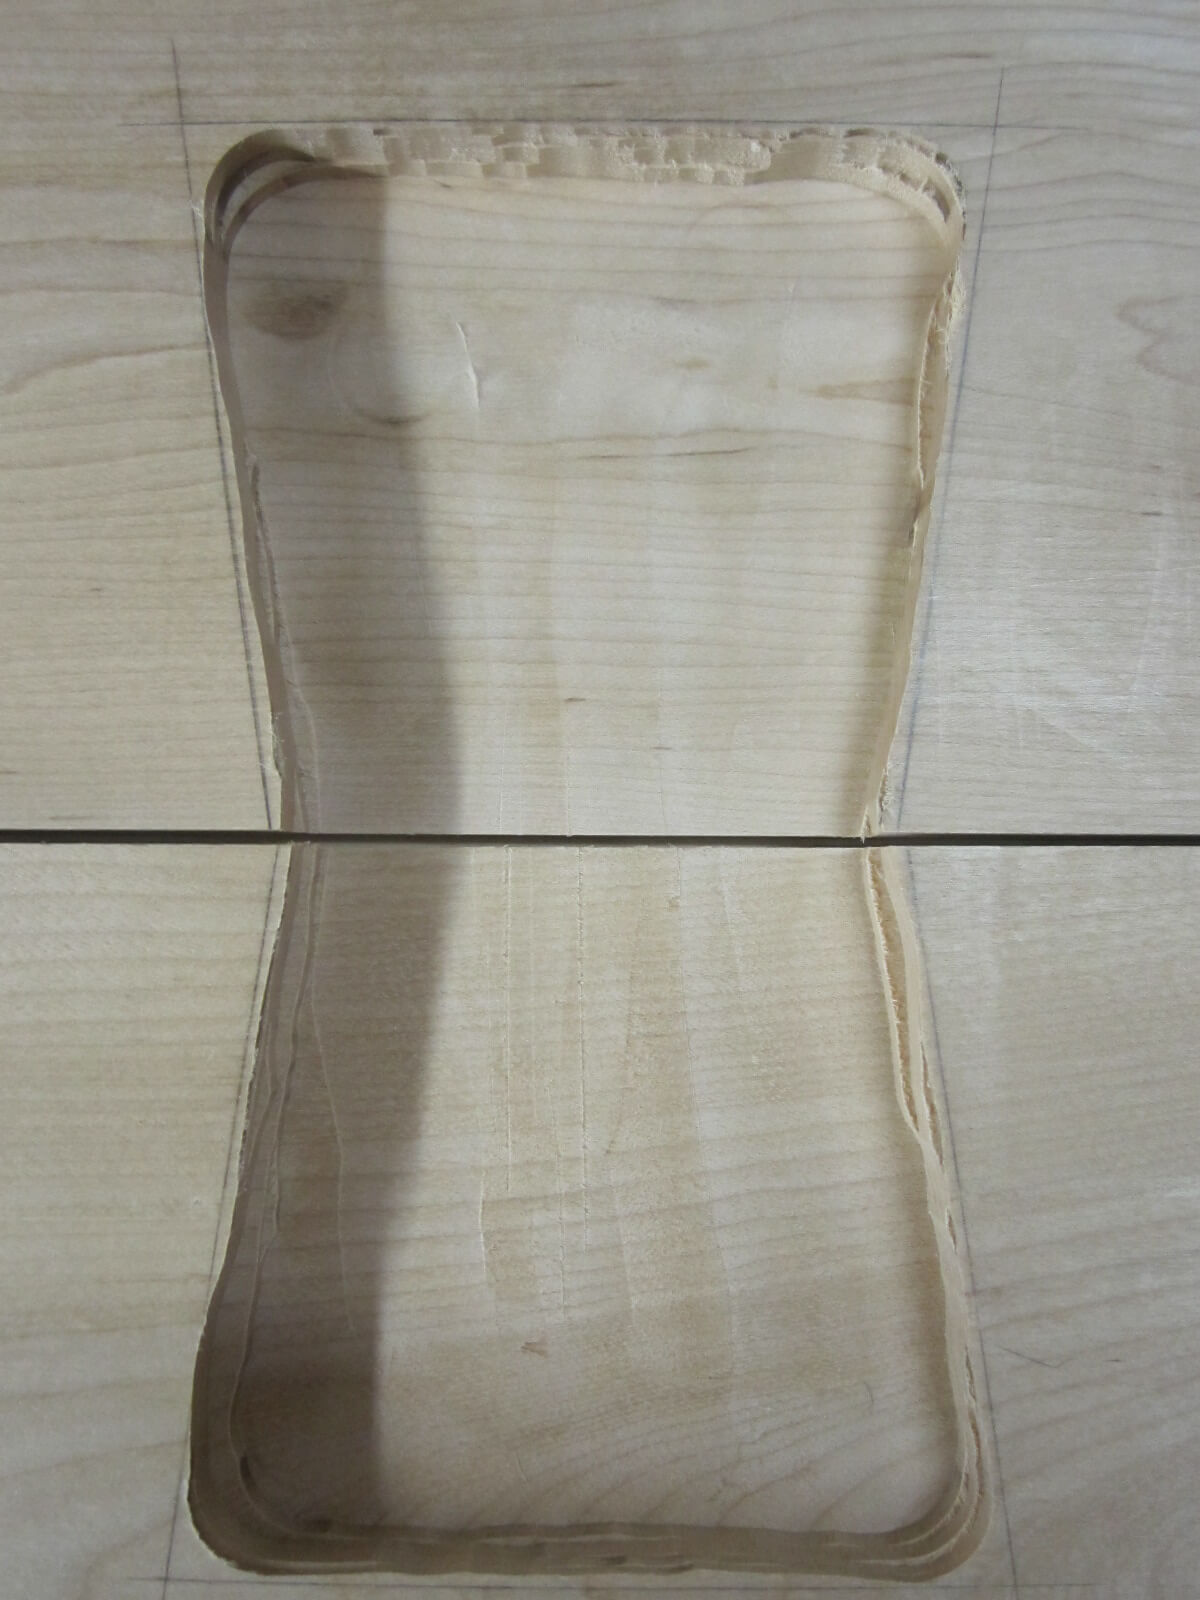
- First step: mark the dovetails.
- Second step: remove the surplus wood to the router for the realization of the half lap assembly.
- Third step: clear the dovetails from the jigsaw.
- Last step: finish with a chisel.
You need very sharp tools to work the maple.
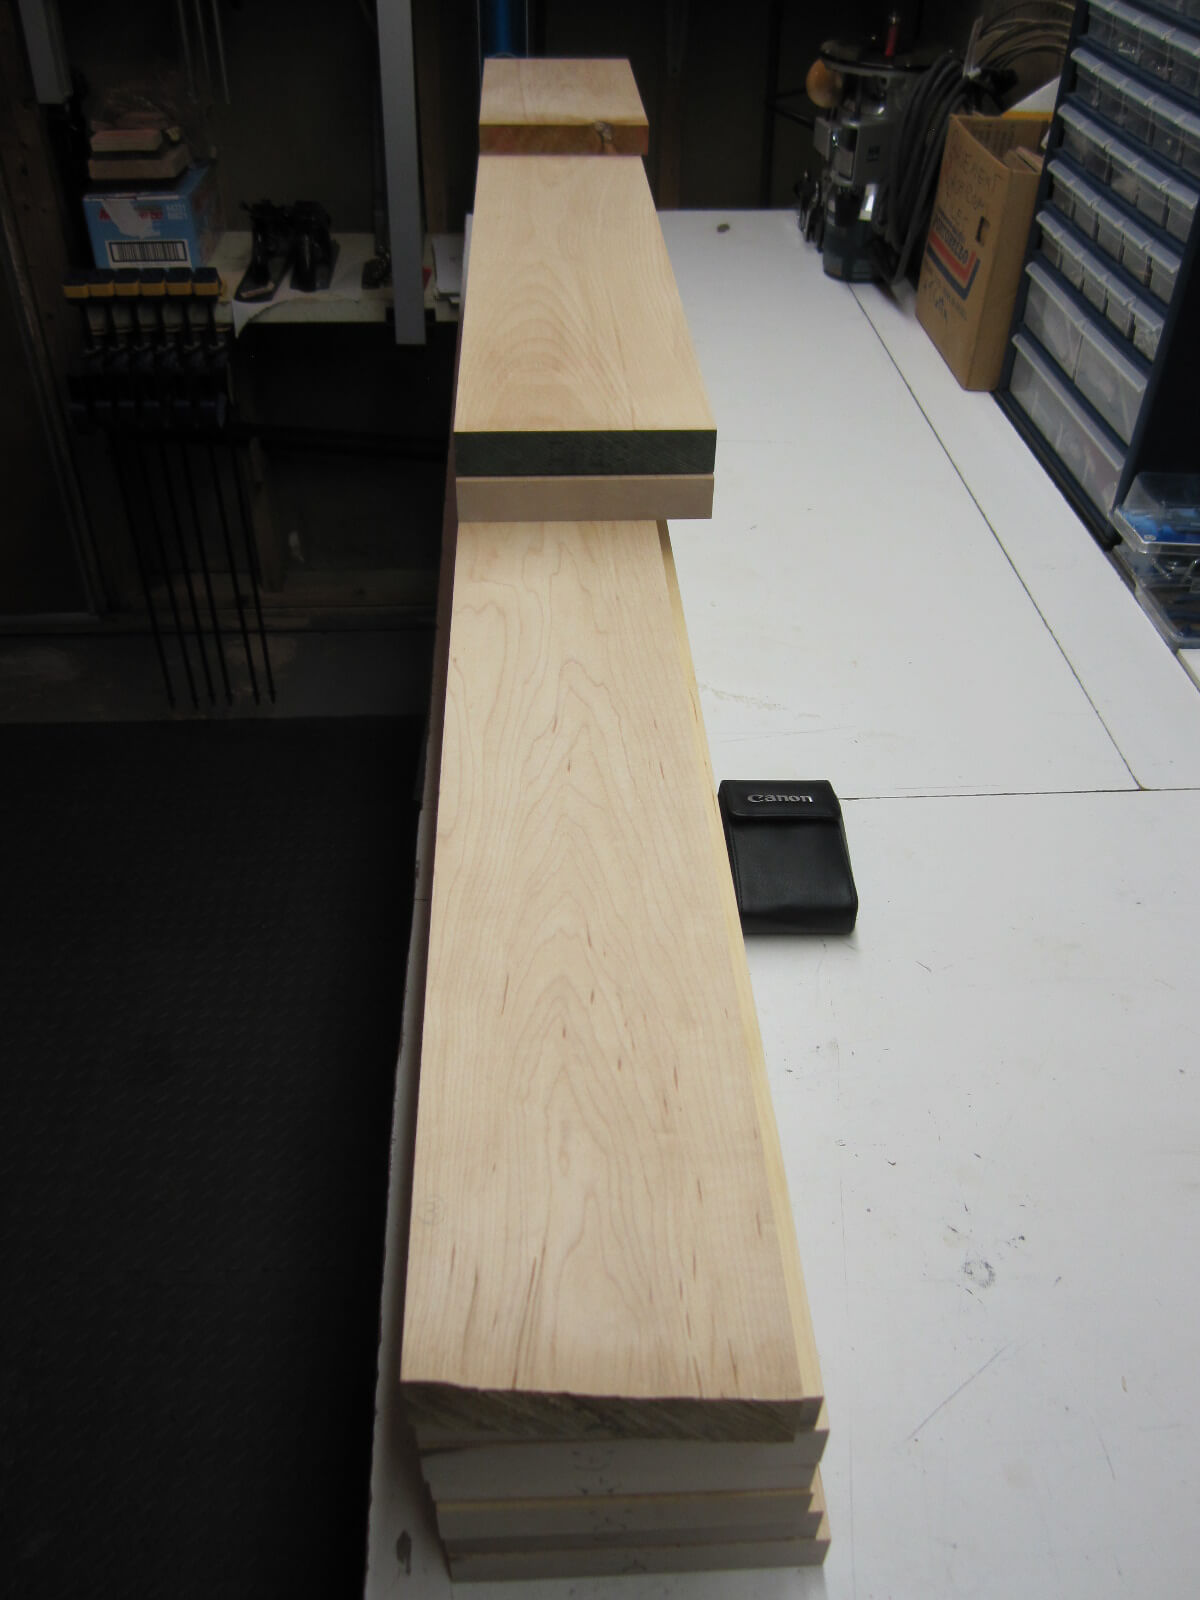
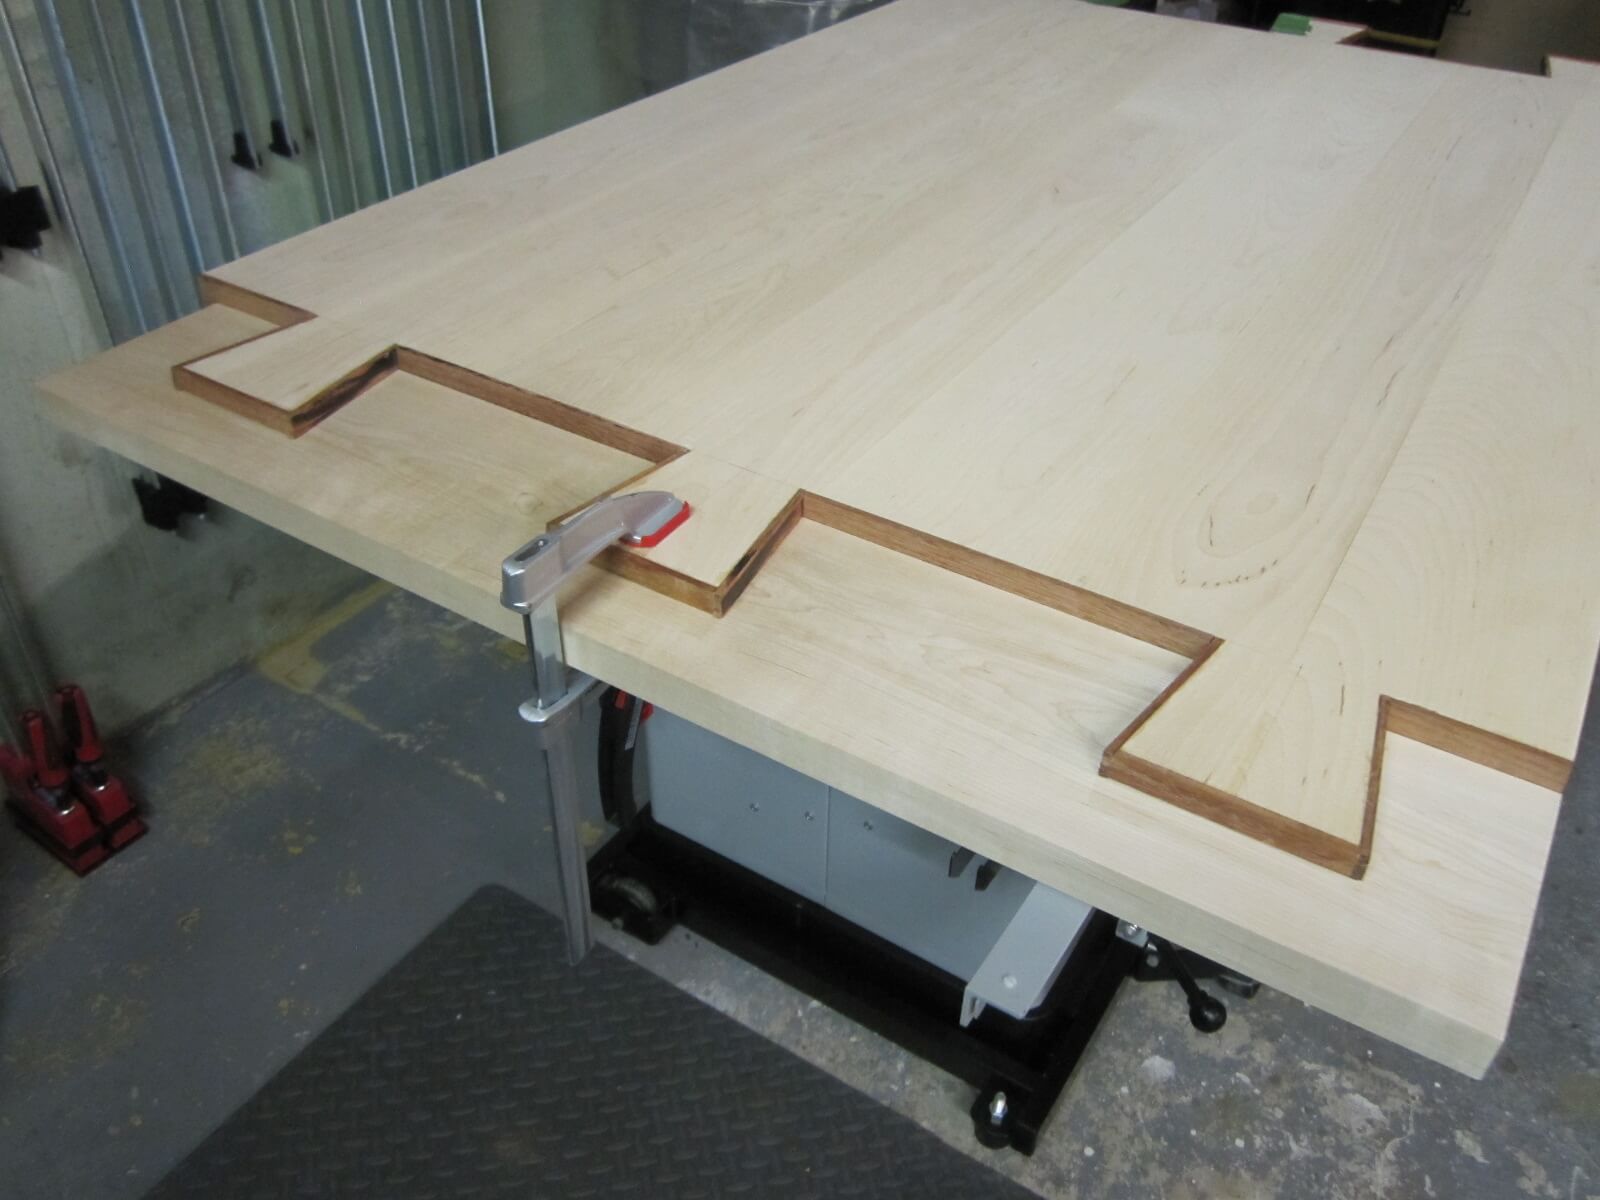
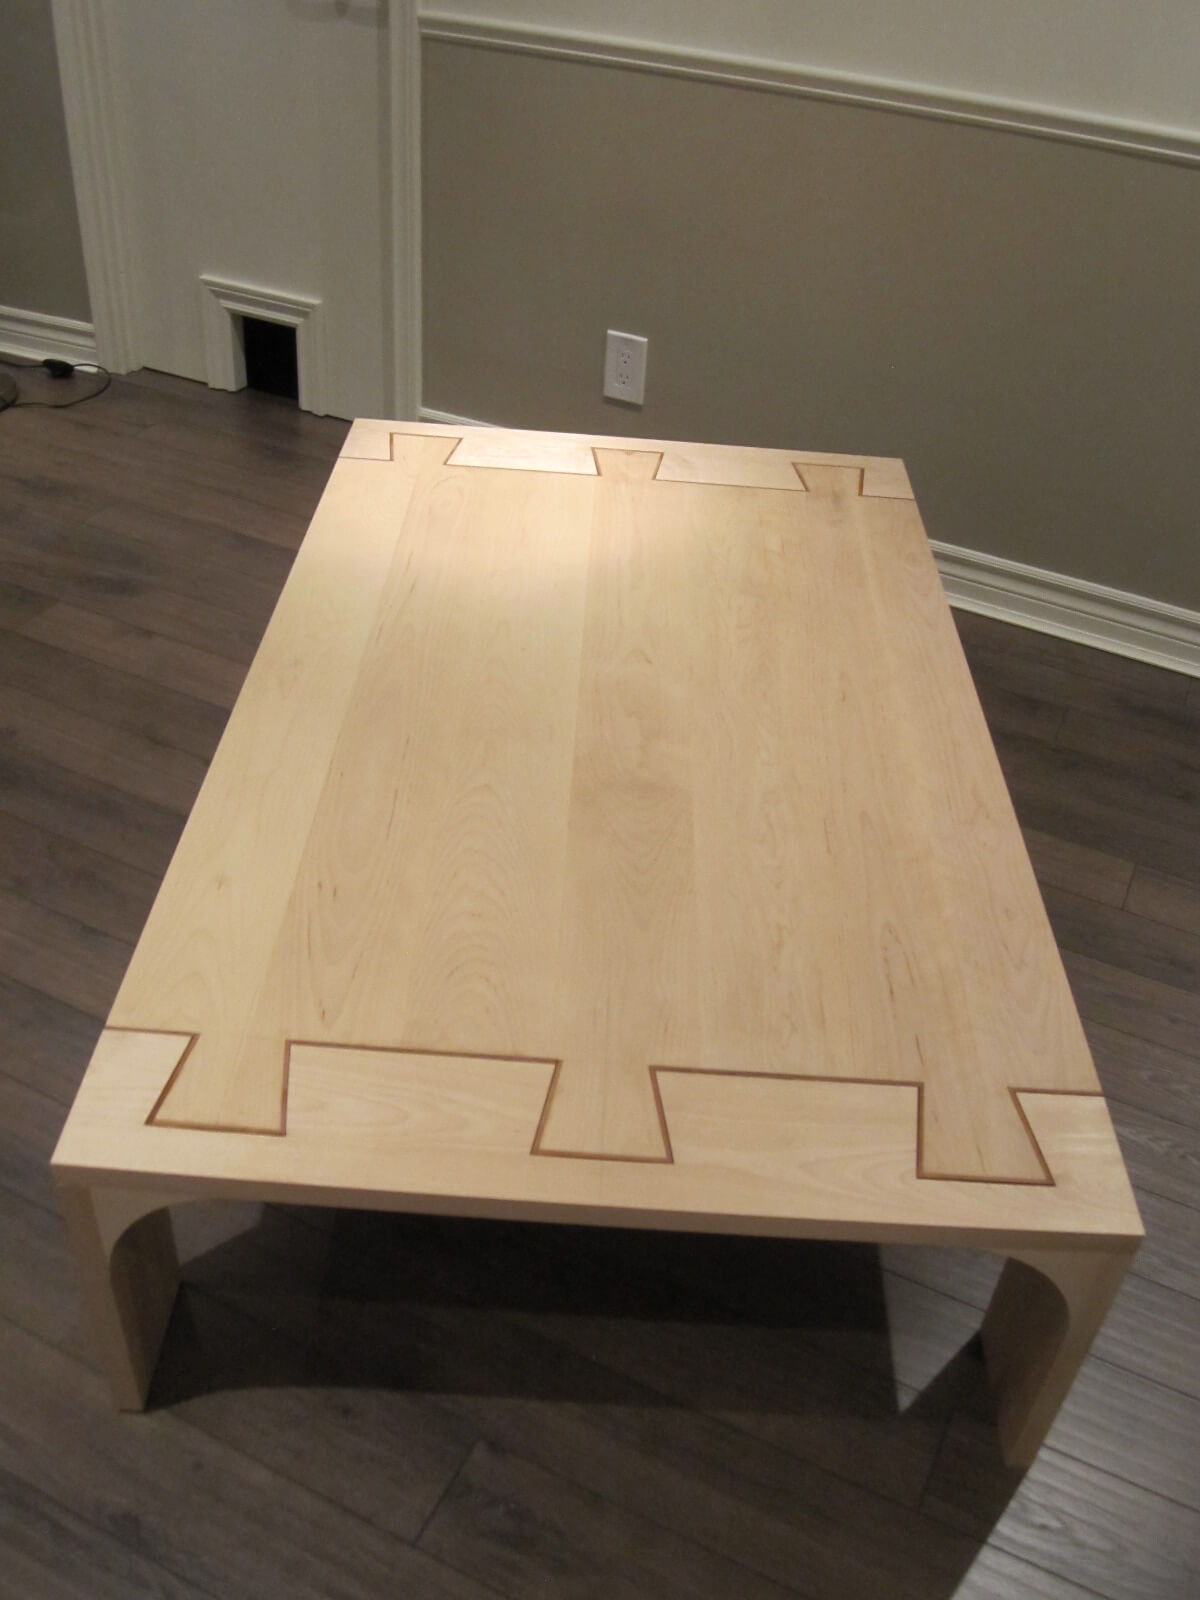
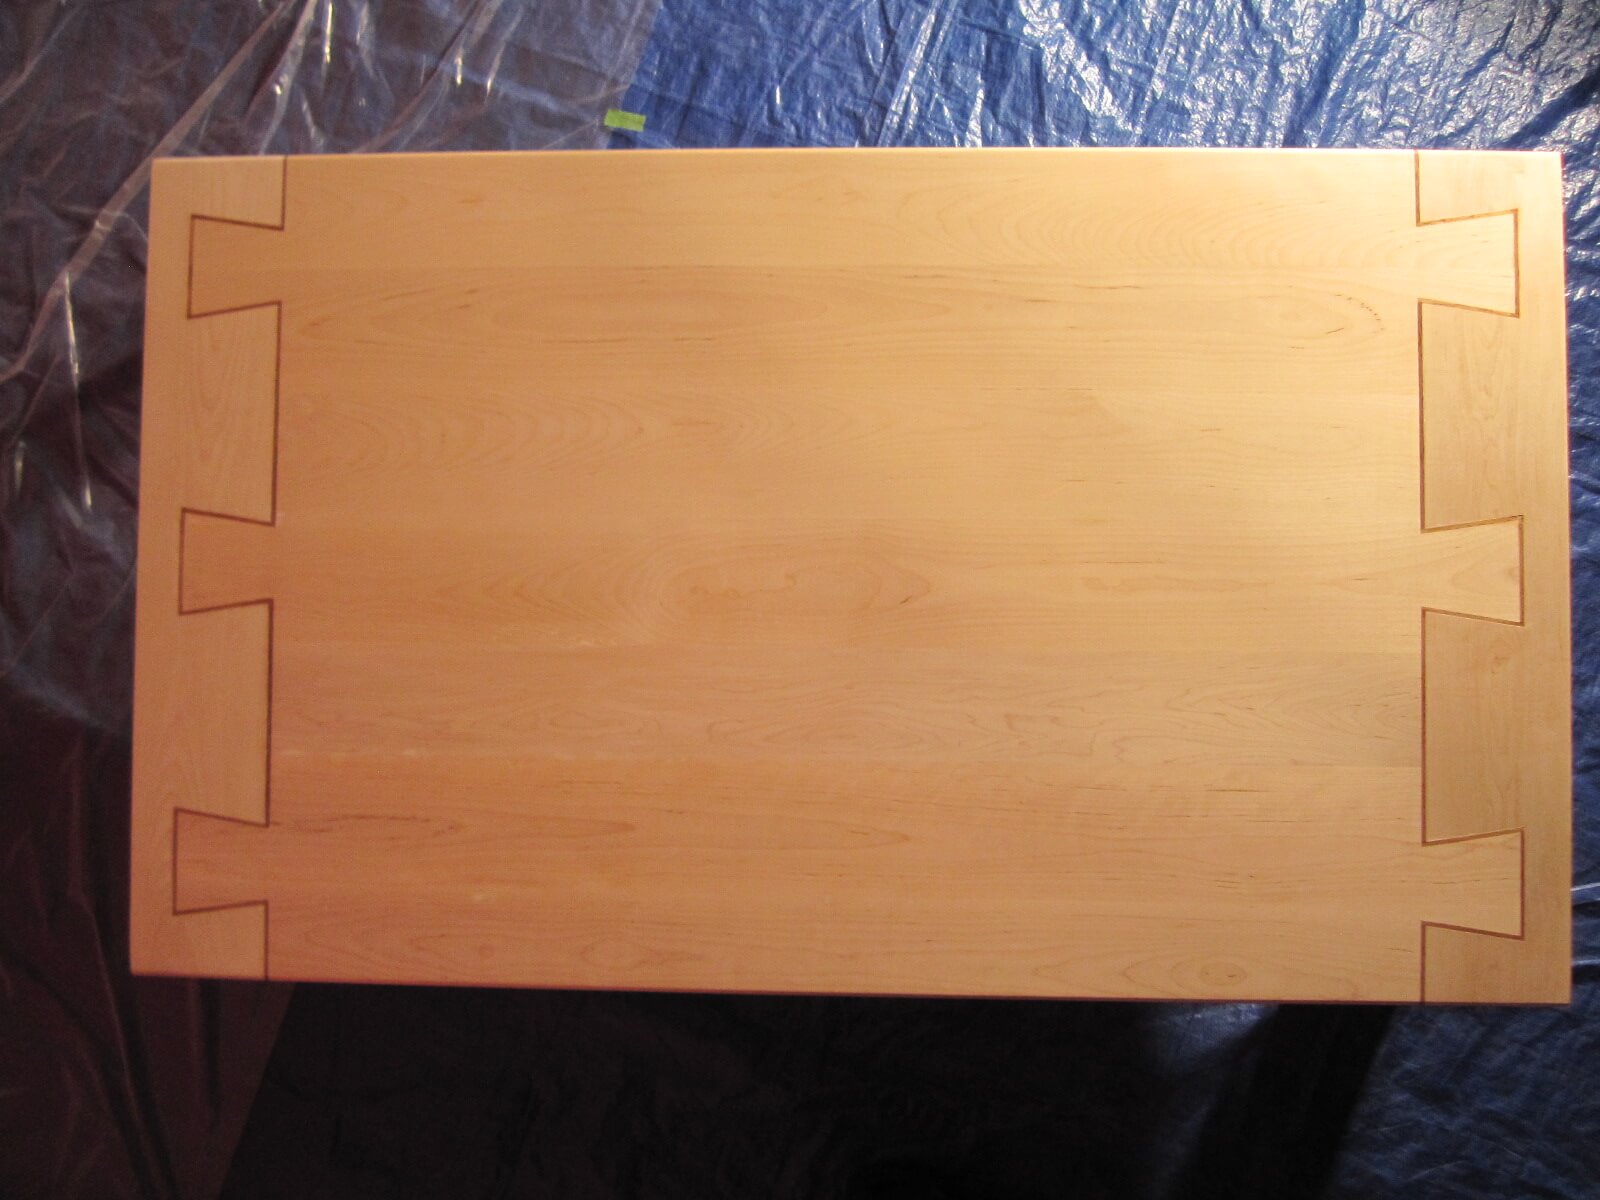
Ornementation
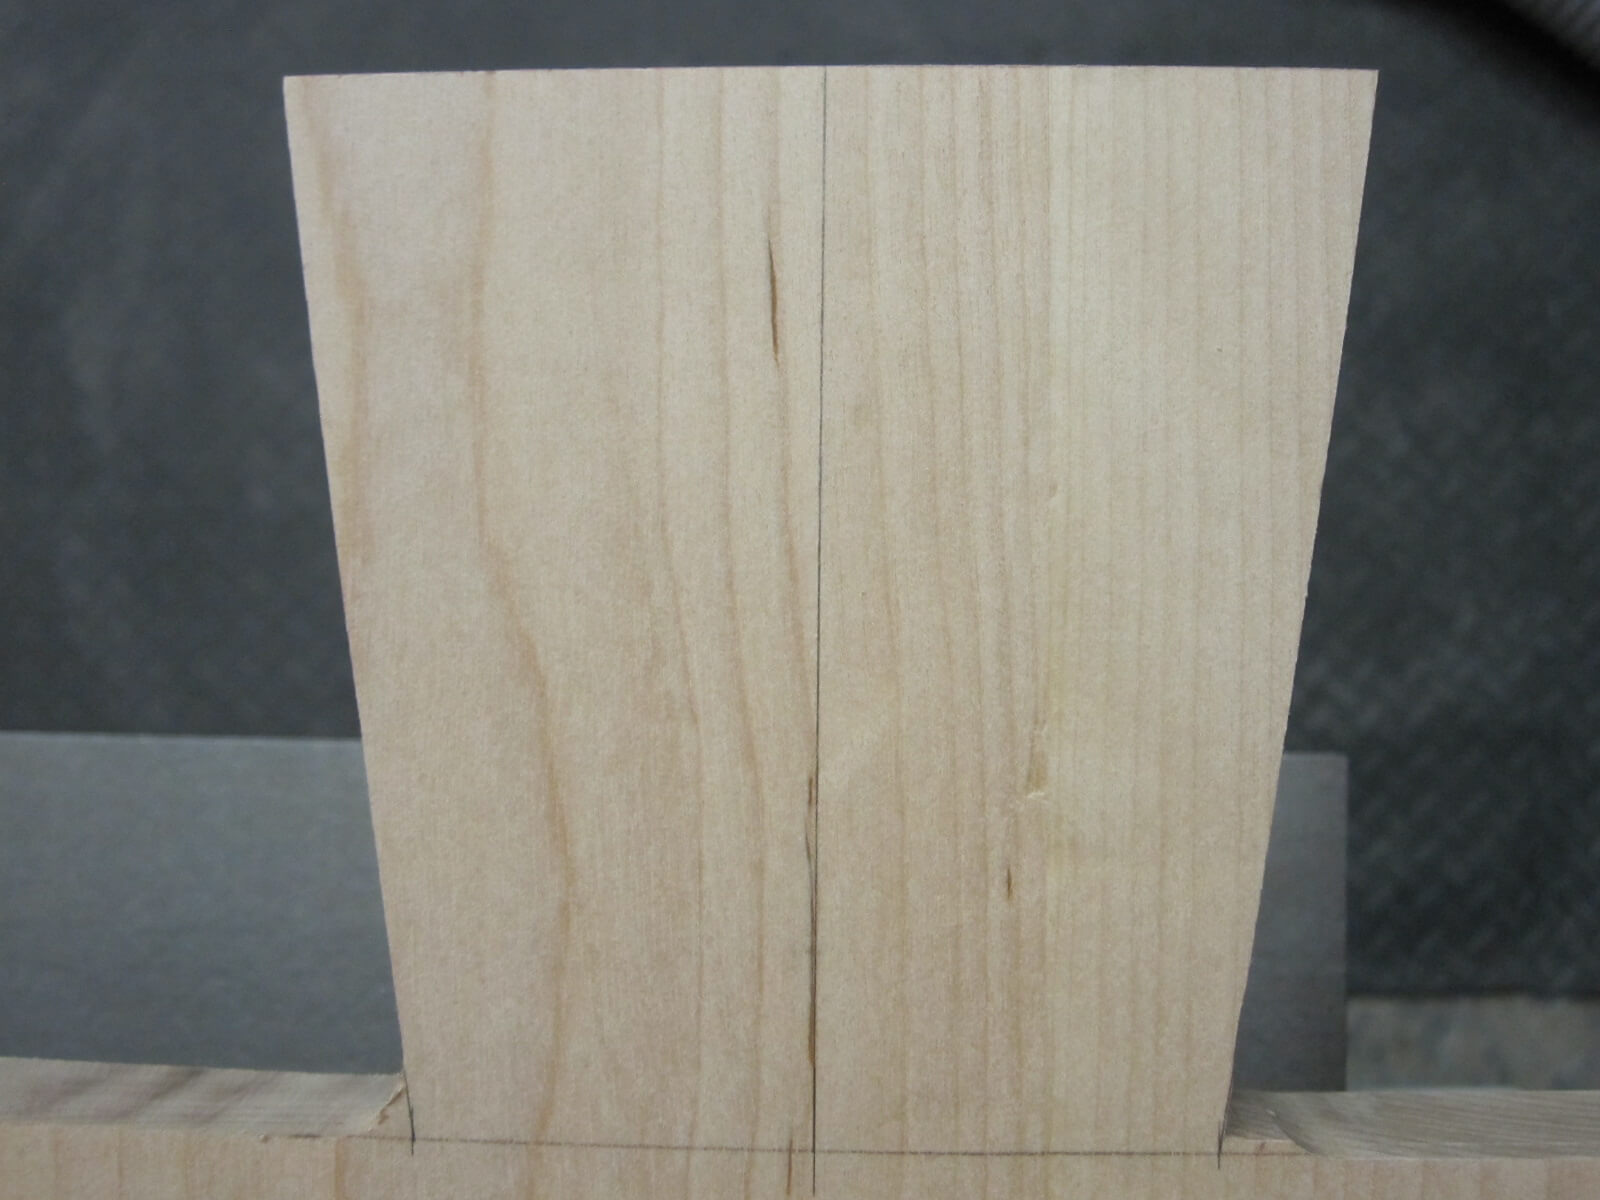
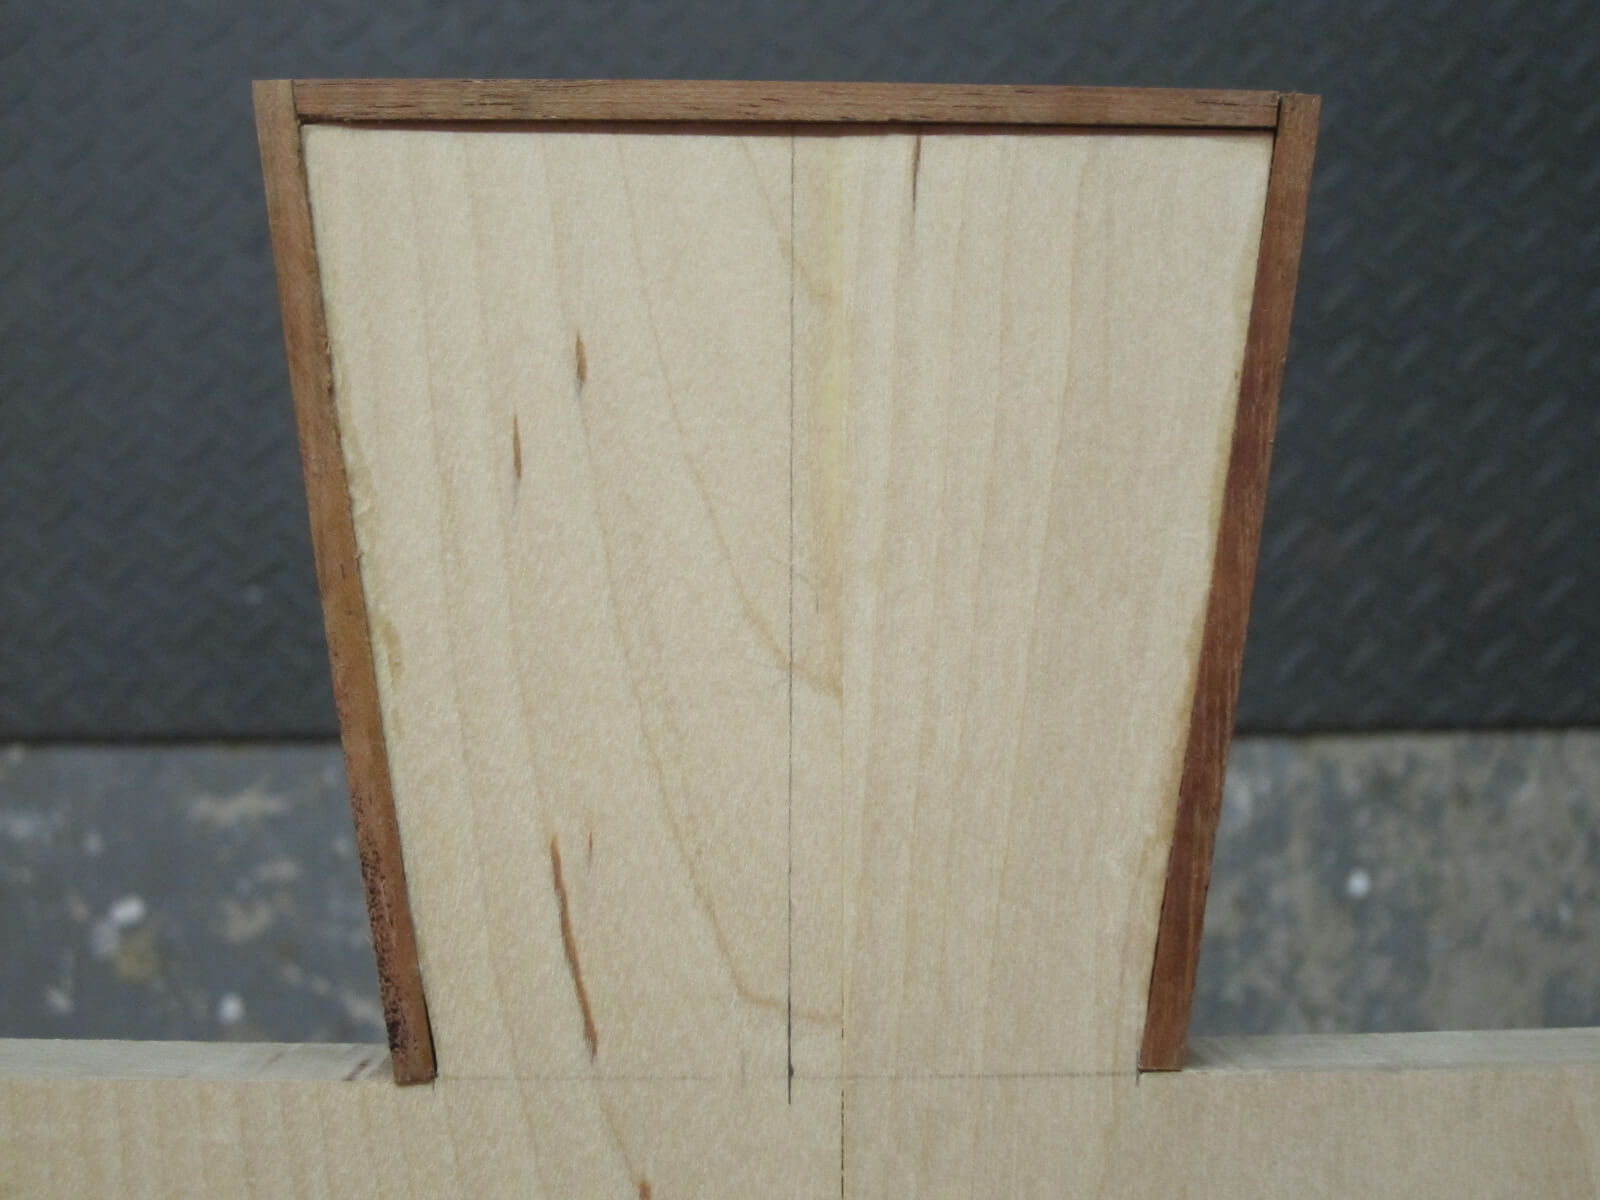
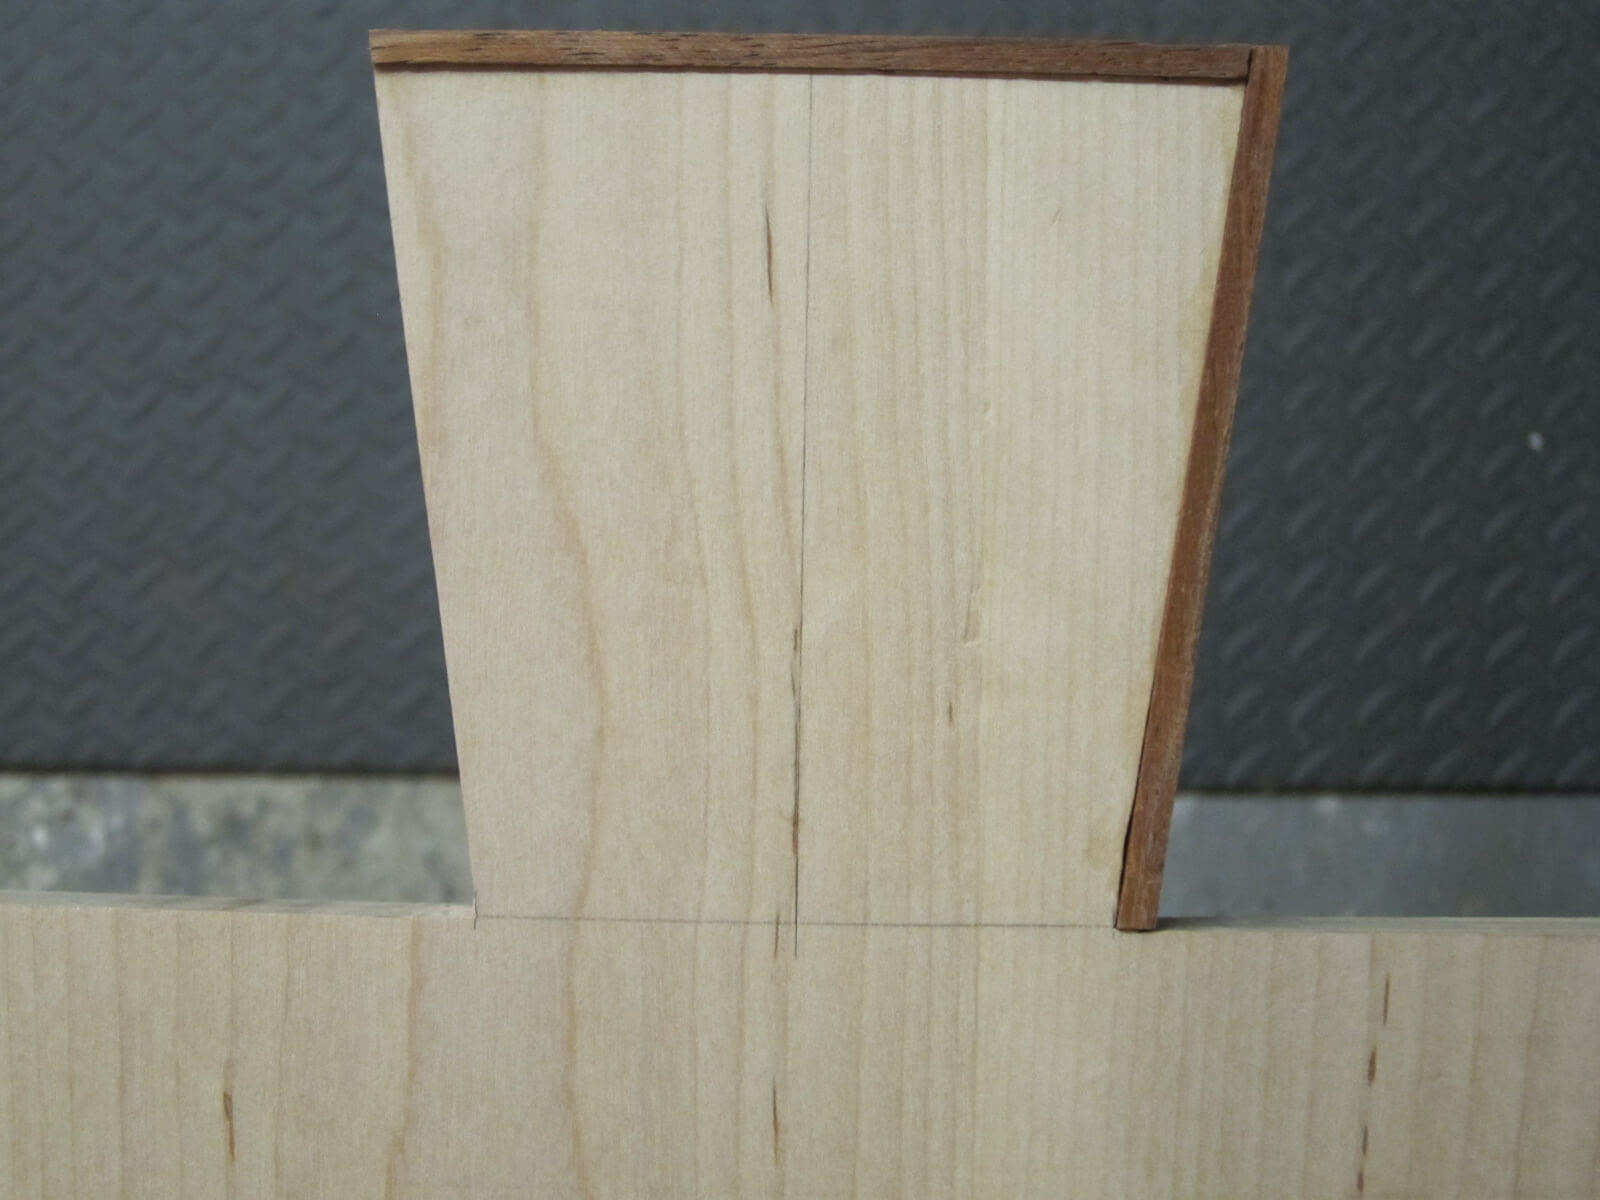
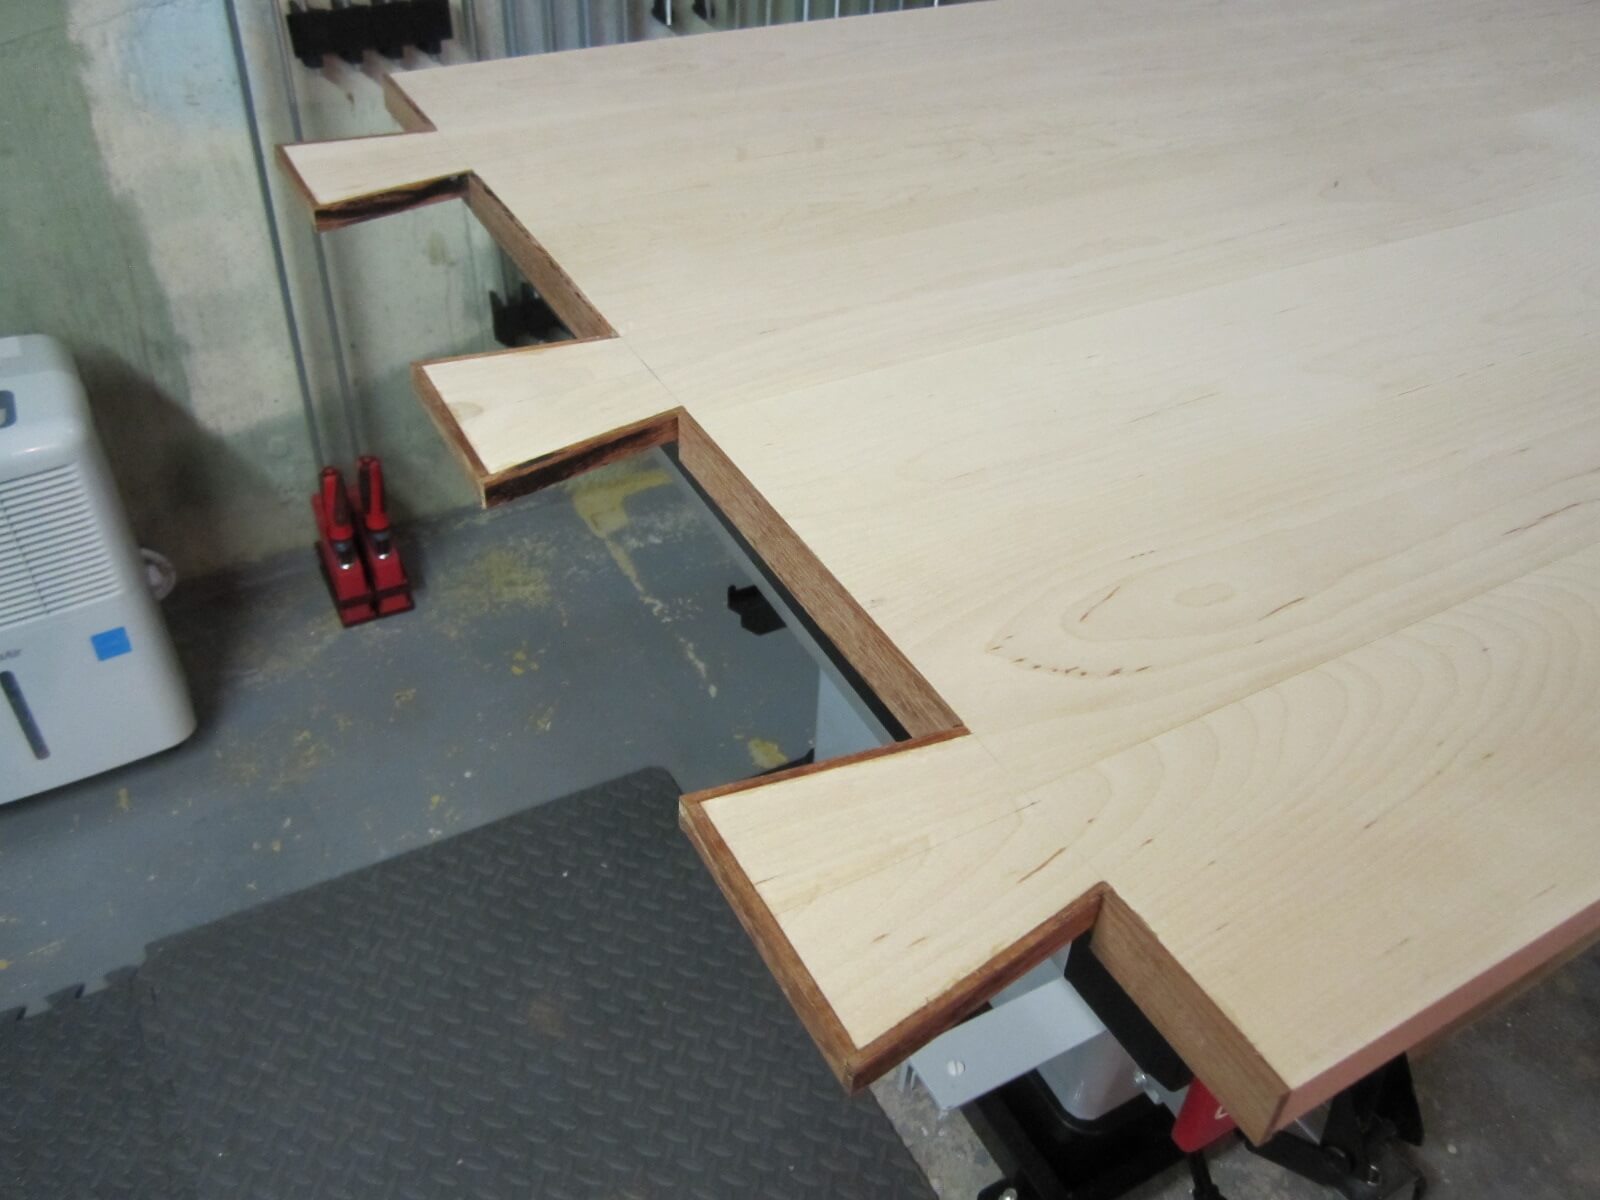
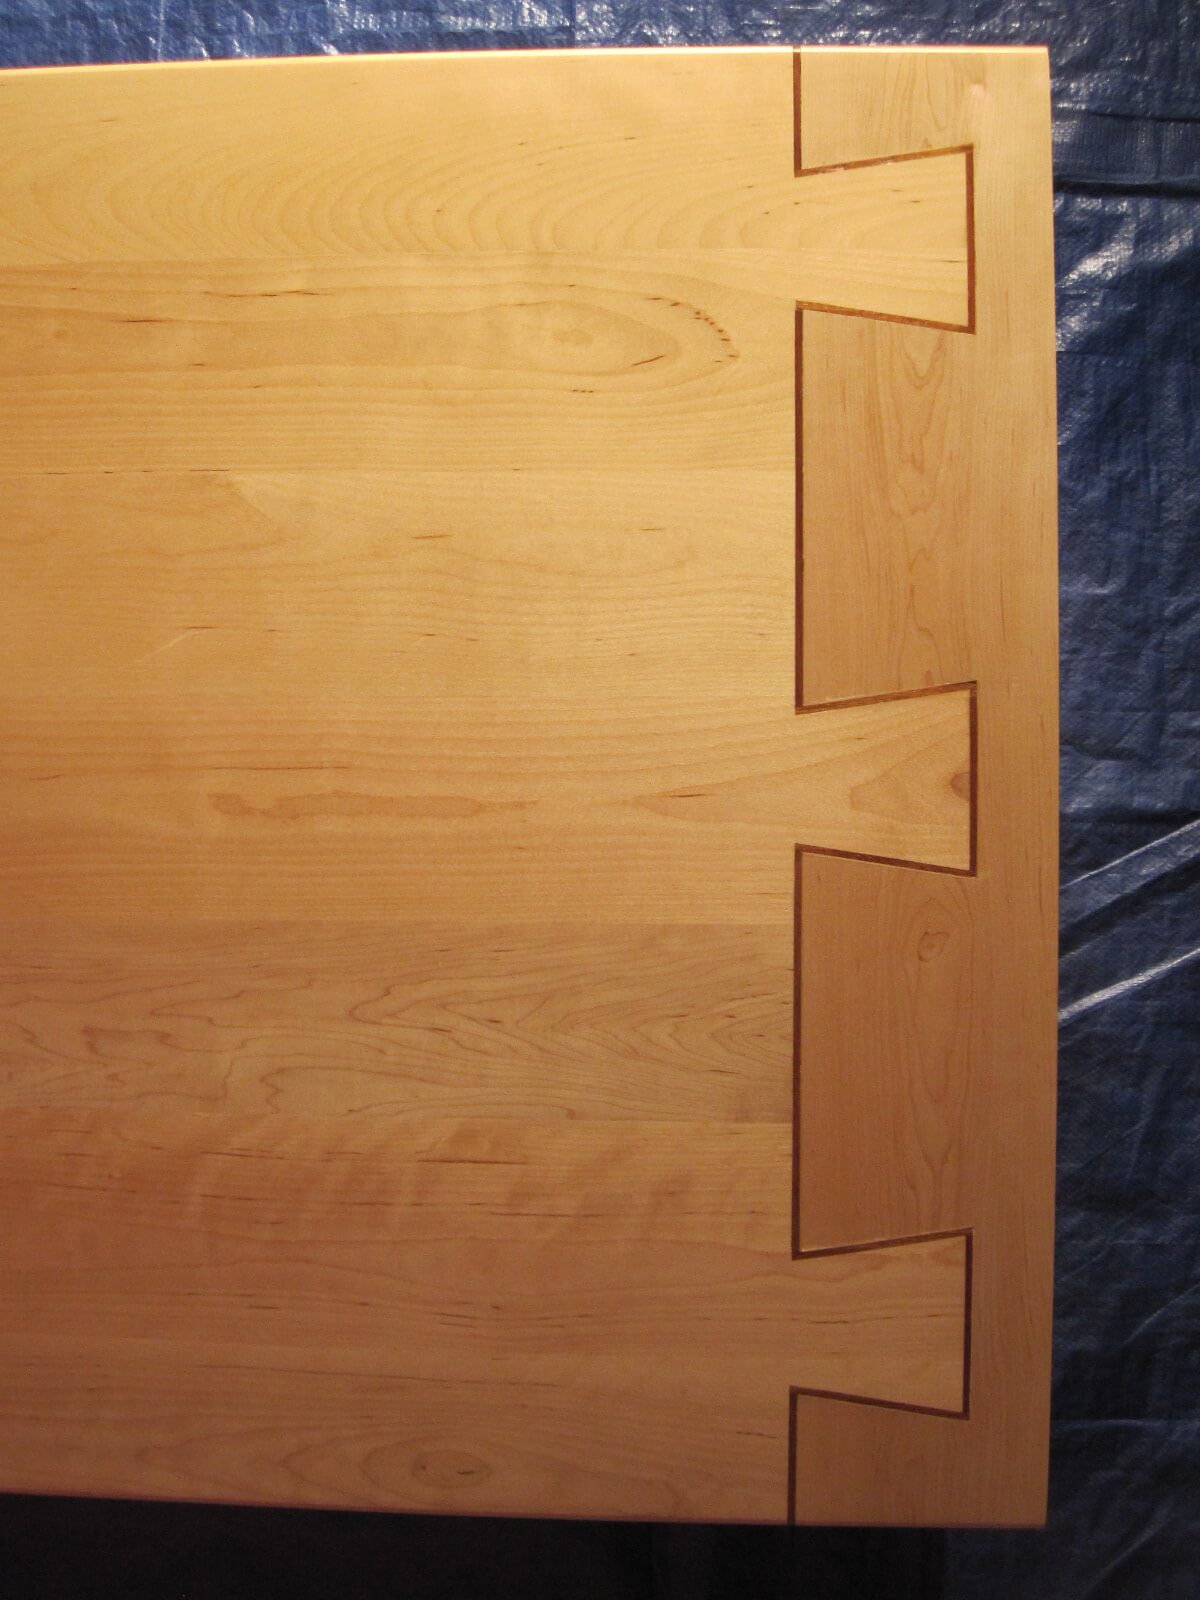
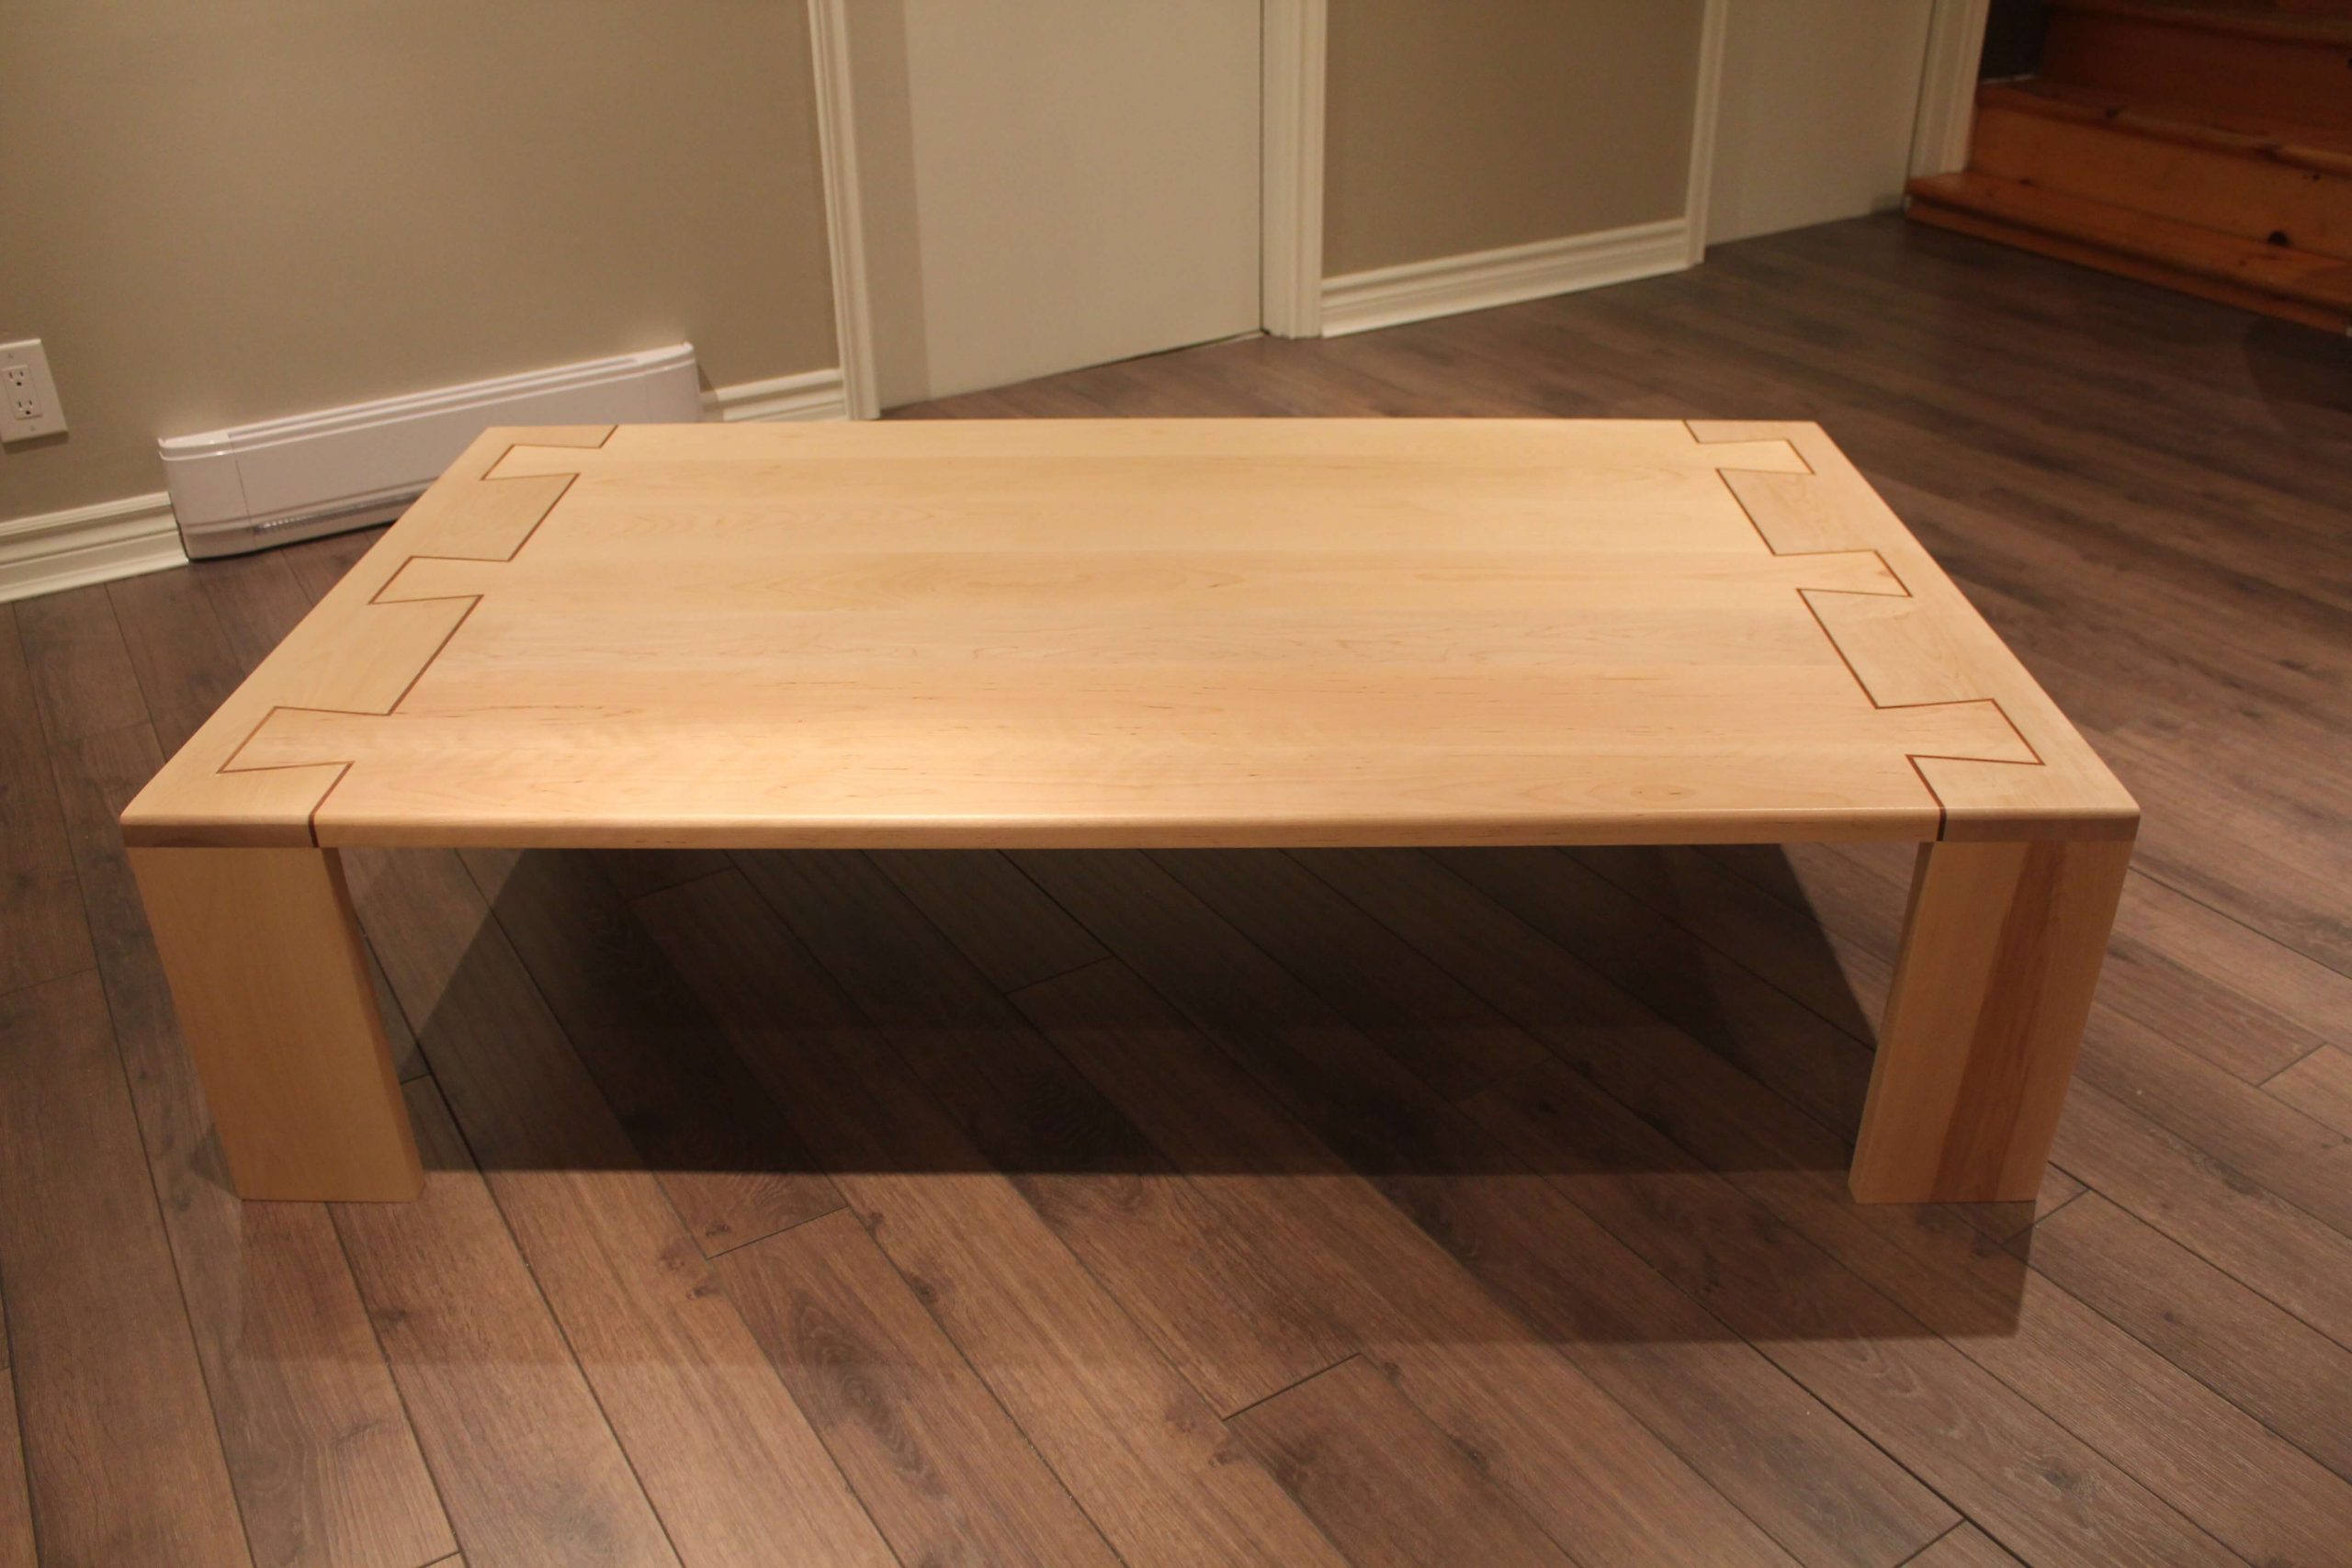
Originally, it was not planned but when assembling the tray blank and bits, I found that something was missing. It did not stand out enough and I found it a bit bland. So I decided to highlight the dovetails with a 5 mm strip of jatoba to bring out these and bring contrast. What would not we do for his friends?


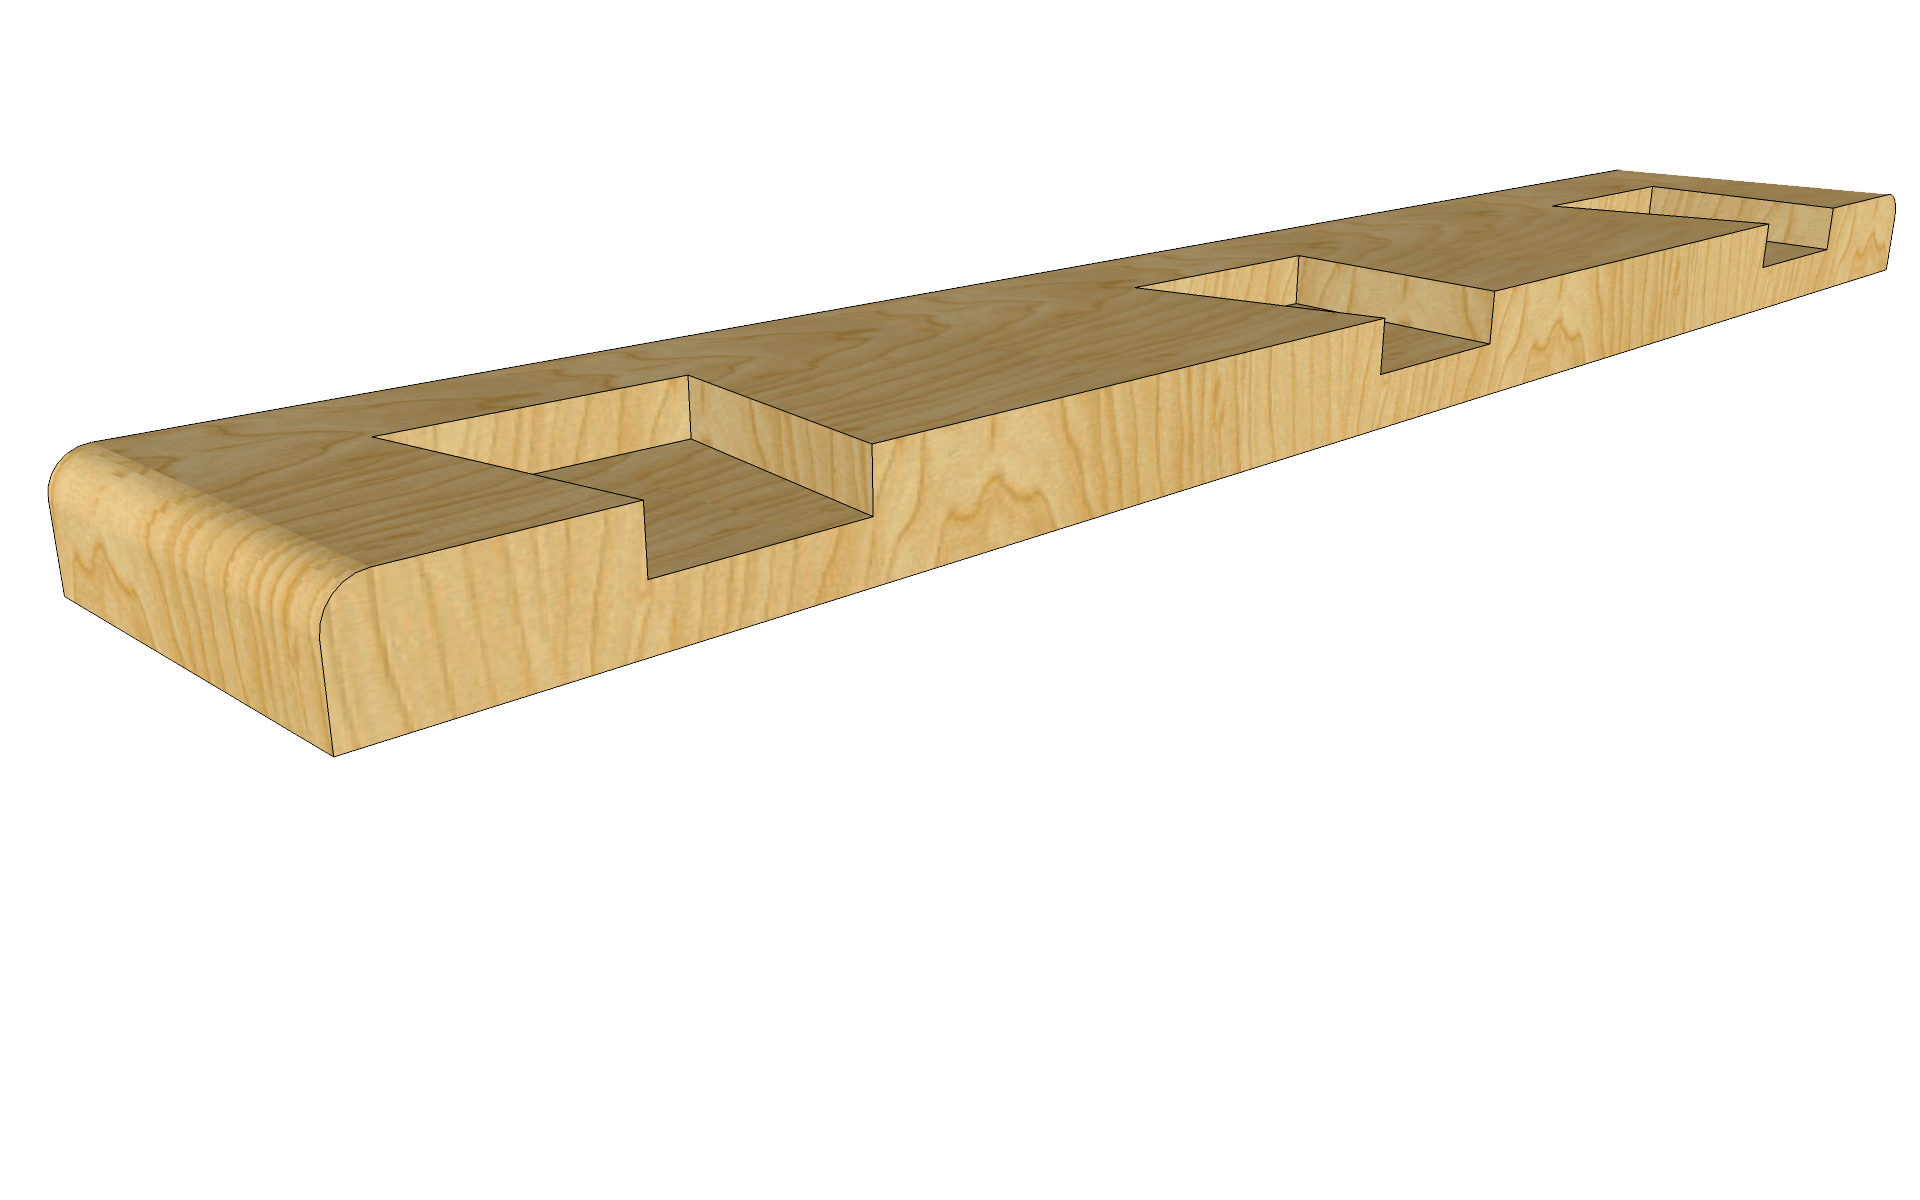
The Tips
They will welcome the tray and complete it. They will consist of a single board in which I will make the female dovetails.
Apart from number 3, the steps are strictly the same as for making male dovetails.
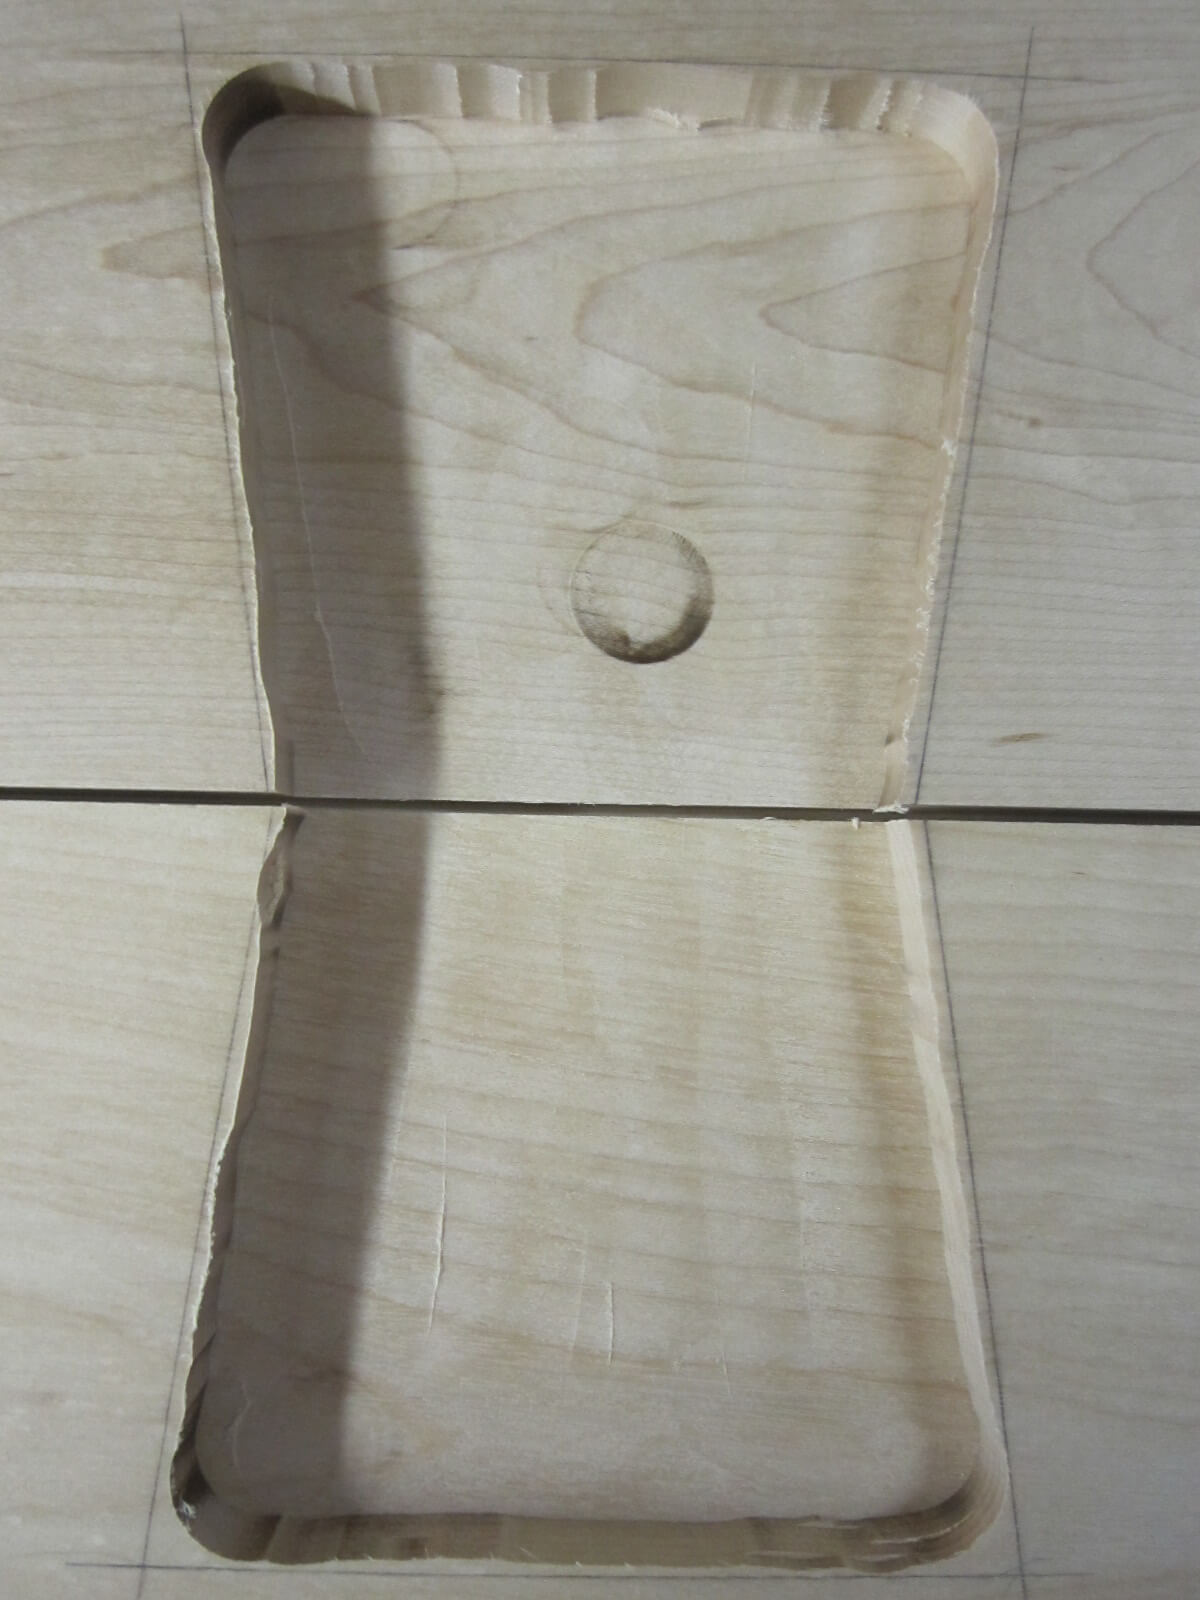
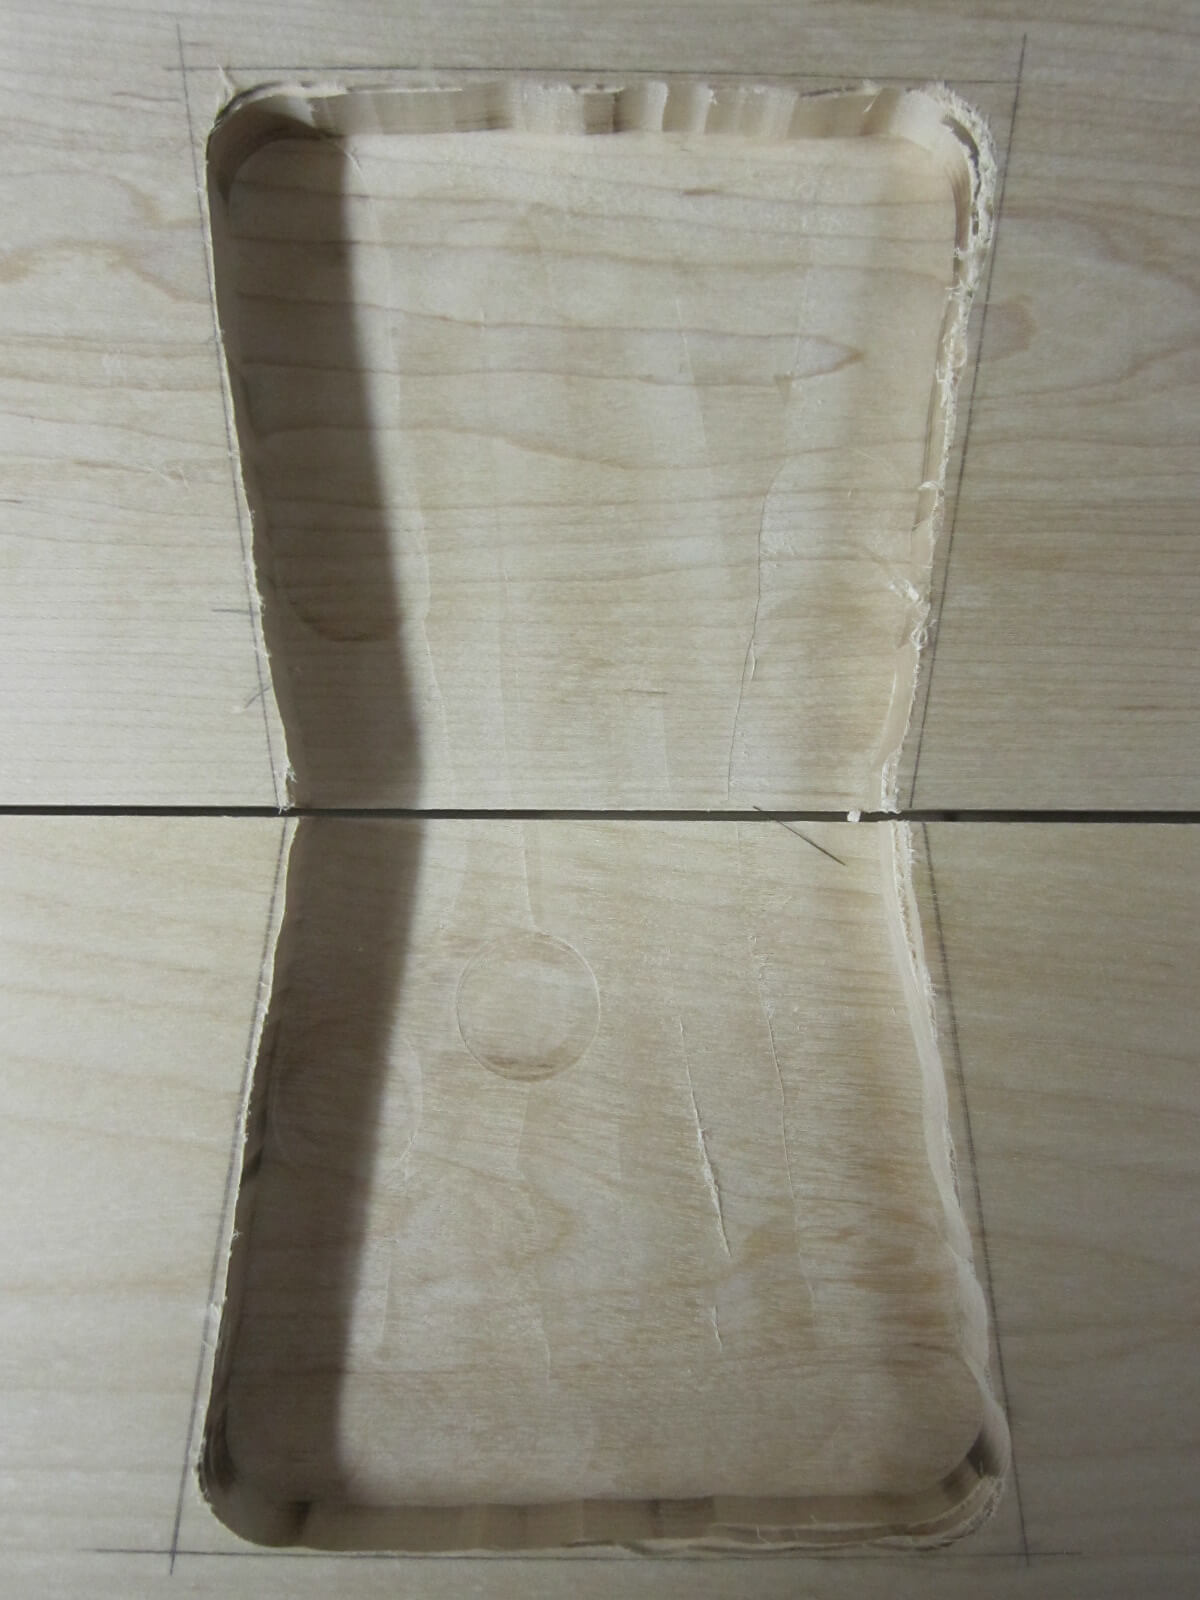
Here again, the use of a sharp wood chisel is essential.
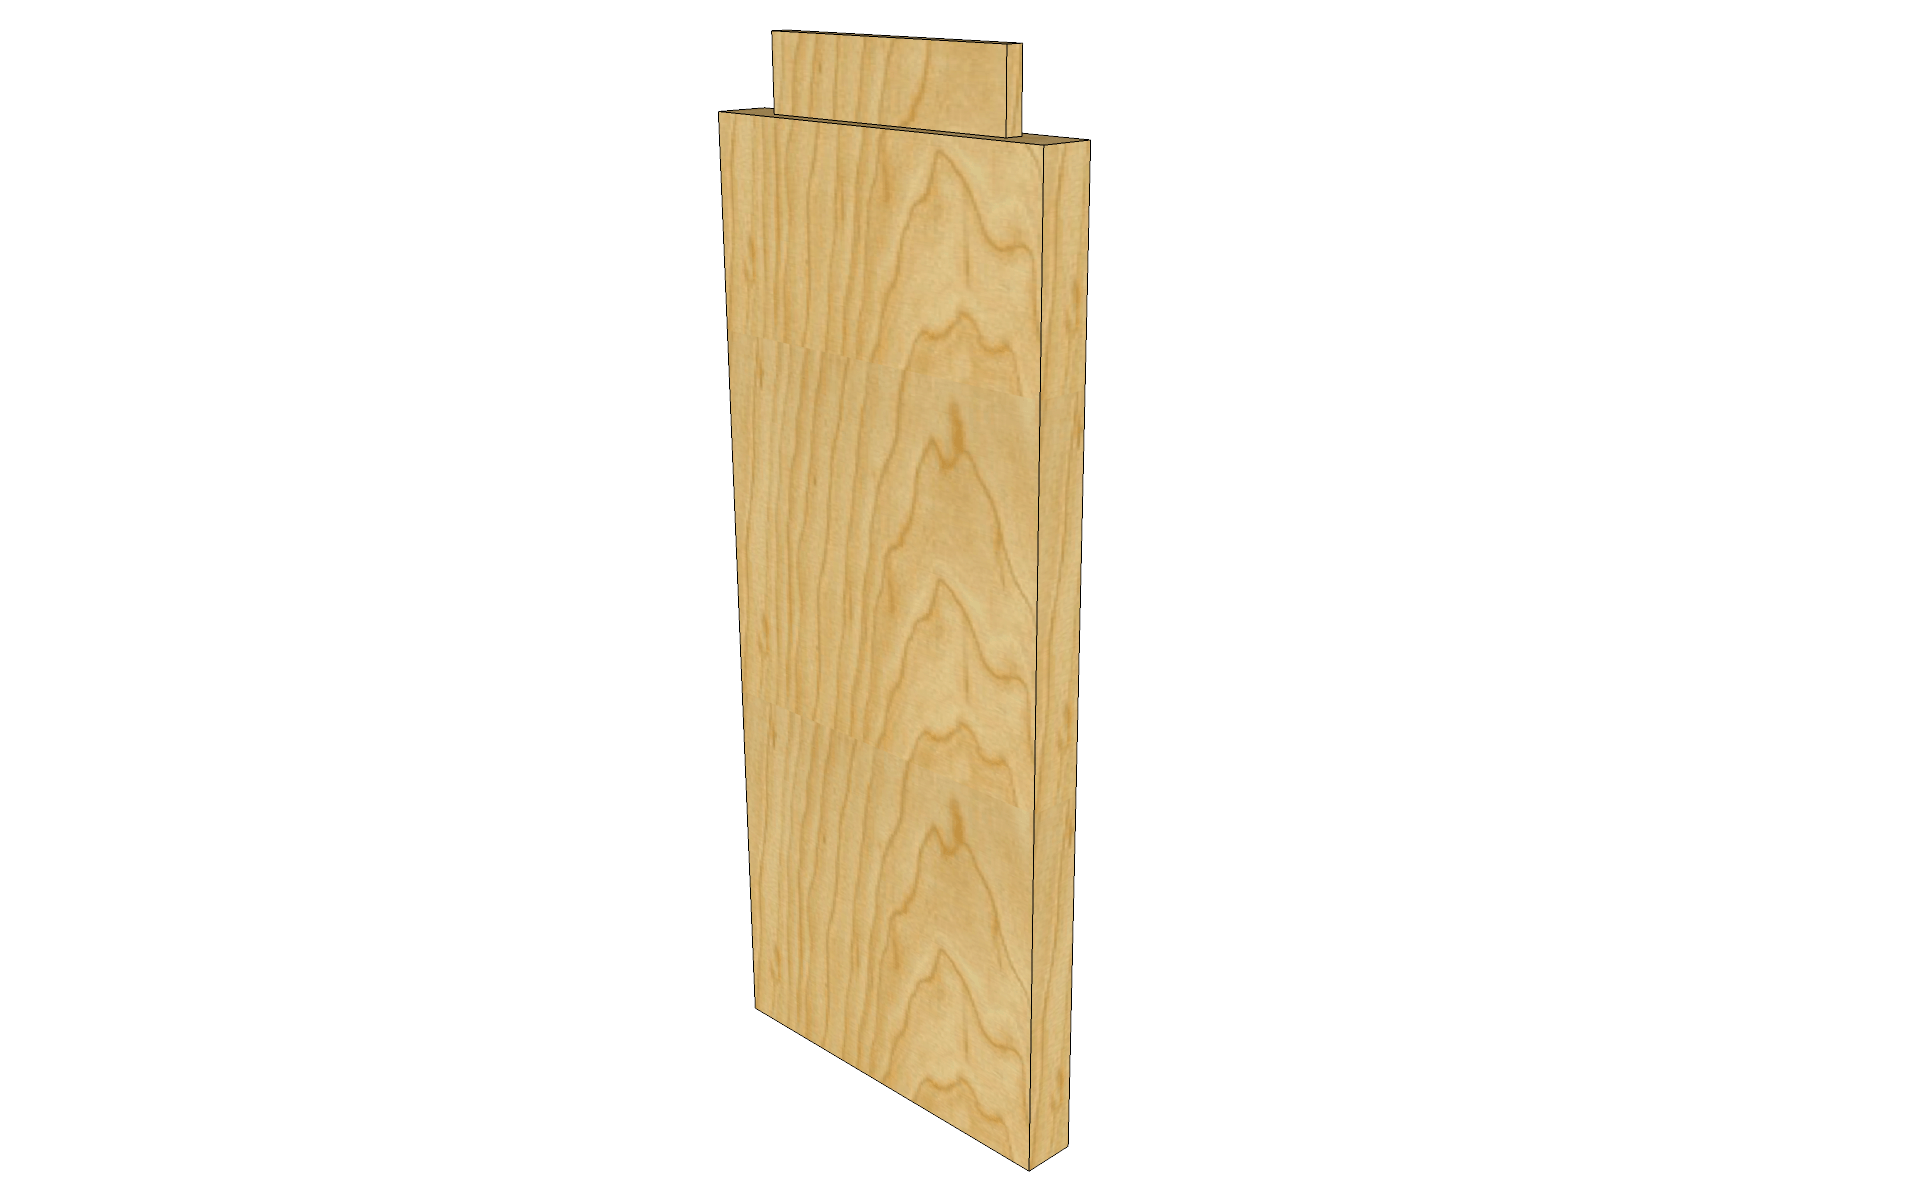
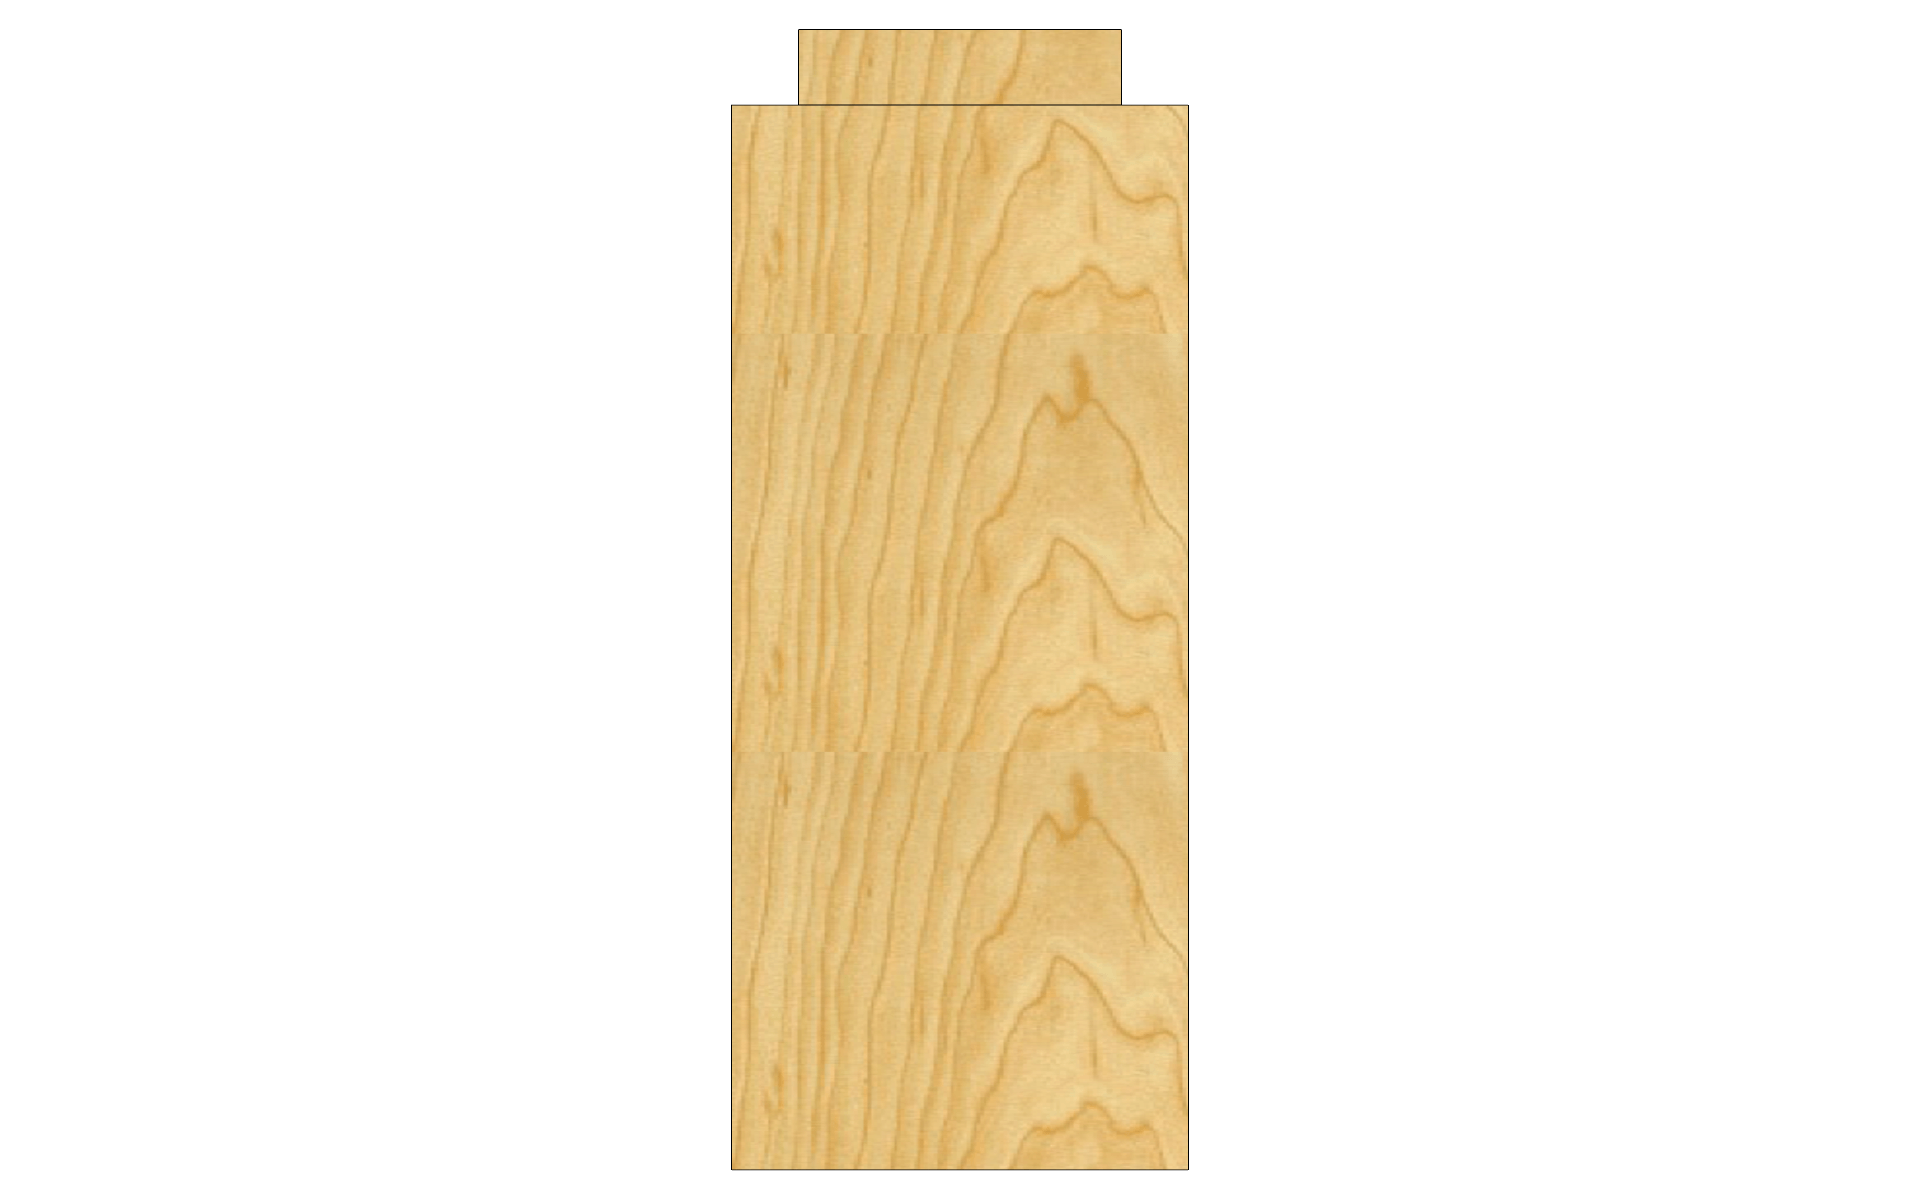
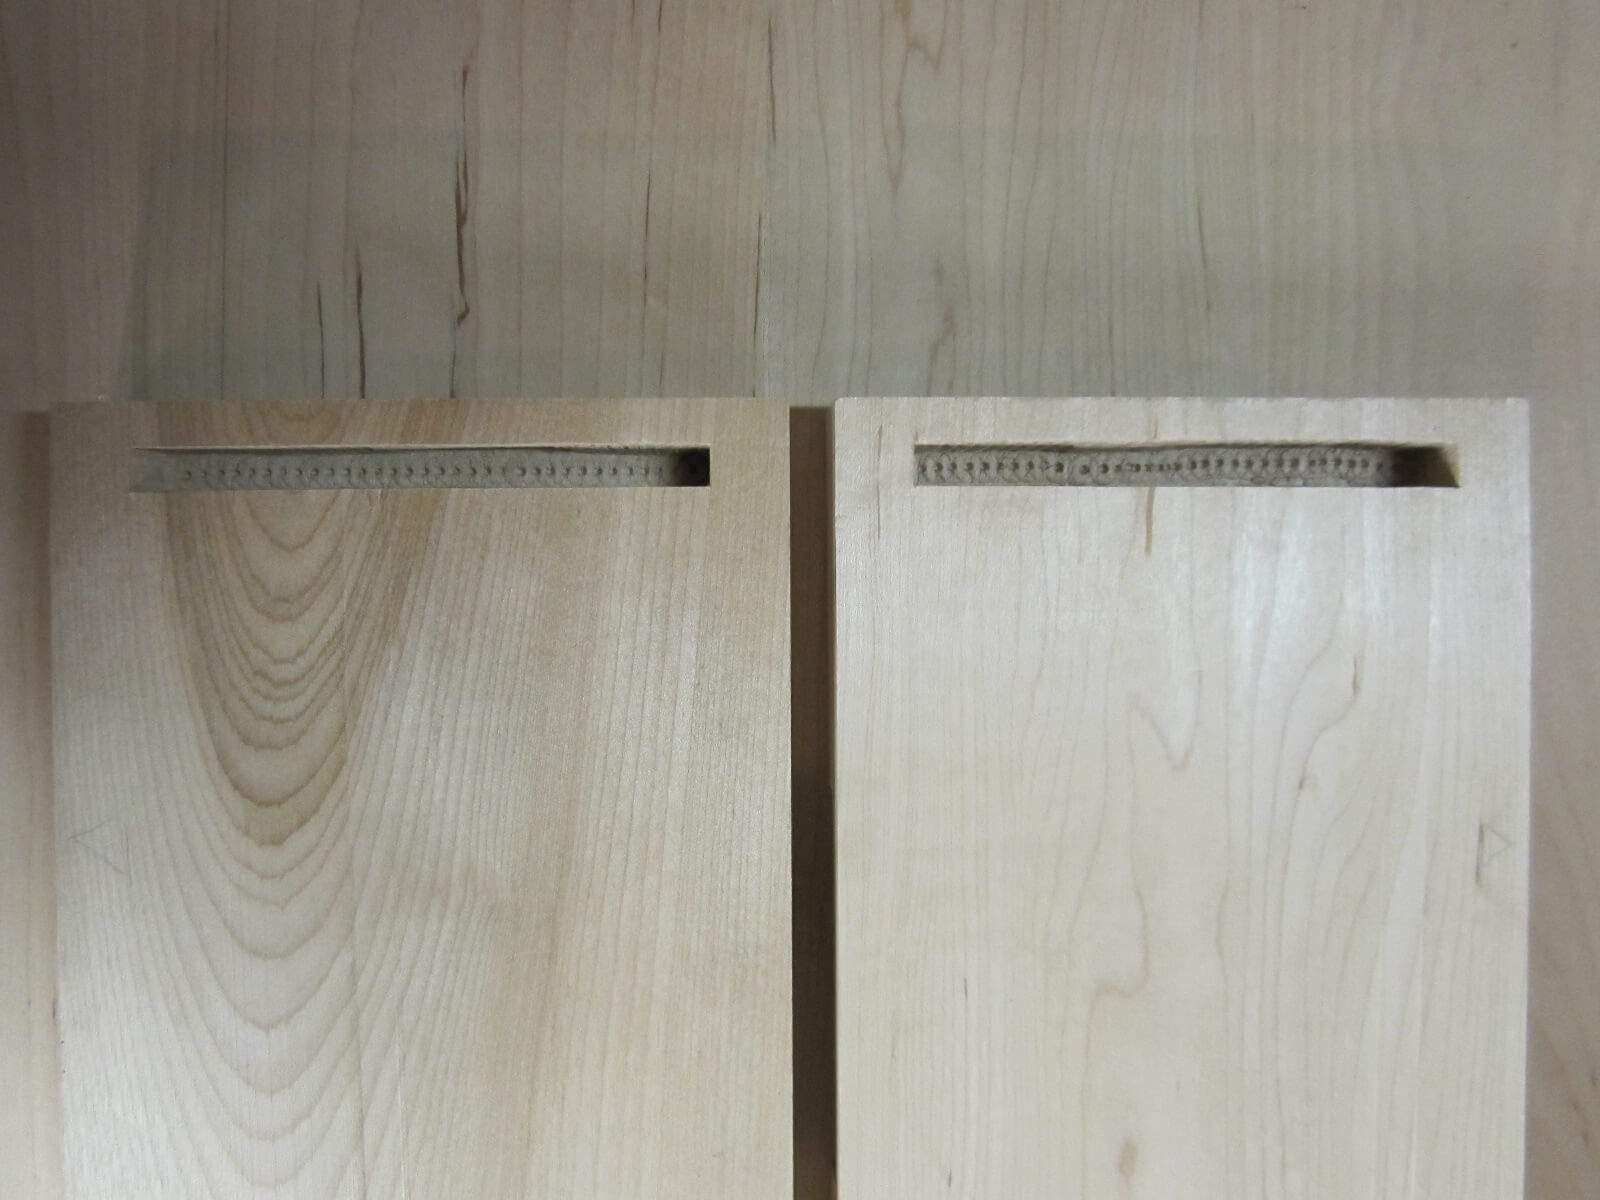
Before proceeding with the recess, I joined the two pieces to become one to work. It’s more efficient and it avoids splinters.
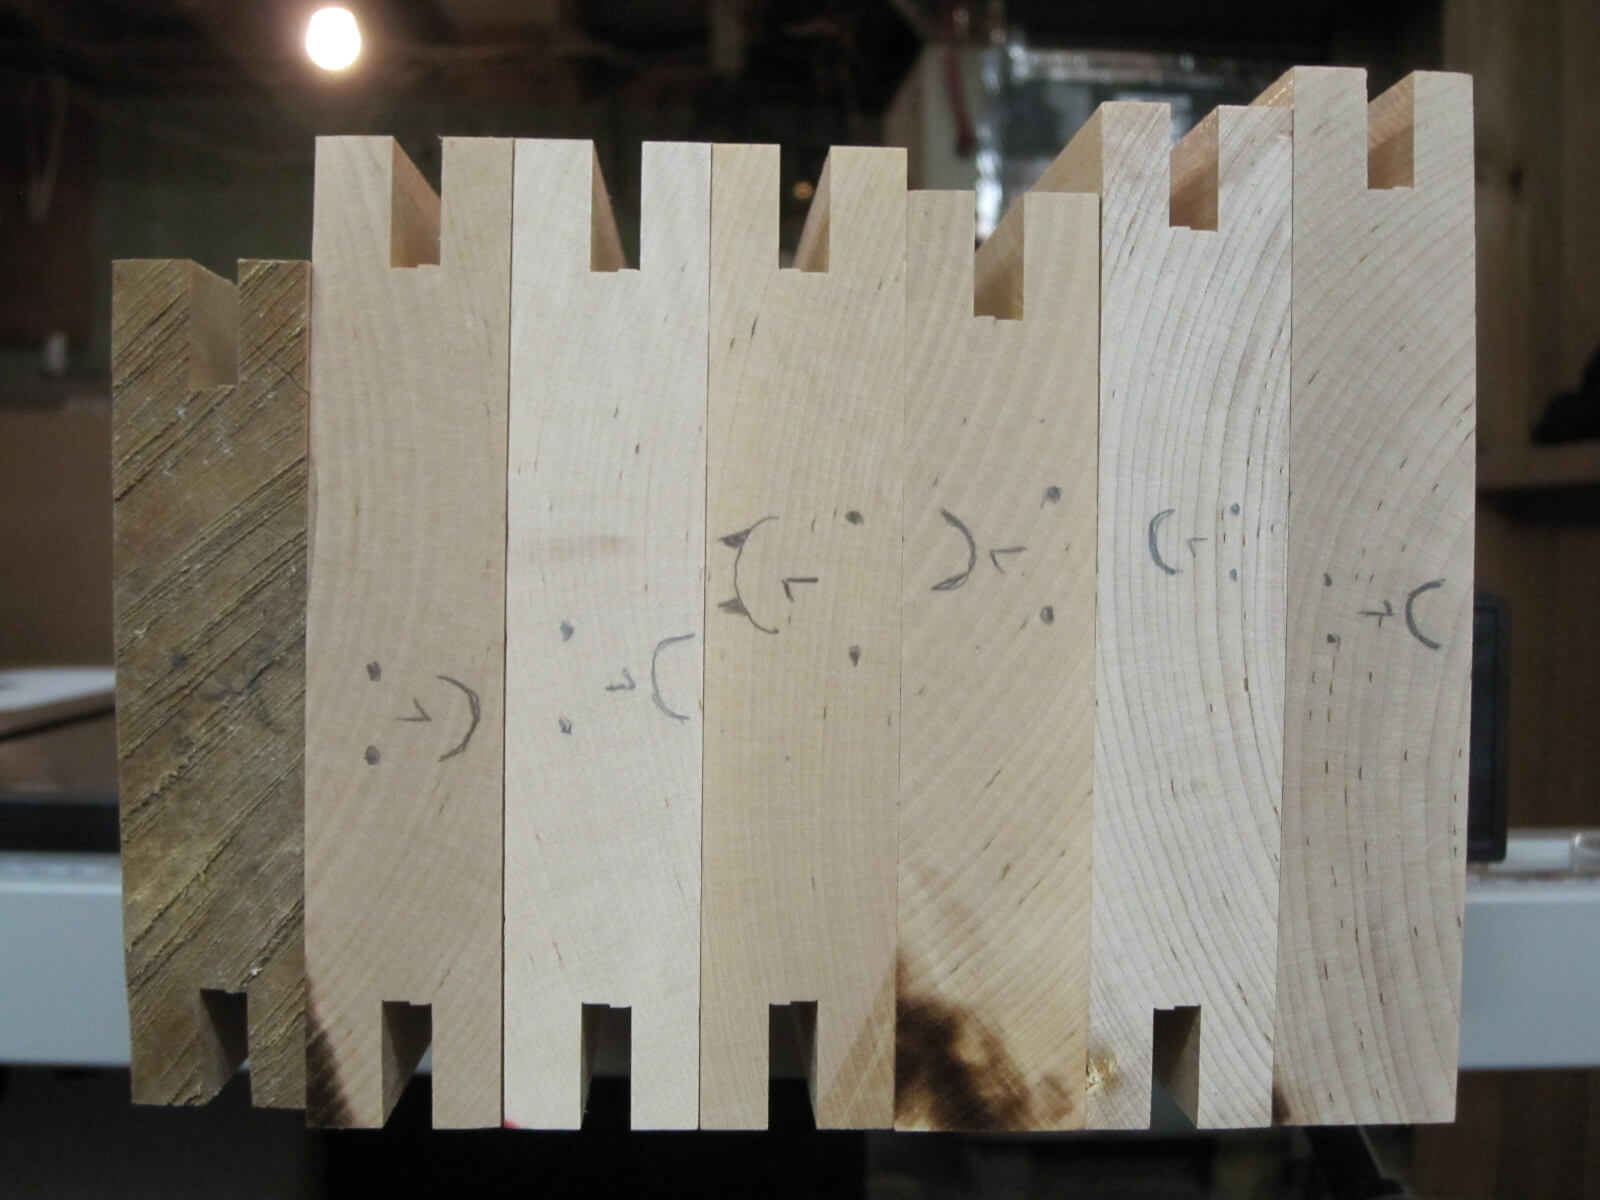
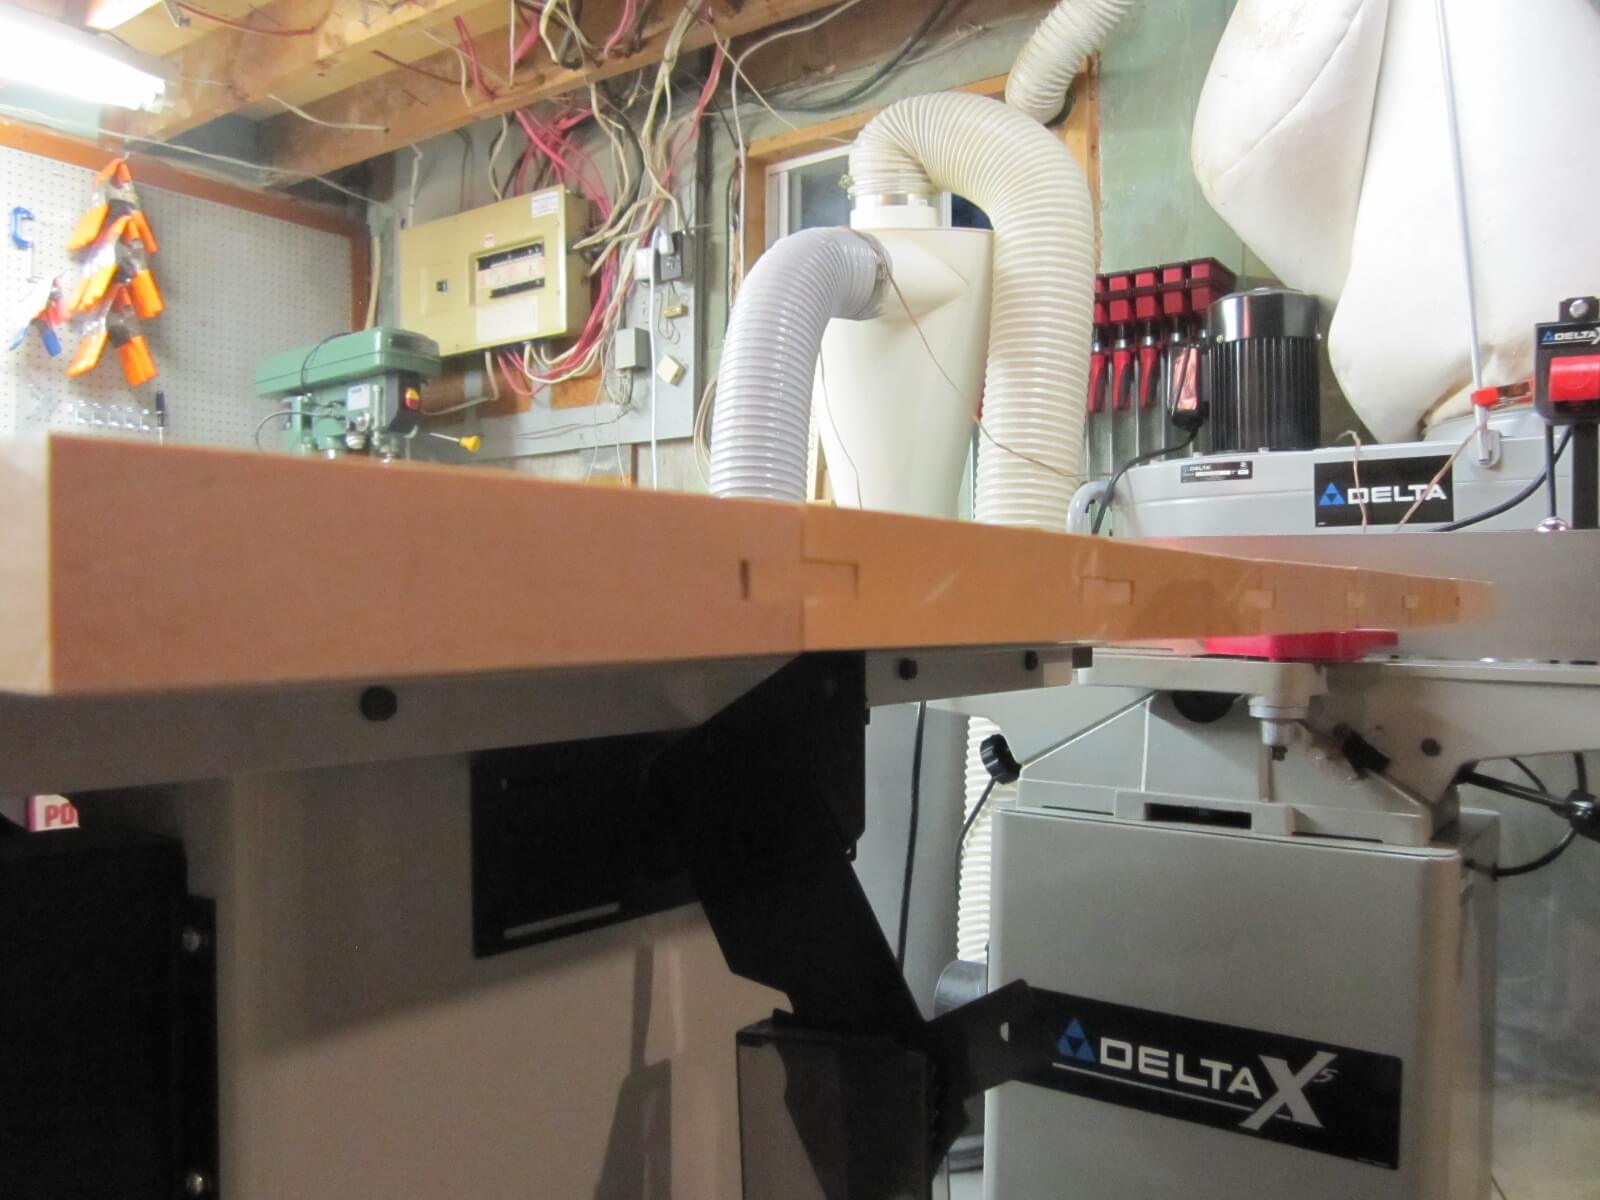
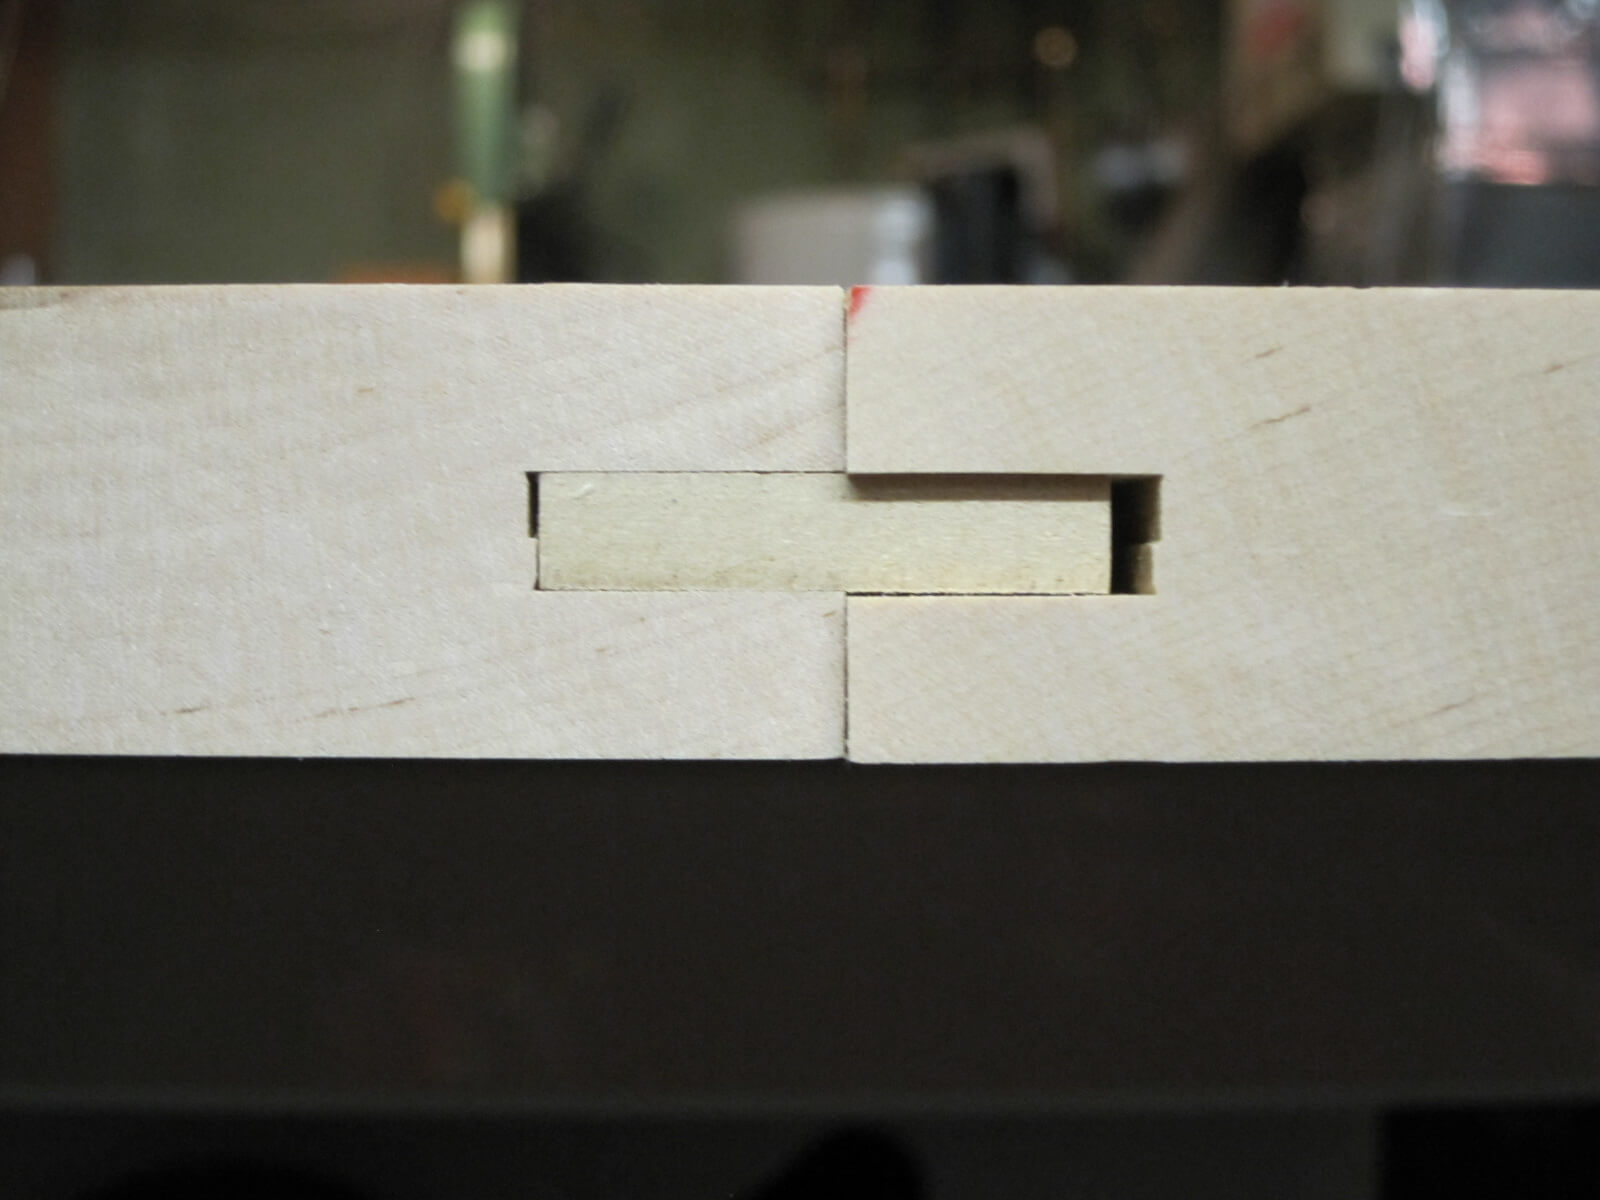
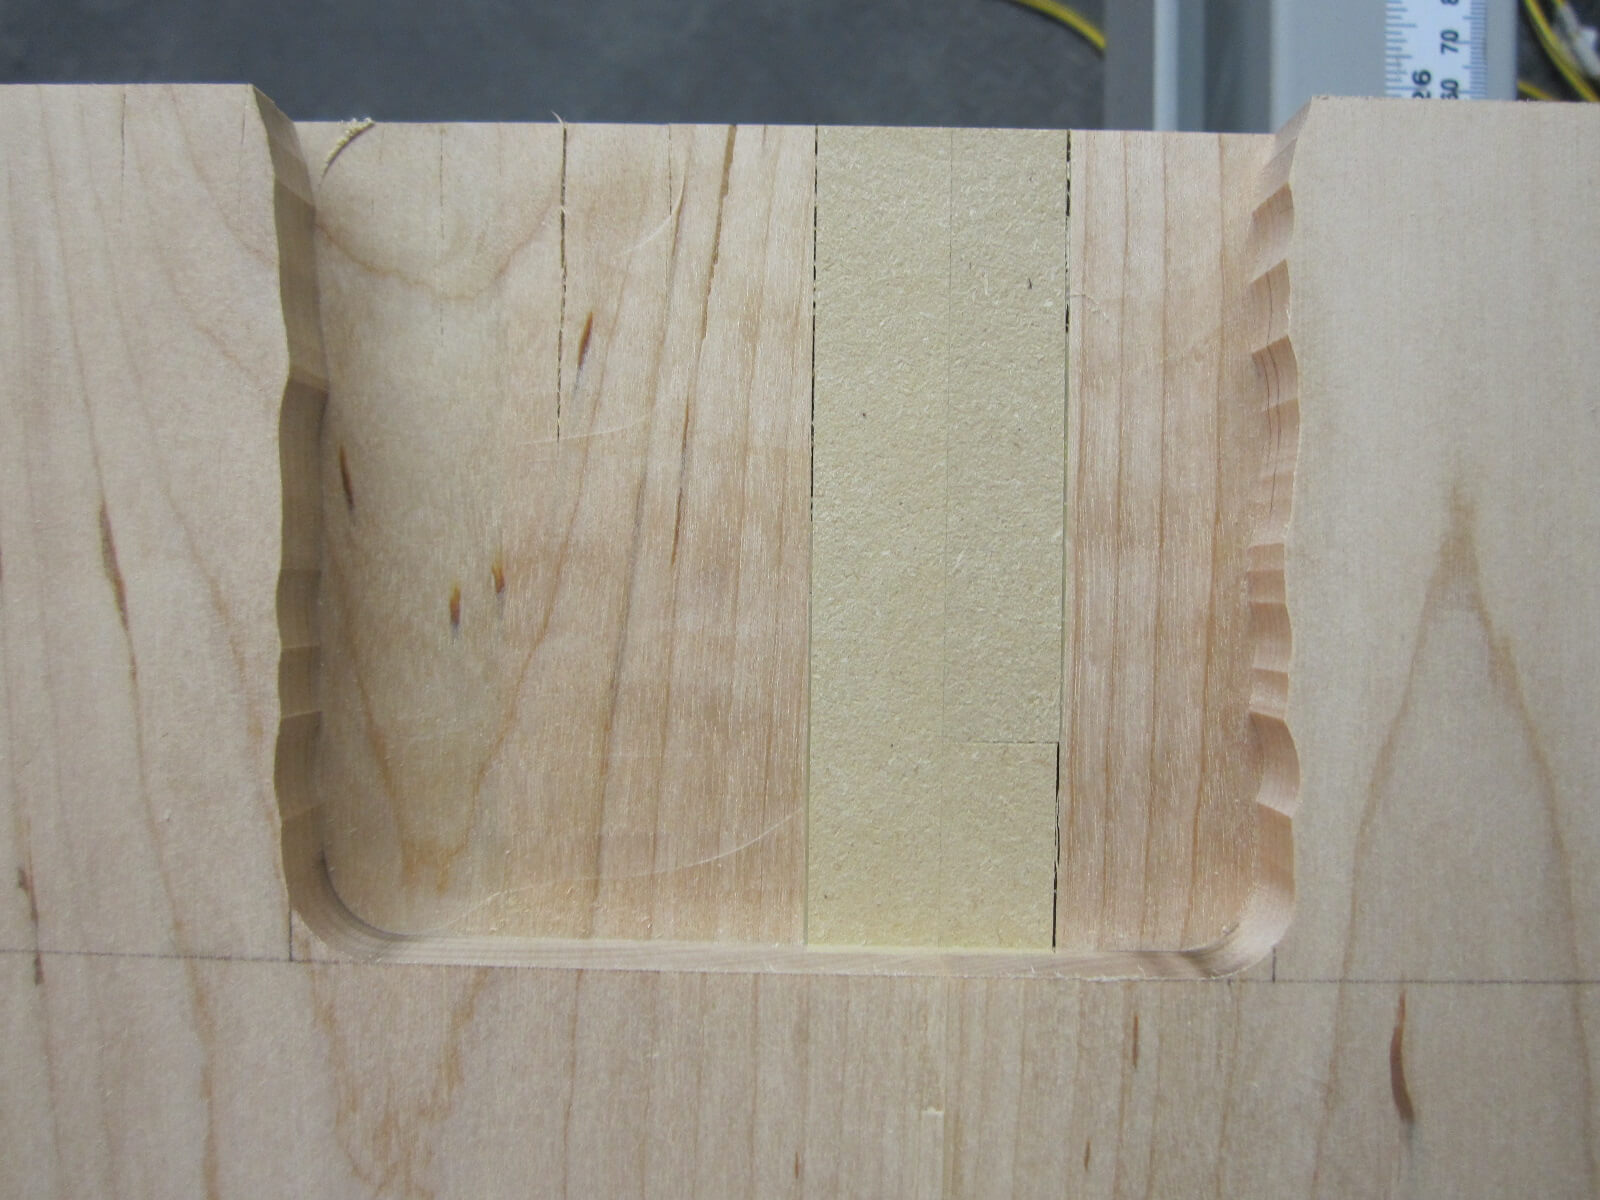
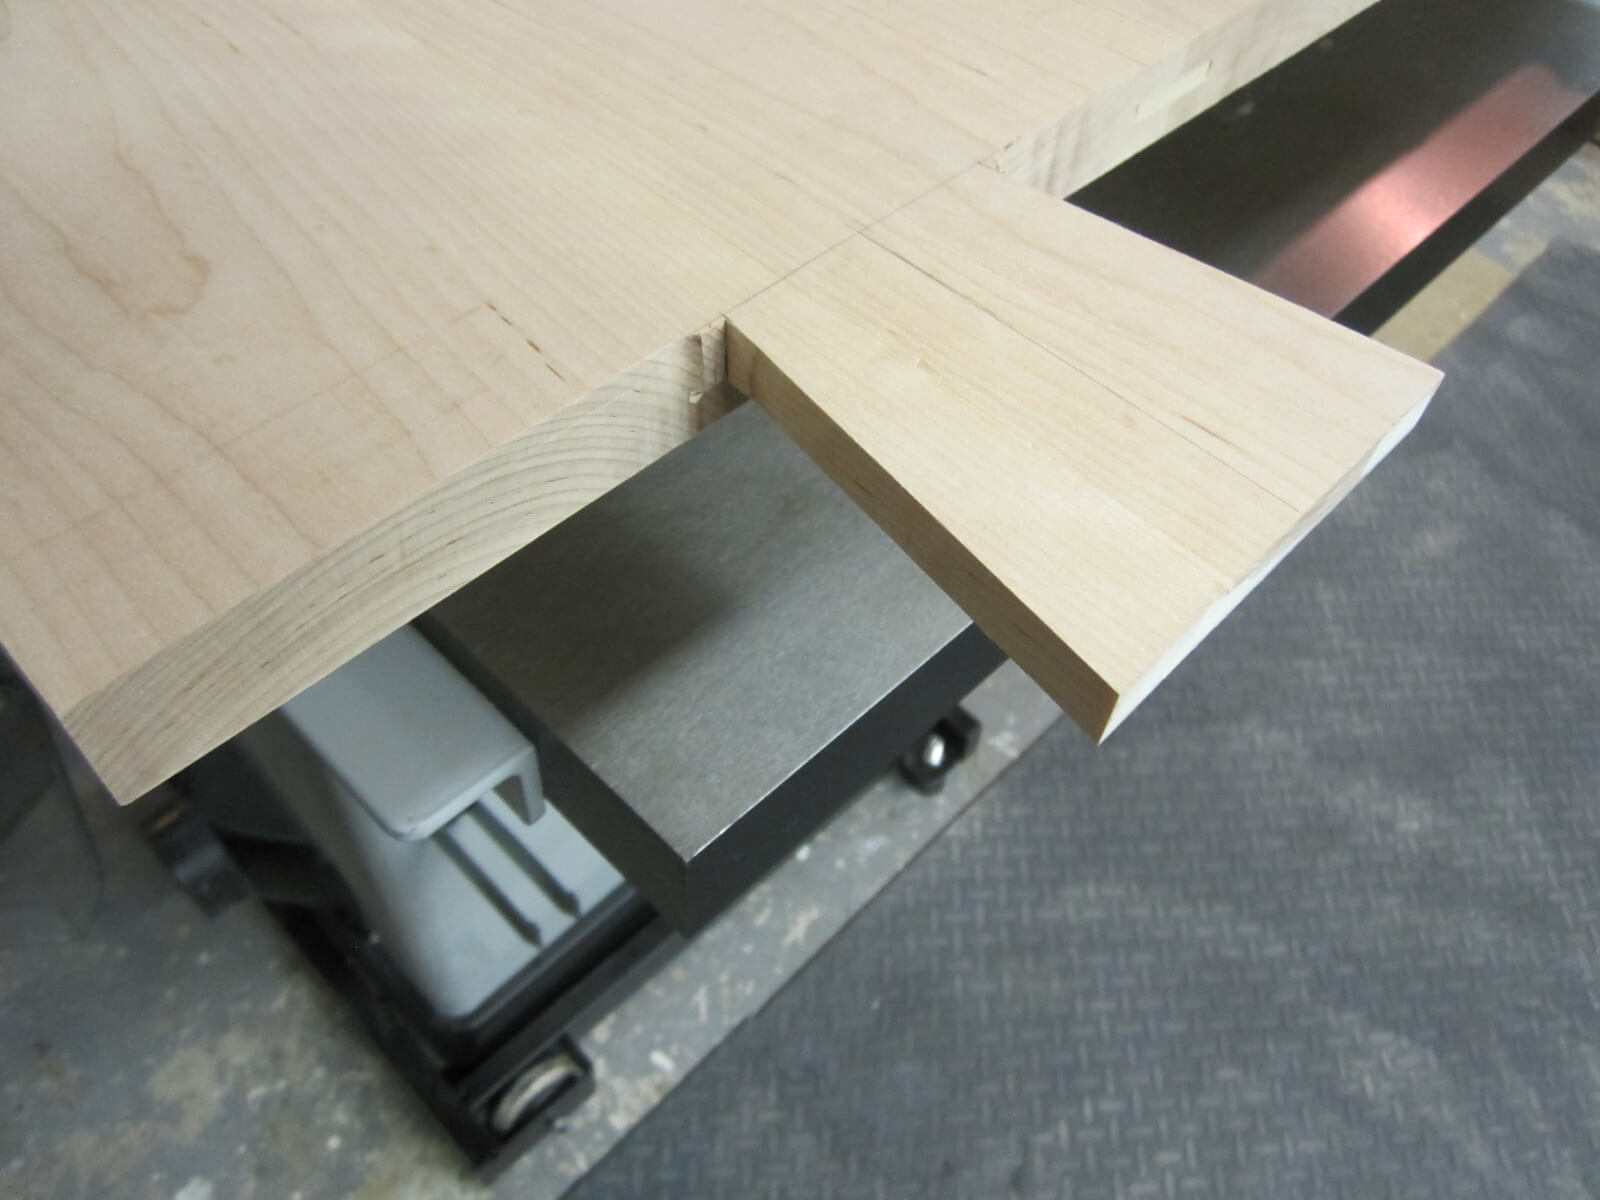
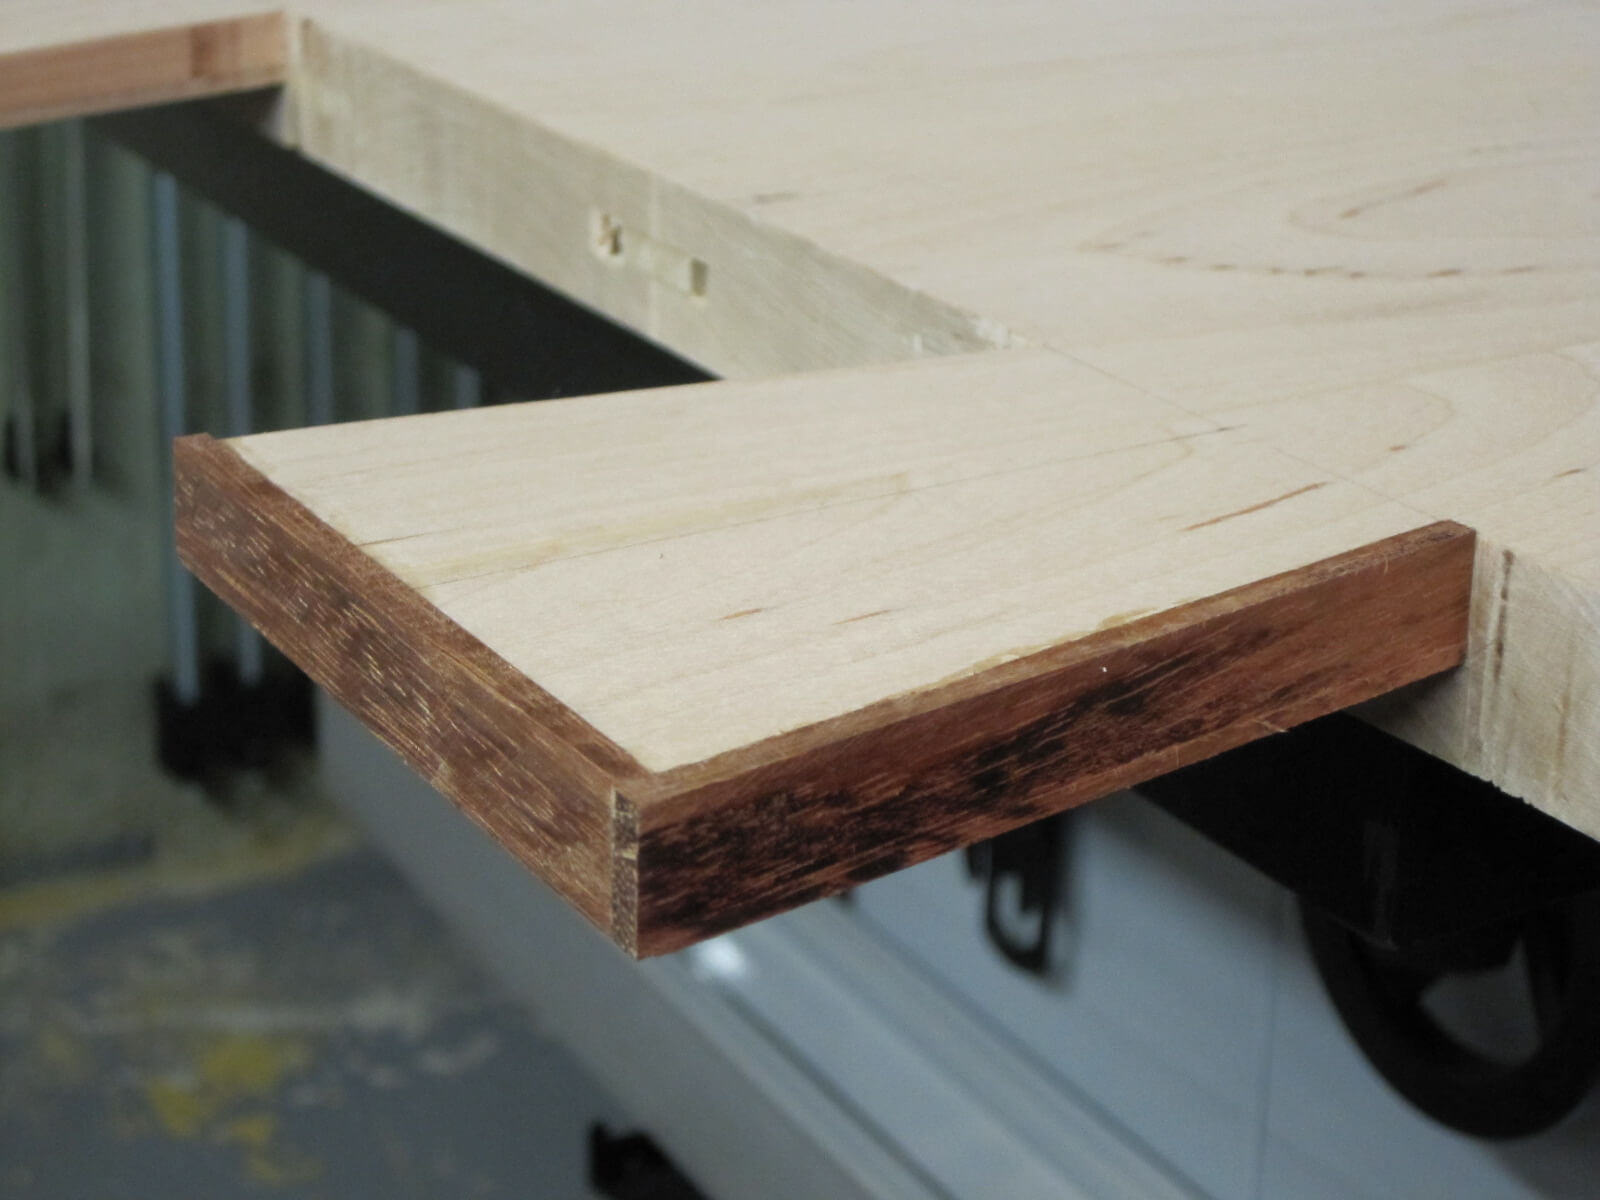
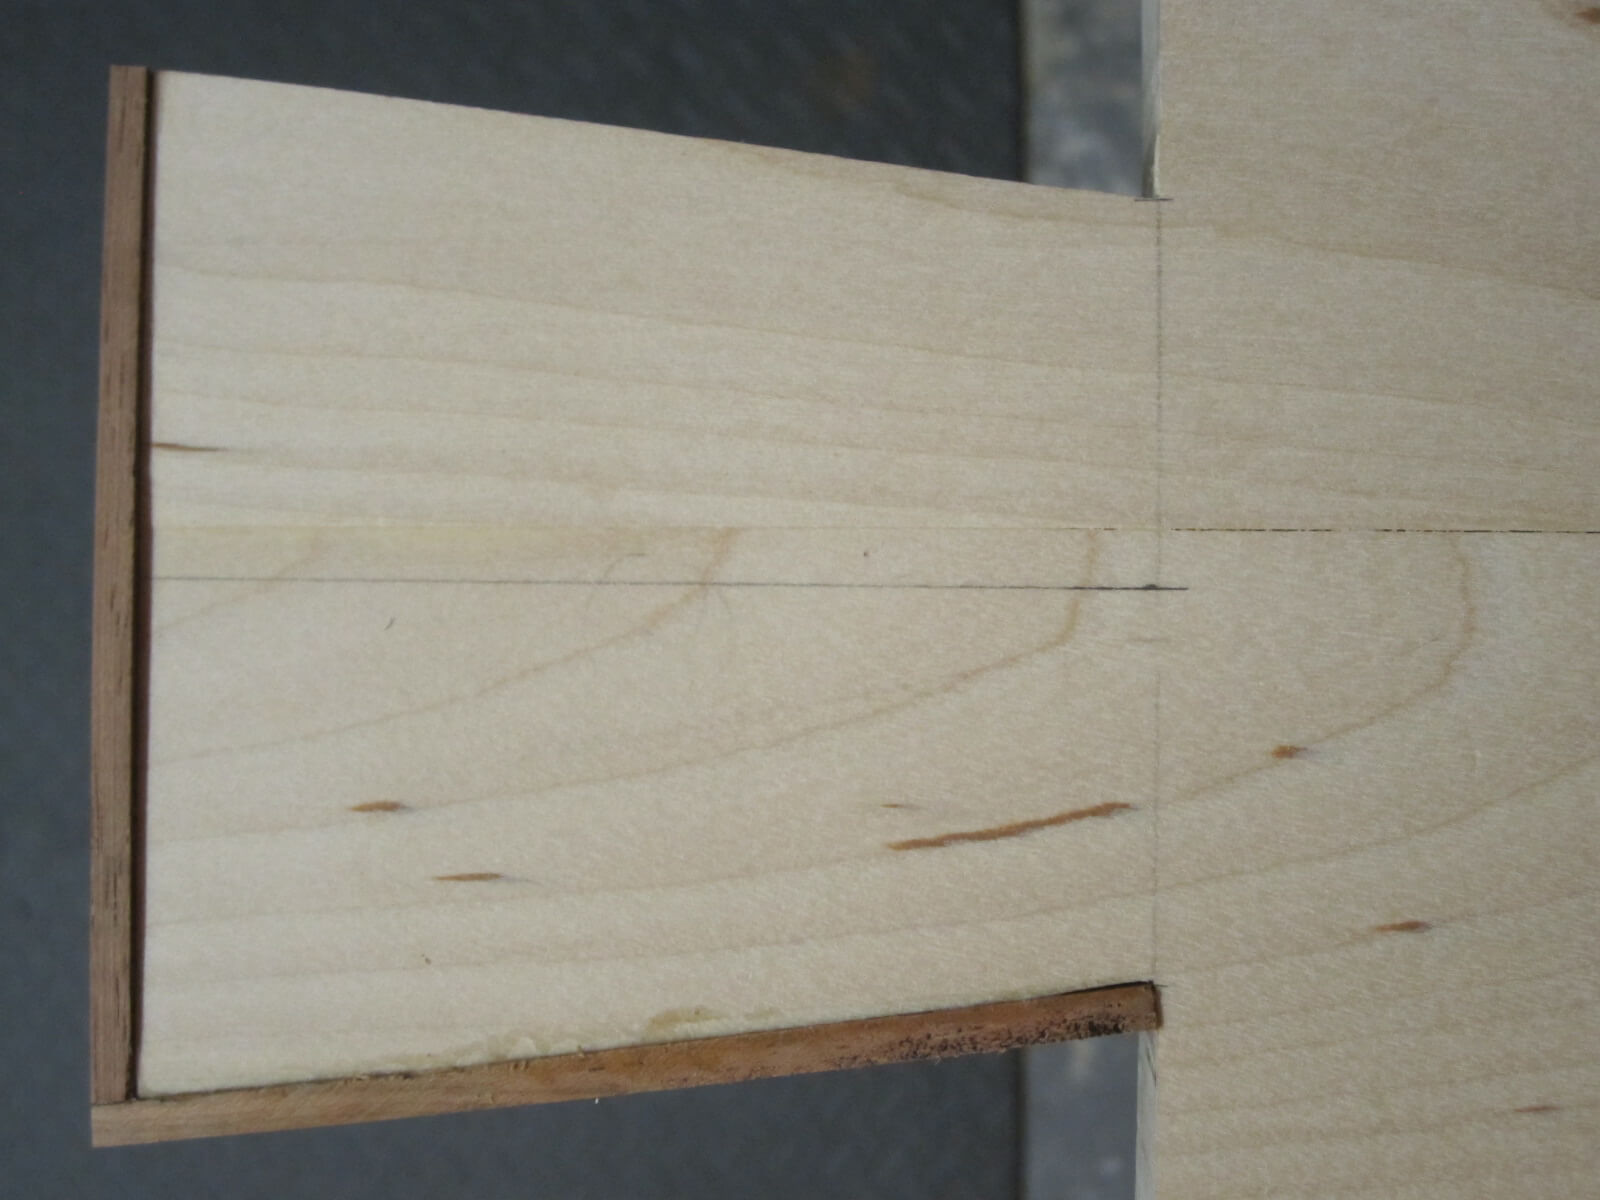
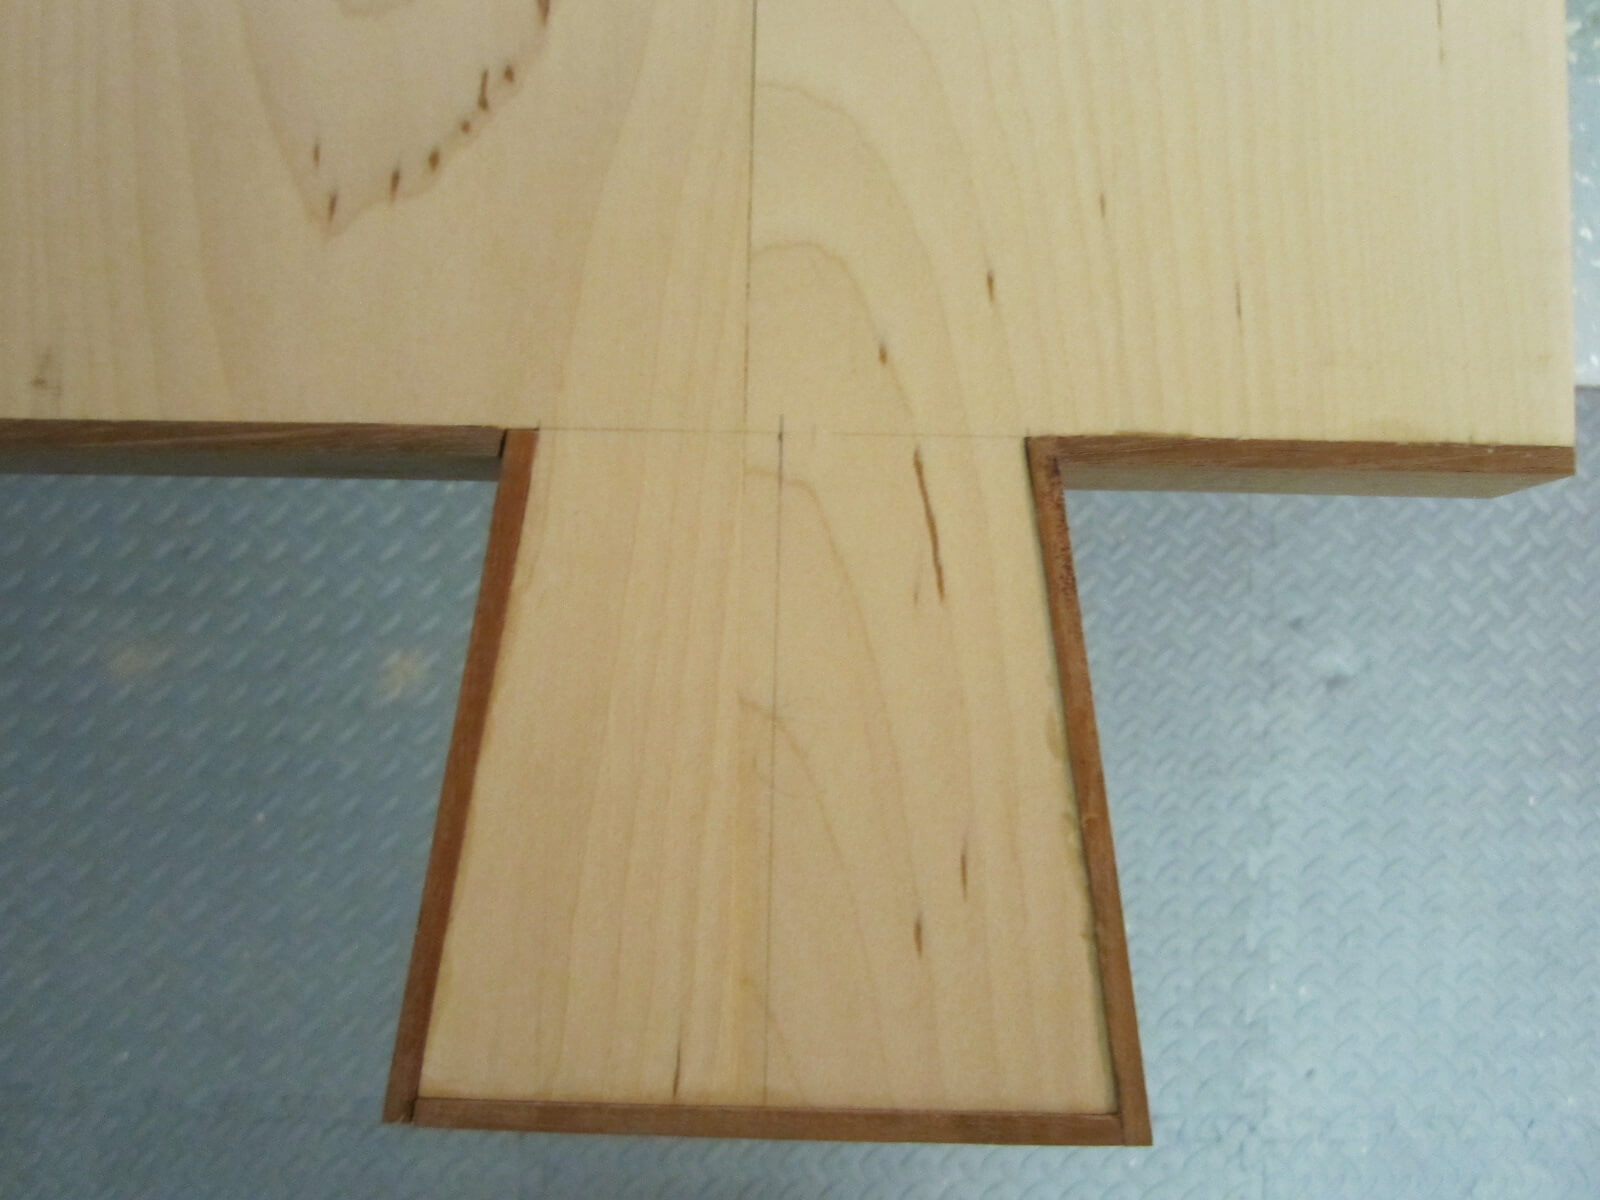
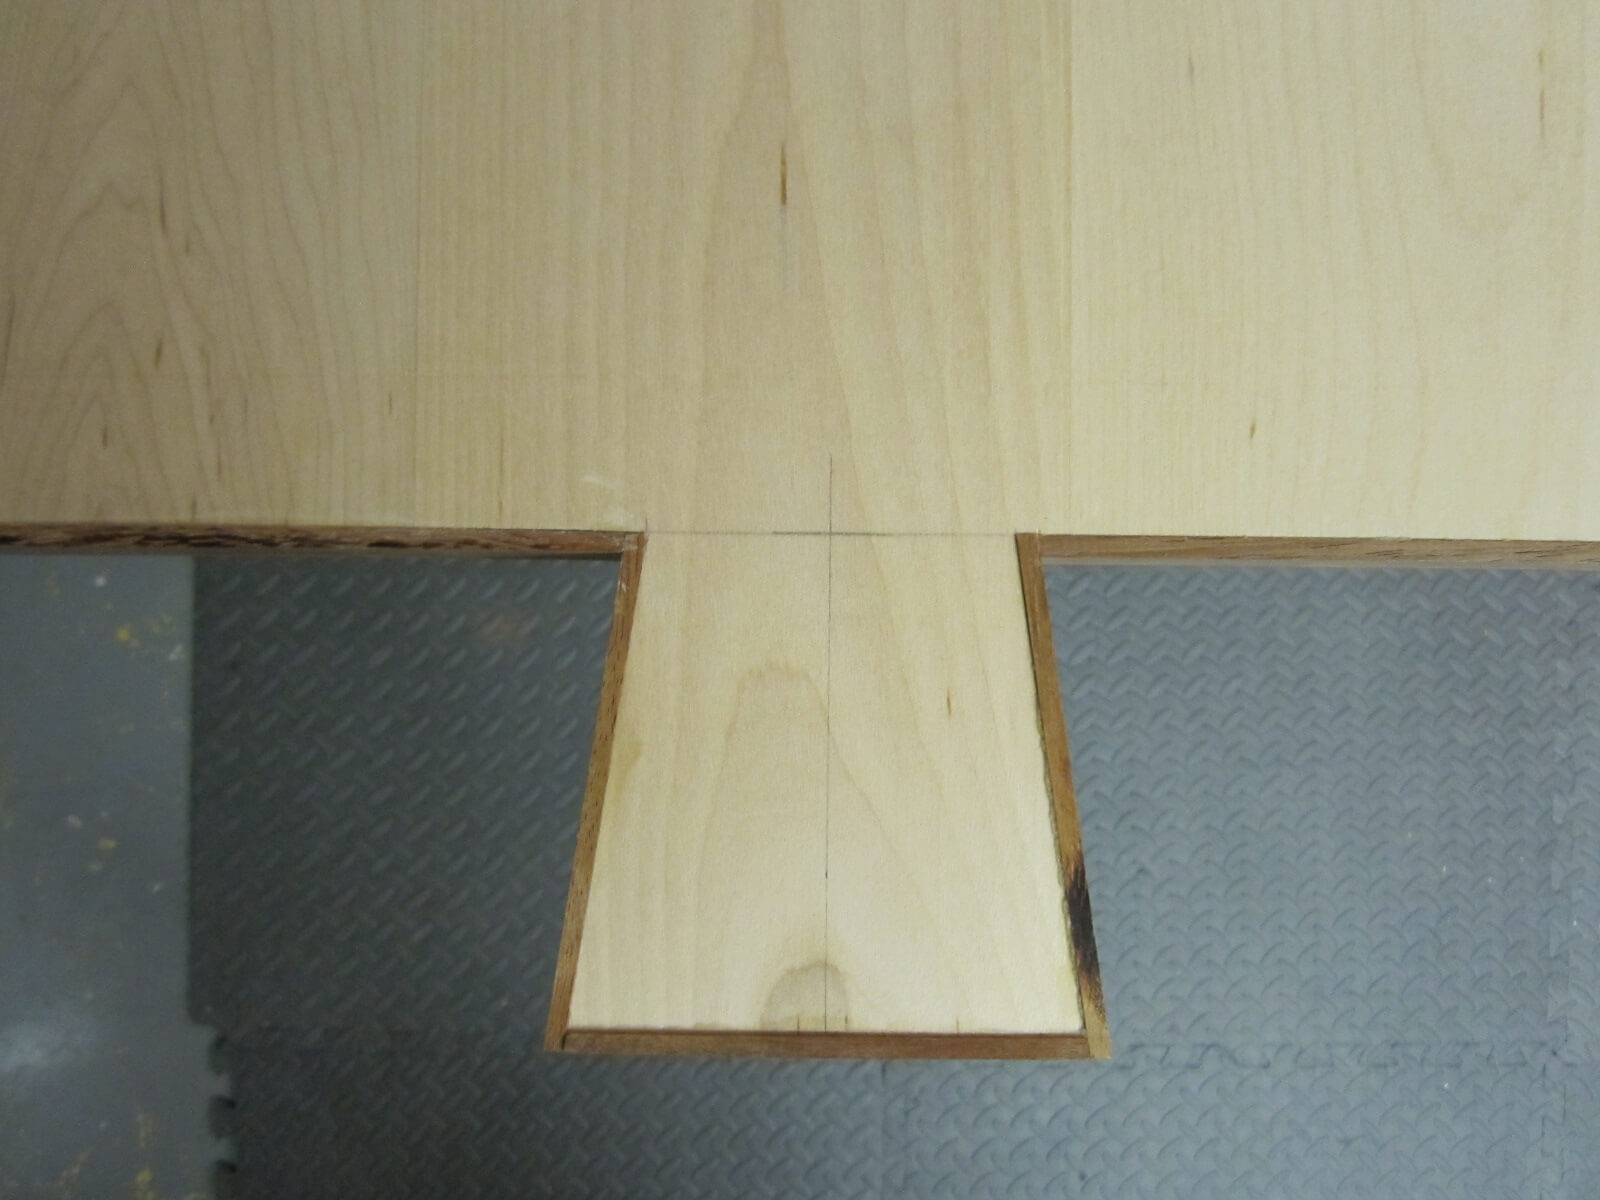
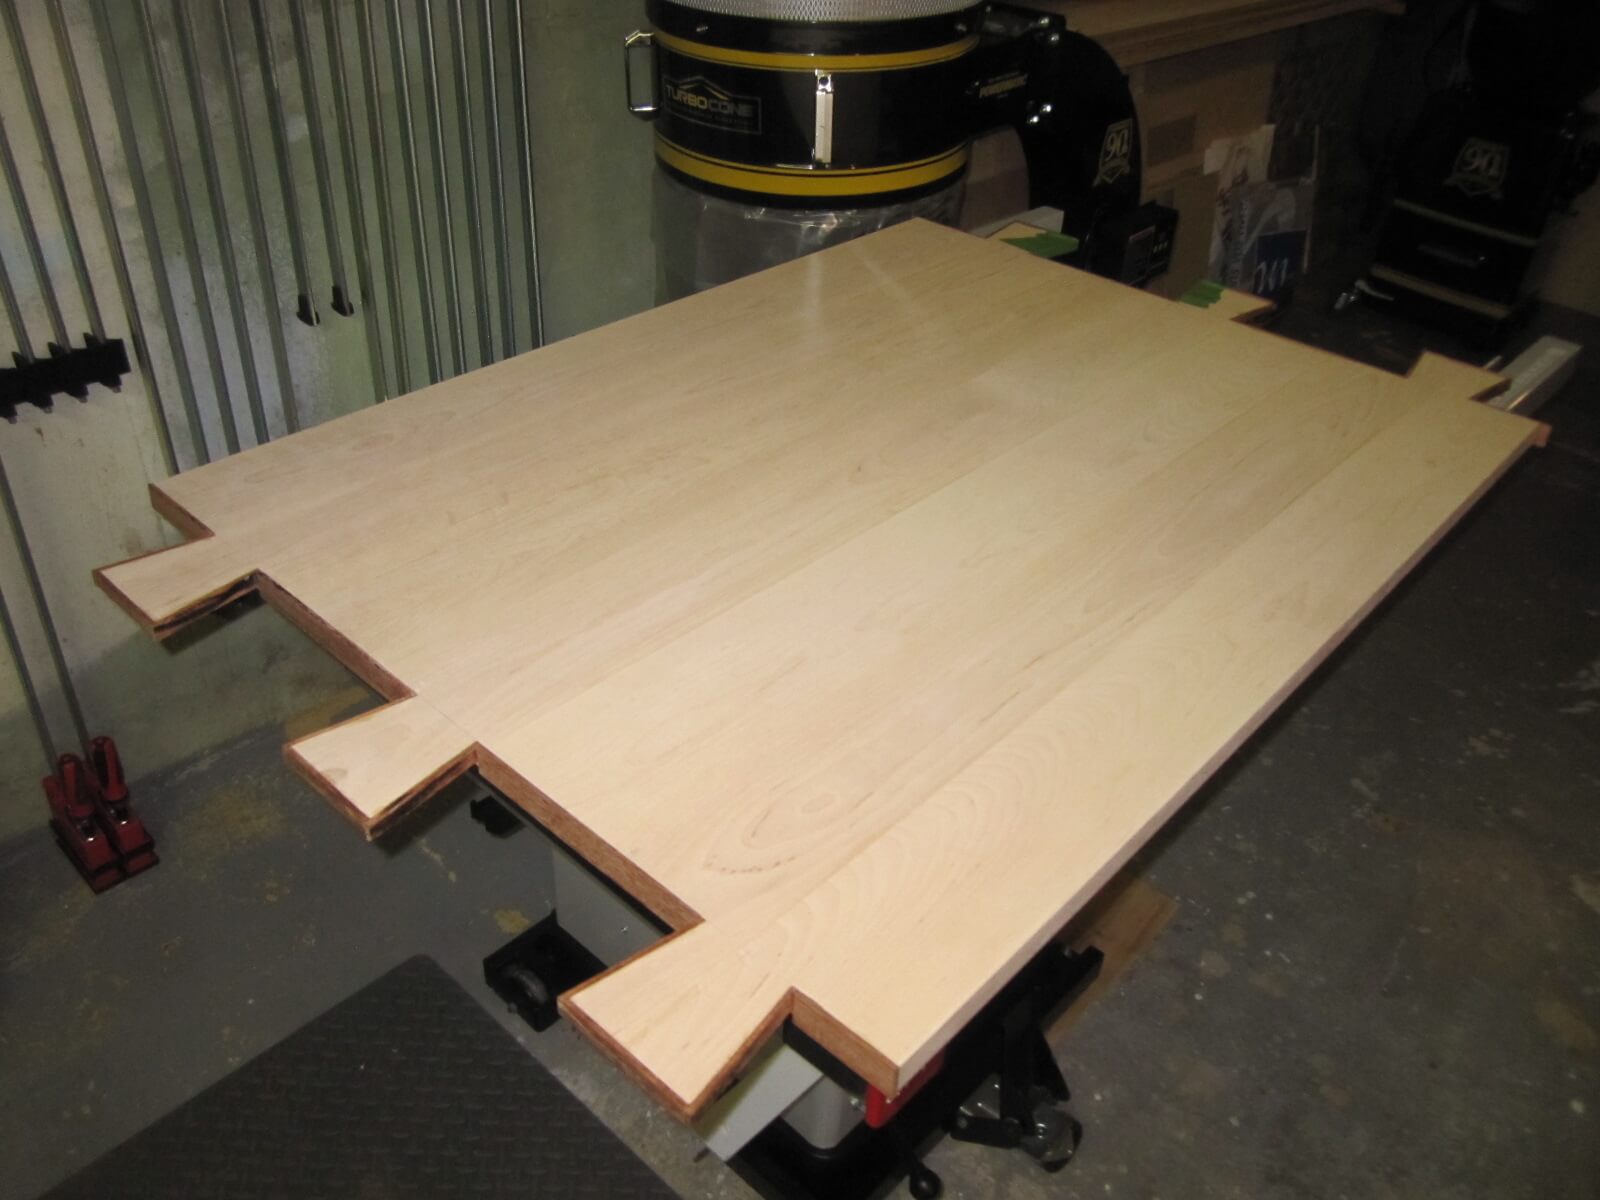
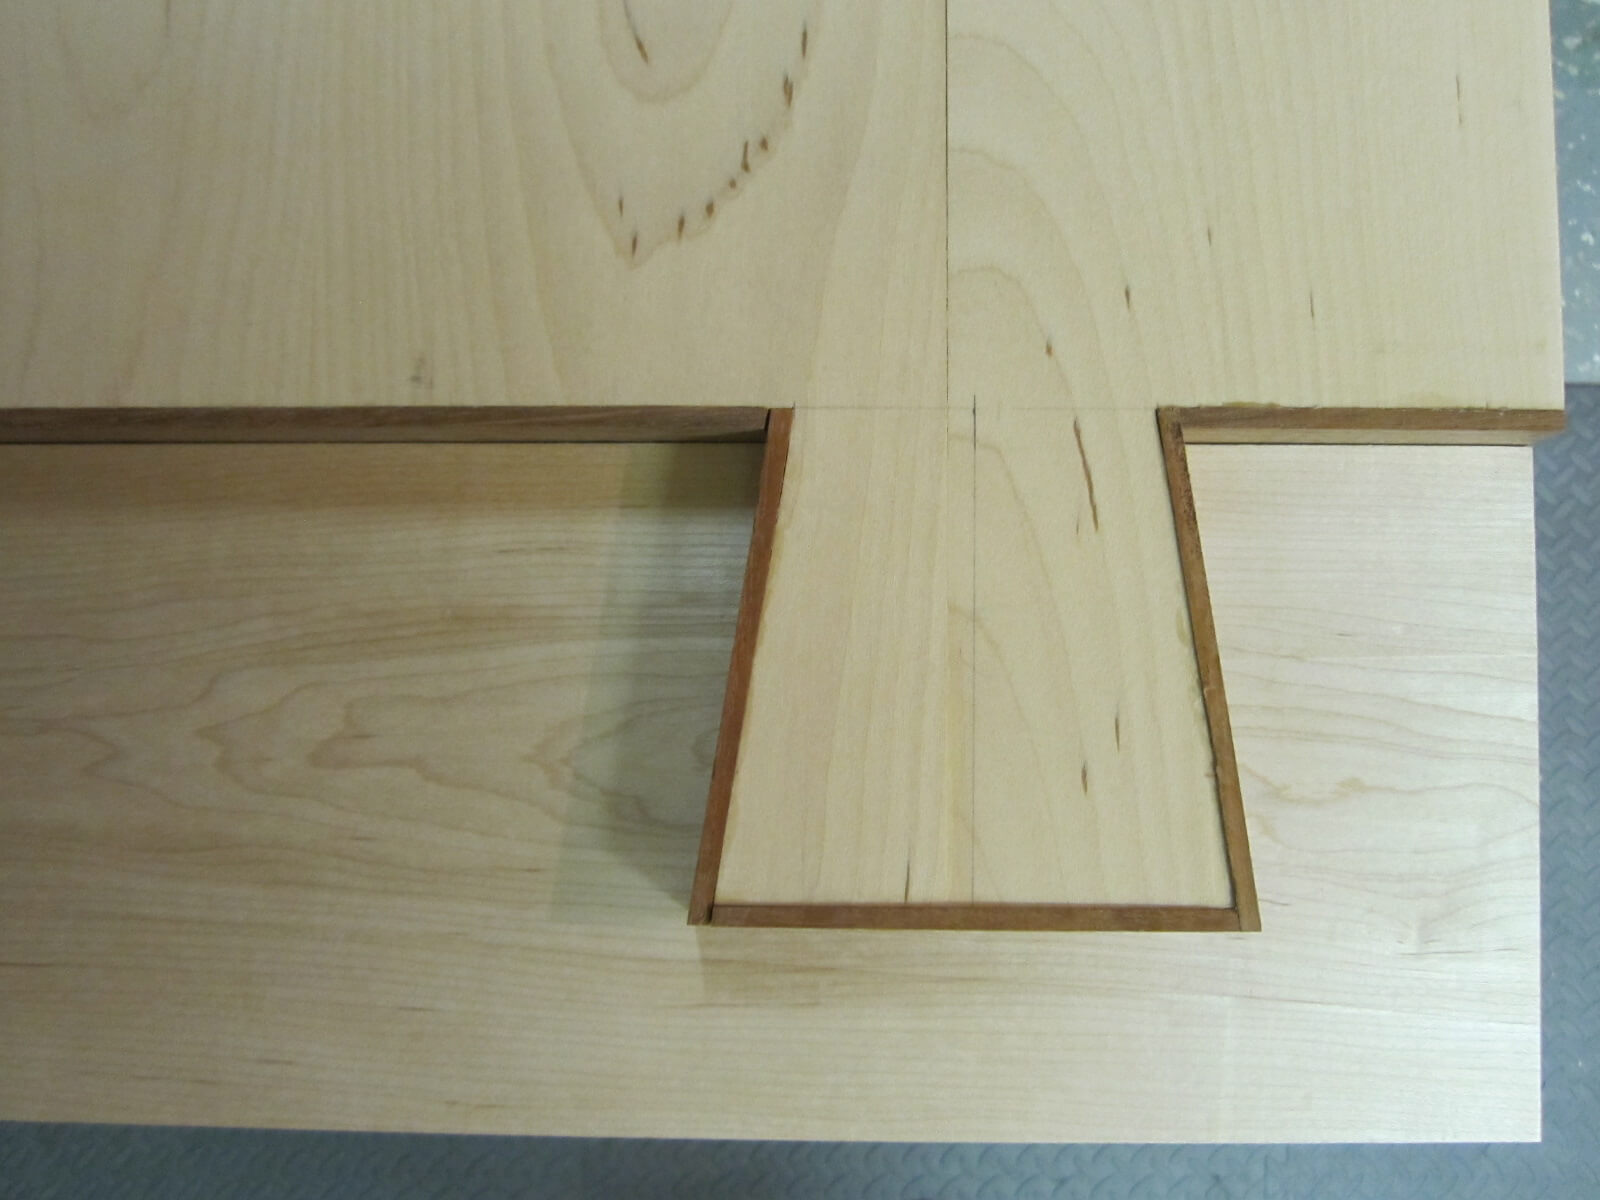
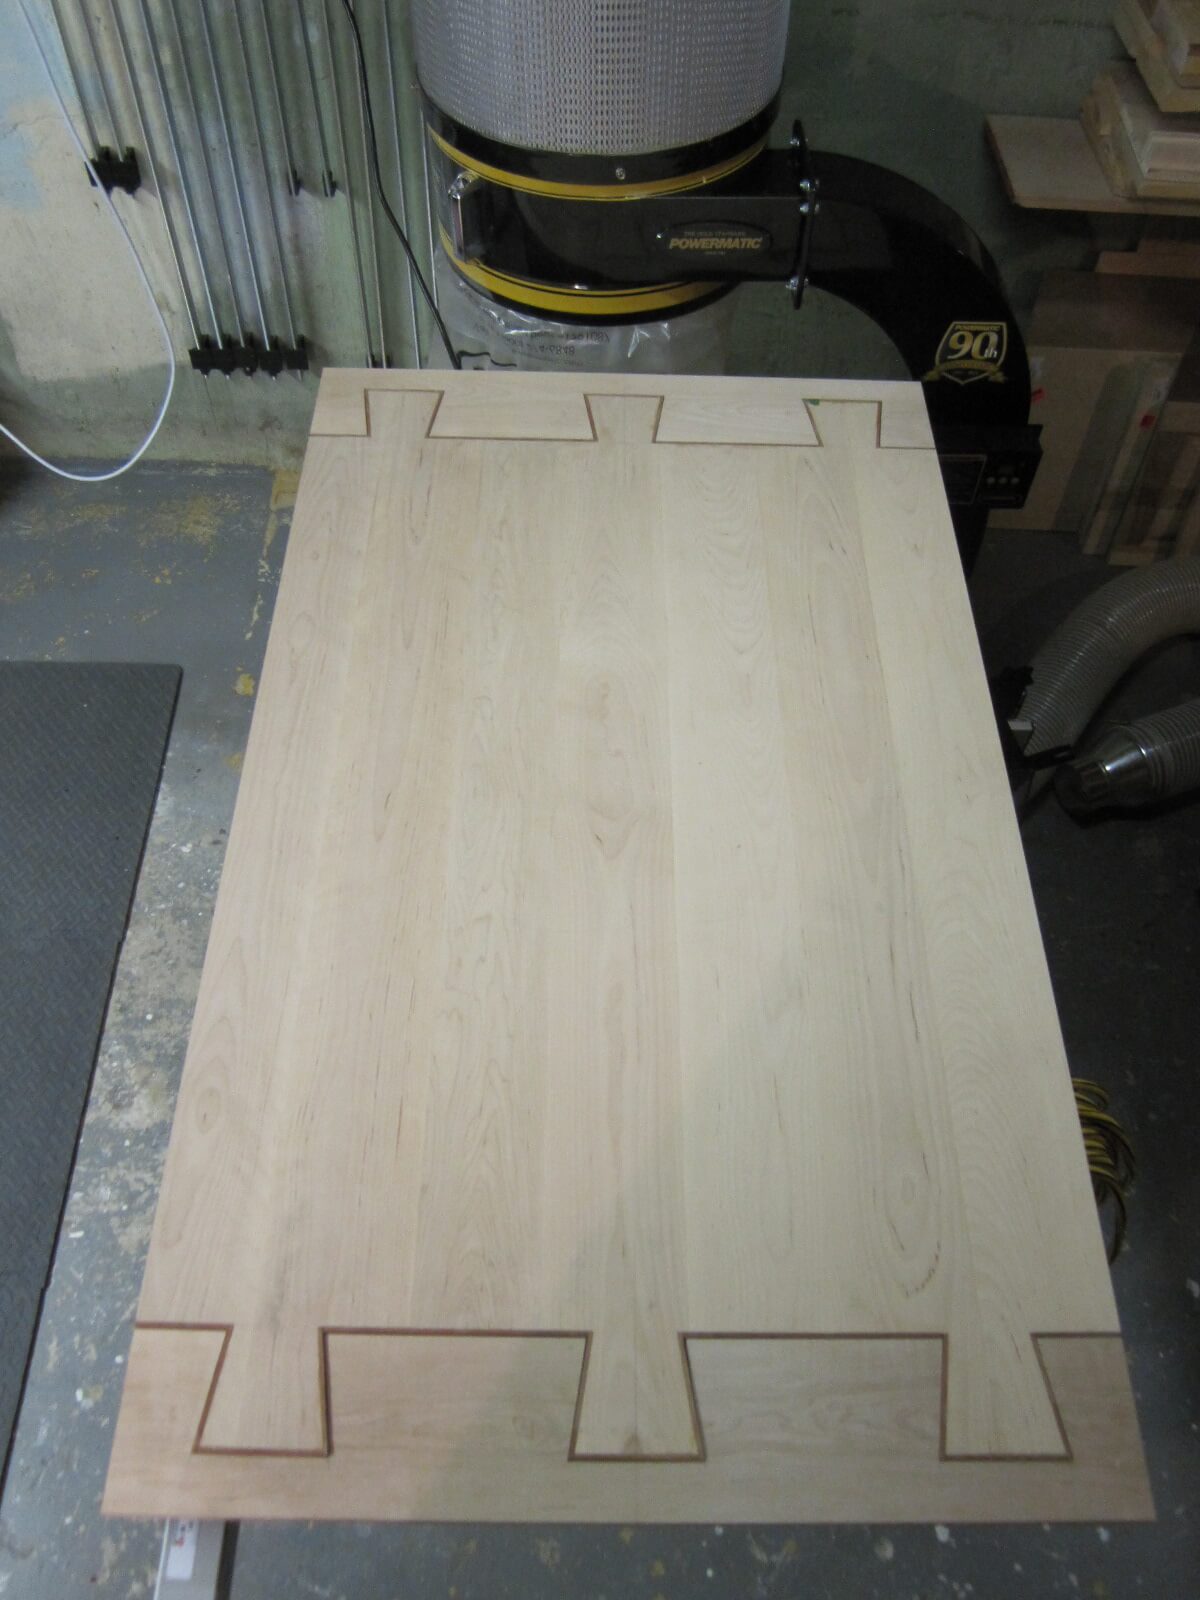
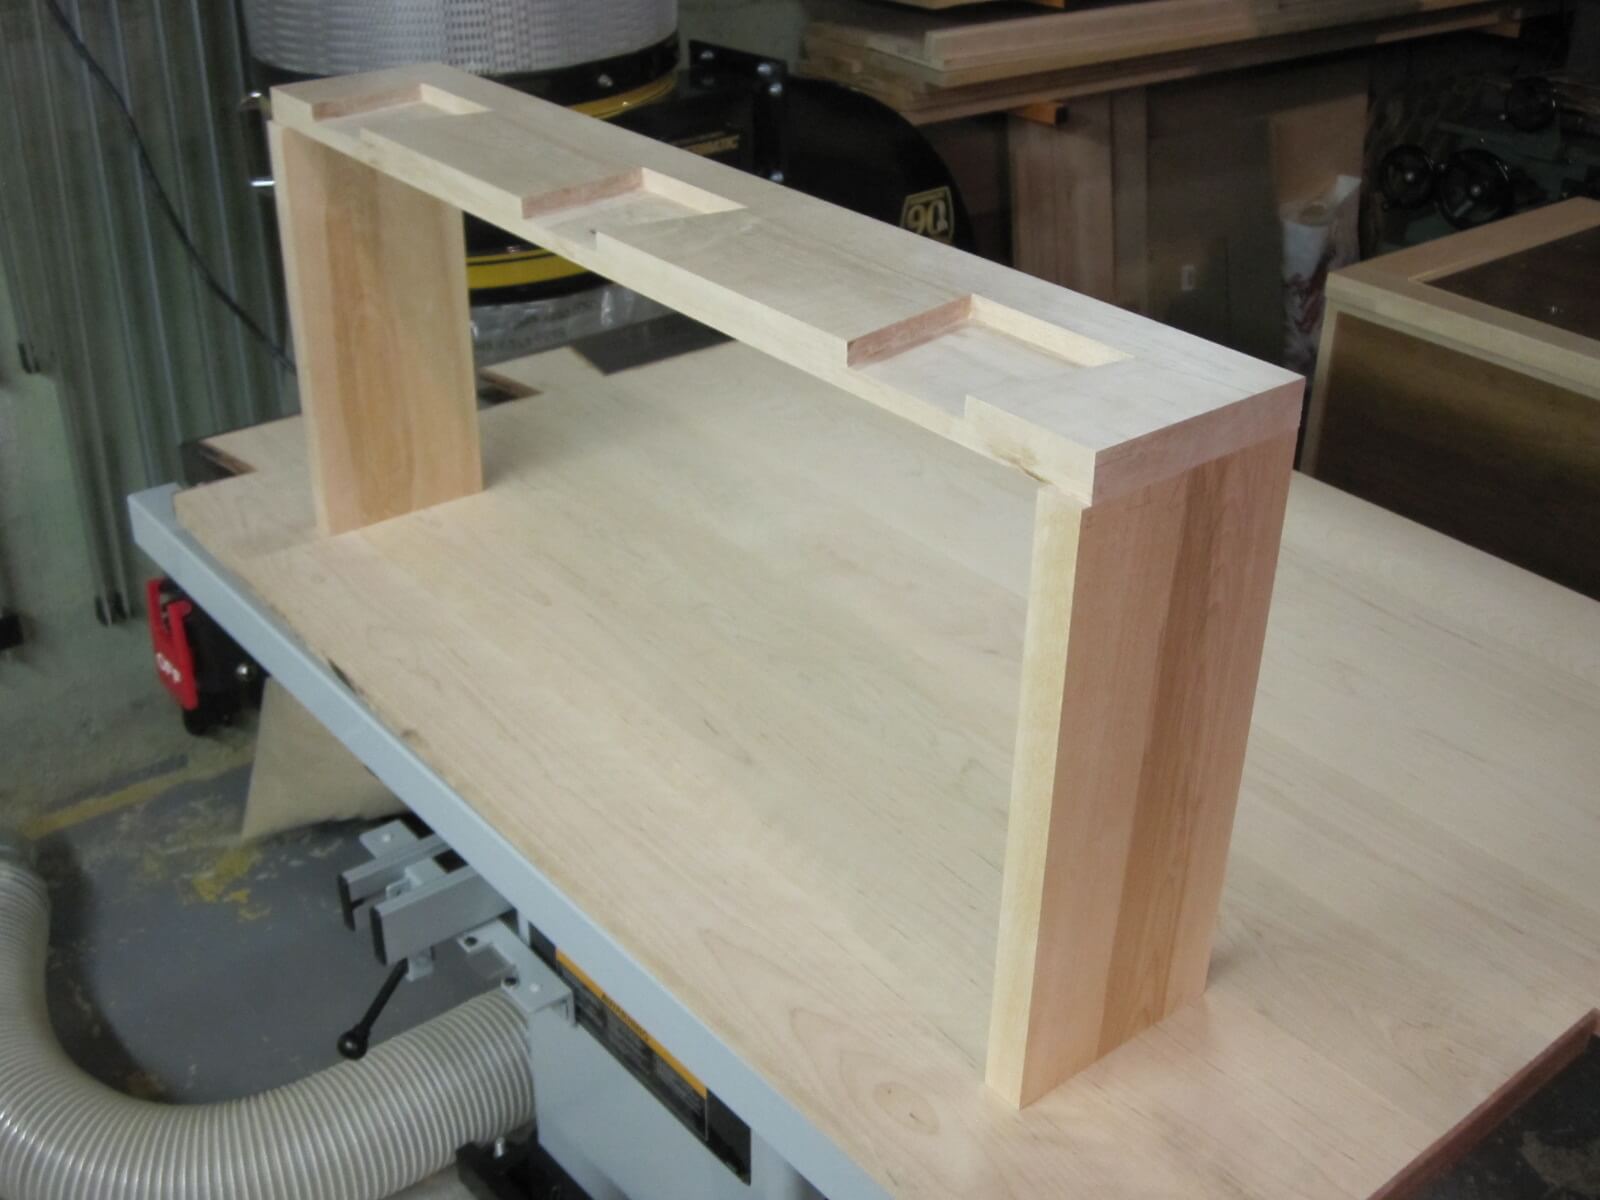
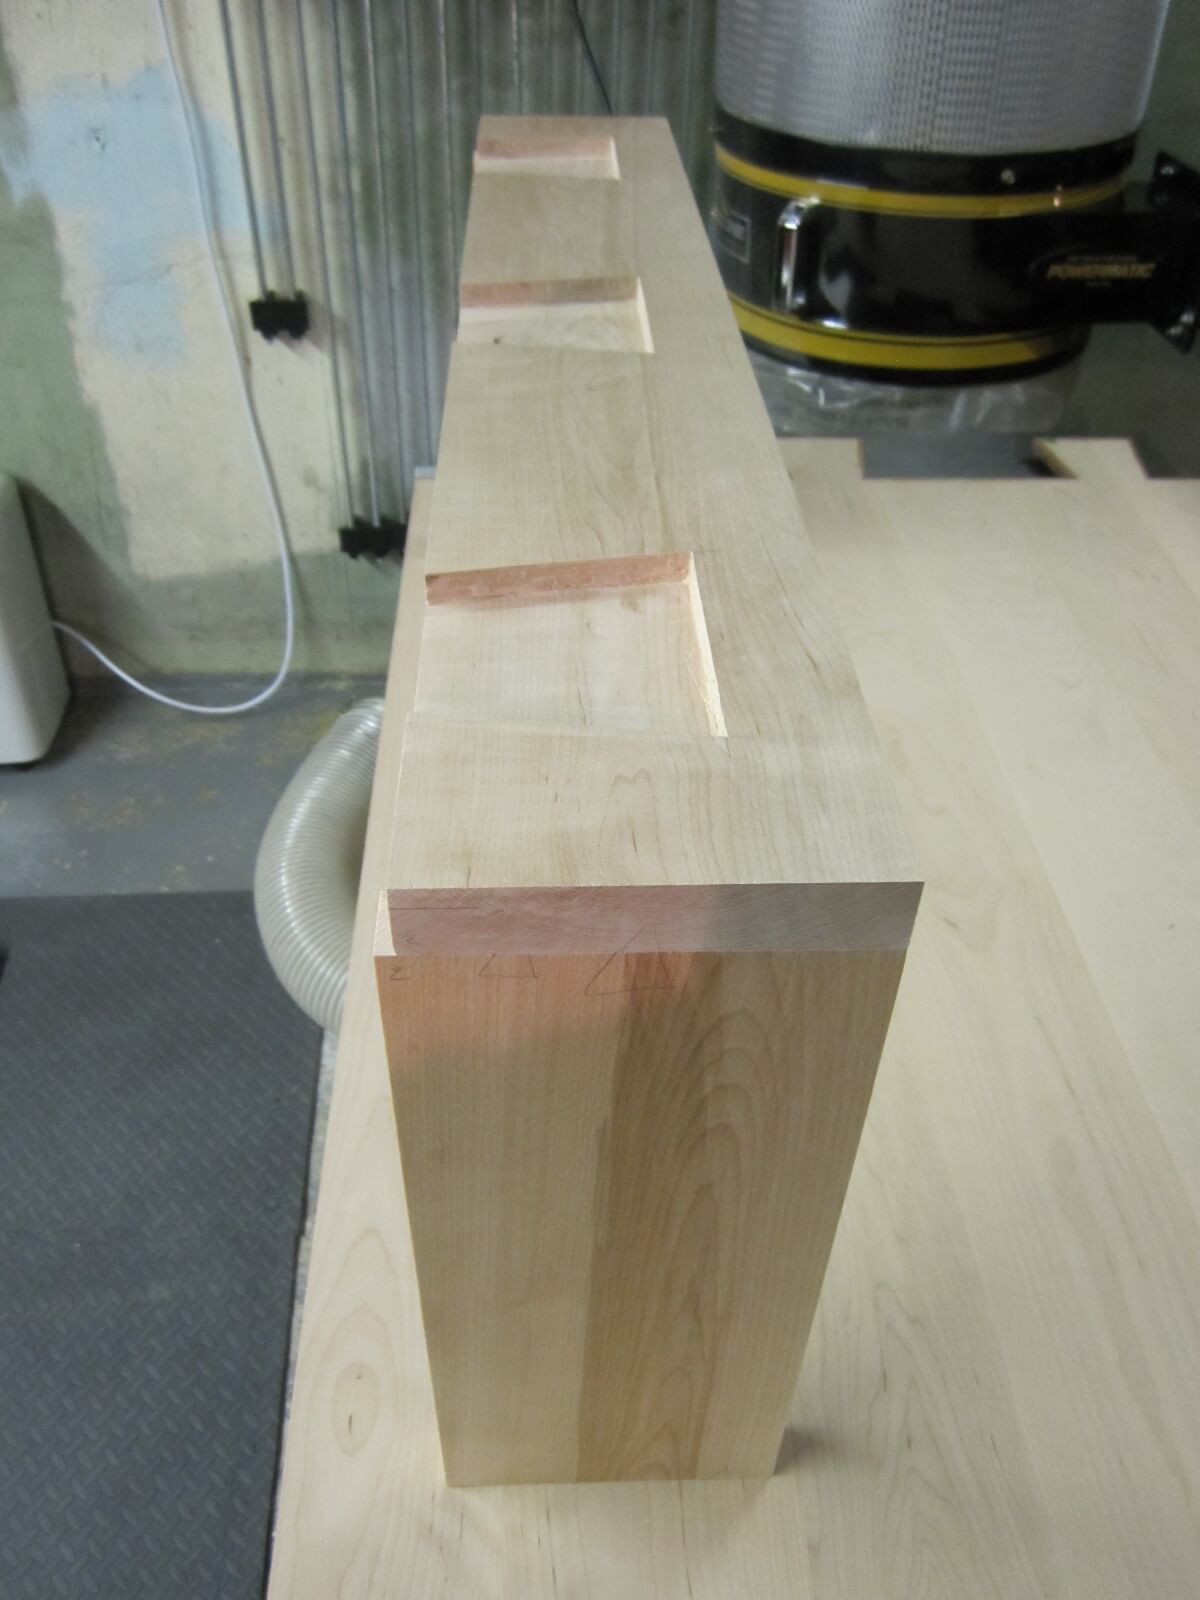
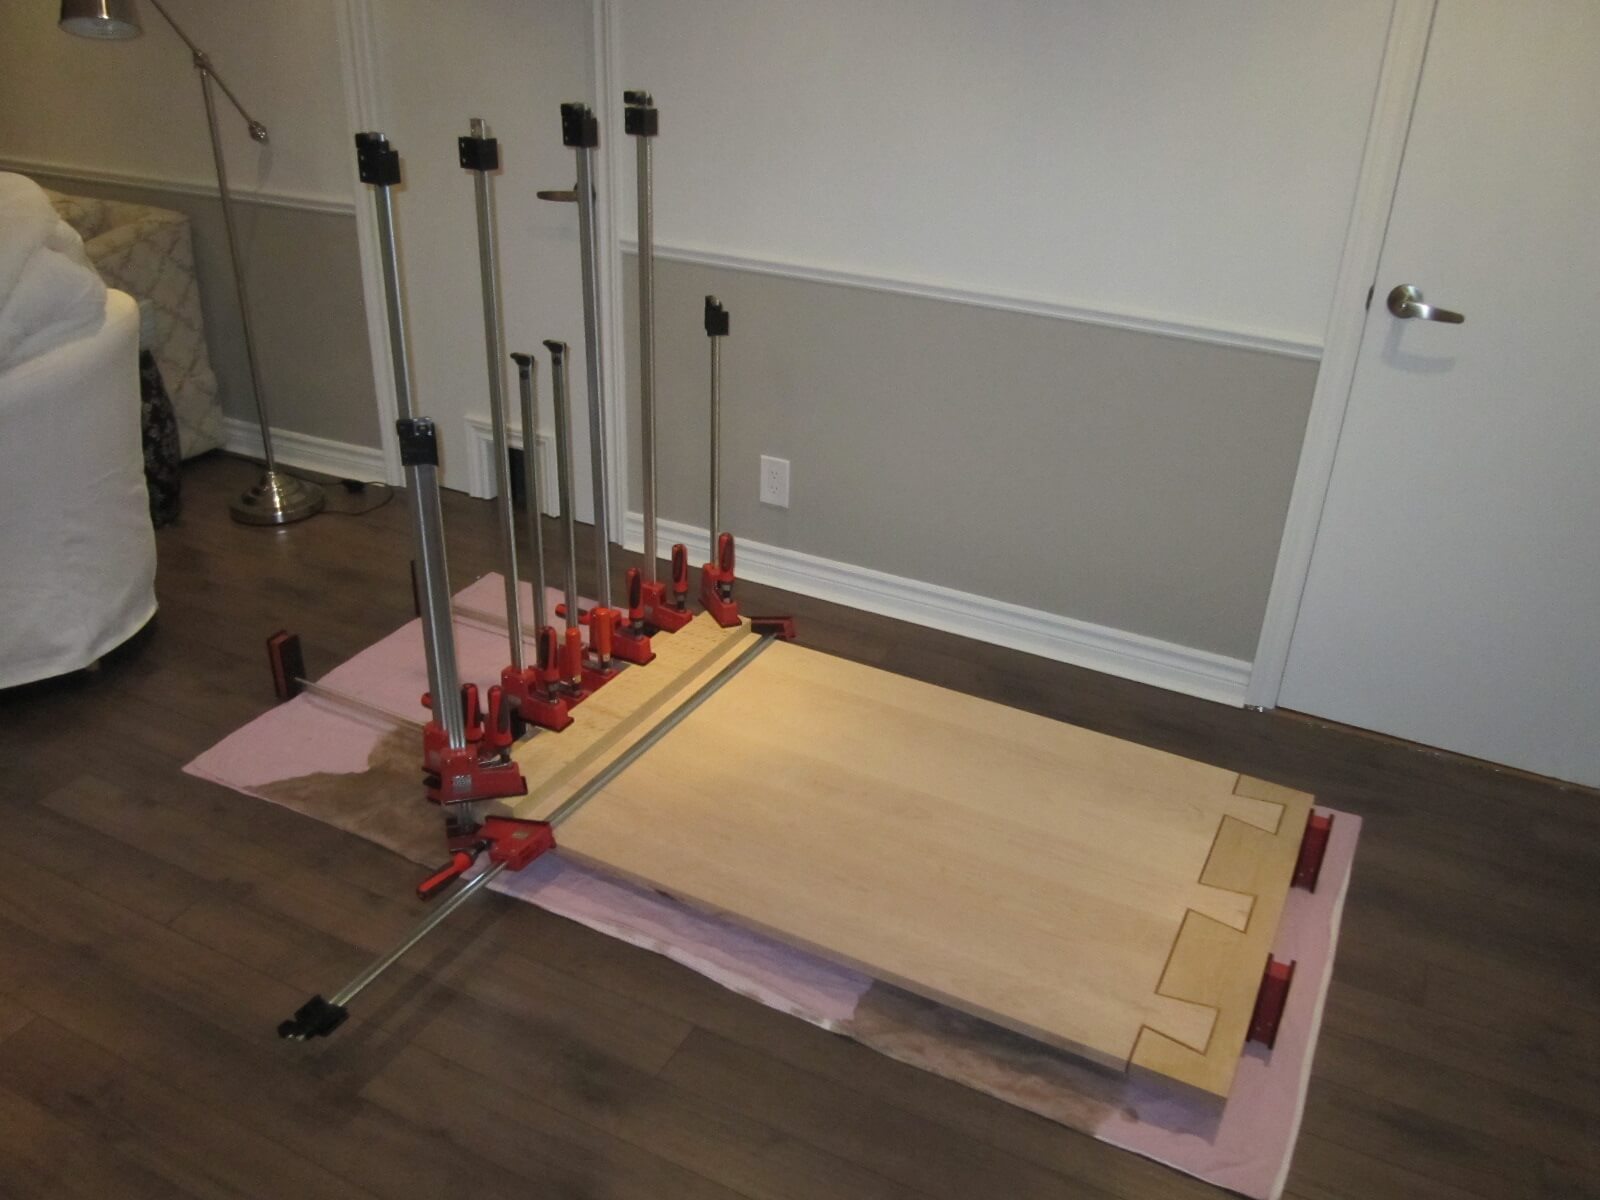
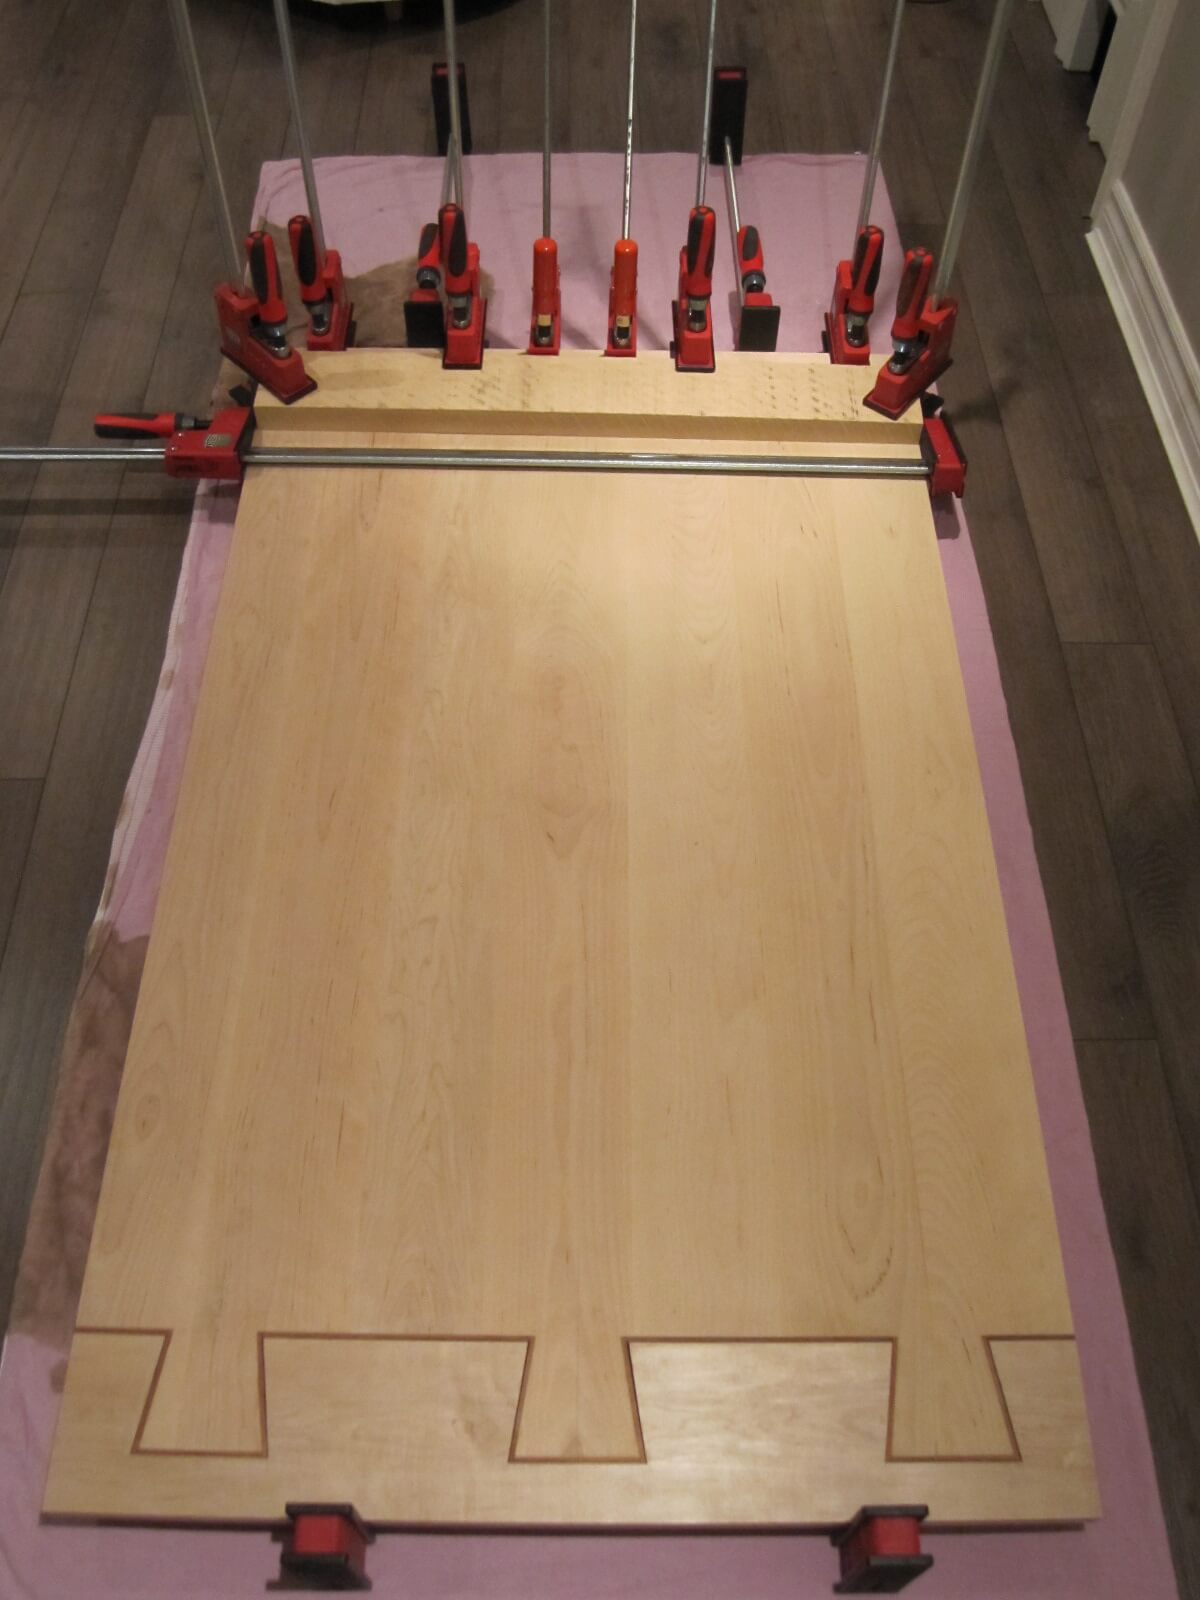
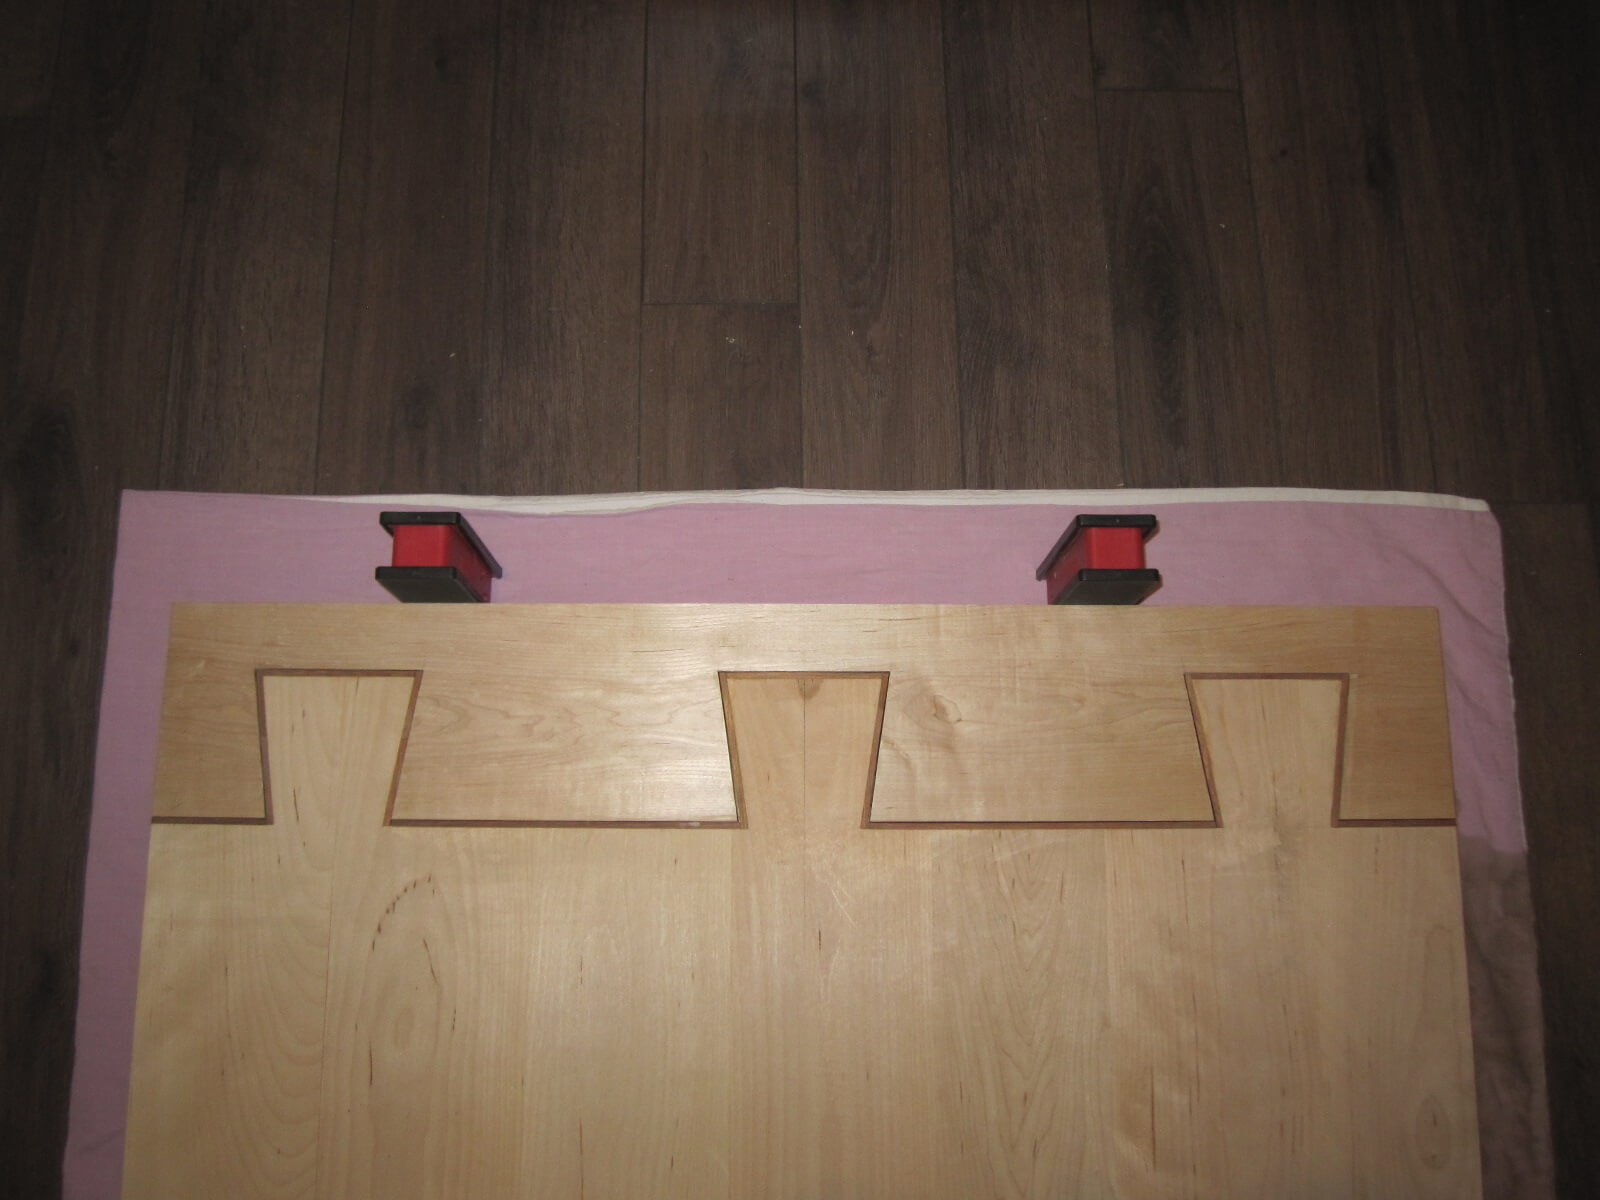
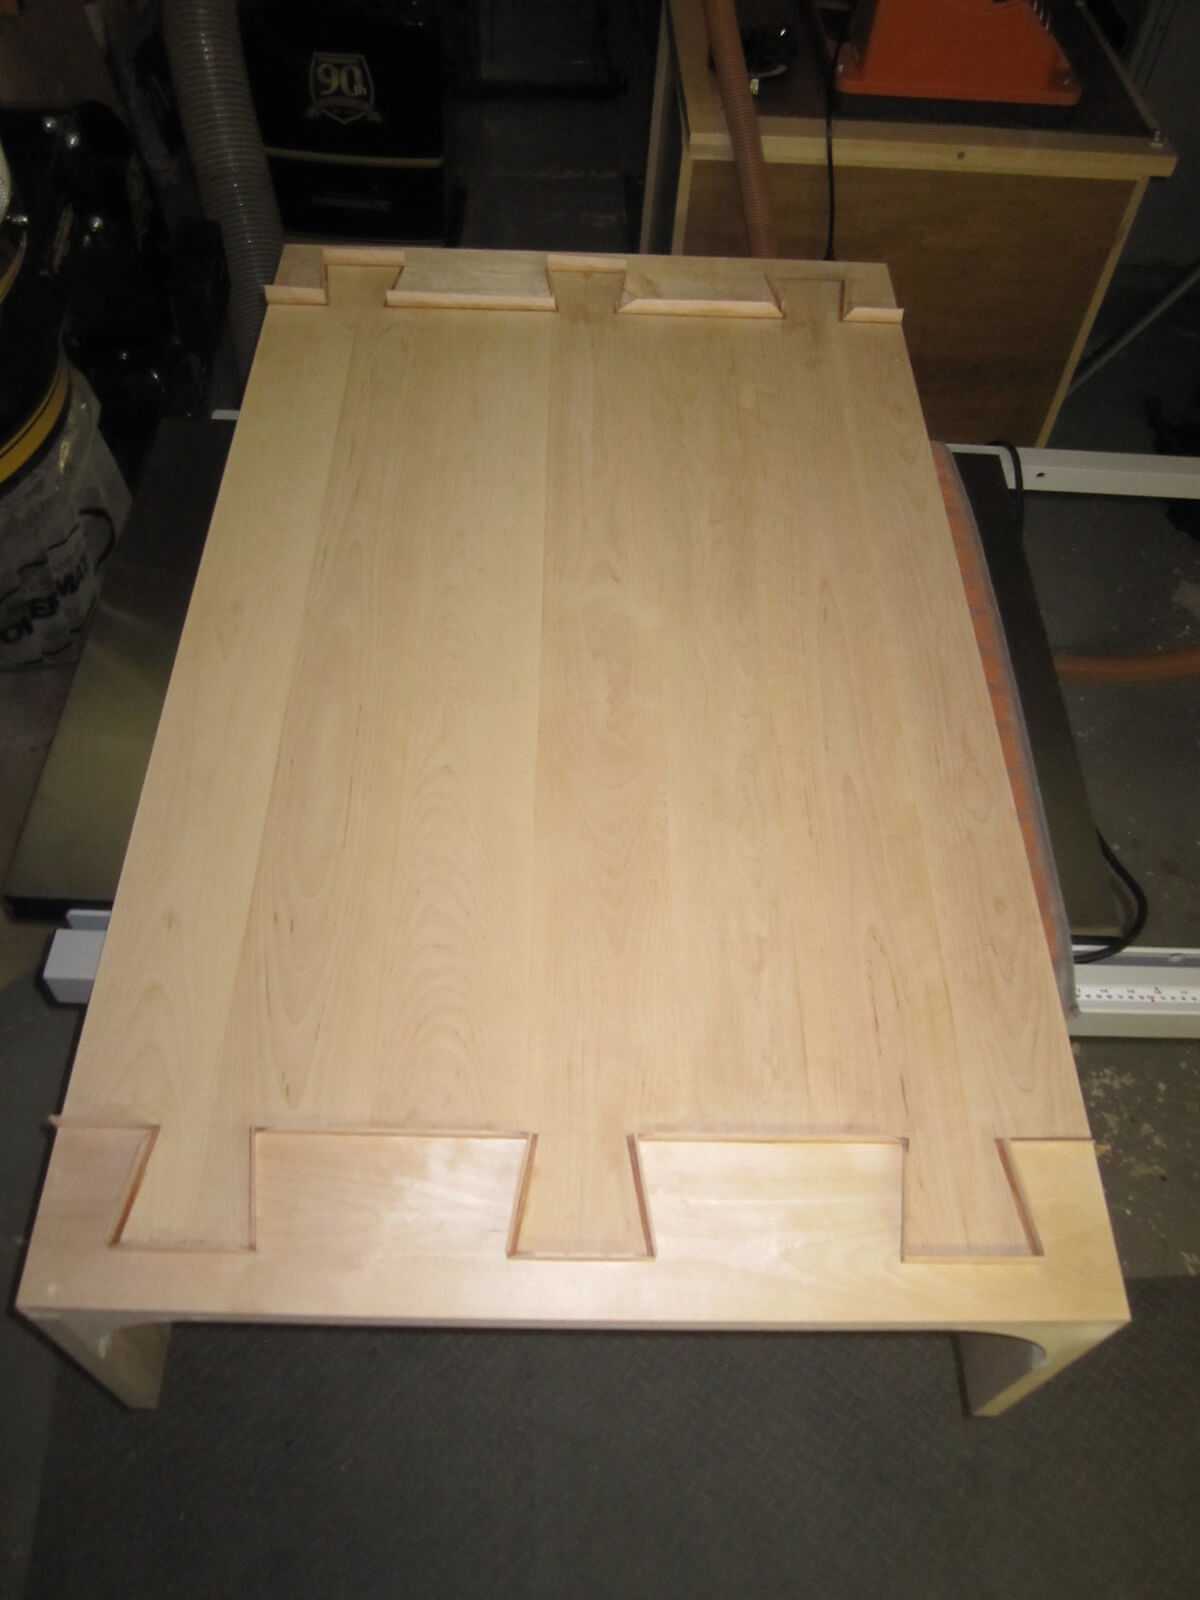
Here is a blank assembly:
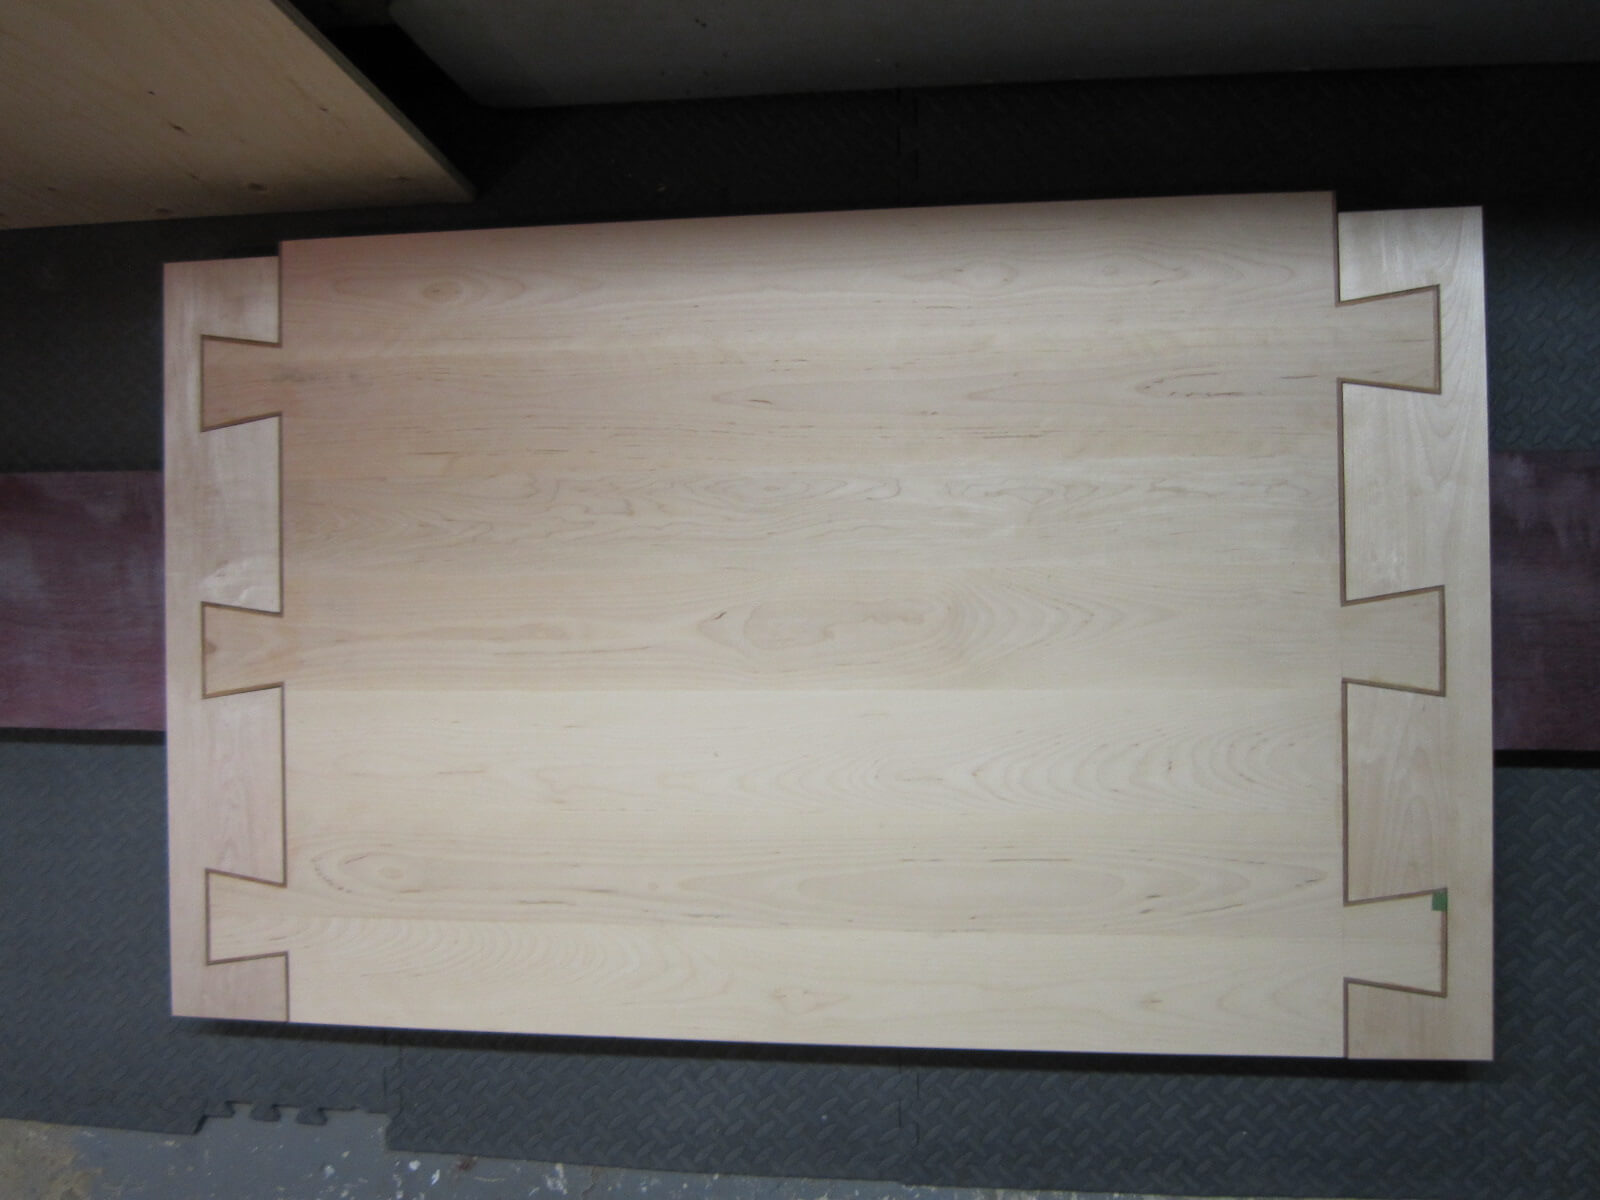
We immediately see the demarcation of dovetails thanks to jatoba.
We can switch to cutting the final width at the circular saw.
Finally, the mortises made by the mortiser:
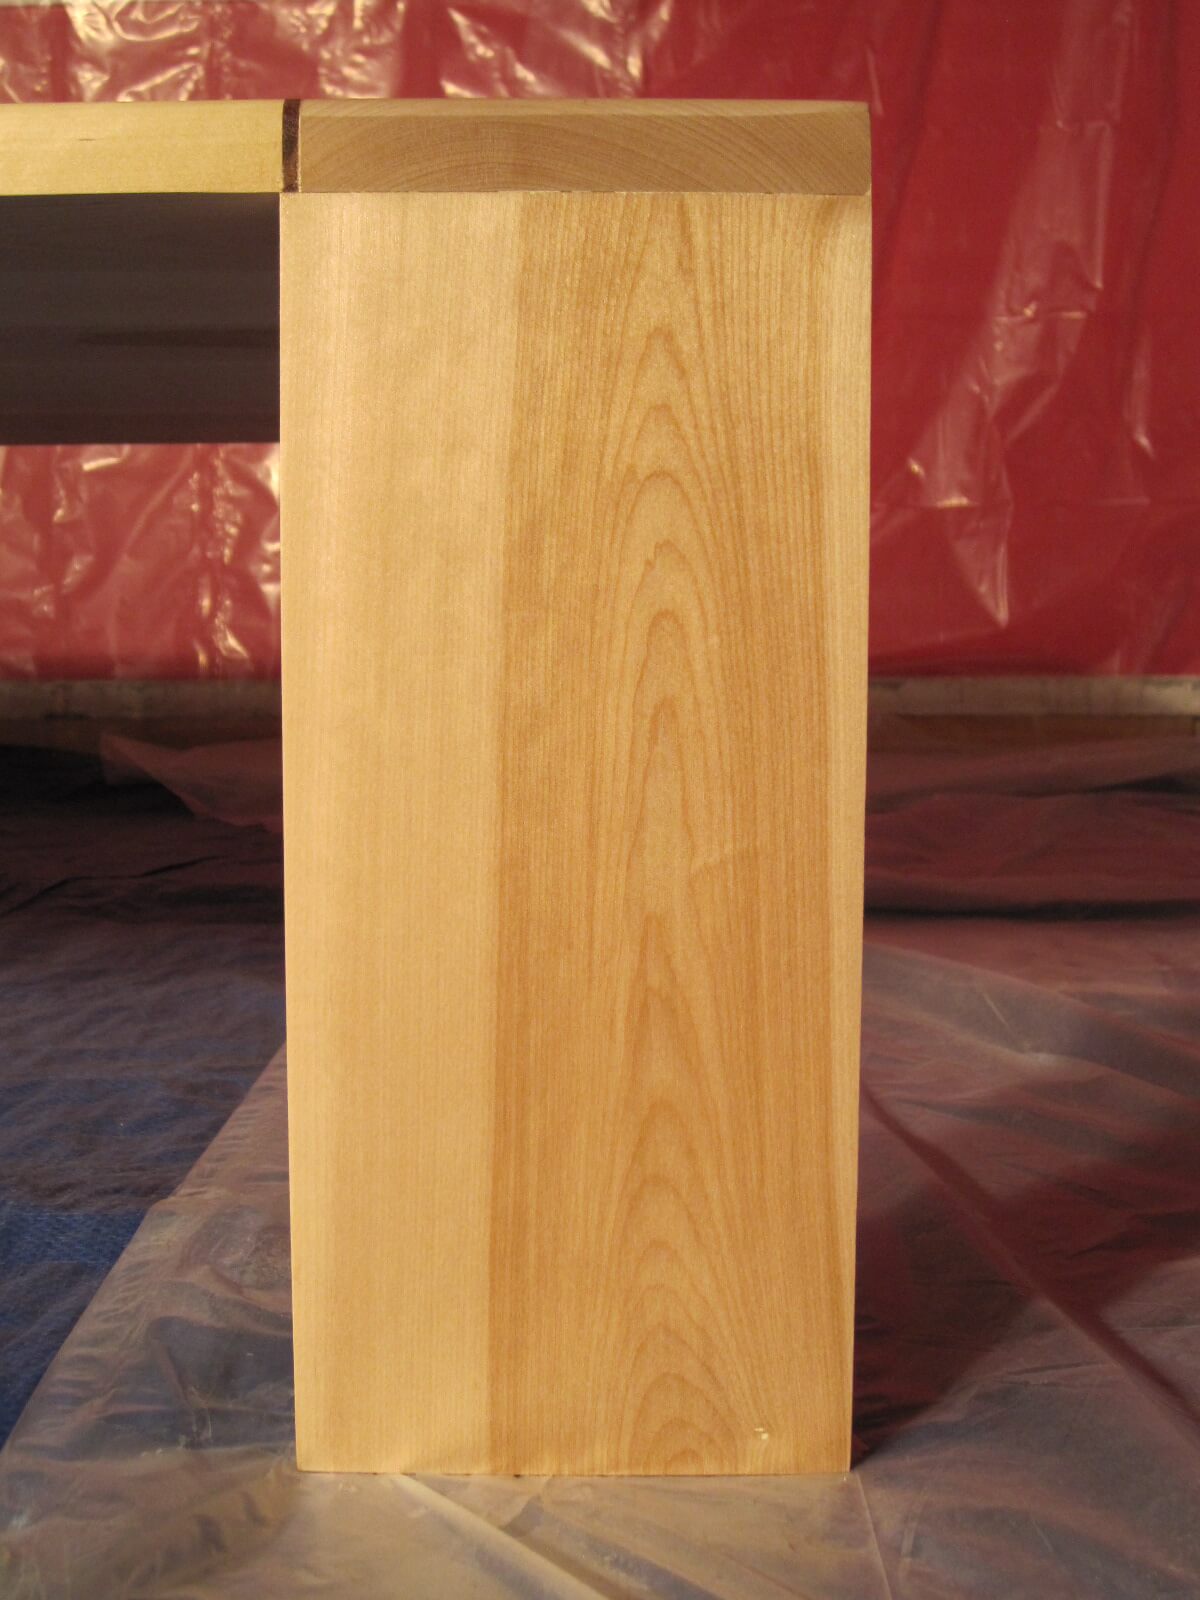
The Feet
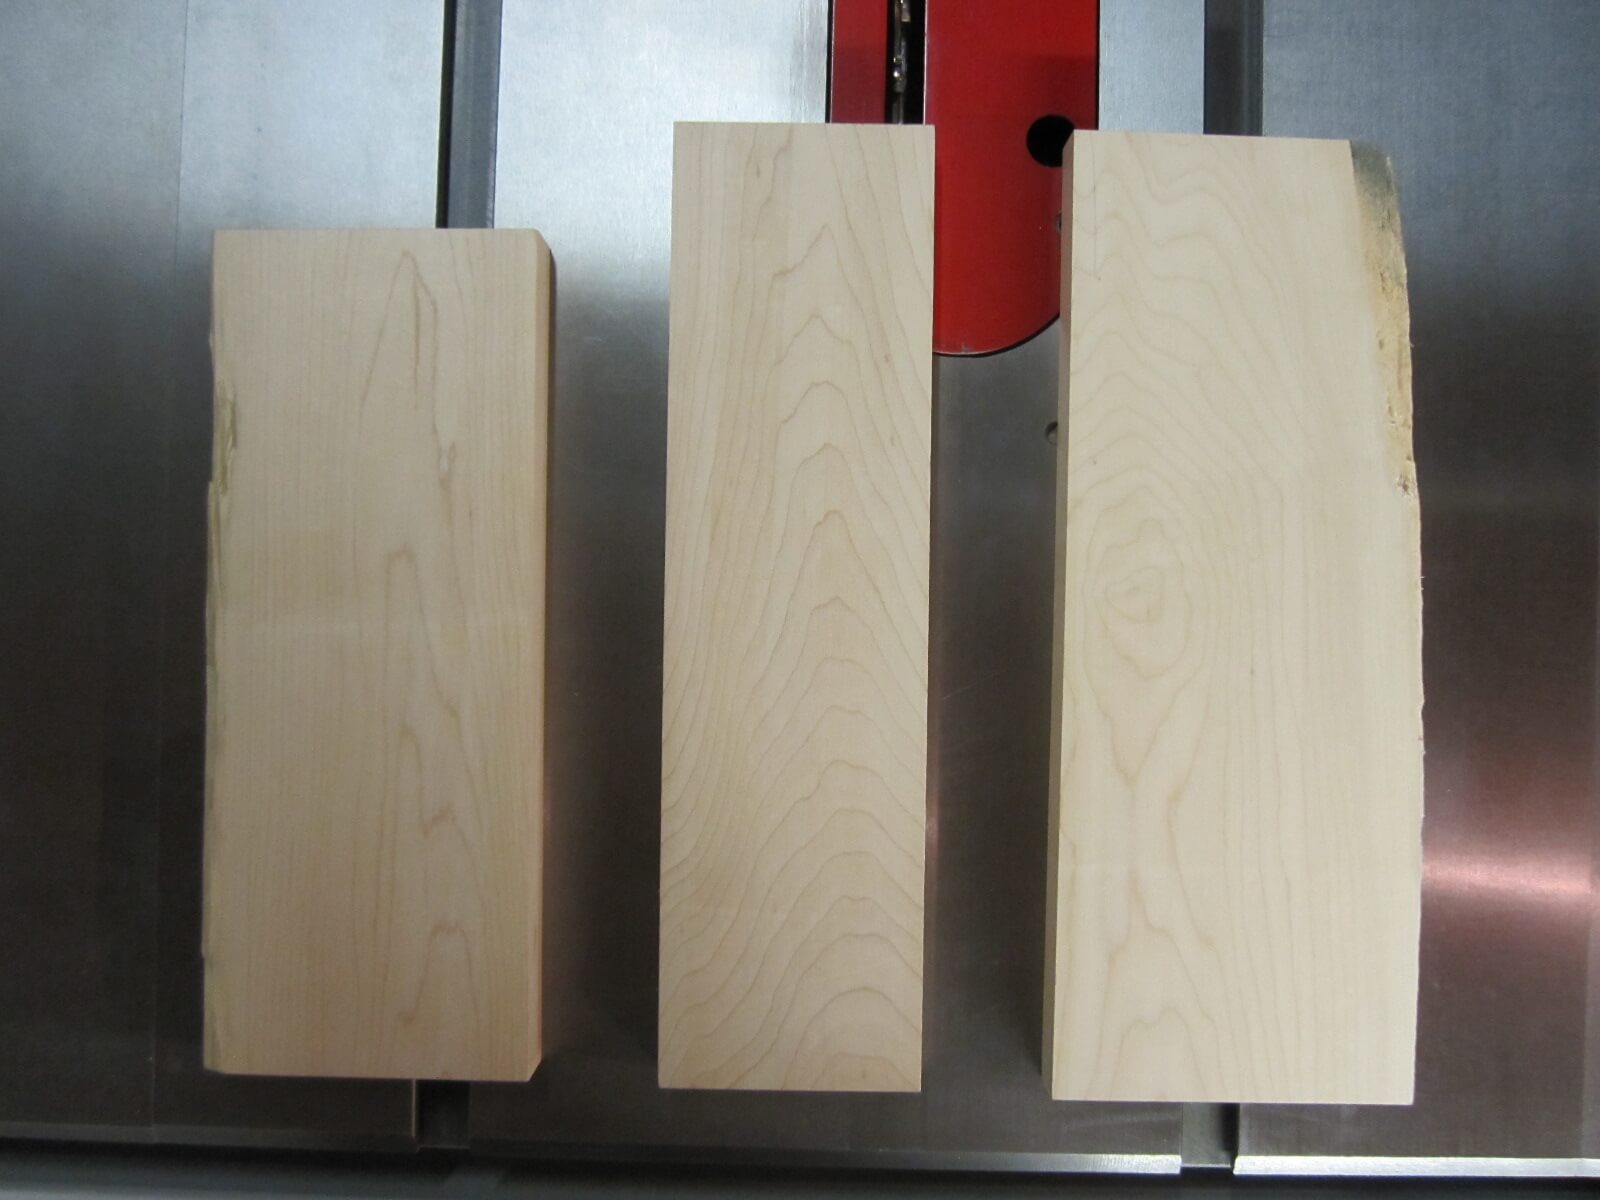
The manufacture of the feet is relatively simple. It will be necessary to realize 4 pieces from a board of raw wood.
Before & After:
With the tenons made with the table saw and the visible faces chosen:
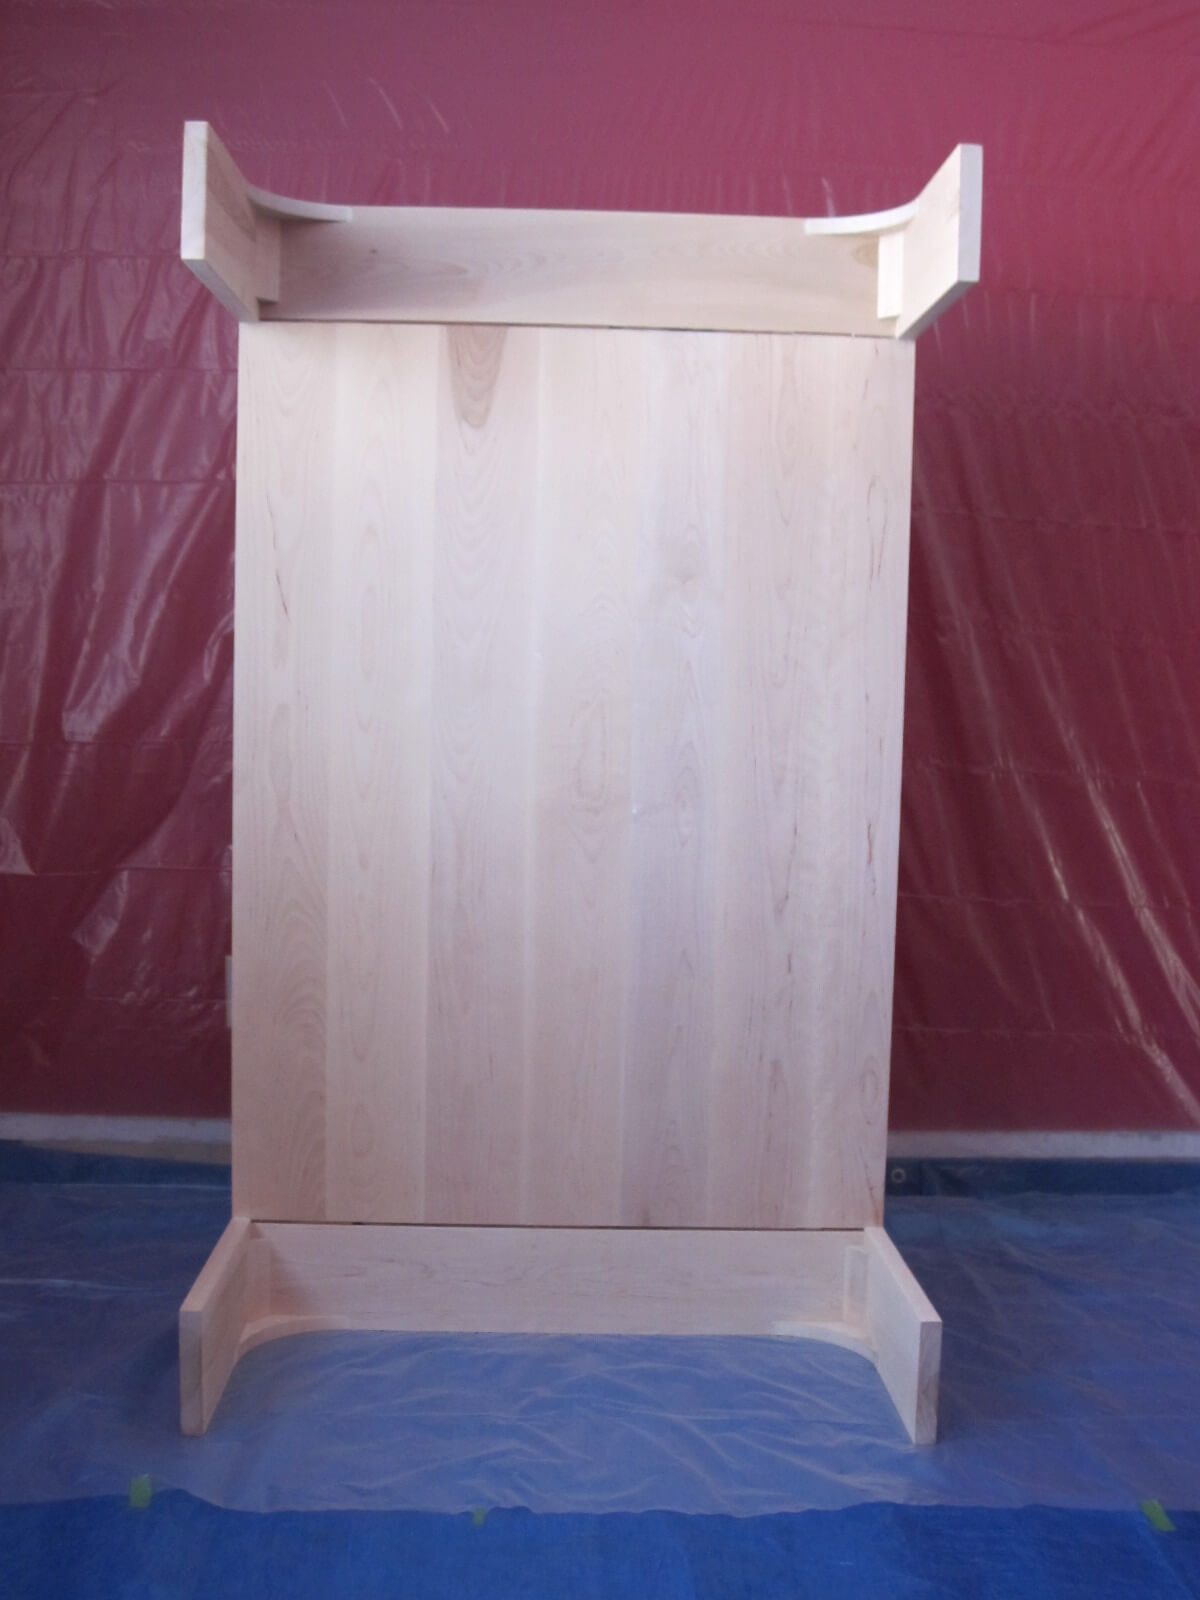
Here is a blank assembly of tips and feet:
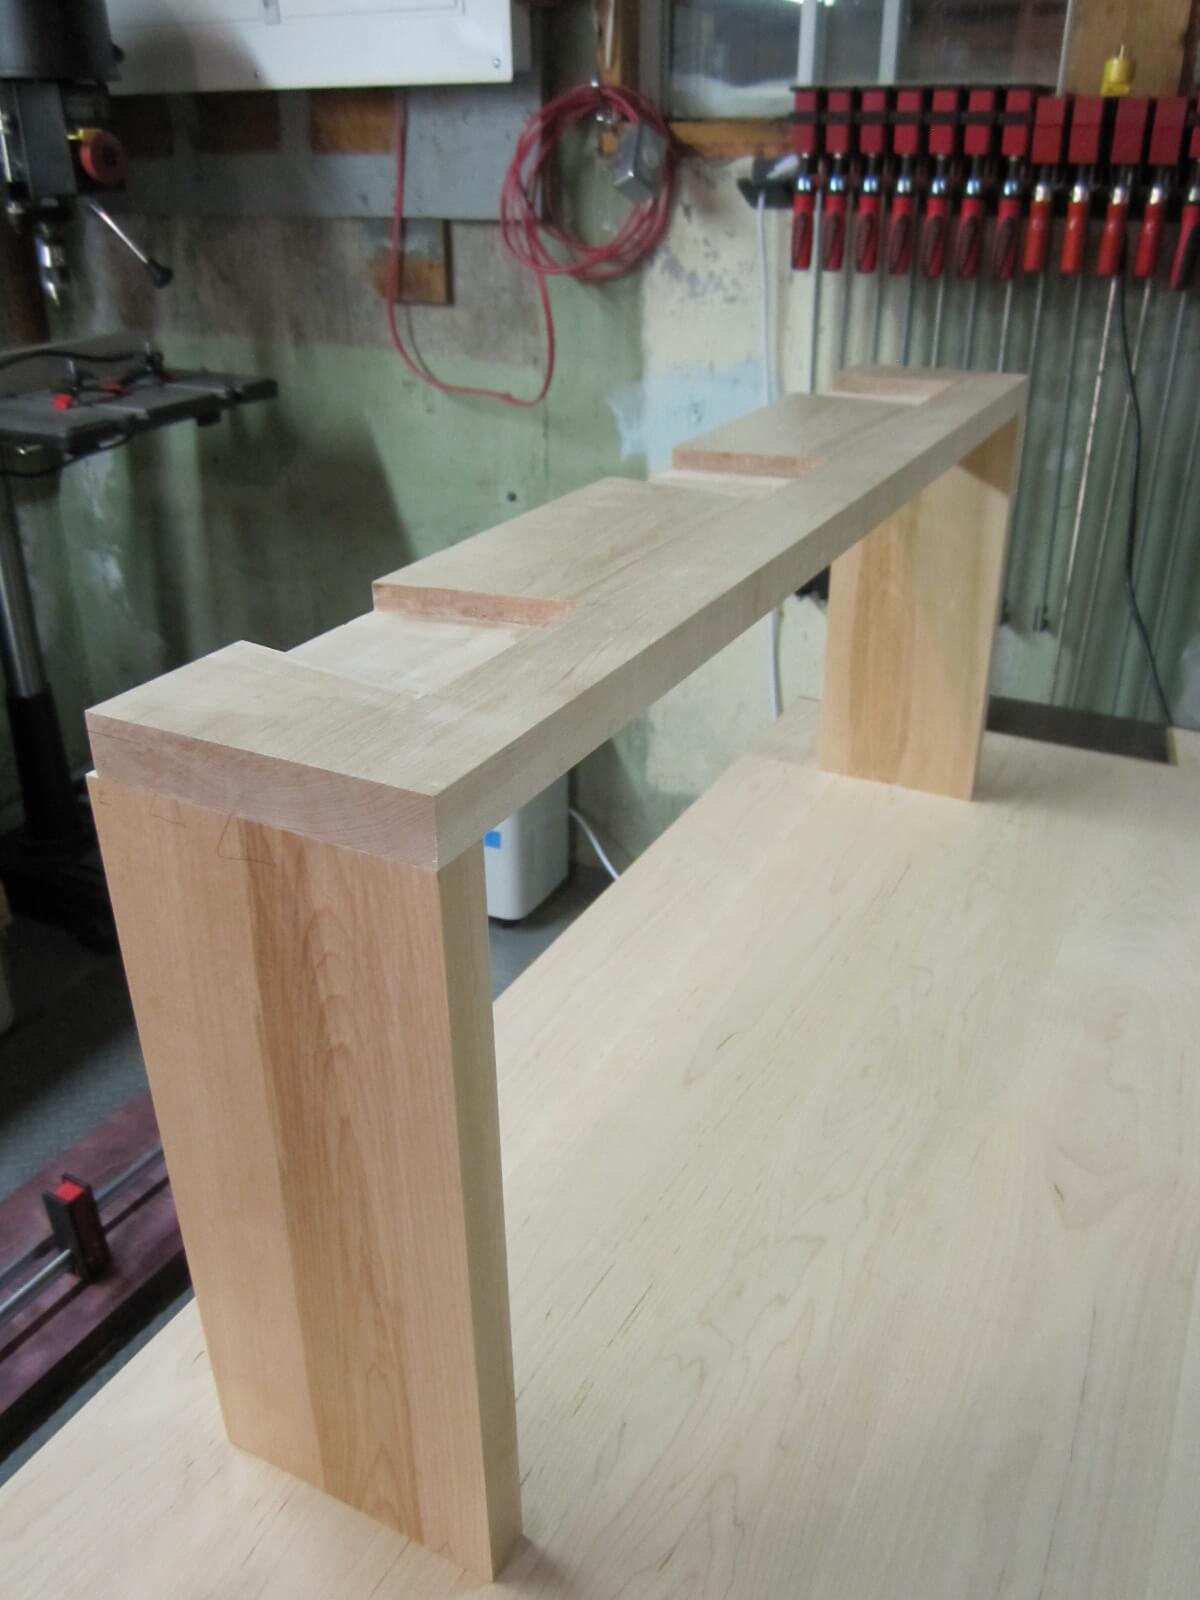

You will notice the demarcation between the width of the mouthpiece and feet. It’s voluntary, it’s to give more lift to the board.
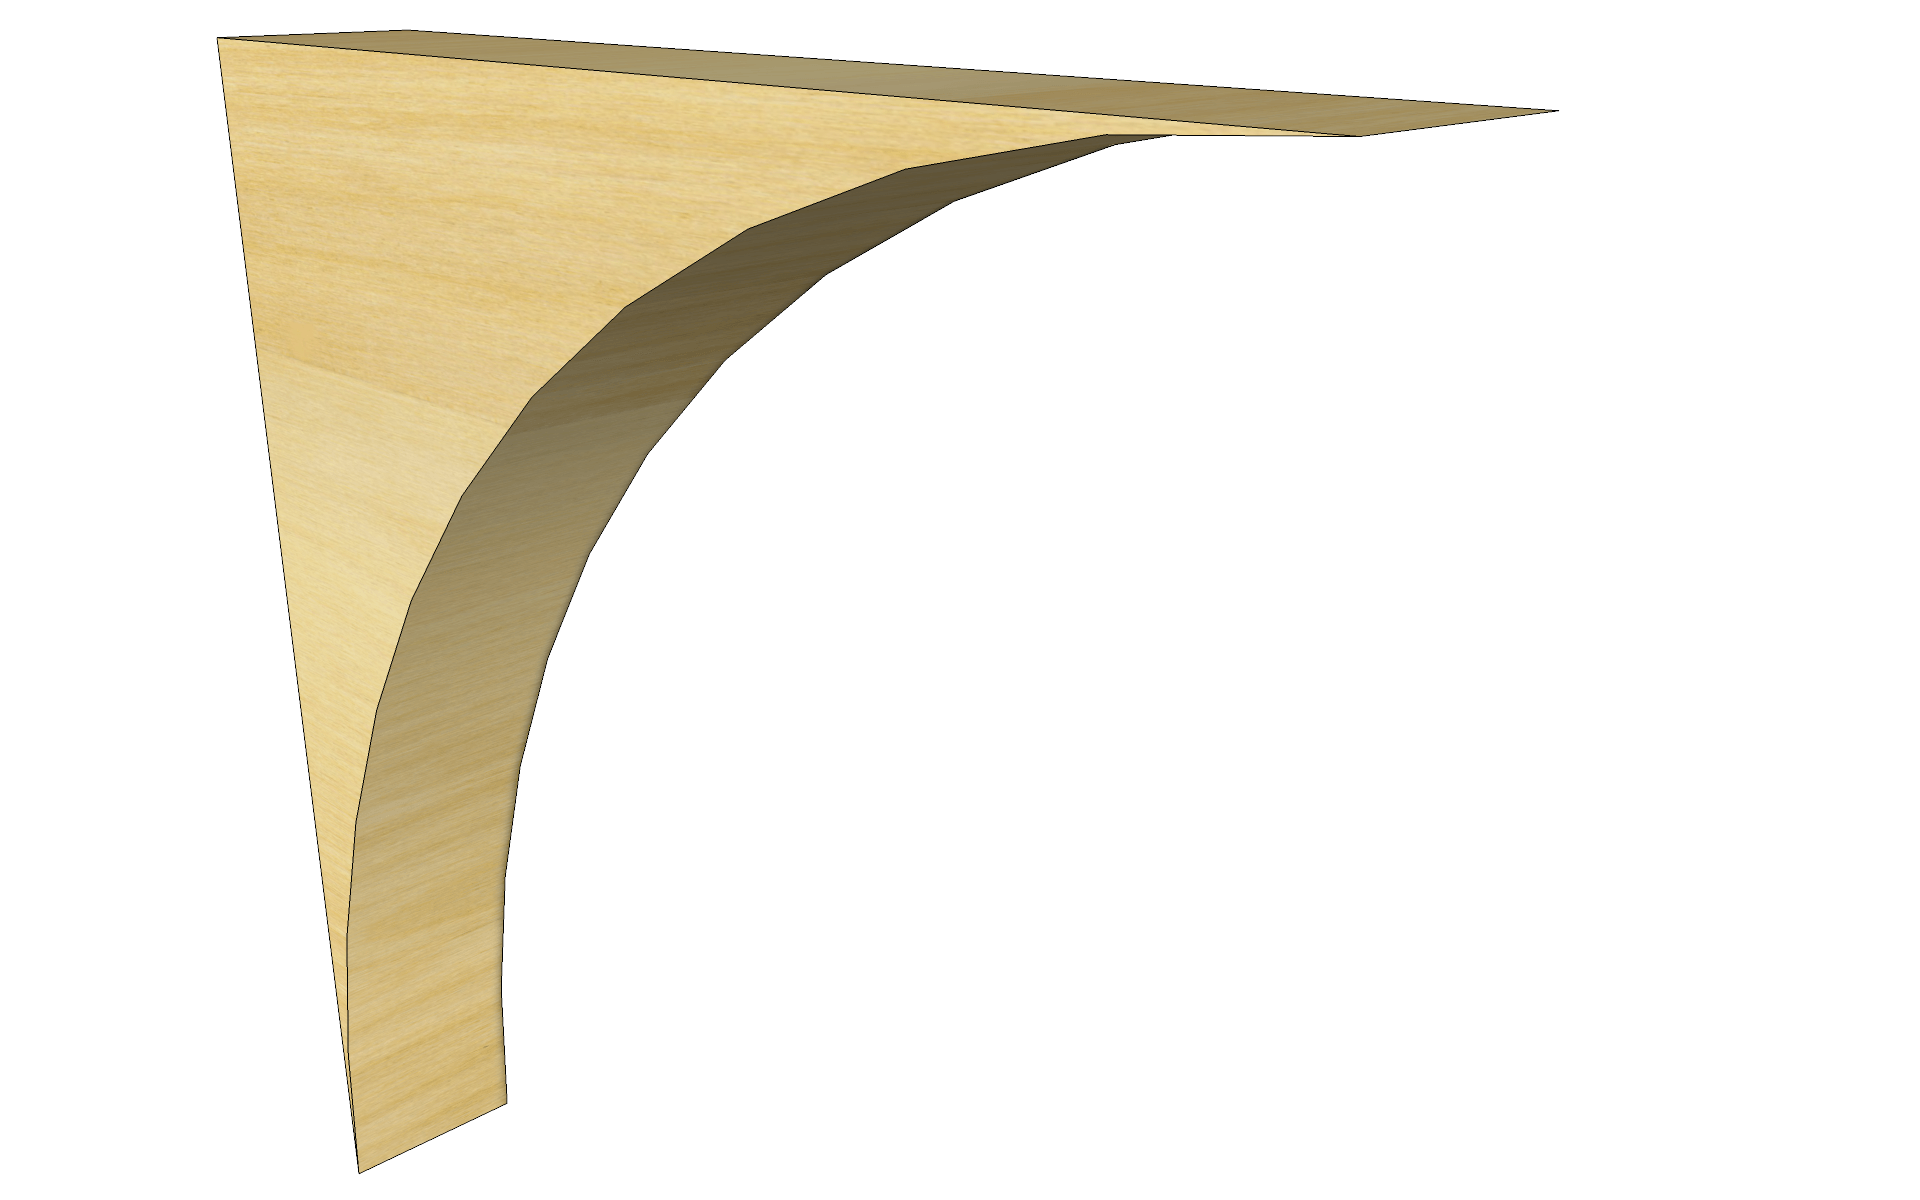
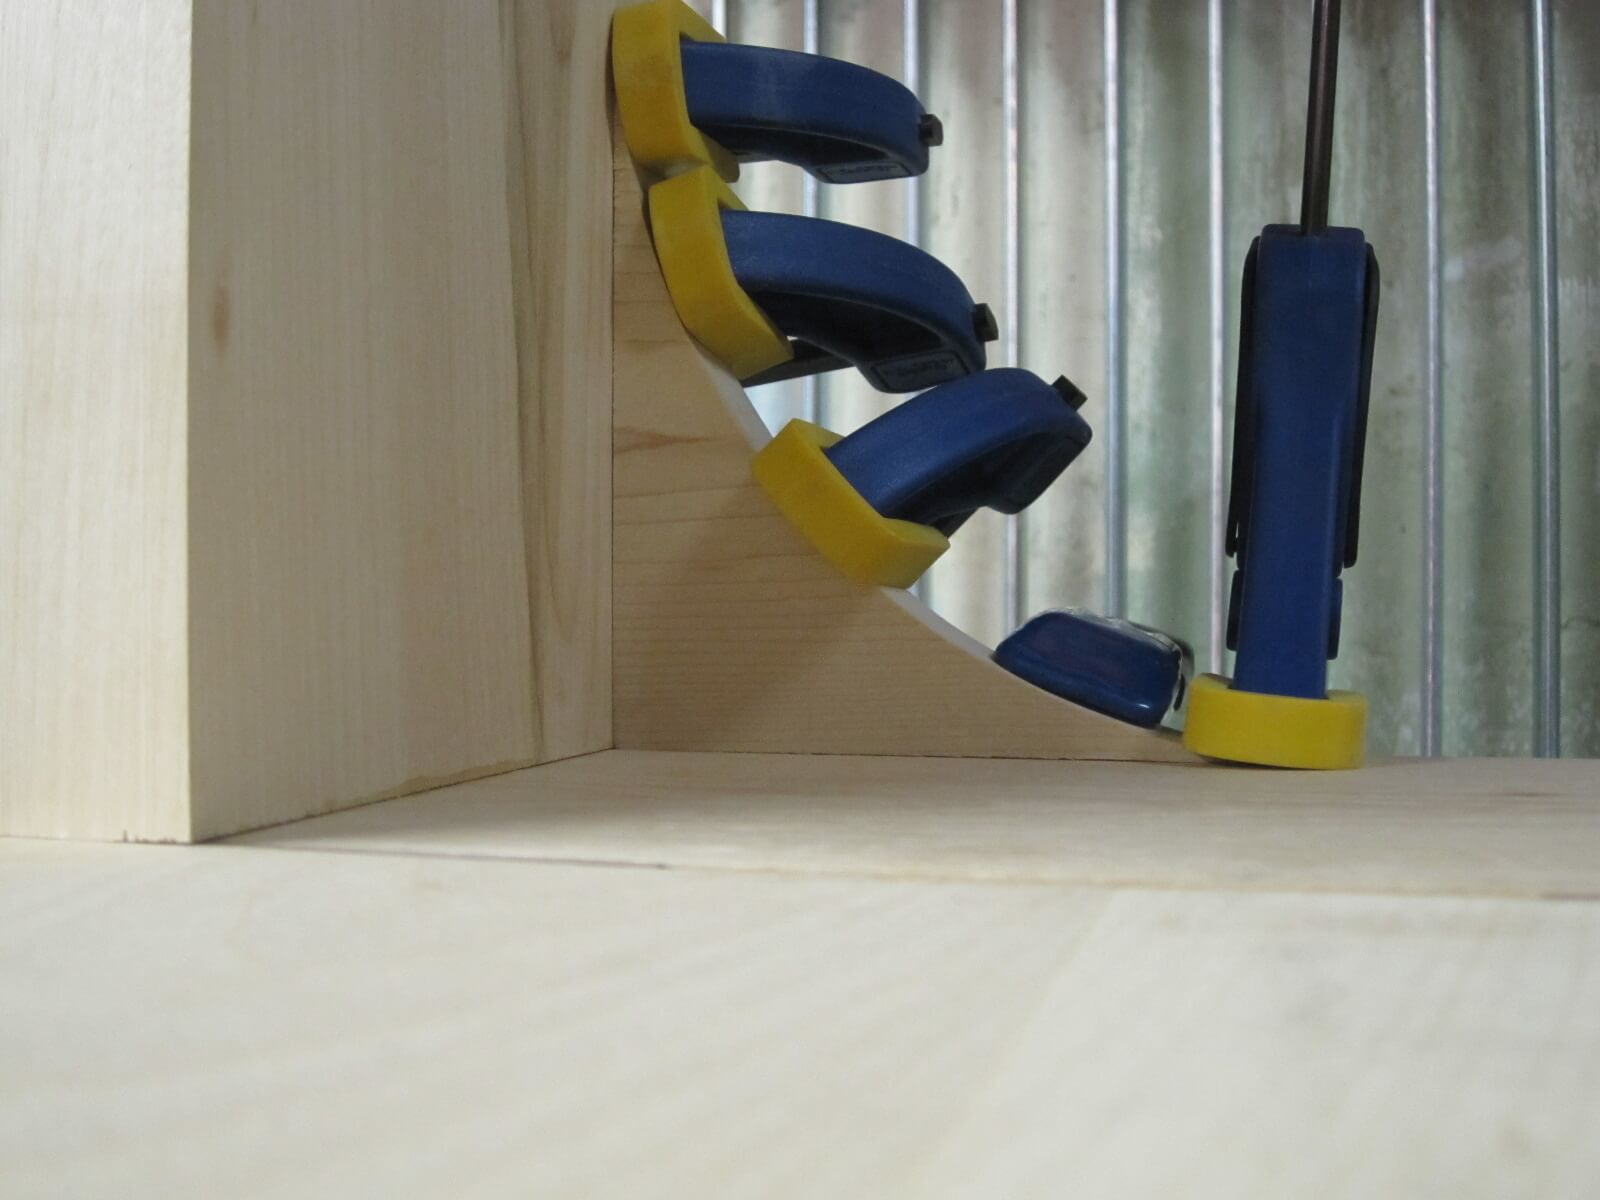
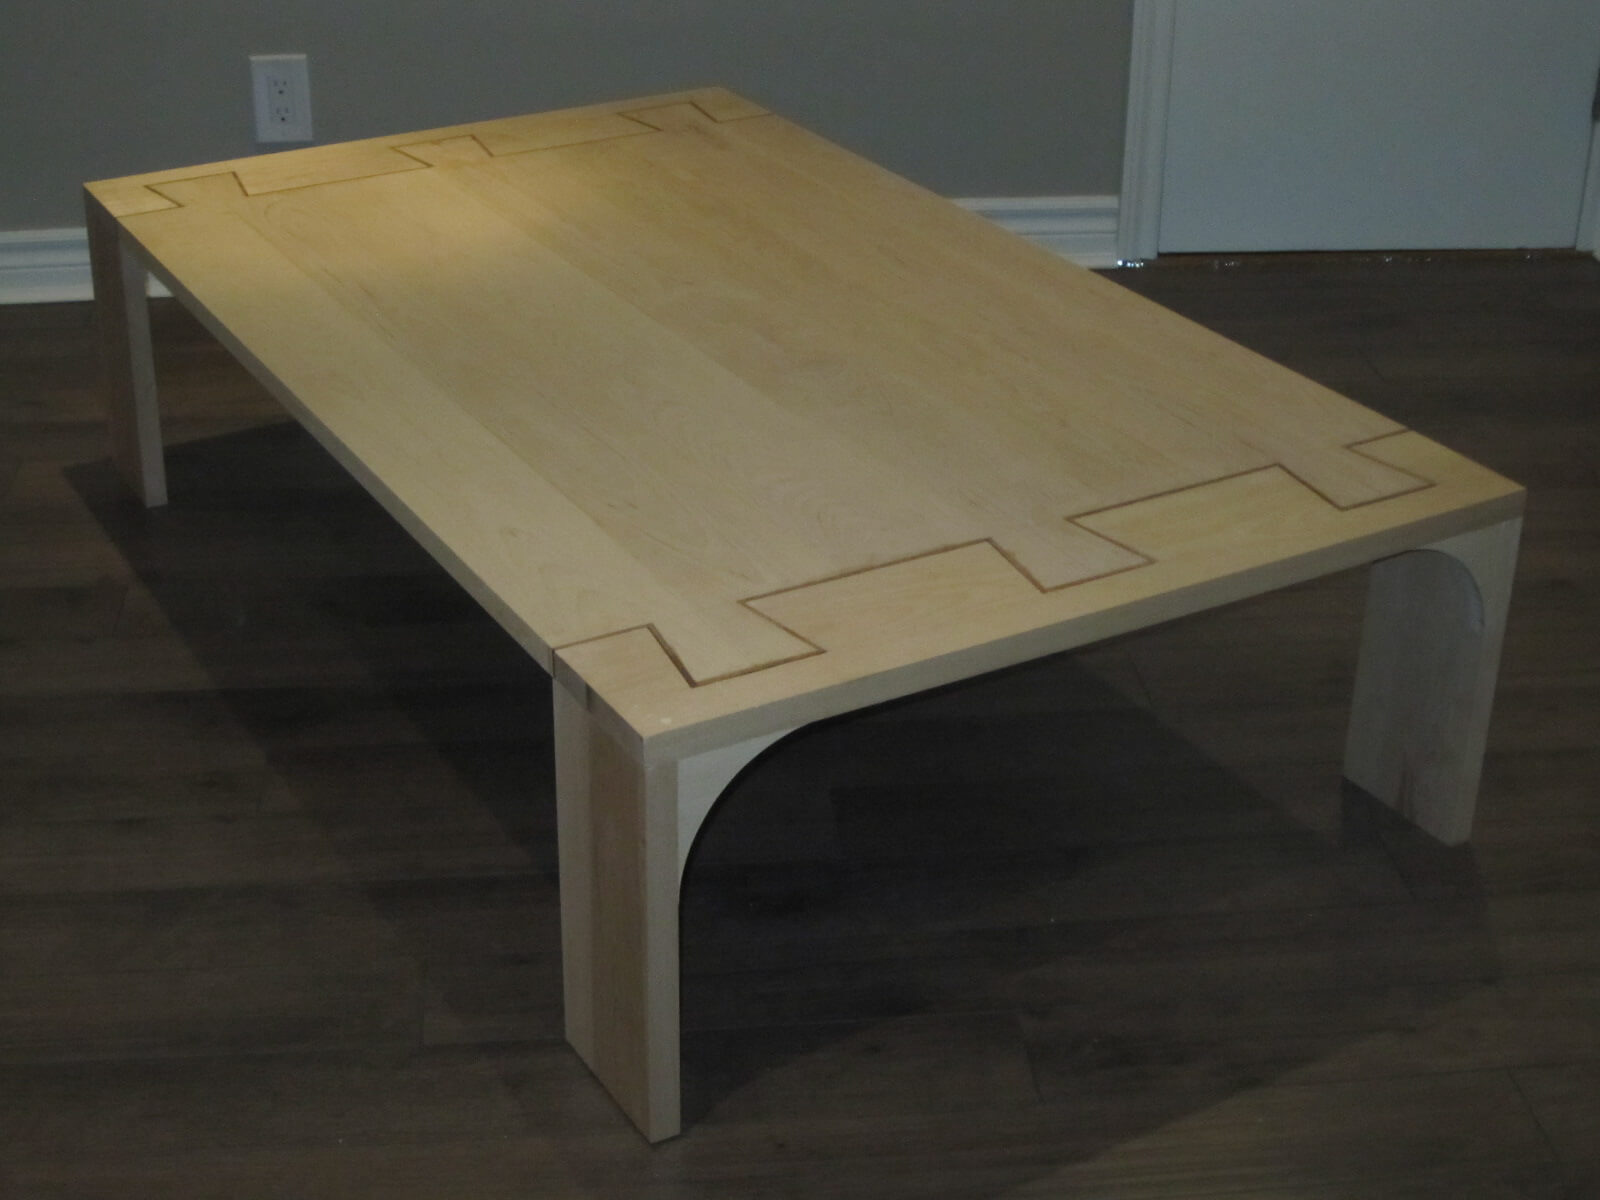
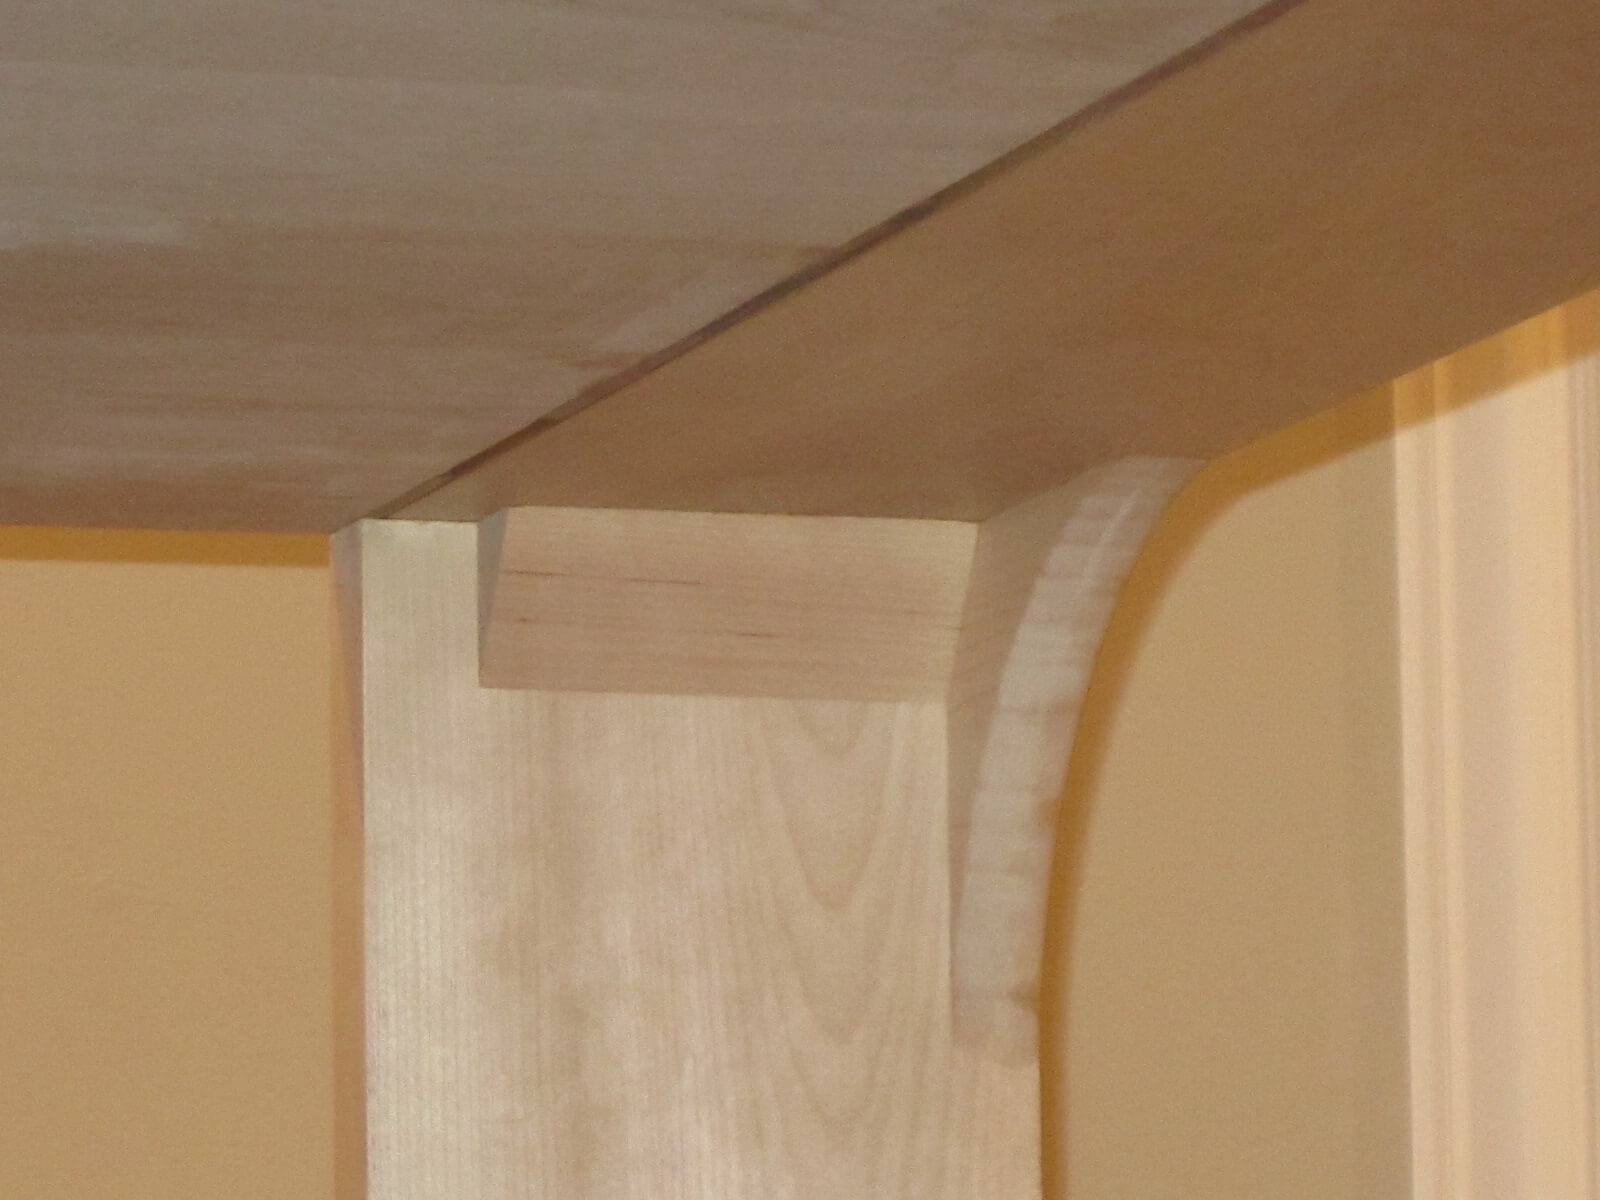
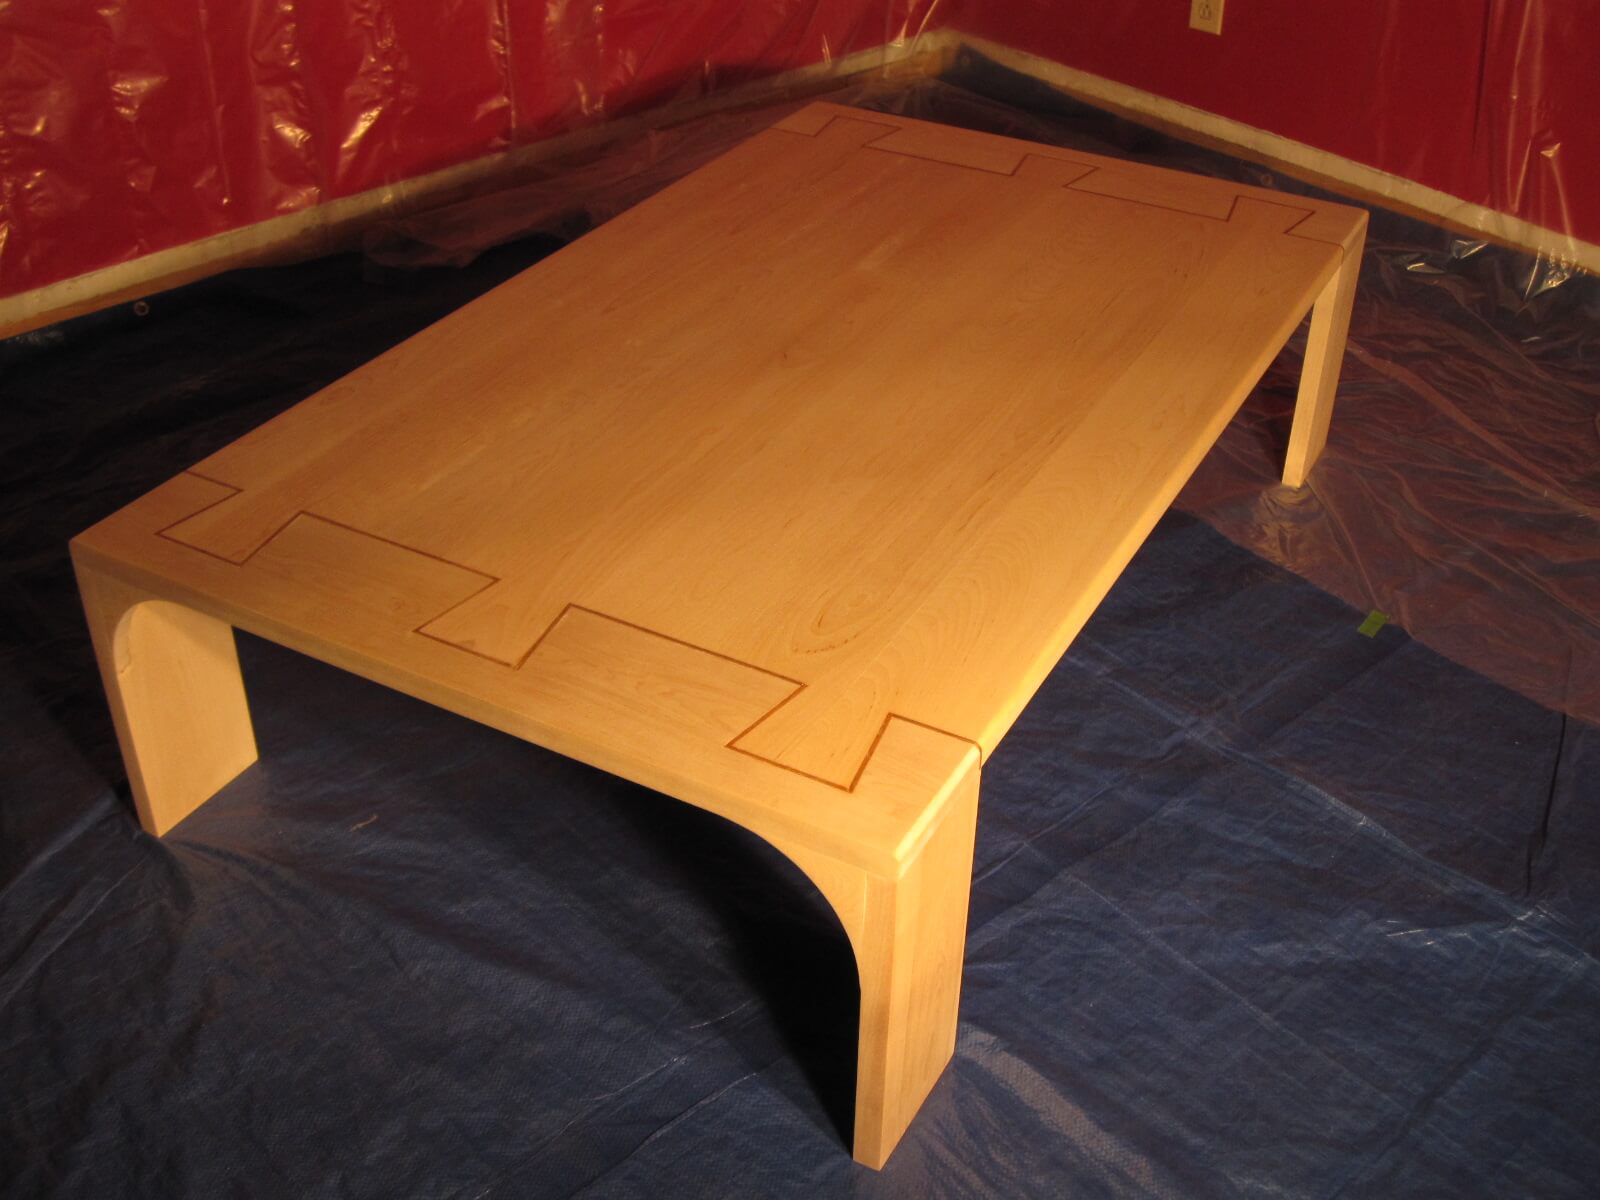
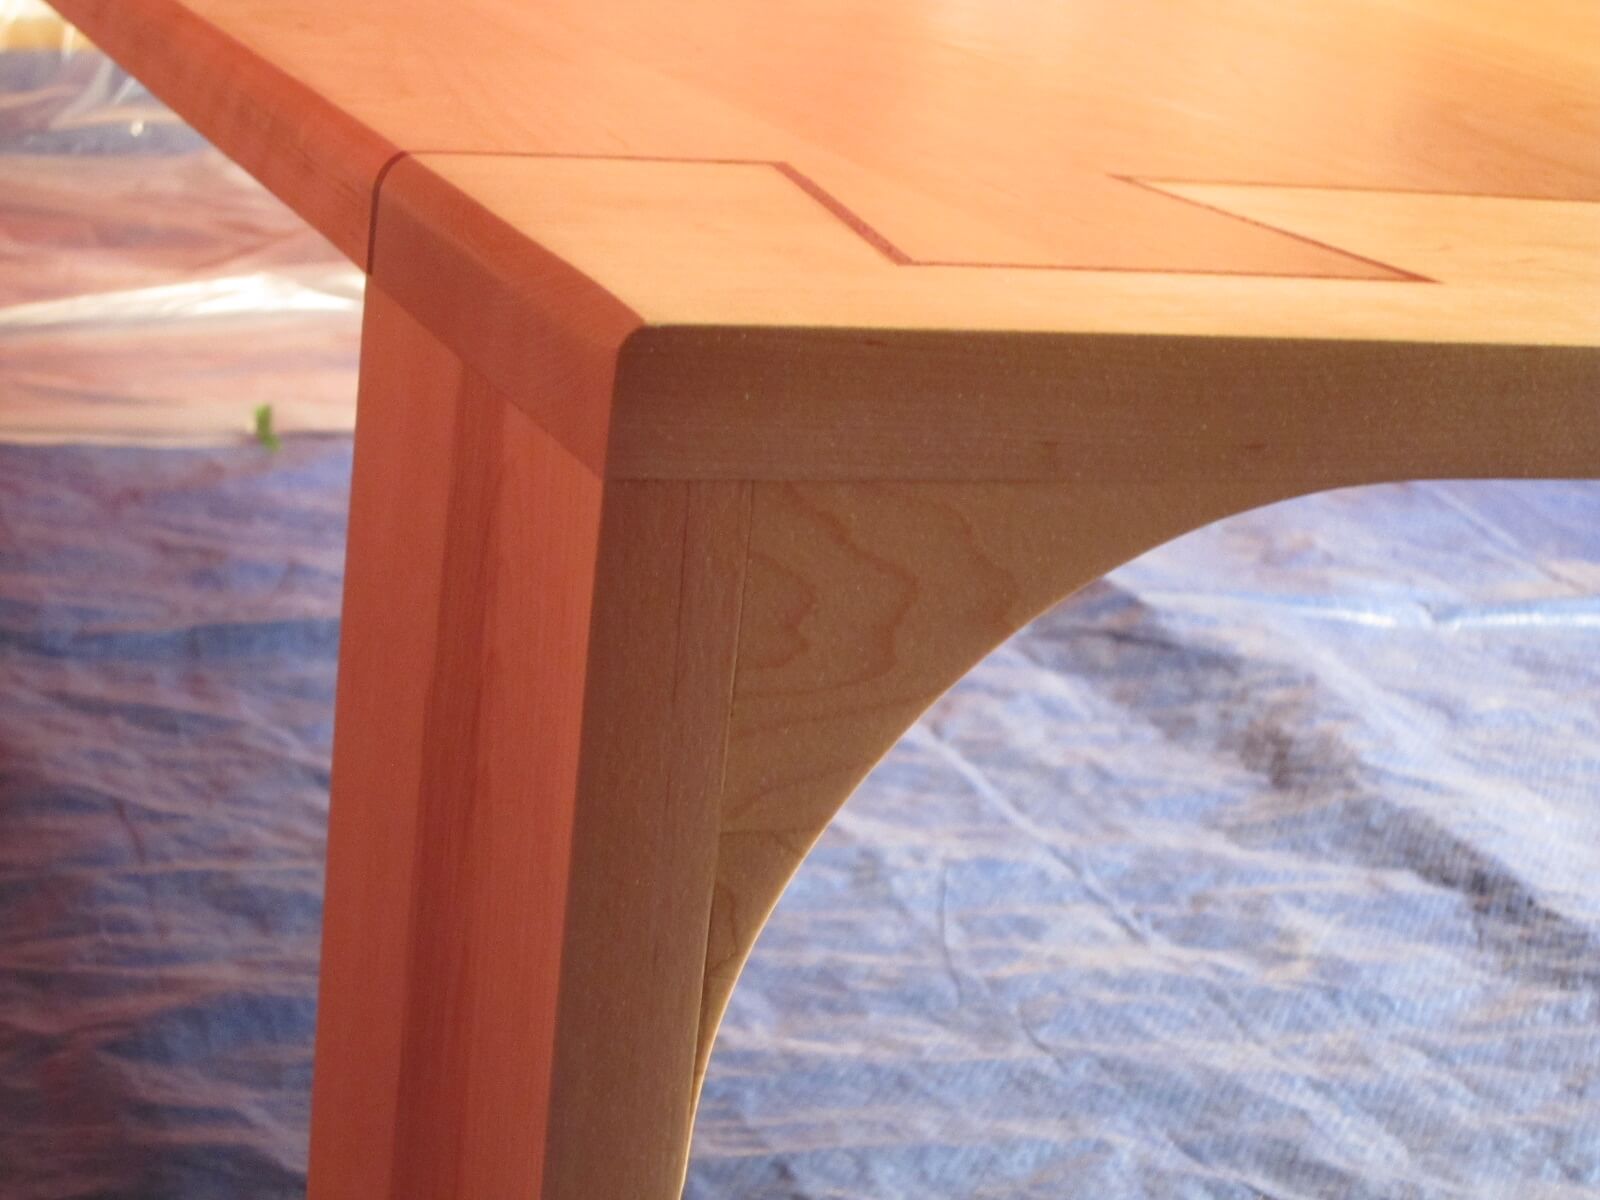
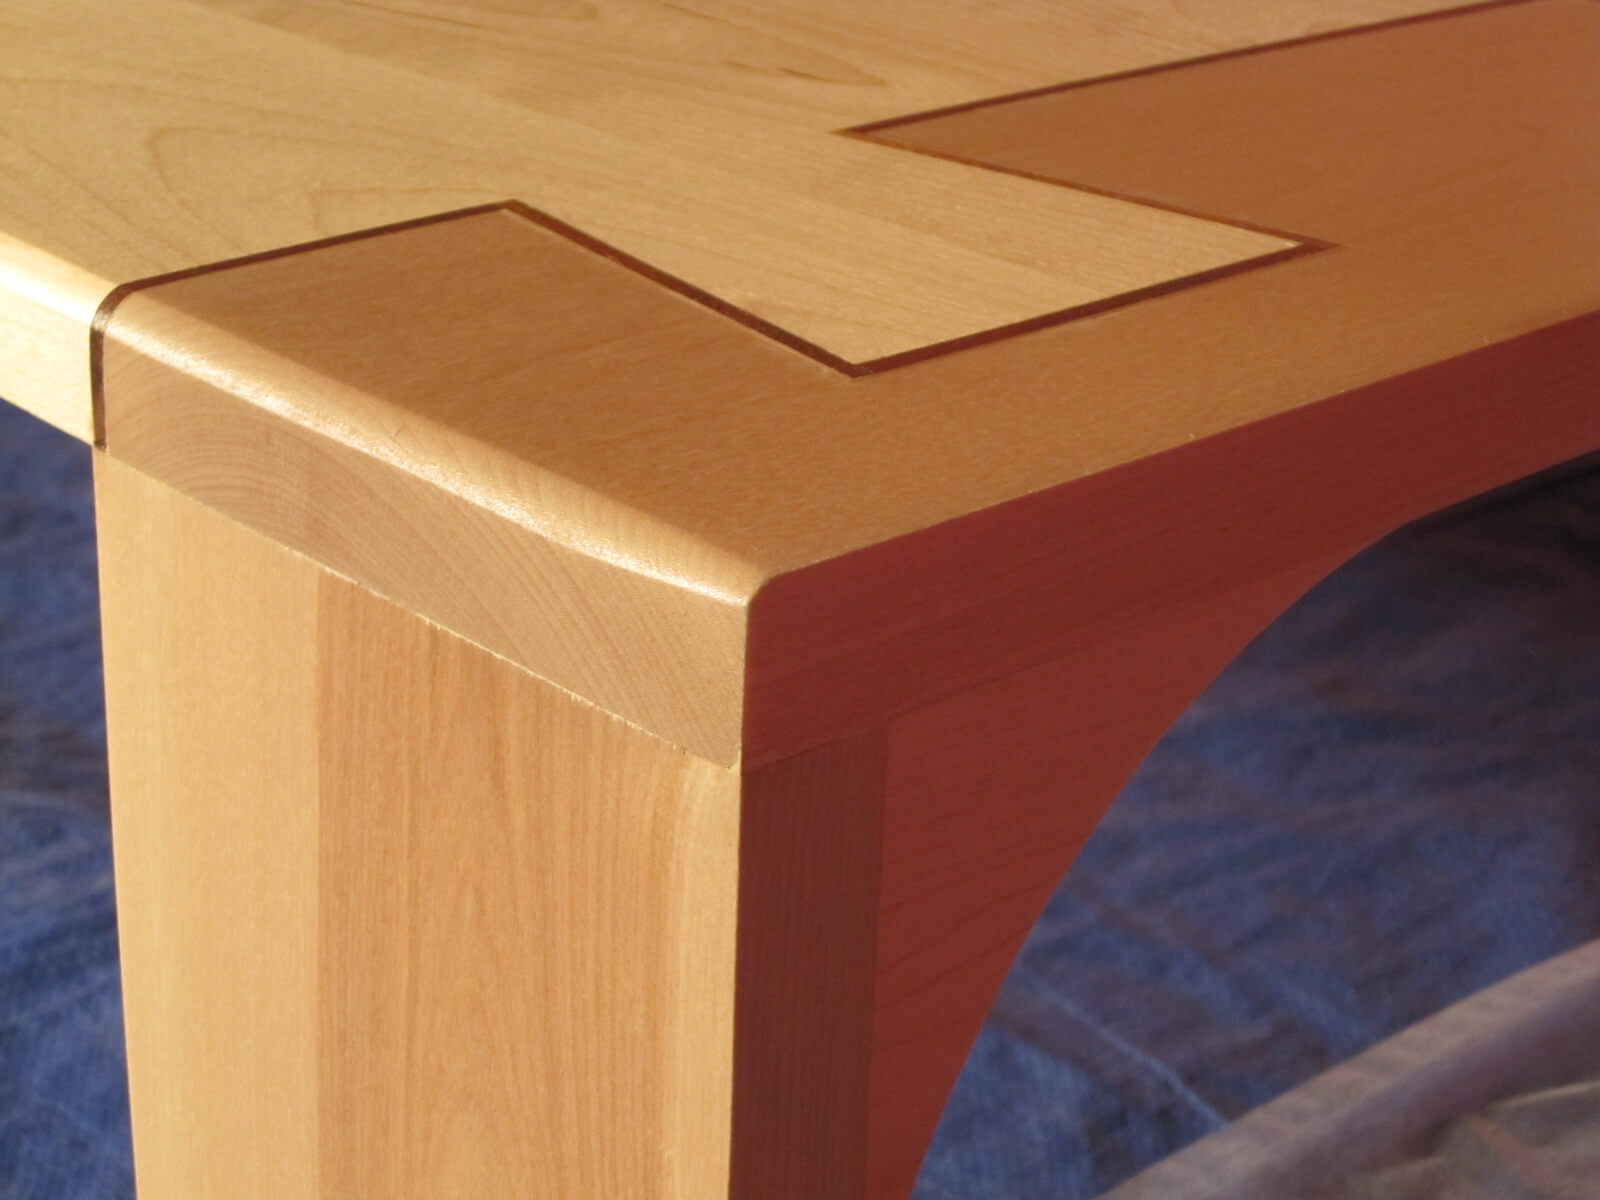
Rounded corners
Purely aesthetic, they will be used to “break” the right angle of the feet and the tray and to hide the reinforcements.
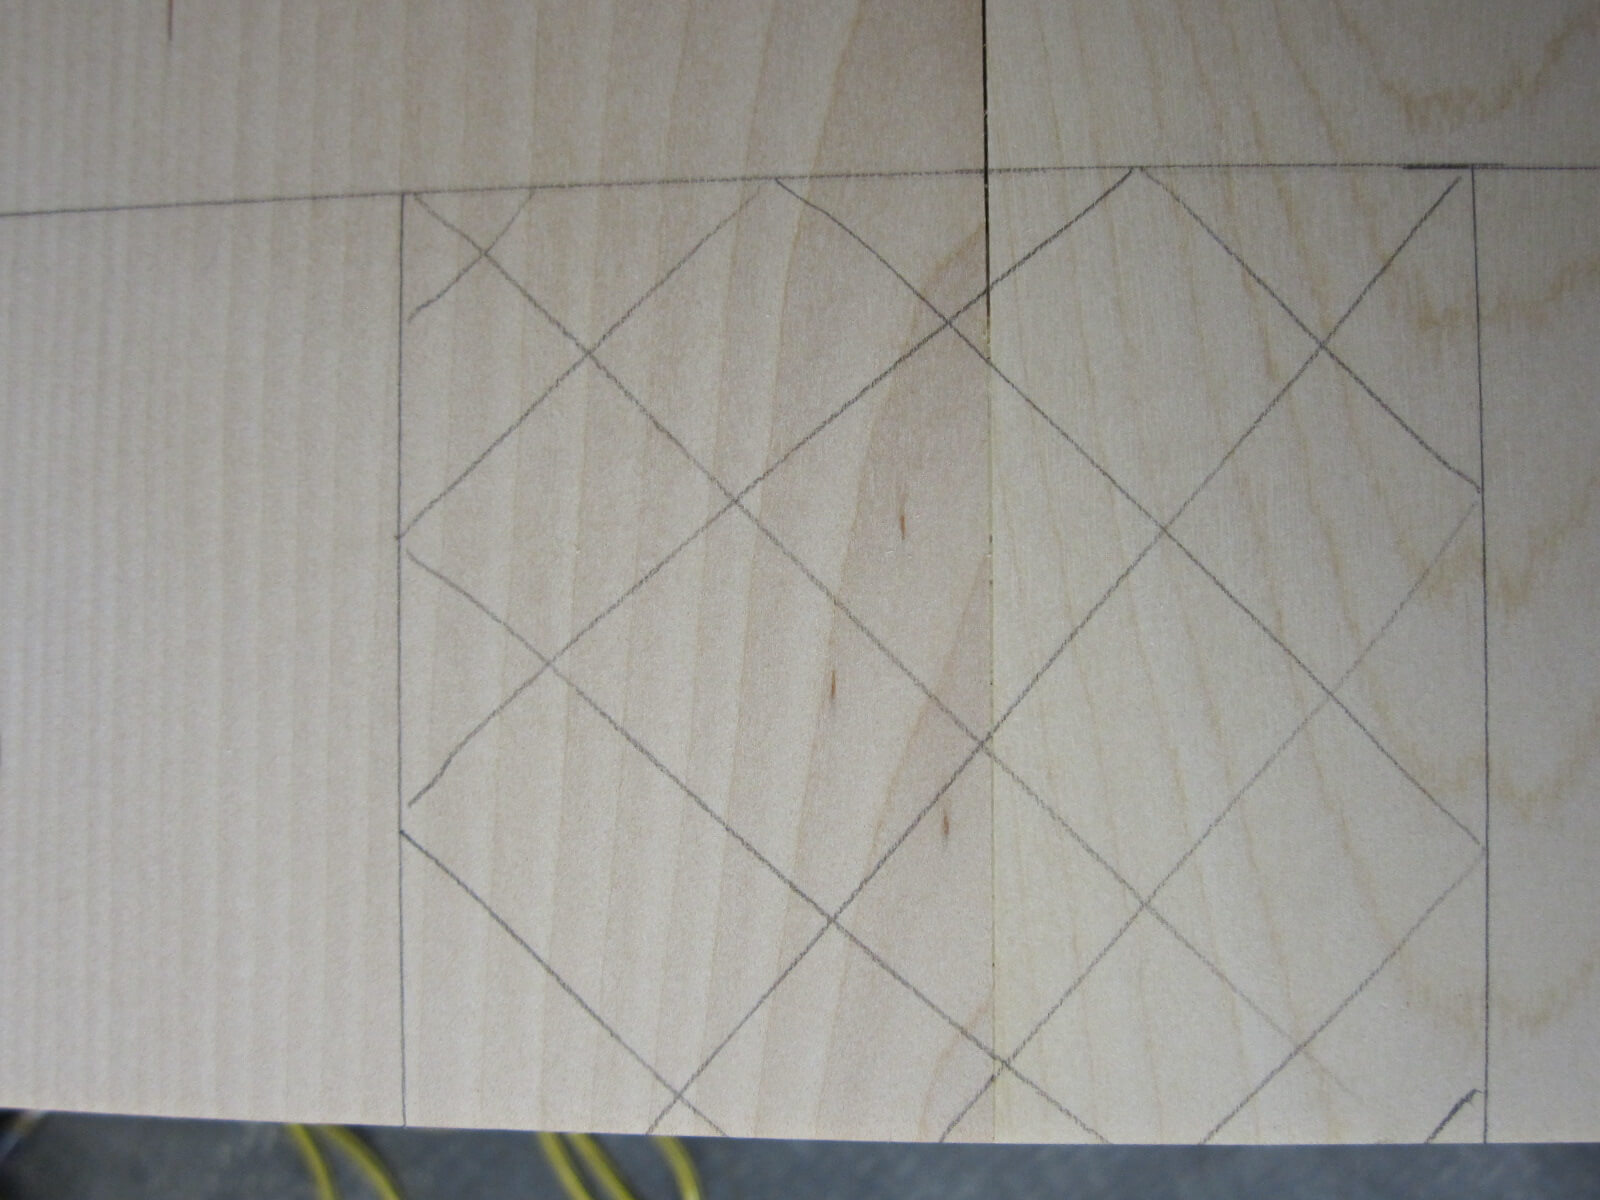
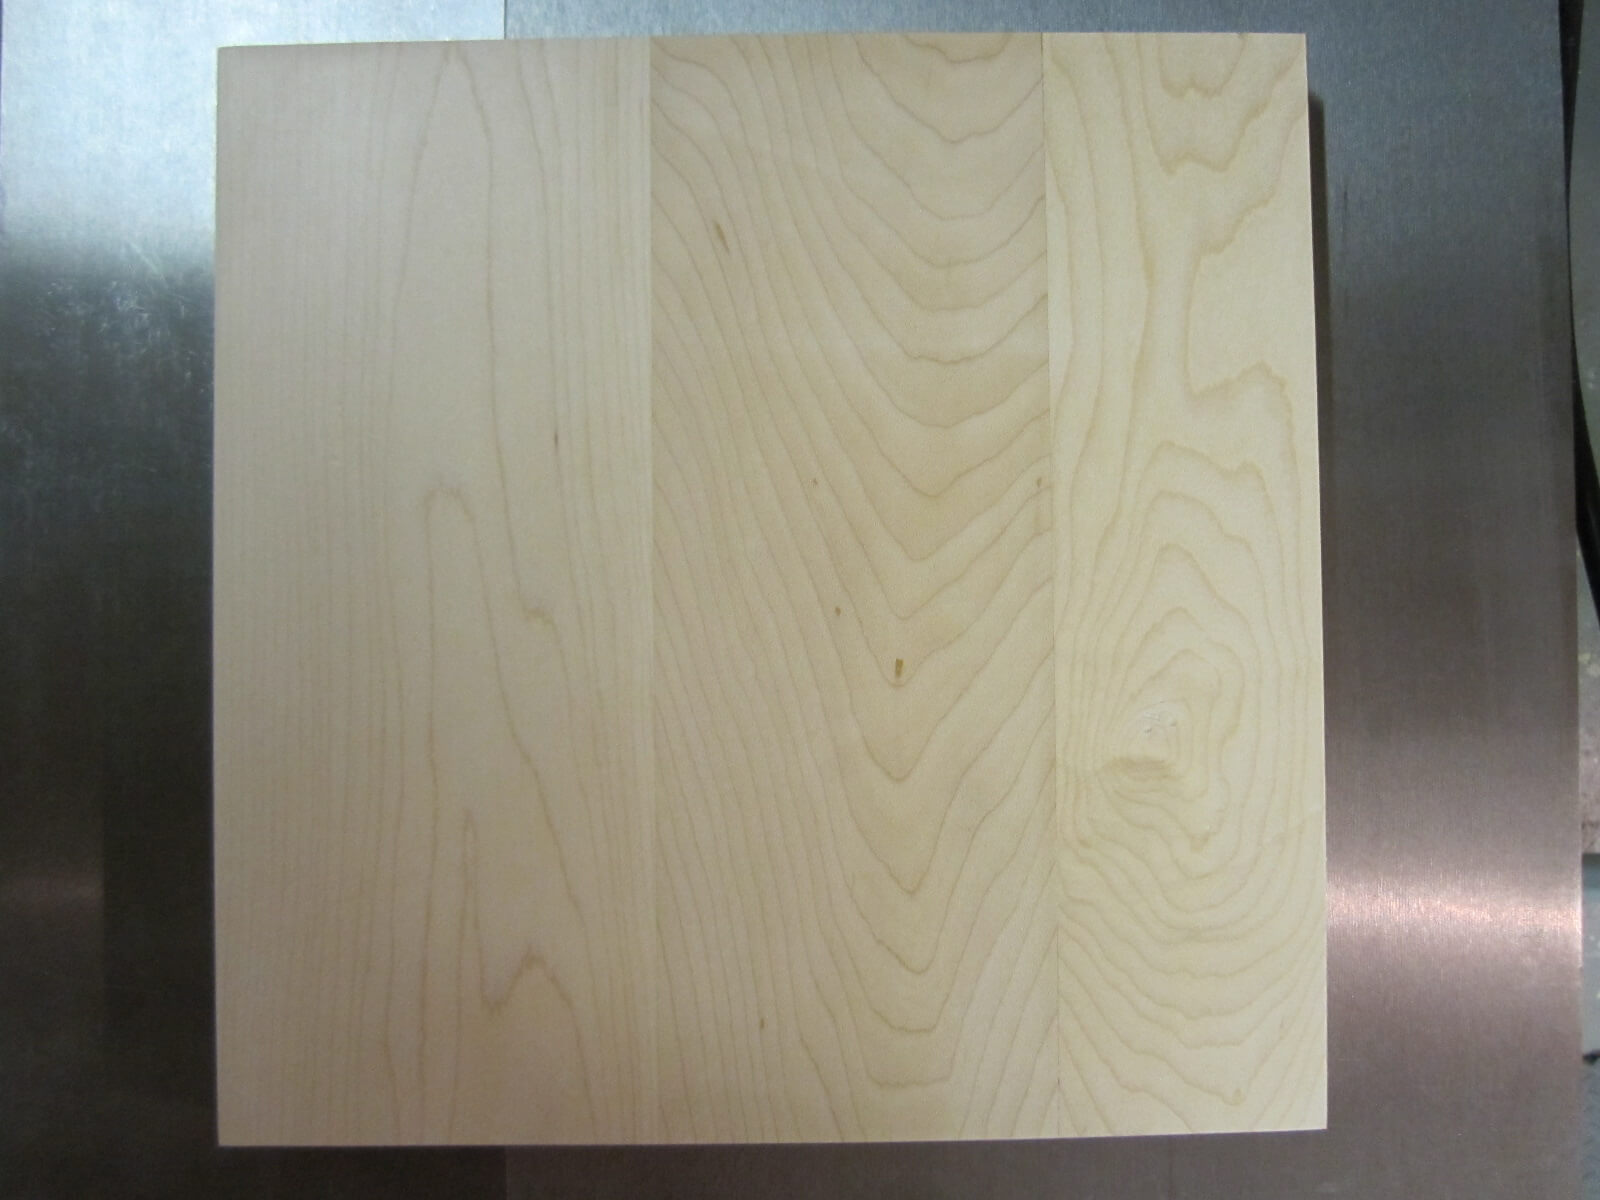
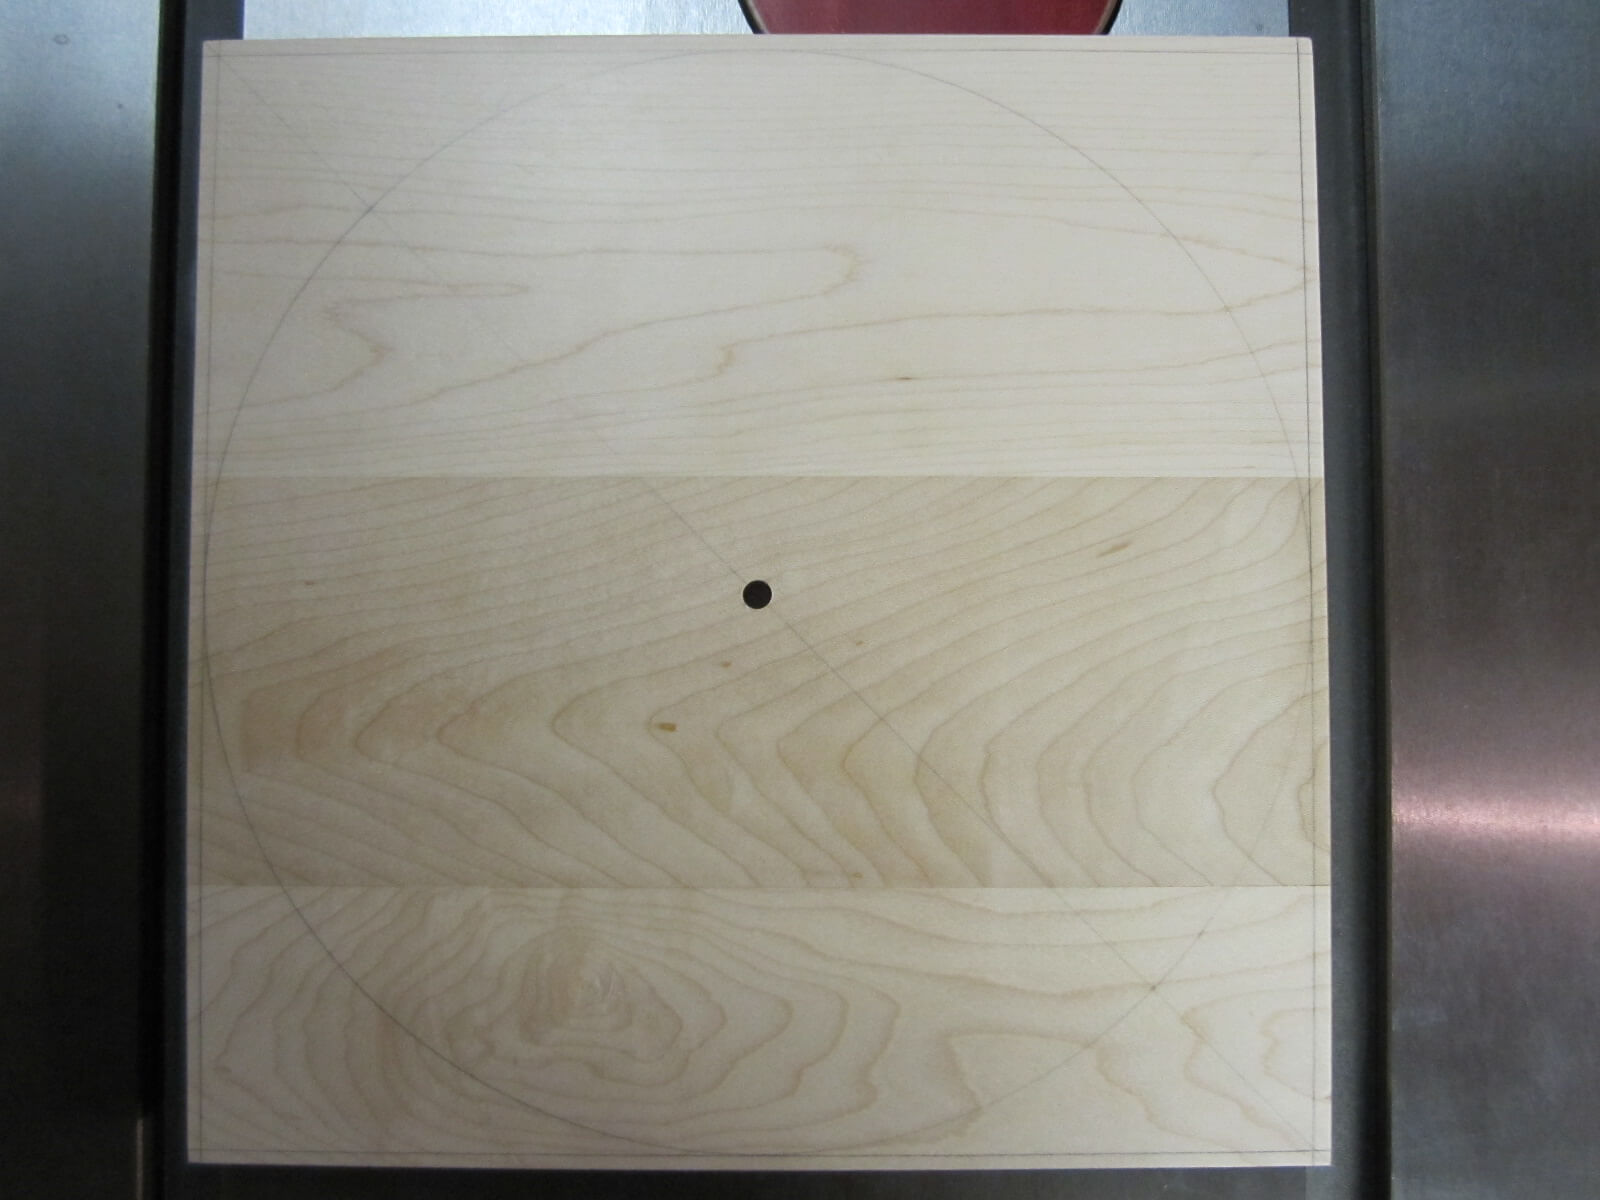
To make them, I created a panel from 3 boards in which I cut out a circumscribed circle. Then I separated the 4 obtained arcs.


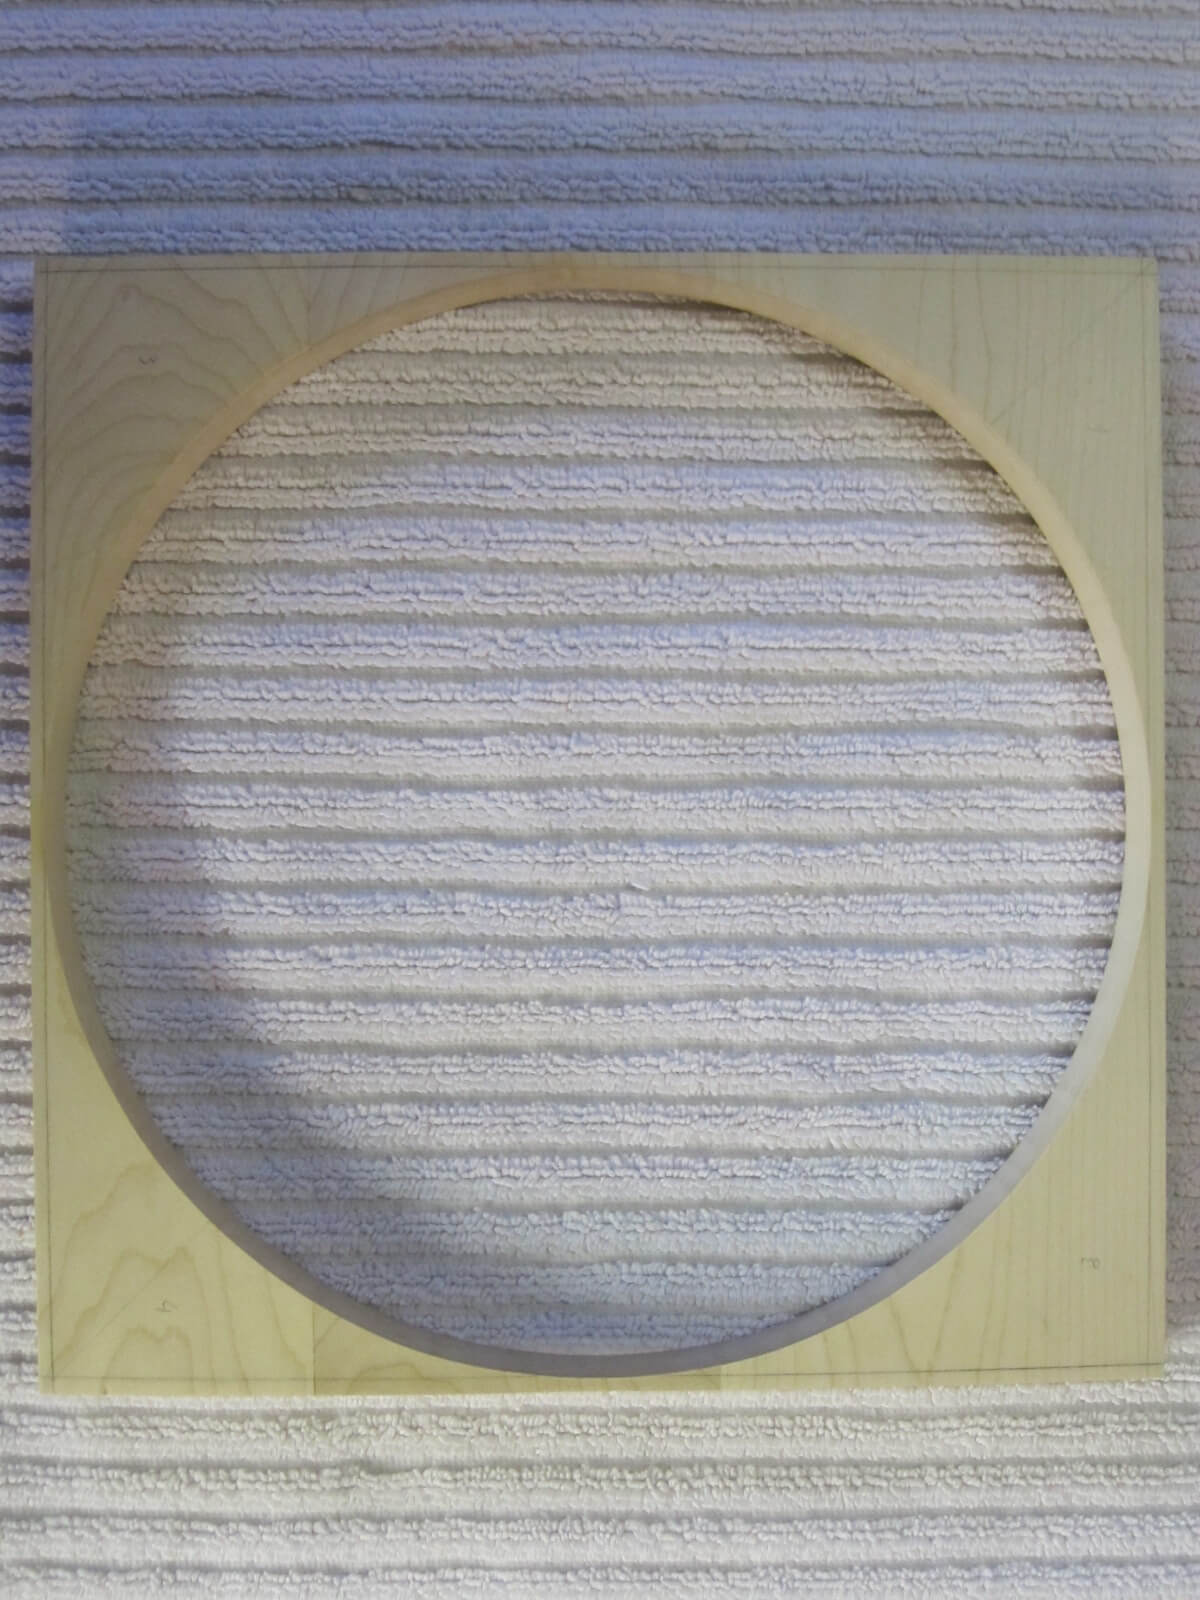
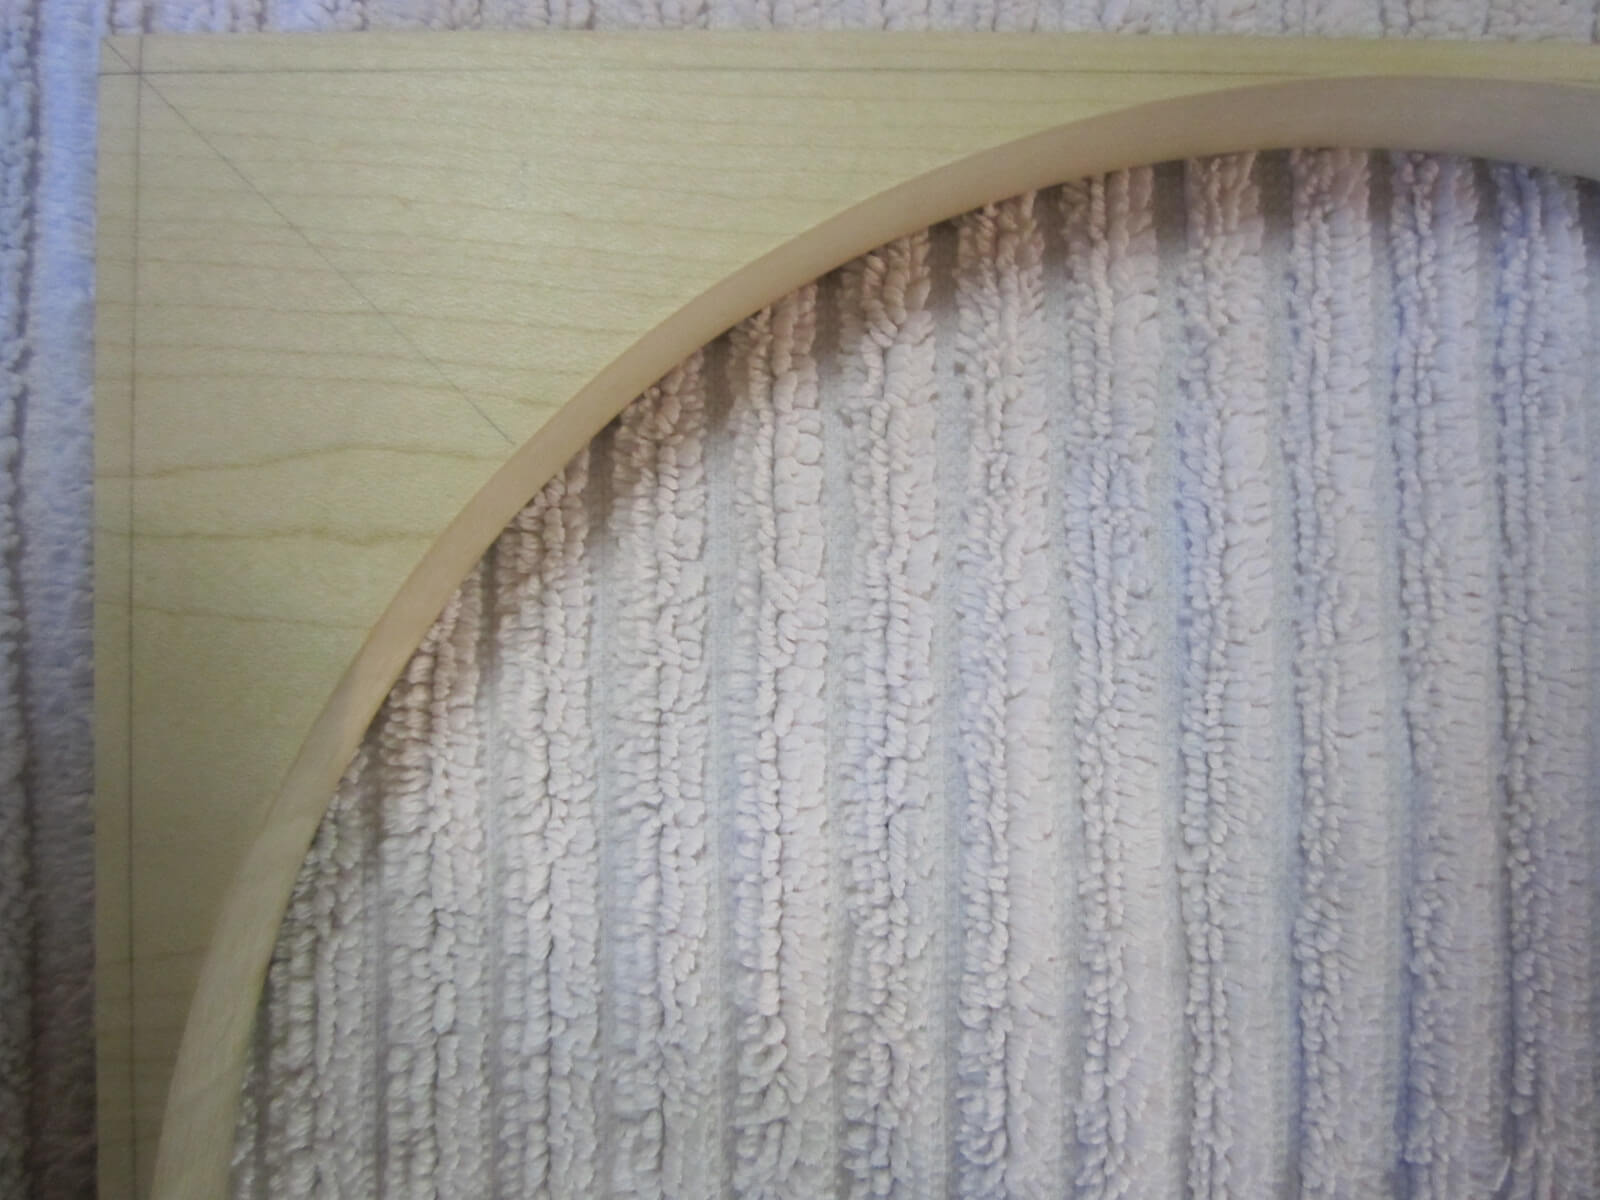
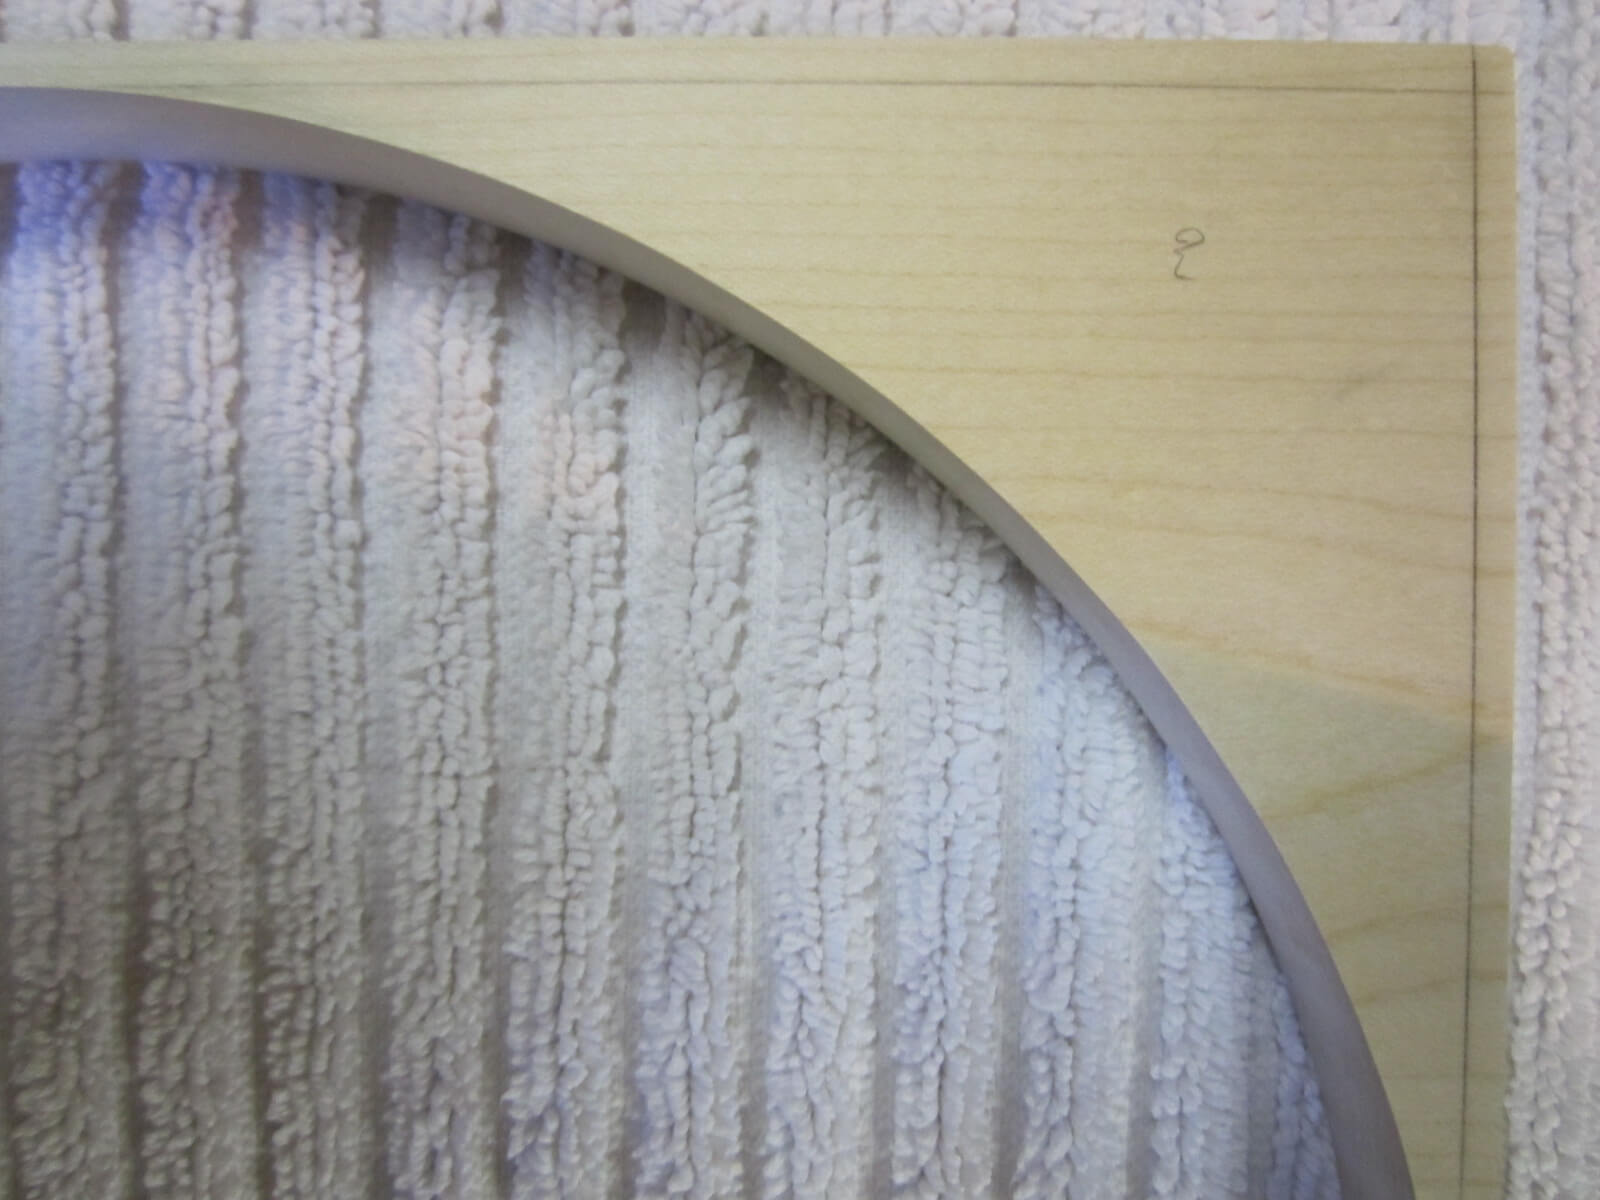
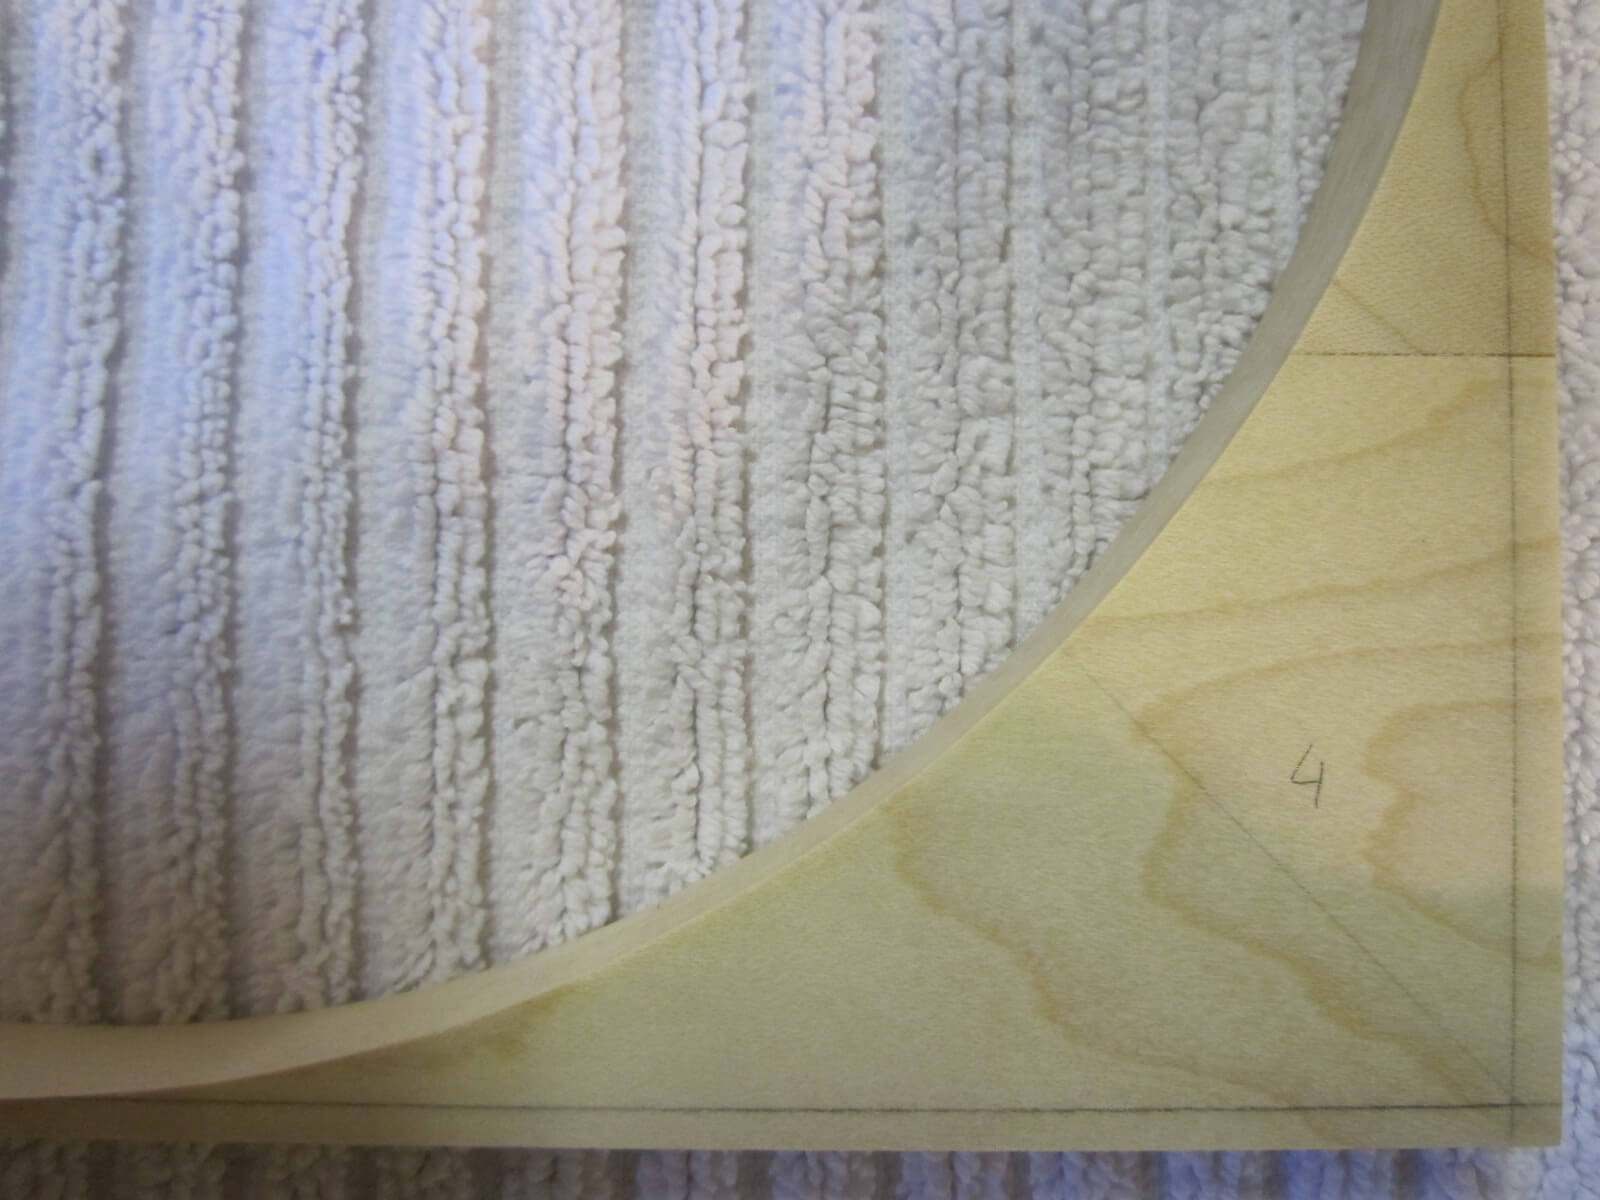
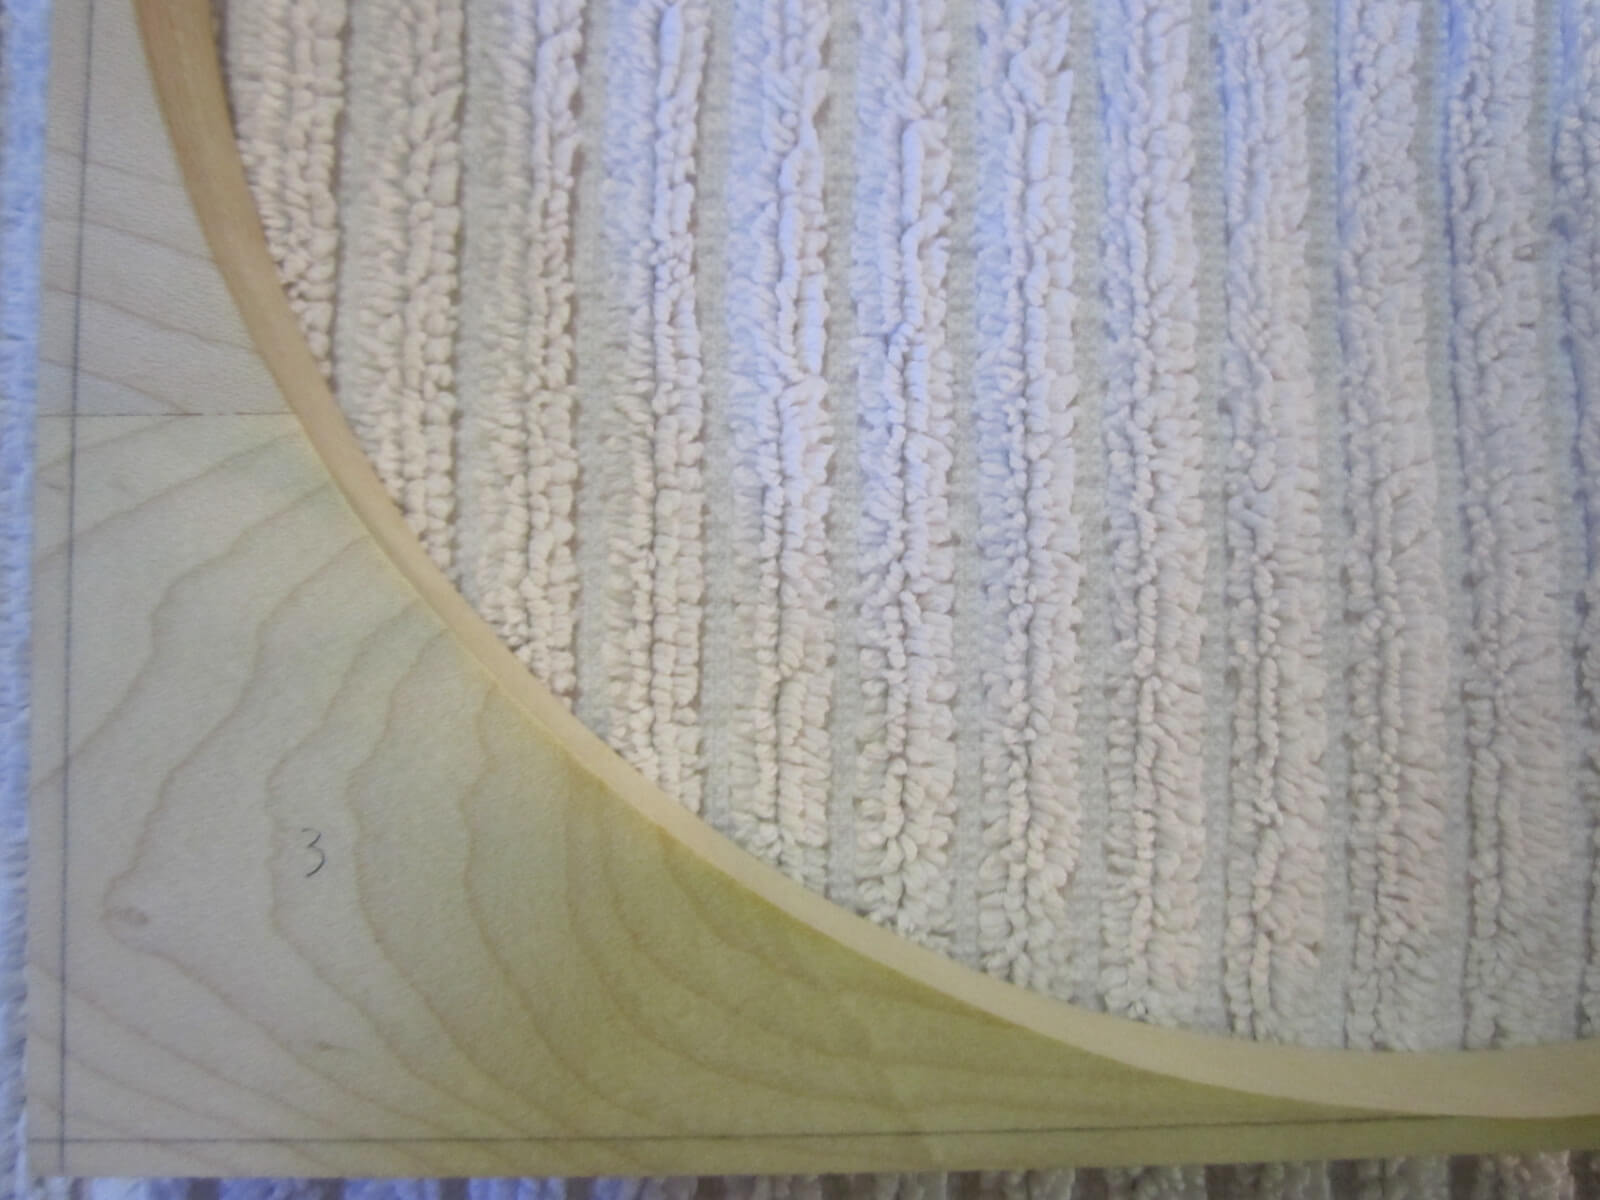
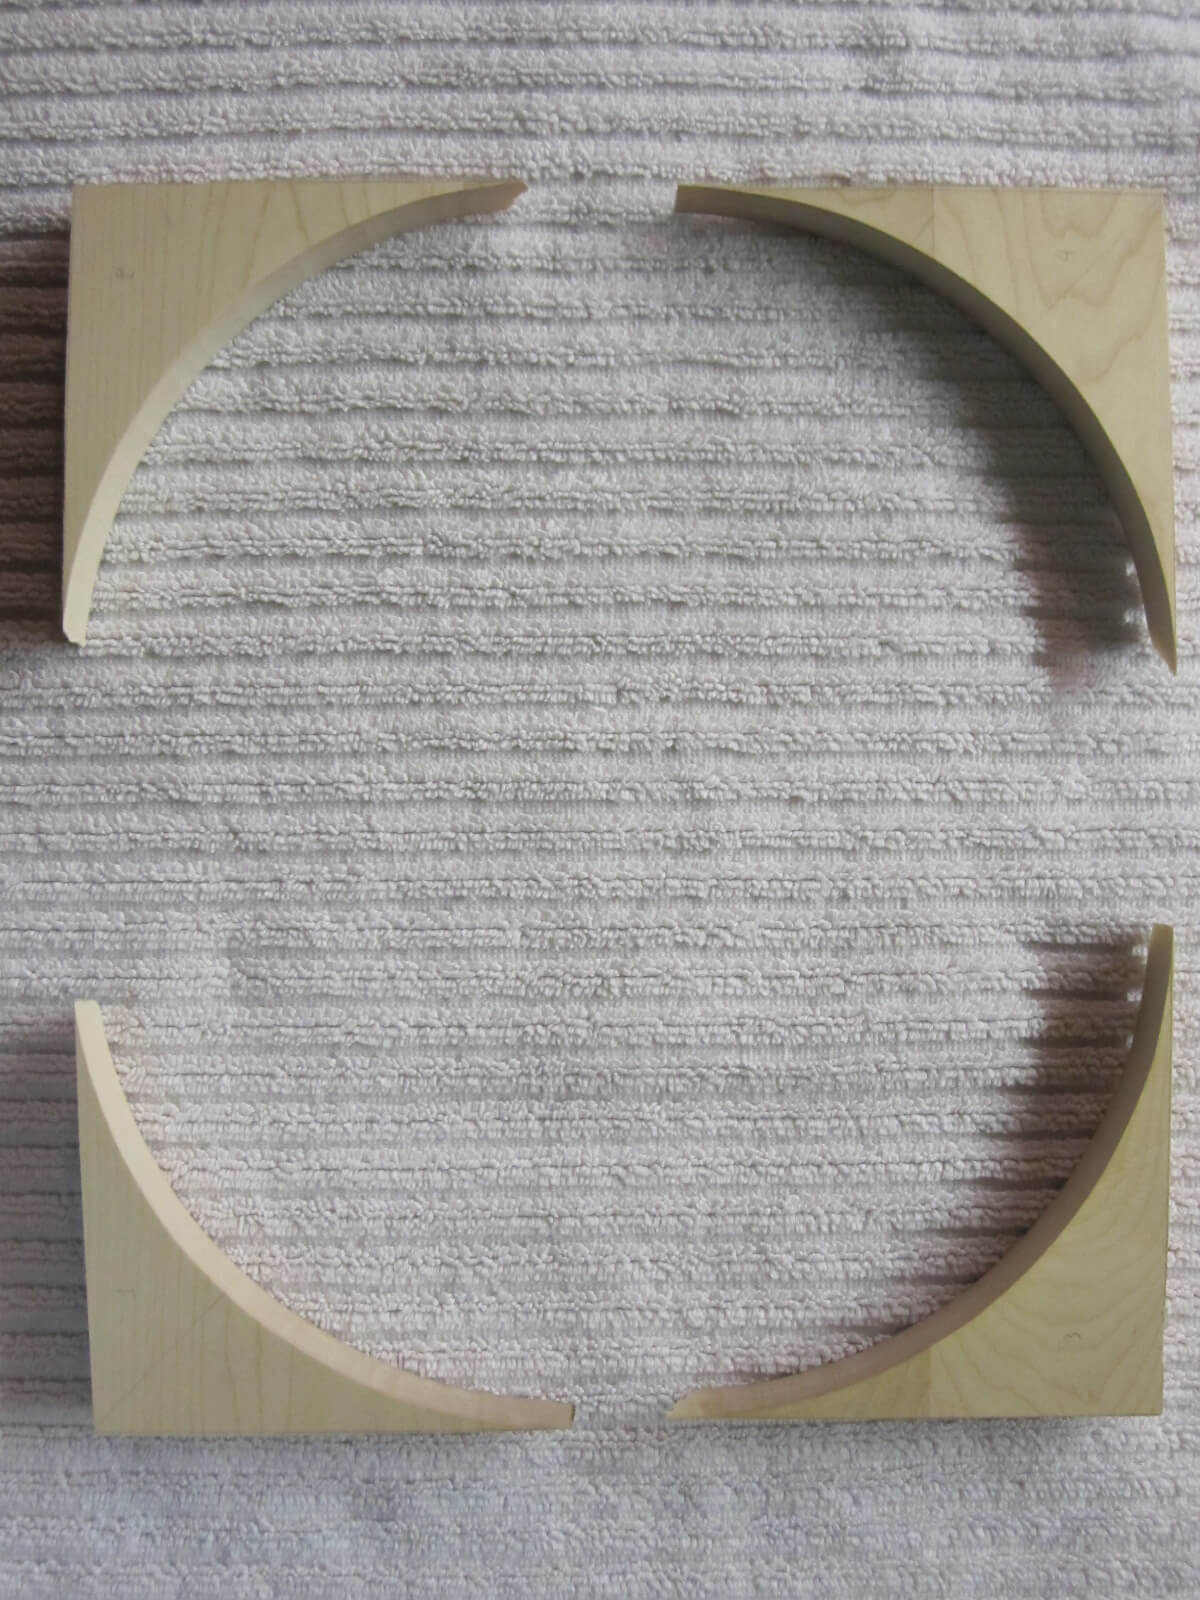
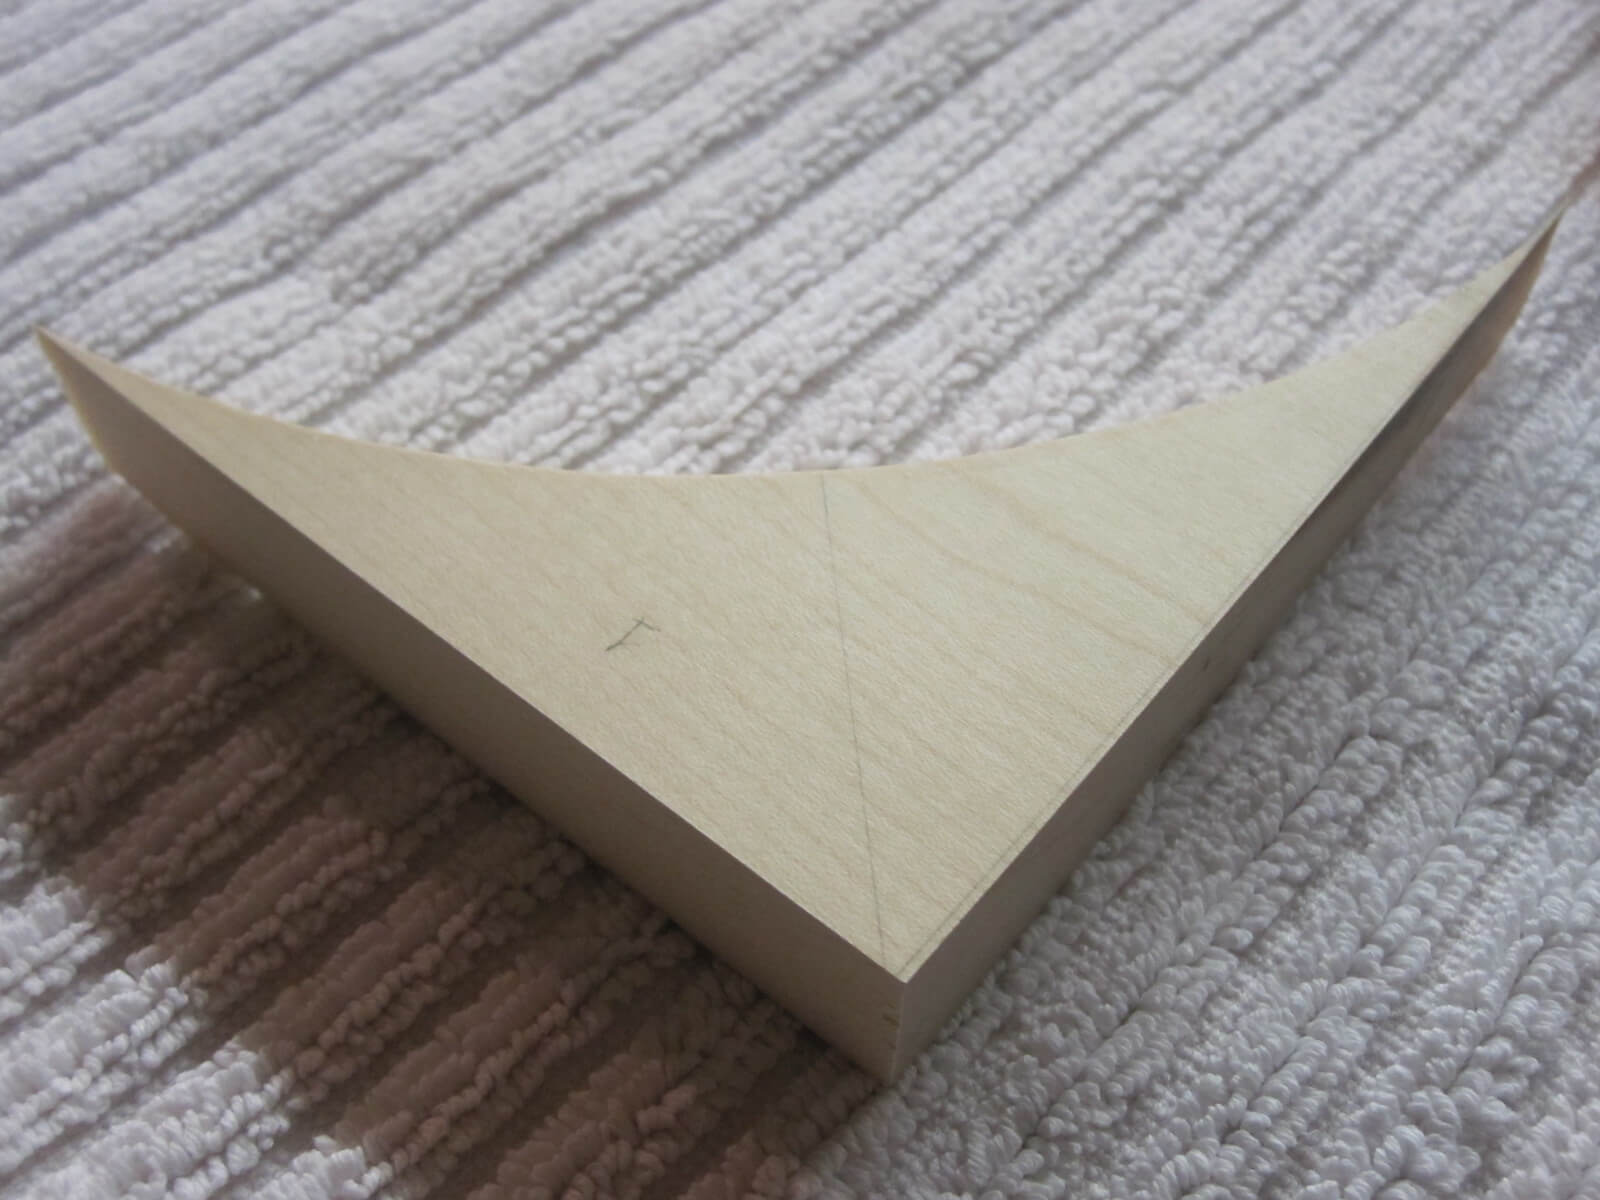
To raise the aesthetics, I took care to note the location of arcs to replace them “at the same places” during assembly. The arches that faced each other will face each other.
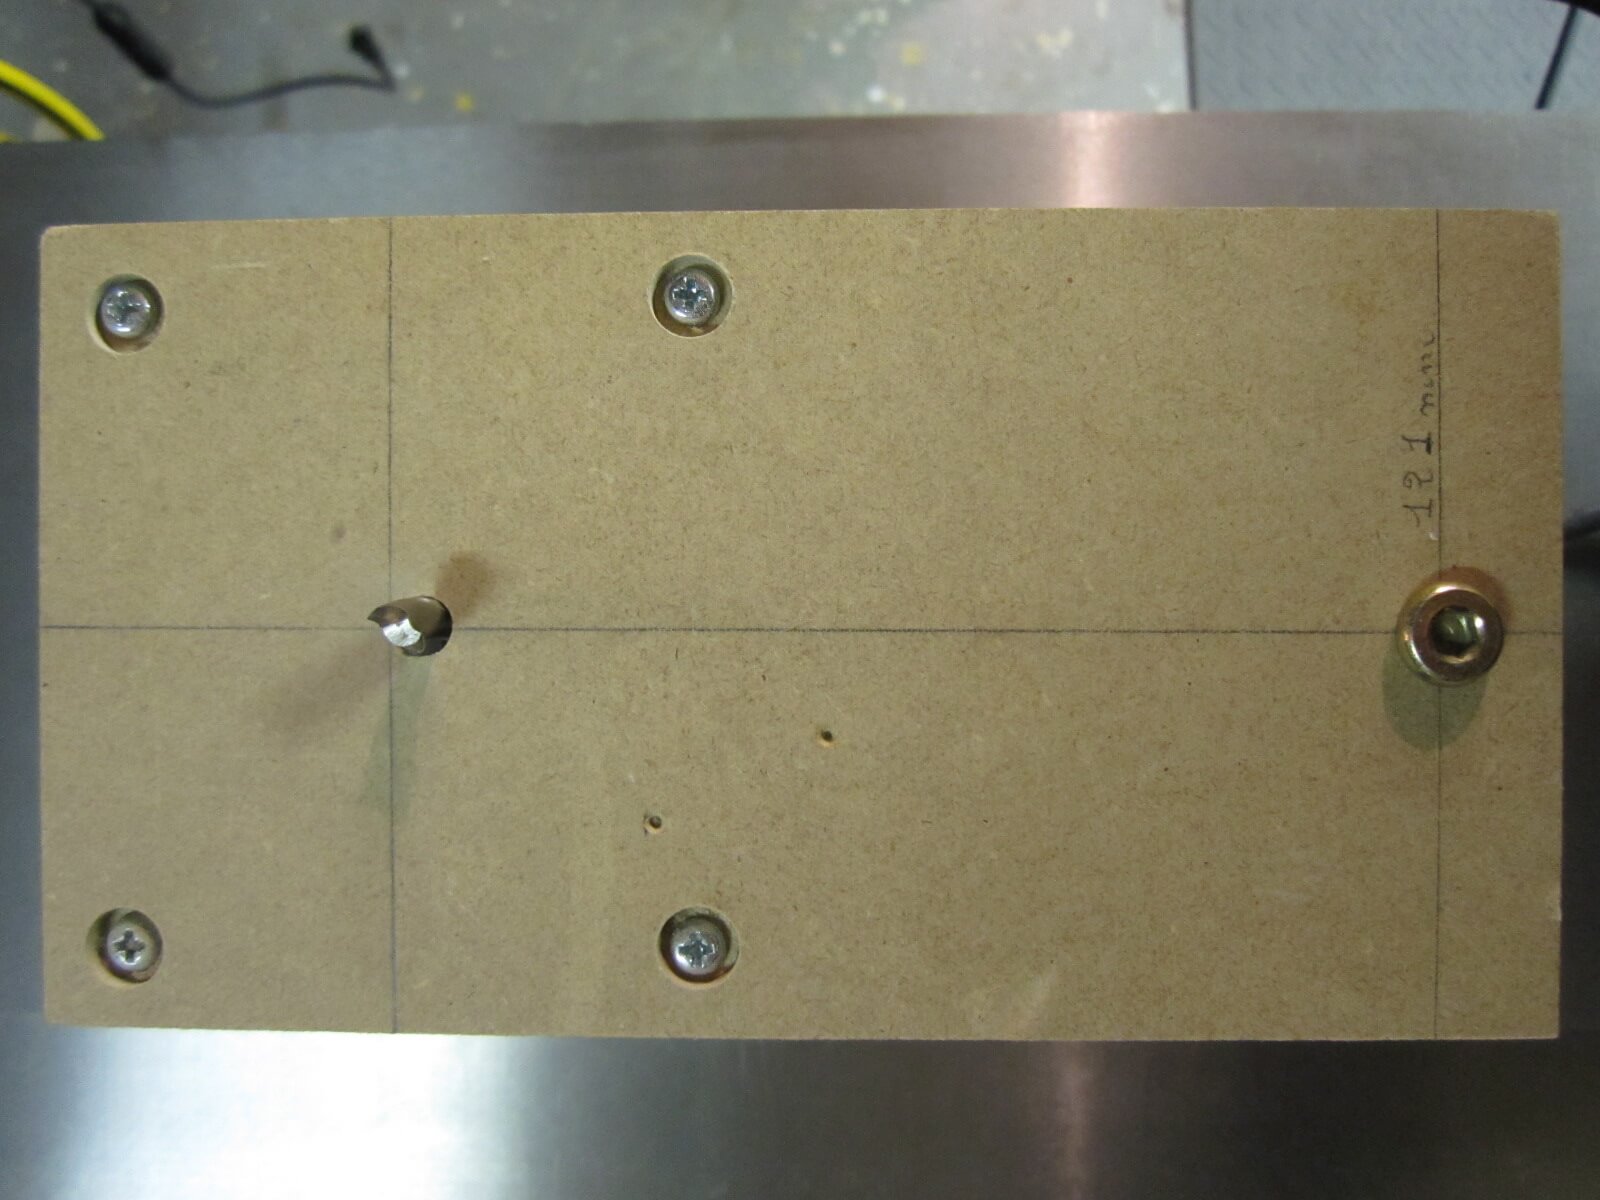
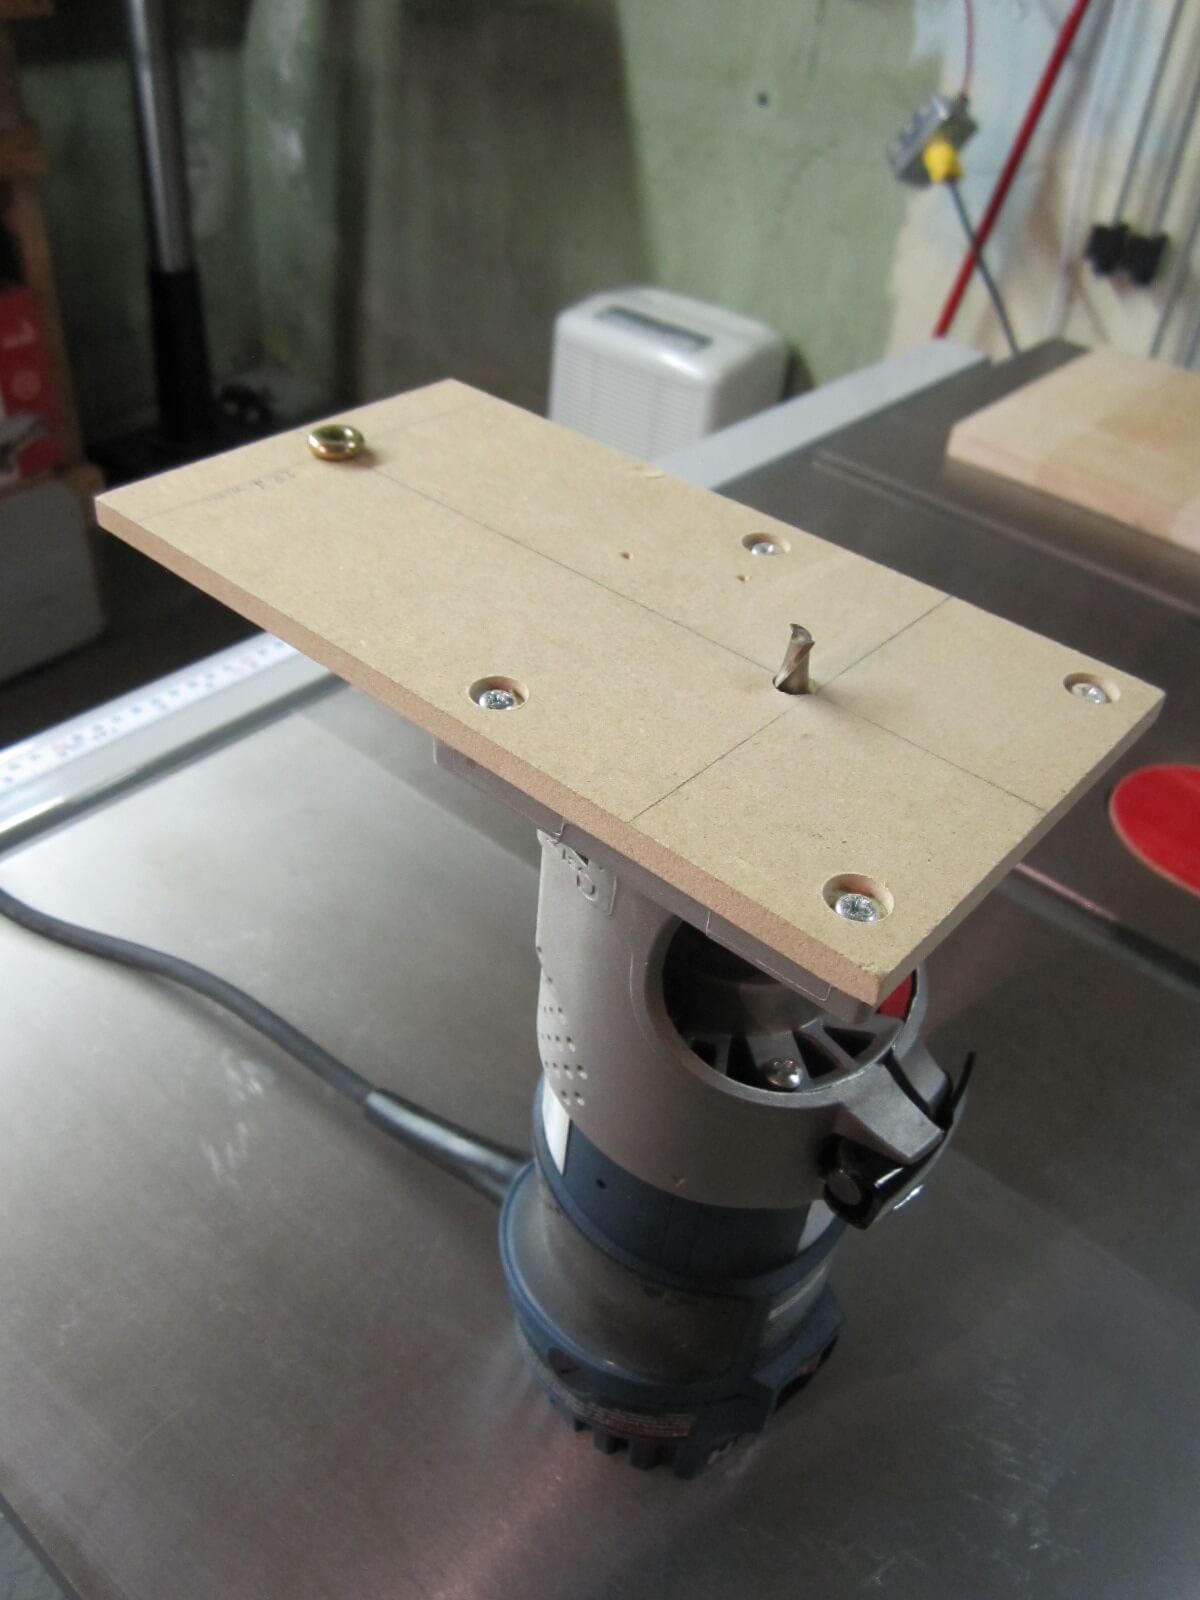
To make the cut of the circle, I made a template for my top.
The Reinforcements
They will serve to strengthen the angle of assembly of the feet to the table top.
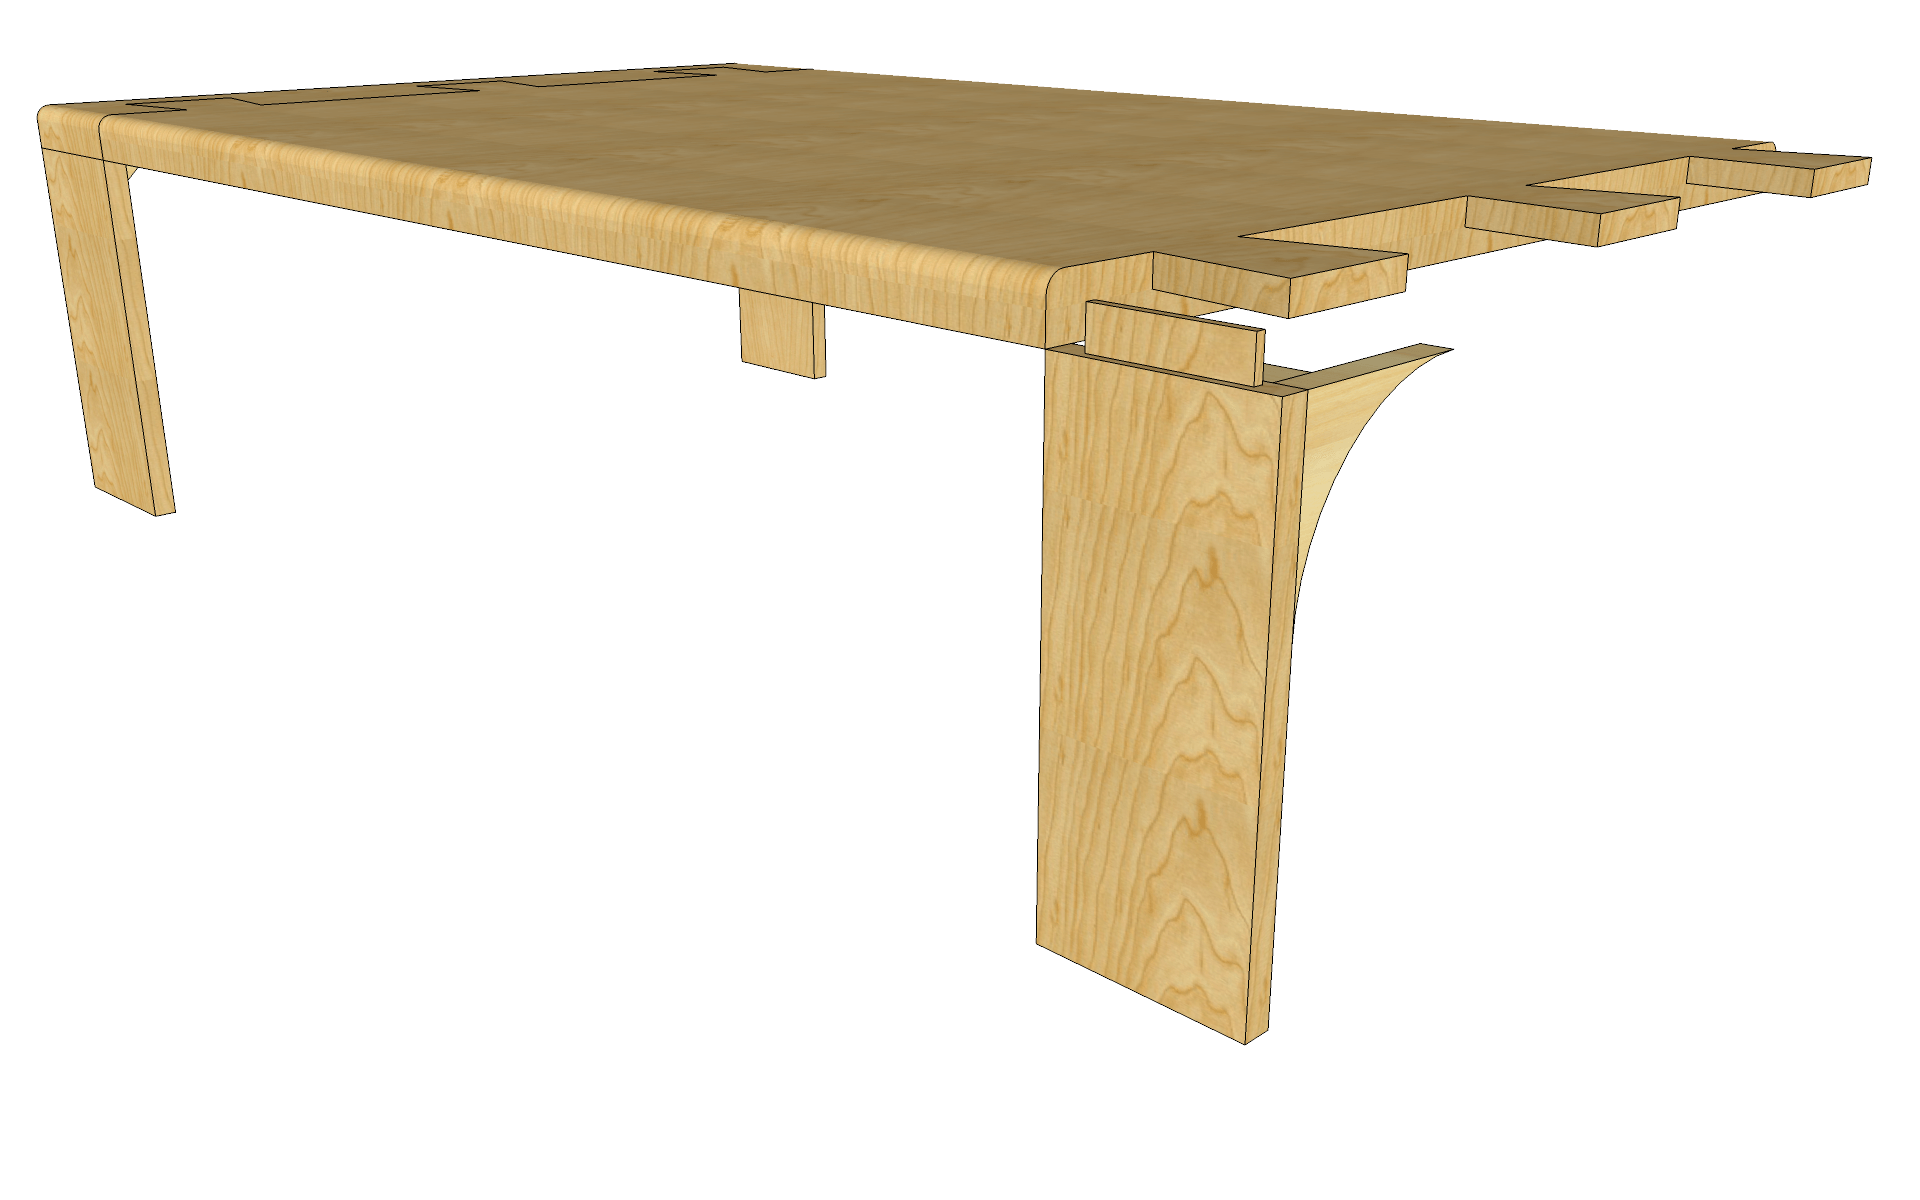
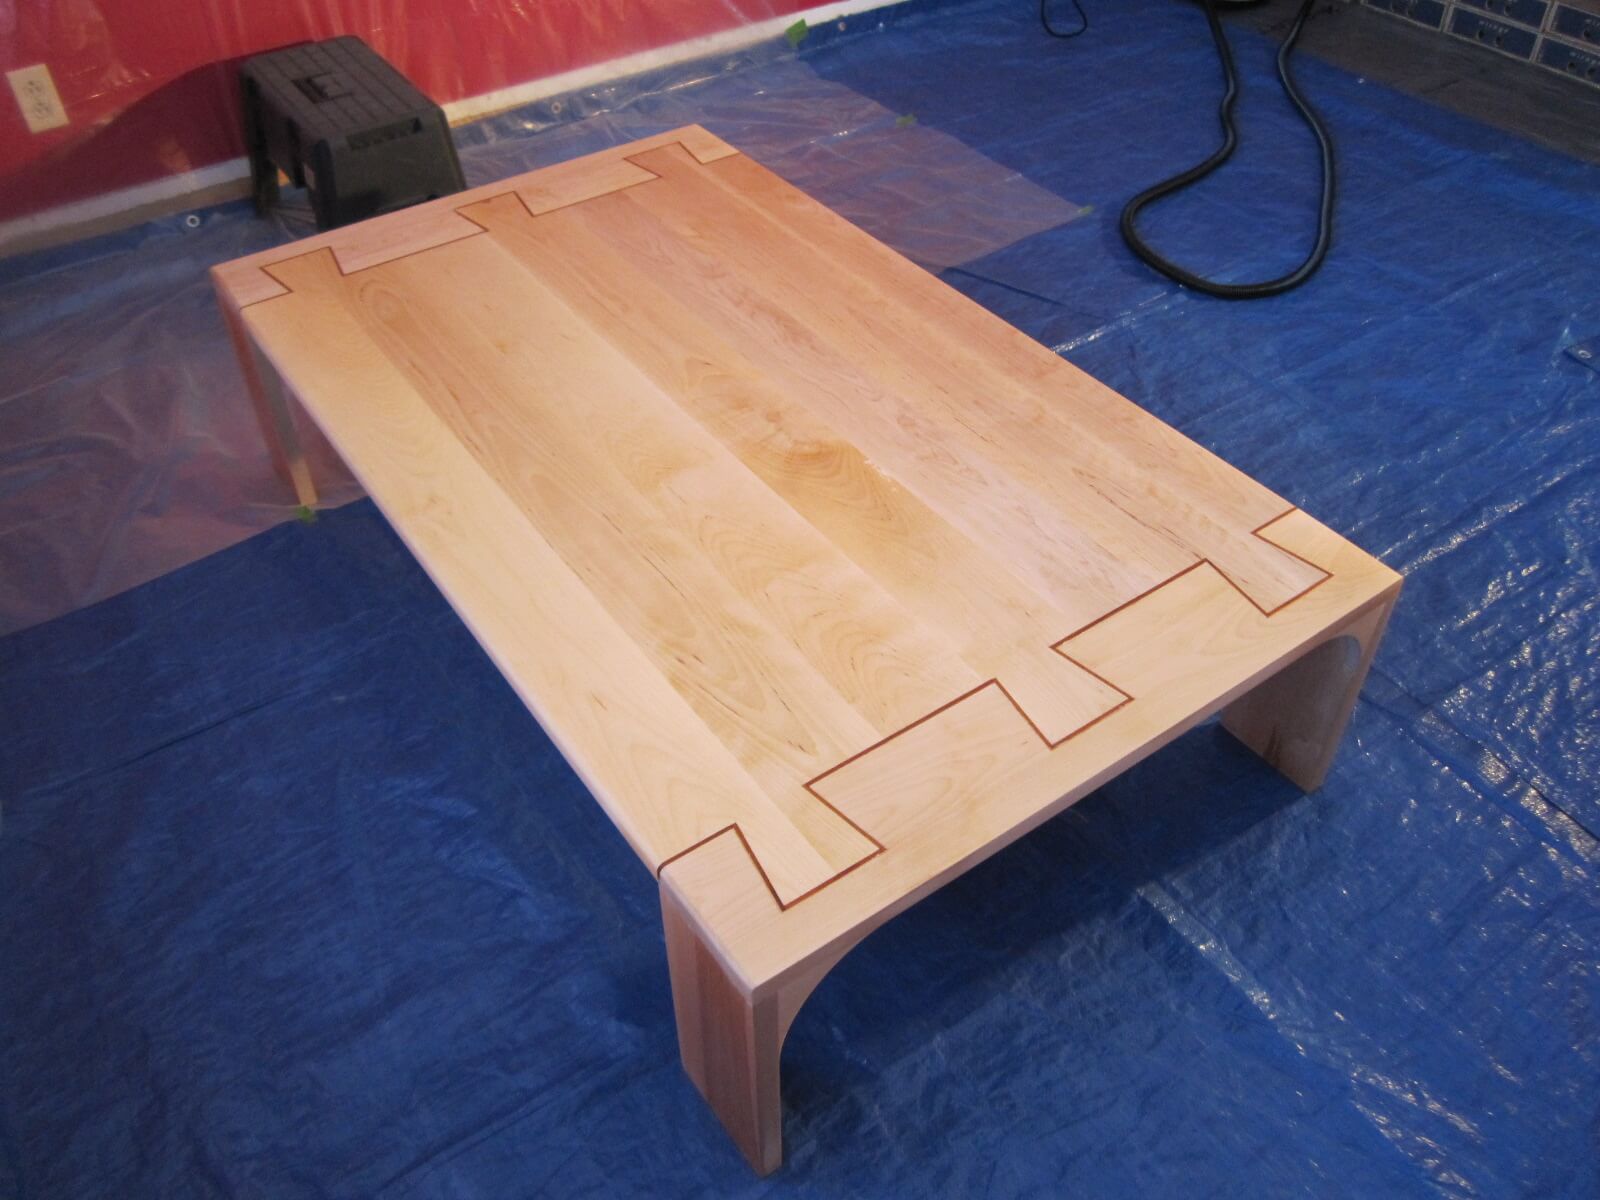
The Assembly
The pieces are now all finished, we can move to the assembly of the table.
The End Of Table Top
Feet and Corners
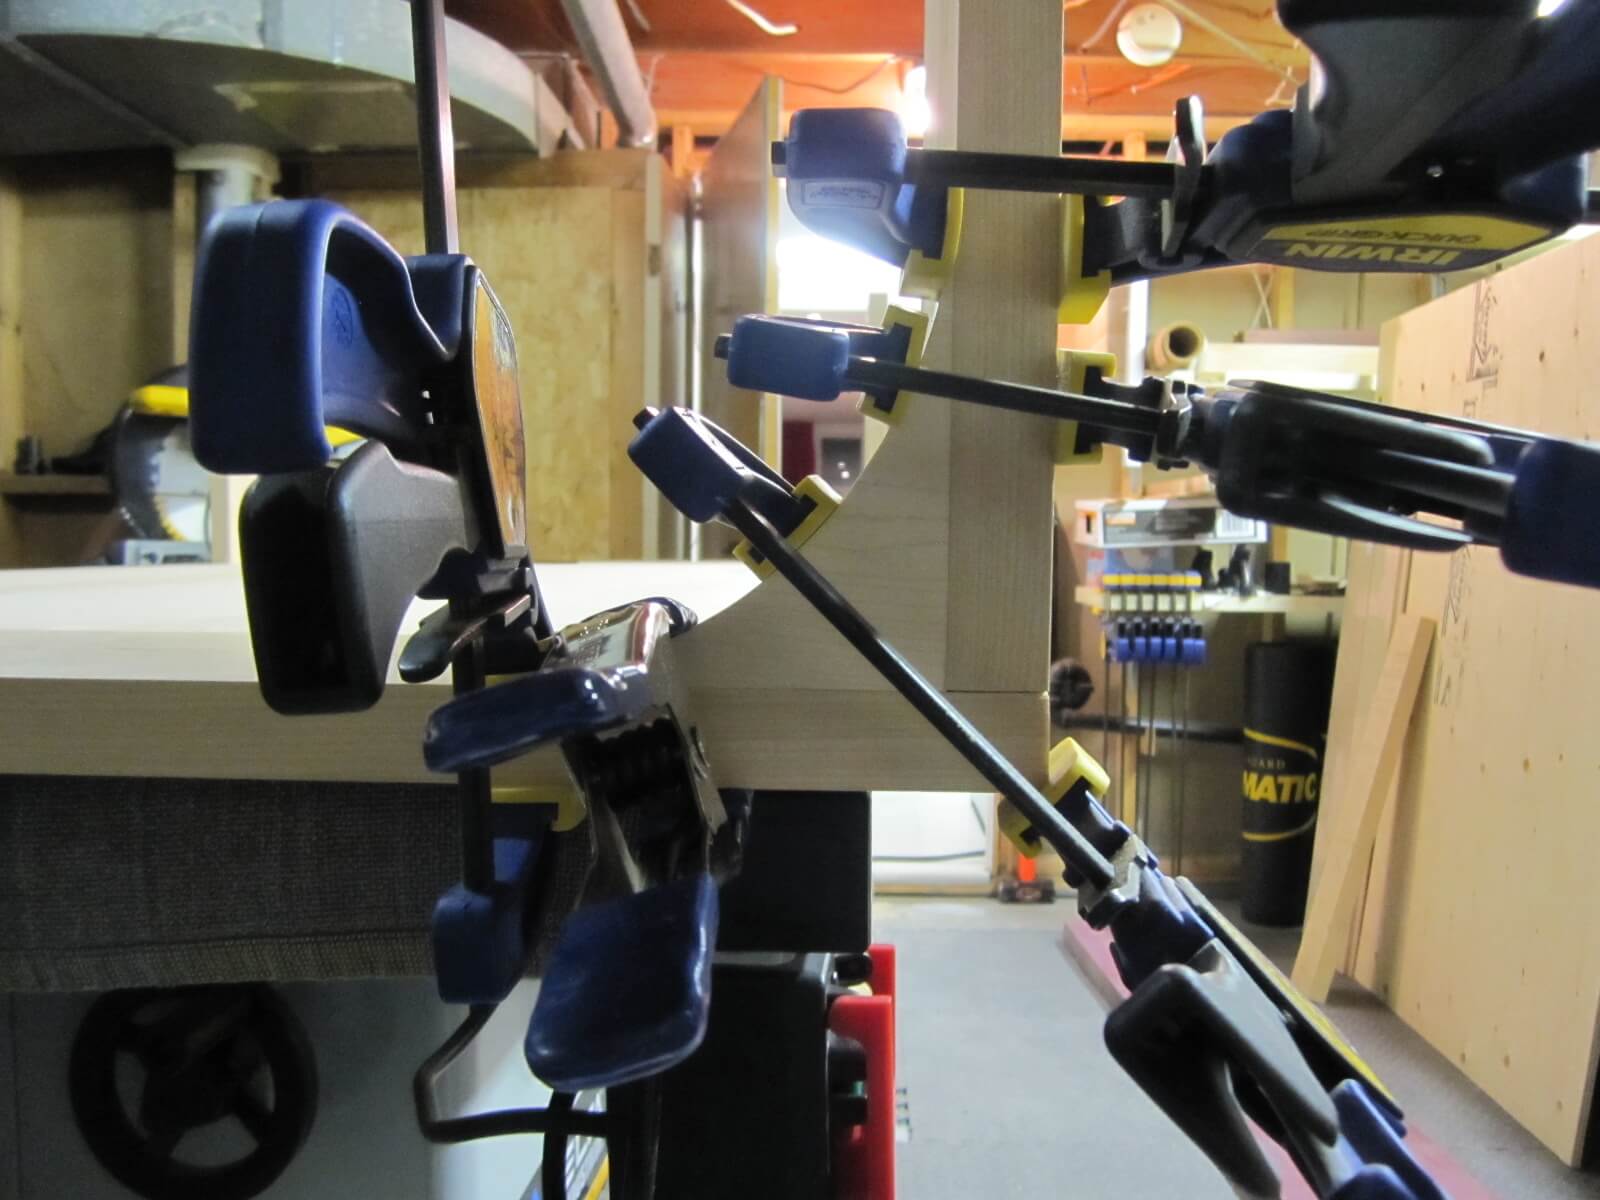
The Reinforcements
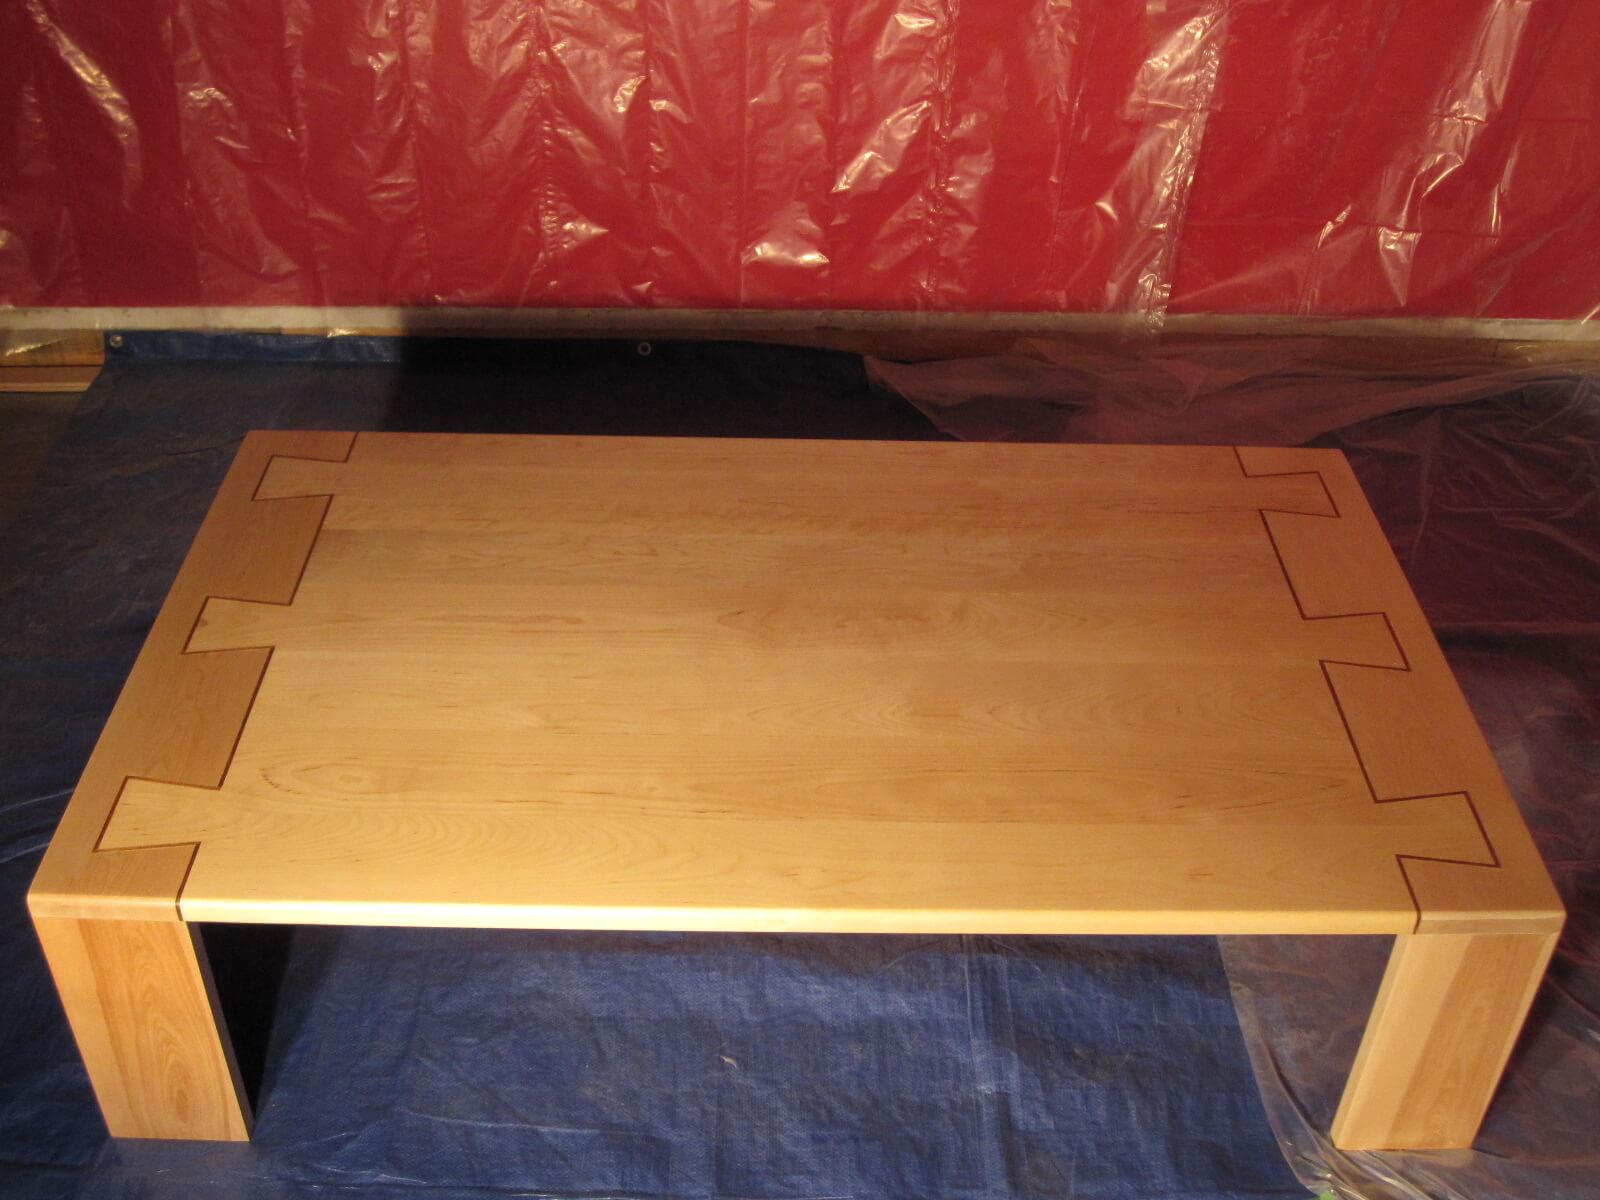
They come to finish the assembly of the table. Here is a preview of it without the rounded edges.
Finishing
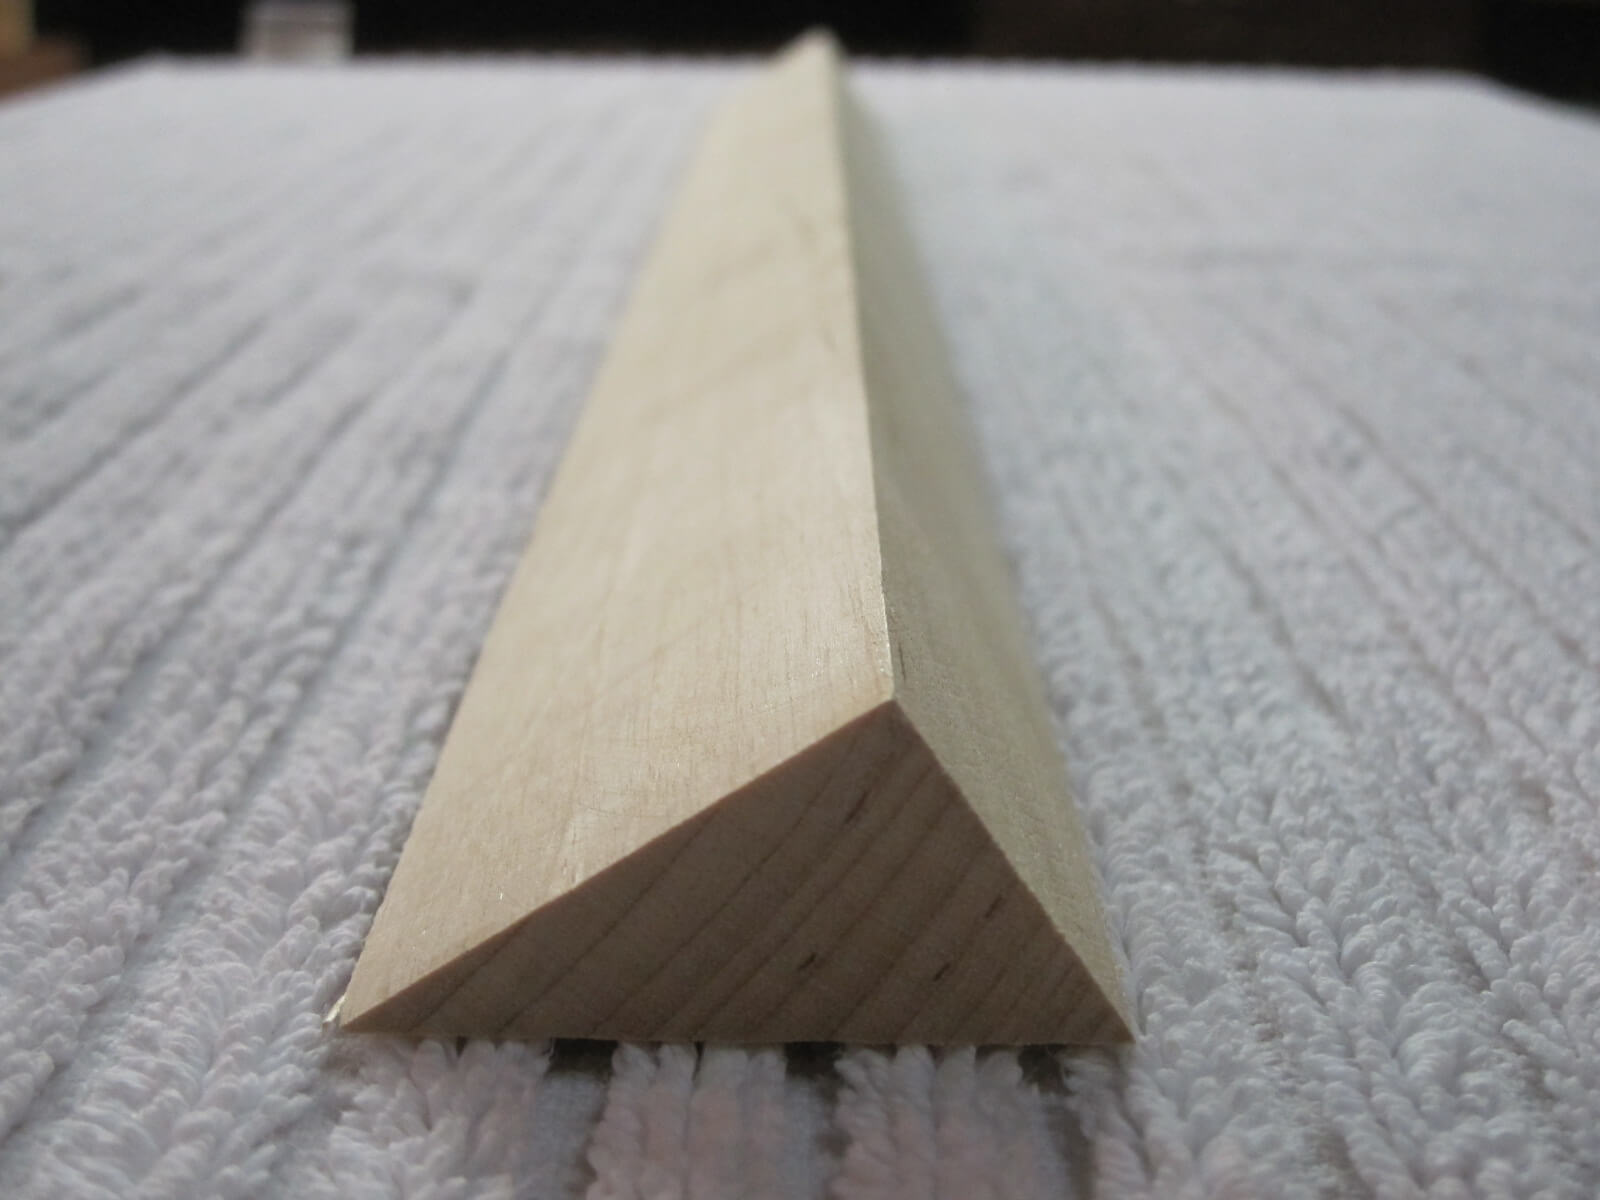
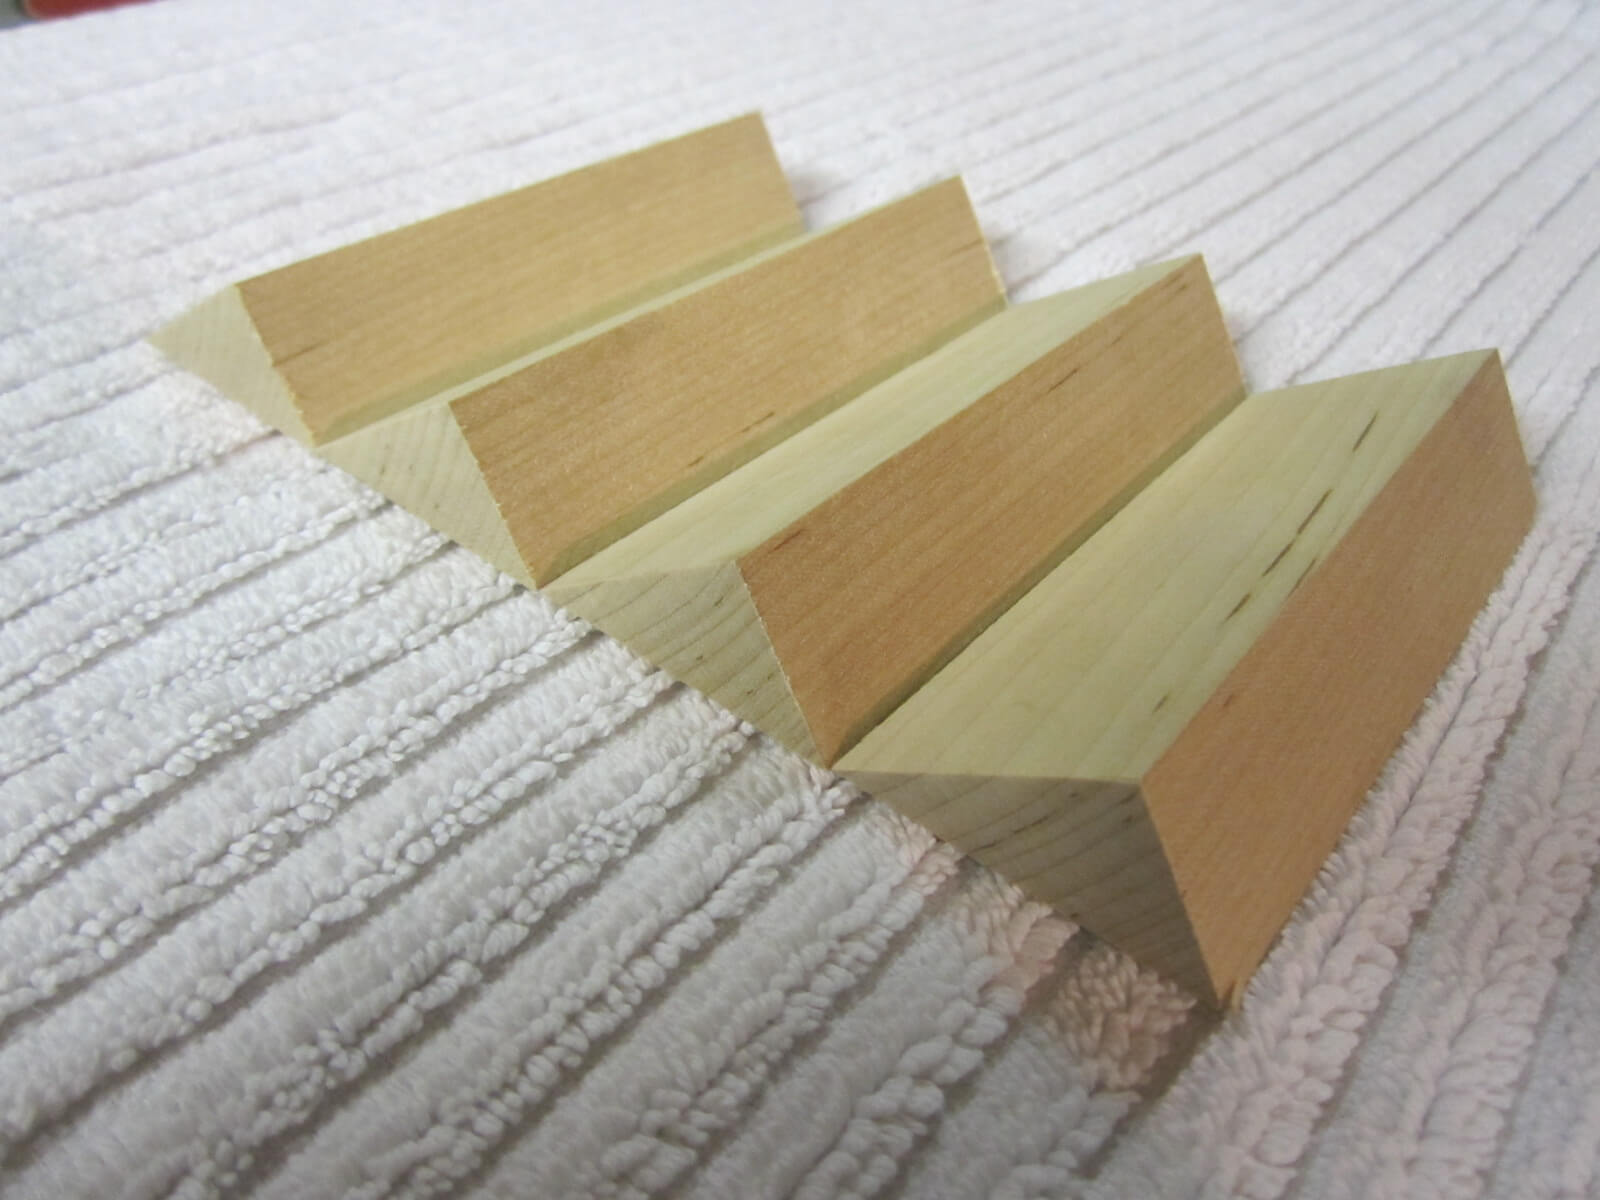
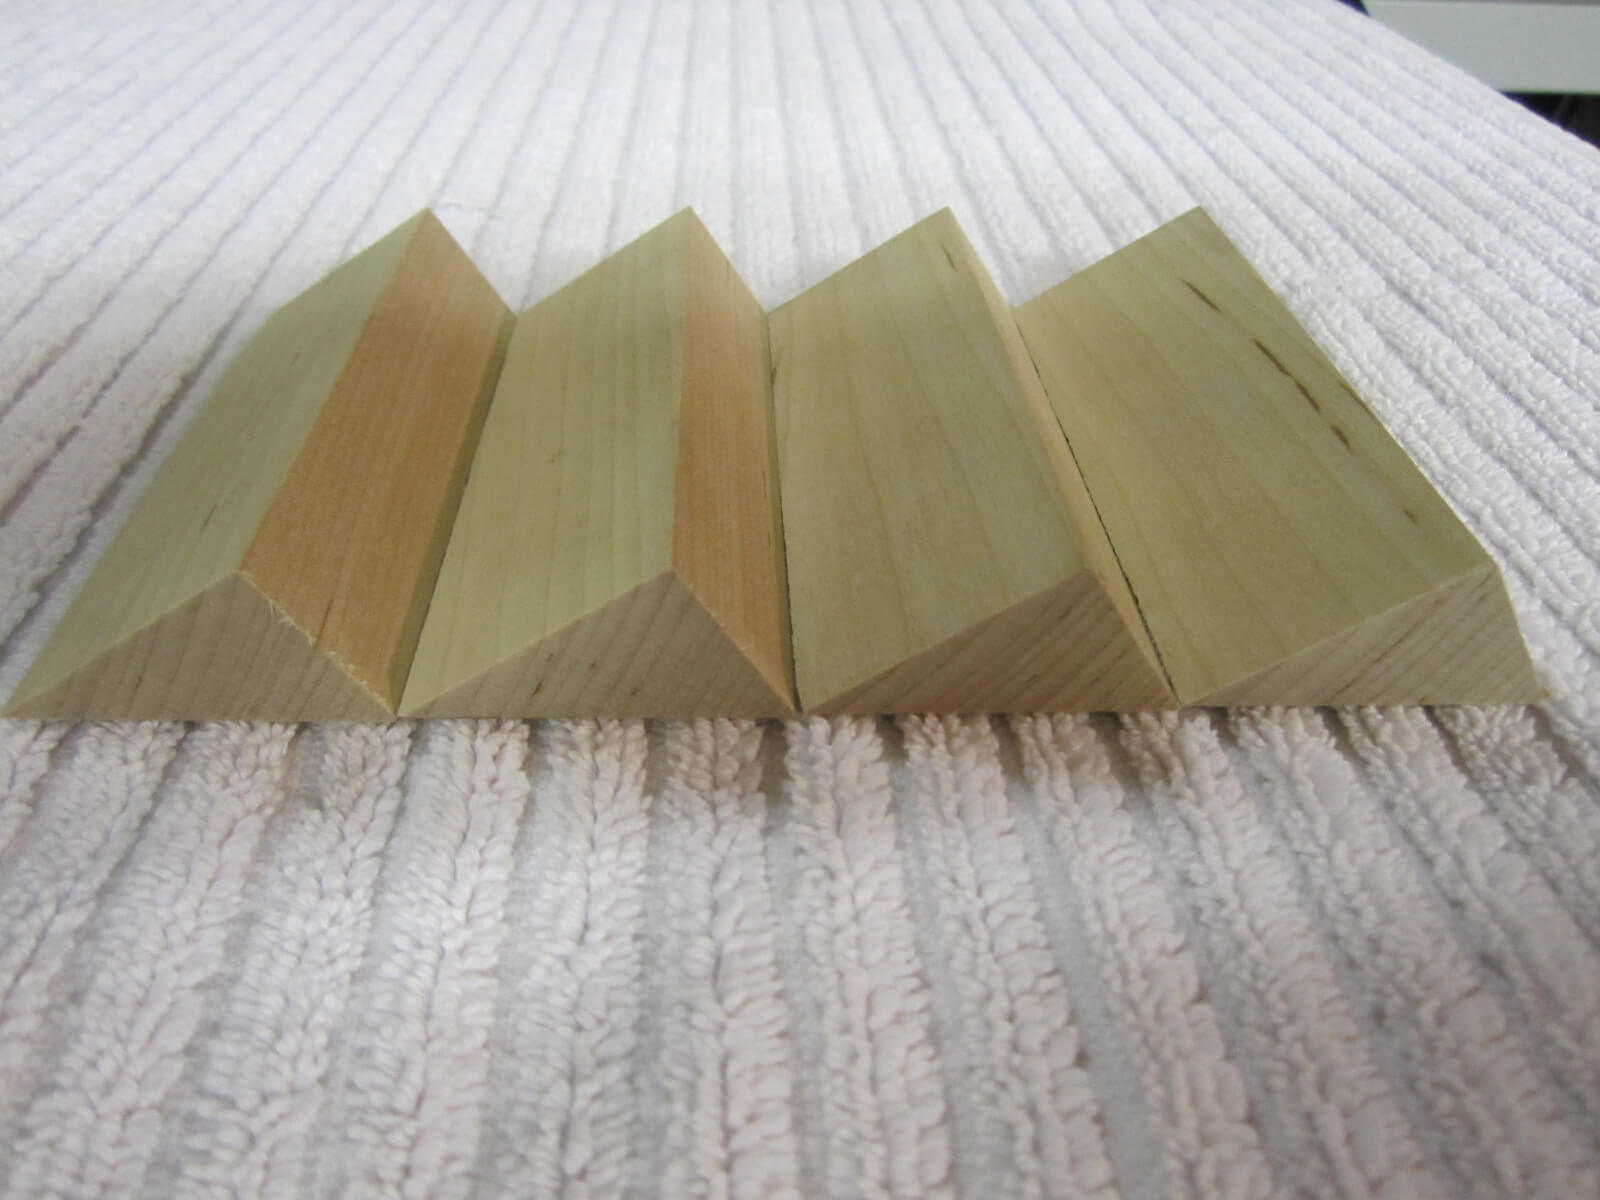
Closing the interstices
I had to let go of the assembly of the dovetails that I had planned to fill with maple. To do this, I made thin triangular slats that I stuck in the interstices. I removed the excess wood chisel and finished sanding.
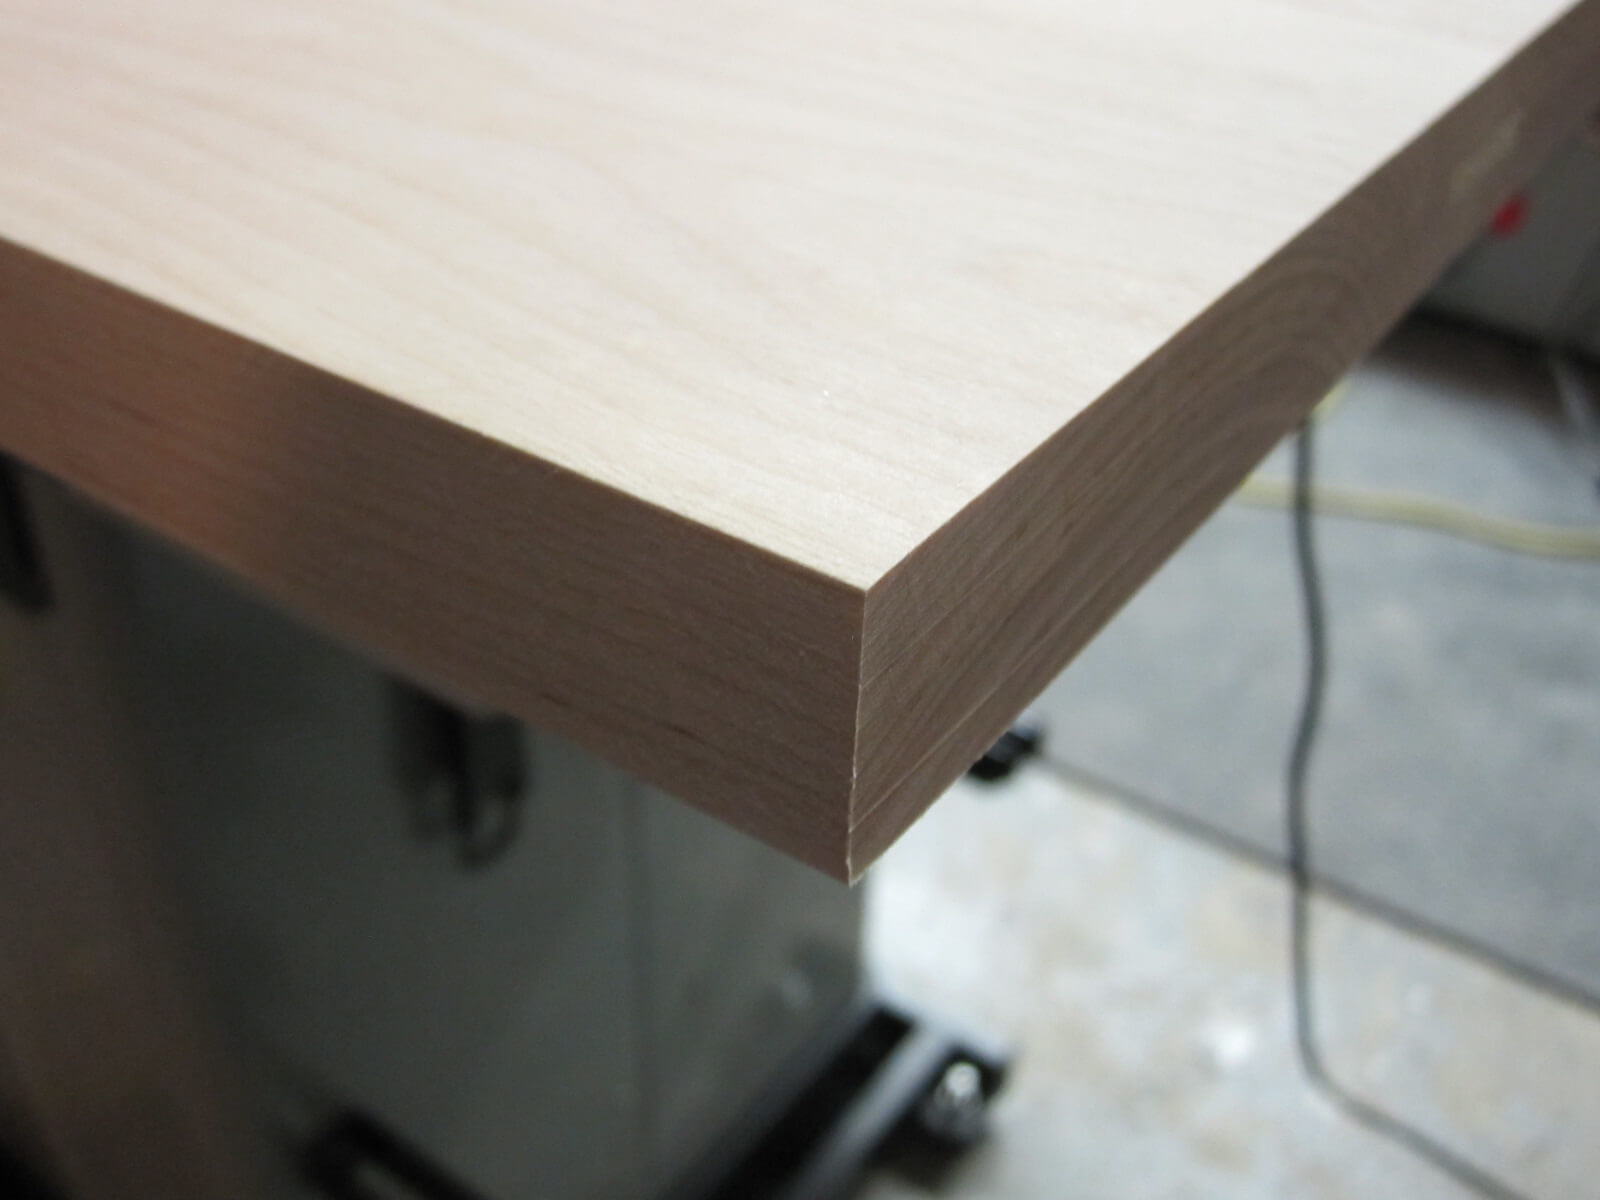
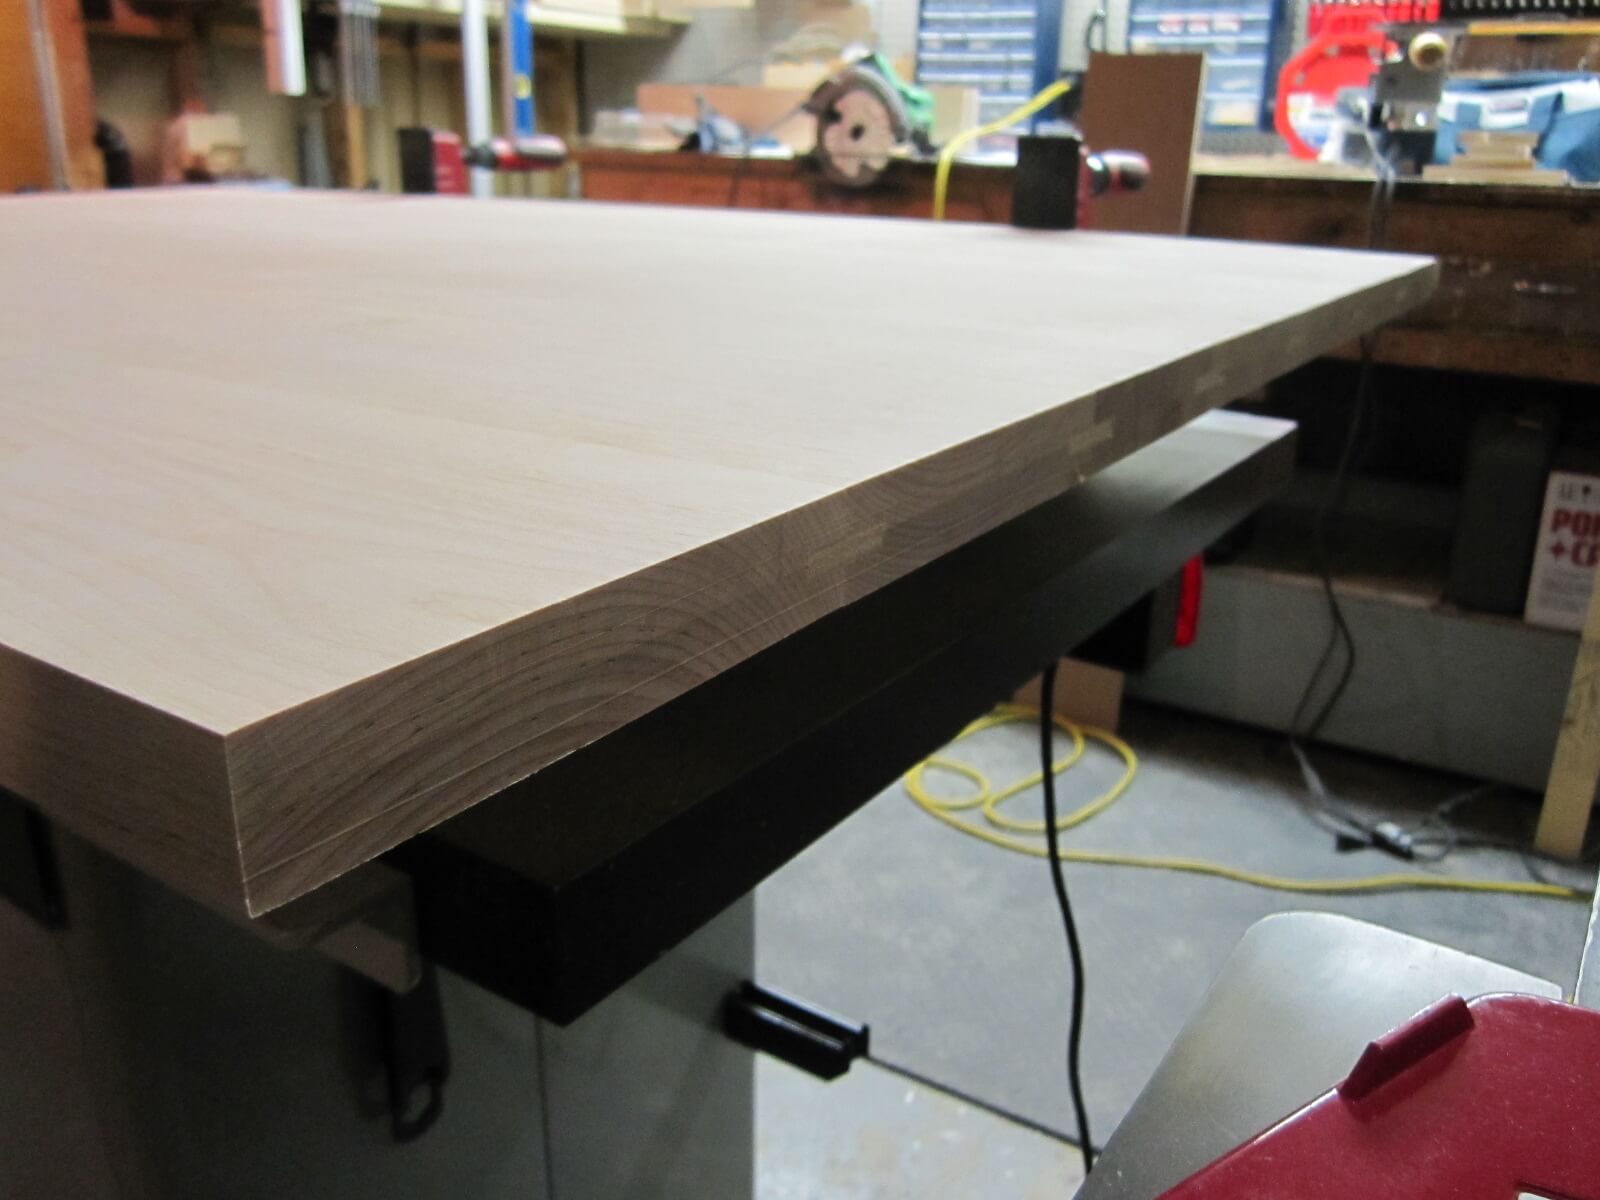
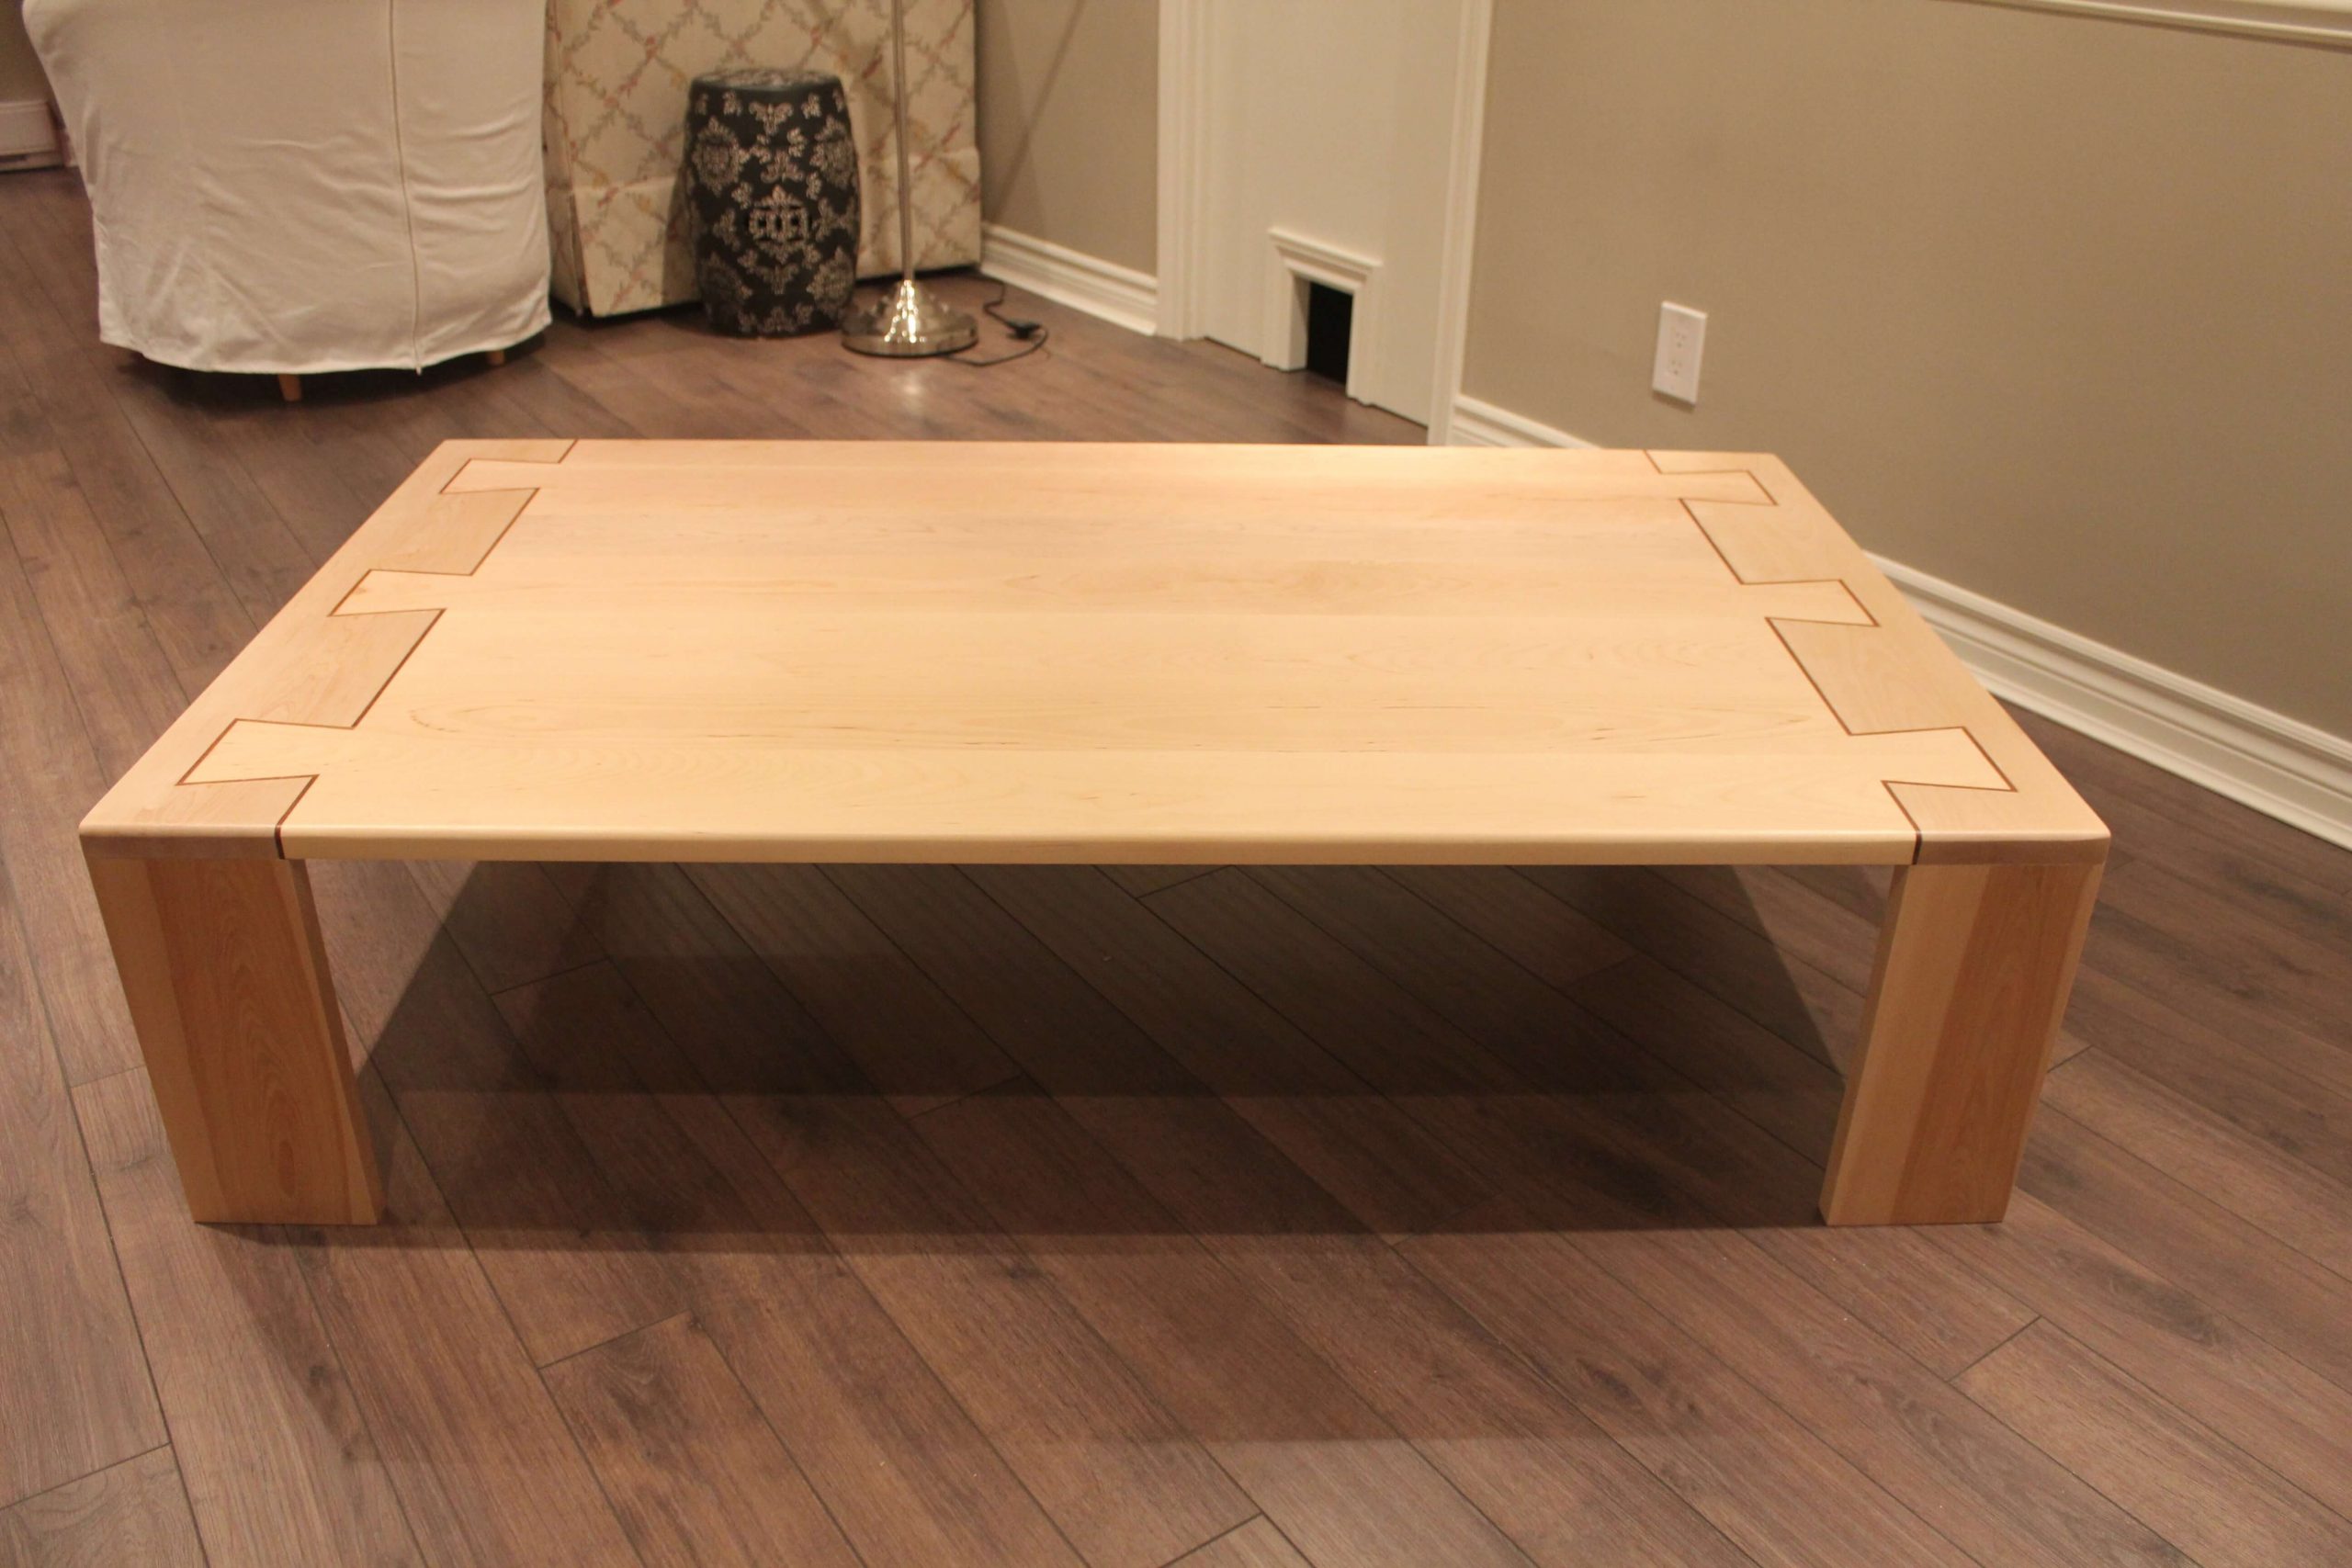
The edges of the table
I made a quarter of a round of 1/2″ (about 13 mm) along the entire length of the sides of the table.It is safer (you do not want to bump into maple corners as sharp…) and this raises the aesthetic side of the table.
Application of varnish
Before, I sanded the whole table with successively #100 grit paper, #120 then #180.
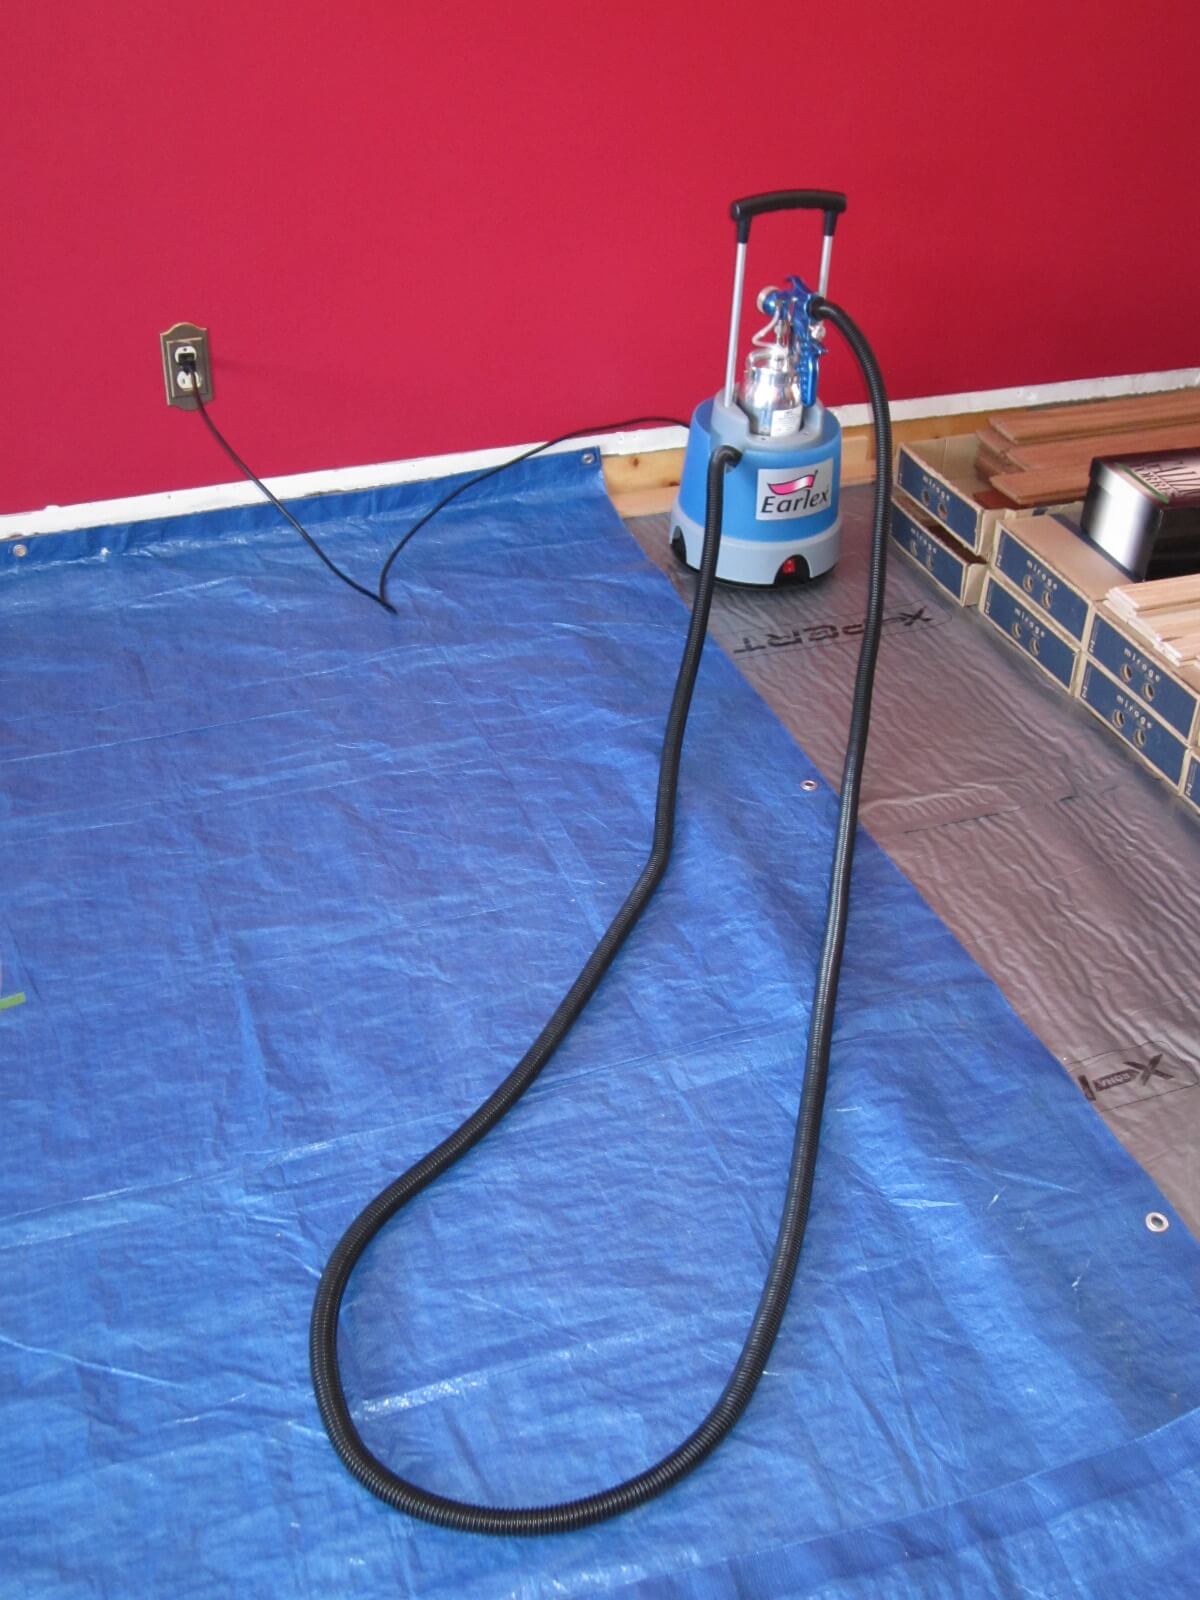
Then I applied 3 coats of polyurethane floor varnish with HVLP* spray.


- I sanded at # 0000 grain between each layer.
- HVLP = High Volume Low Pressure = High volume and low pressure.
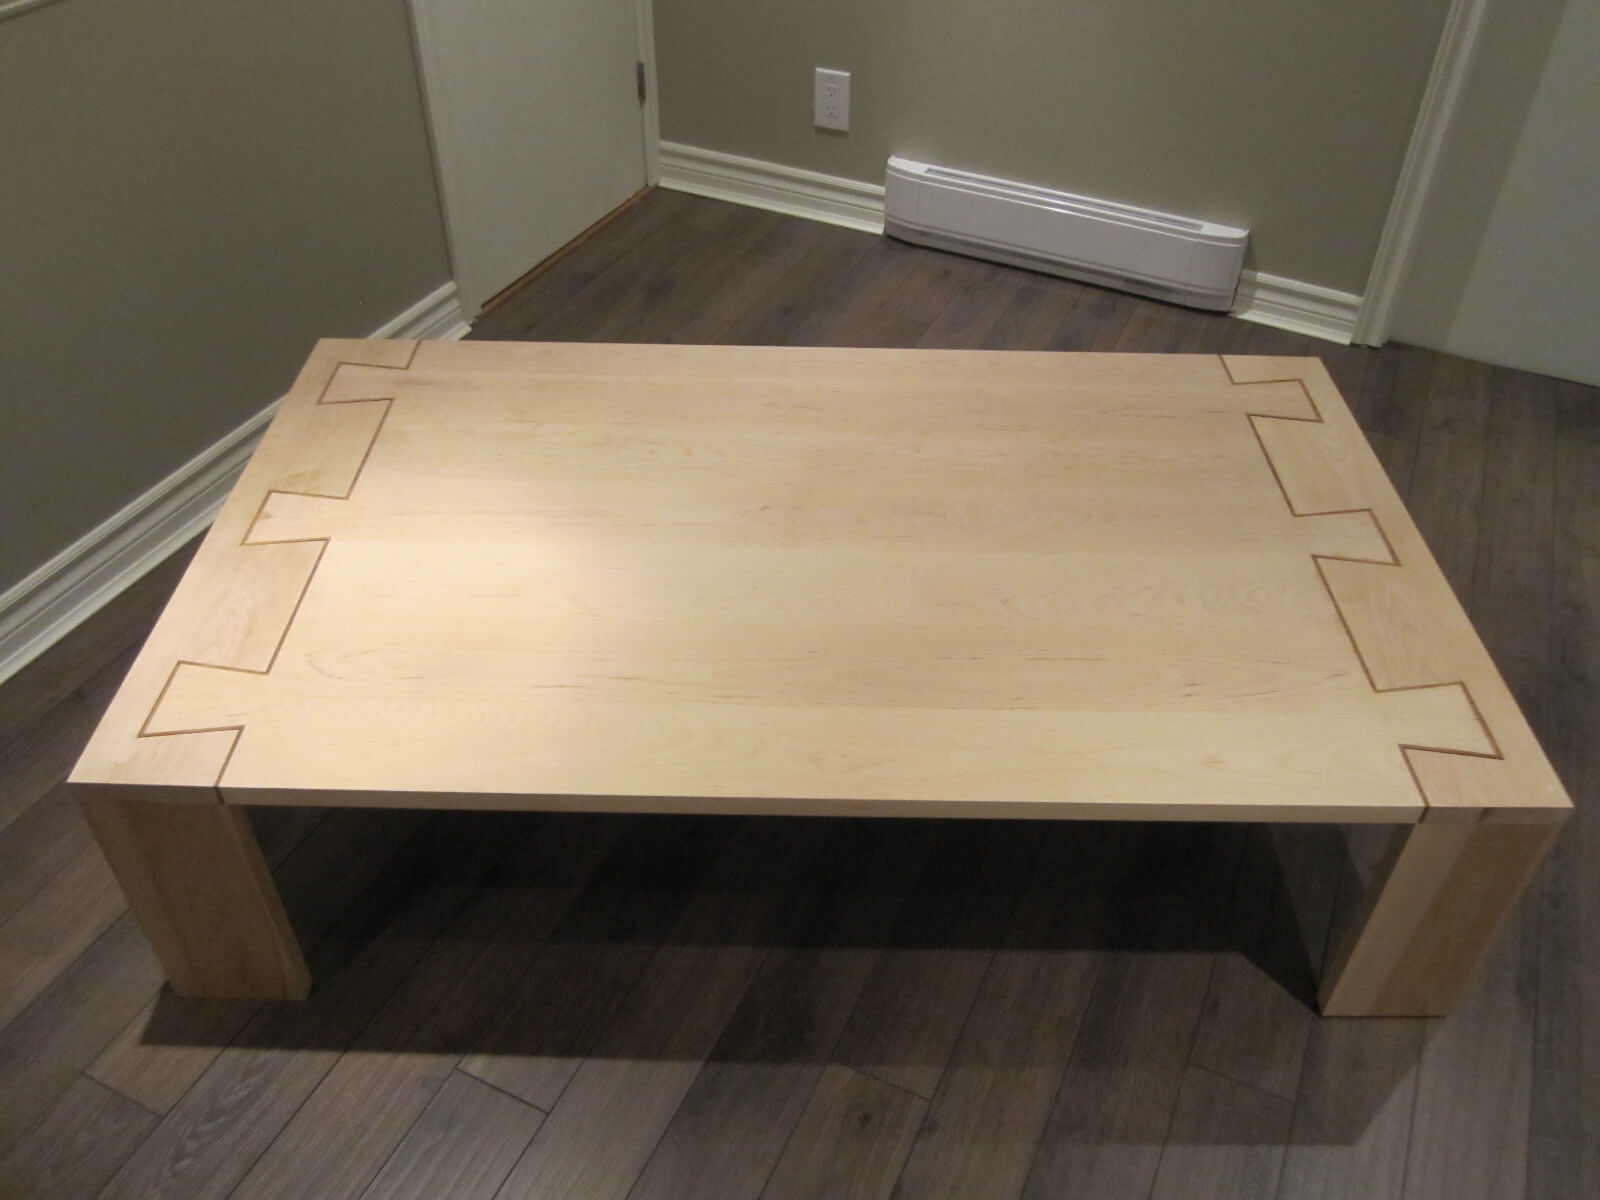
Conclusion
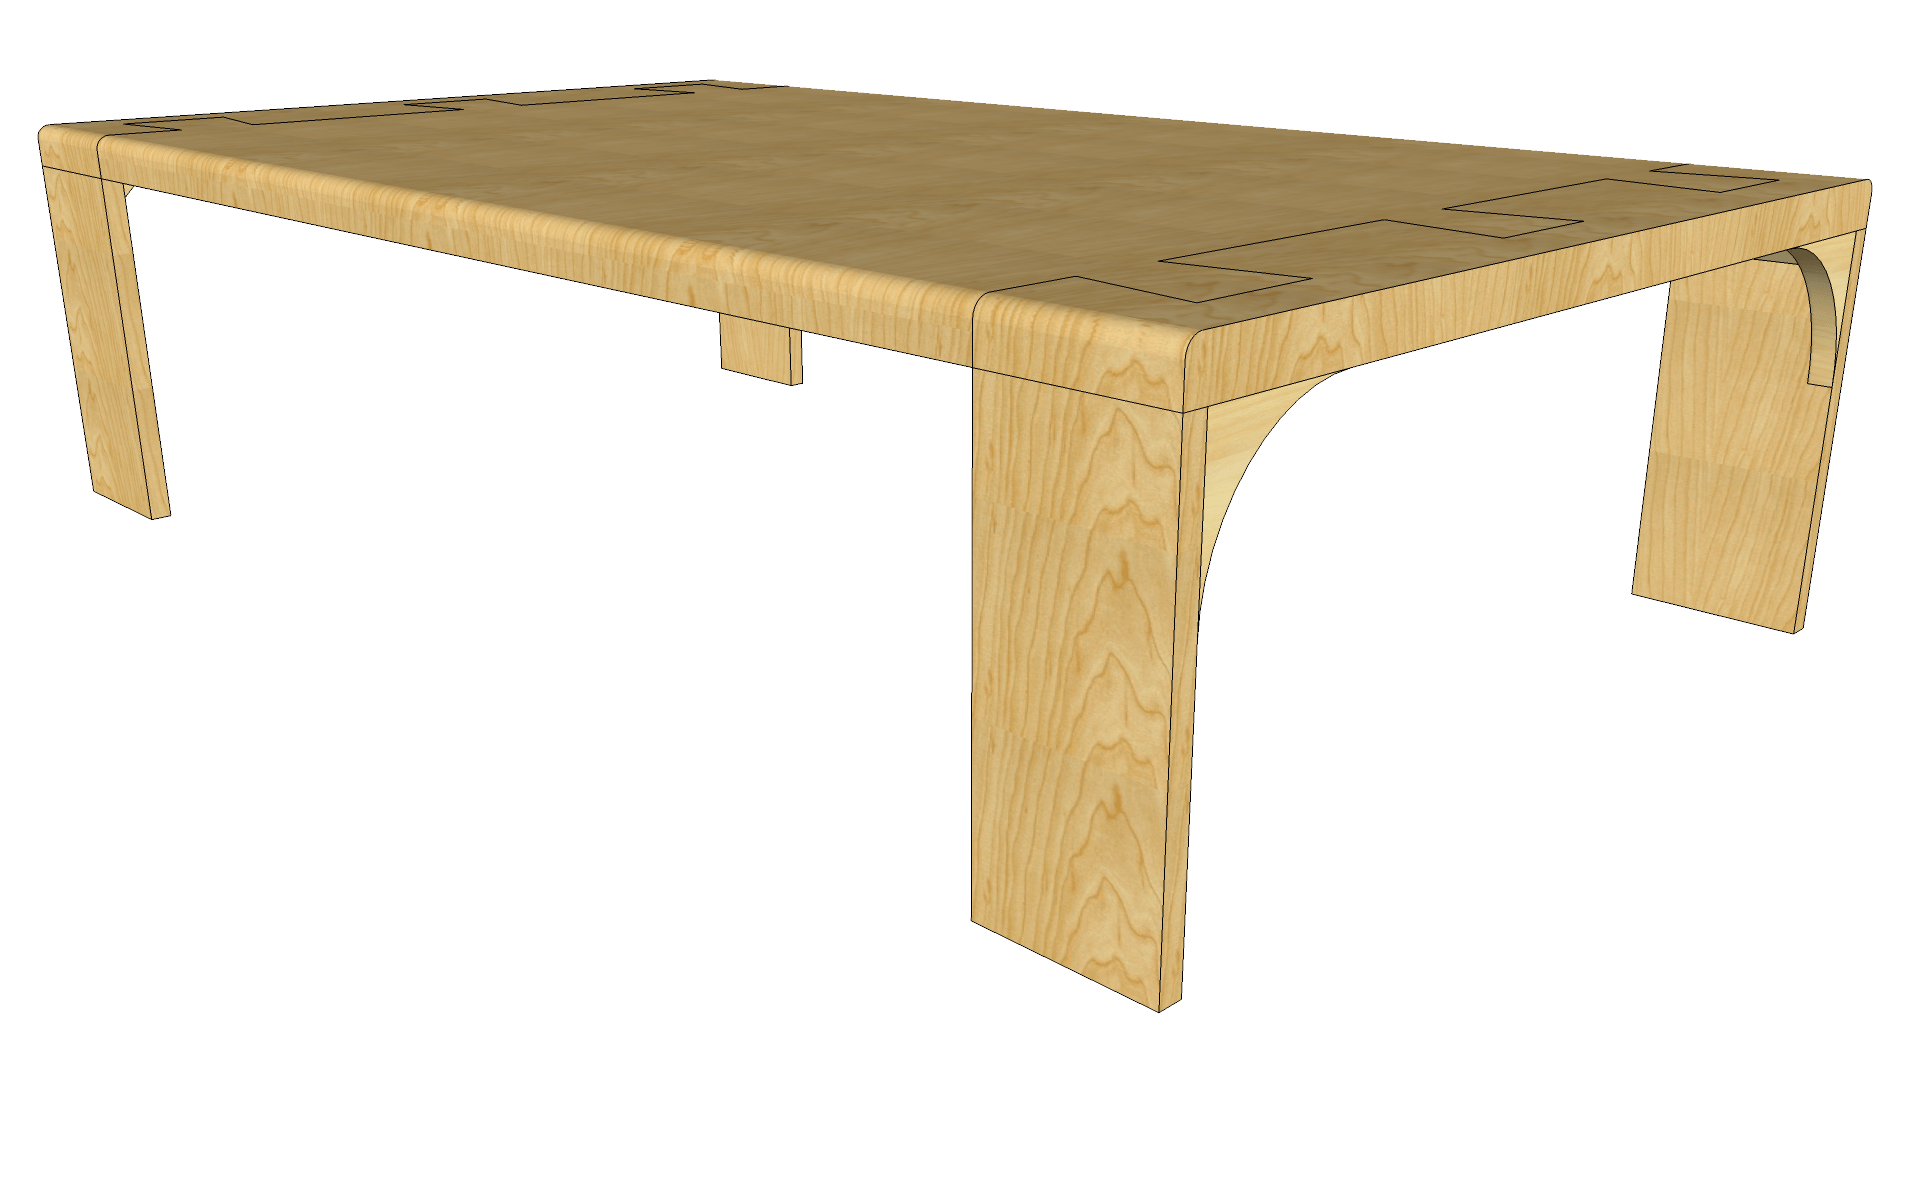
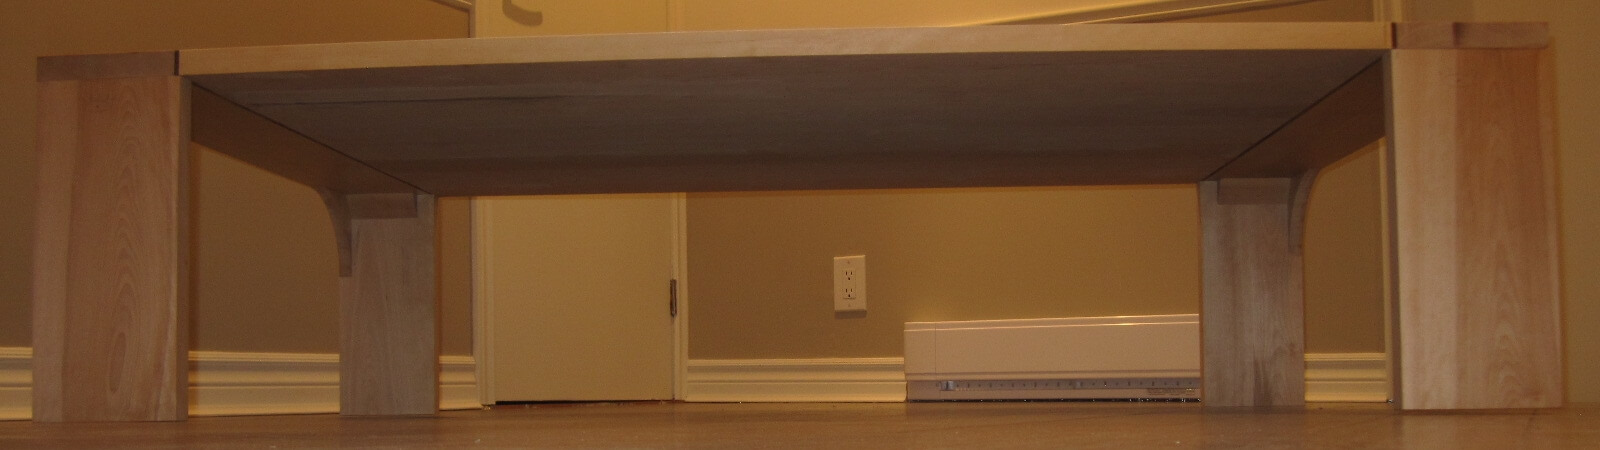
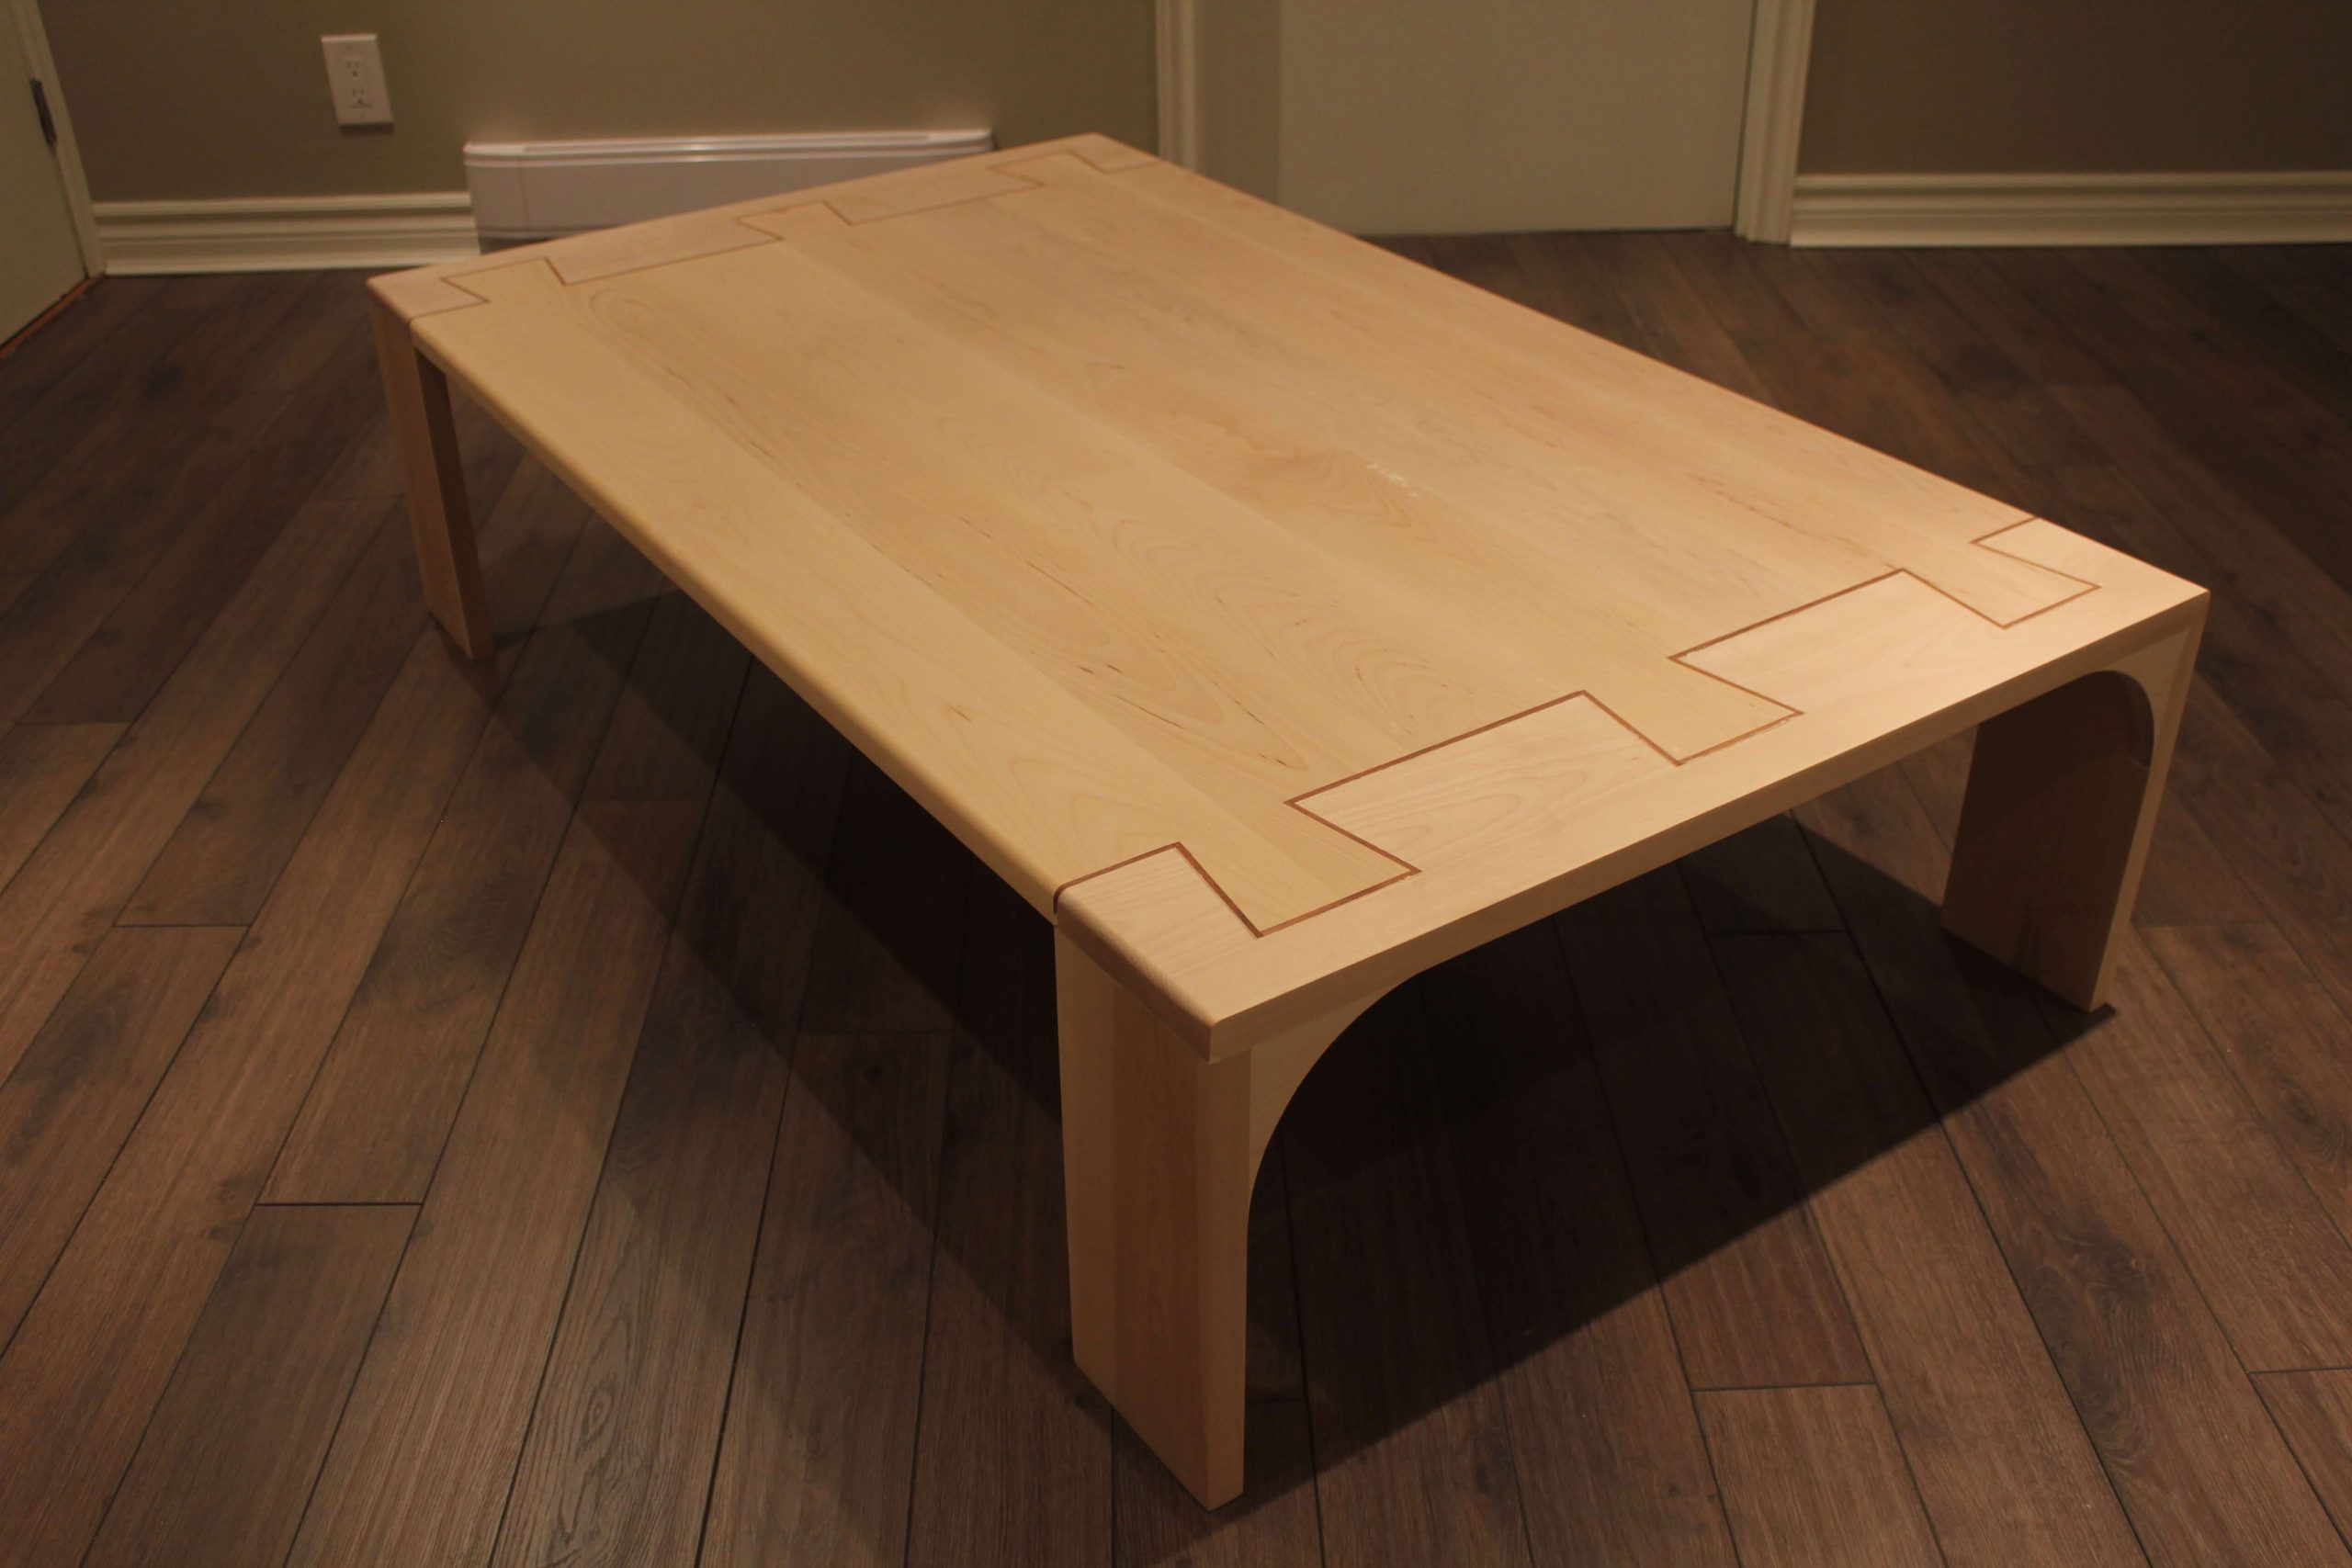
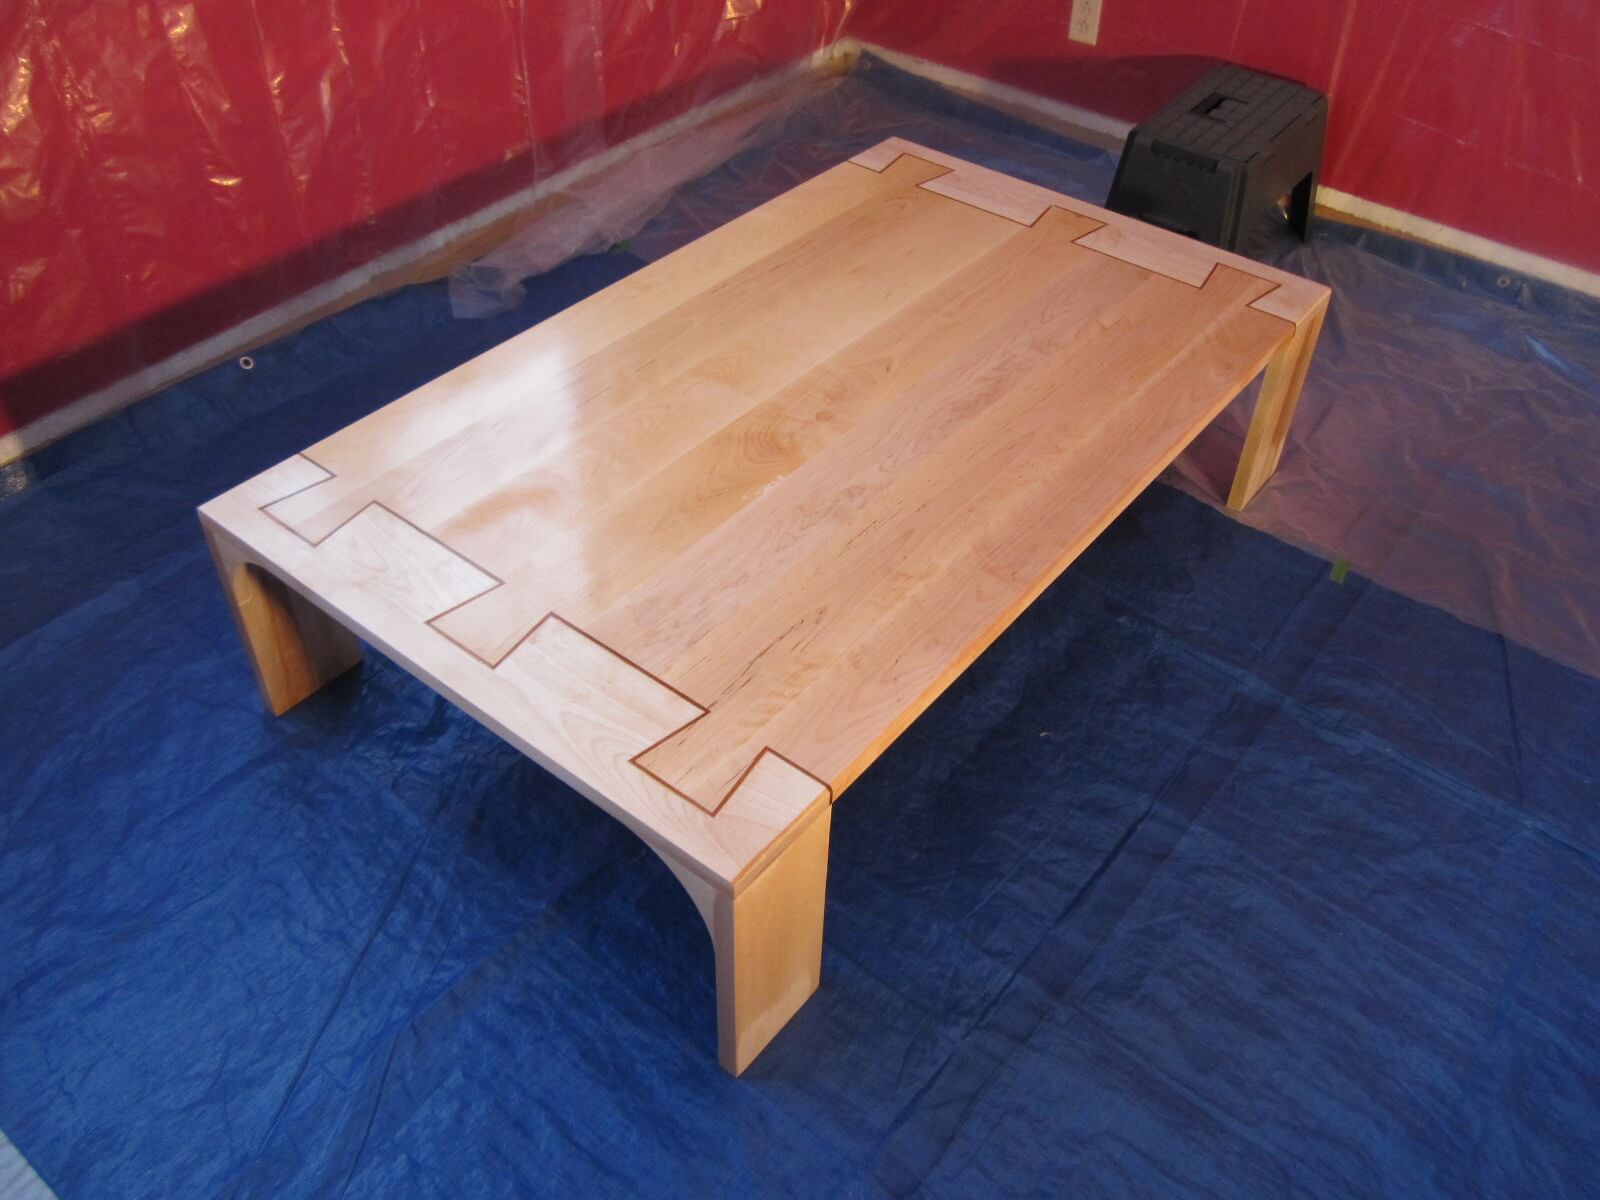
Here it is finished and ready to be delivered.
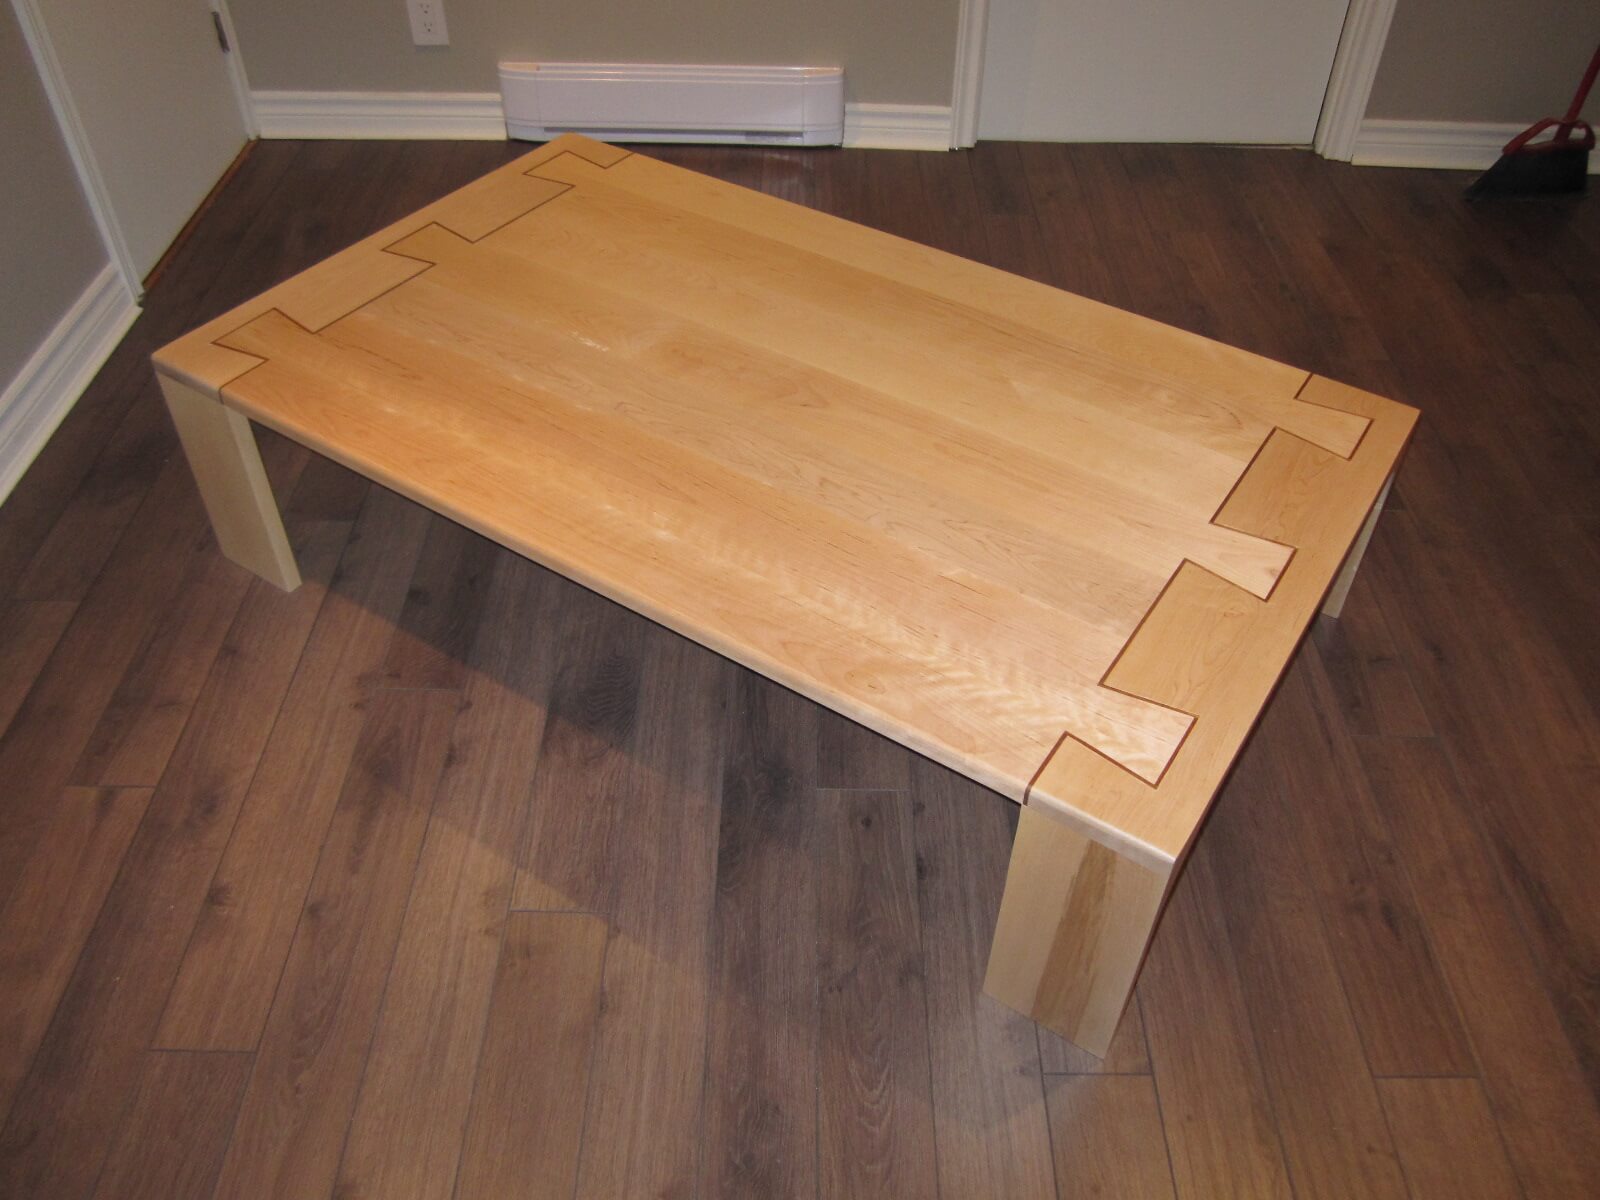

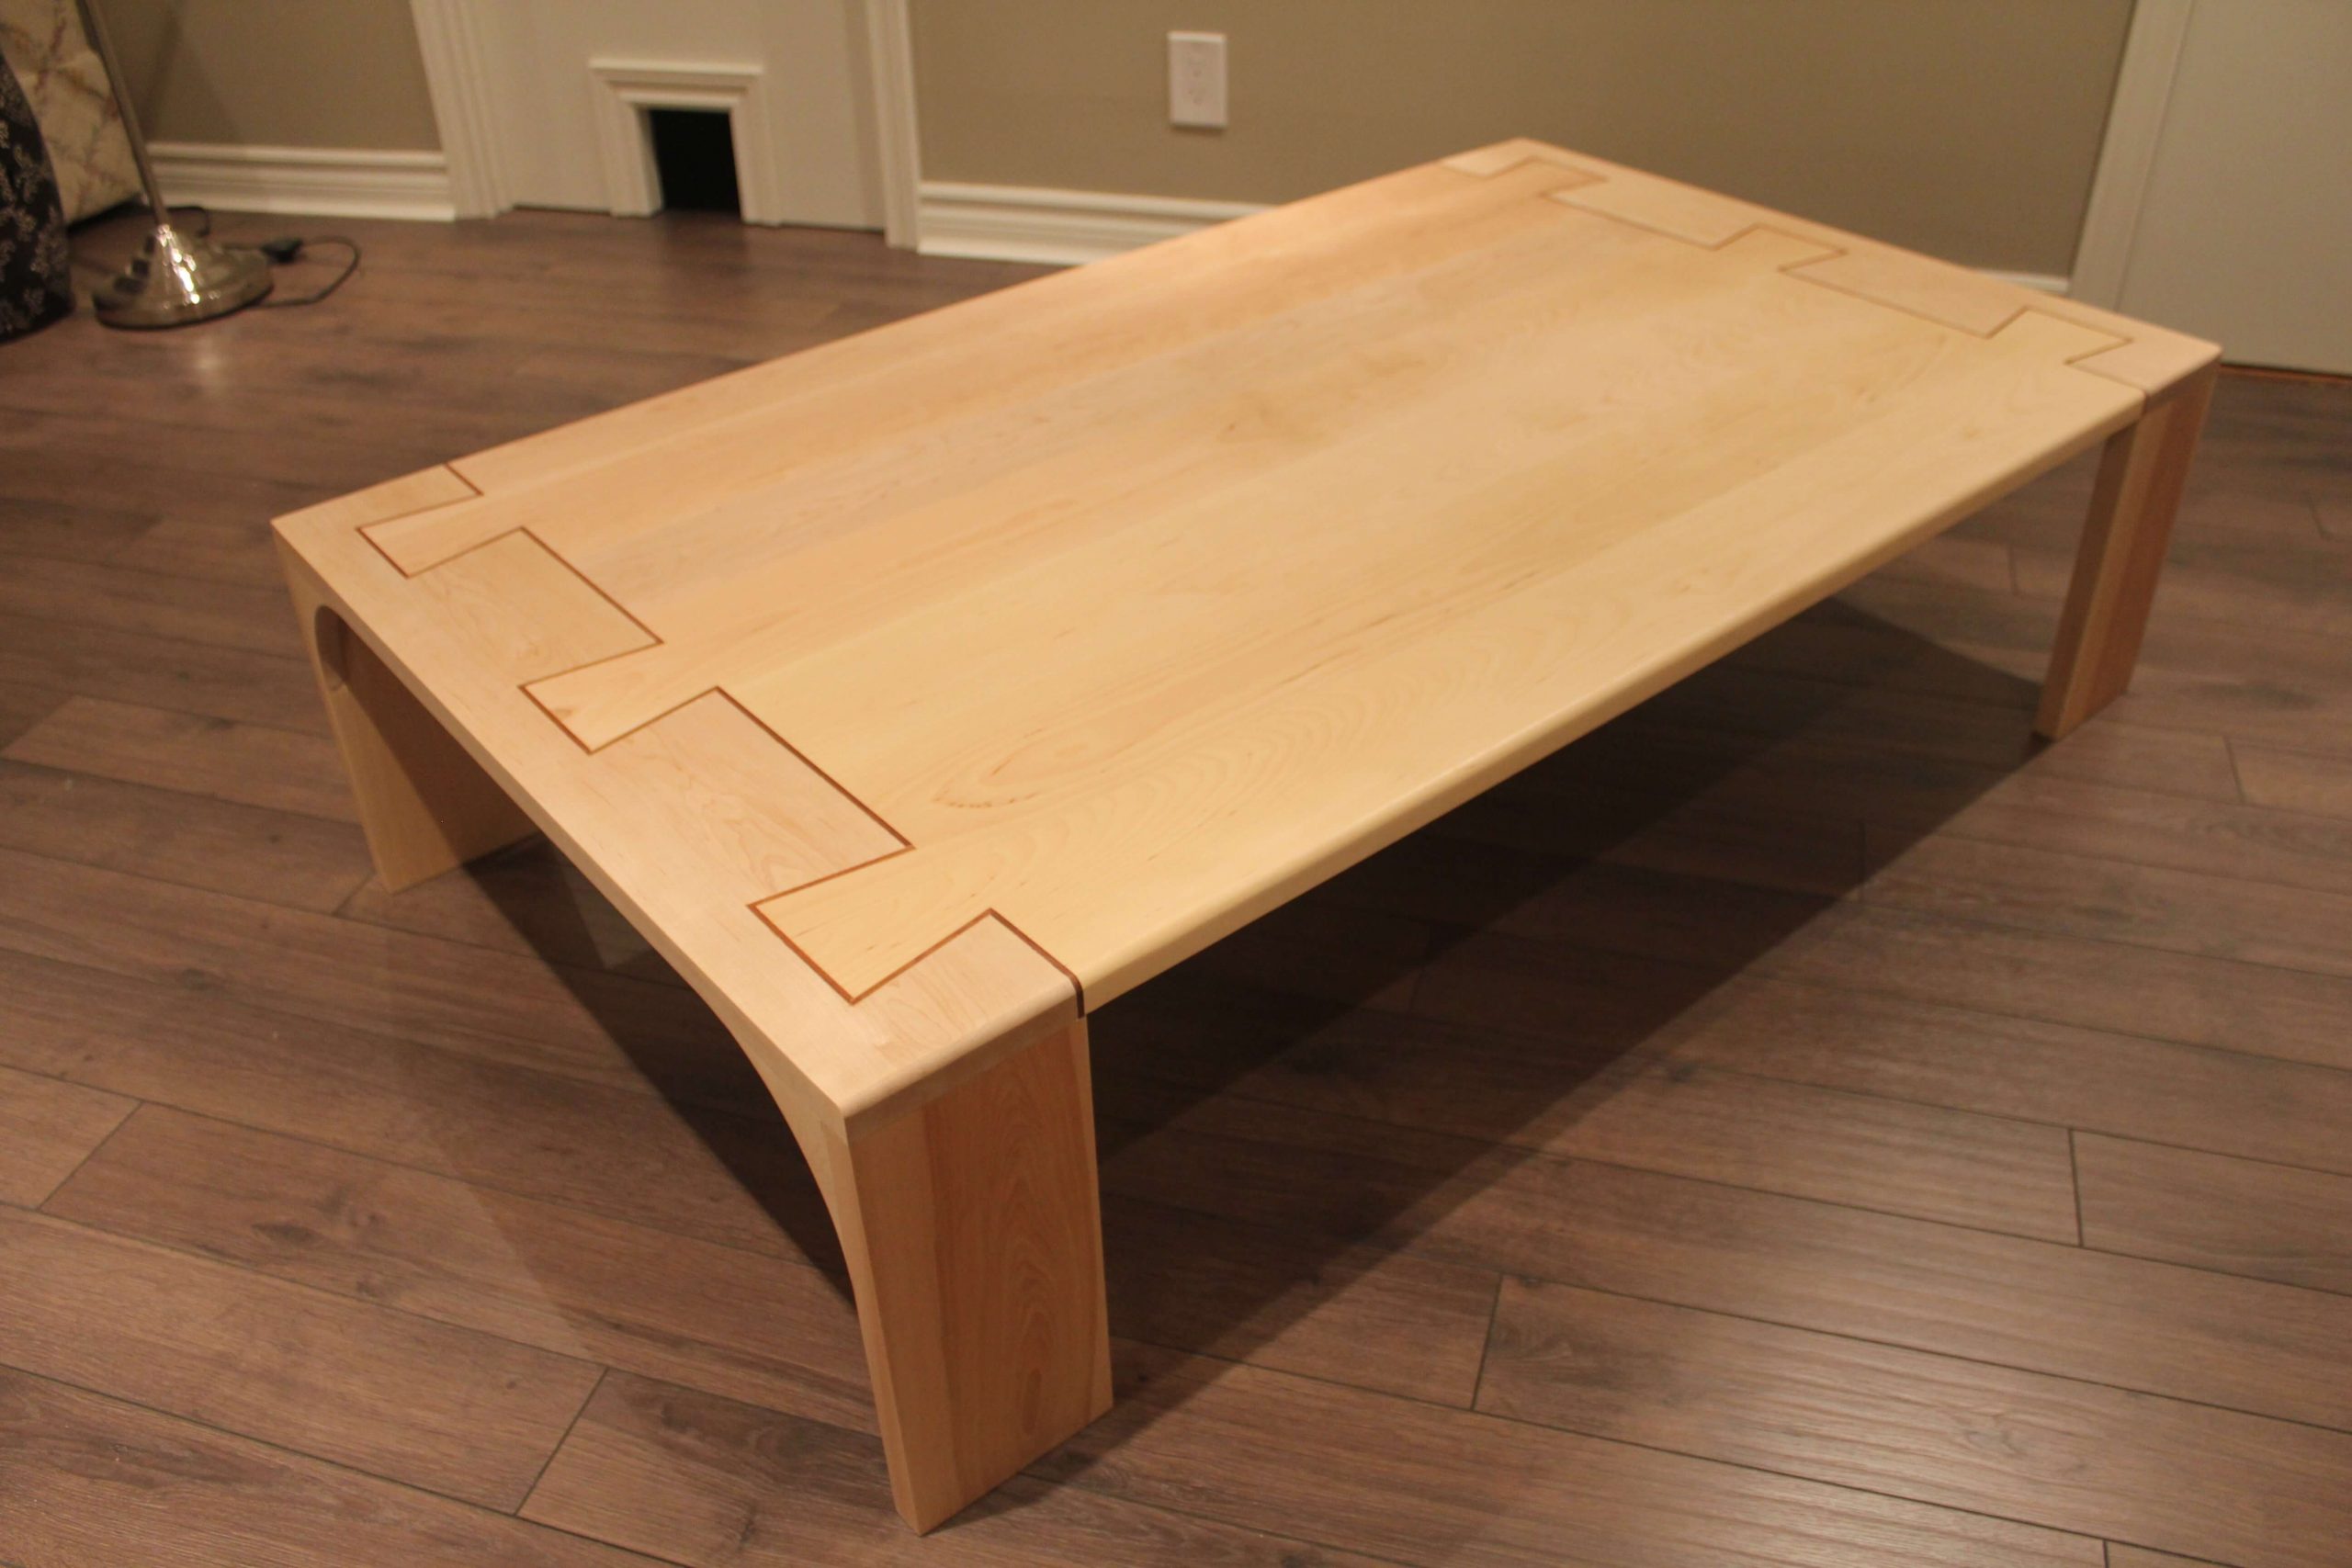
I brought the table to my friends and we even had dinner on it. I thank them by the way, the meal was delicious.
I have spent many hours on this project and, as you may have noticed, it requires a lot of delicate steps. I loved each one of them. The varnish finish was particularly delicate. It could have complemented ruin the result so poorly done.
Overall, I am satisfied with the result and I learned again during this project. I will refine some techniques in the future.
I hope you liked this article? Feel free to put your comments and pleasure to read you…