
This project comes from an article in the cabinetmaking magazine WOOD which I adapted the dimensions to my needs.
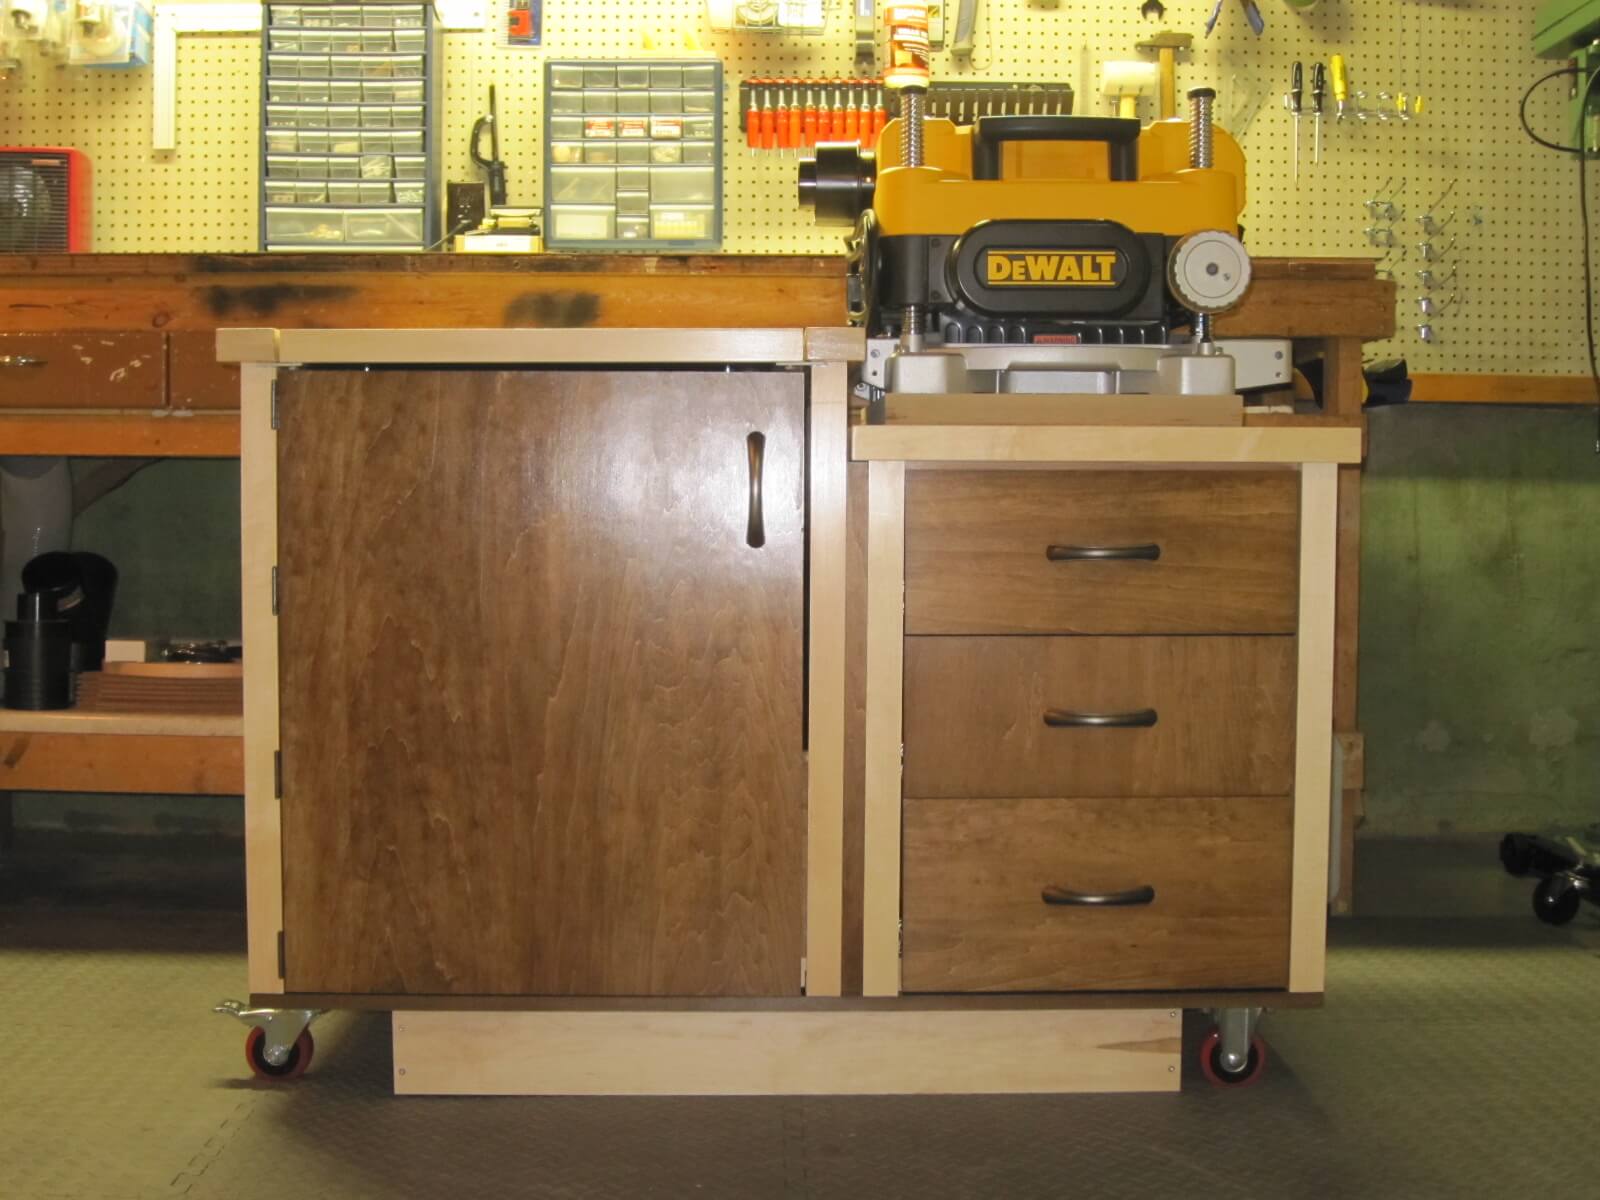
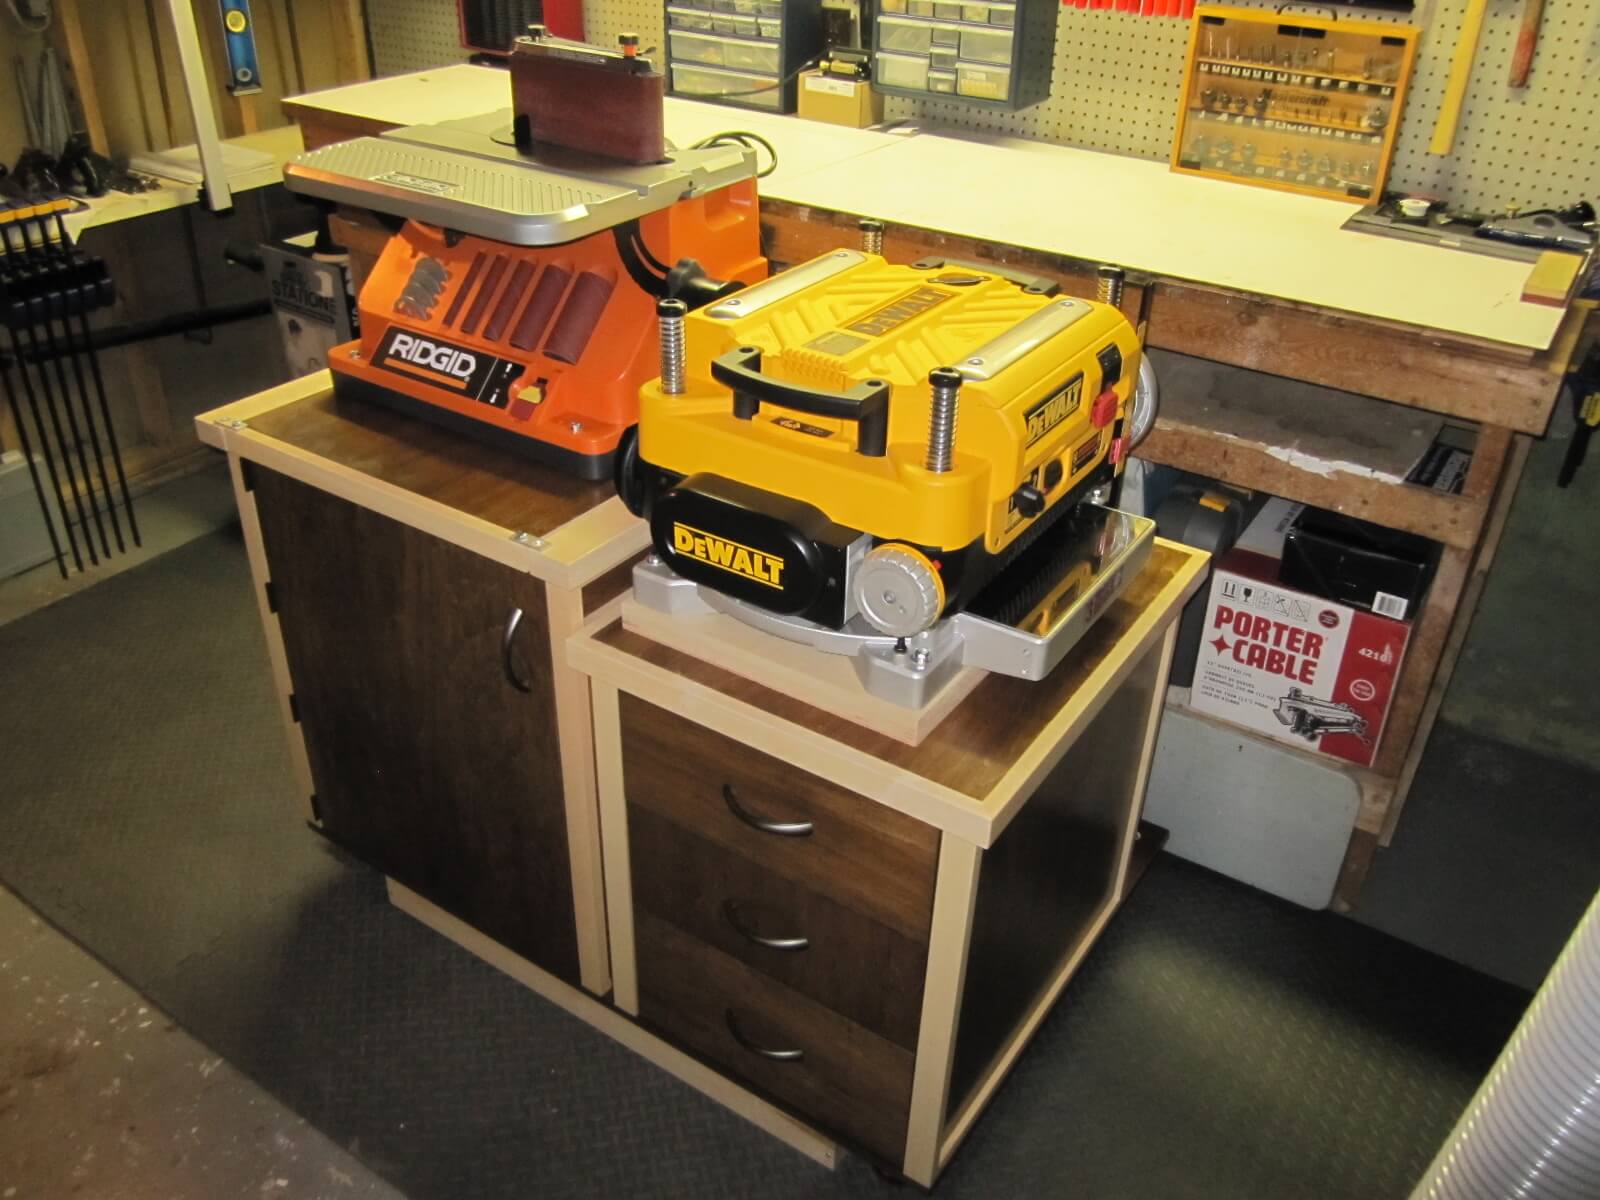
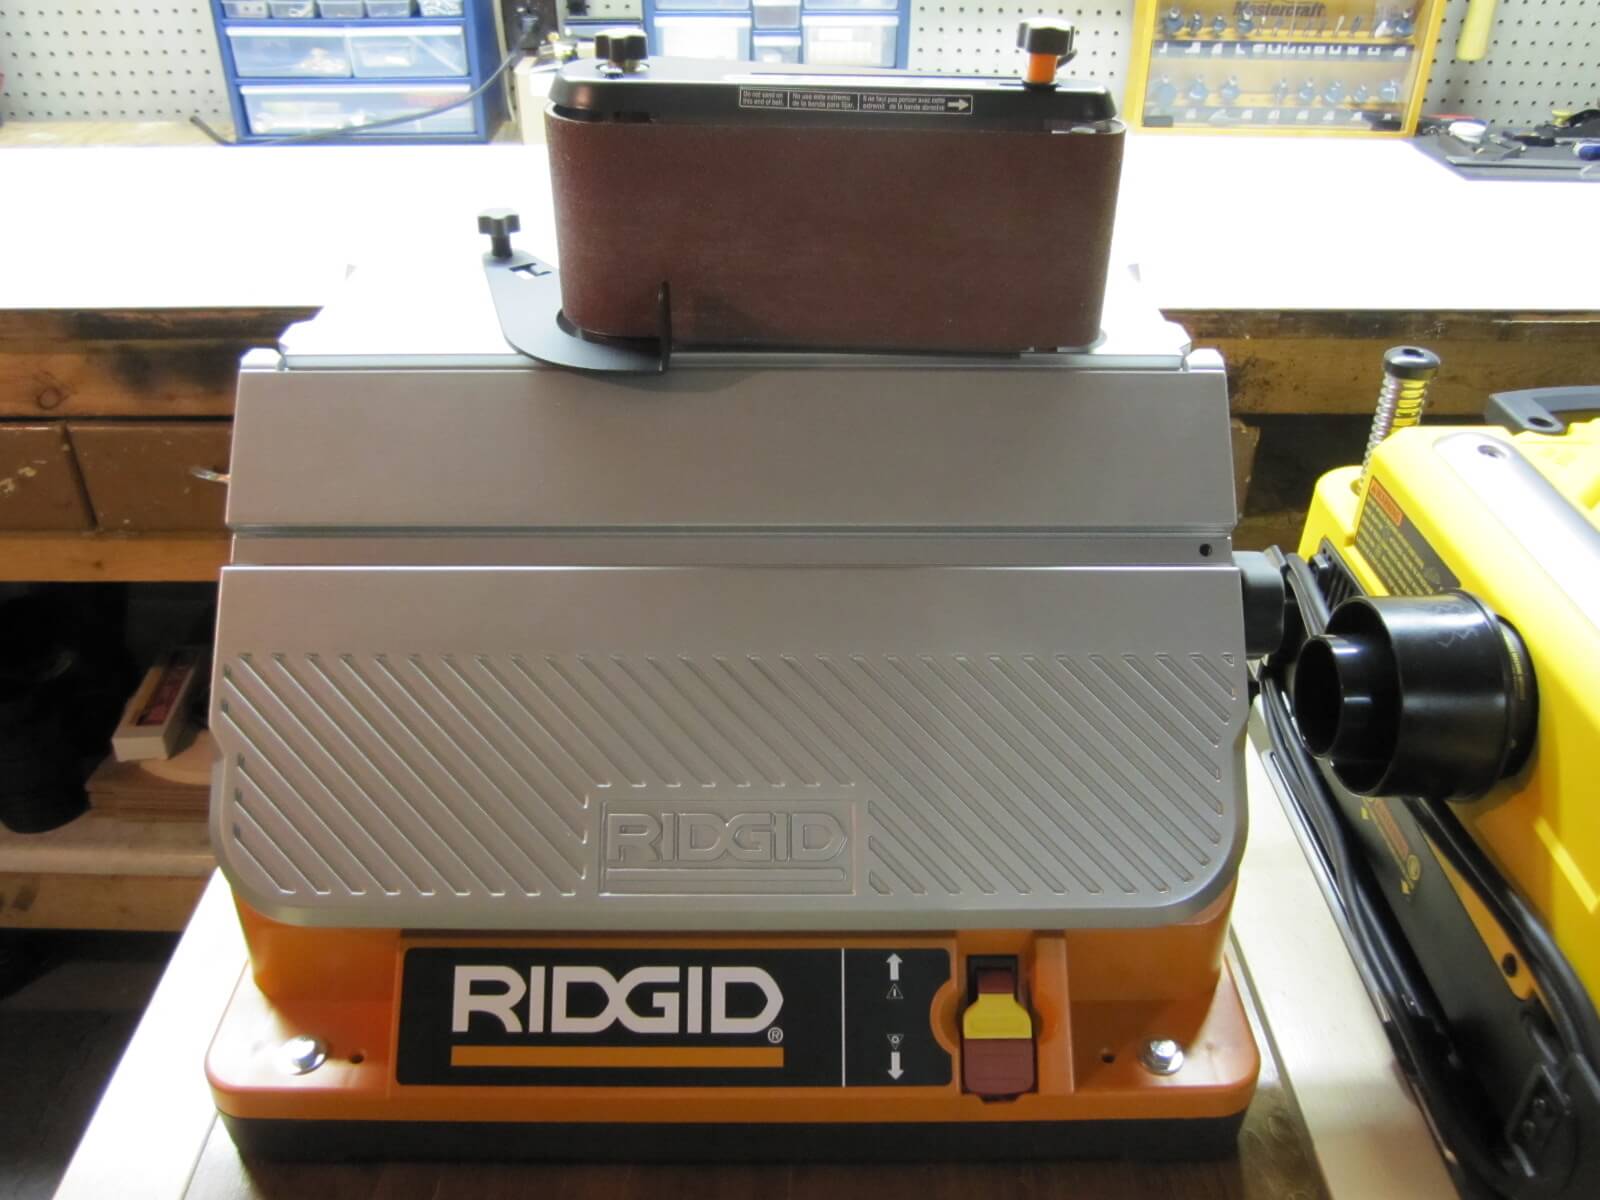
I have a Ridgid EB4424 belt sander and a 13″ DeWalt DW735 planer, two beautiful tools that are heavy and bulky, they are not easy to handle with every use, they should be stationary and ideally placed on their own. based.
The space in my workshop is limited, I need a mobile furniture that can receive both tools and allow me to use them optimally.
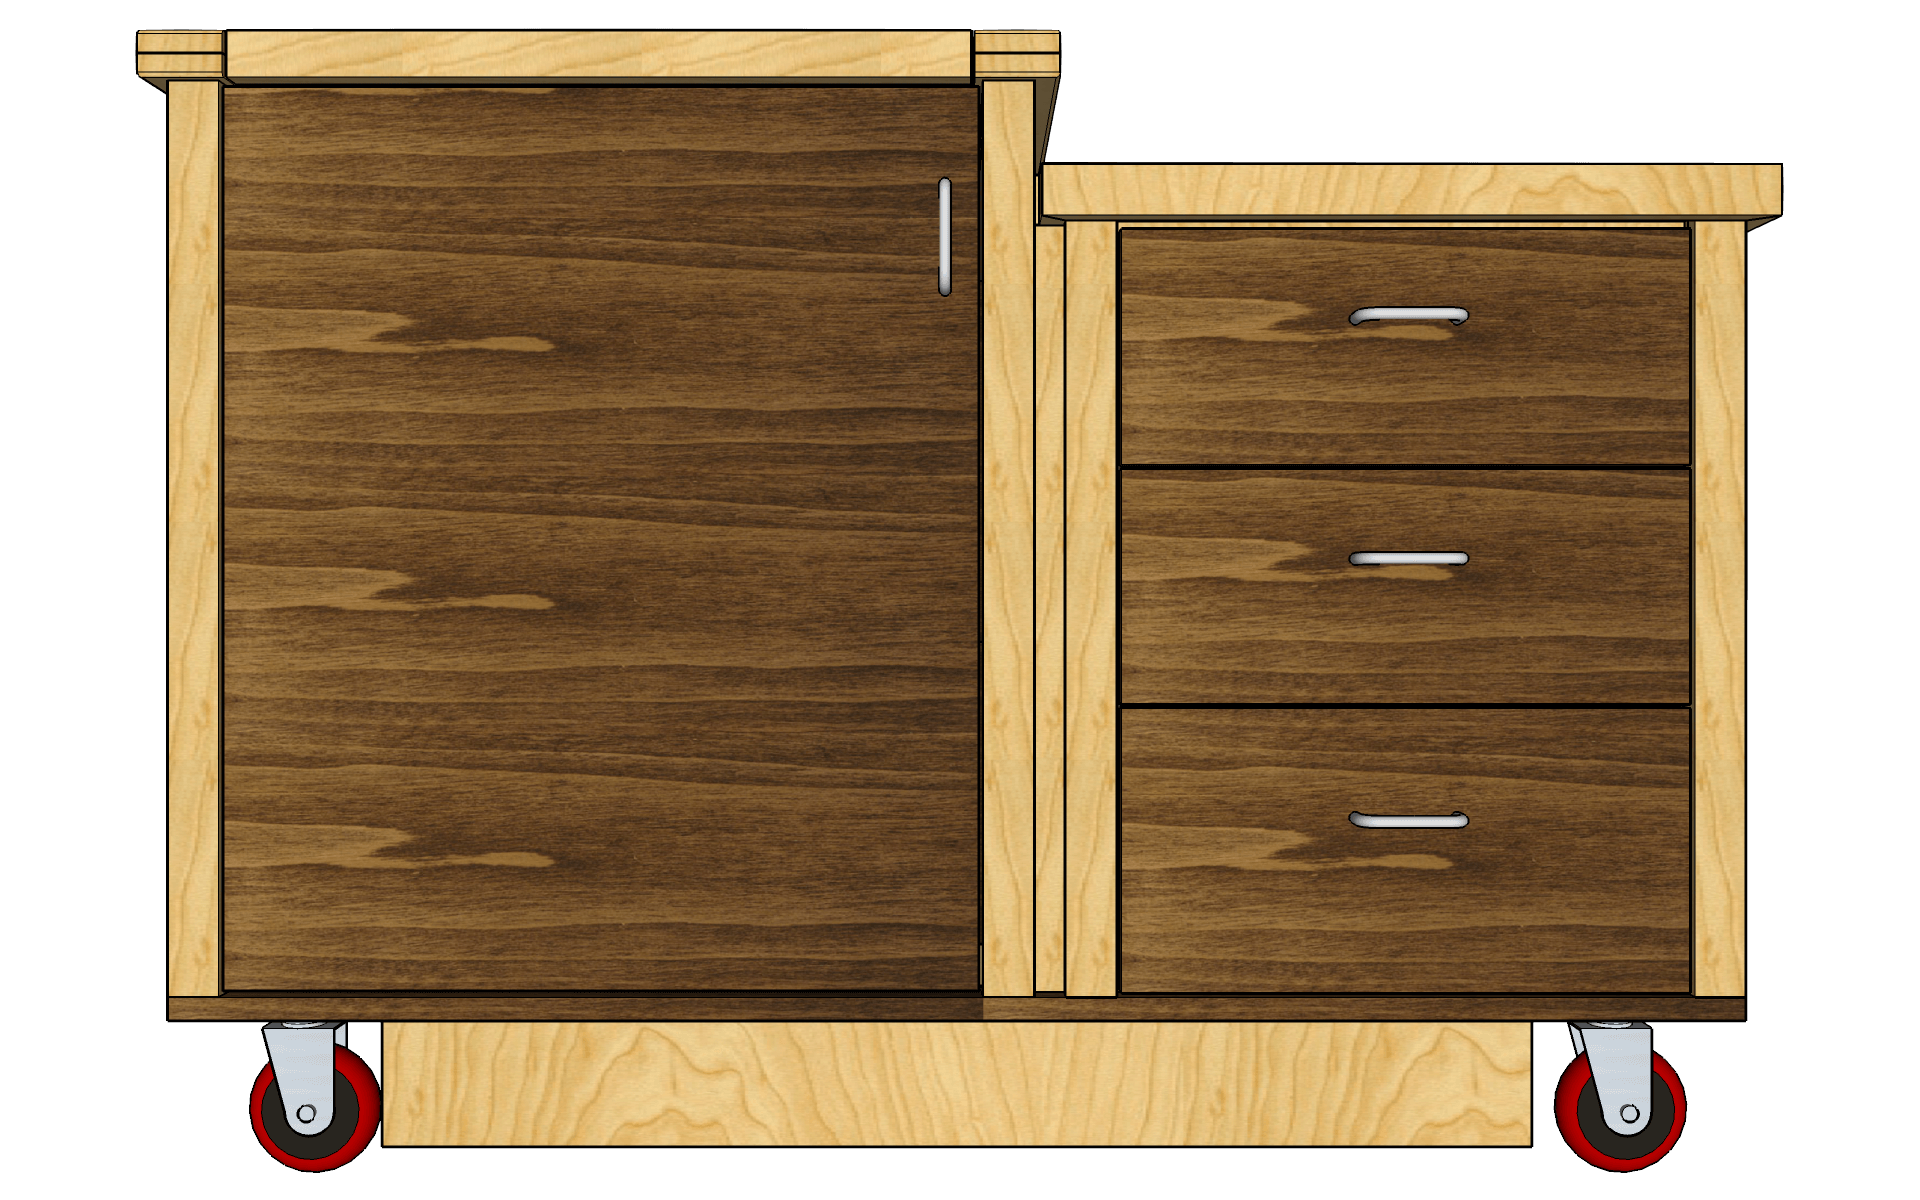
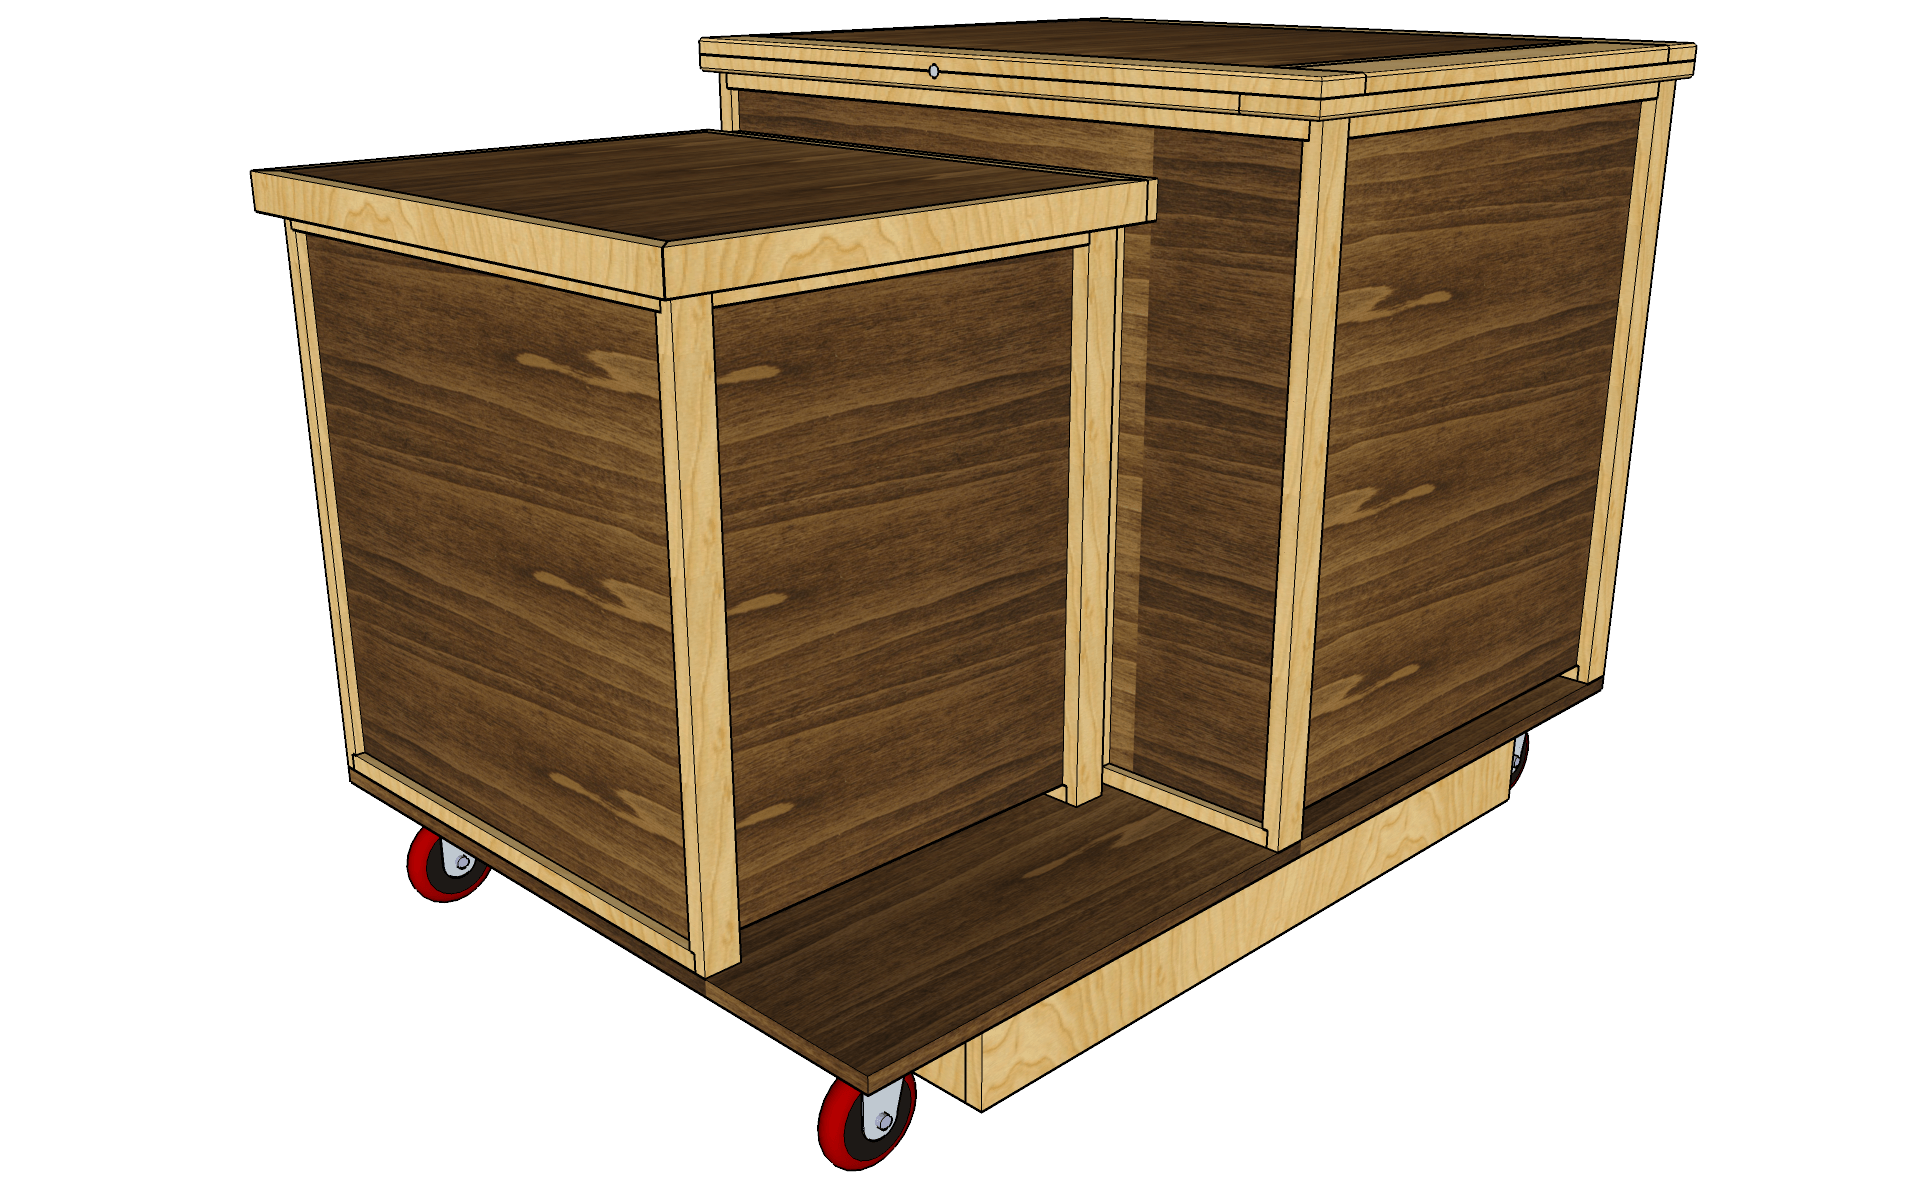
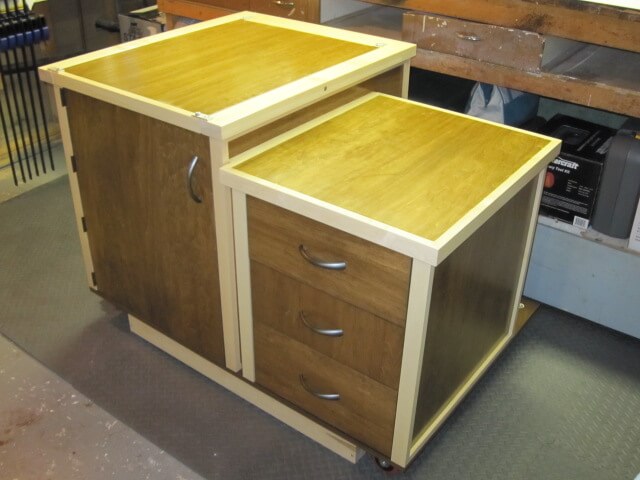
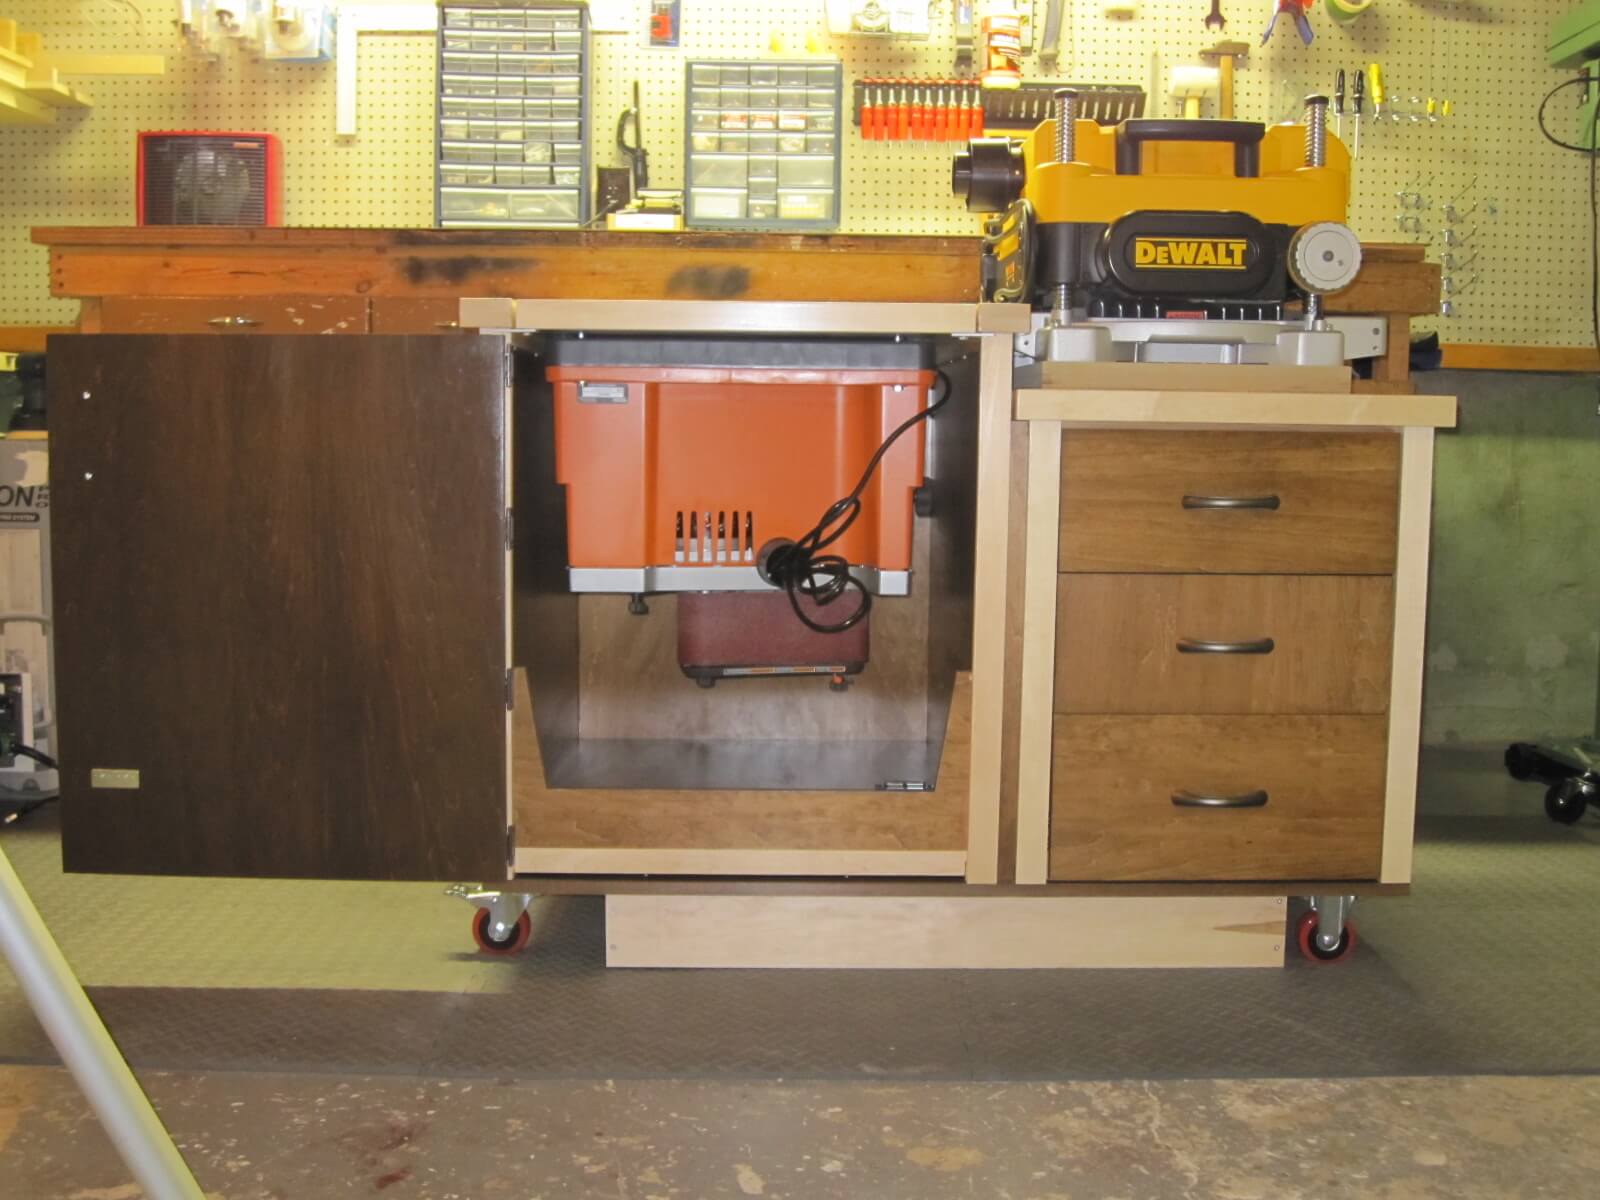
In itself, the design is quite simple. It involves equipping a mobile platform with two cabinets (one large and one small) that will accommodate the said machines. The top of the large box can rotate and I will set the sander on it. When it will not be used, it will fully enter the box, leaving the surface free.
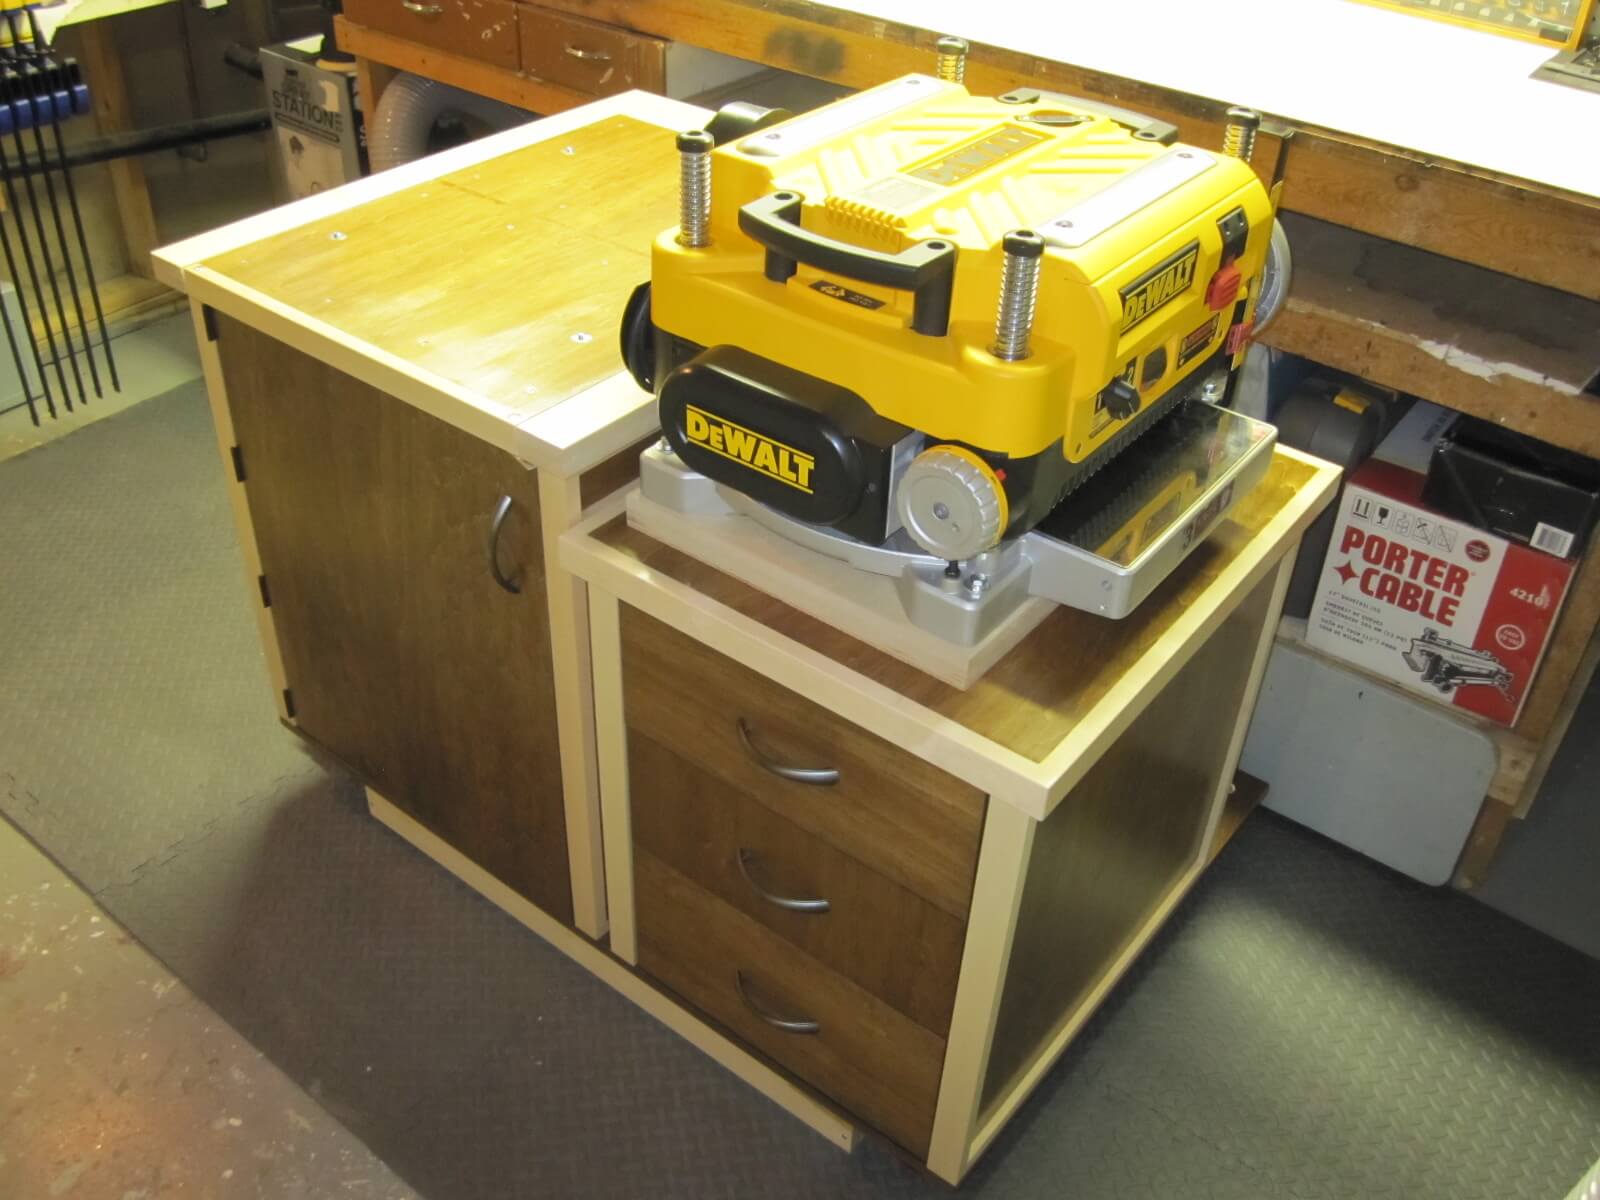
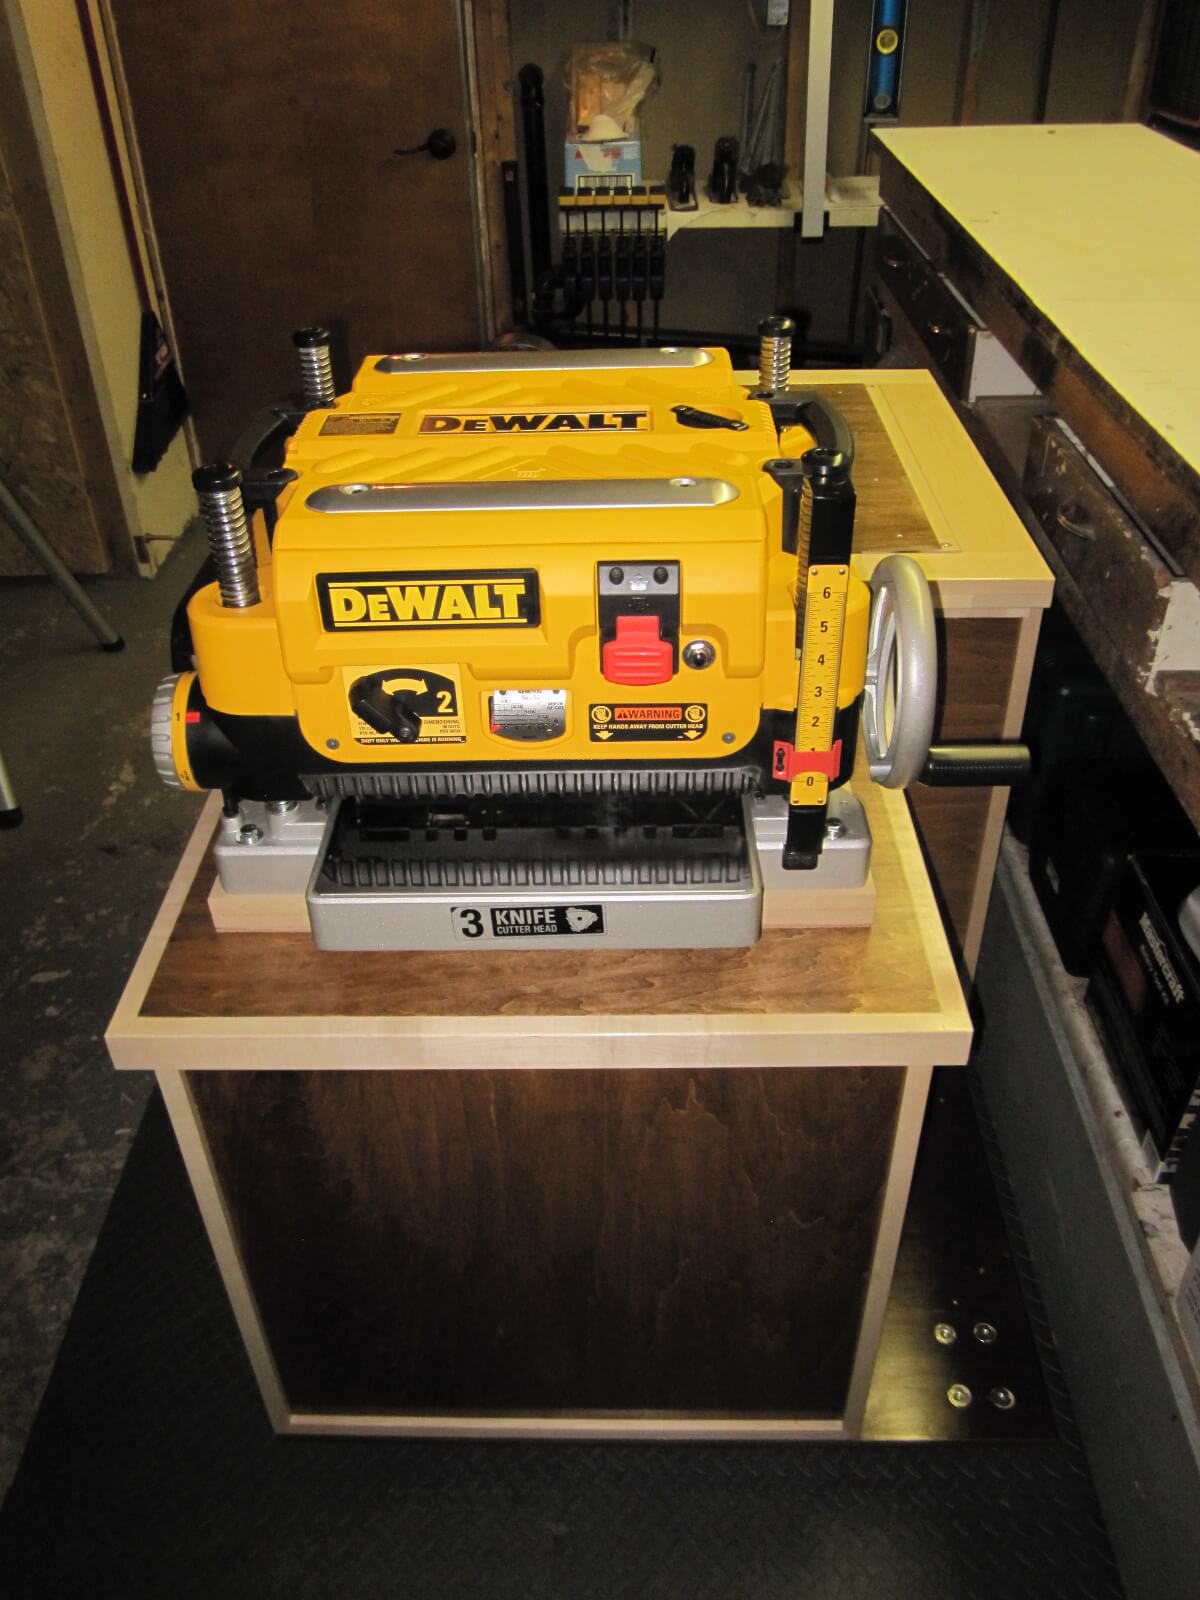
The small cabinet, meanwhile, will host the planer and docking station. I dimensioned its height so that, once the dresser installed, its output table is flush with the surface of the top of the large cabinet.
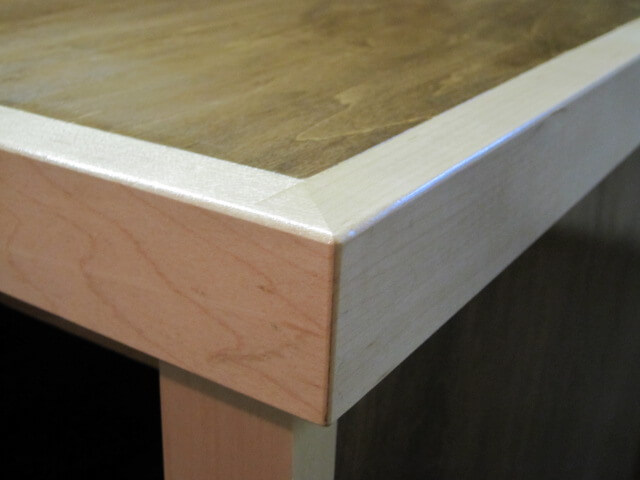
These will have to be solid, which is why they will be built with maple frames. In addition to increasing the robustness, they will bring a decorative touch.
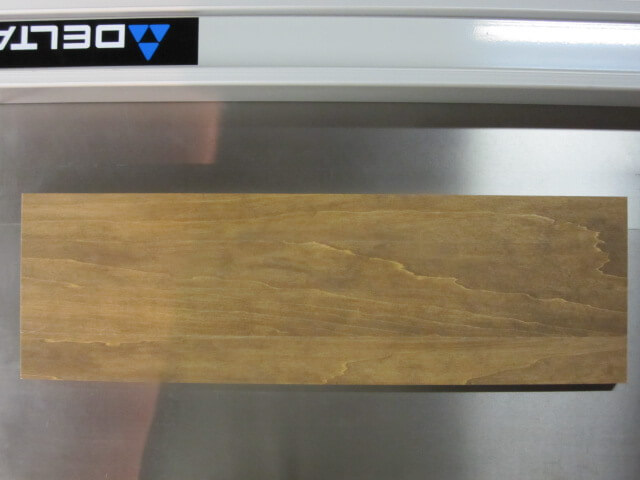
The main material of this piece of furniture will be poplar plywood (tinted American black walnut color) and the secondary material will be maple hardwood.
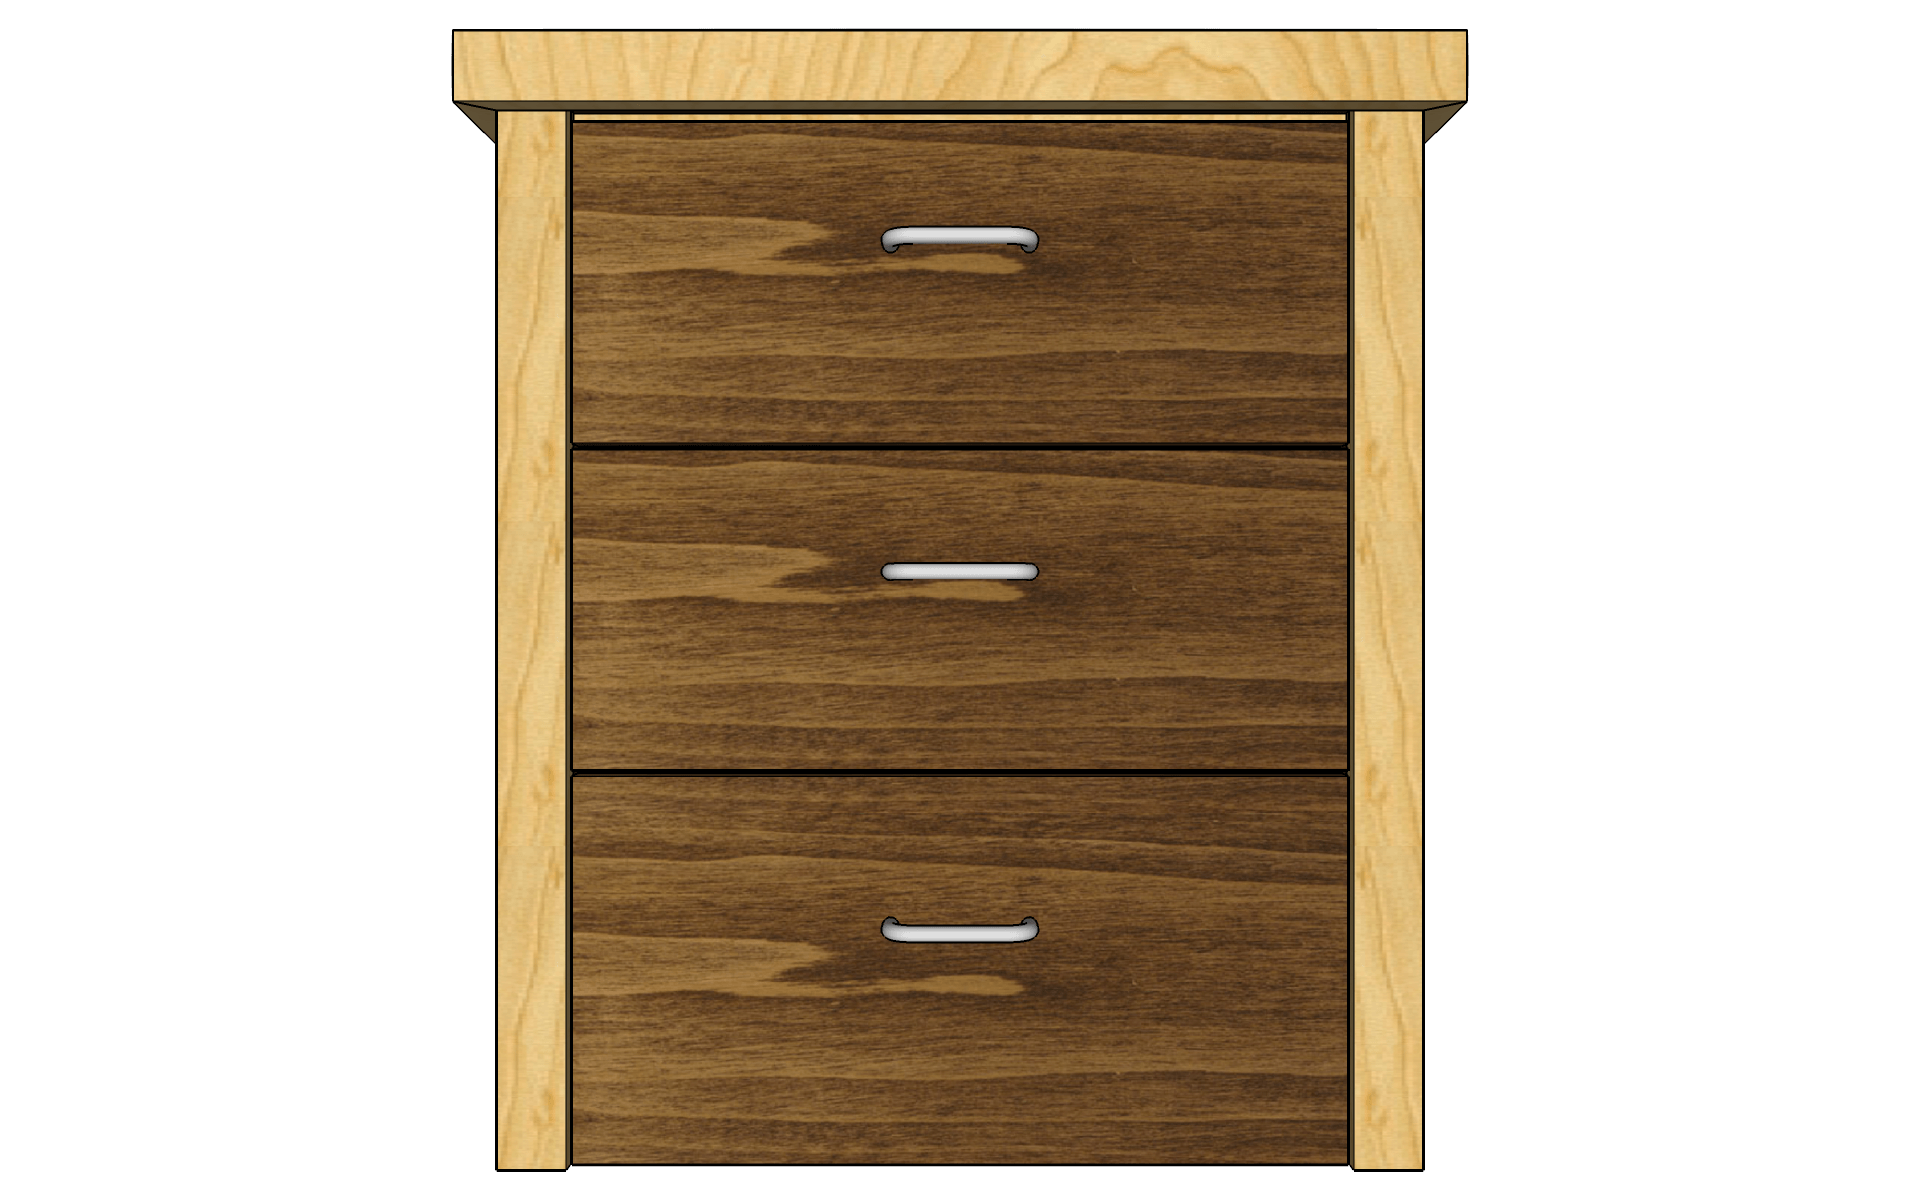
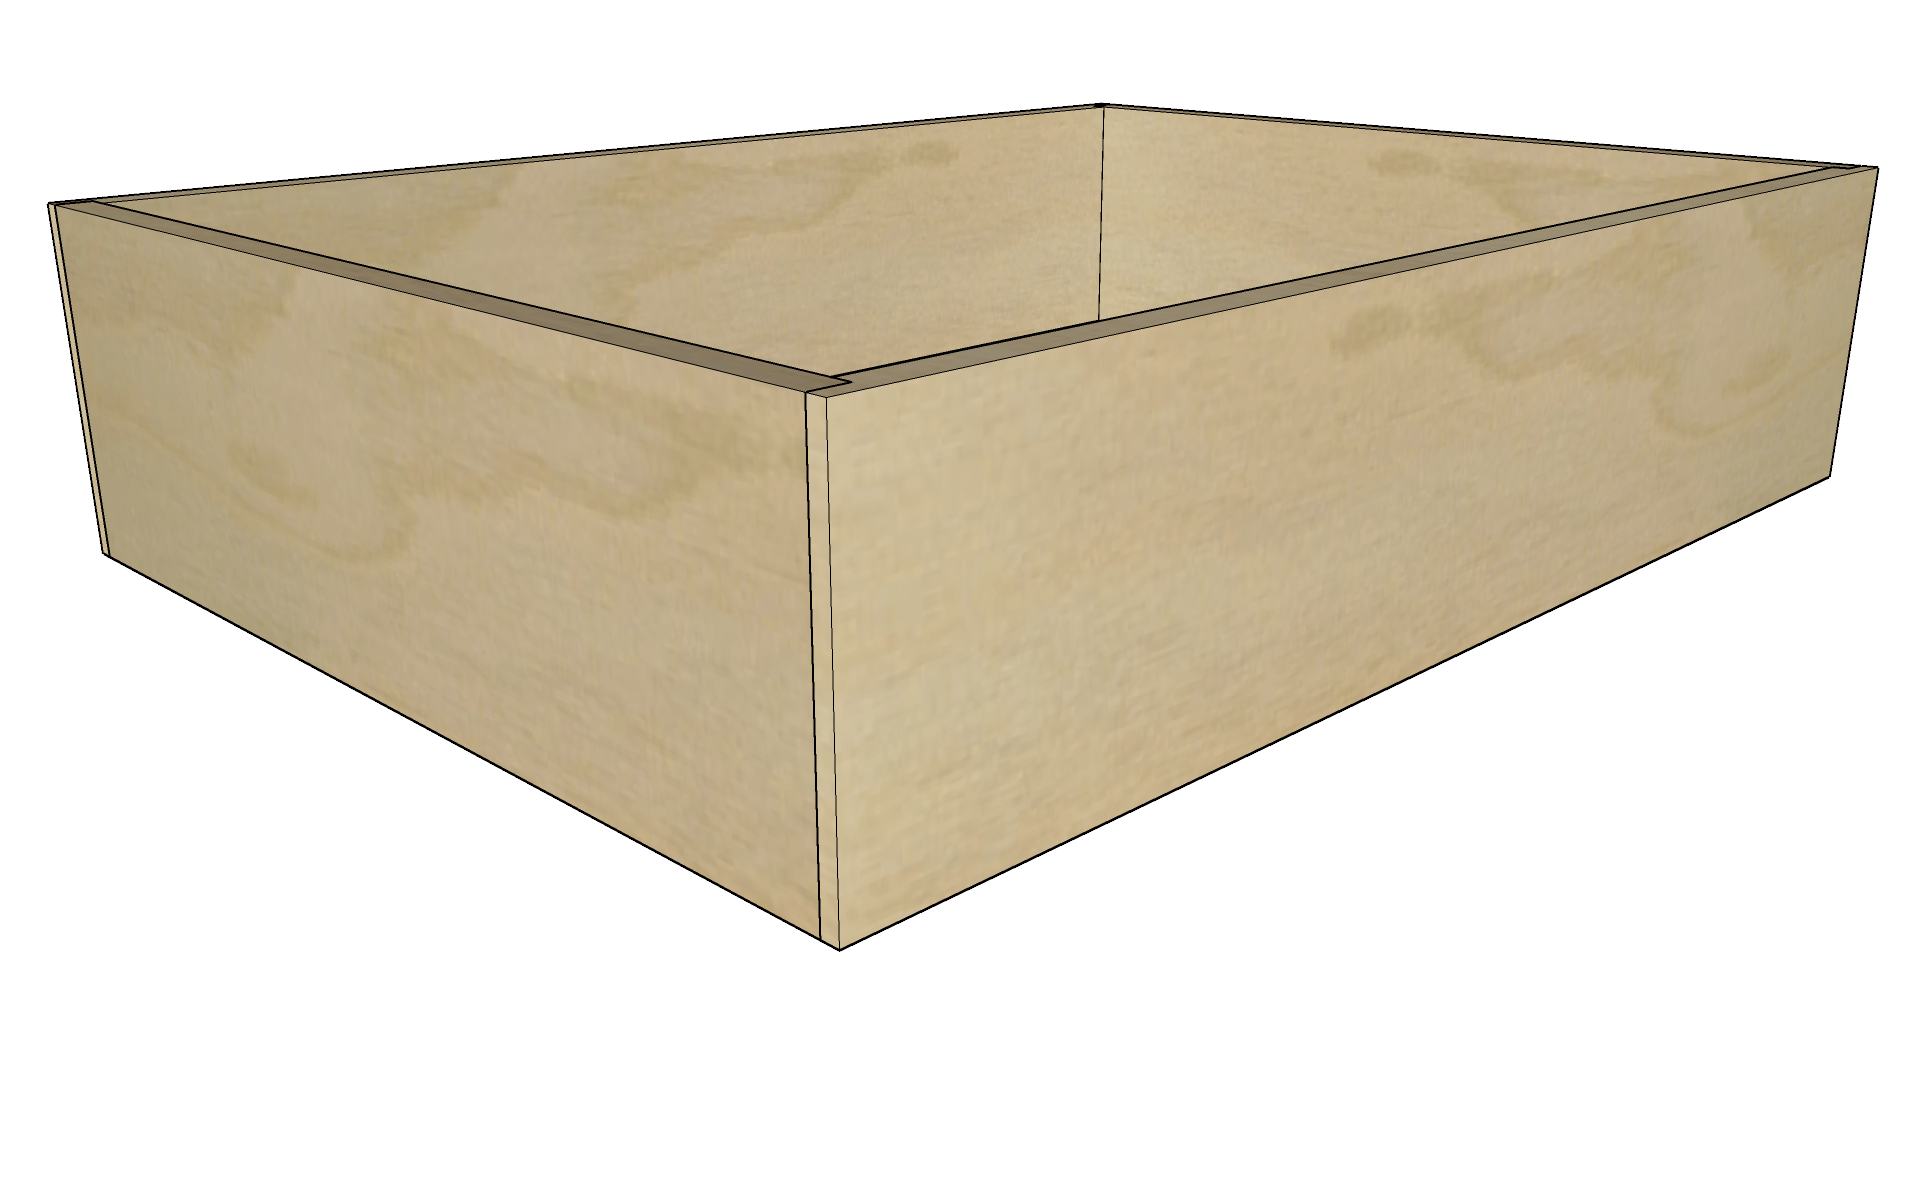
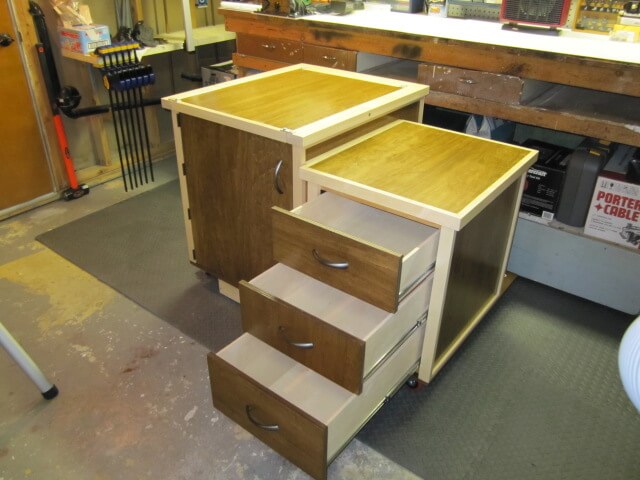
Here’s what it will look like:

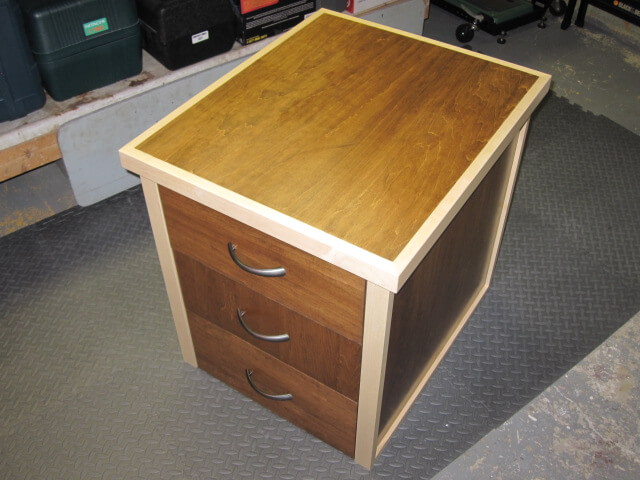
1. The Small cabinet
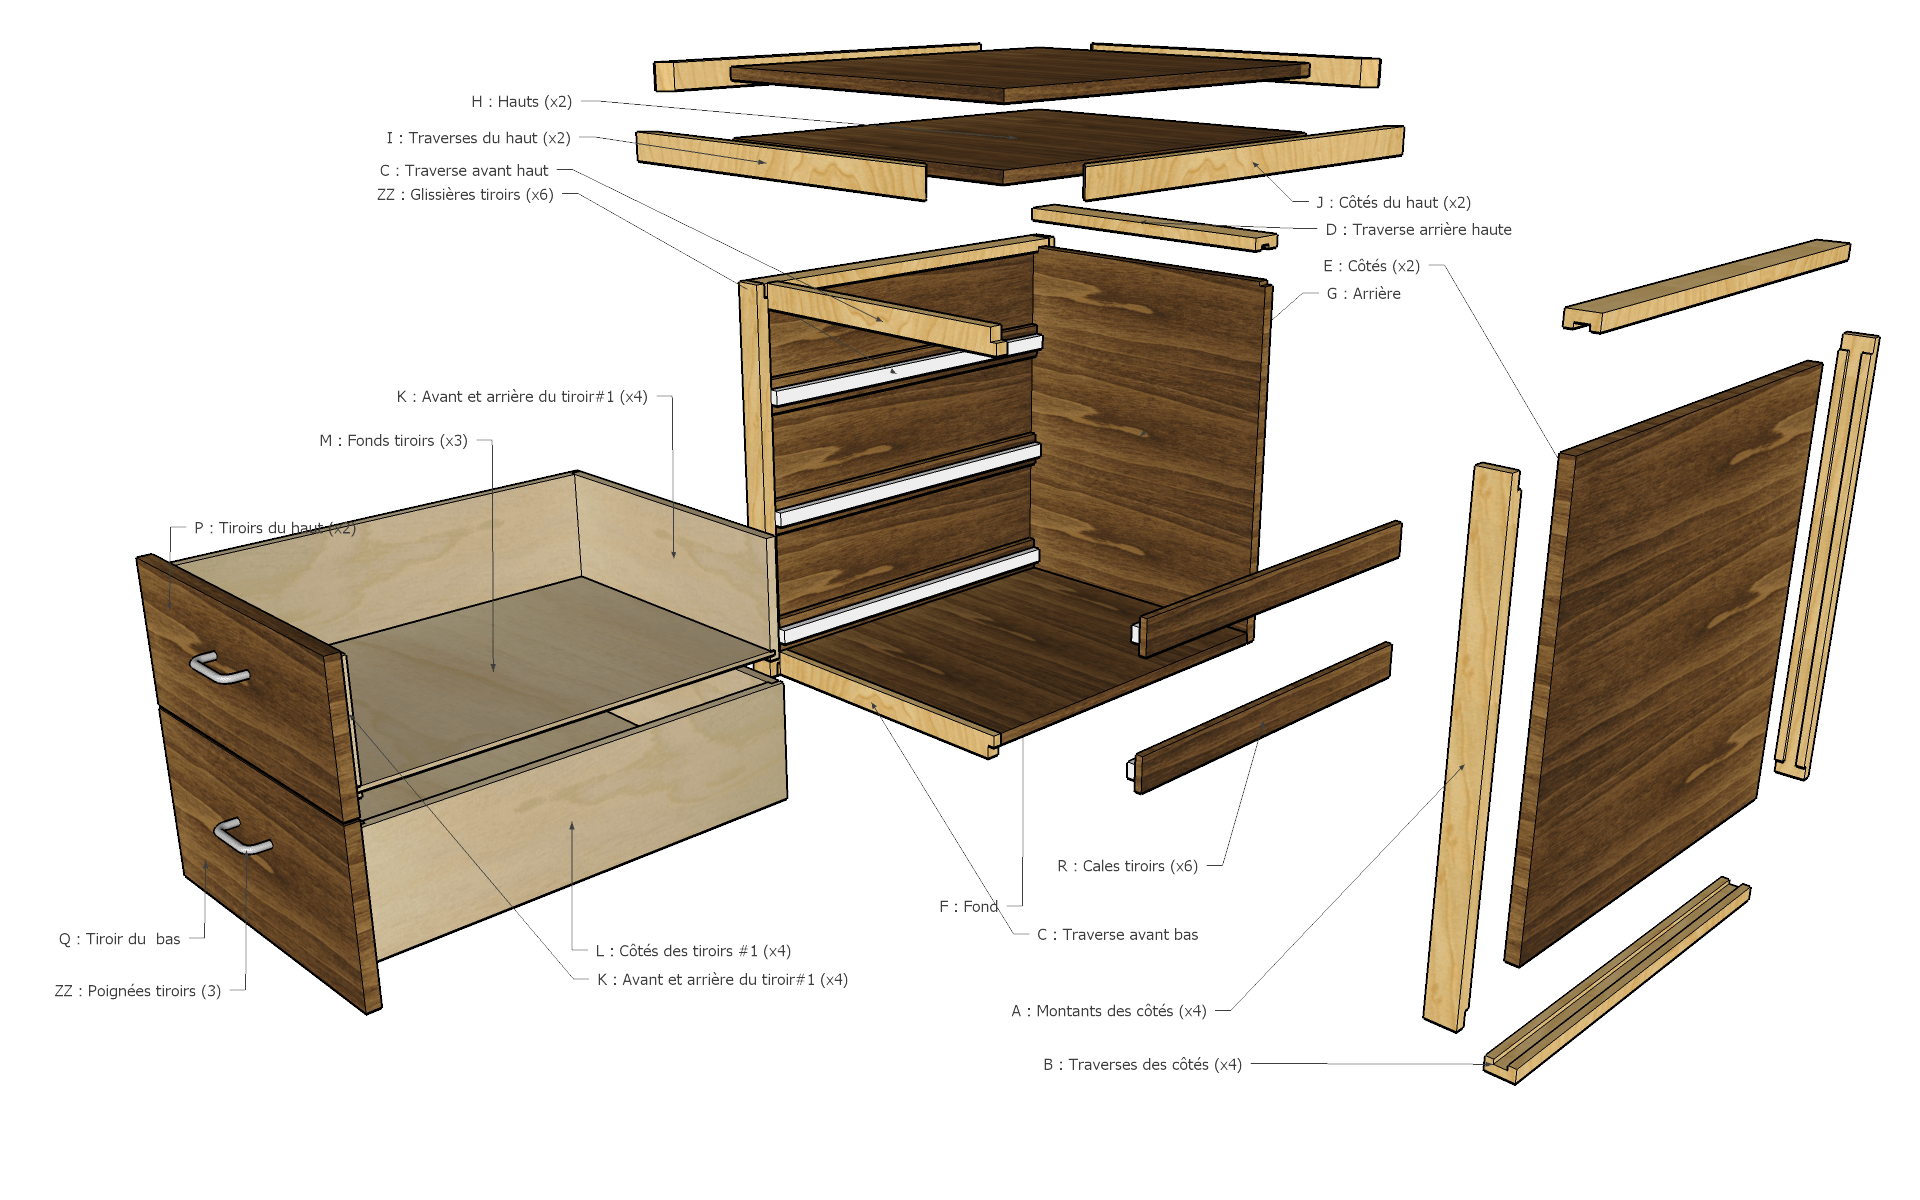
This is the one that will receive the planer of 92 pounds which is about 42 Kg. Not to mention the weight of the boards which will pass in this one. The top will have to be strong and stable. For this reason, I will double the thickness of the boards to get 1.5″ (about 5 cm).
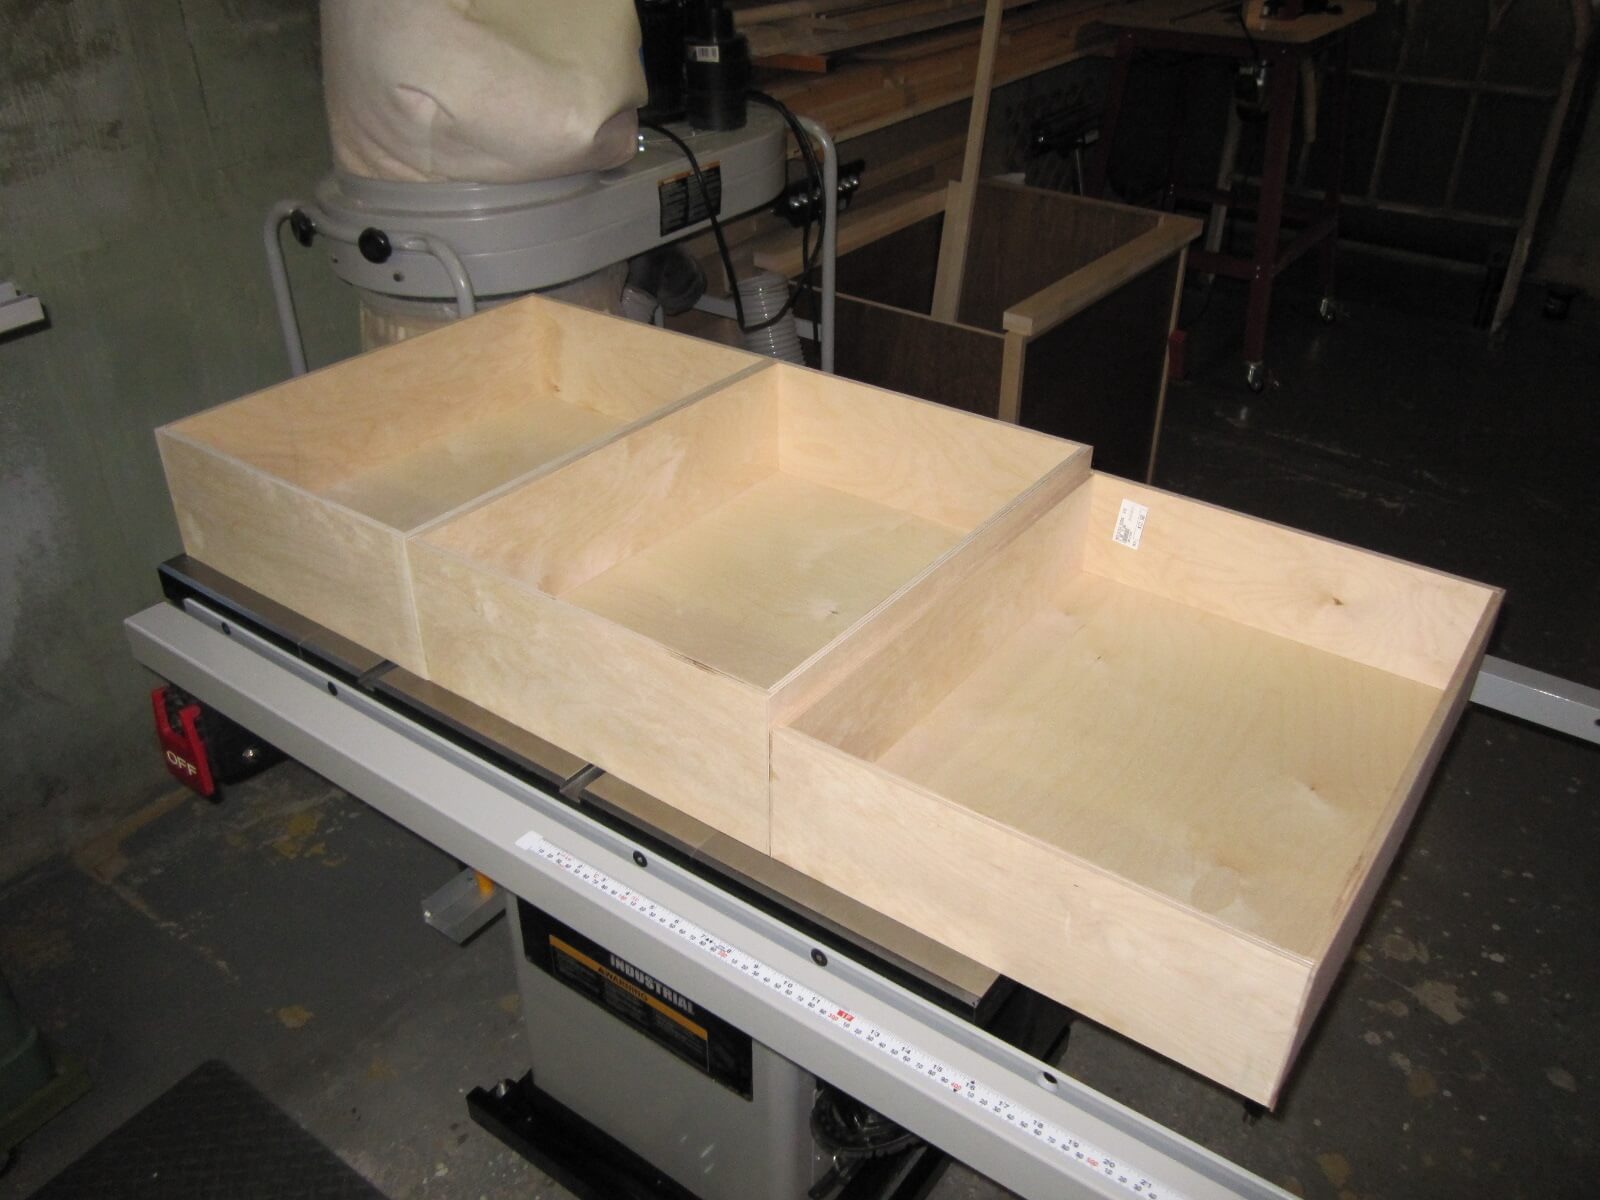
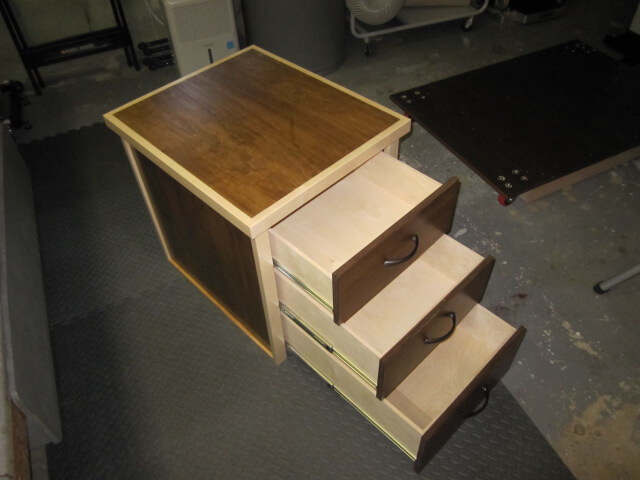
Moreover, this box will be equipped with 3 drawers, which will be very convenient for storing accessories or small tools.
1.1 Top and frames
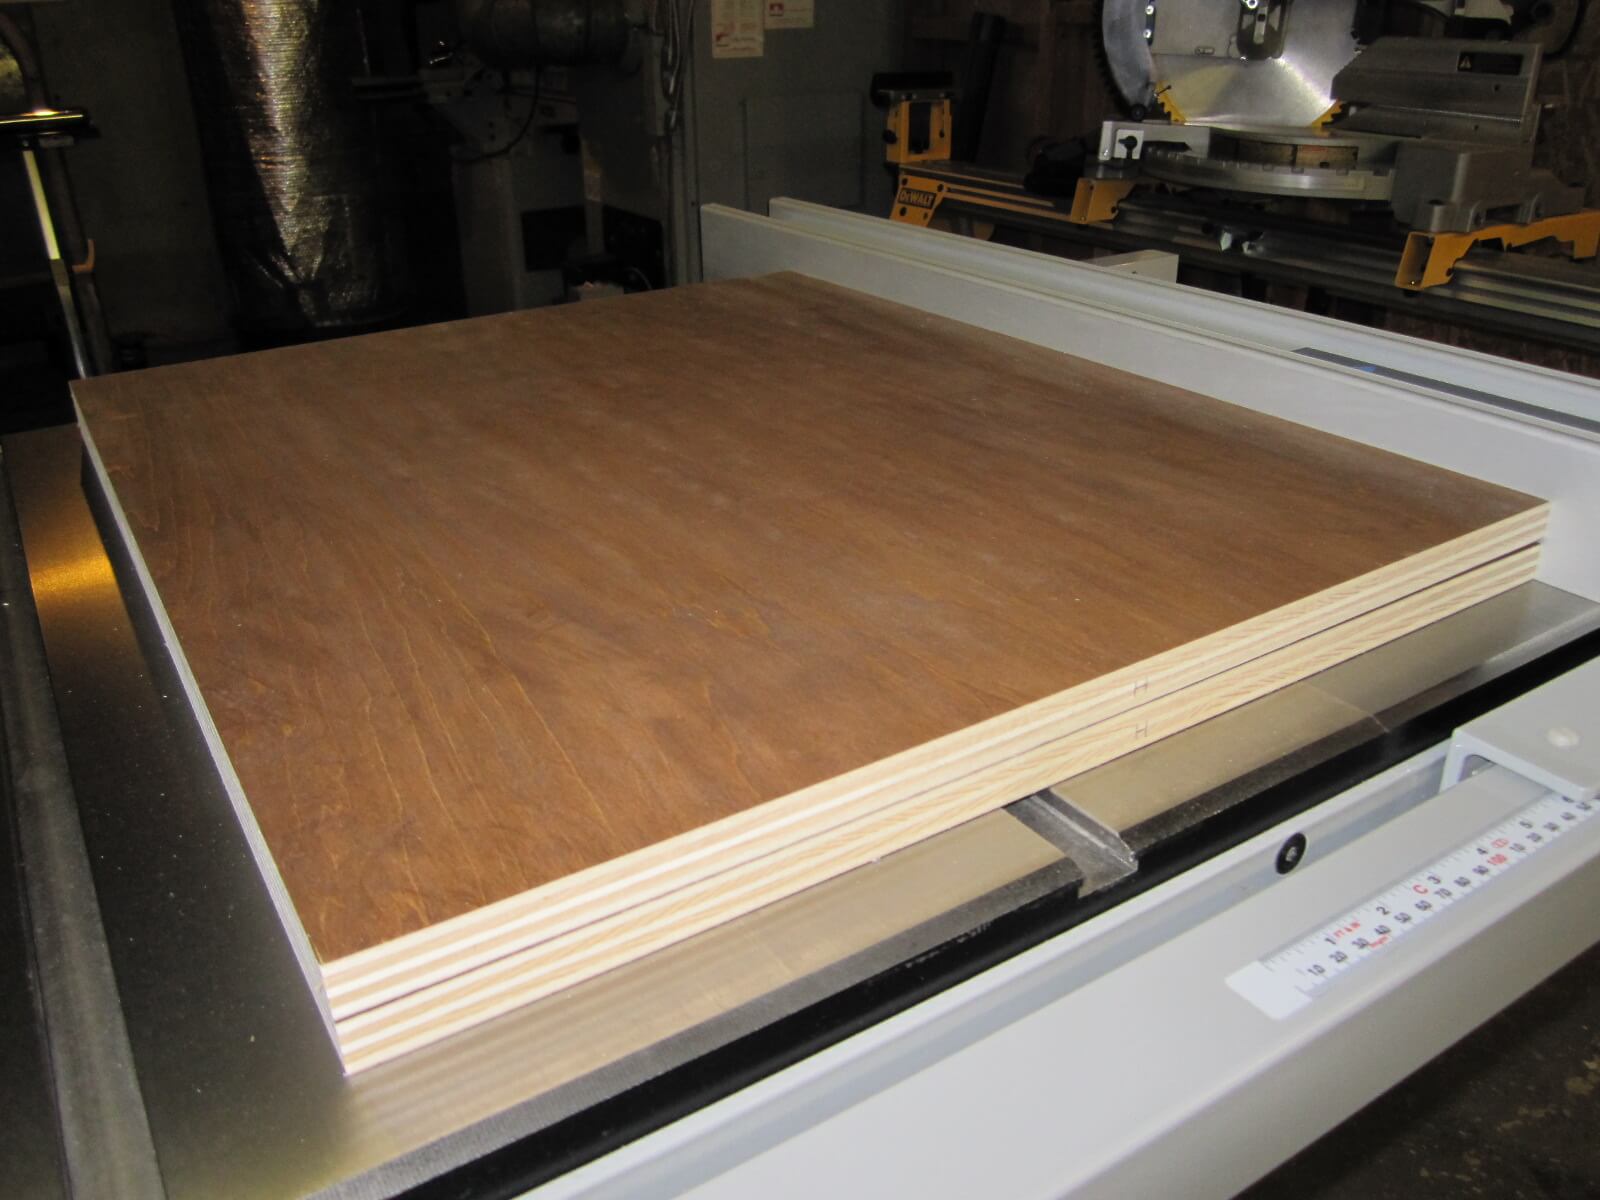
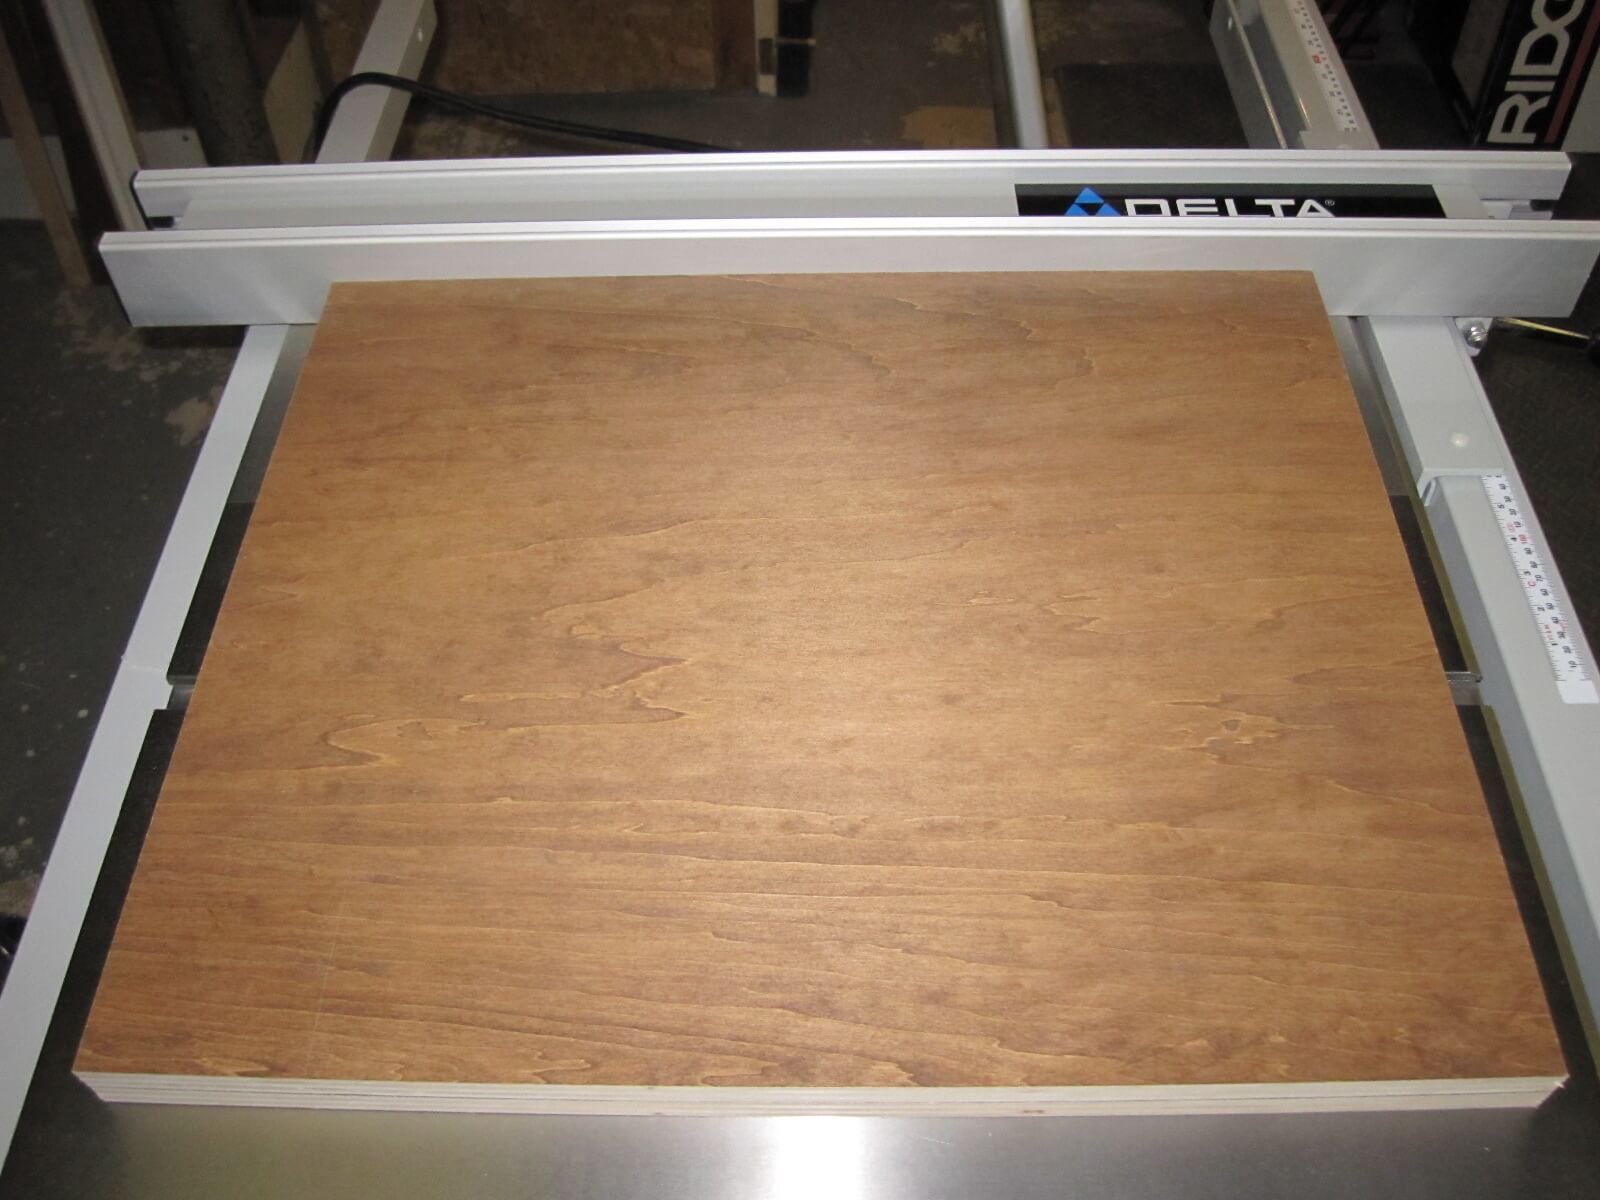
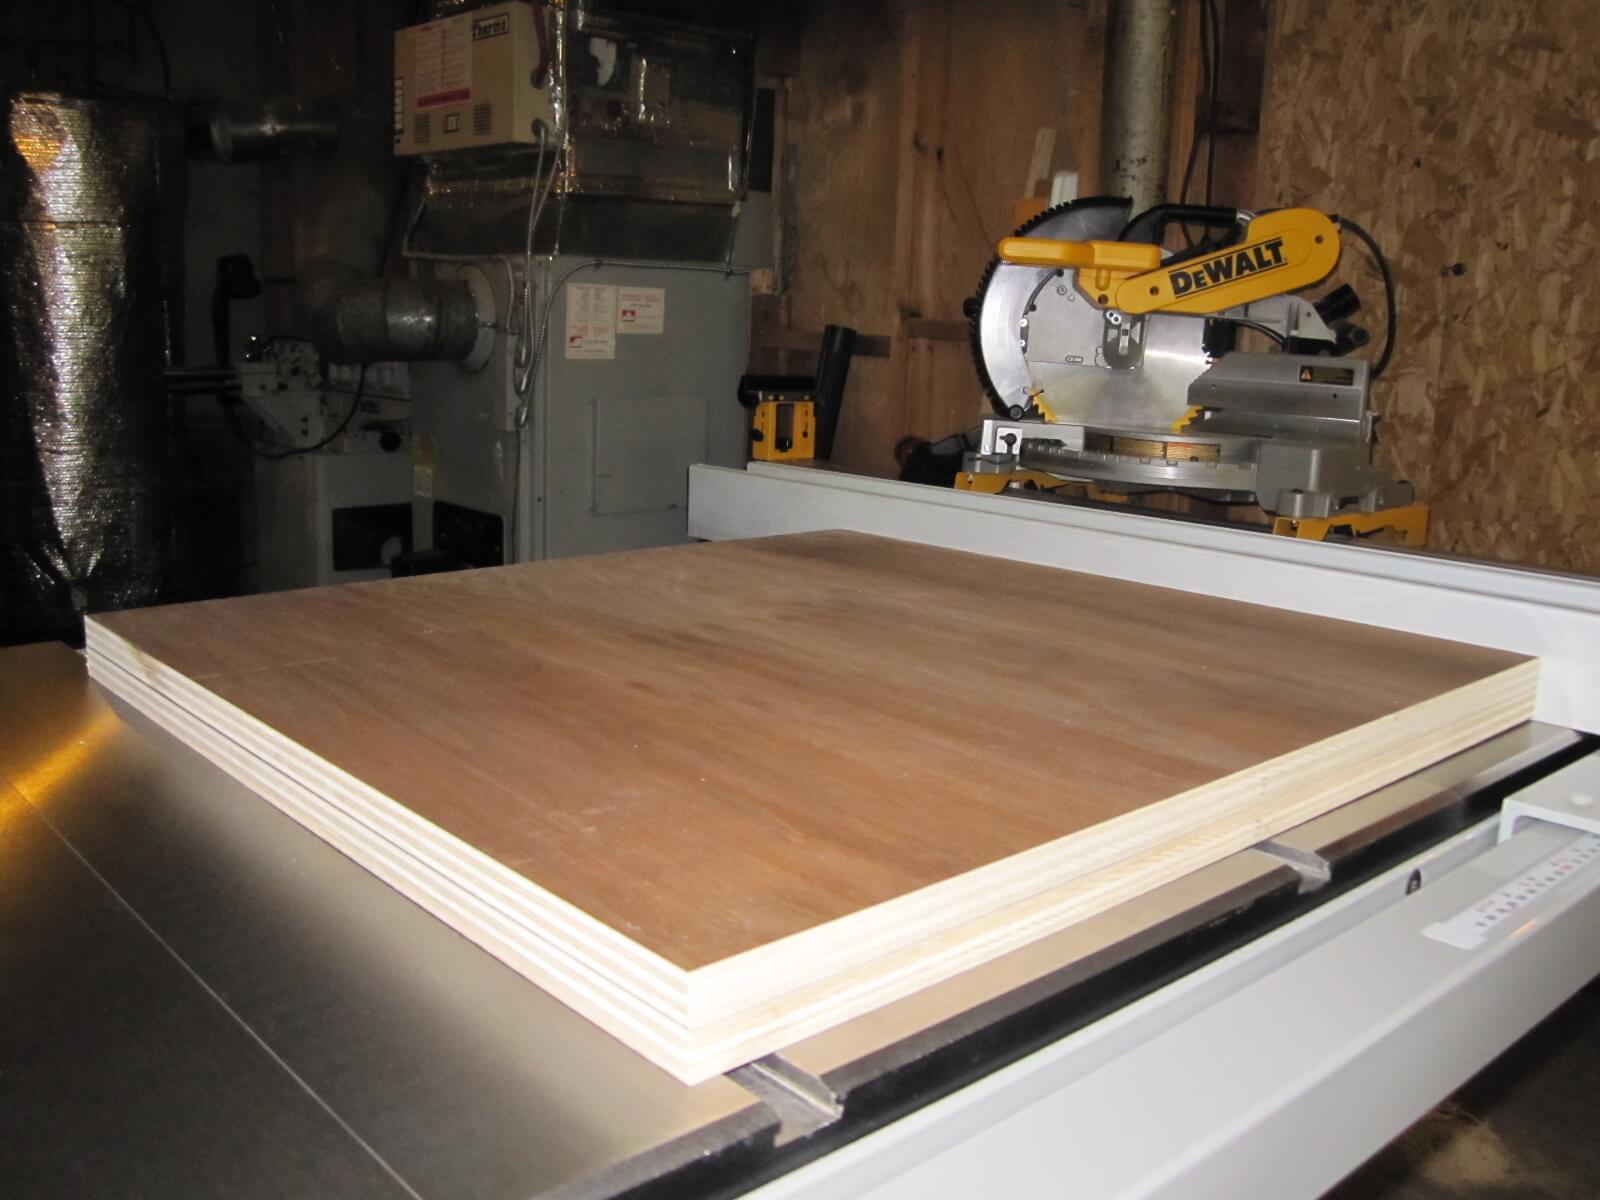
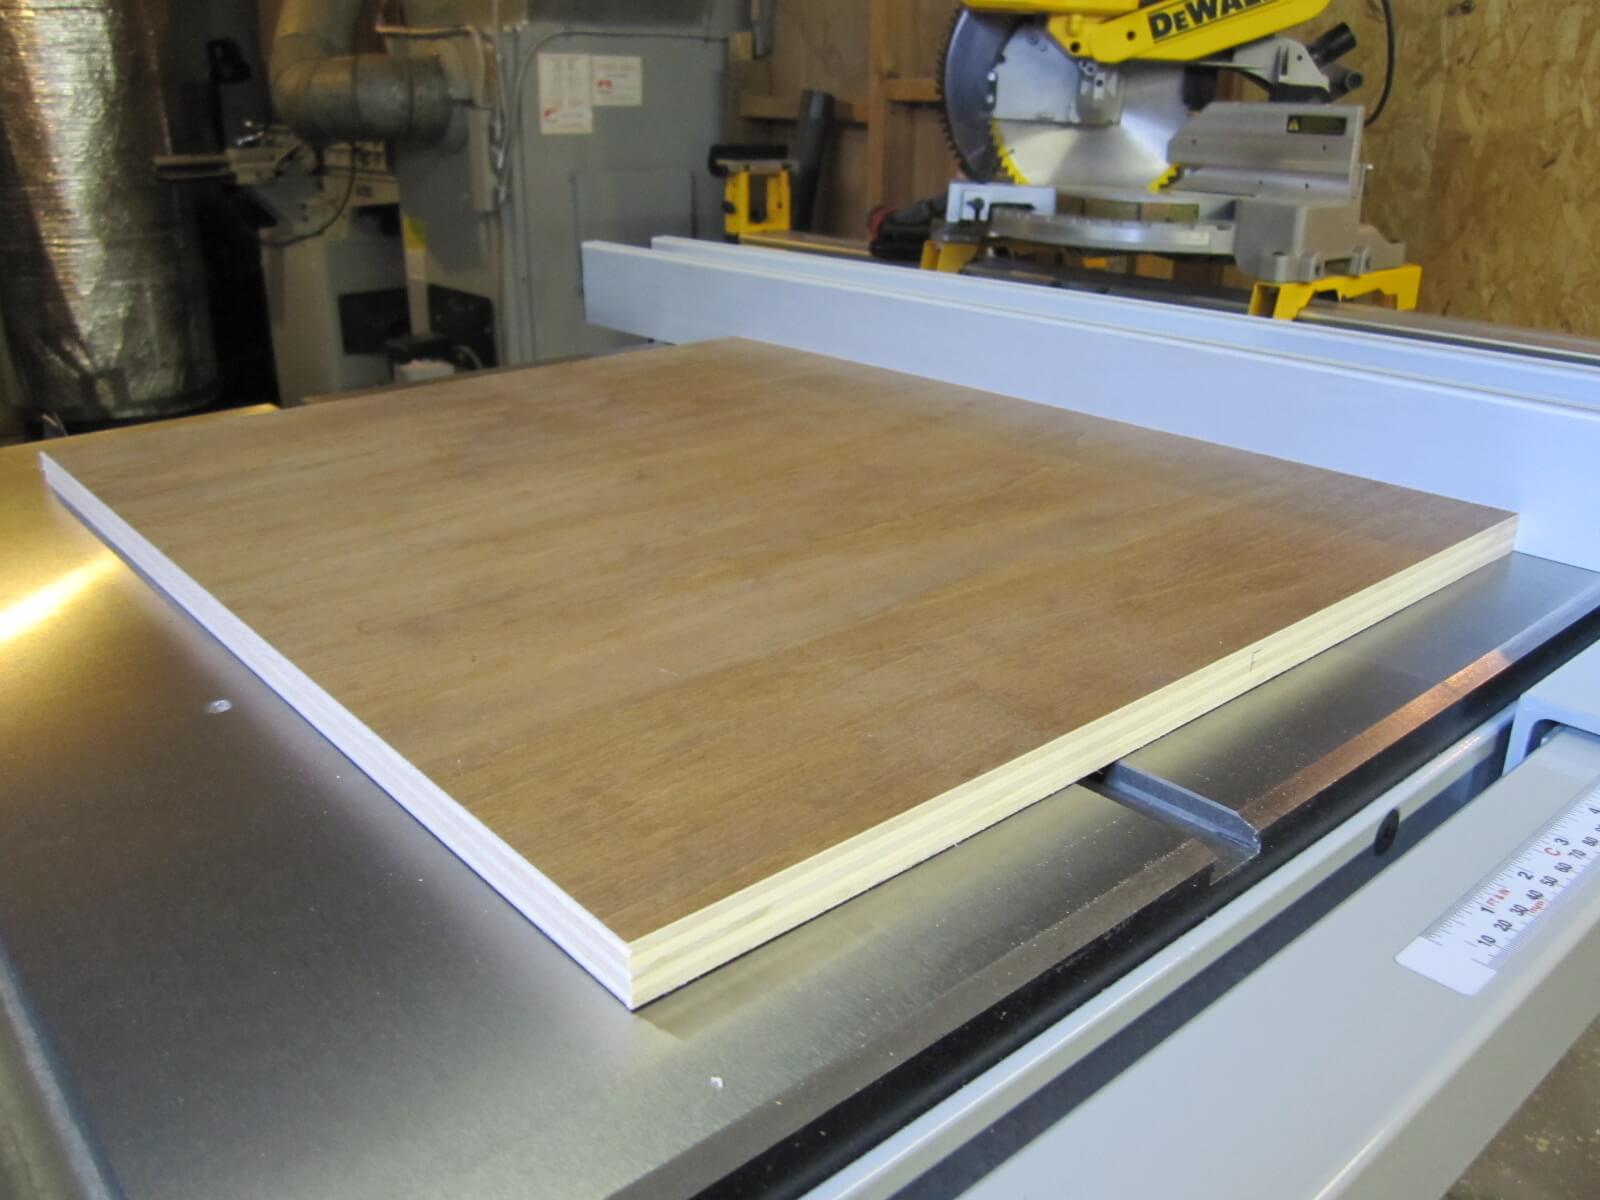
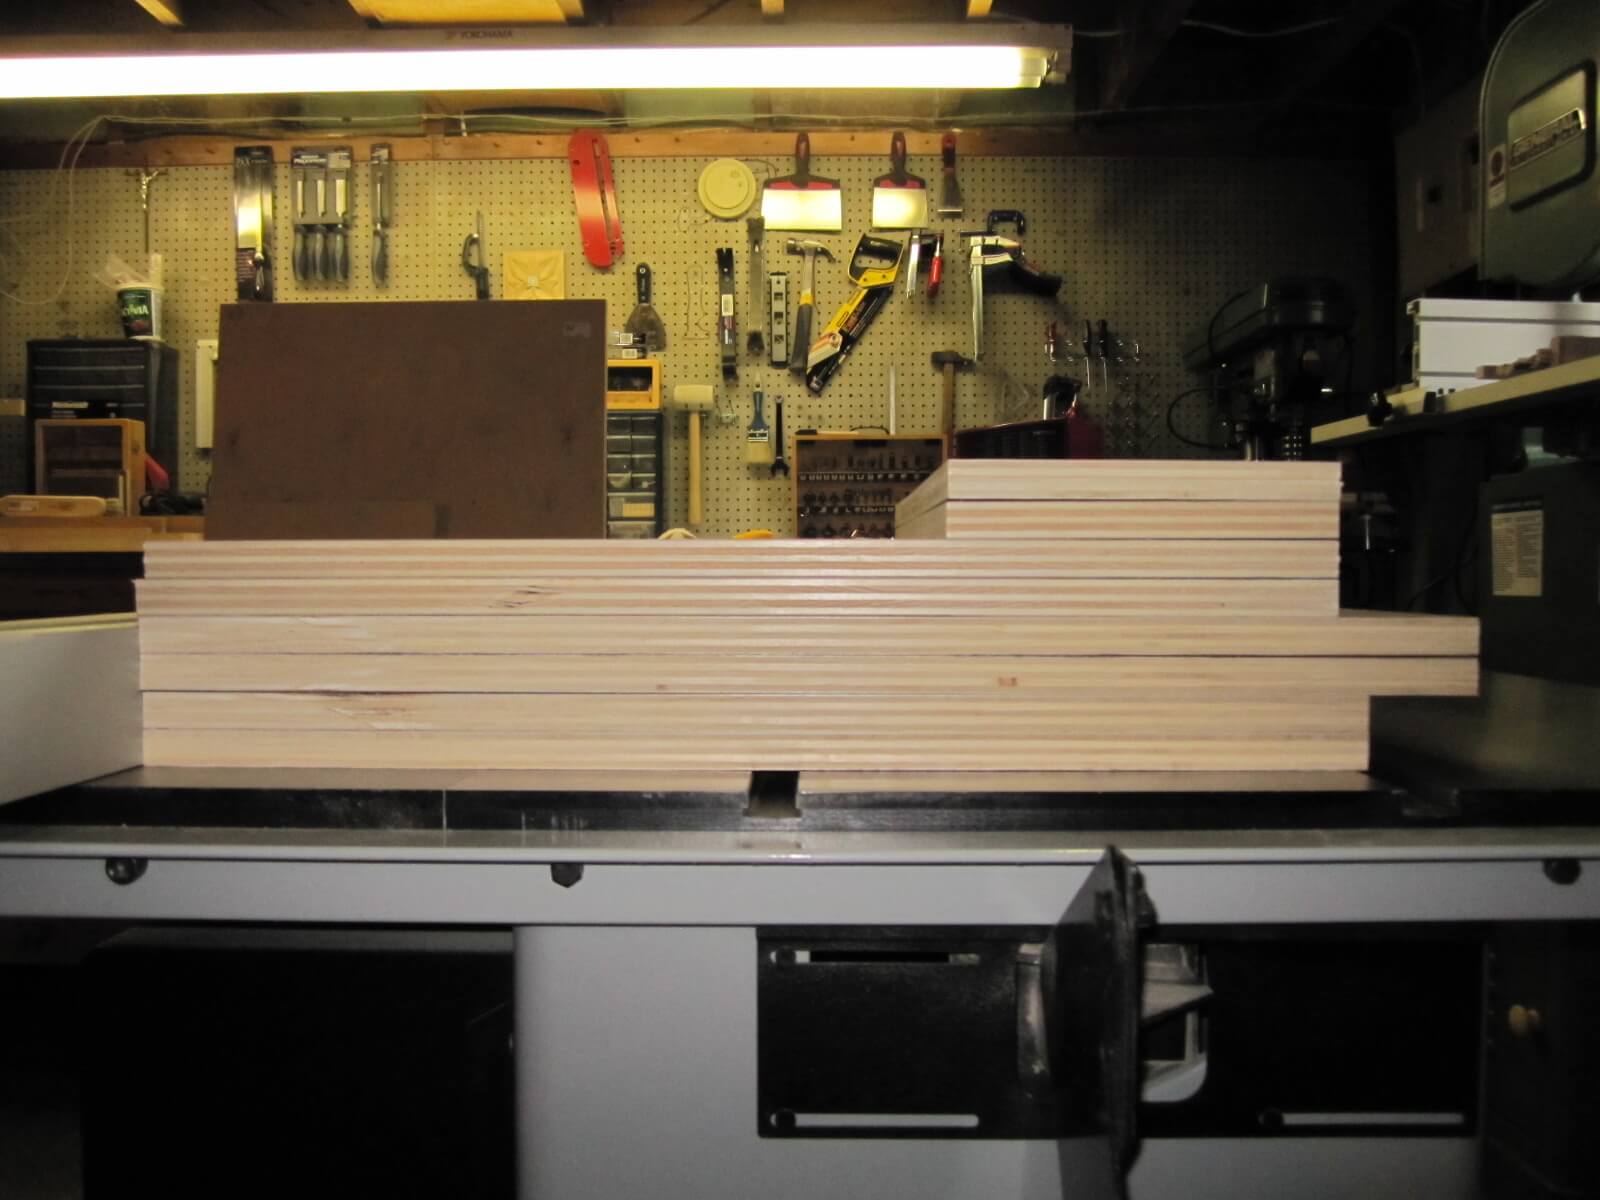
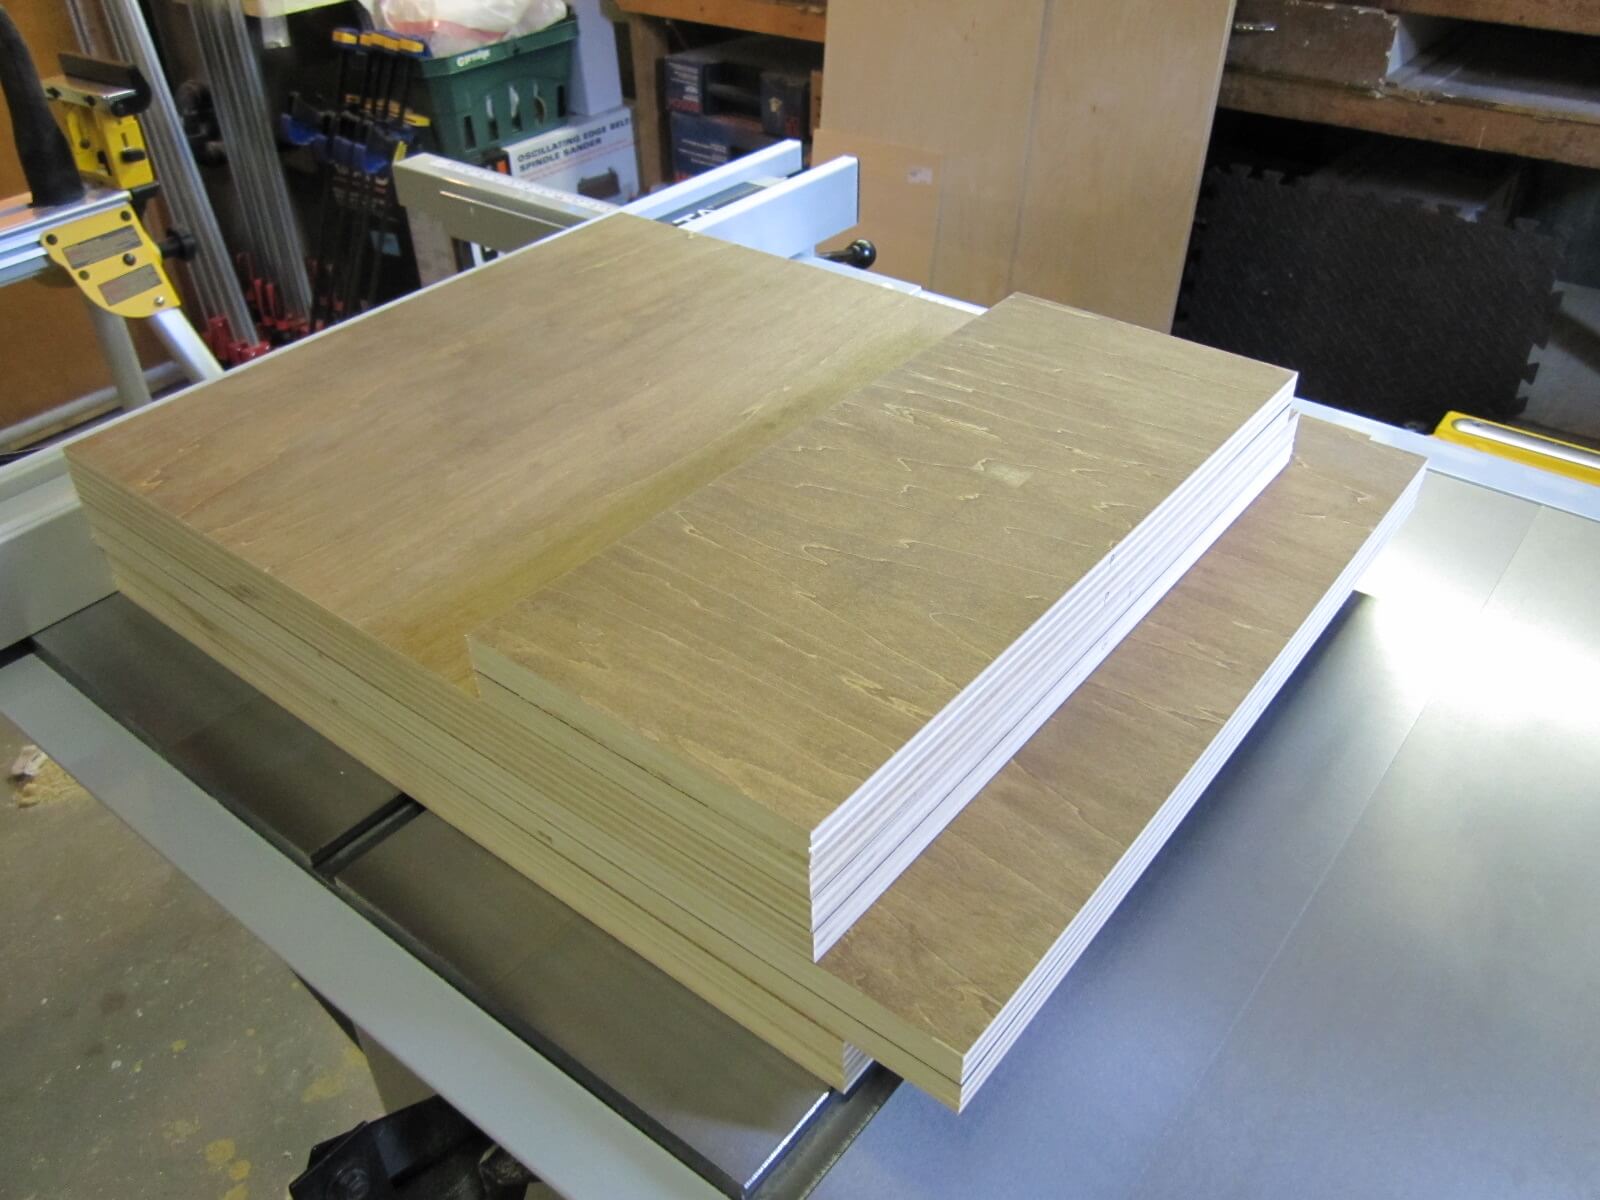
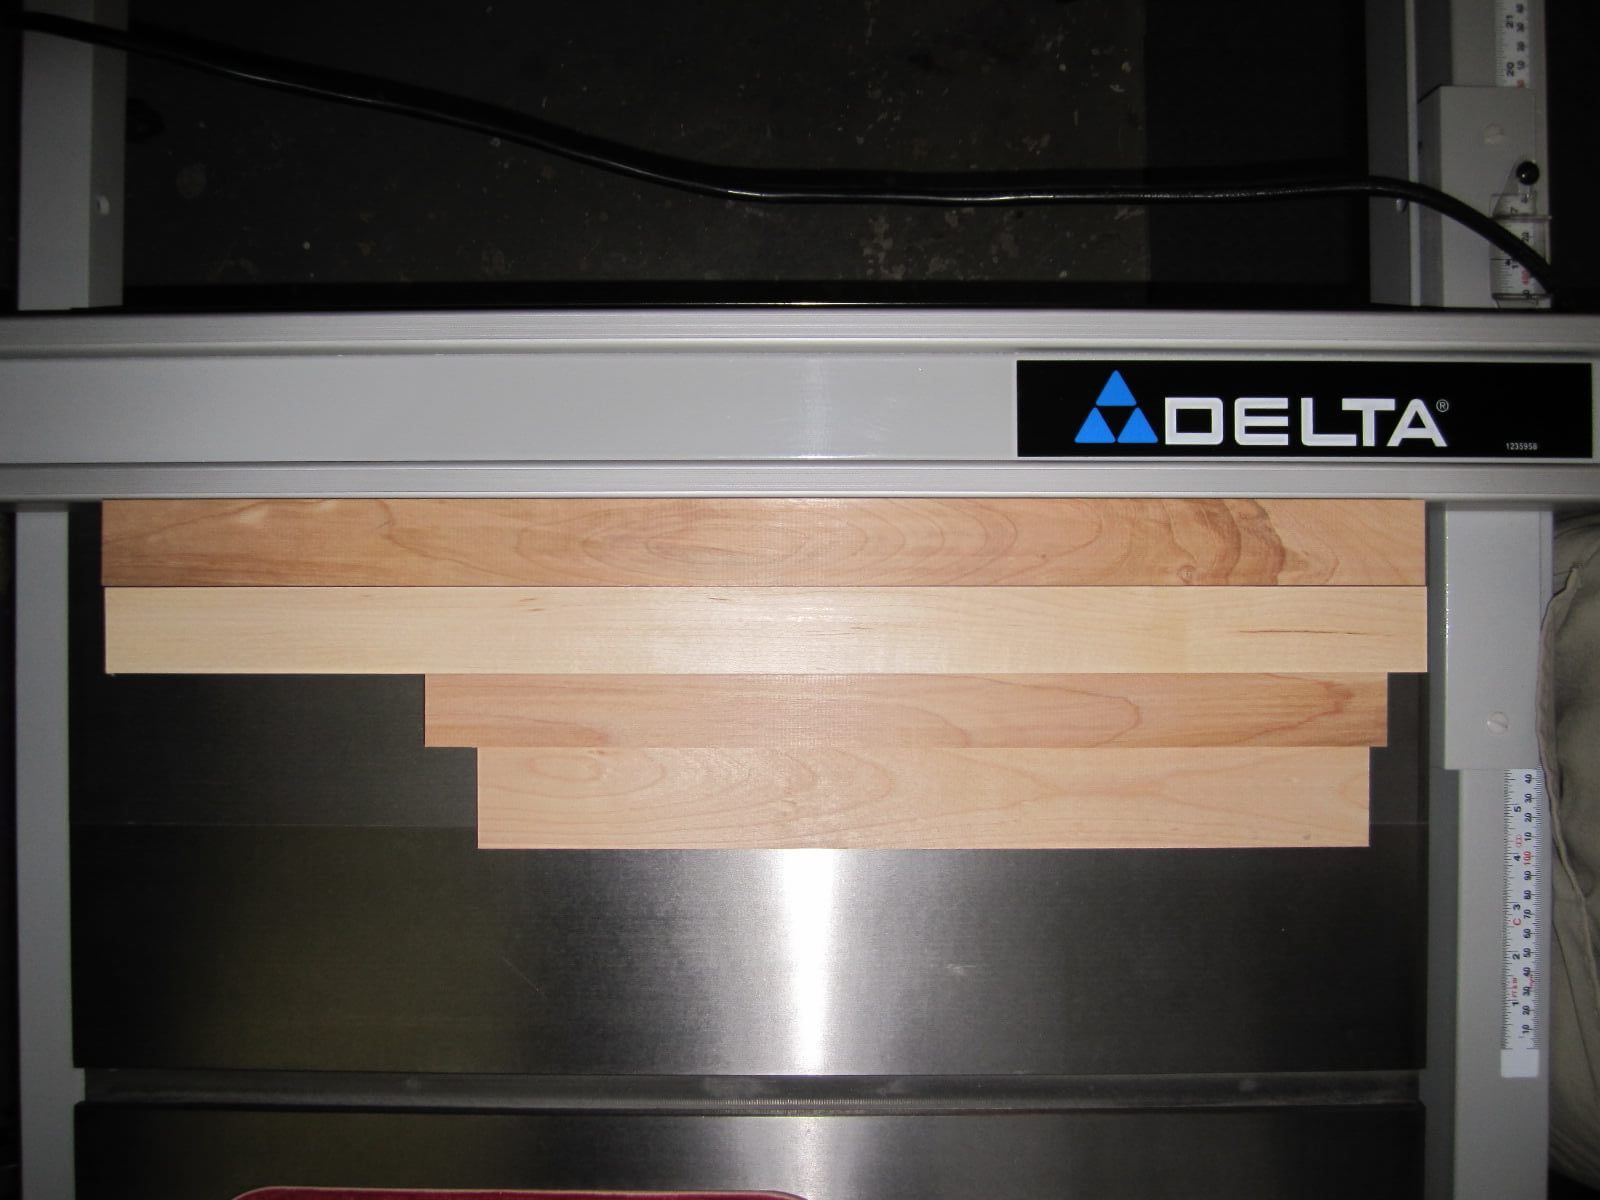
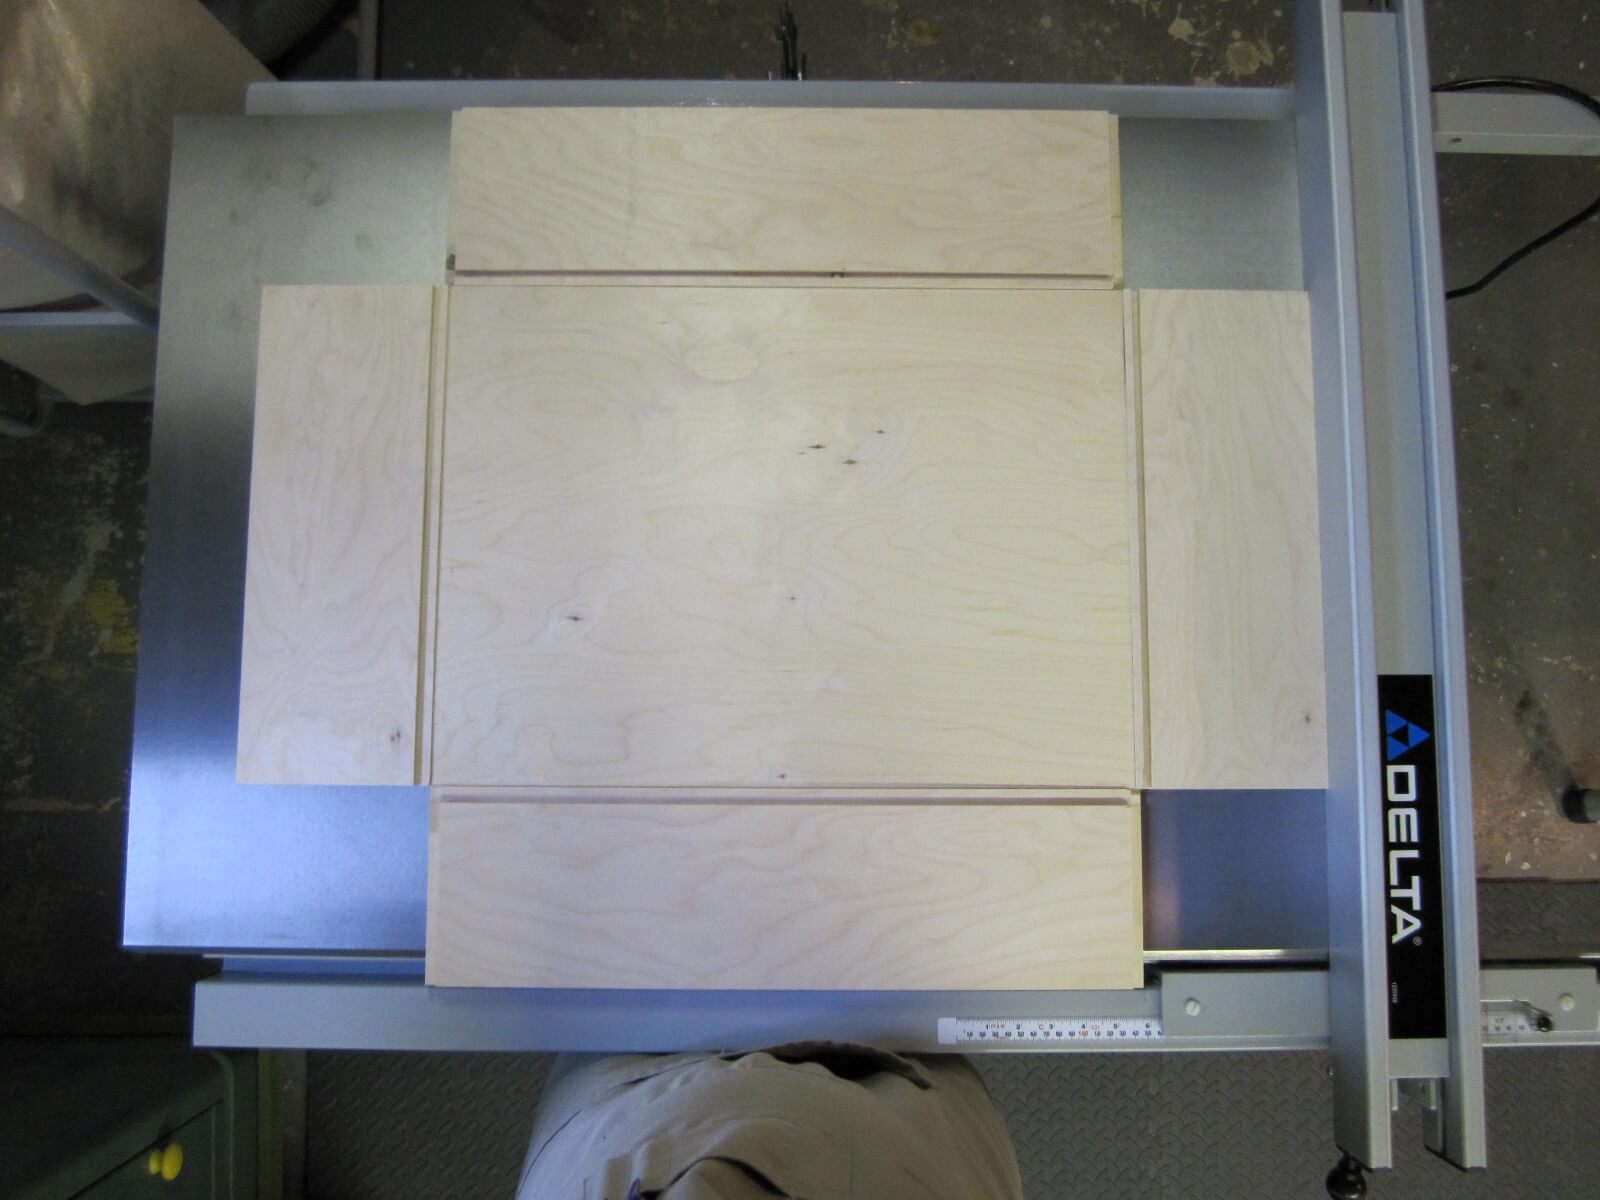
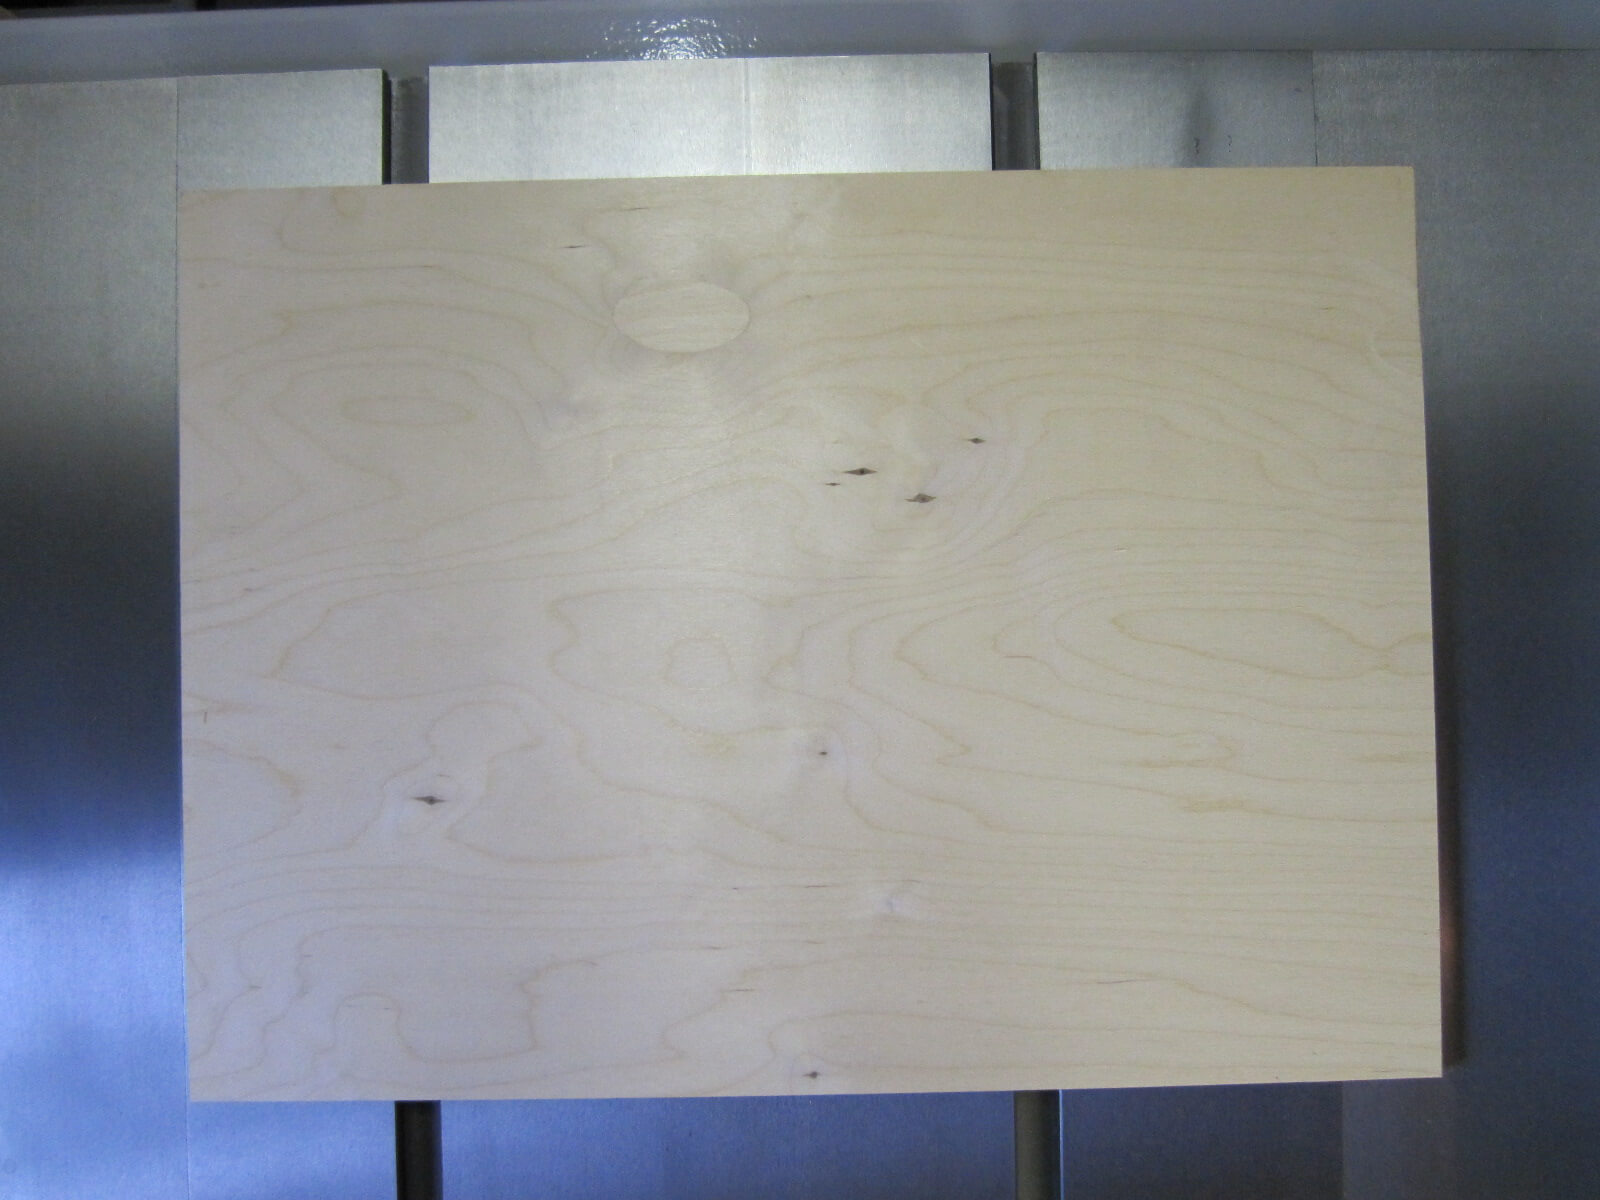
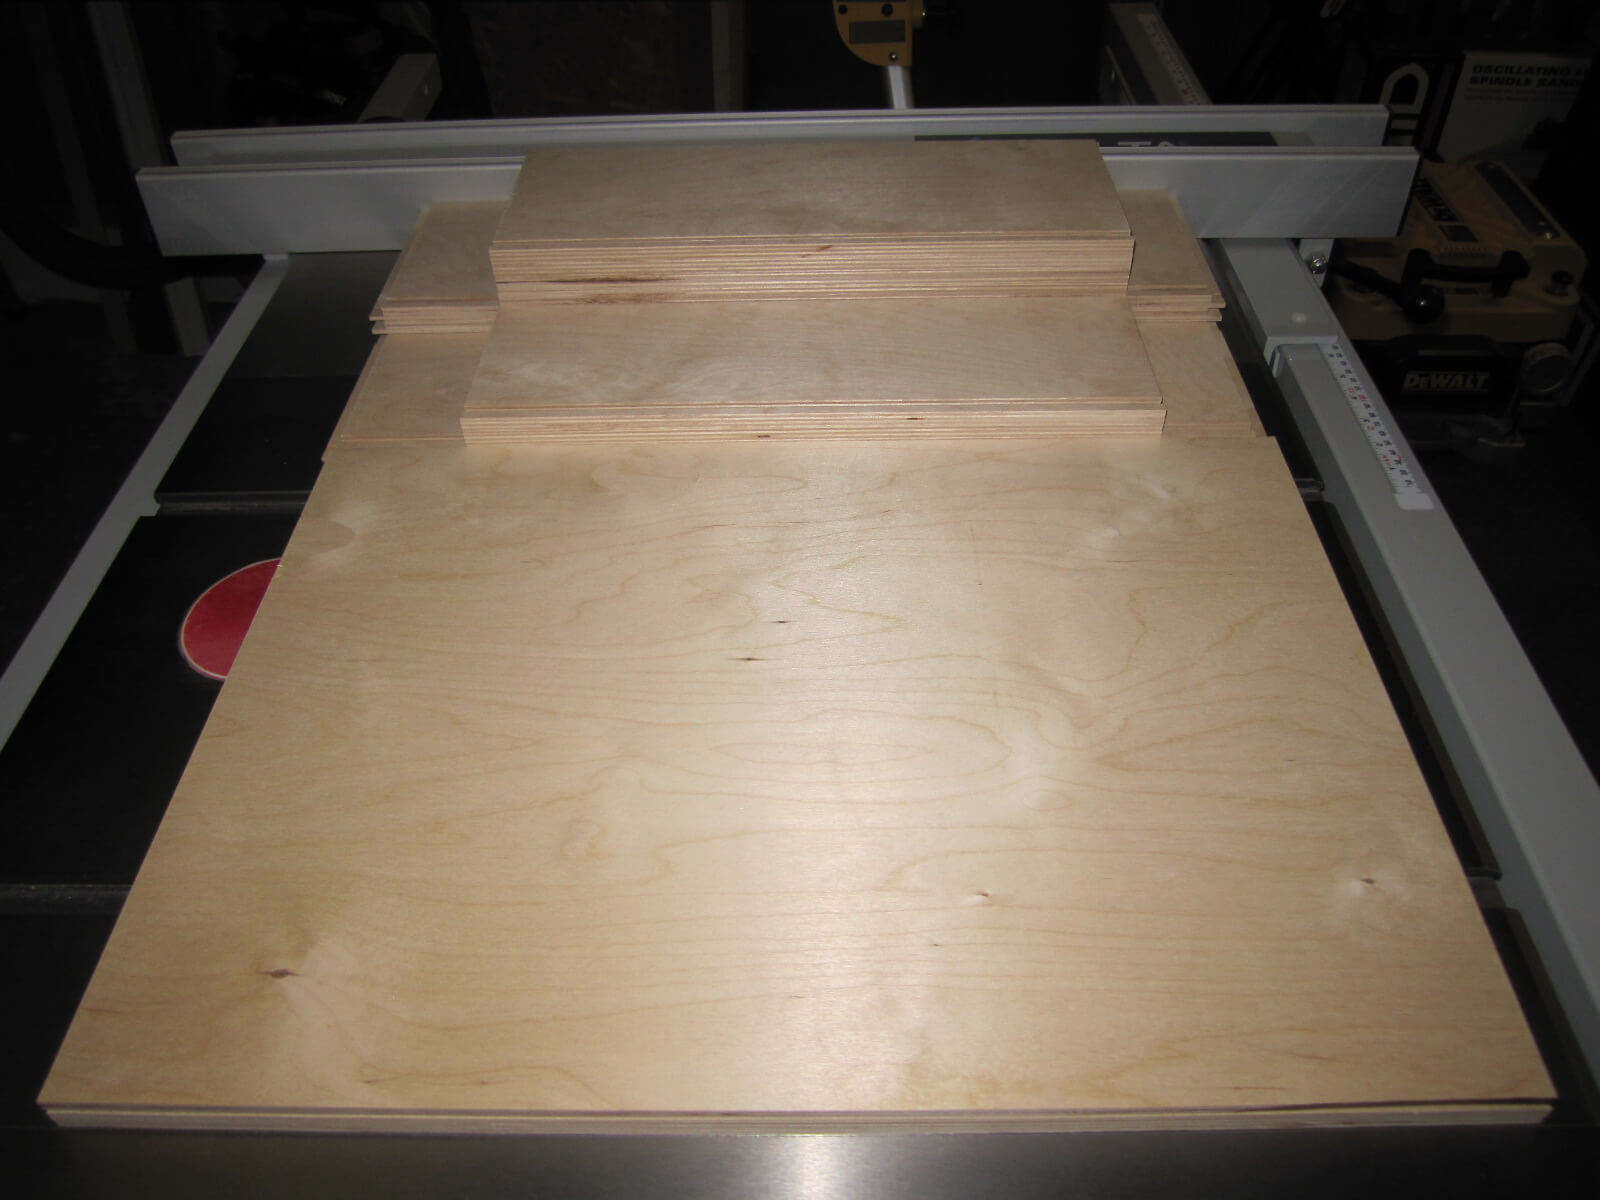
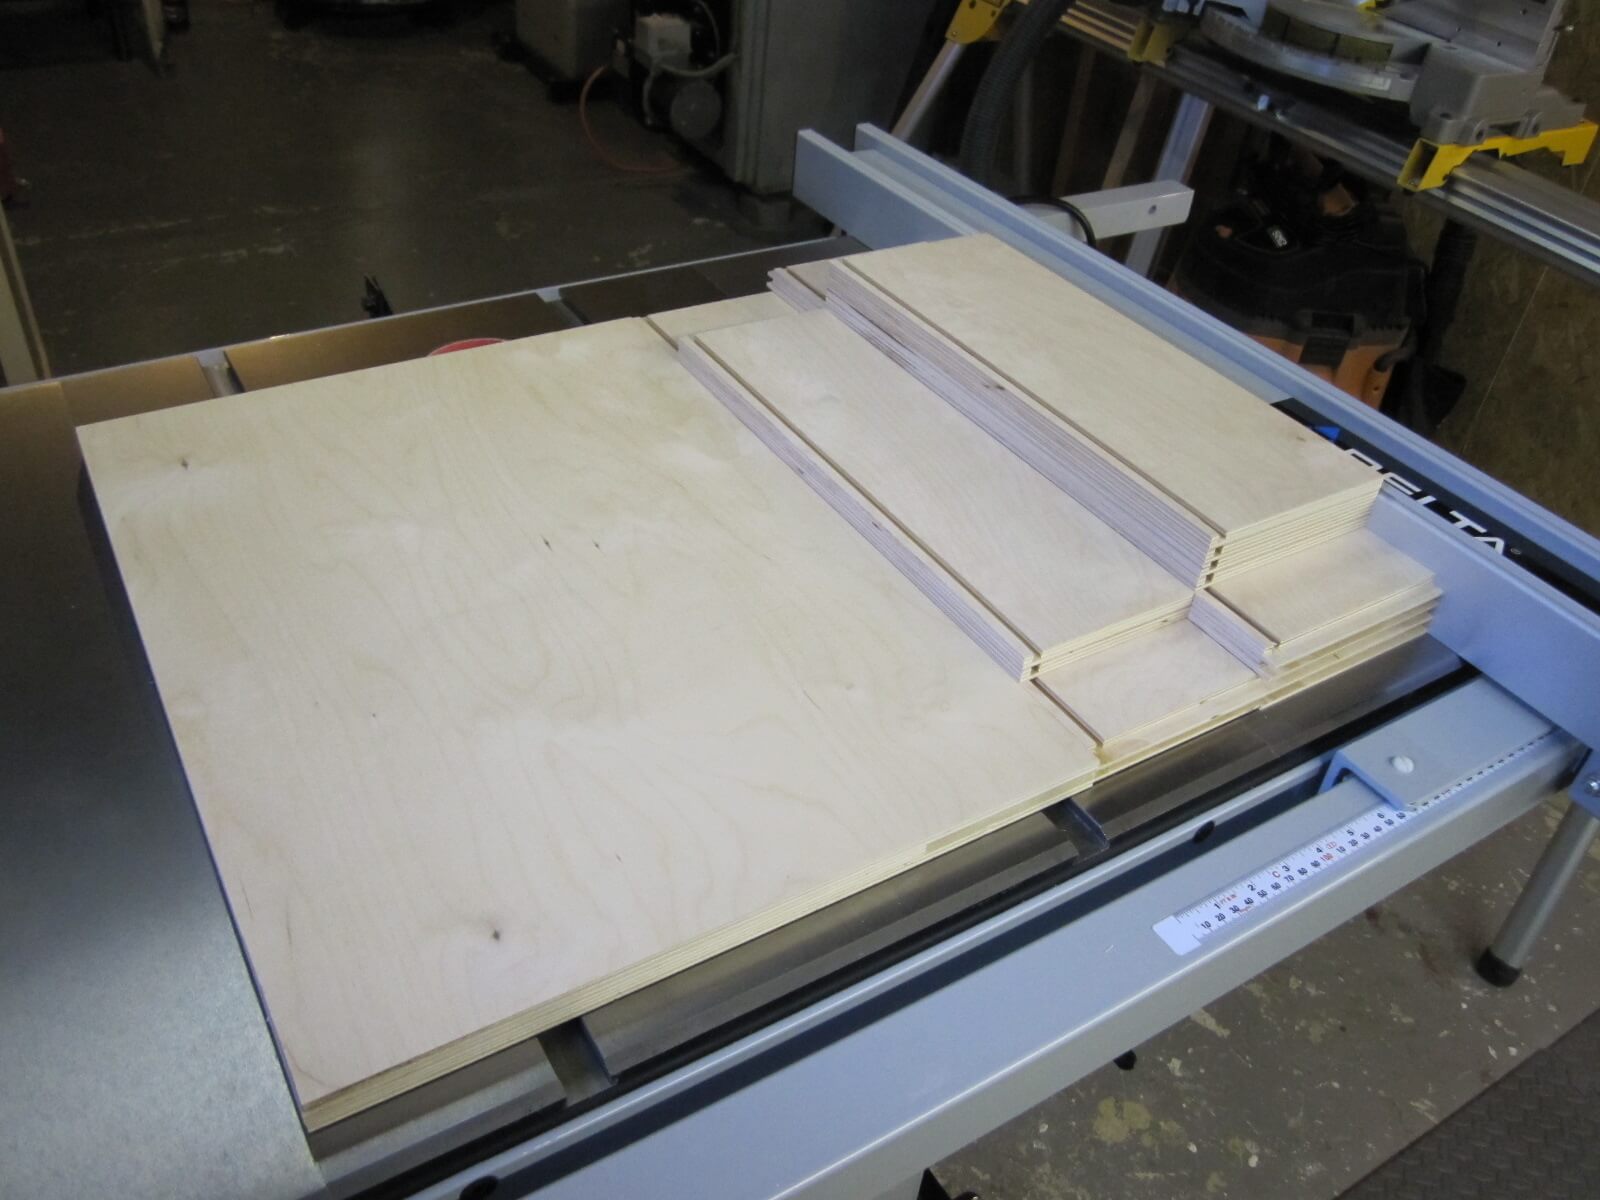
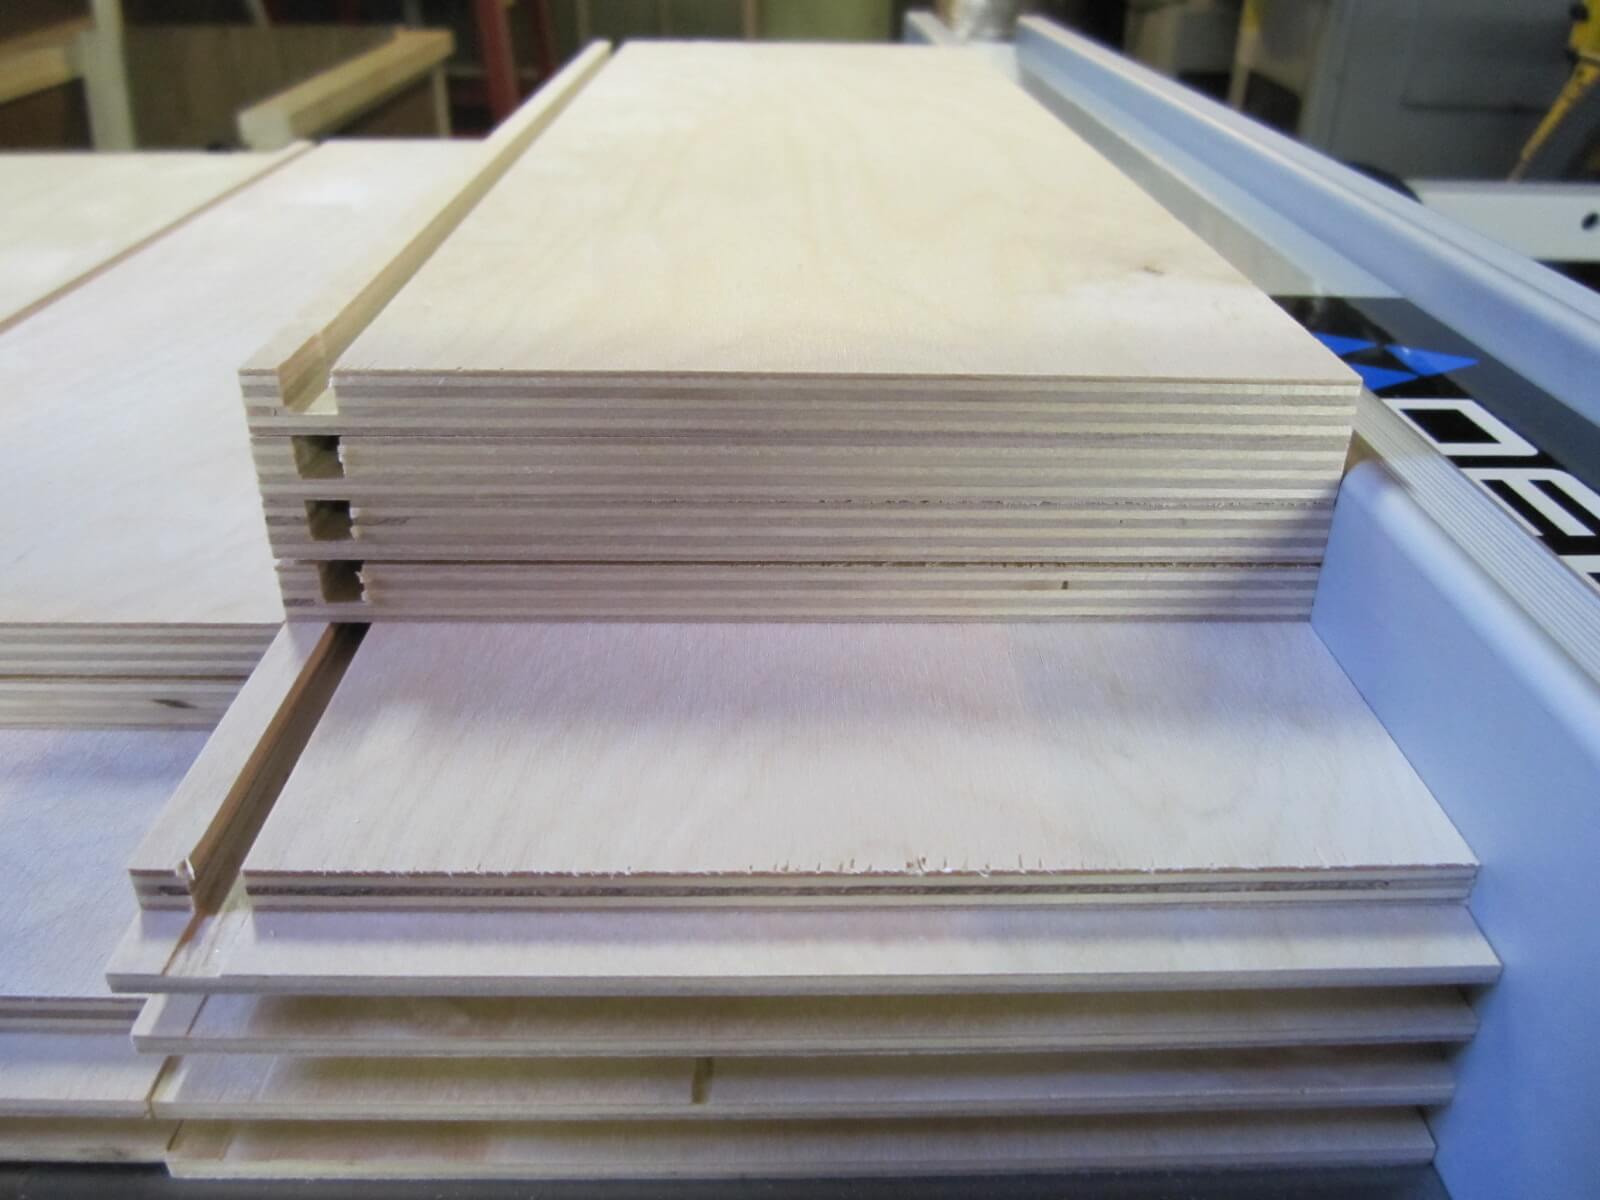
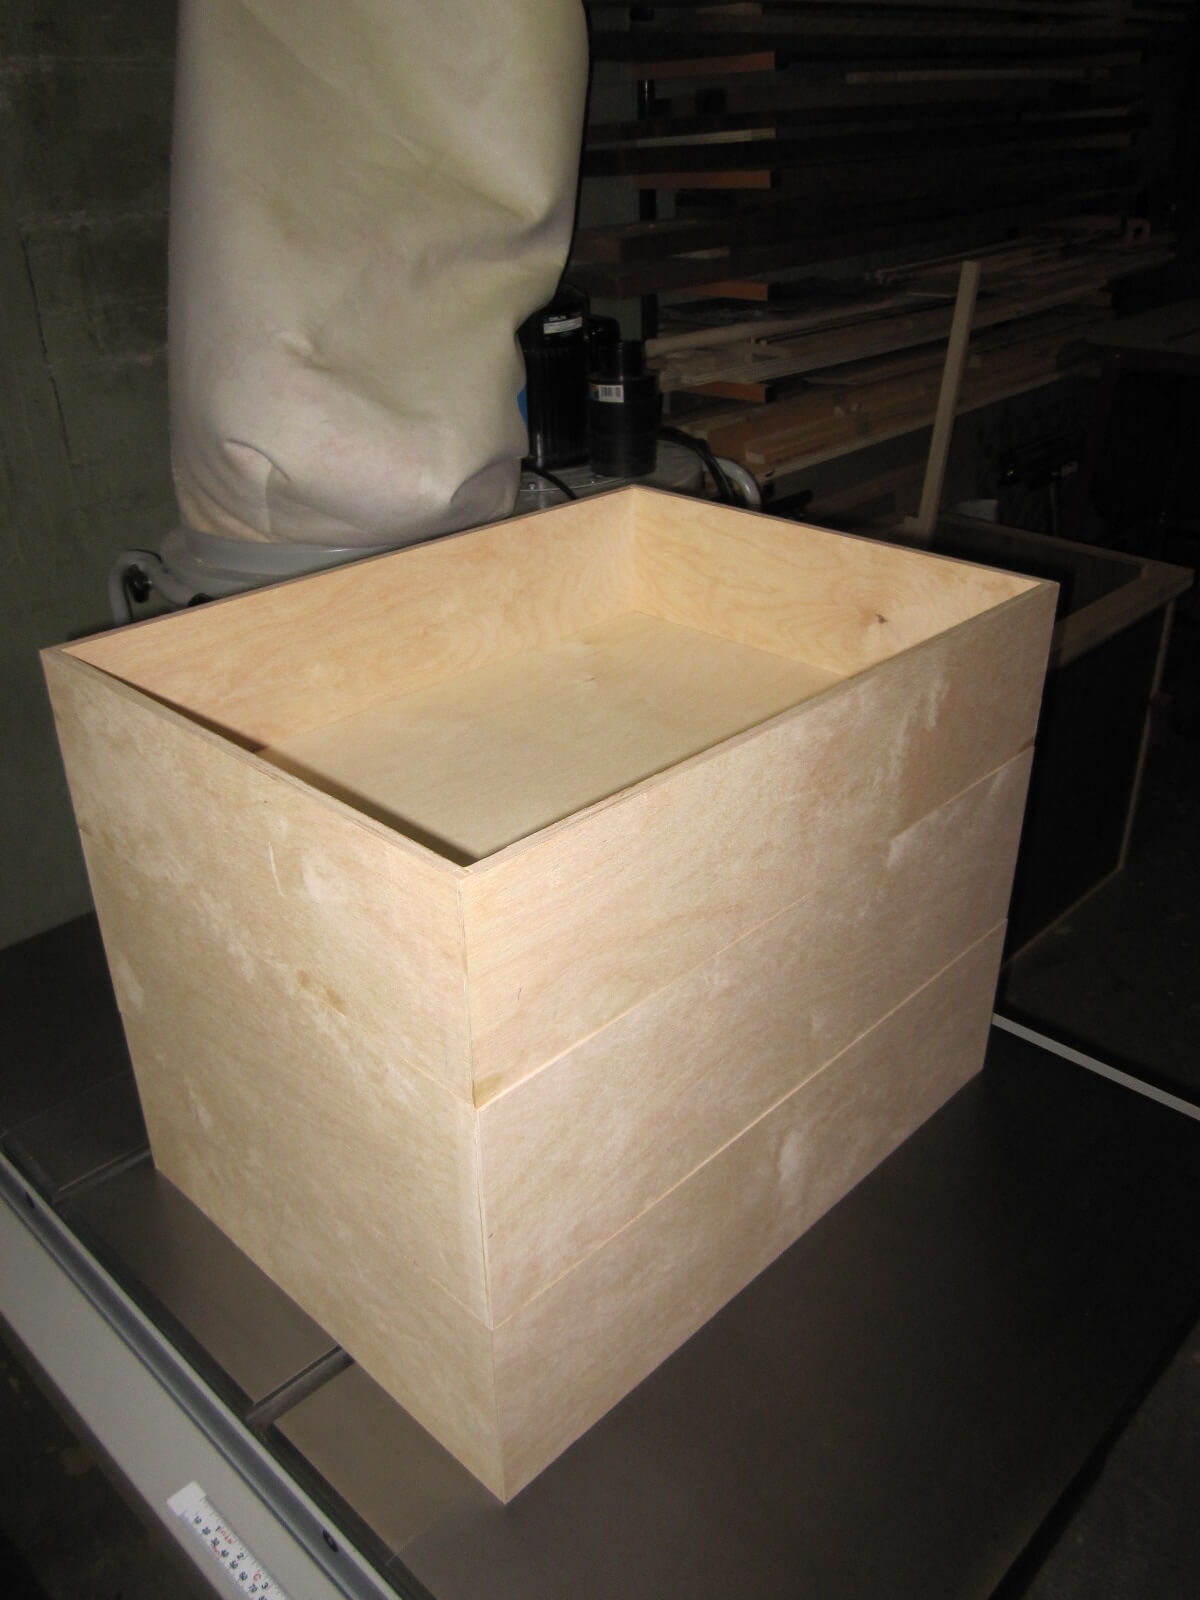
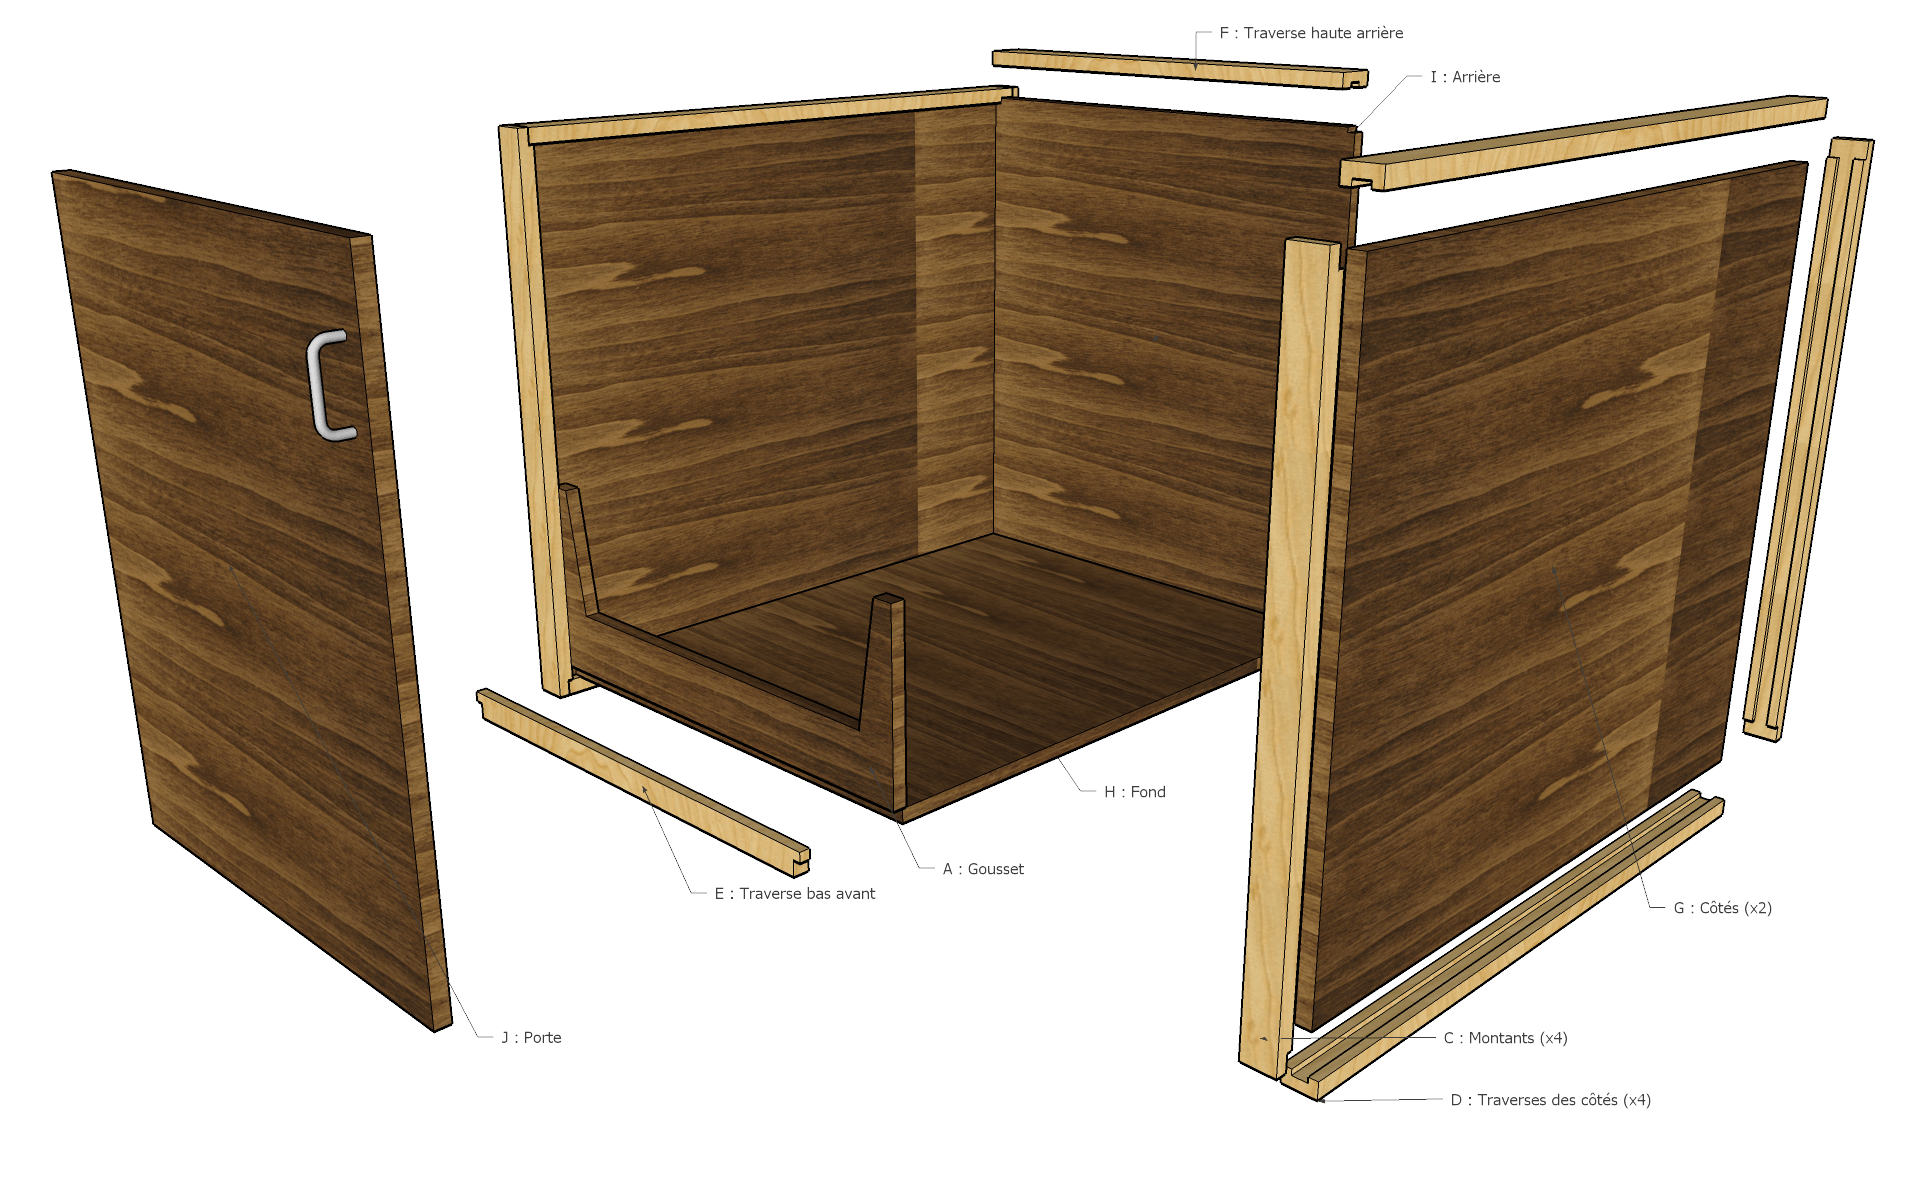
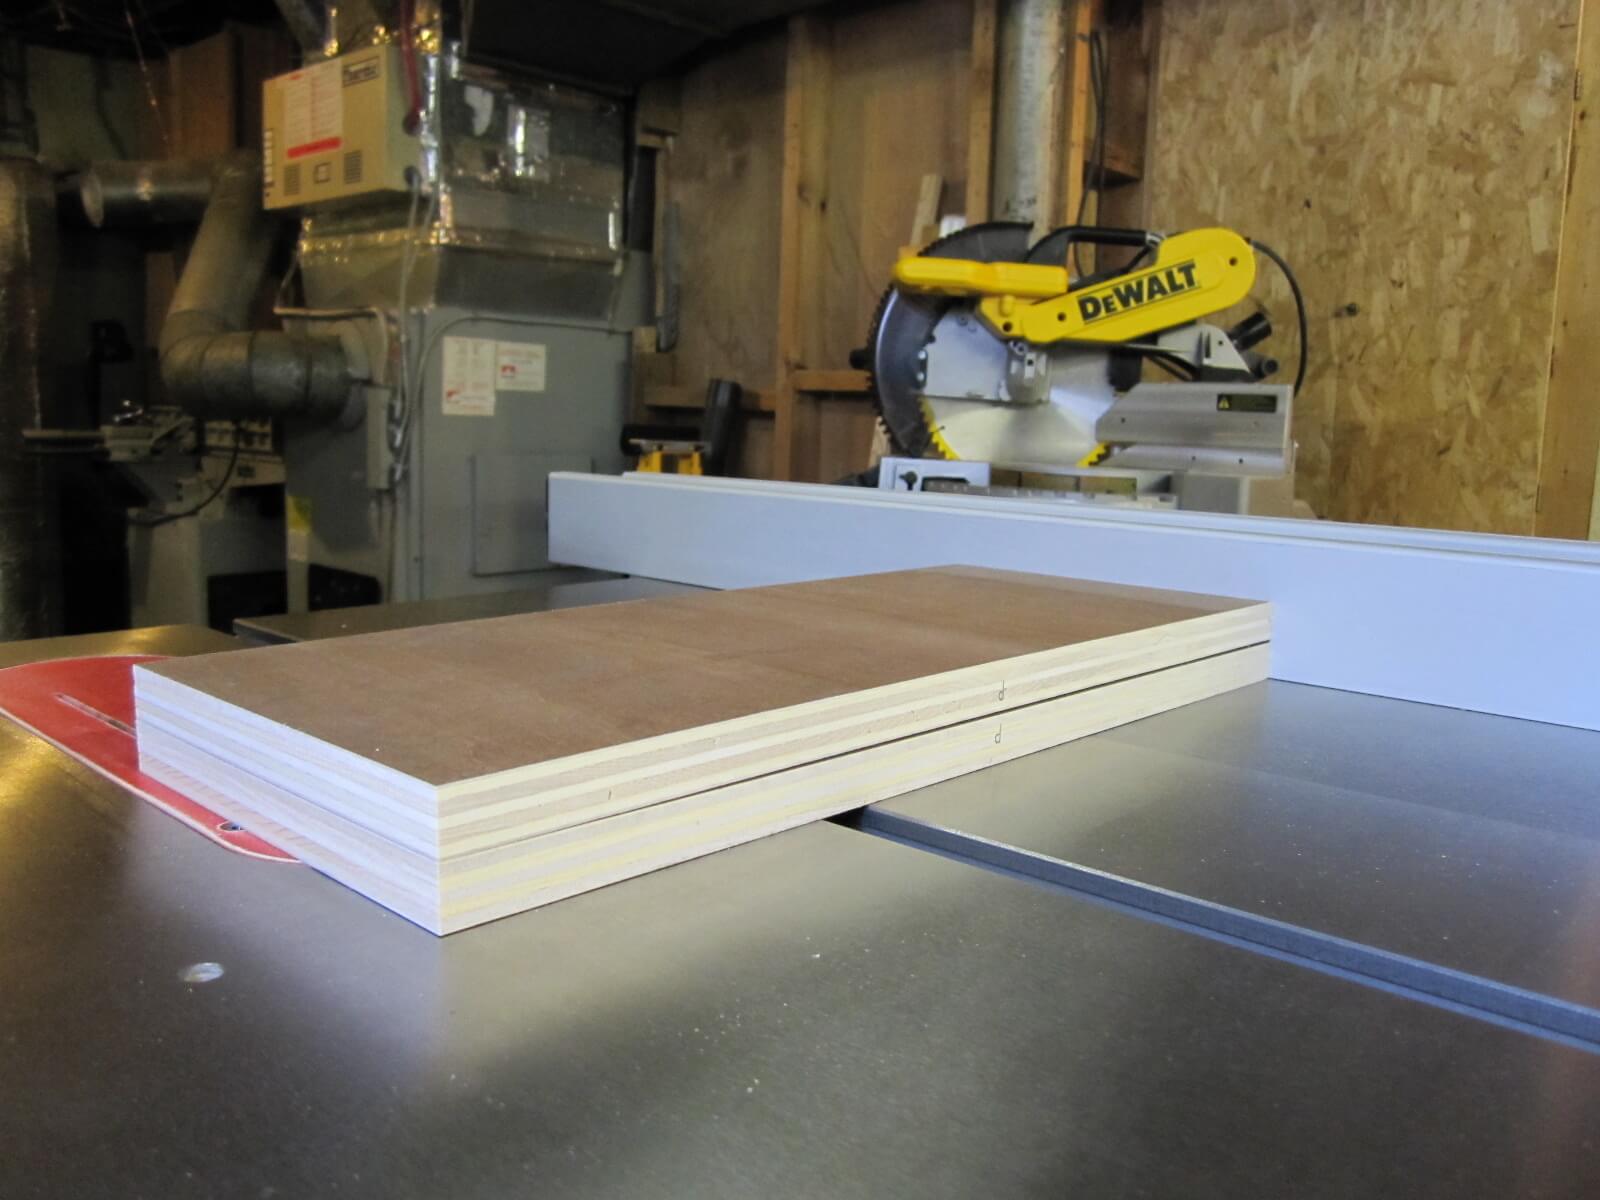
Let’s start by cutting out all the pieces like the sides, the bottom, the back and the top:

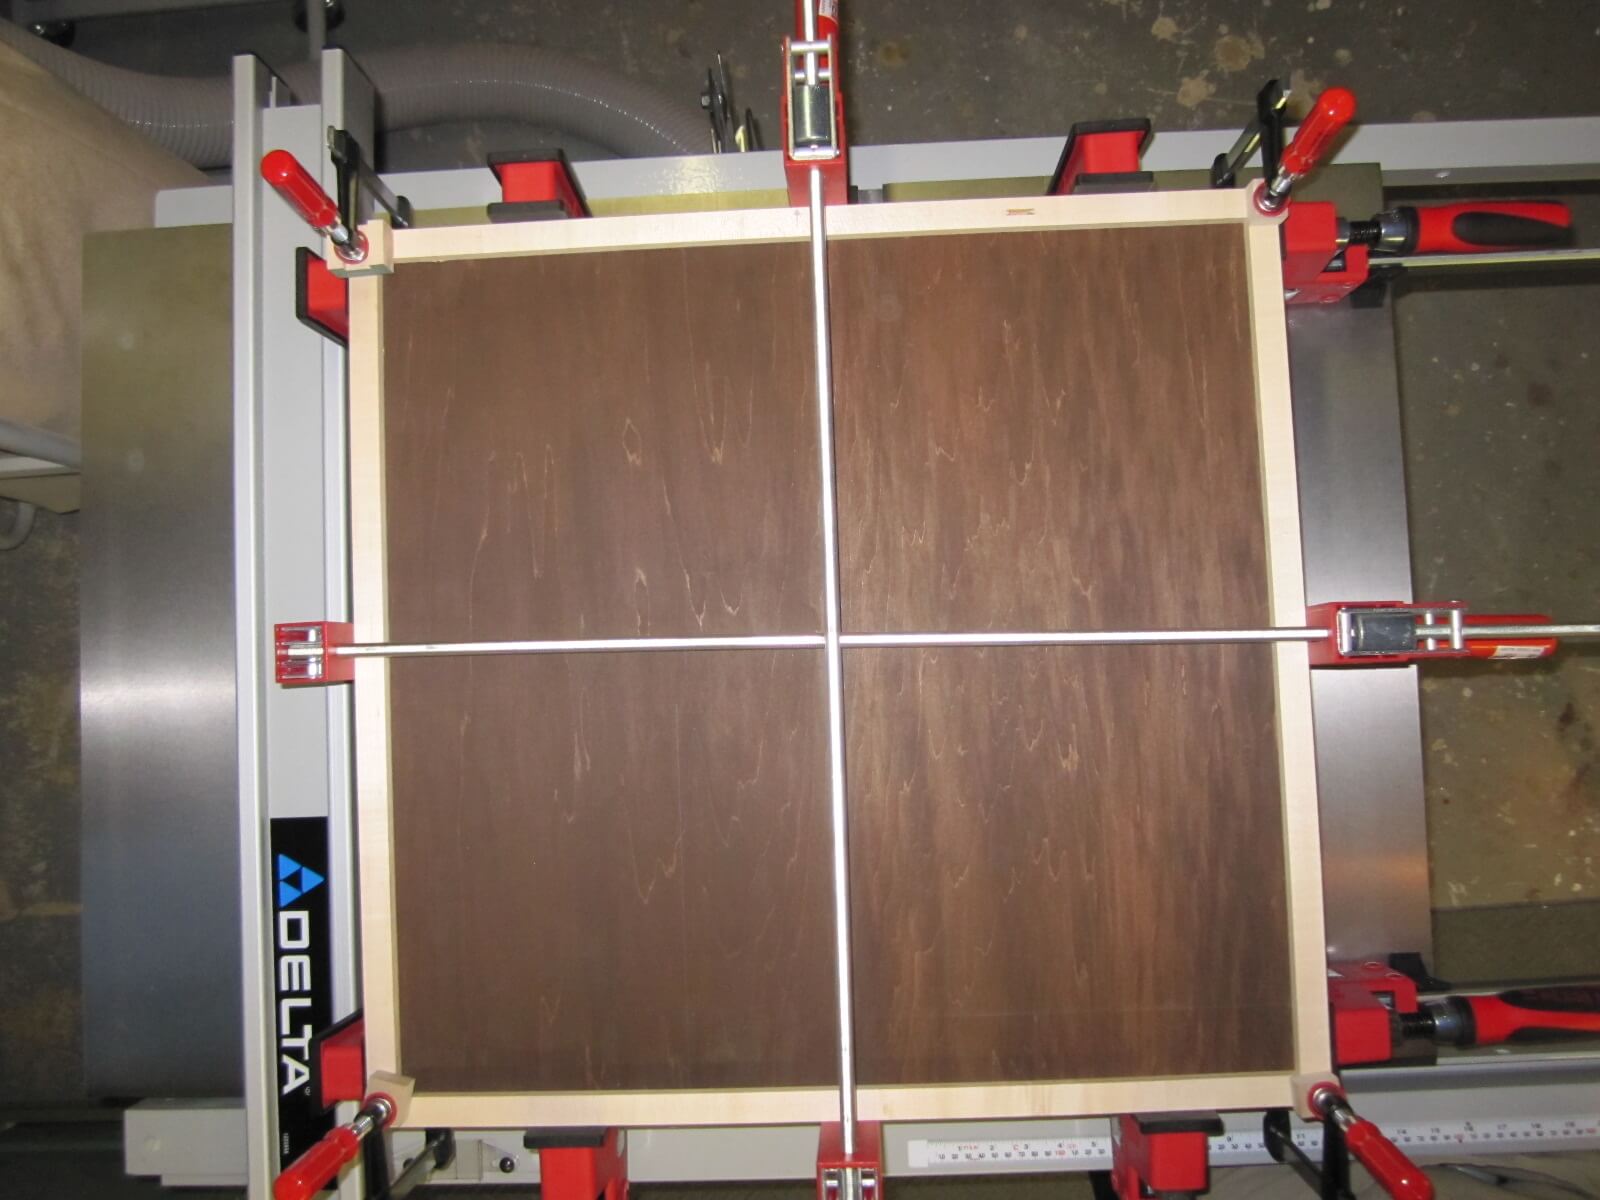
We can proceed to the realization of the frame of the top of the box. It will be assembled at 45° for purely aesthetic reasons. After working a raw wood board, here is the result:
Here is the assembly of the top then adding the frame:

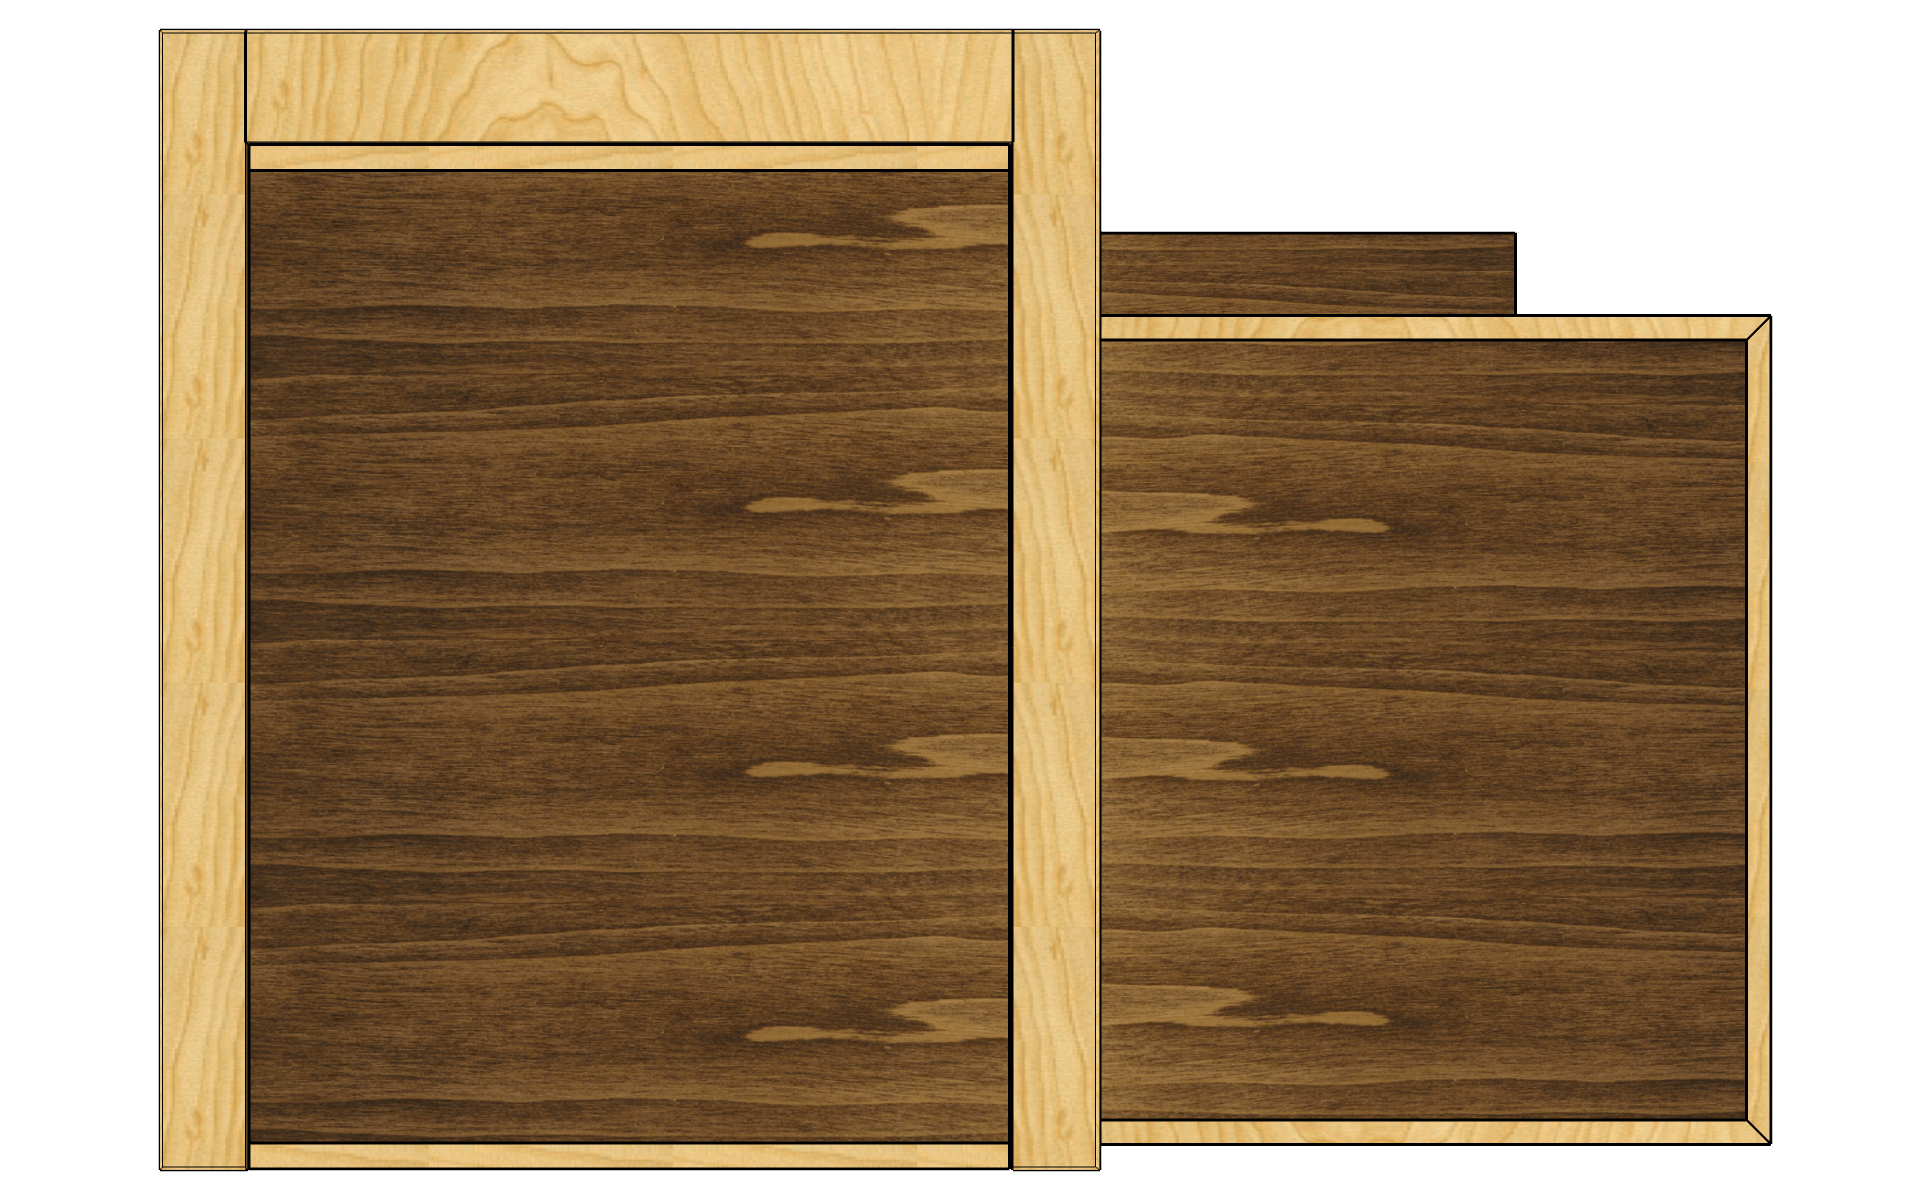
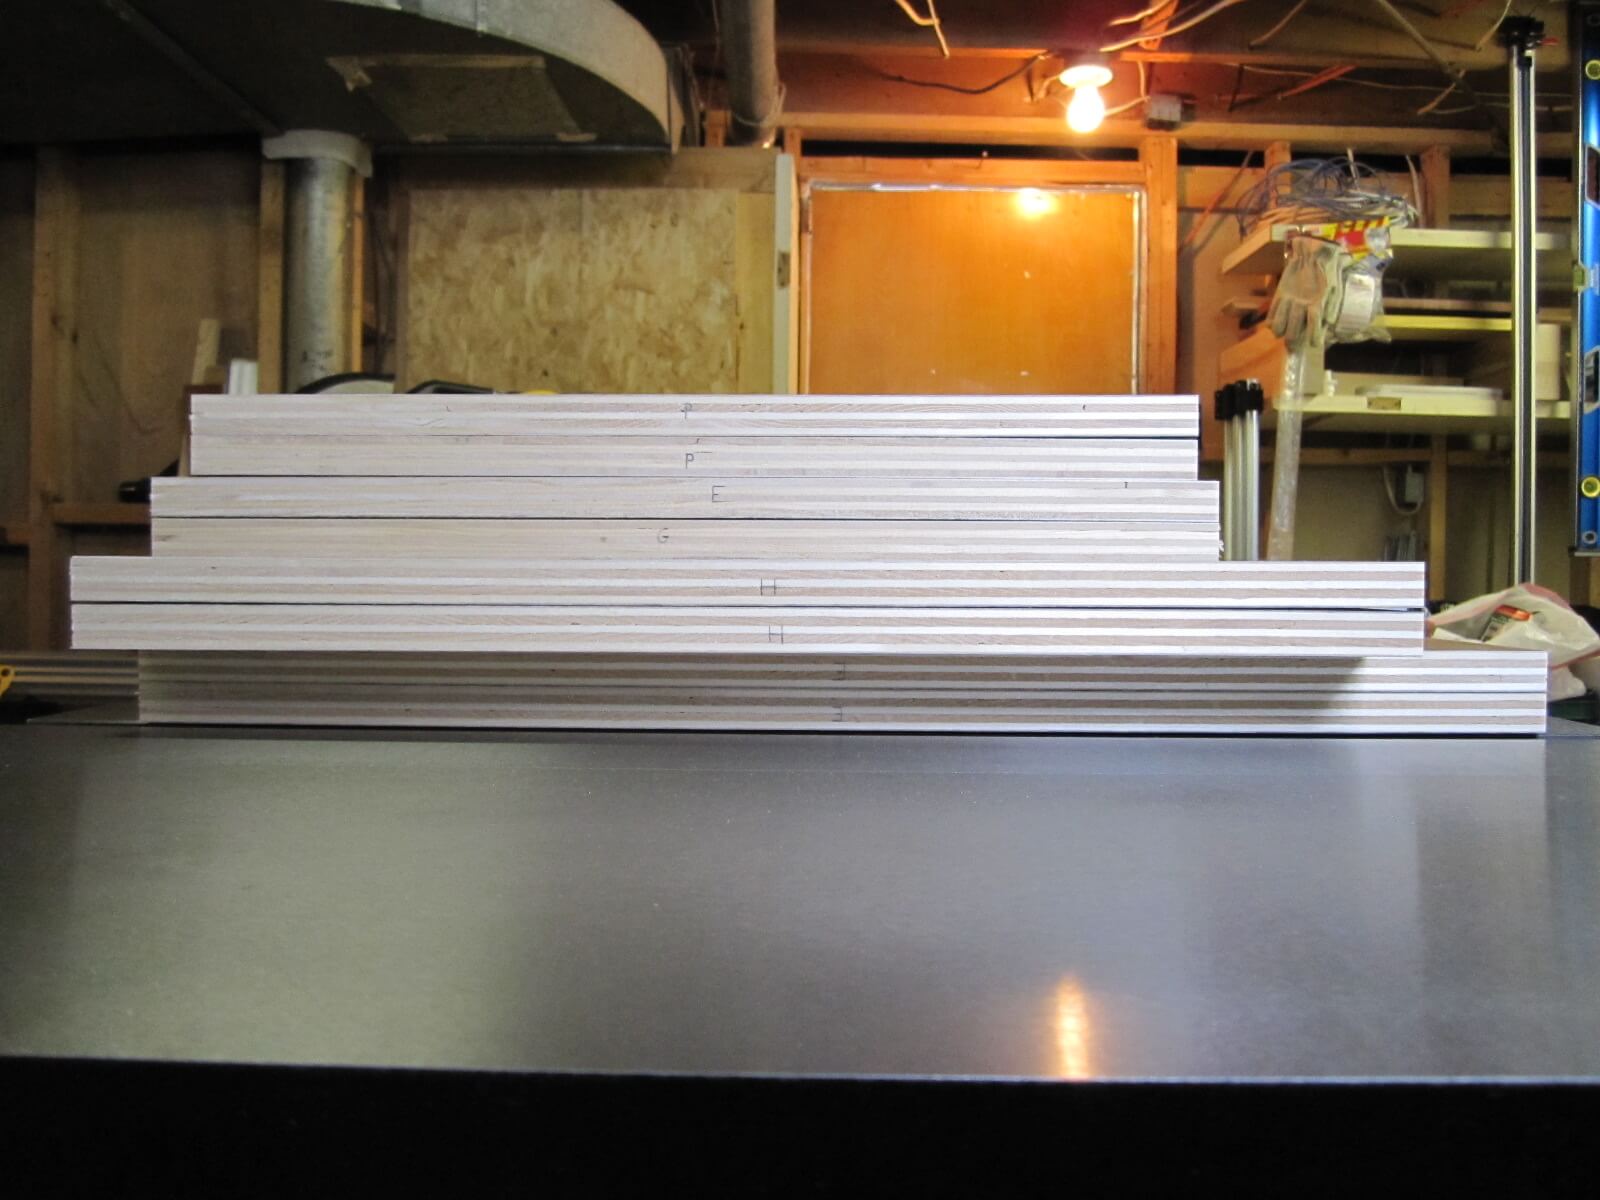
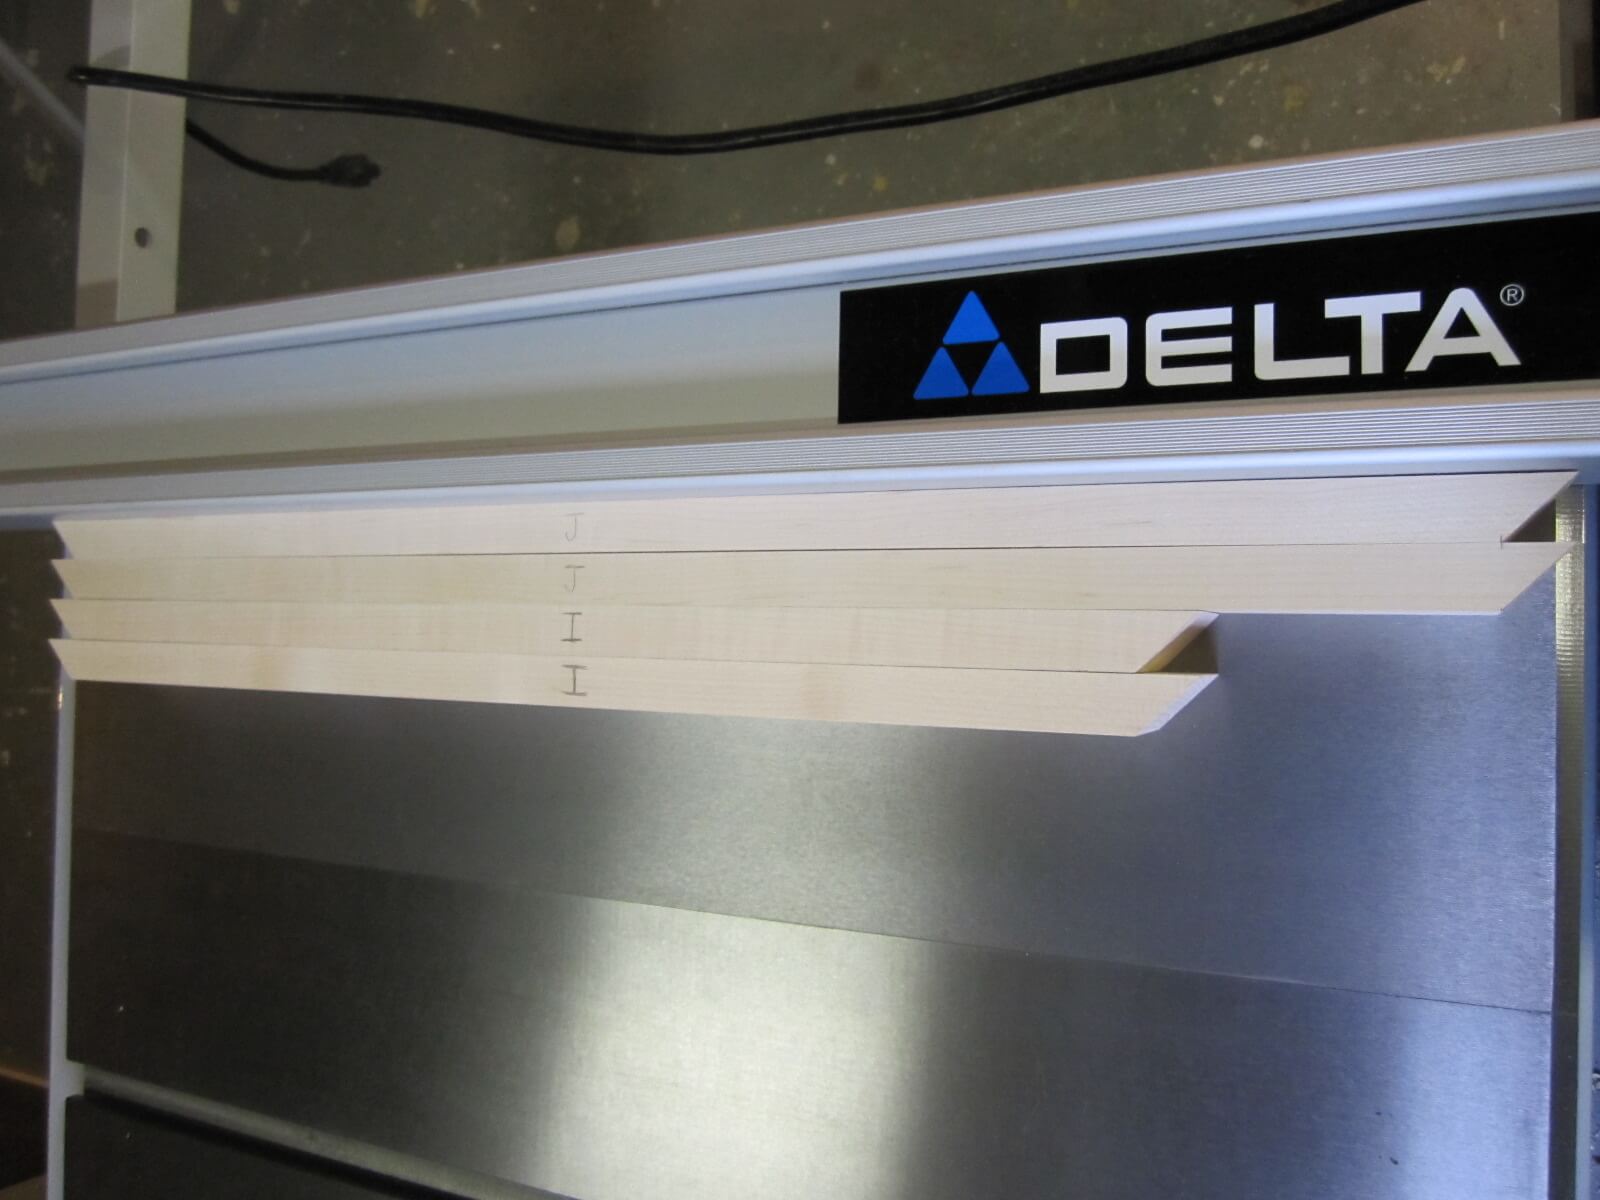
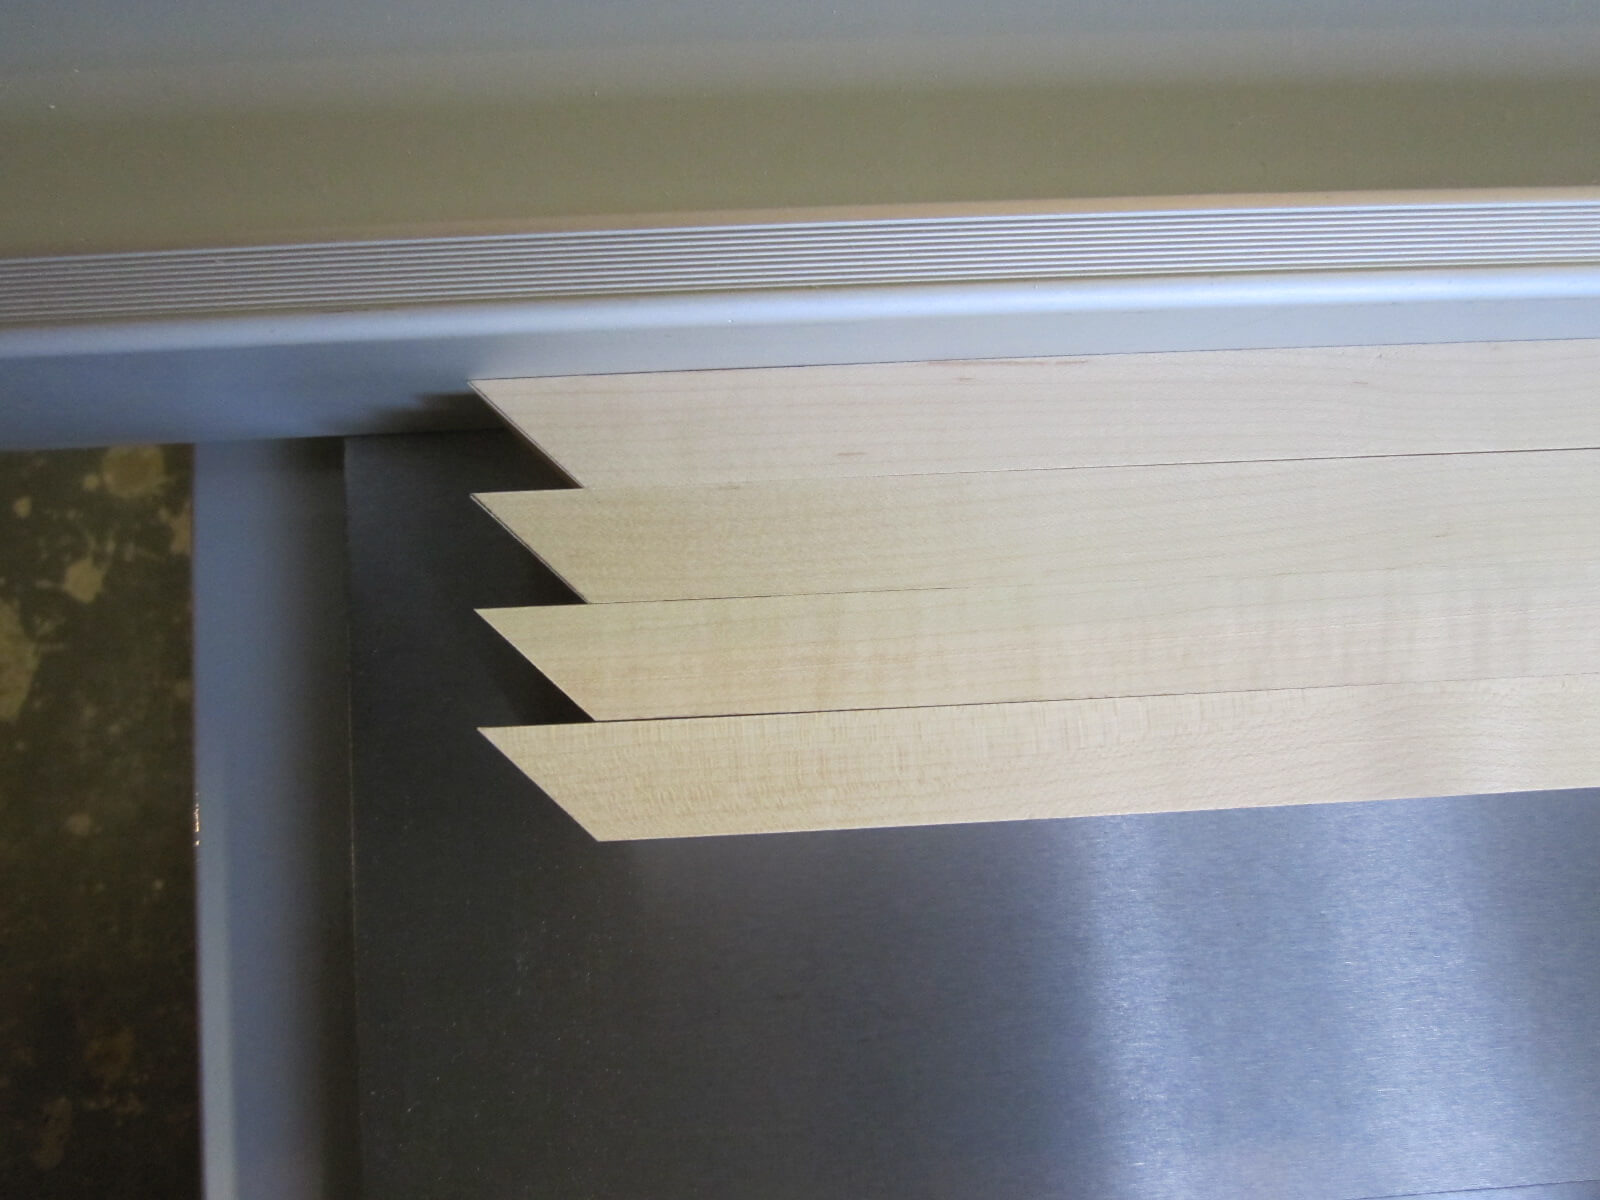
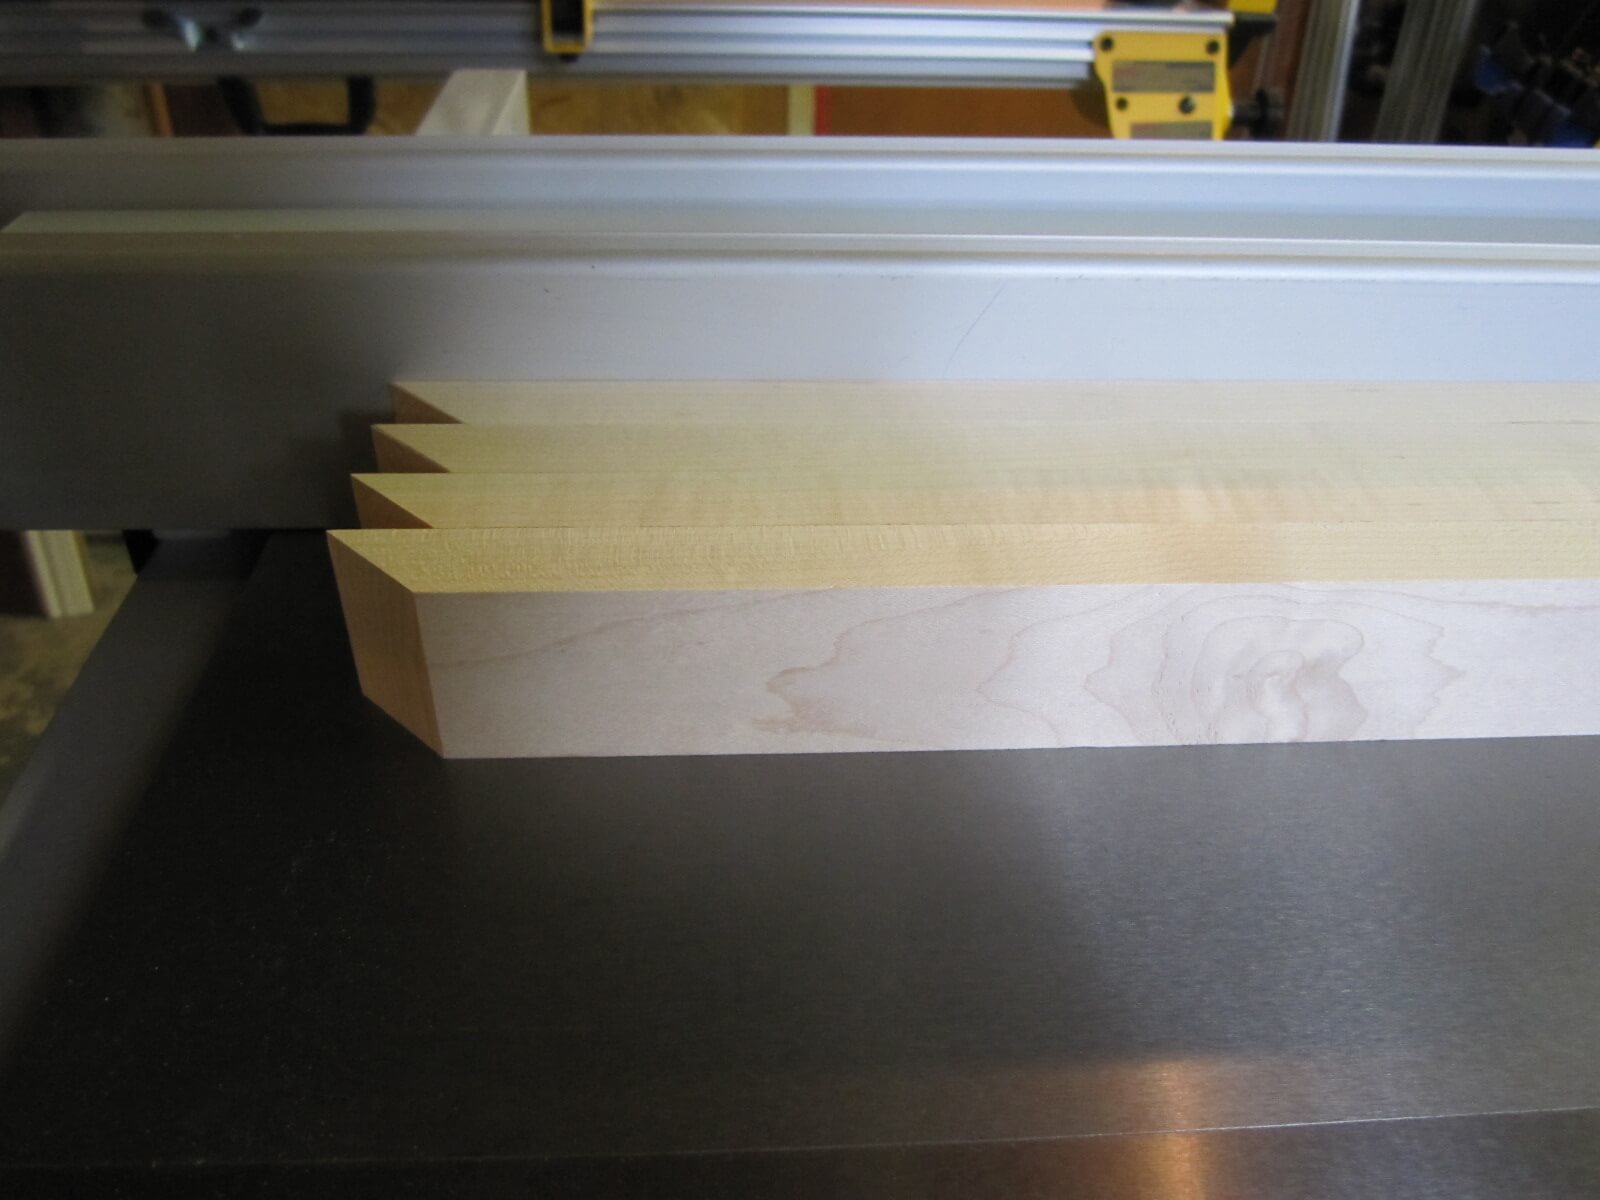
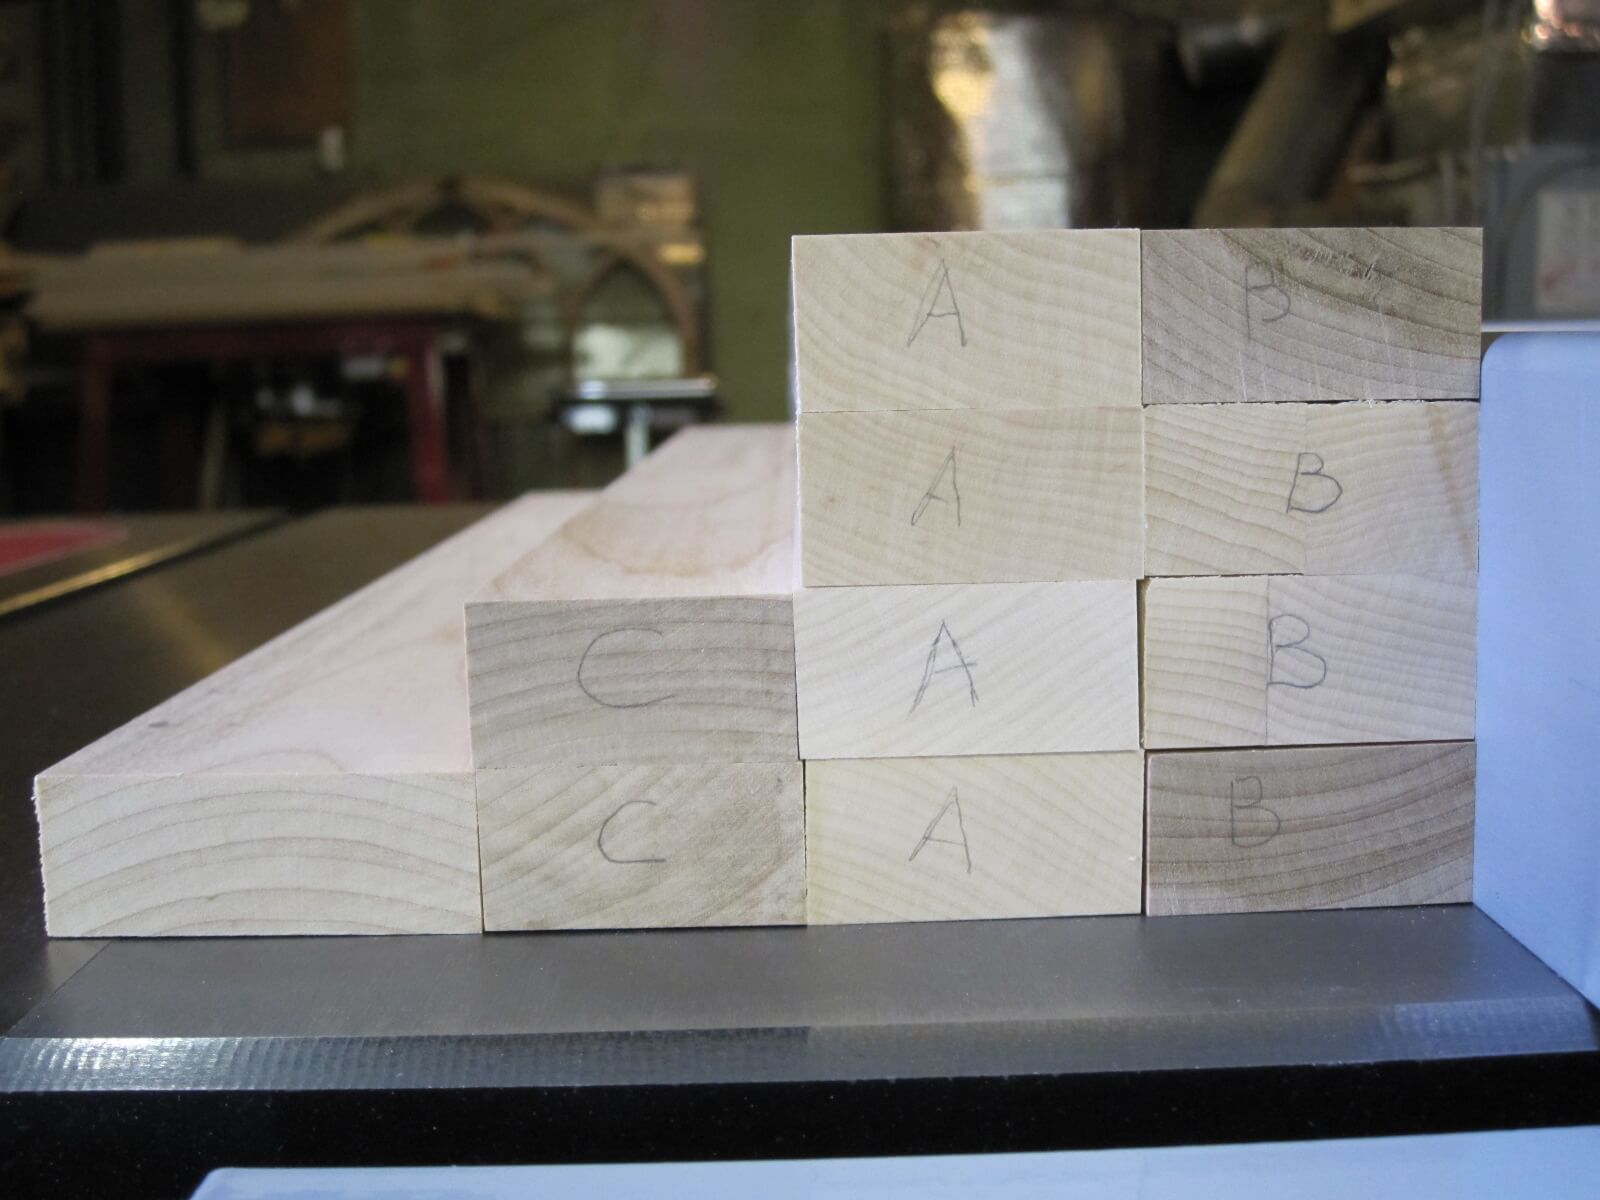
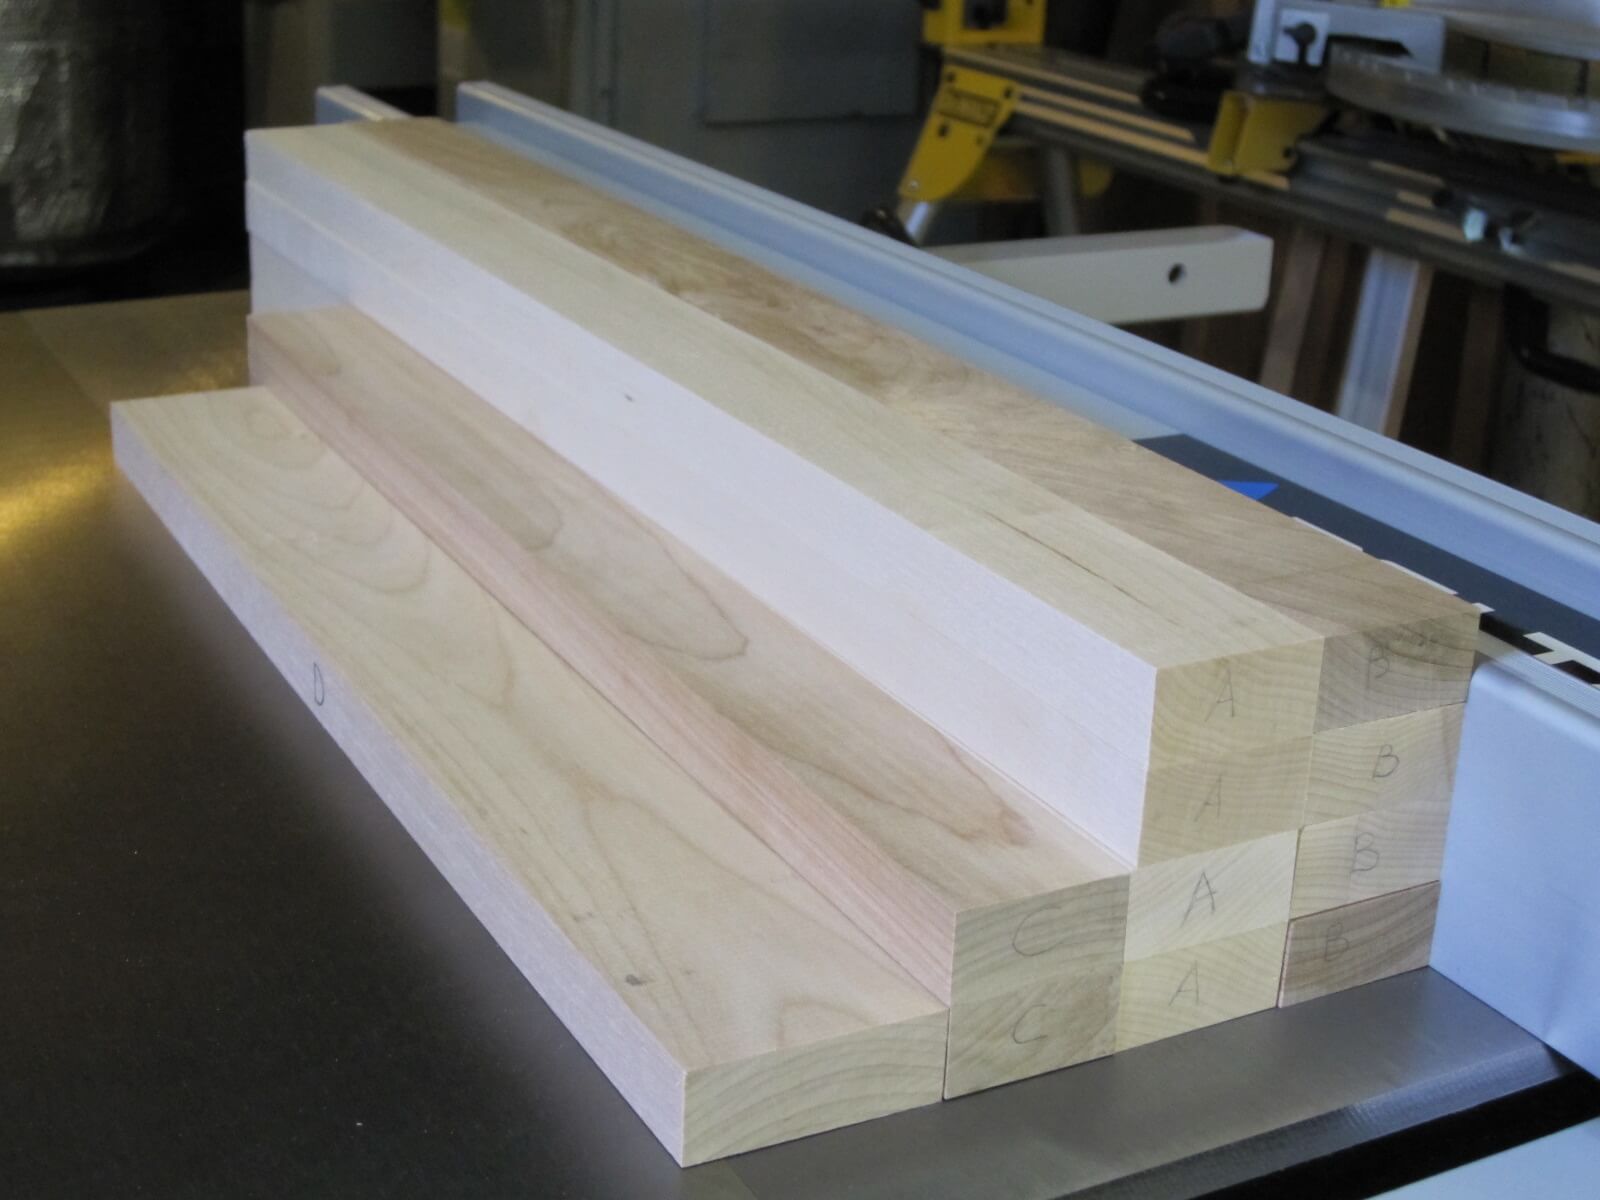
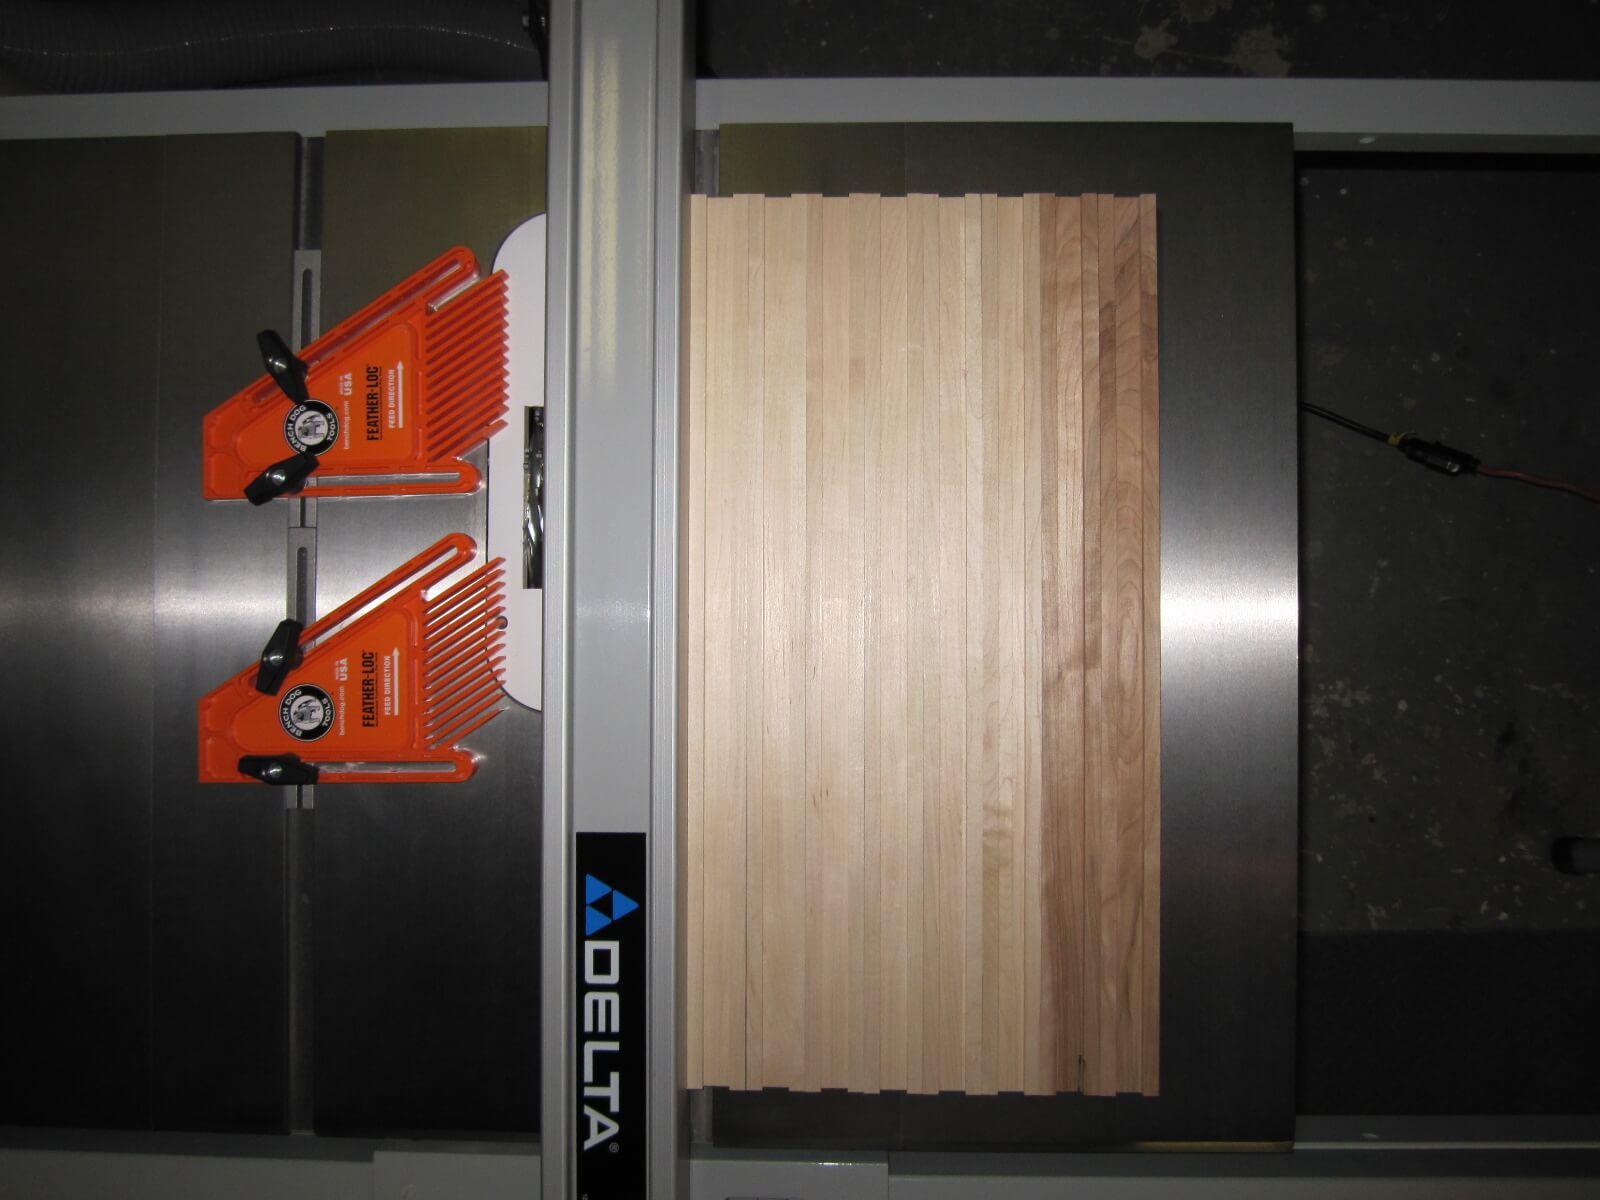
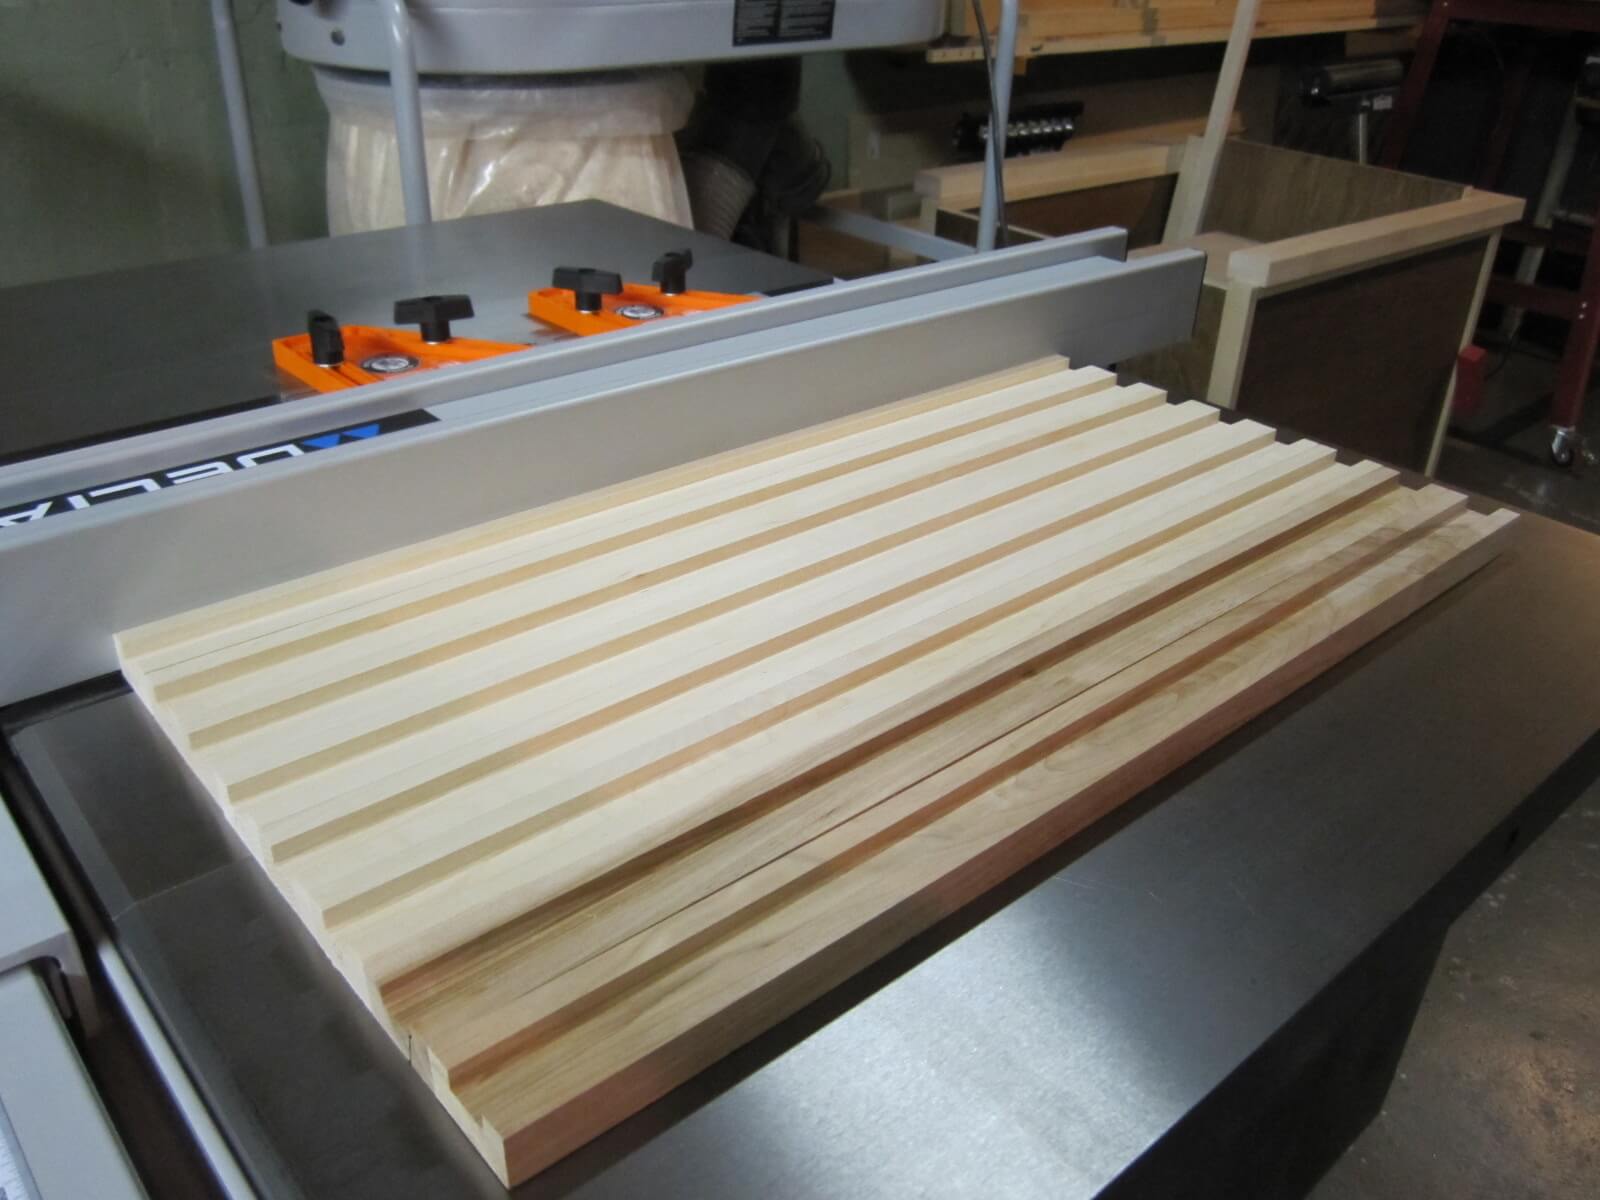
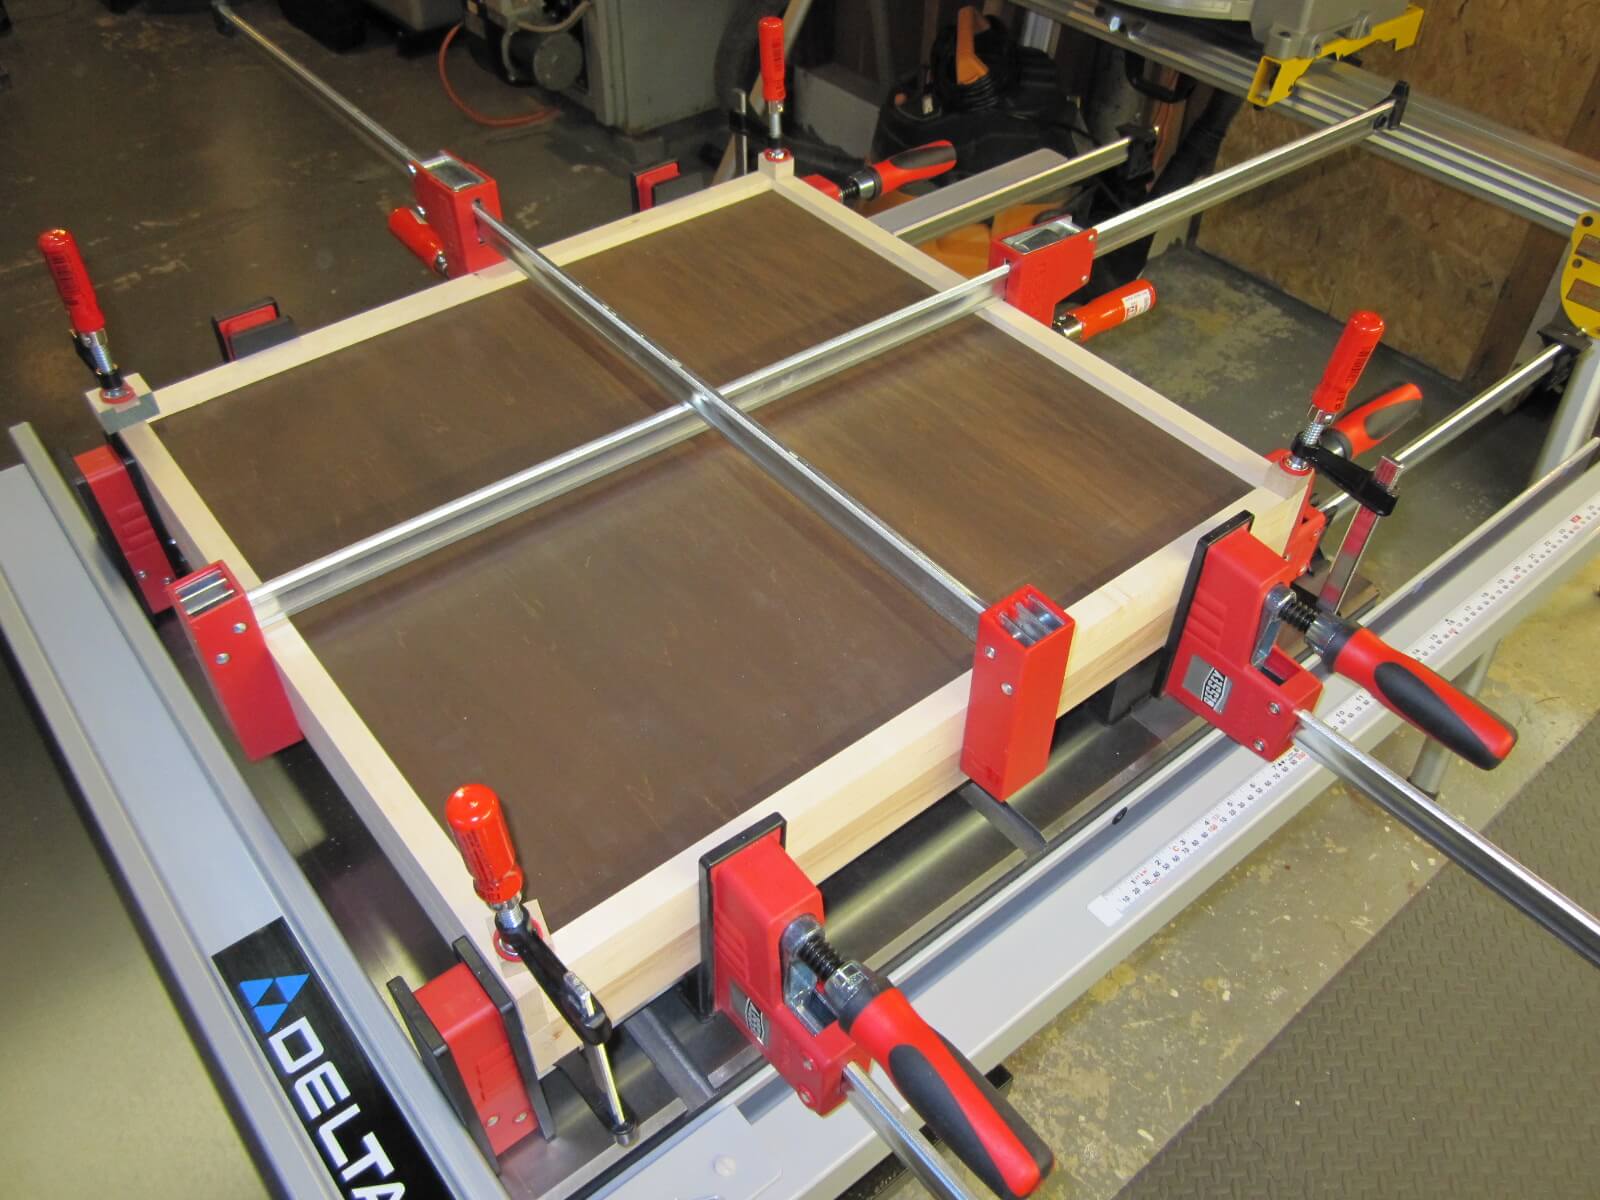
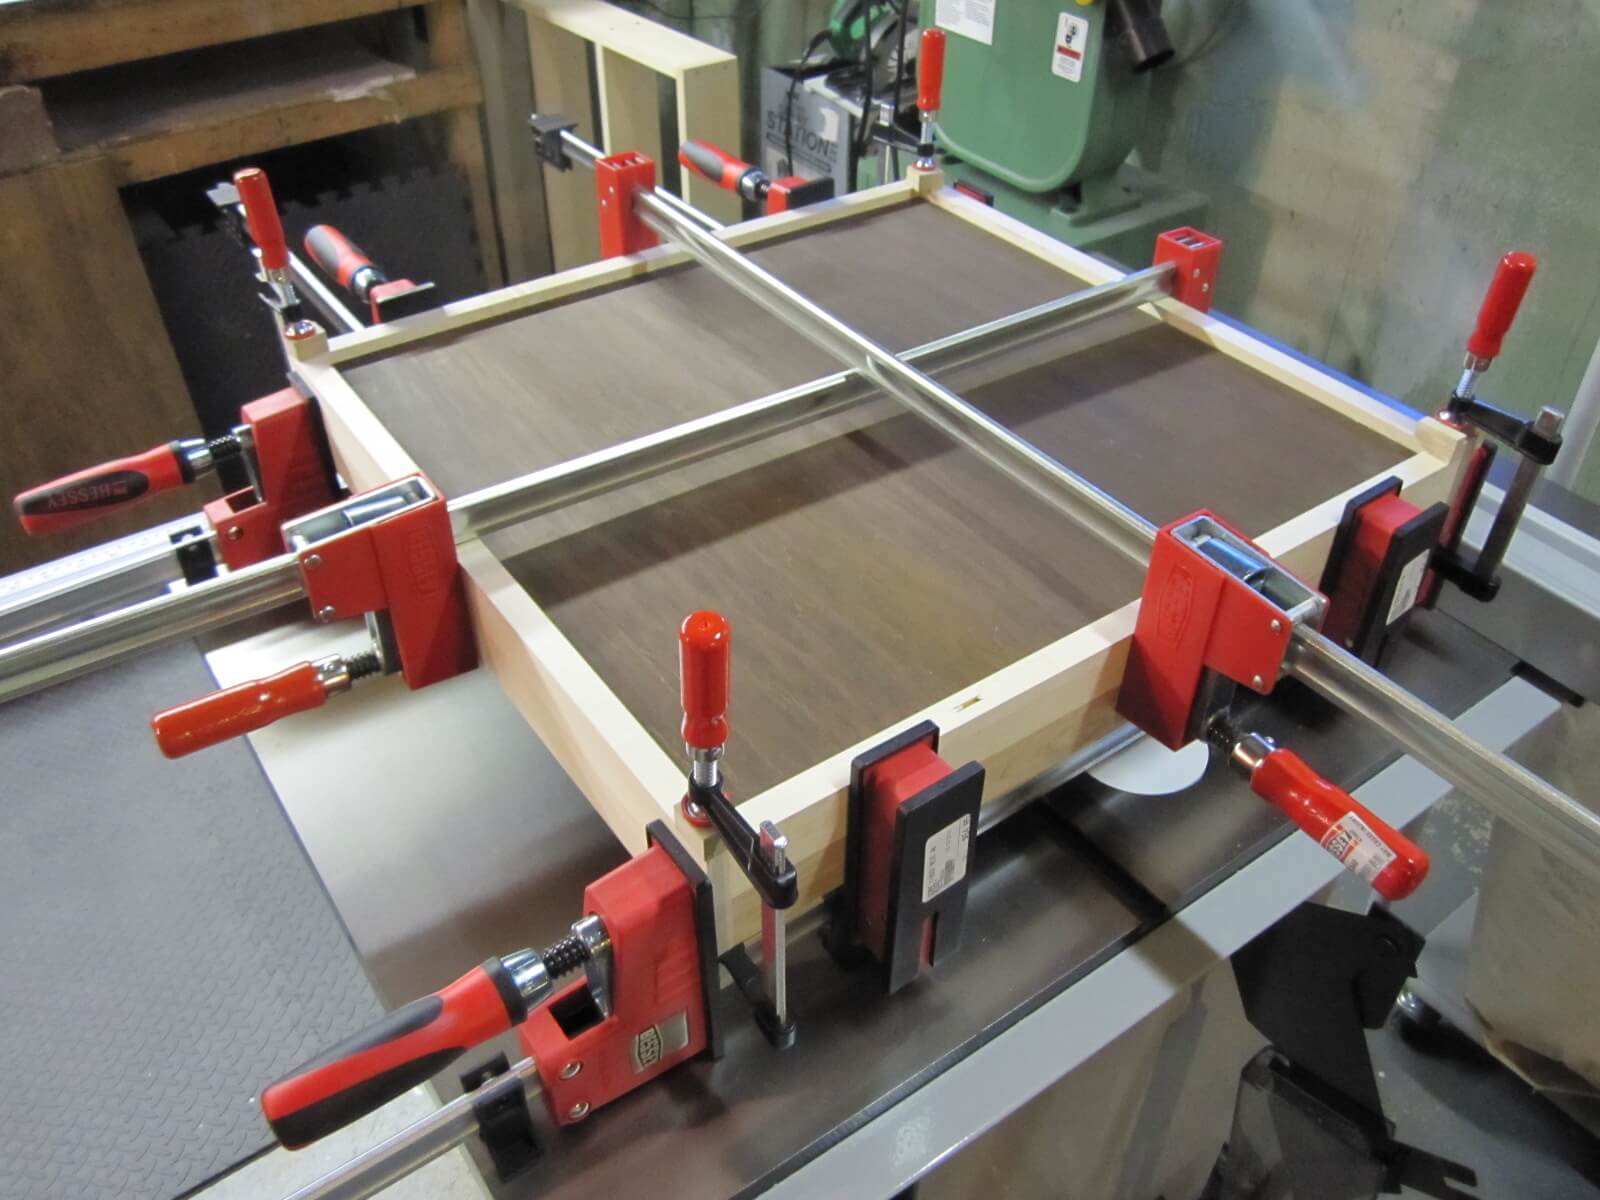
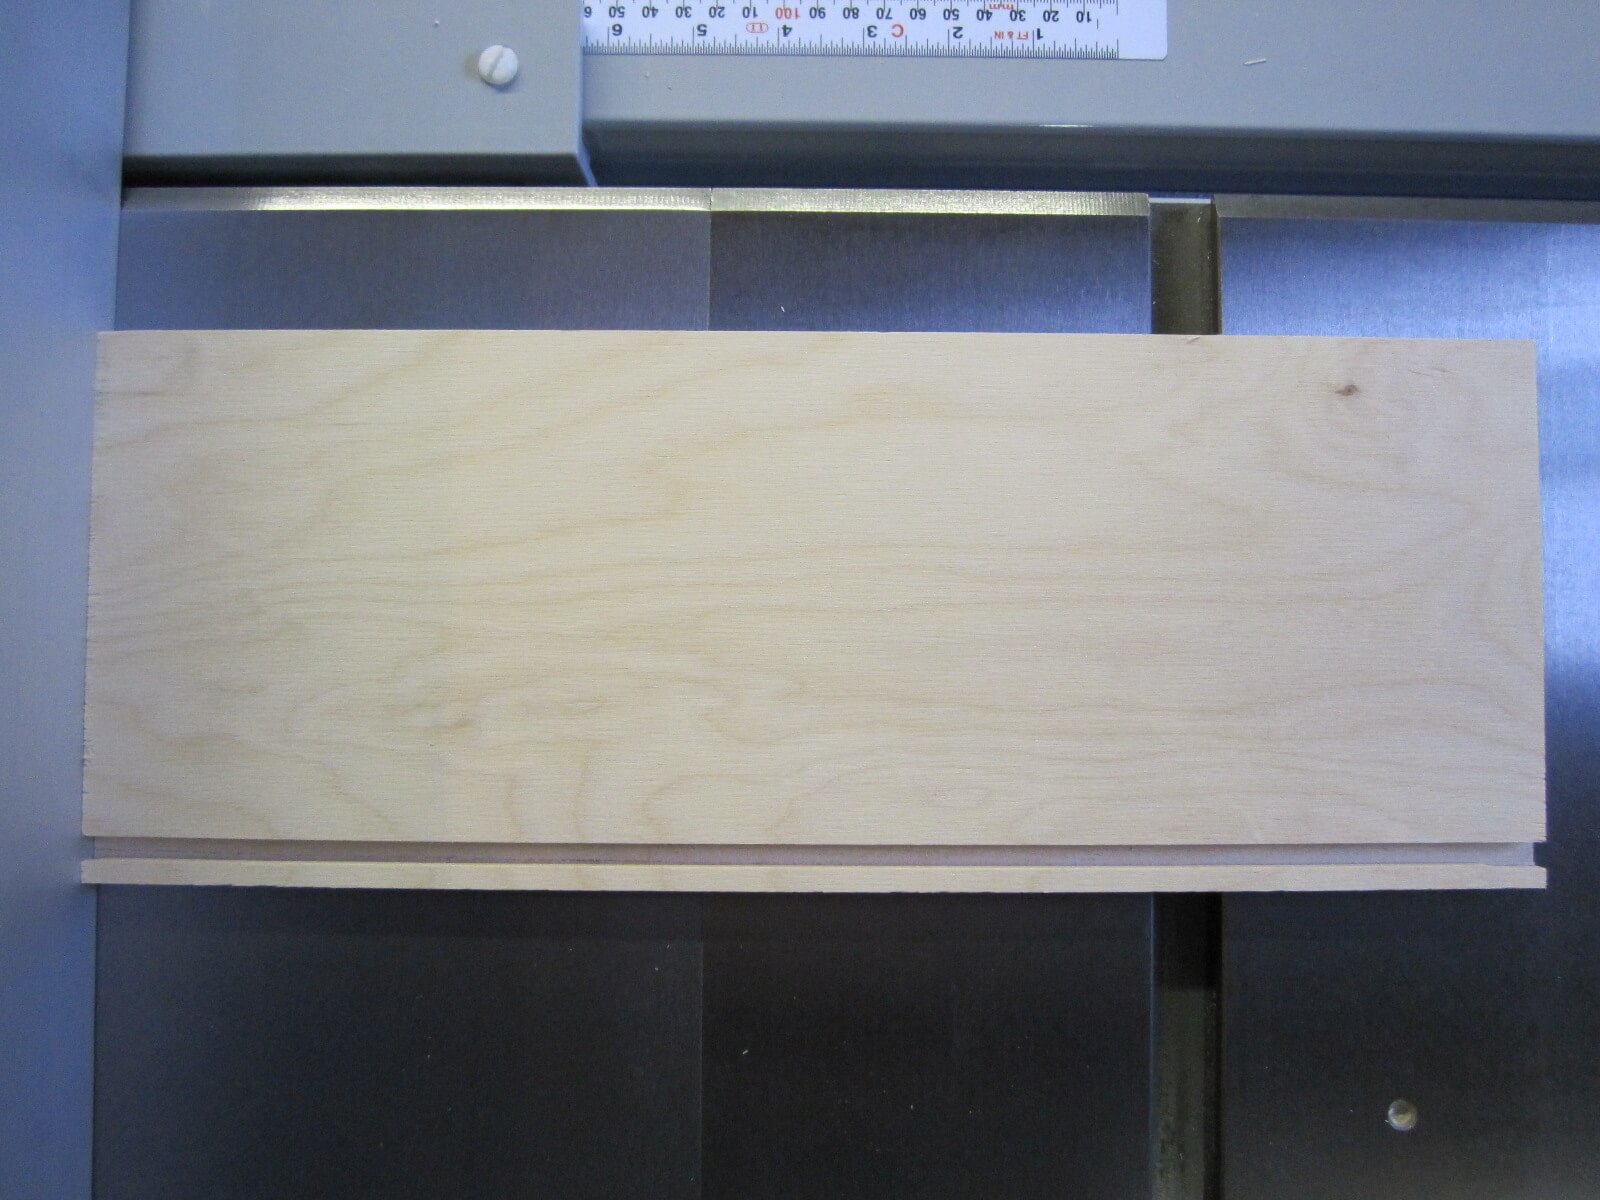
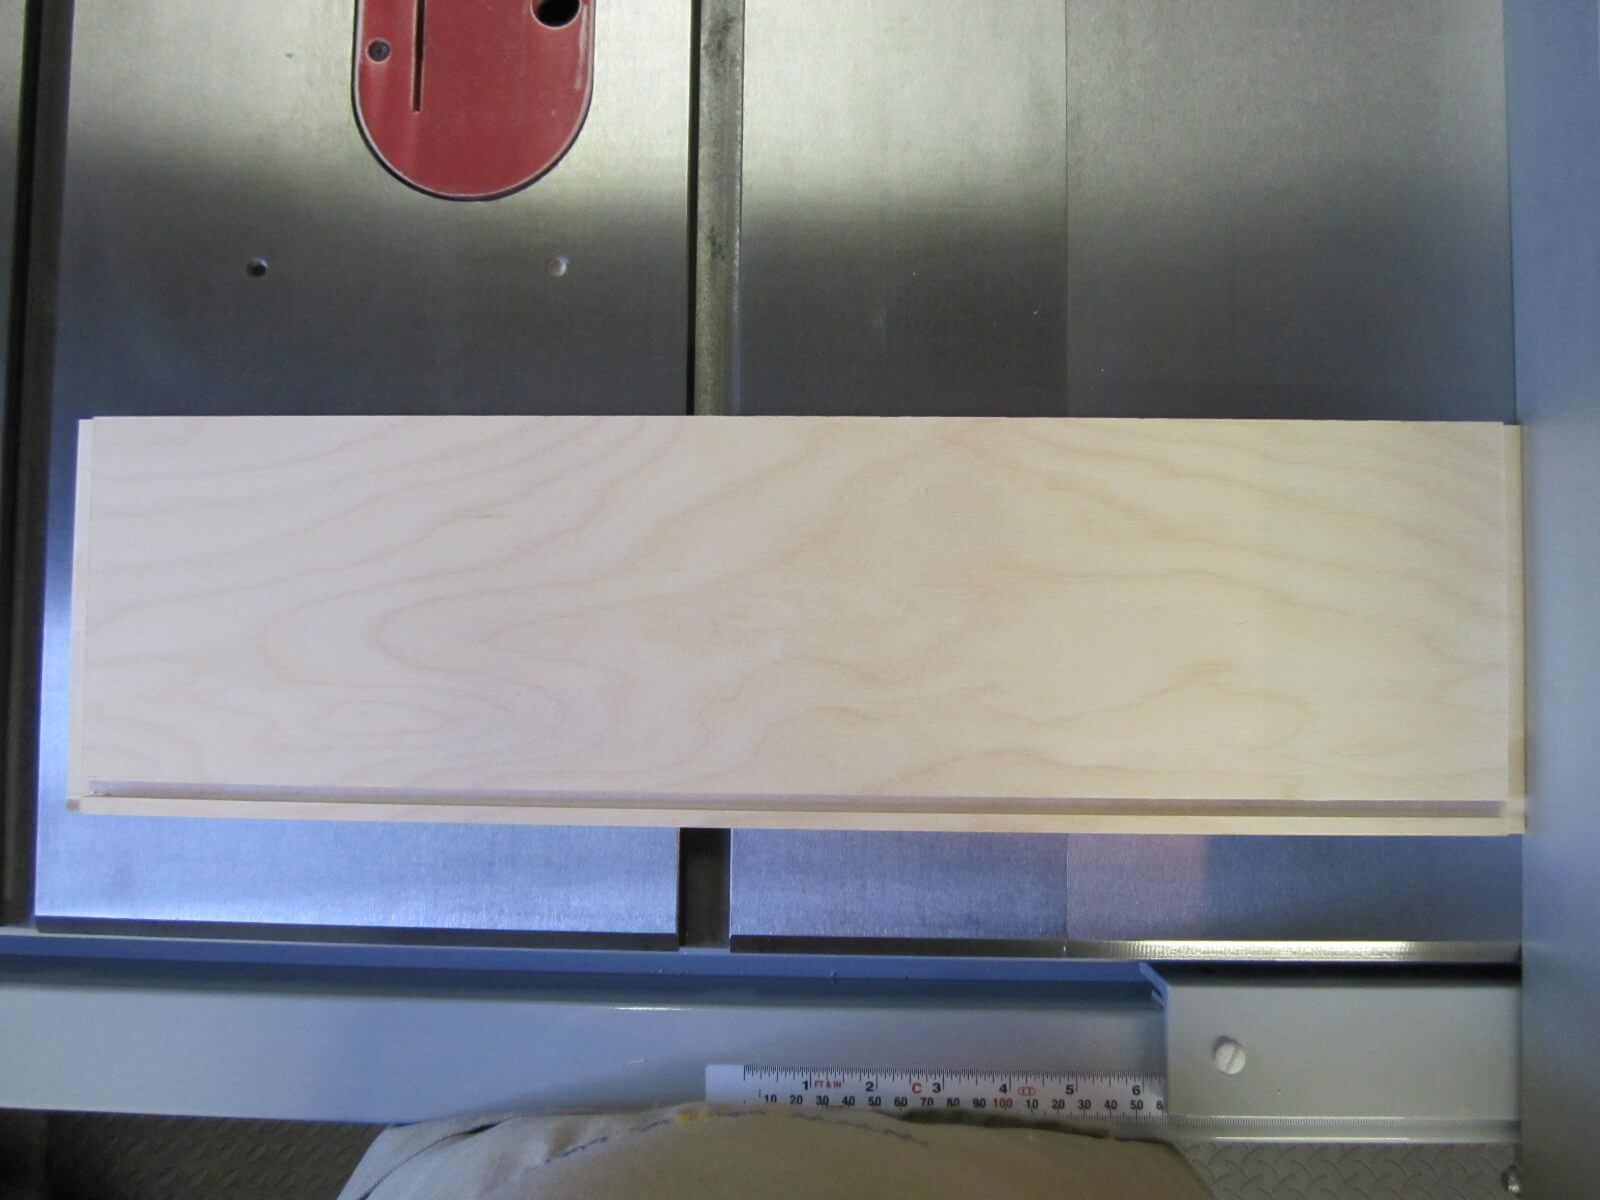
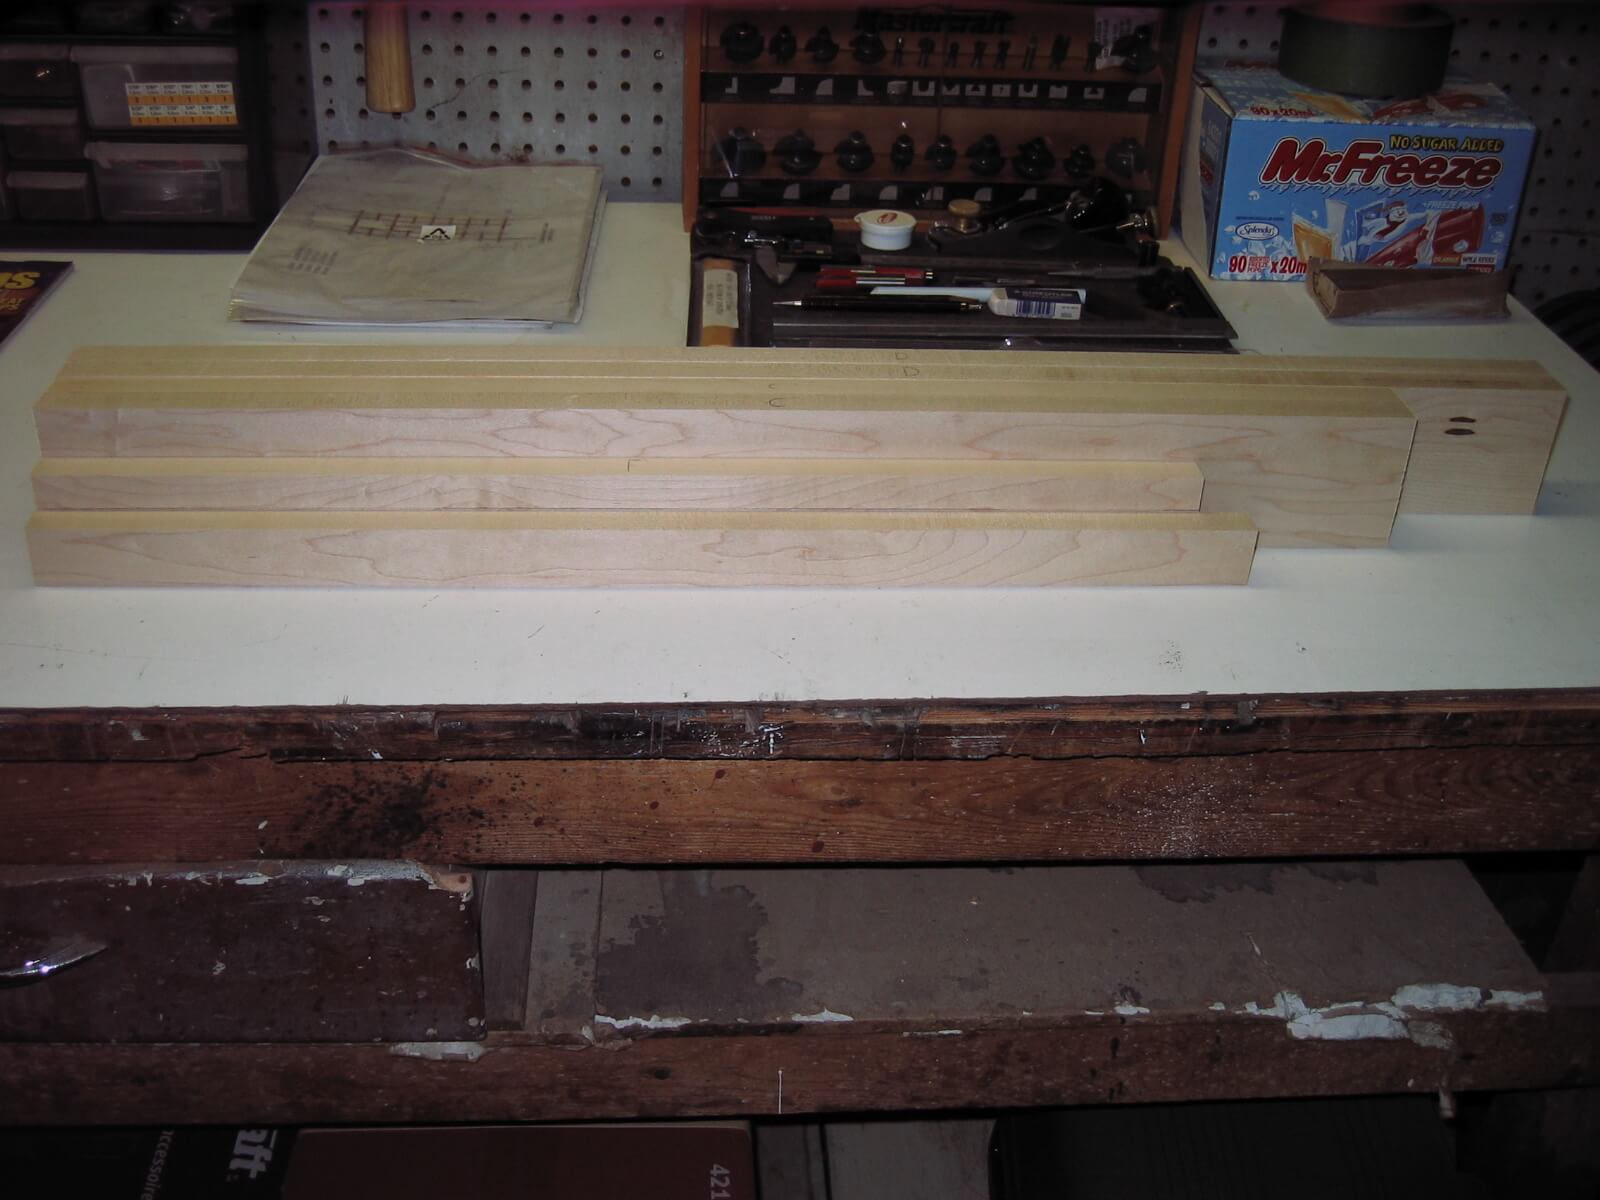
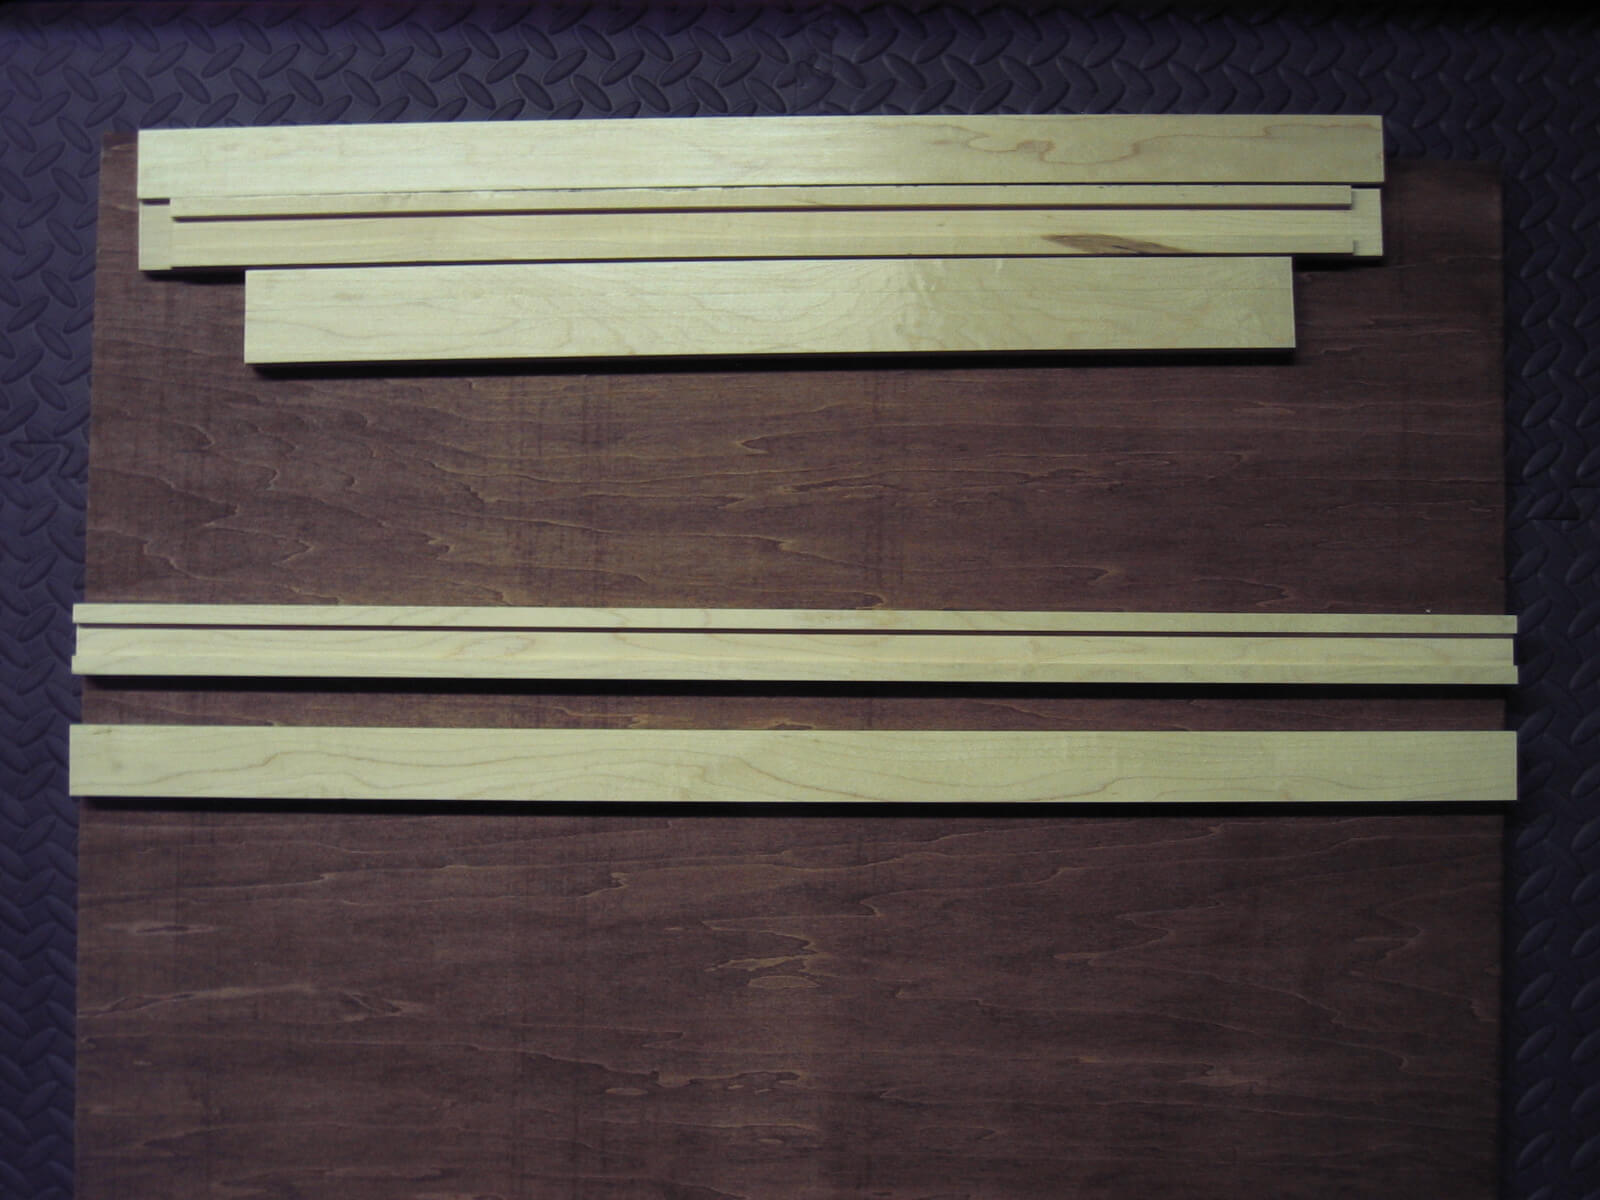
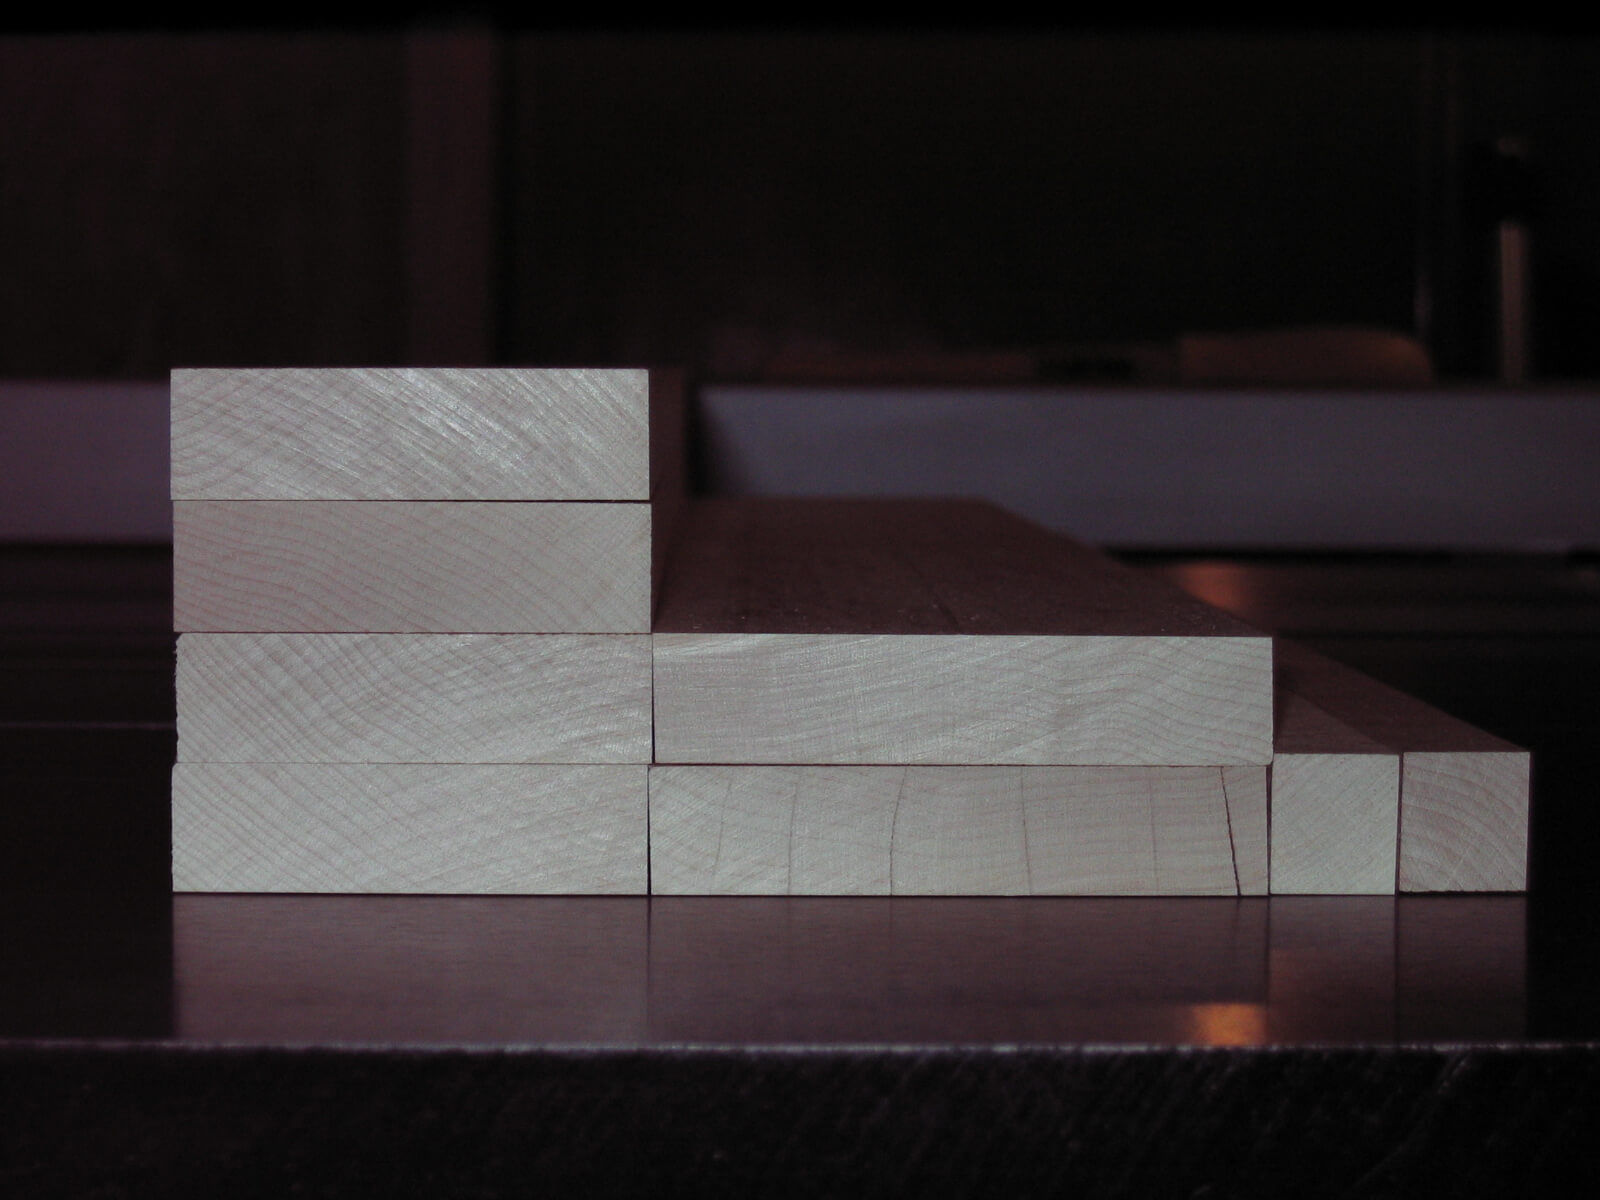
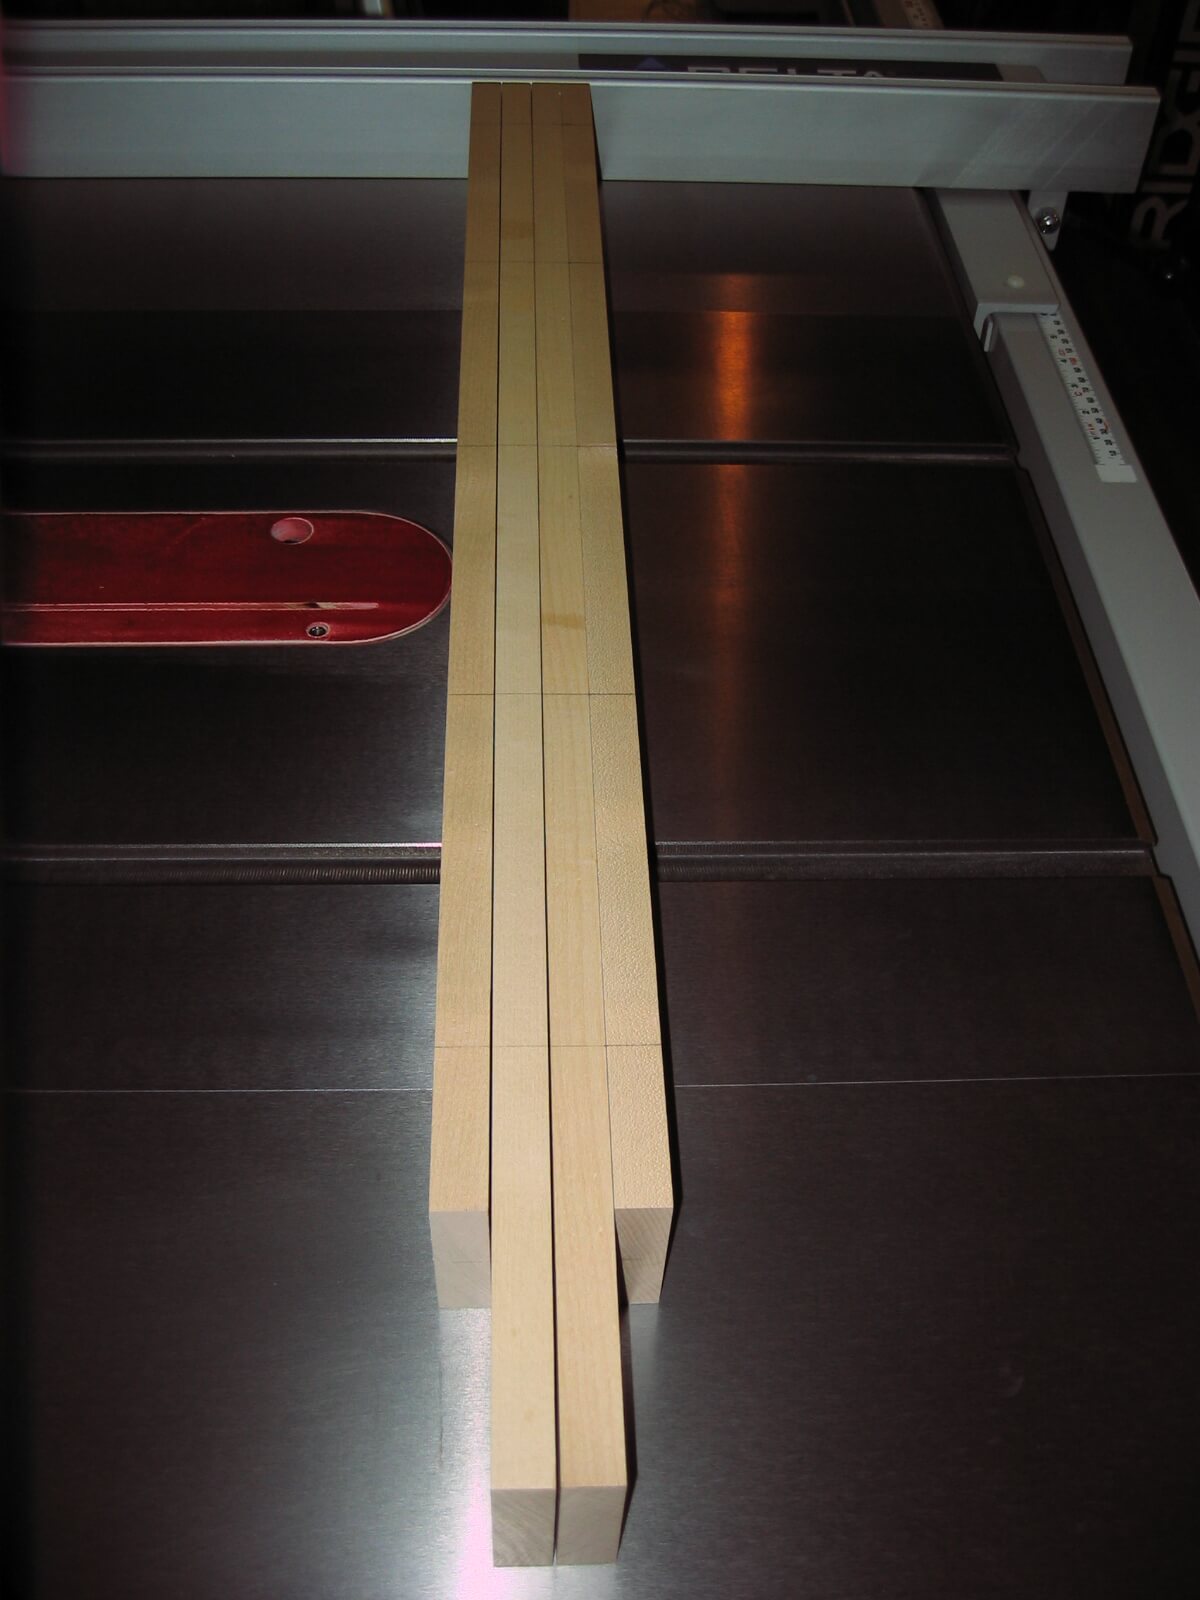
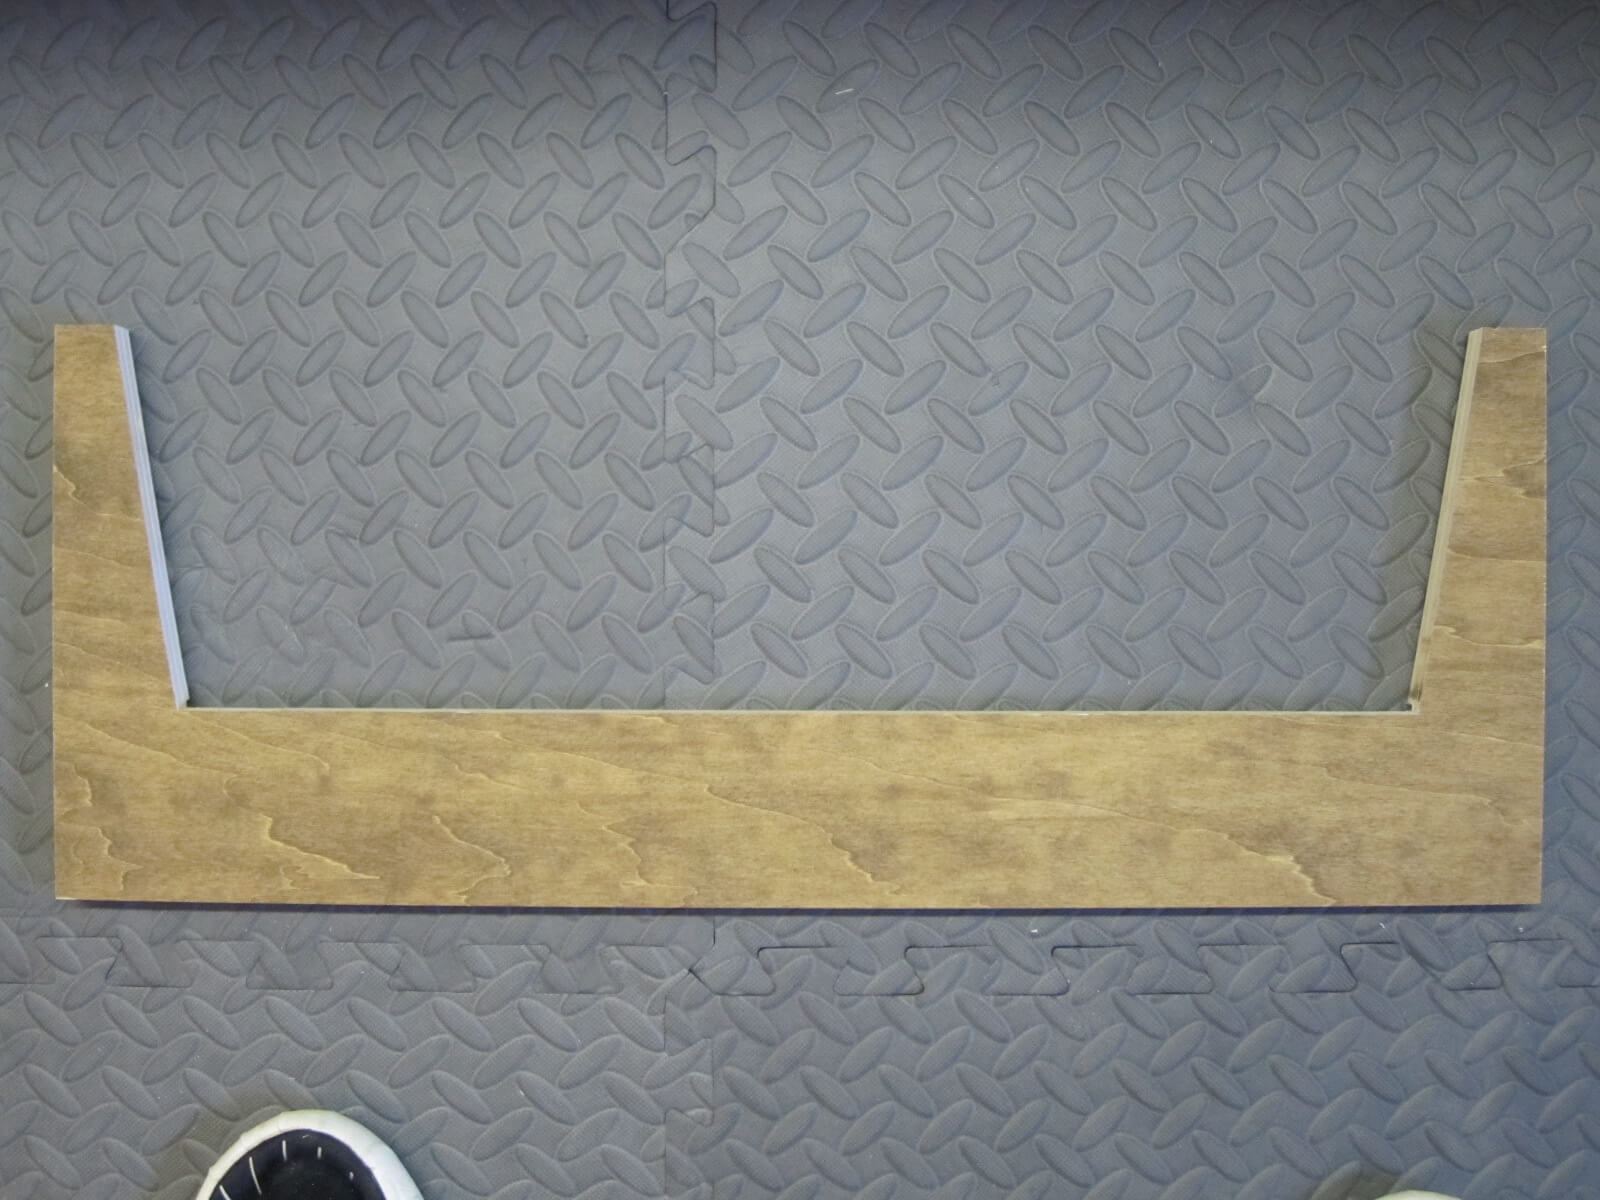
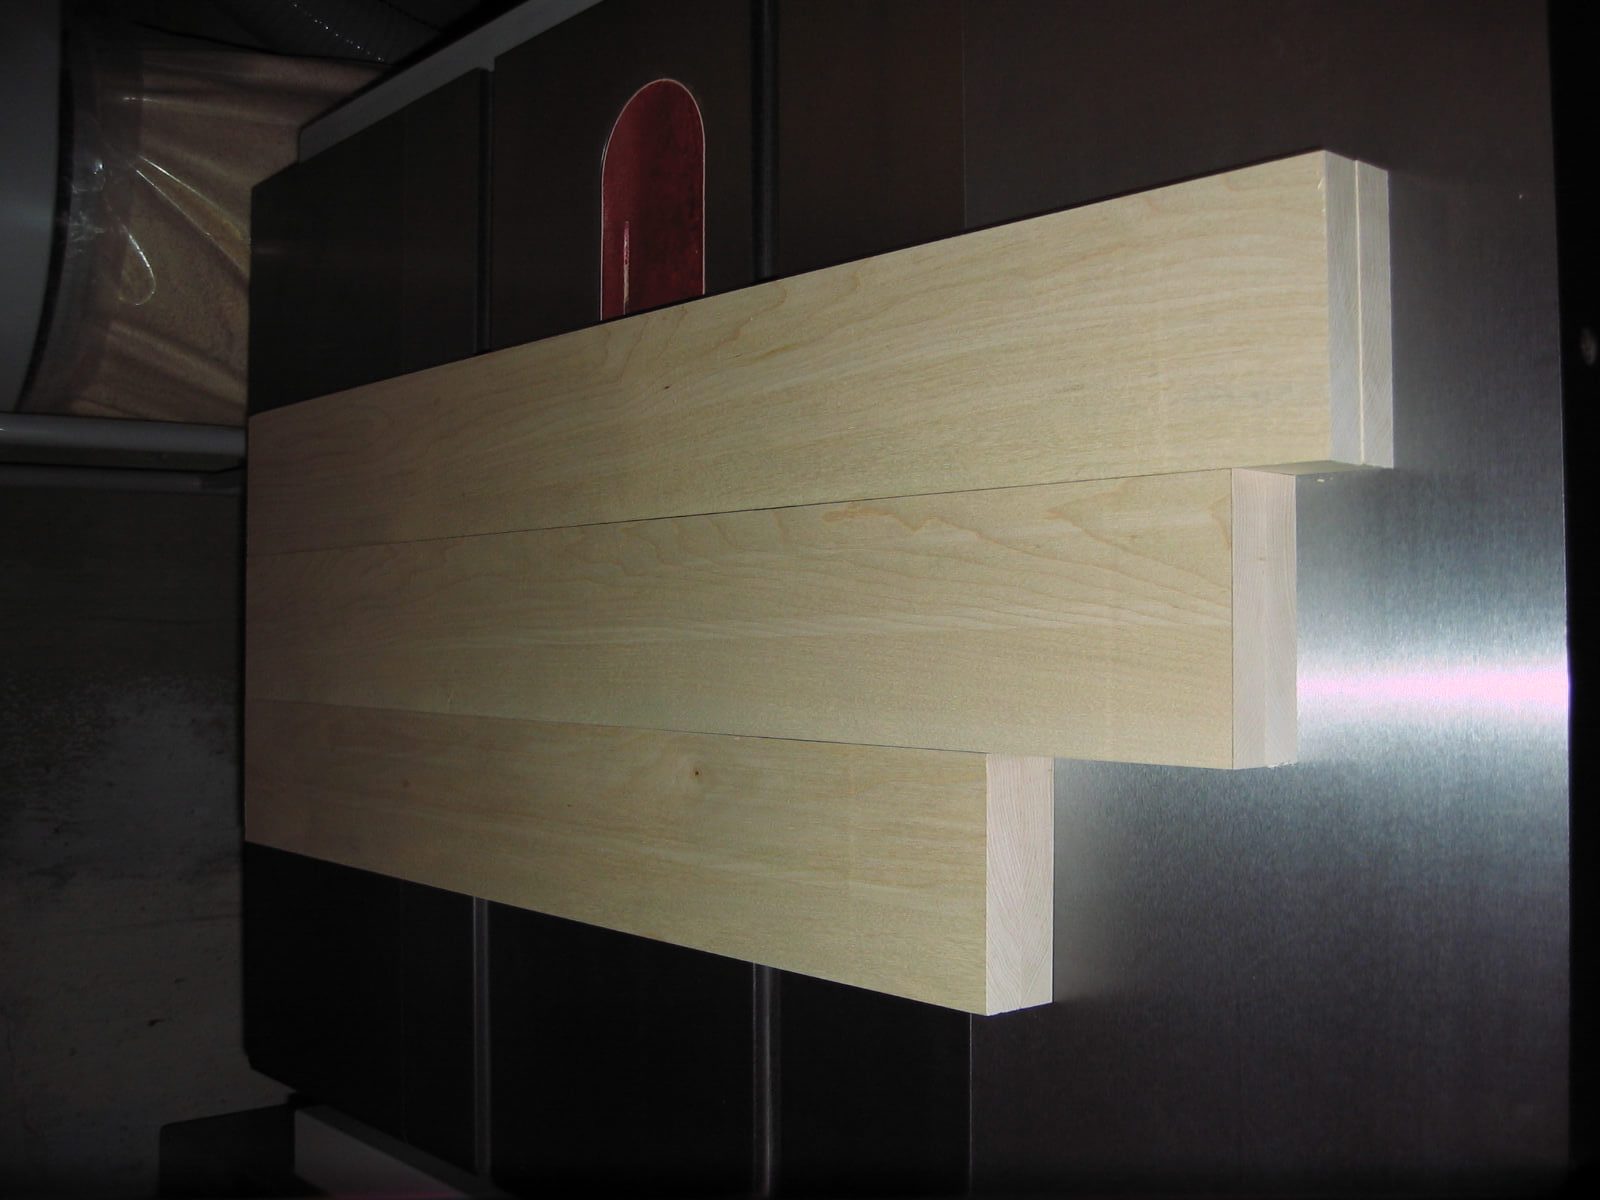
We can move on to the realization of the remaining frames. They, too, were prepared in raw wooden planks. Here they are finished:
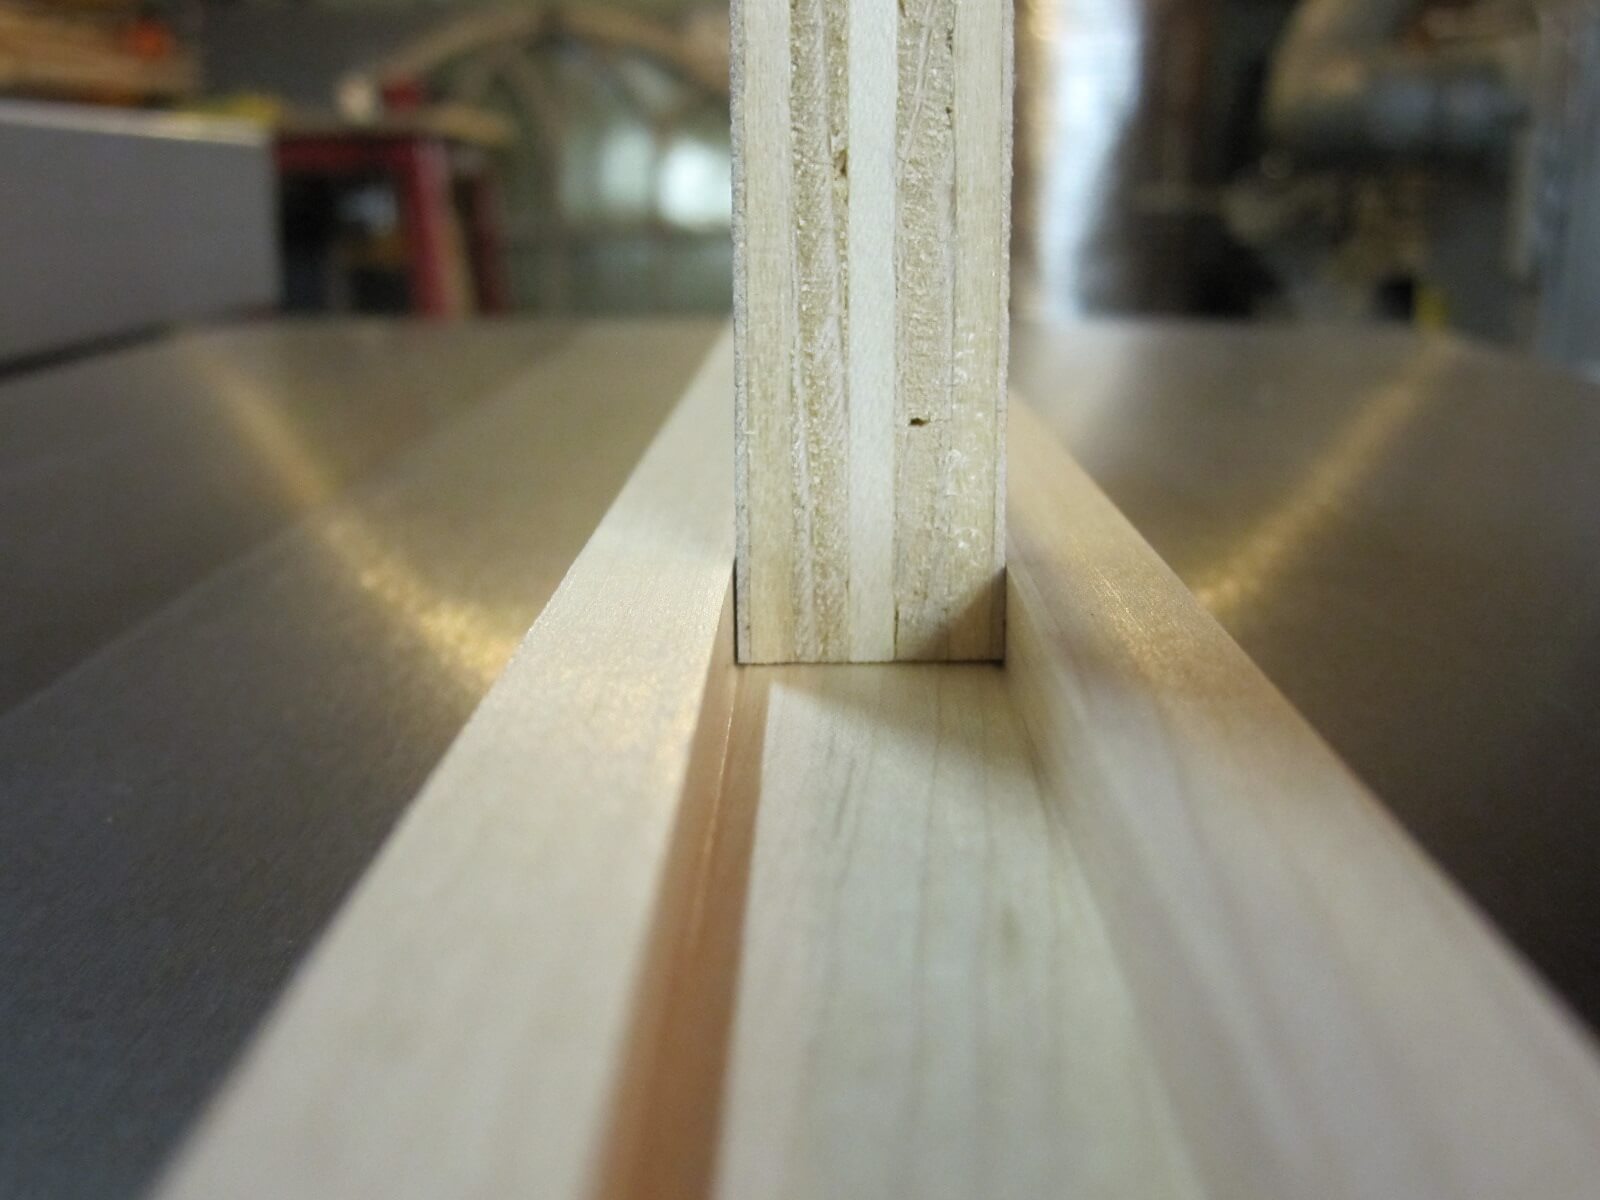
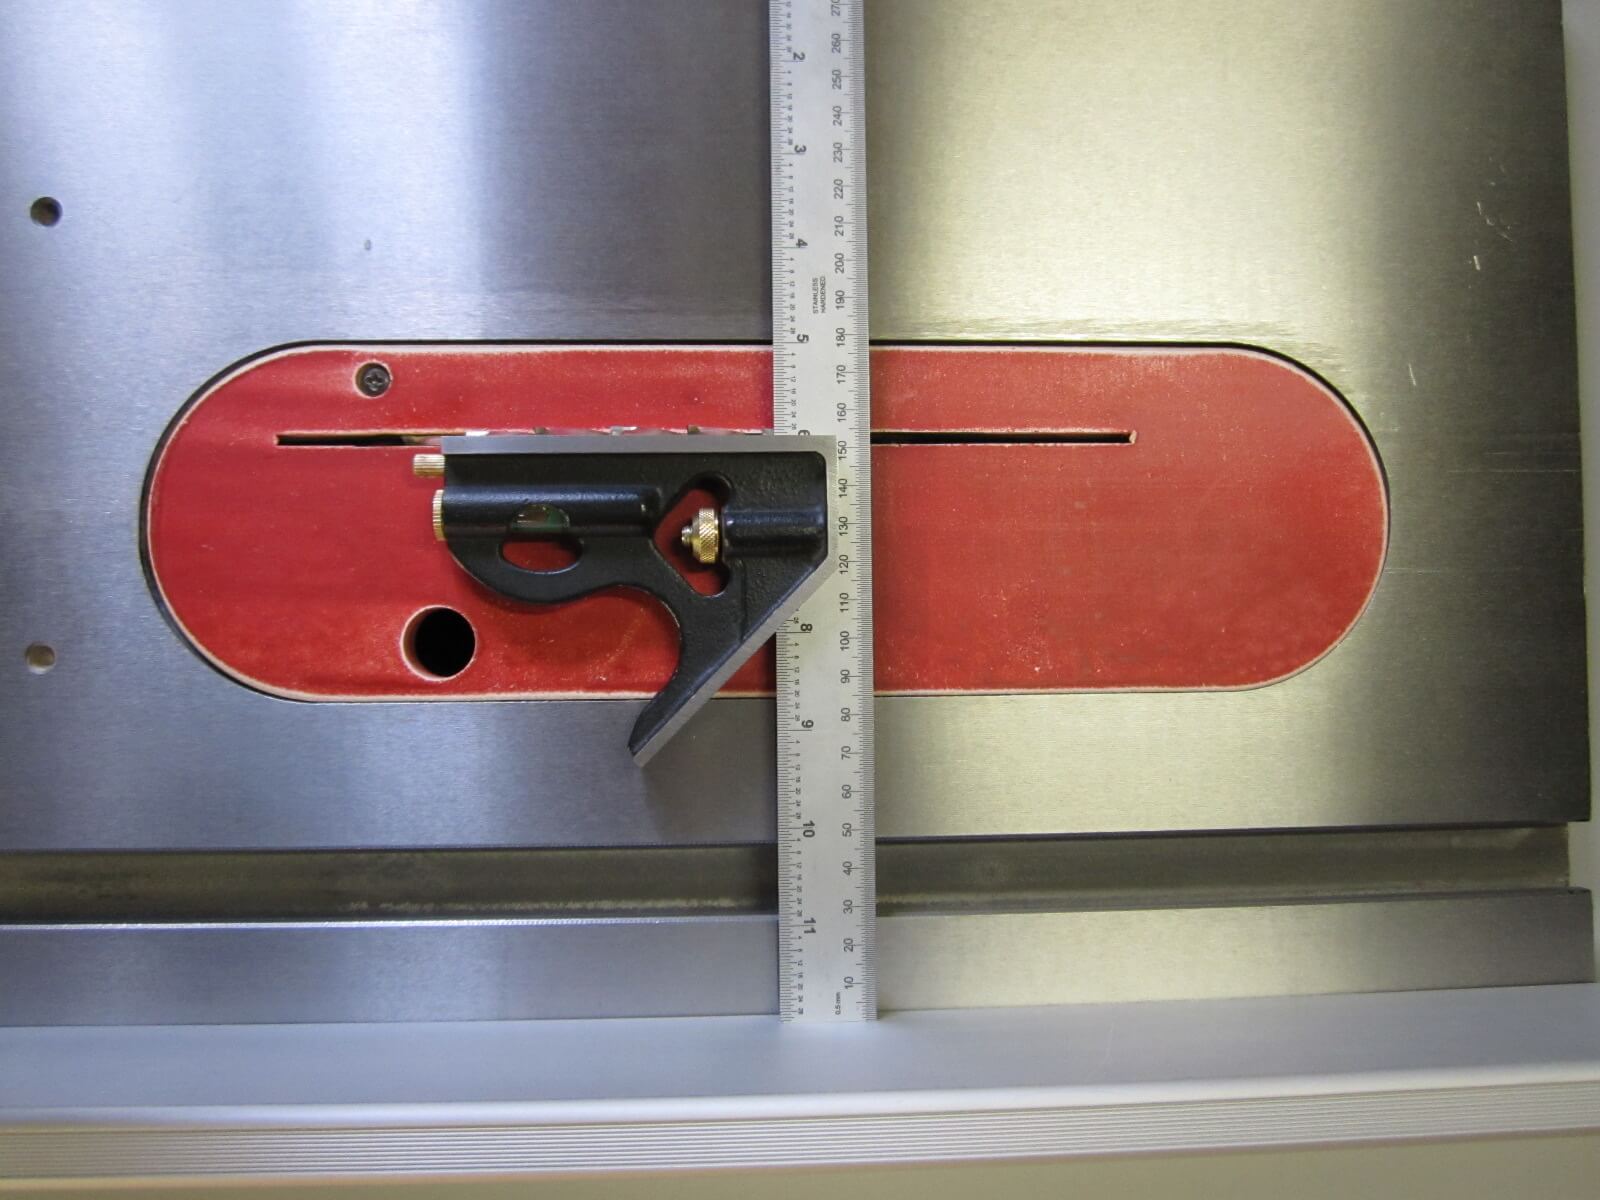
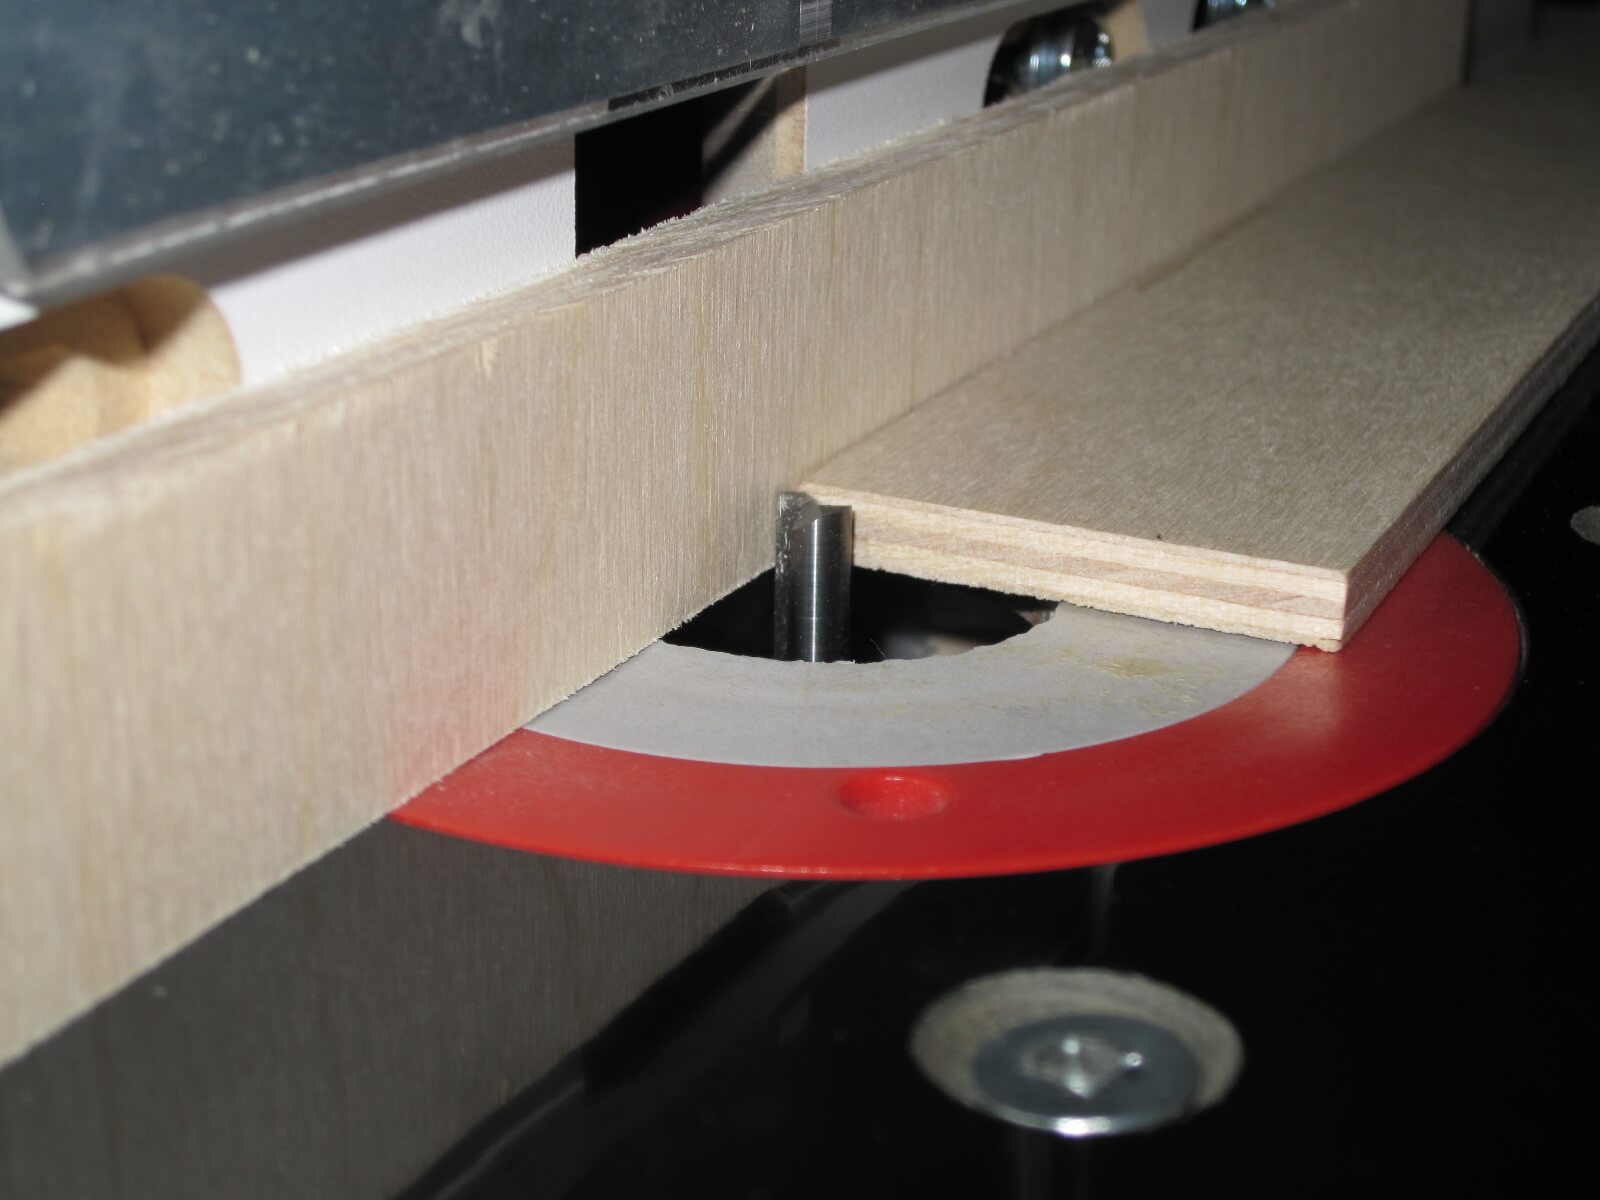
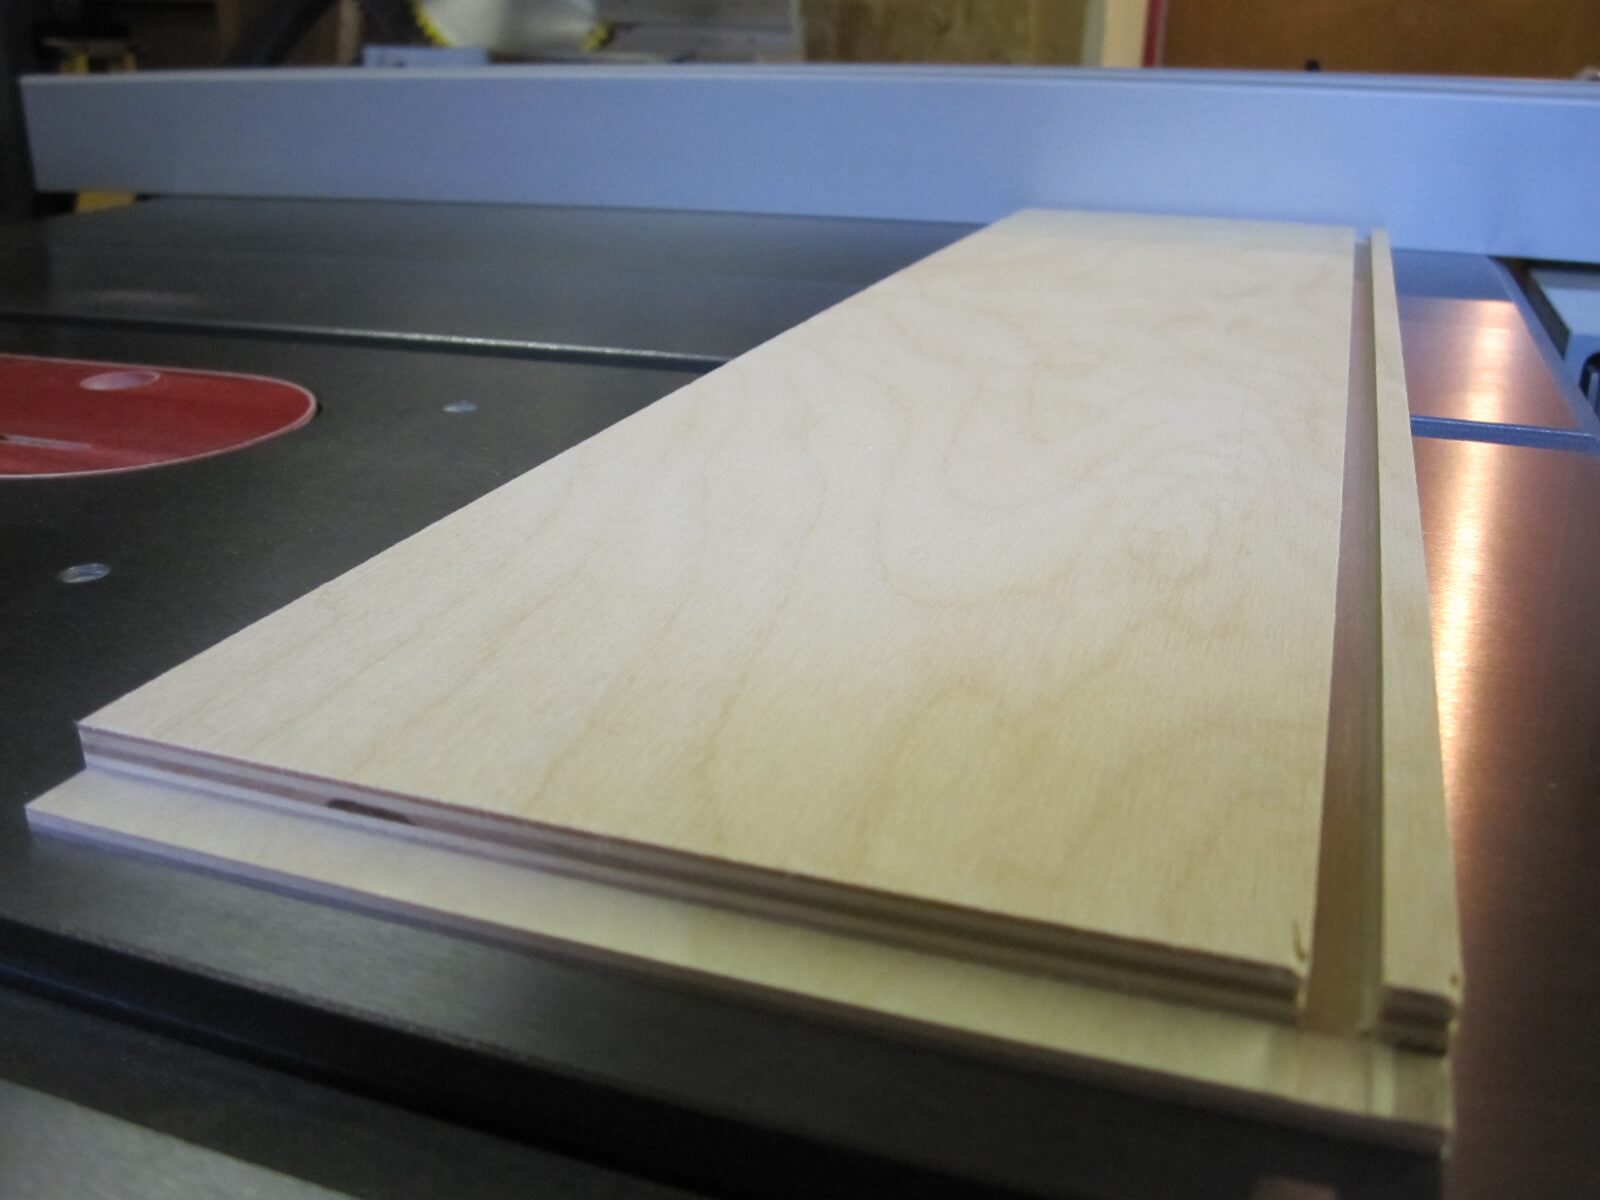
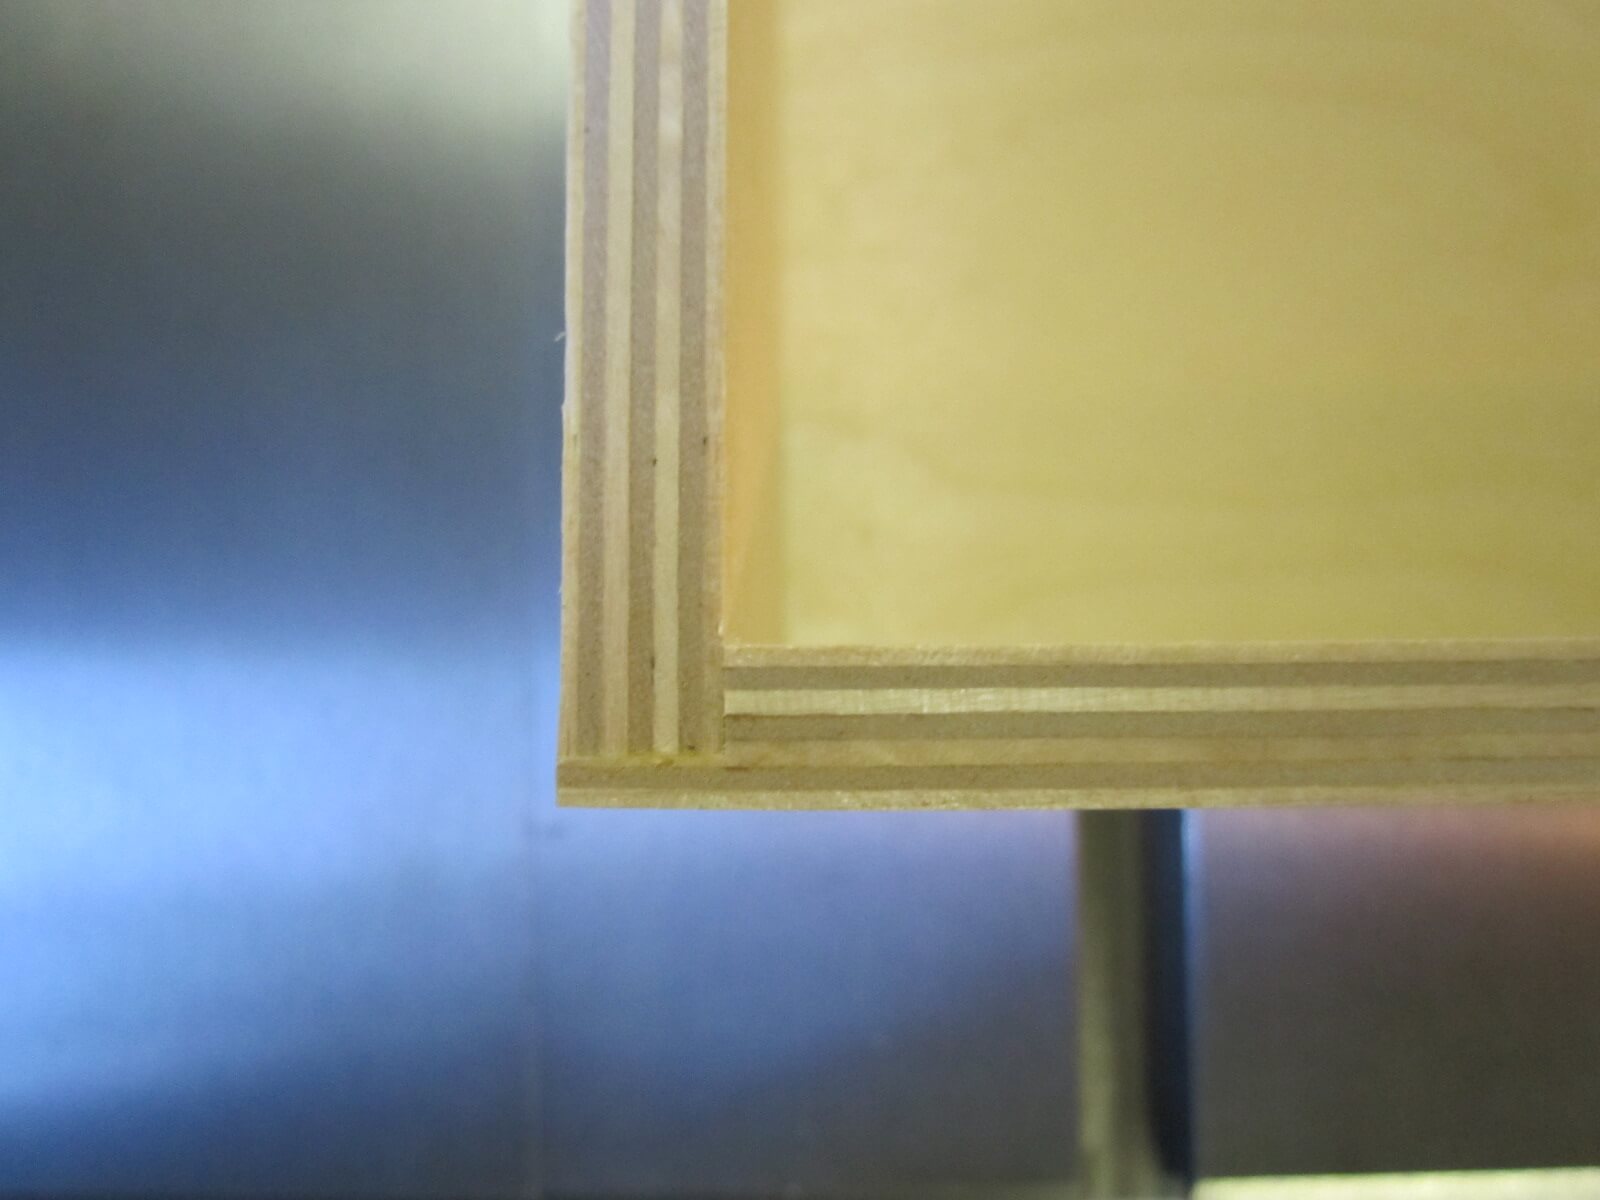
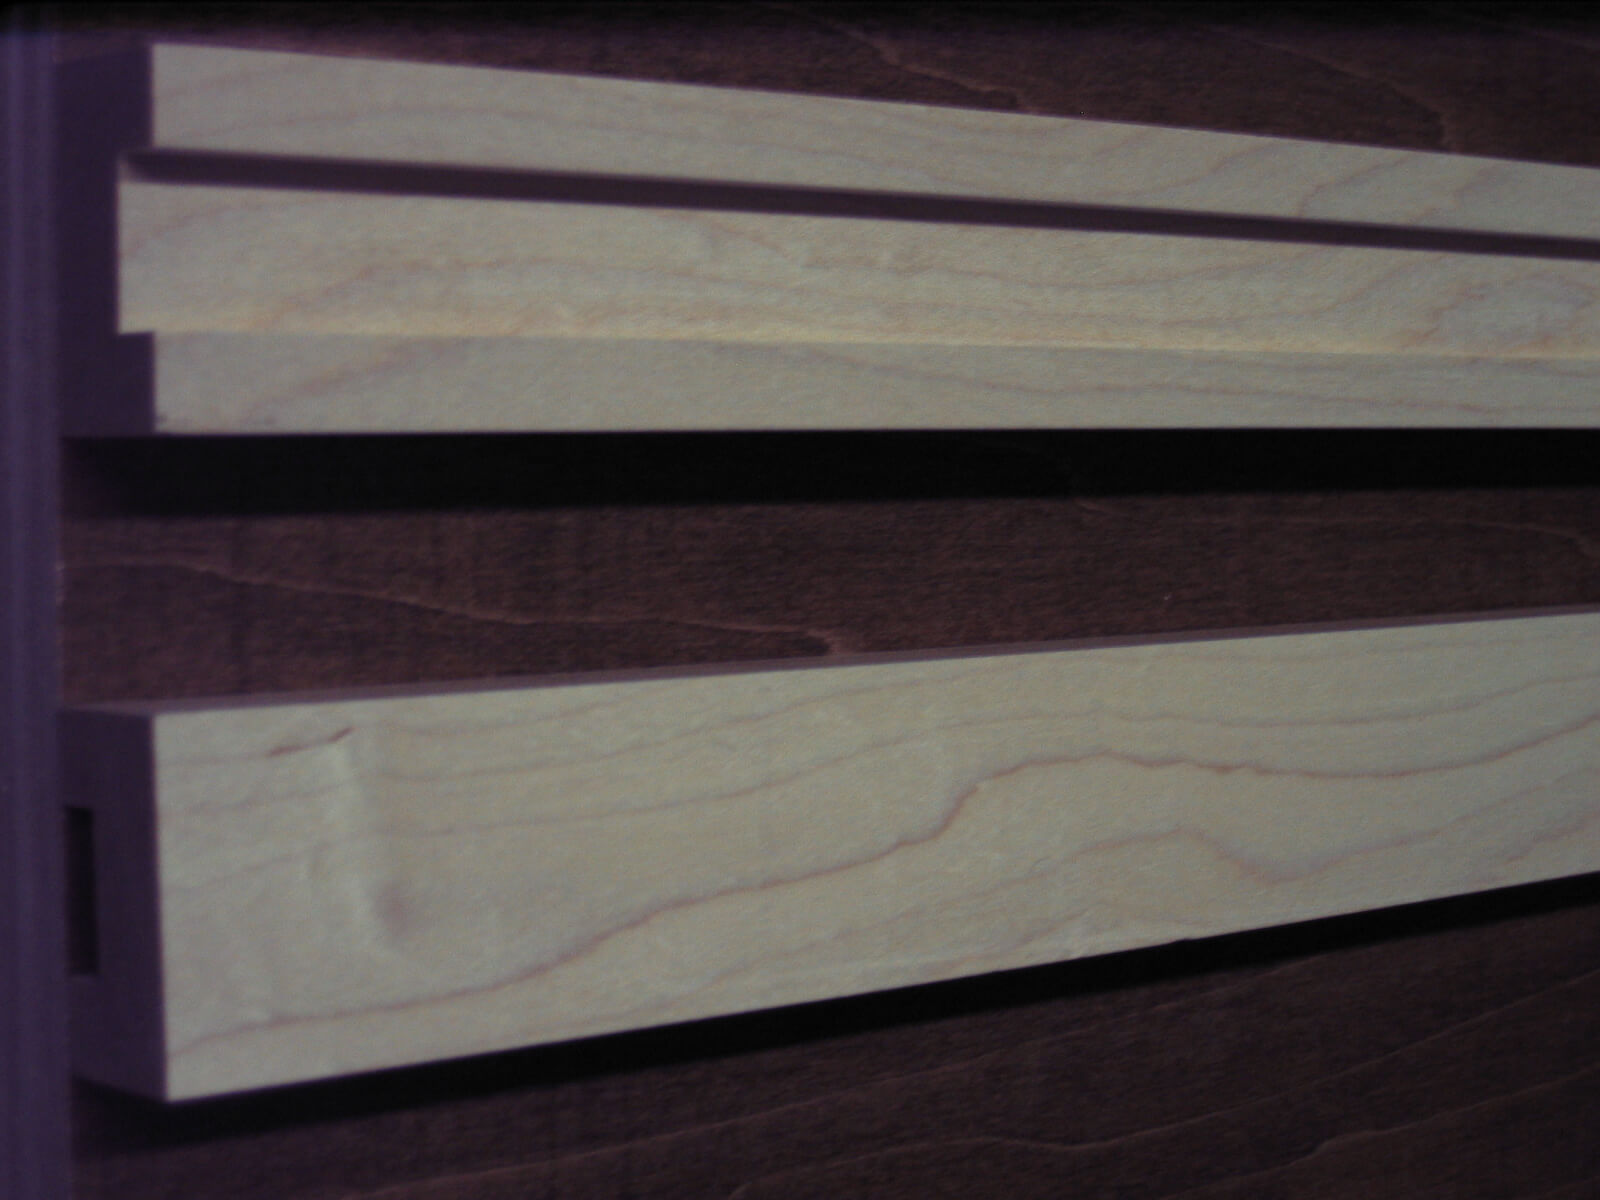
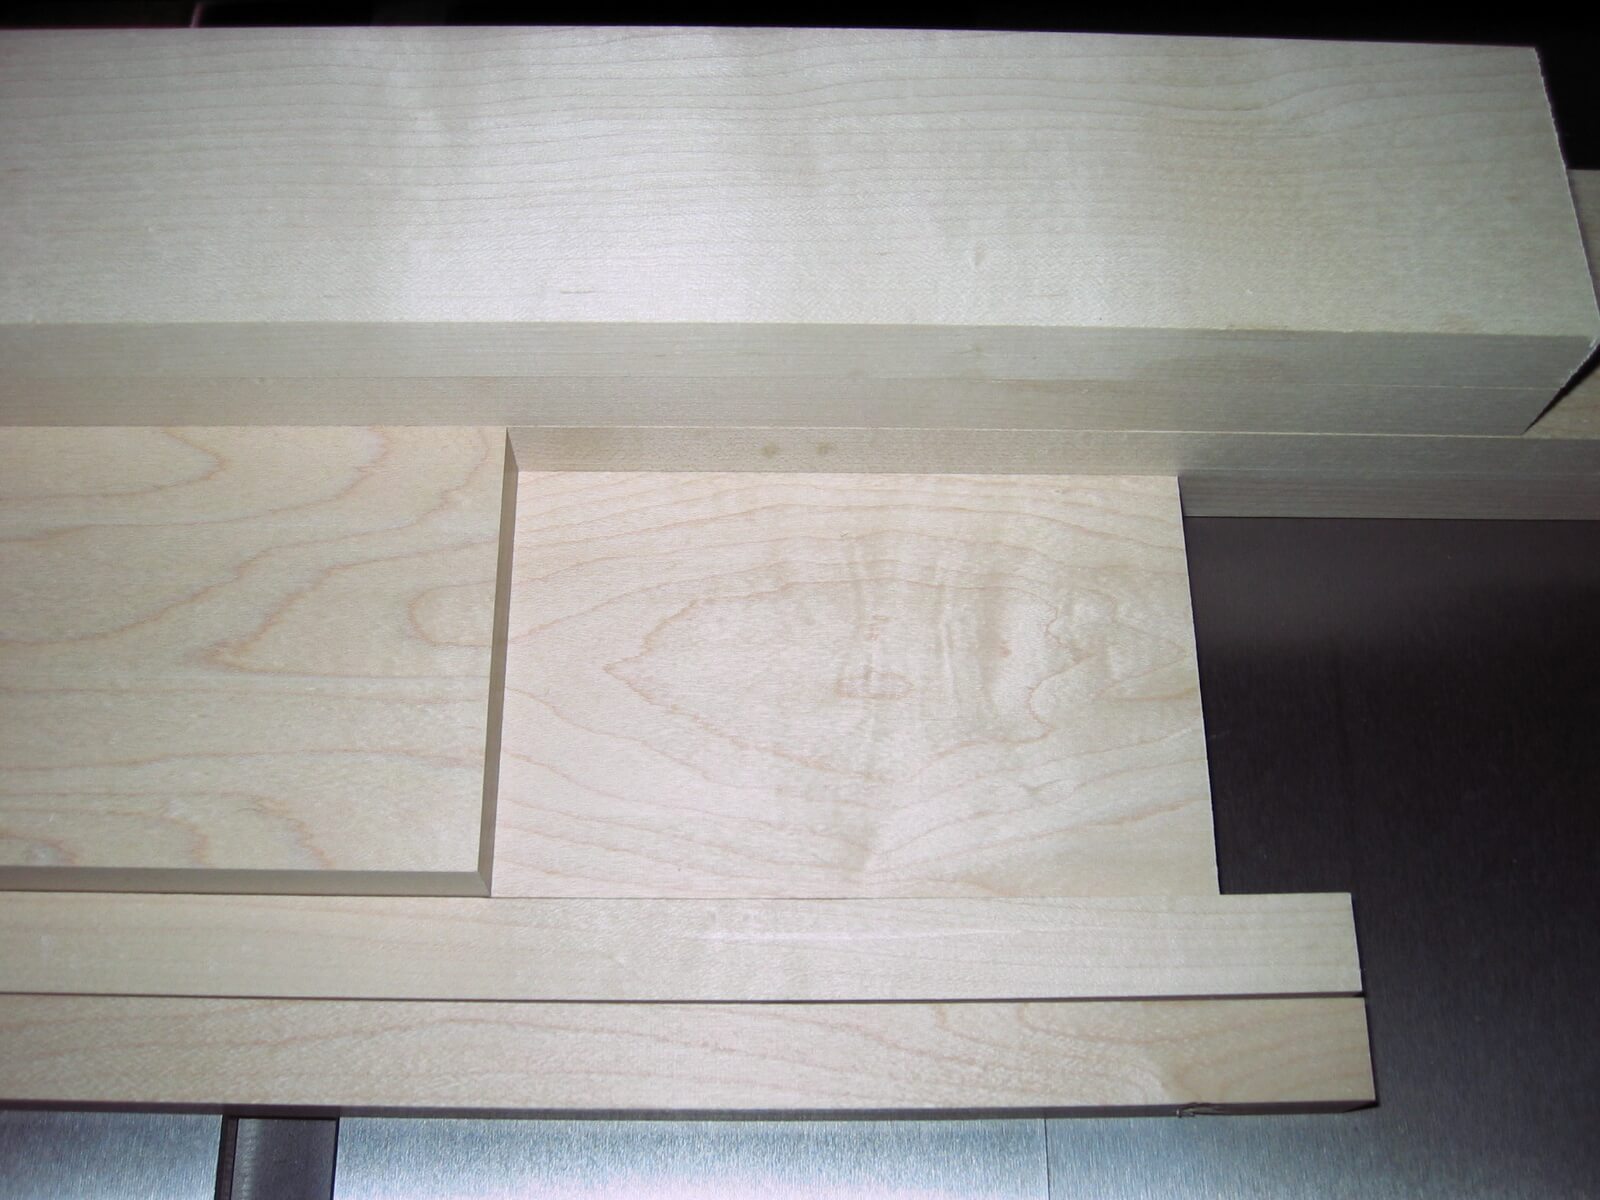
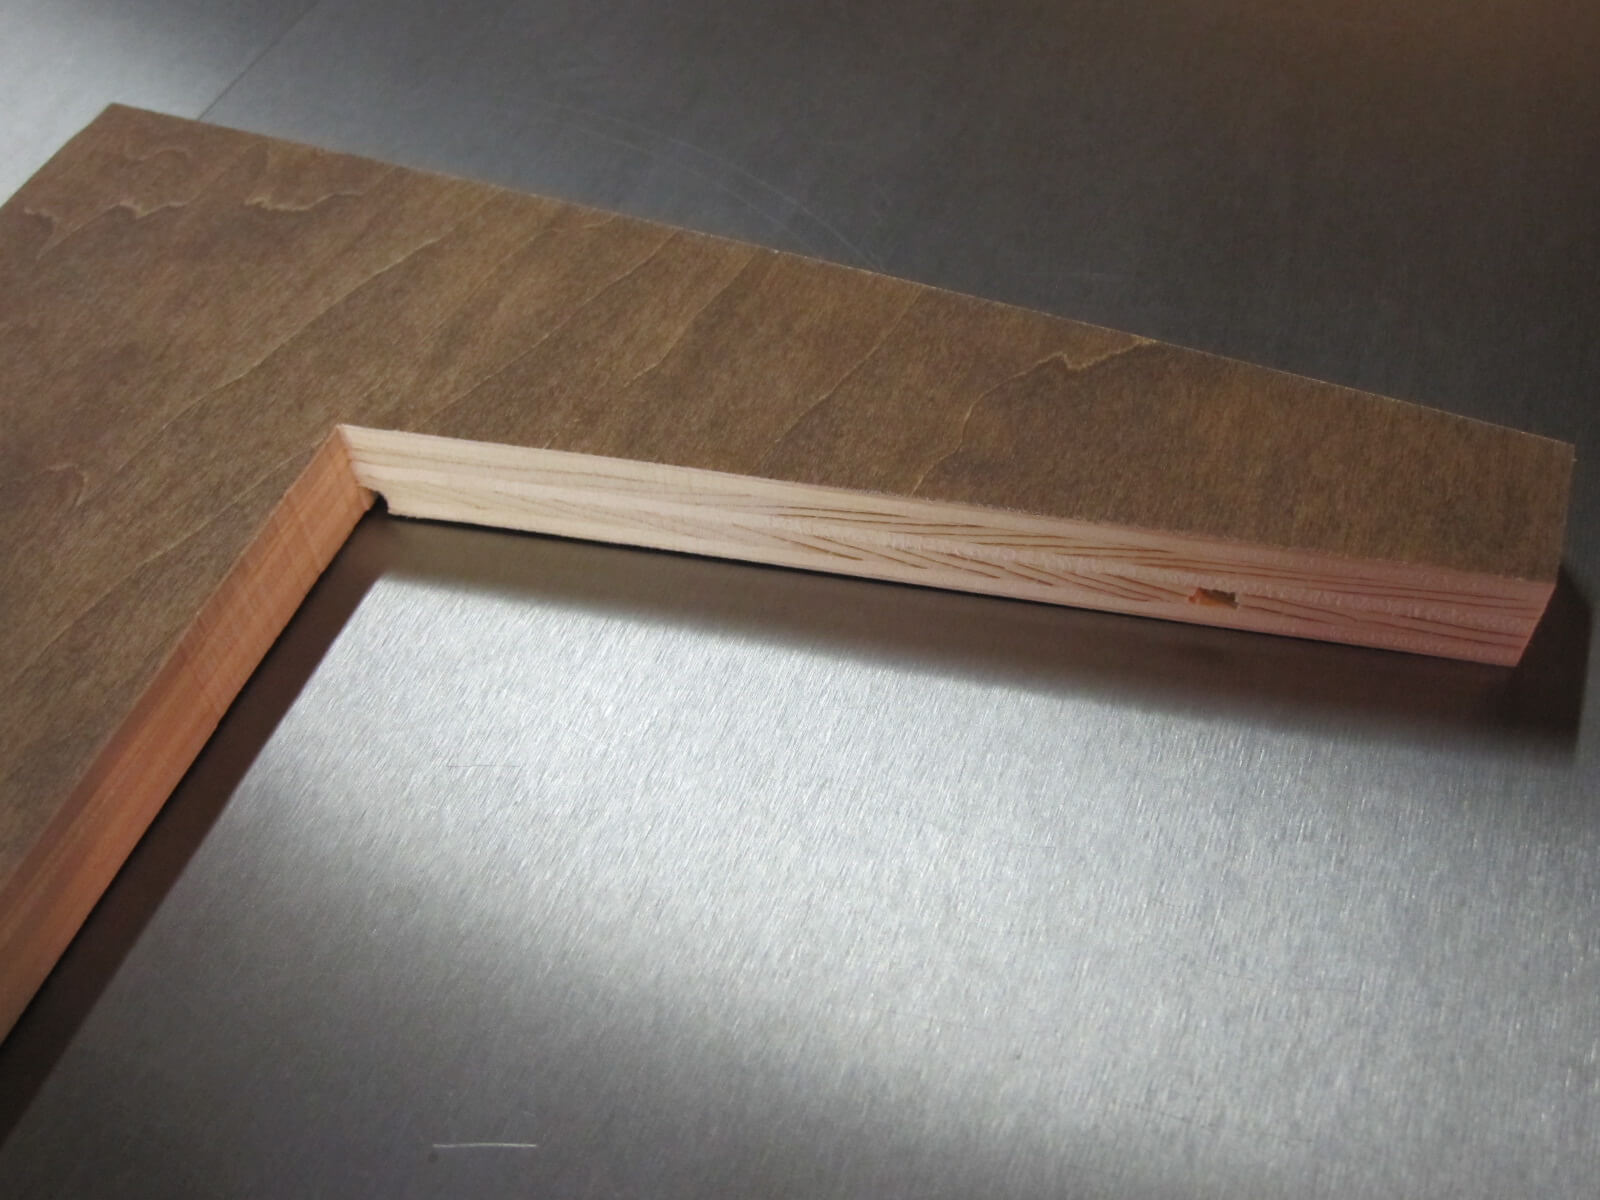
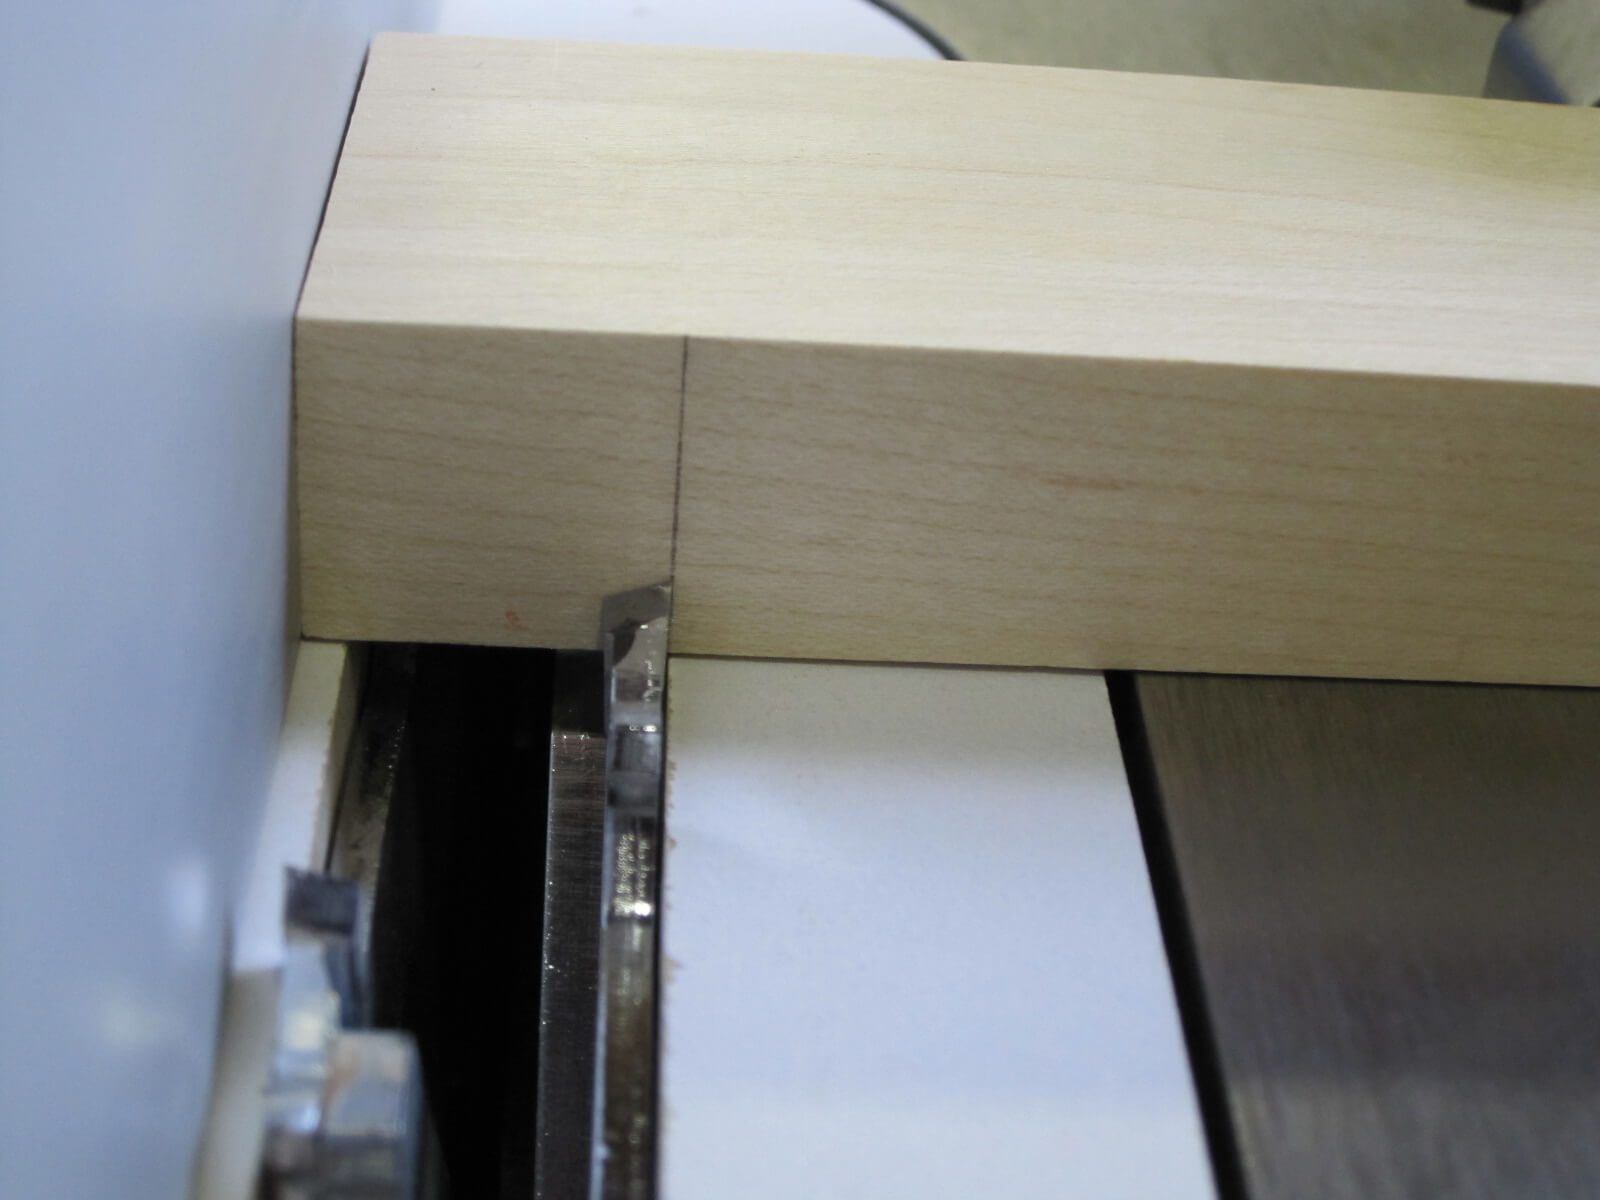
The pieces of the frames will be assembled to the parts of the boxes thanks to grooves made on the table saw equipped with a grooving blade:
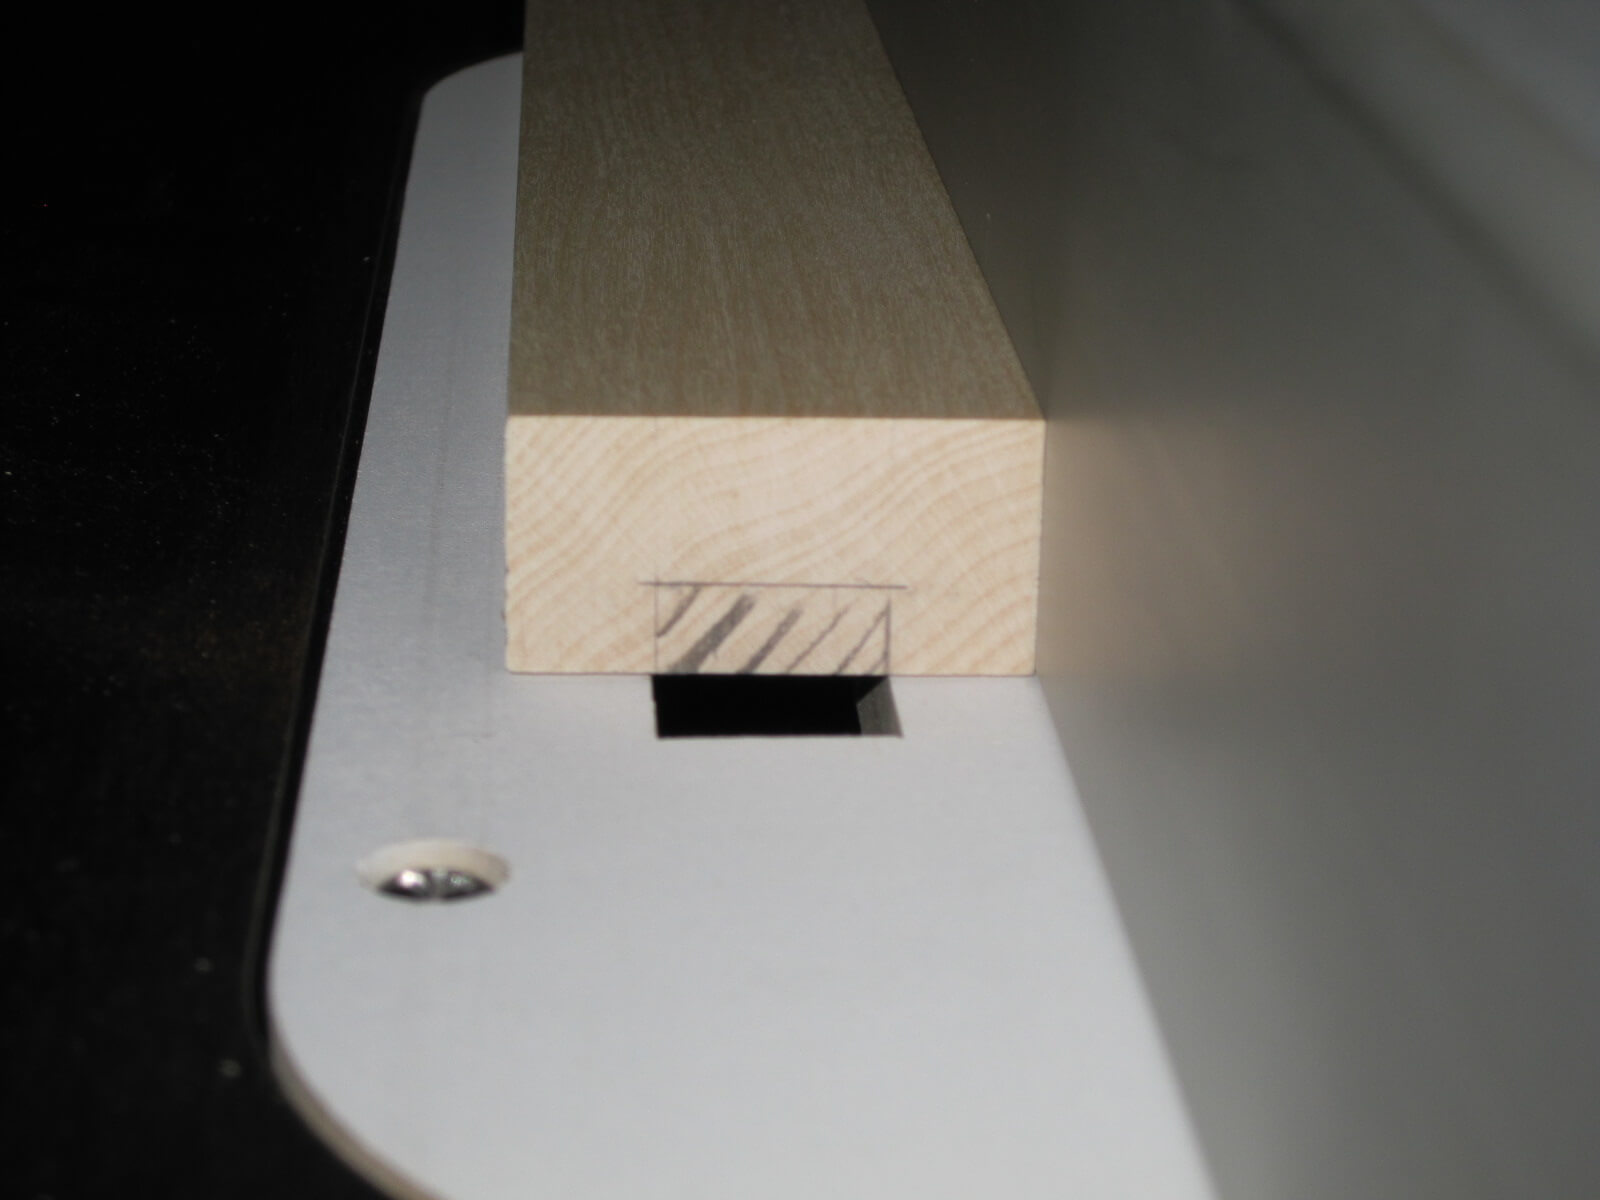
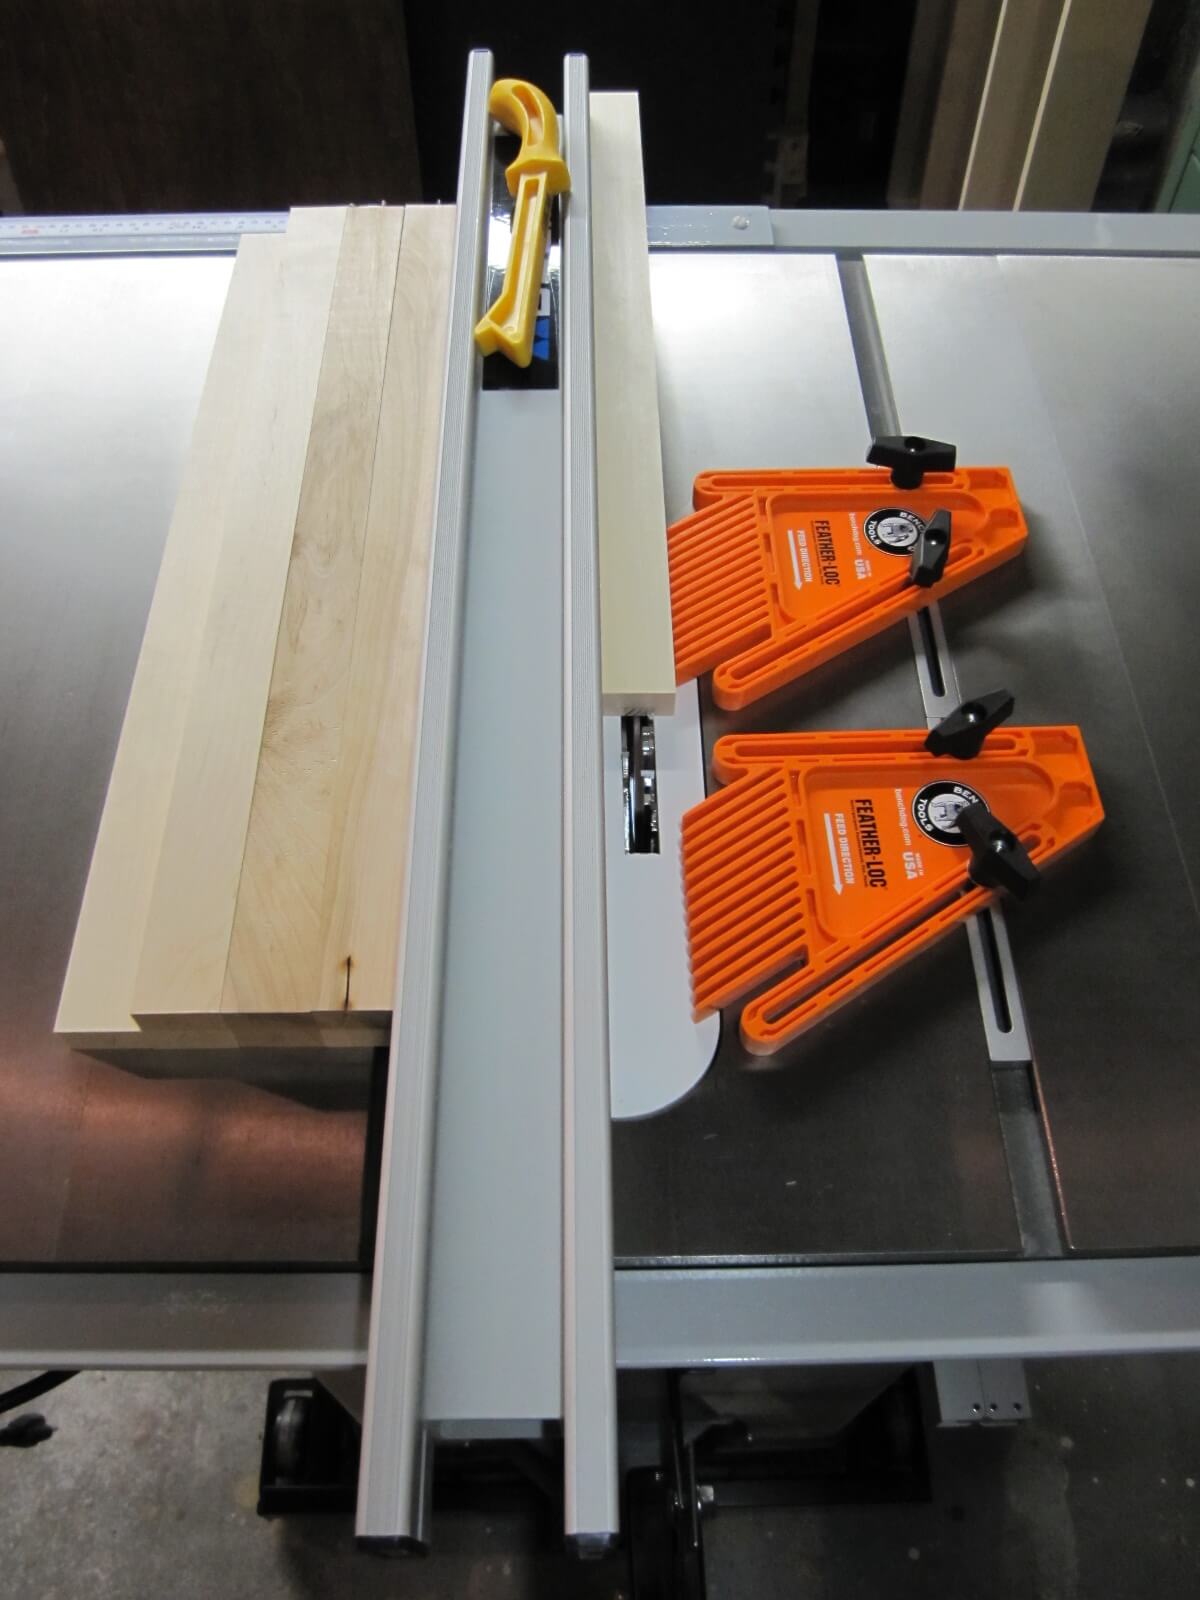
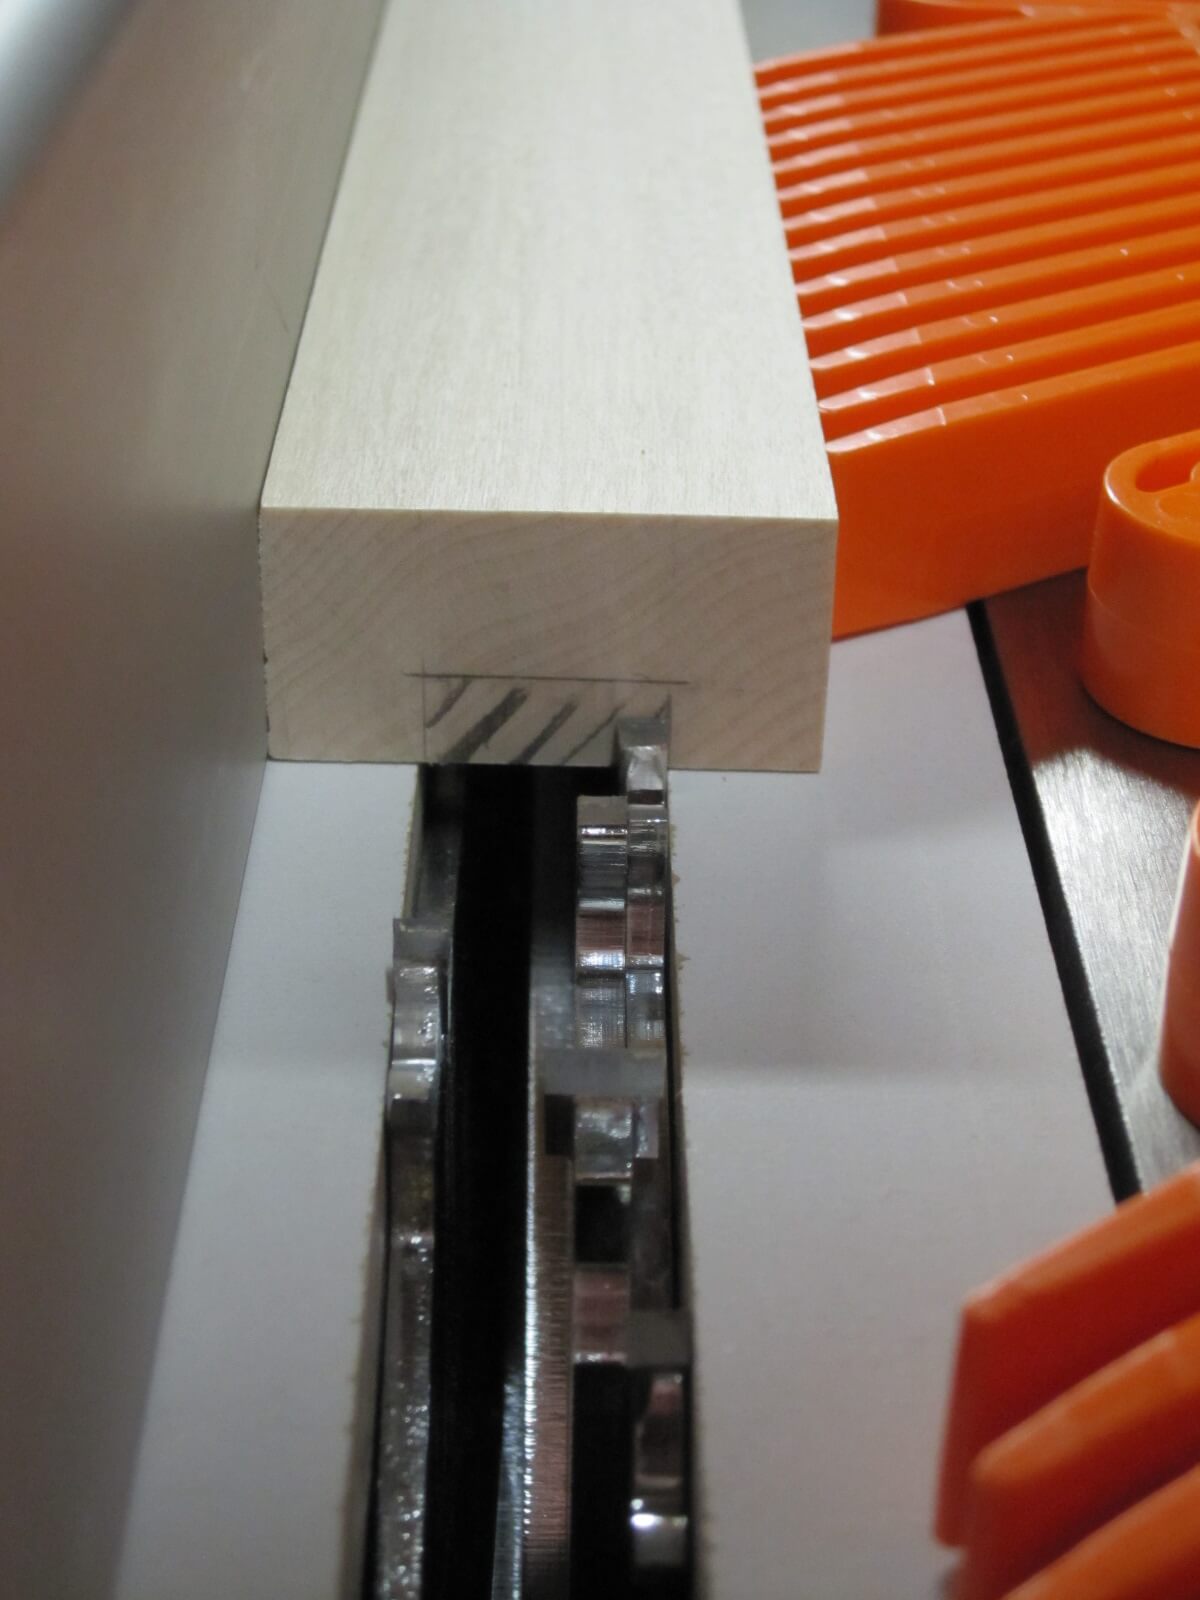
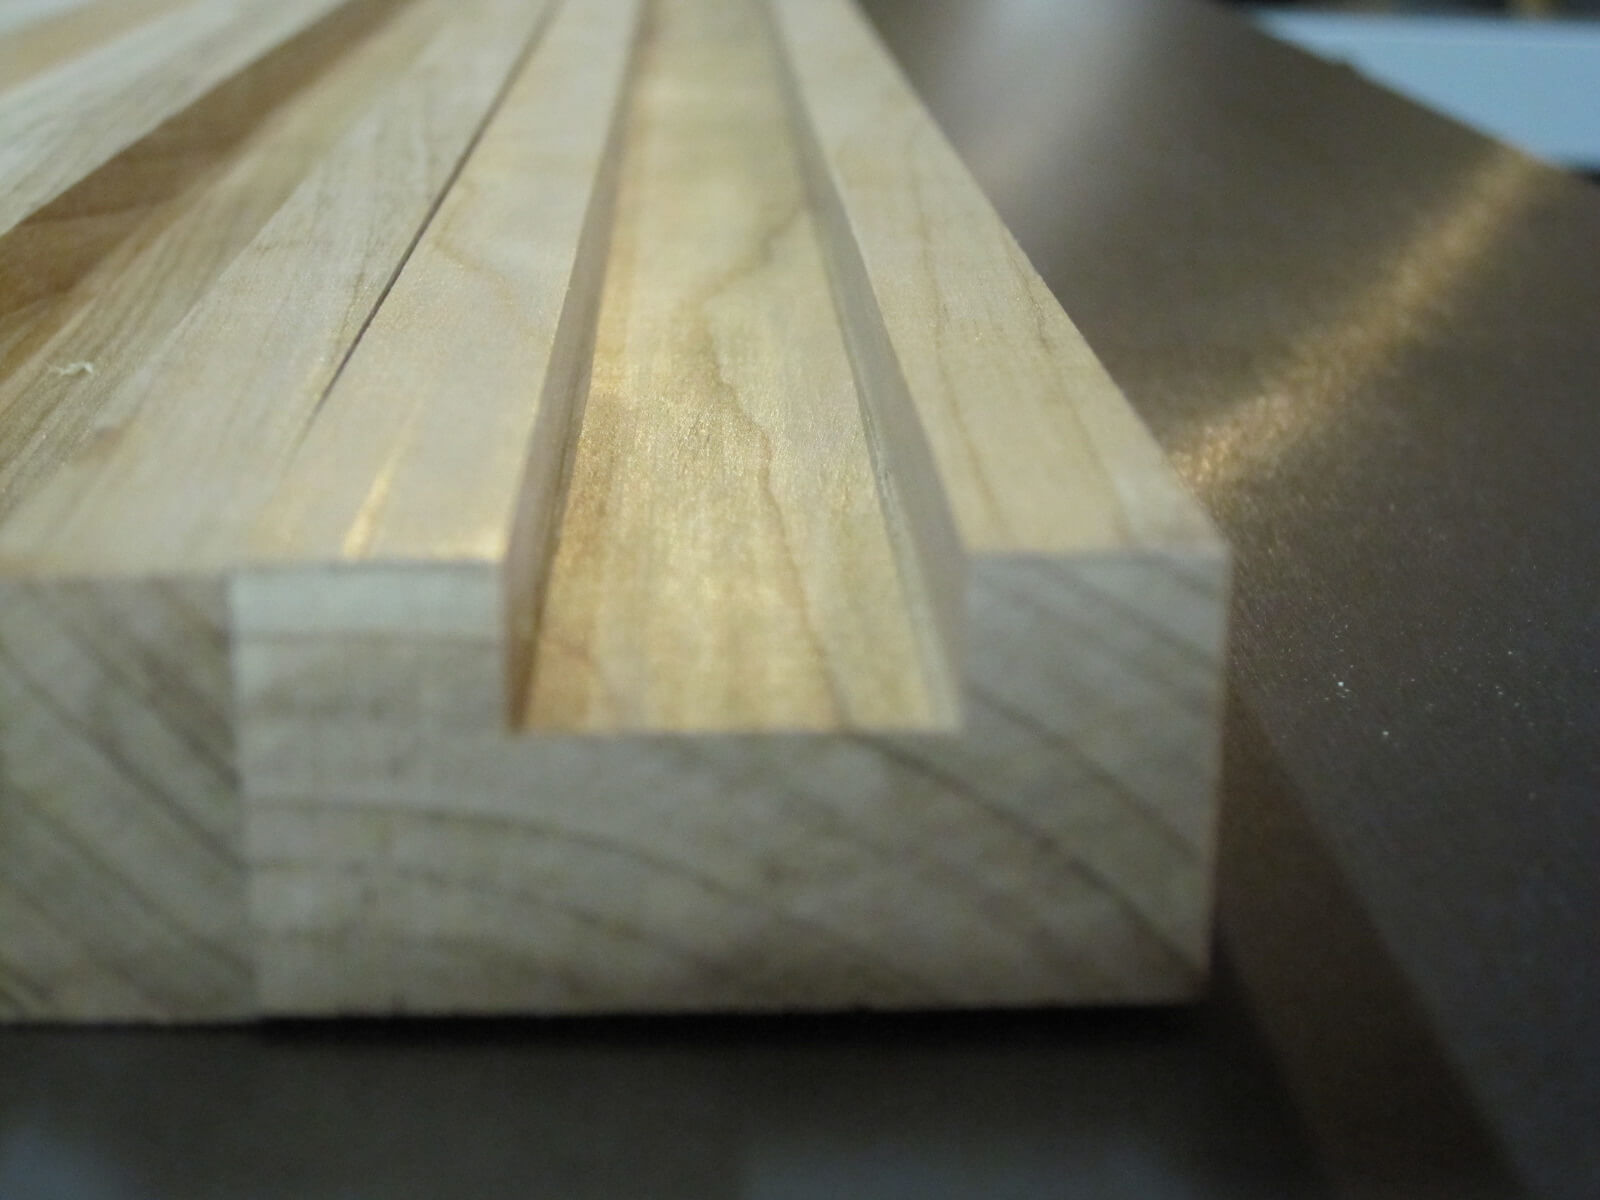
On the first picture, you can see a home made zero clearance insert. You can see the realization in this post.
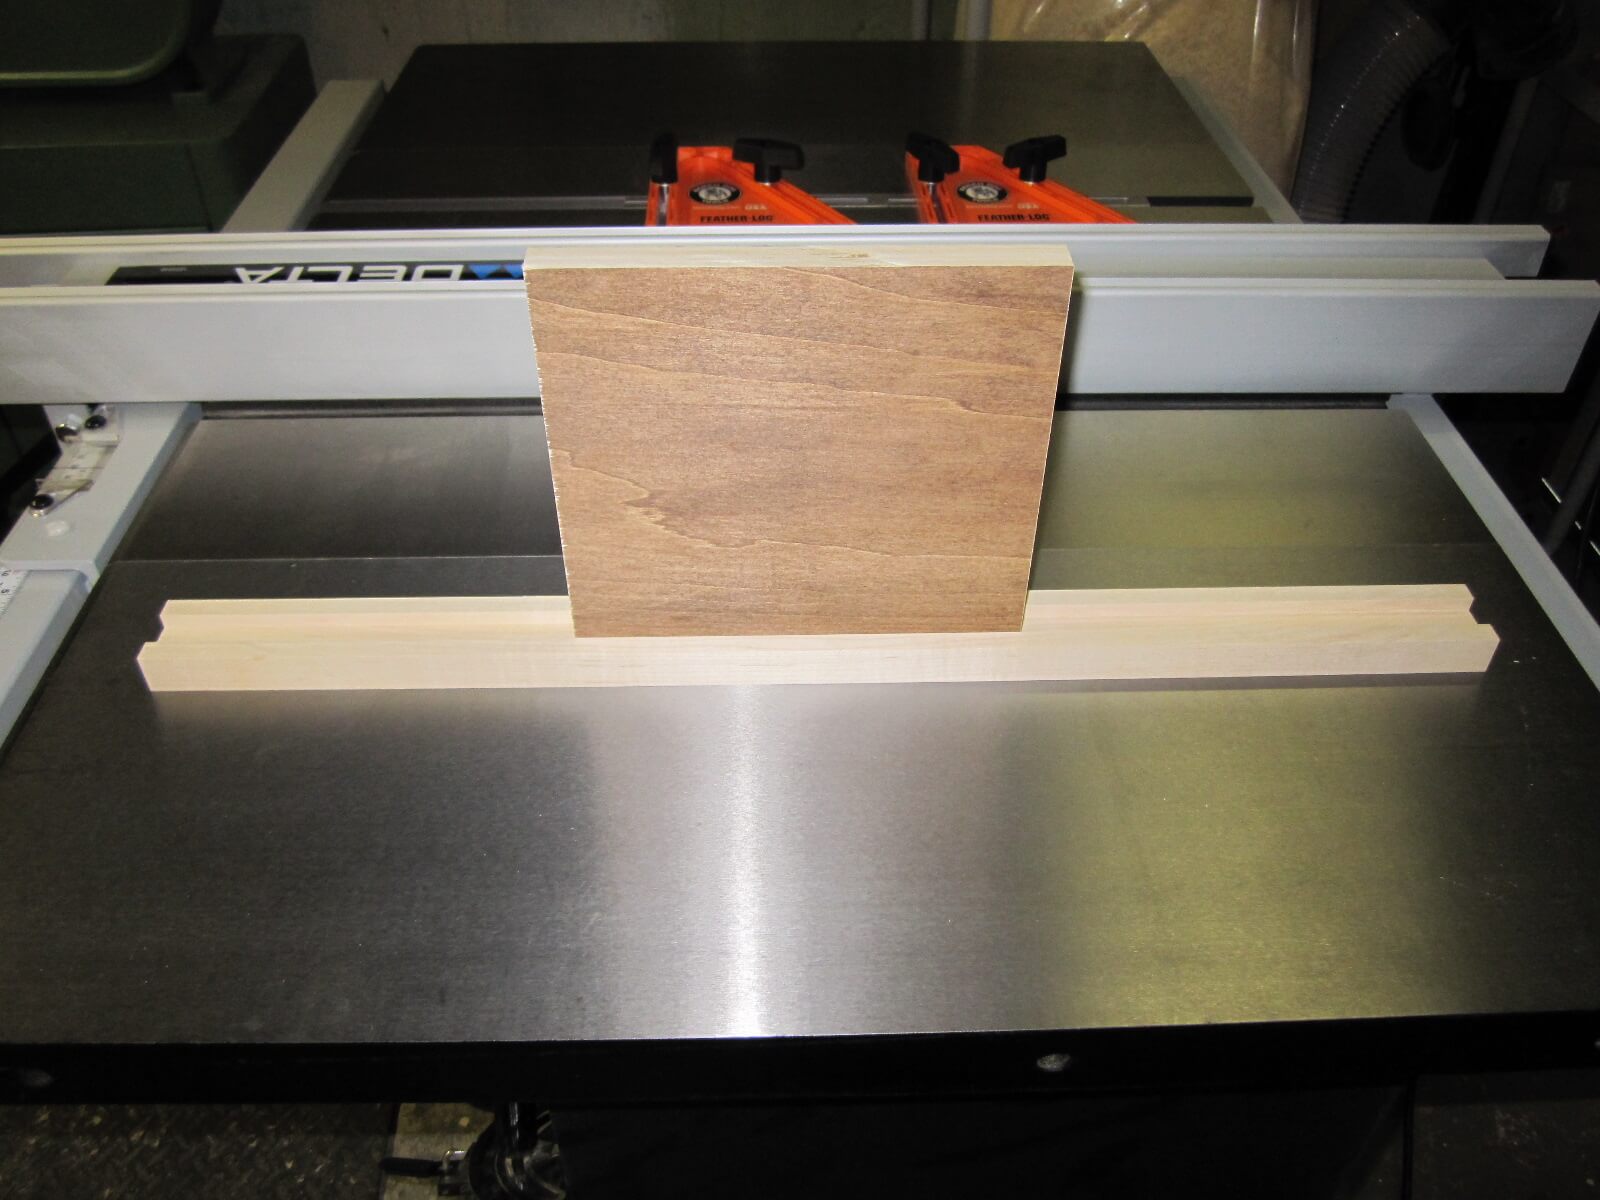
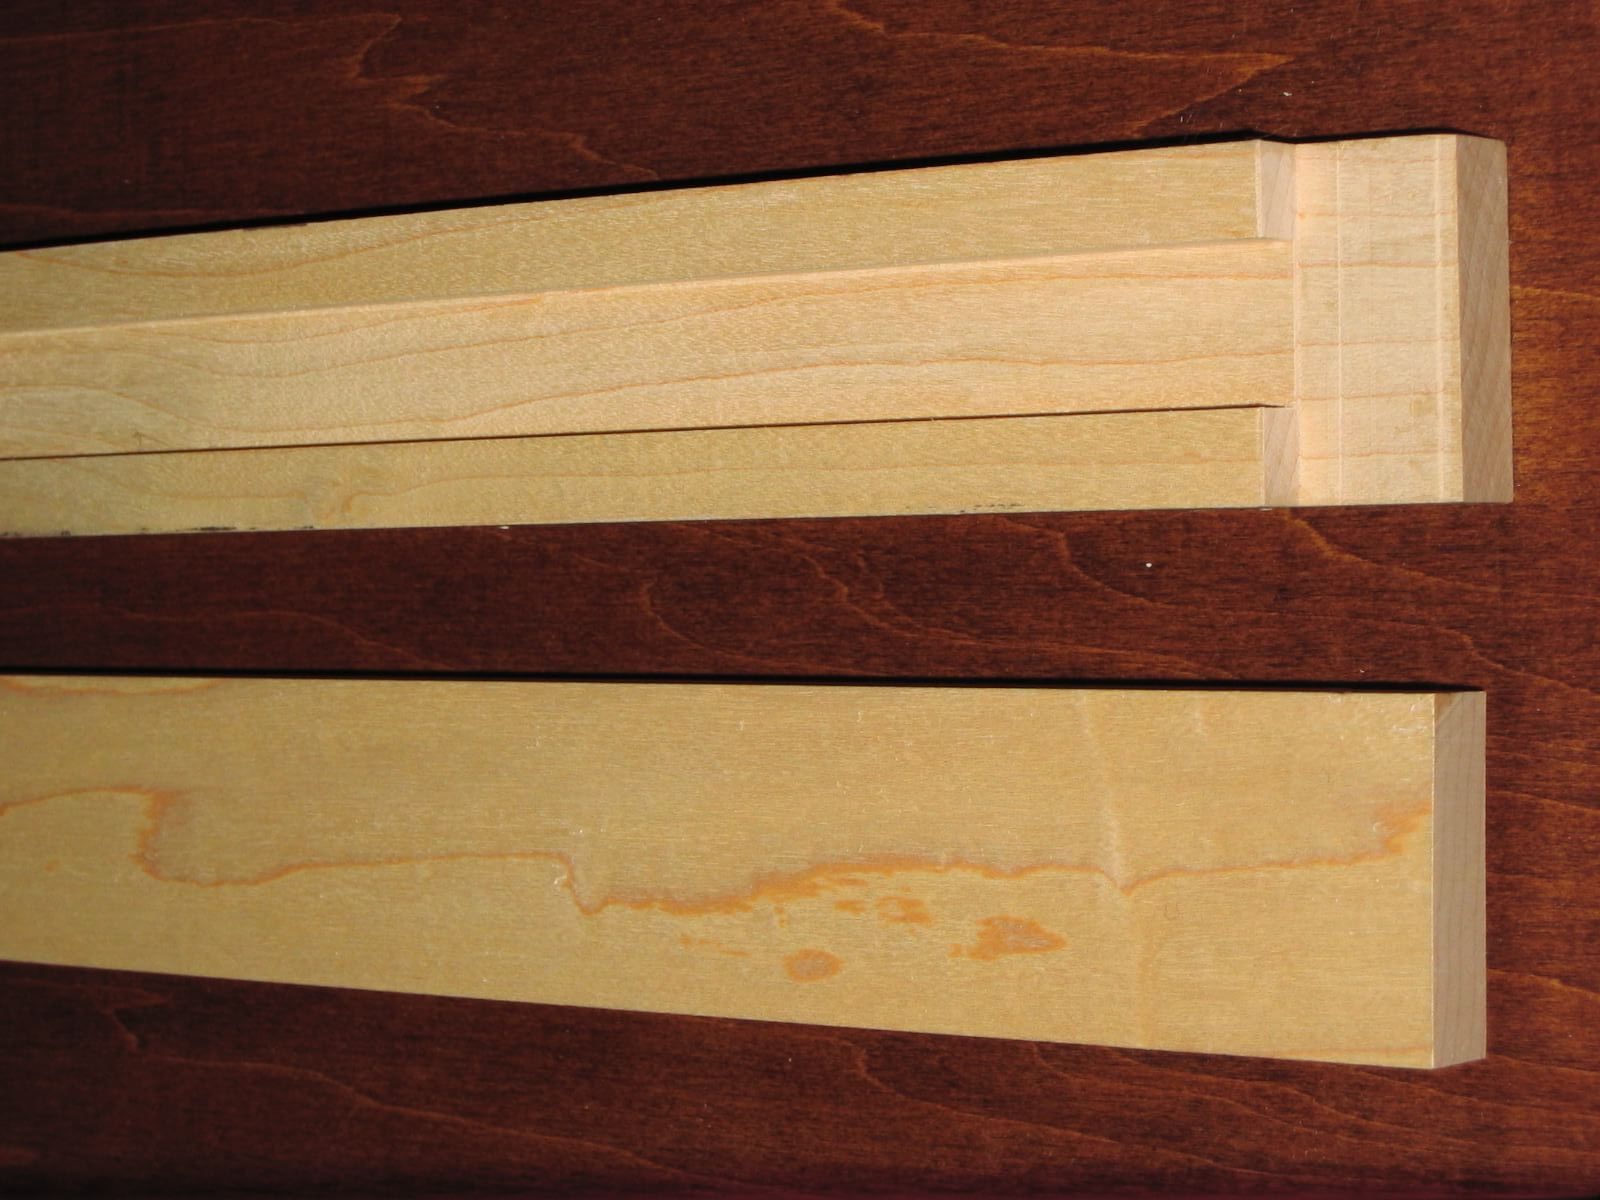
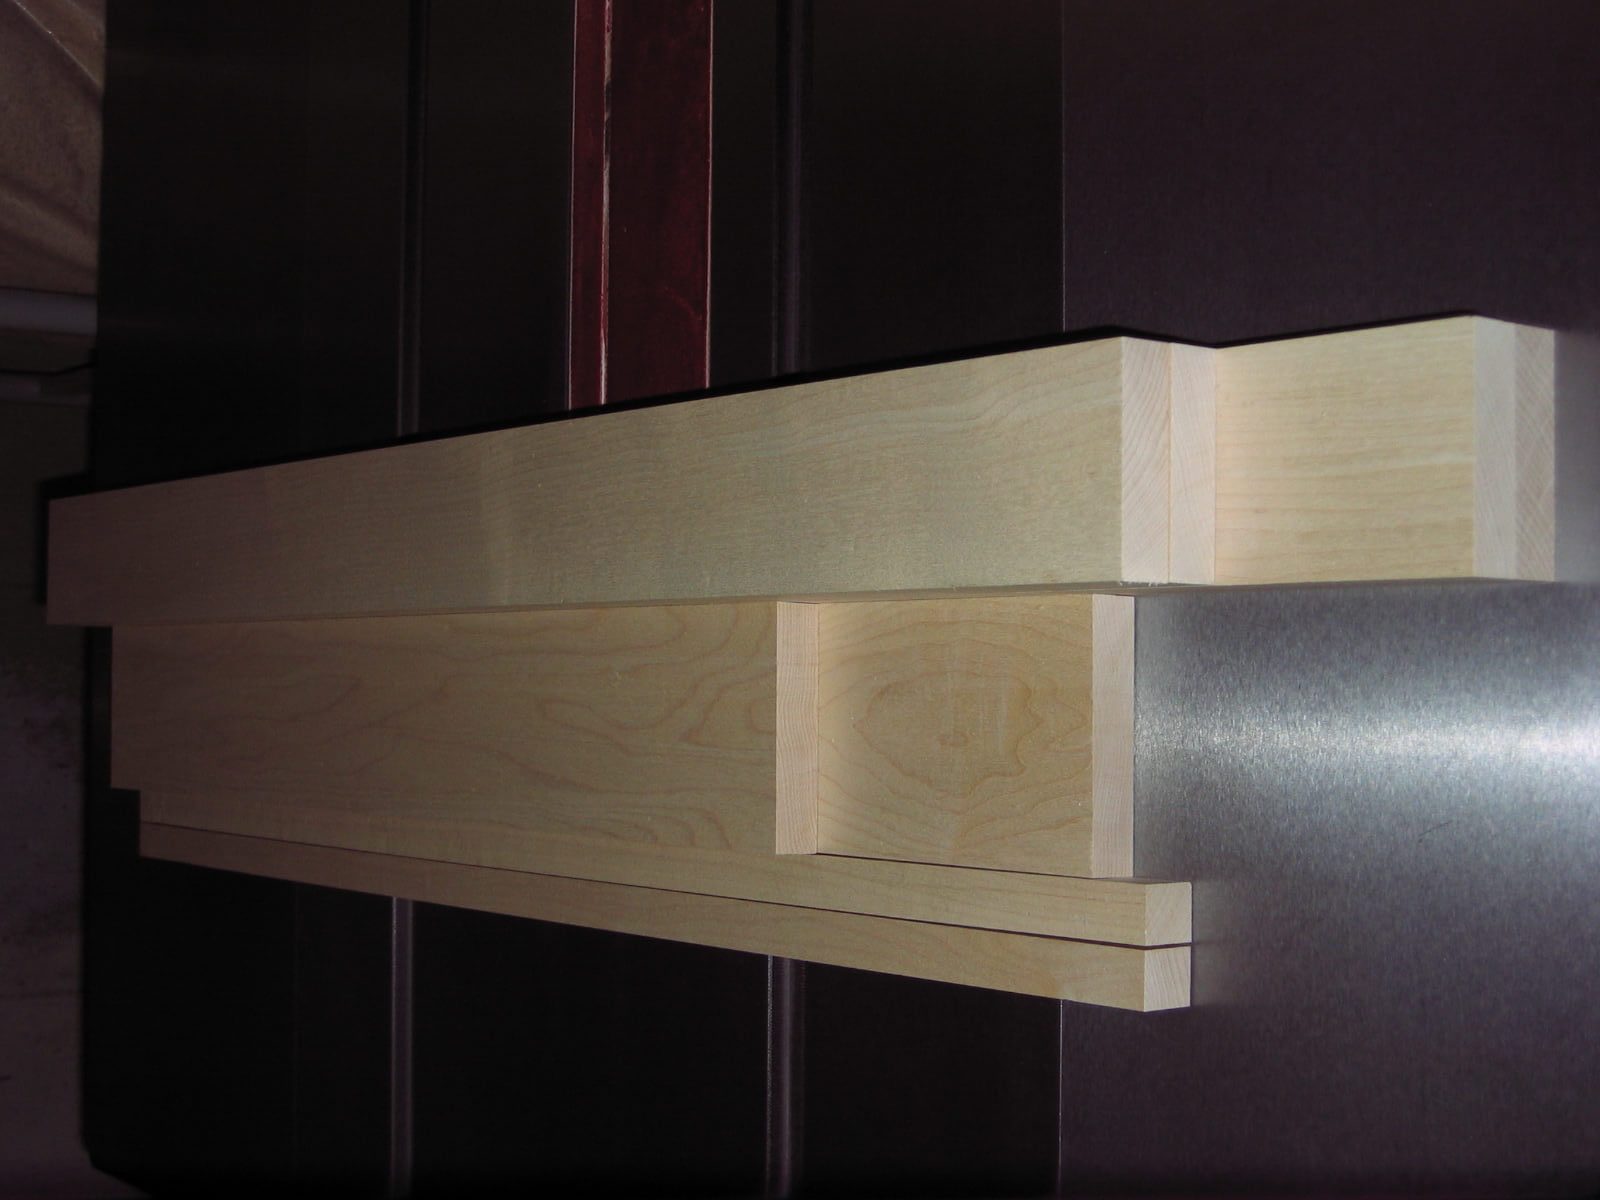
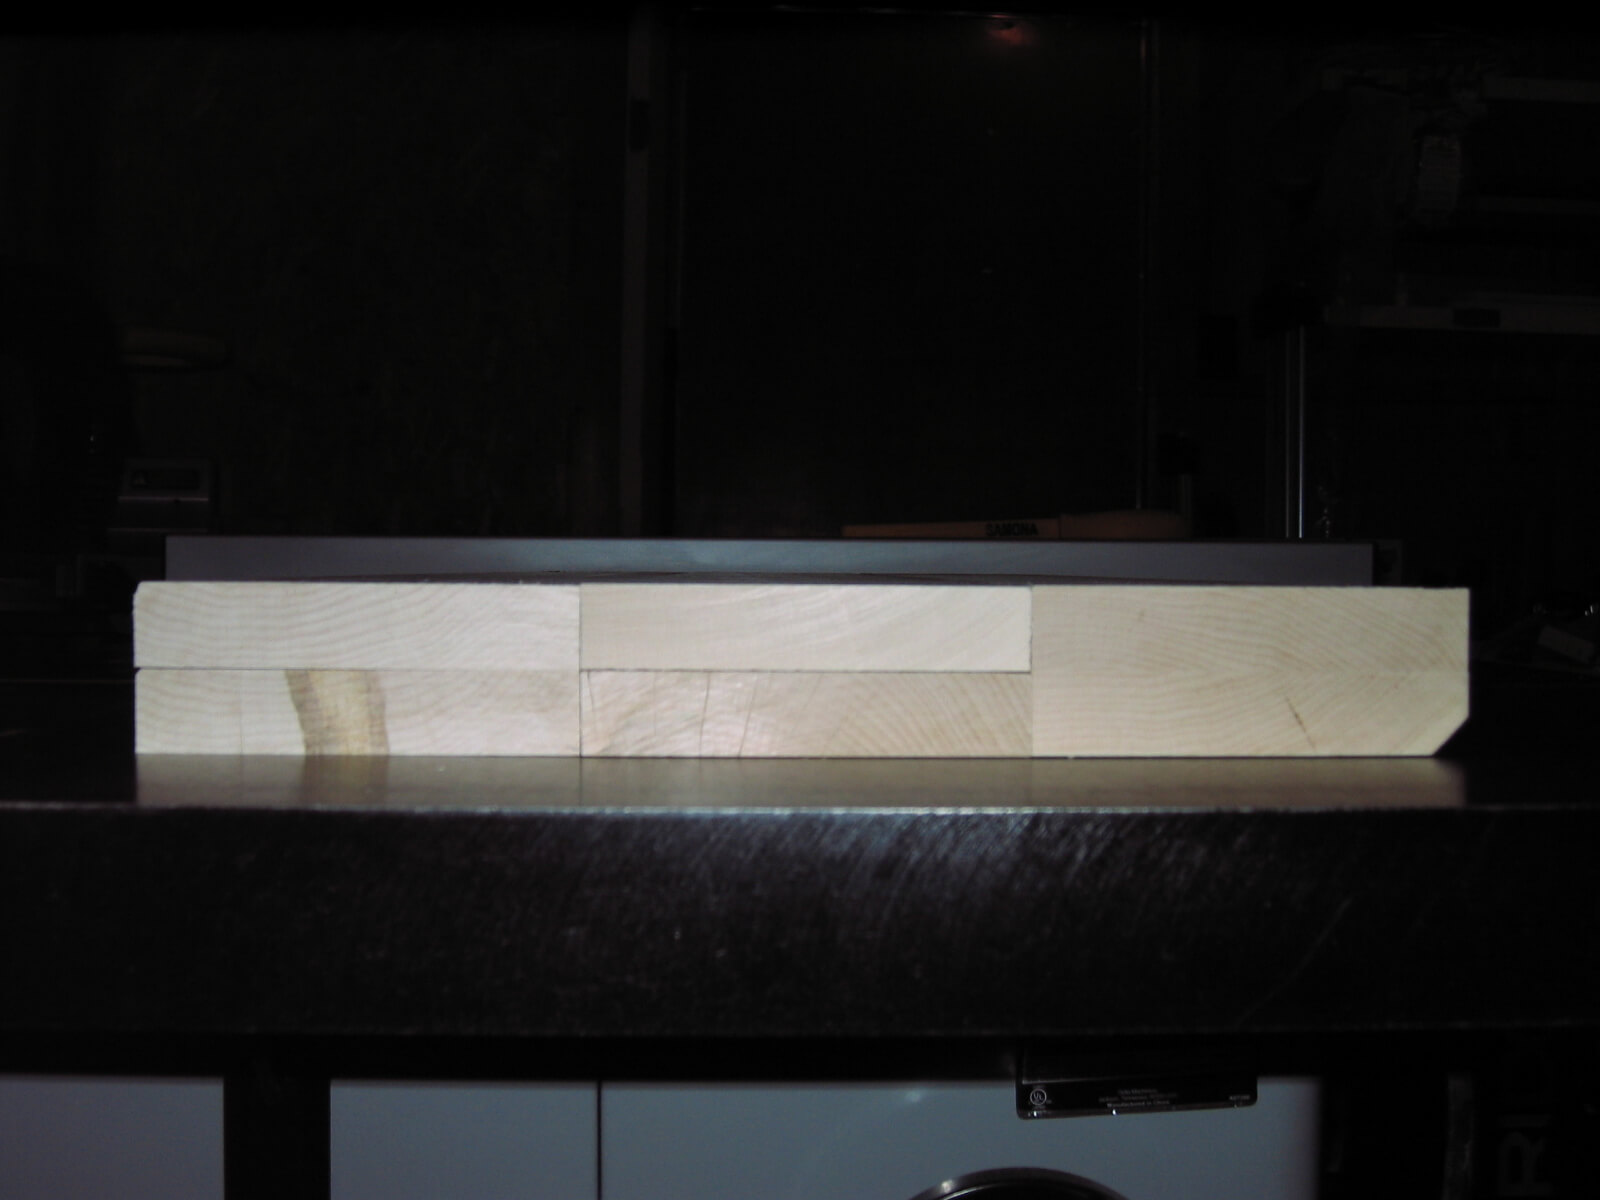
Except for the top, the other frames will be half-lap jointed. They too, will be made on the table saw with the grooving blade:
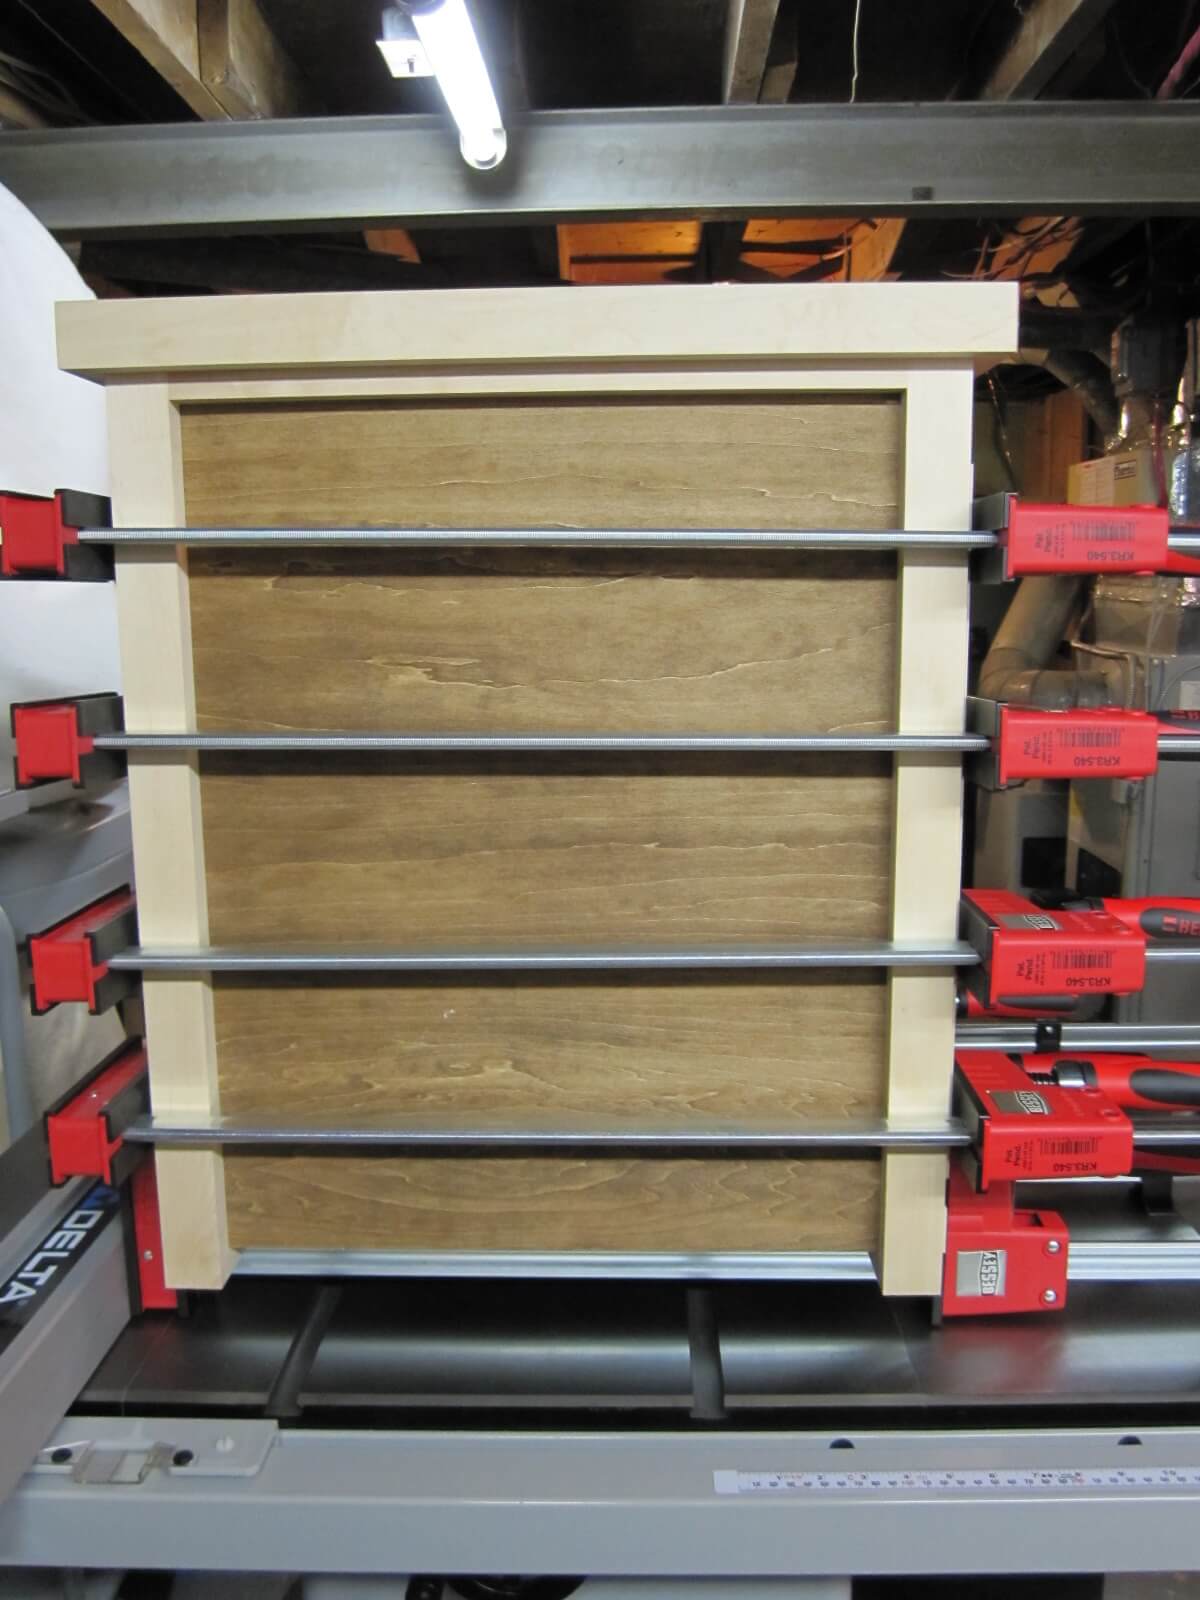
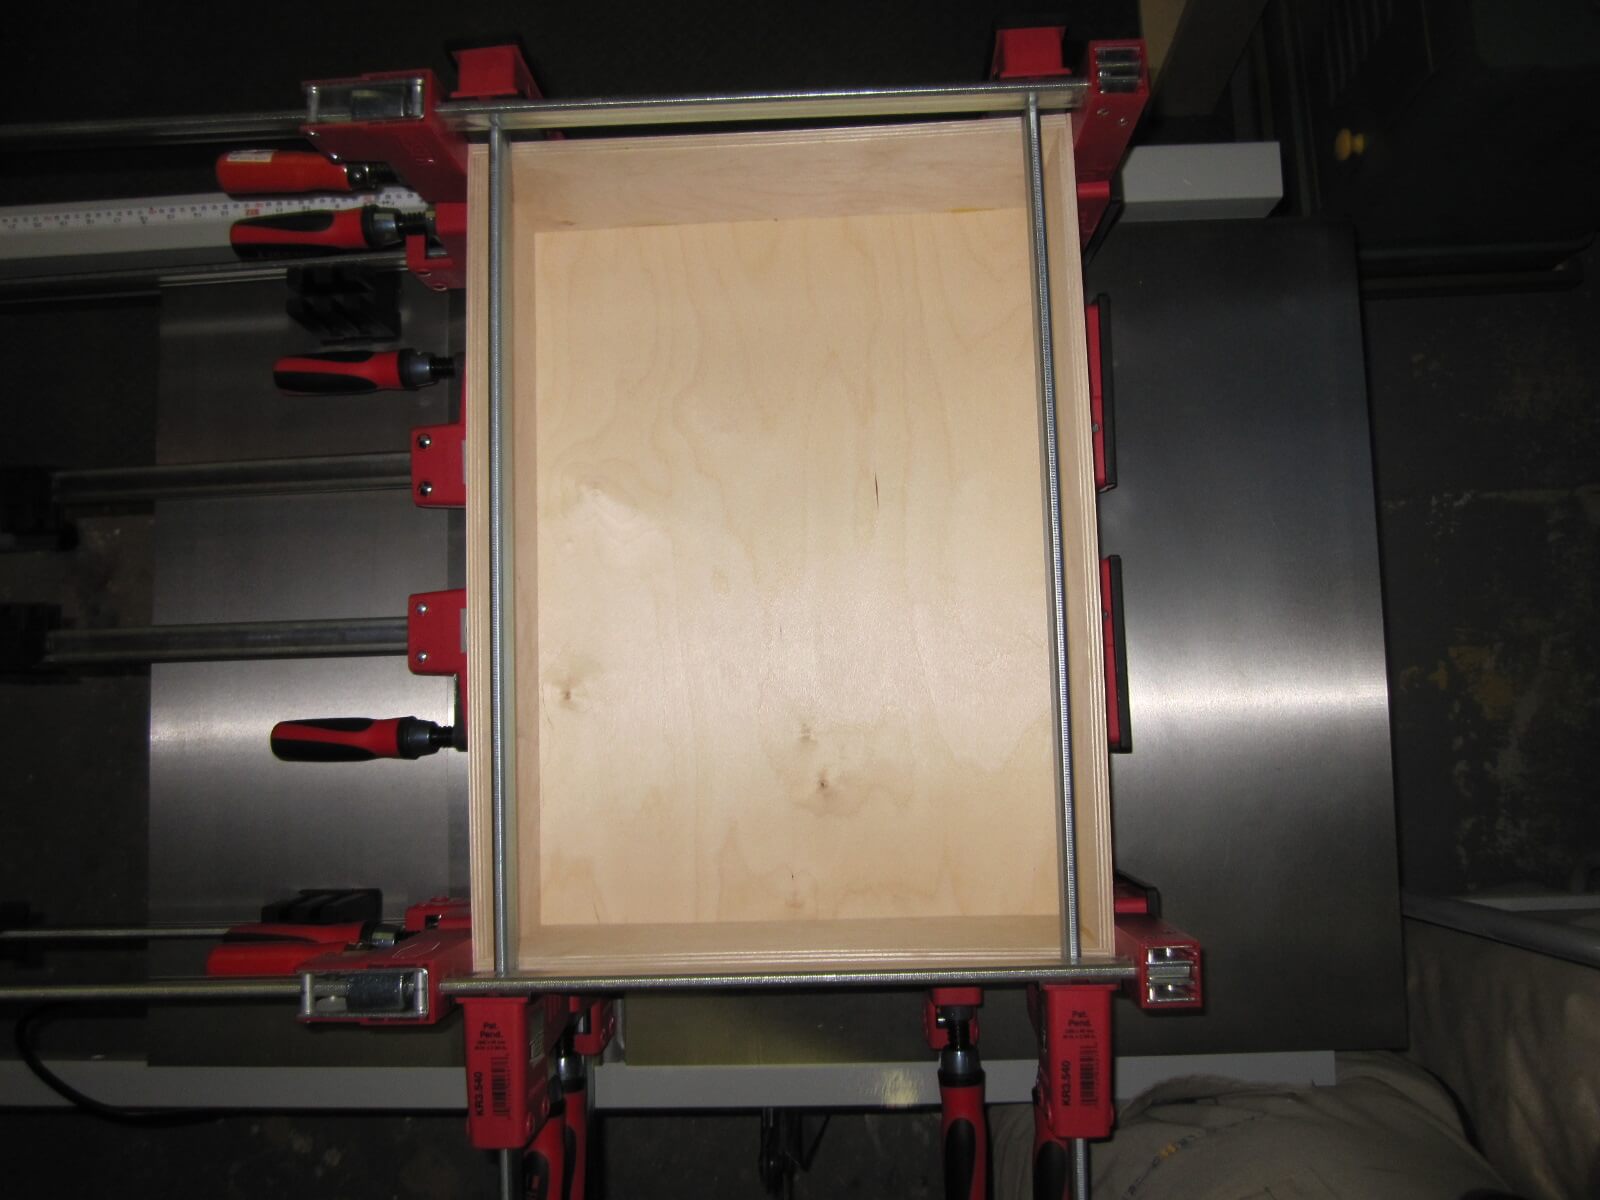
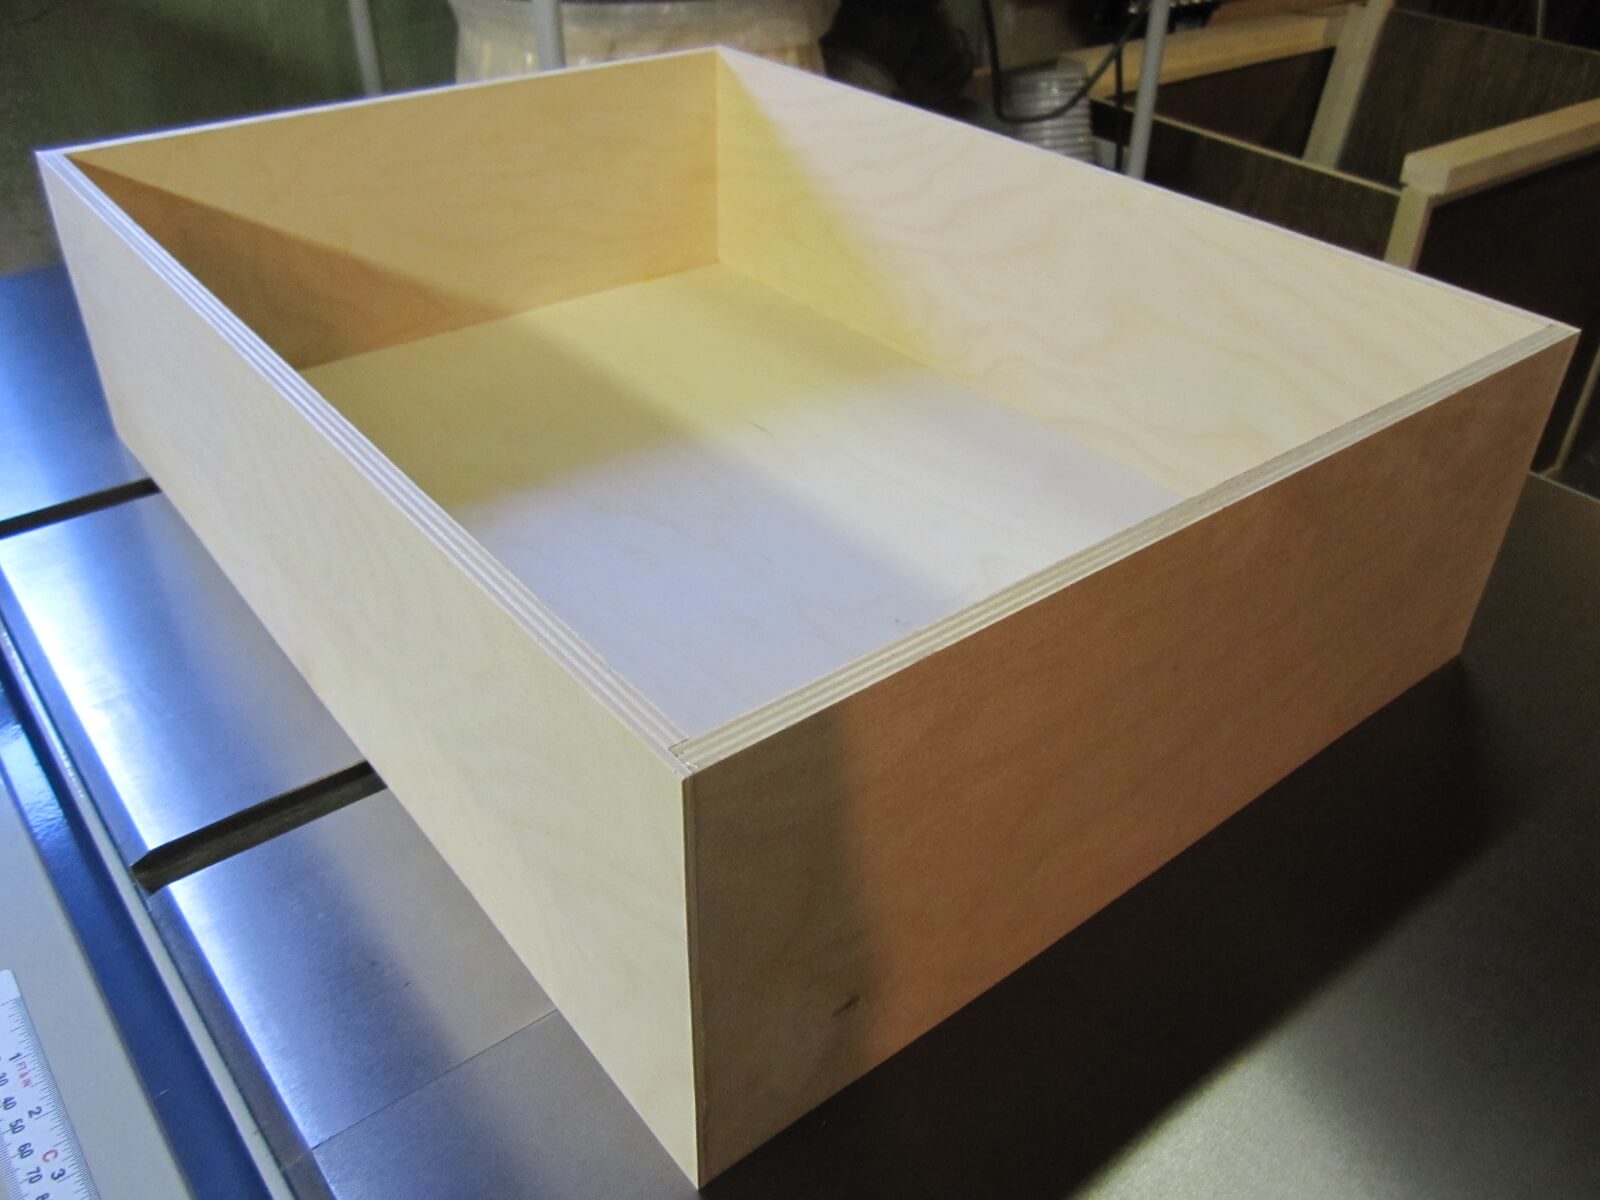
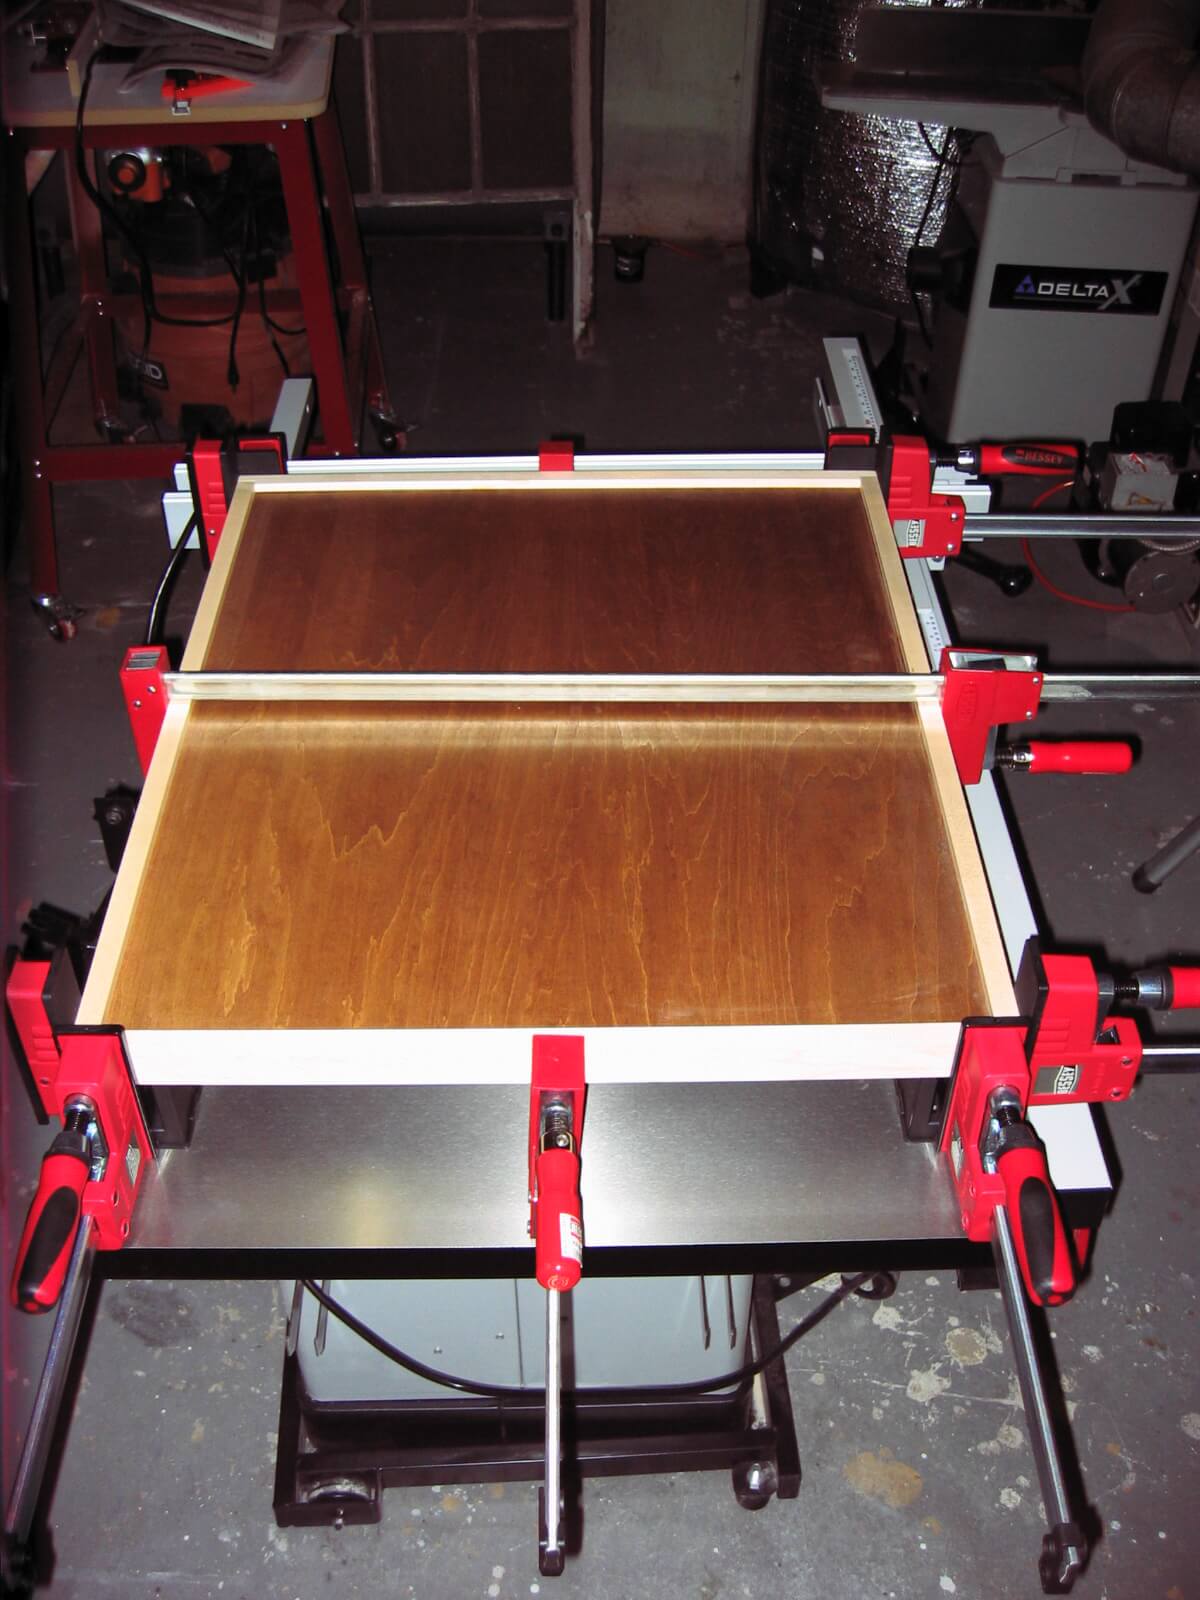
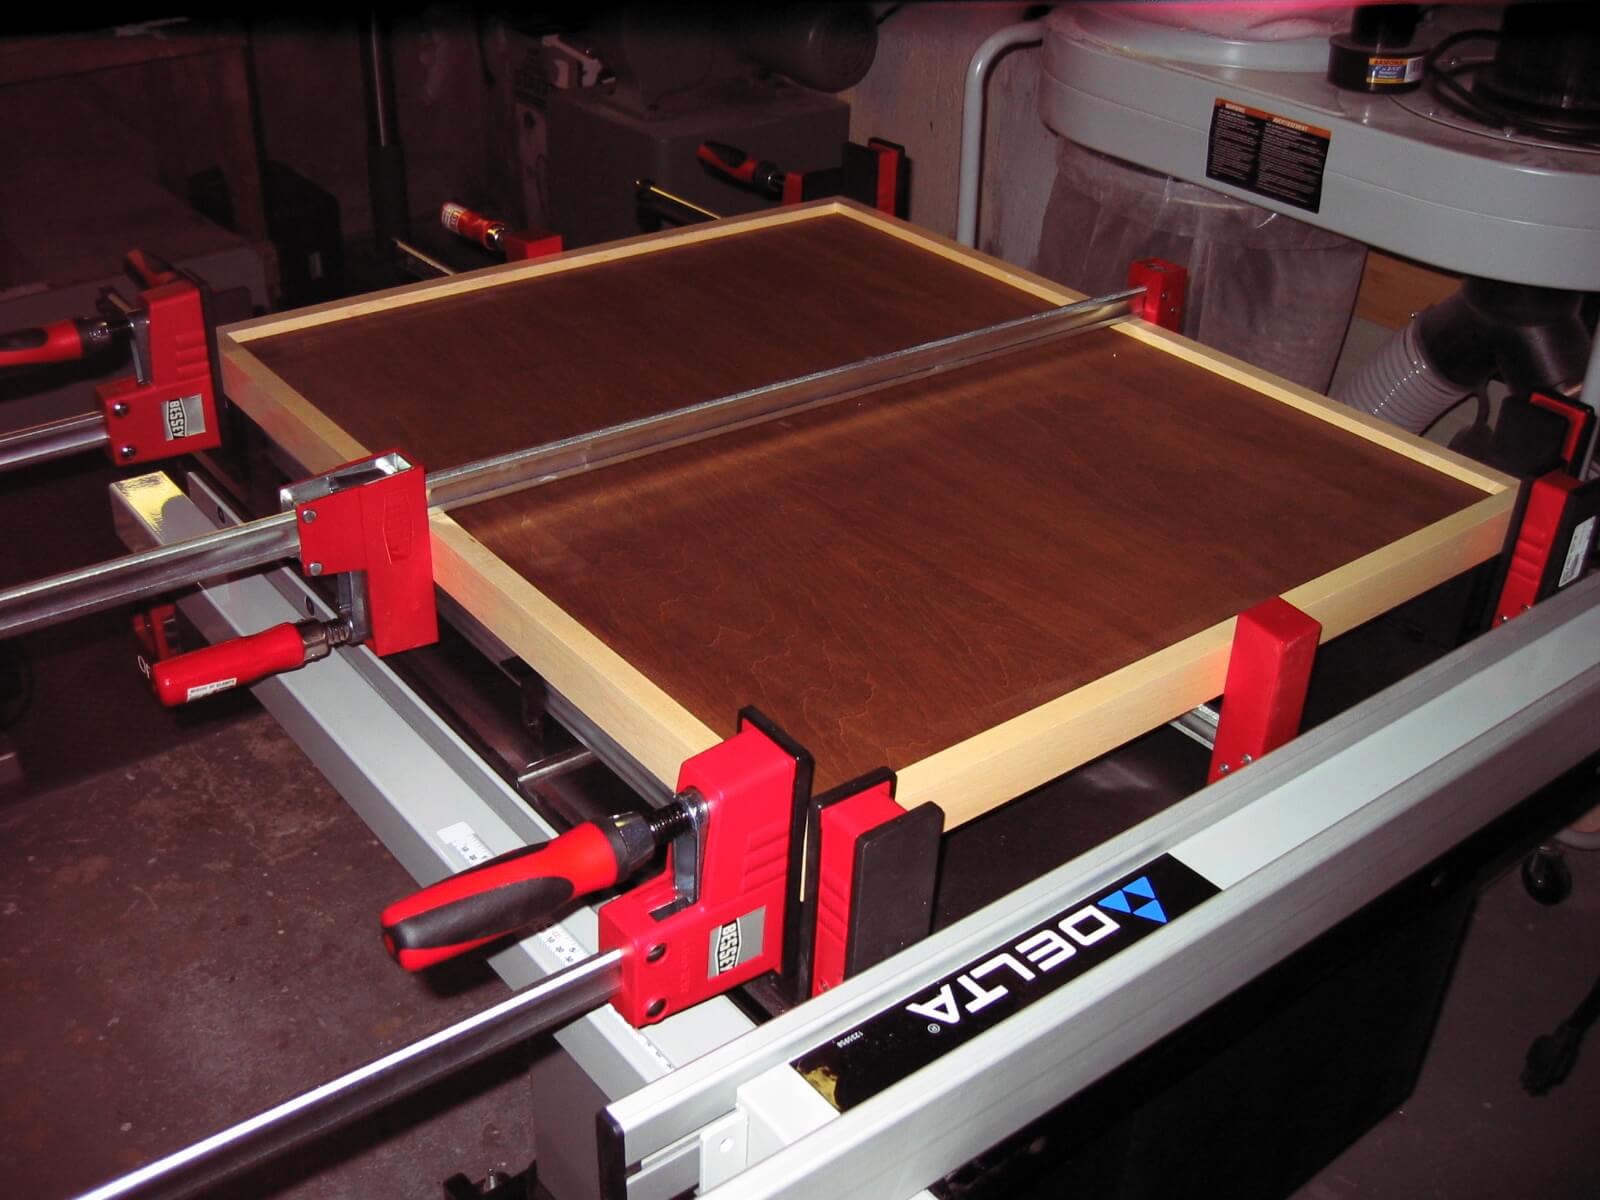
Here is the assembly of both sides and their frames:
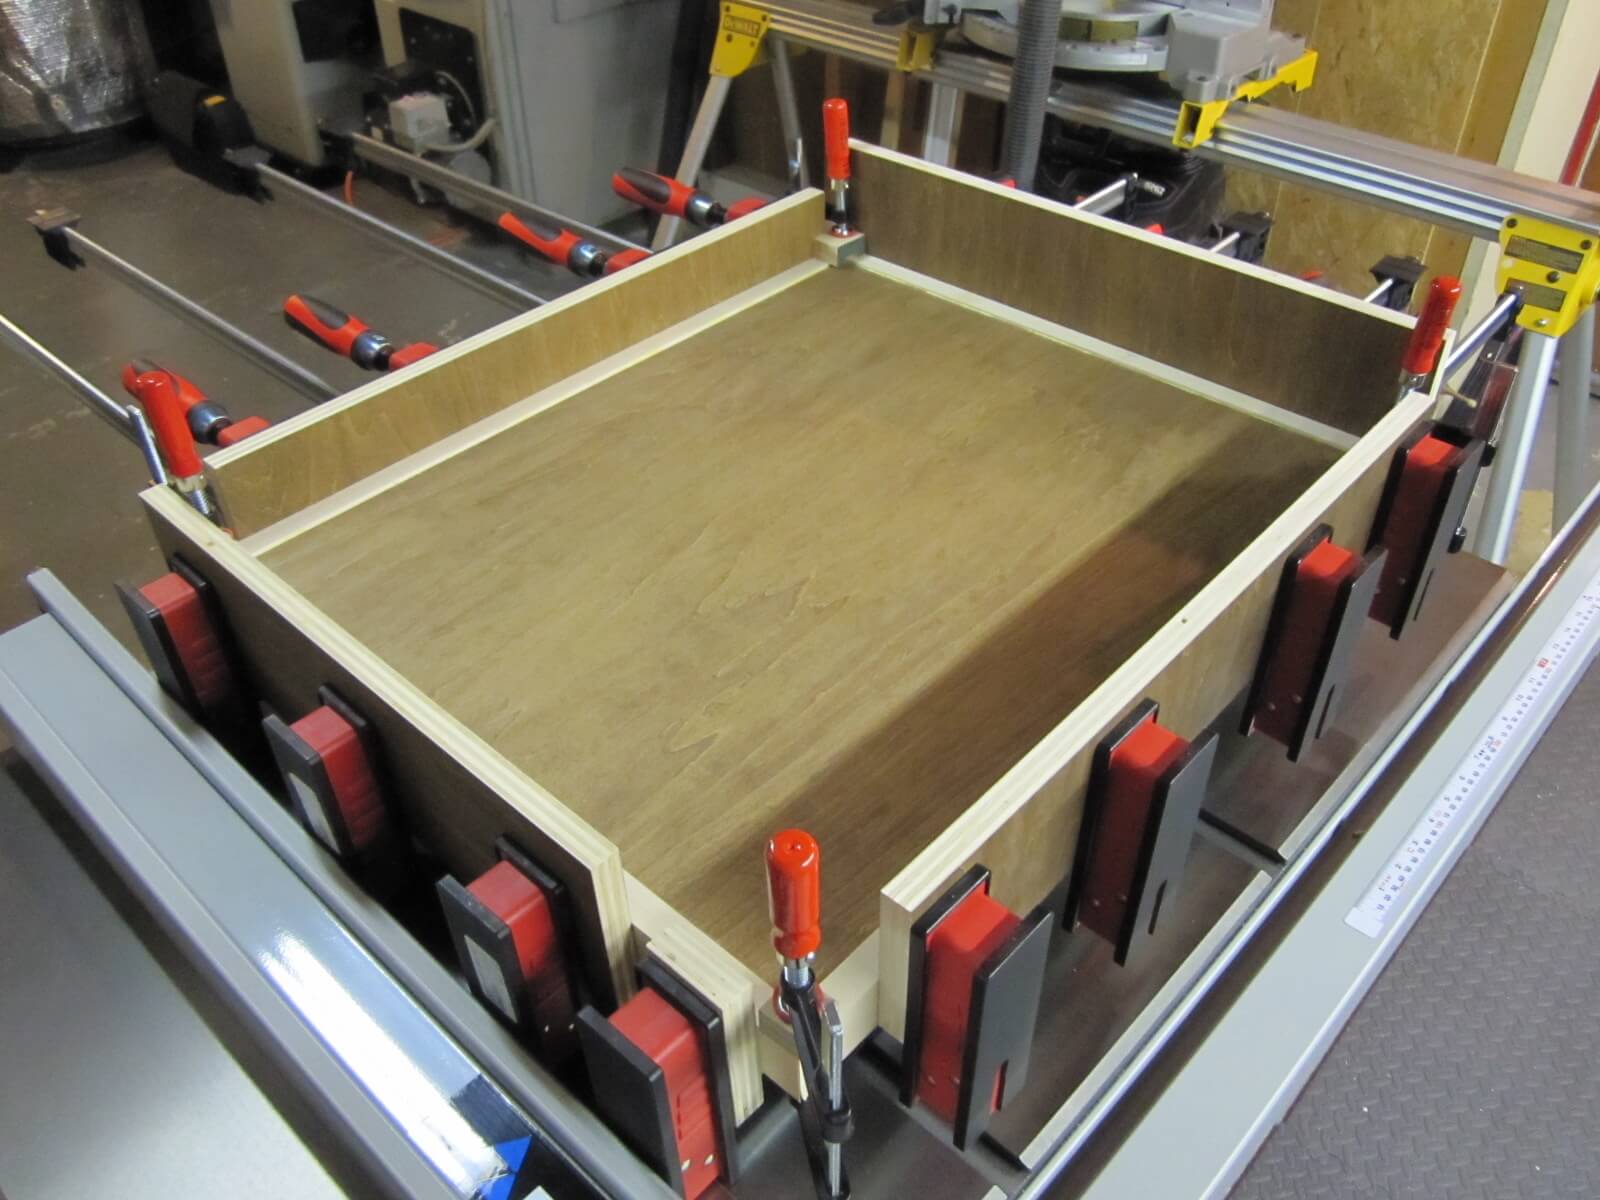
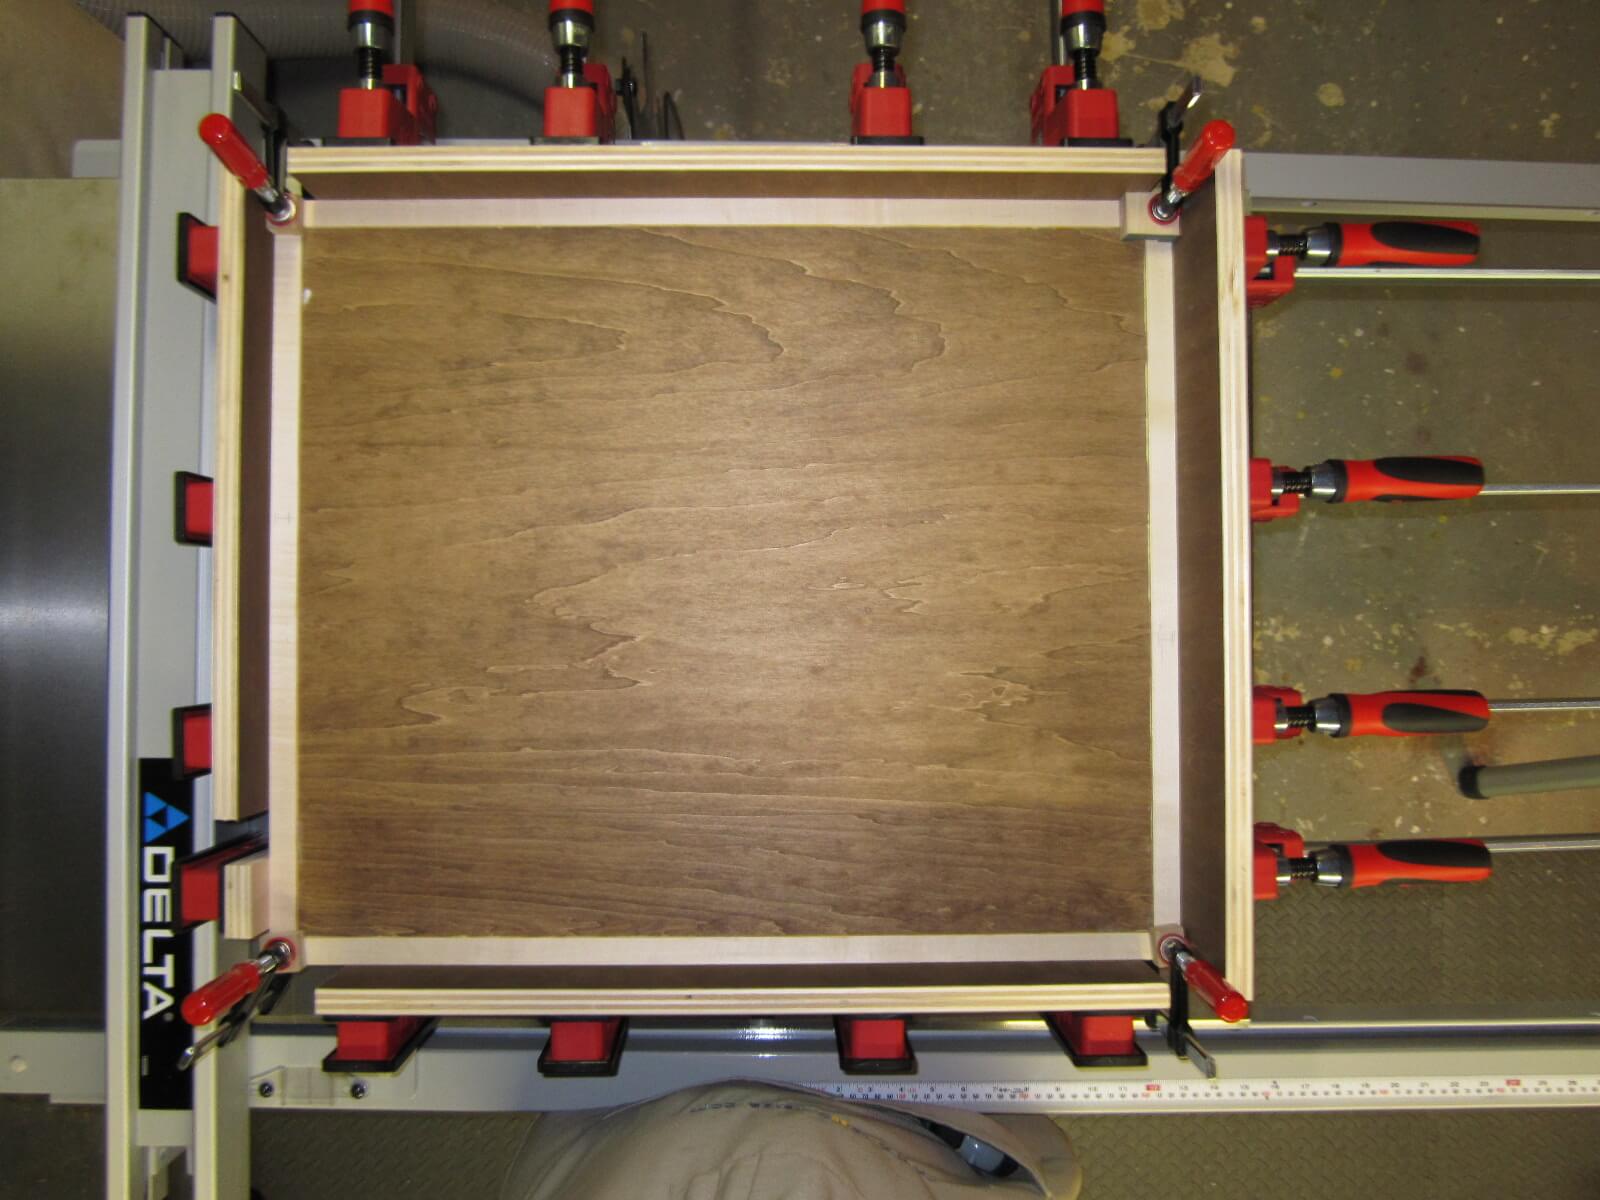
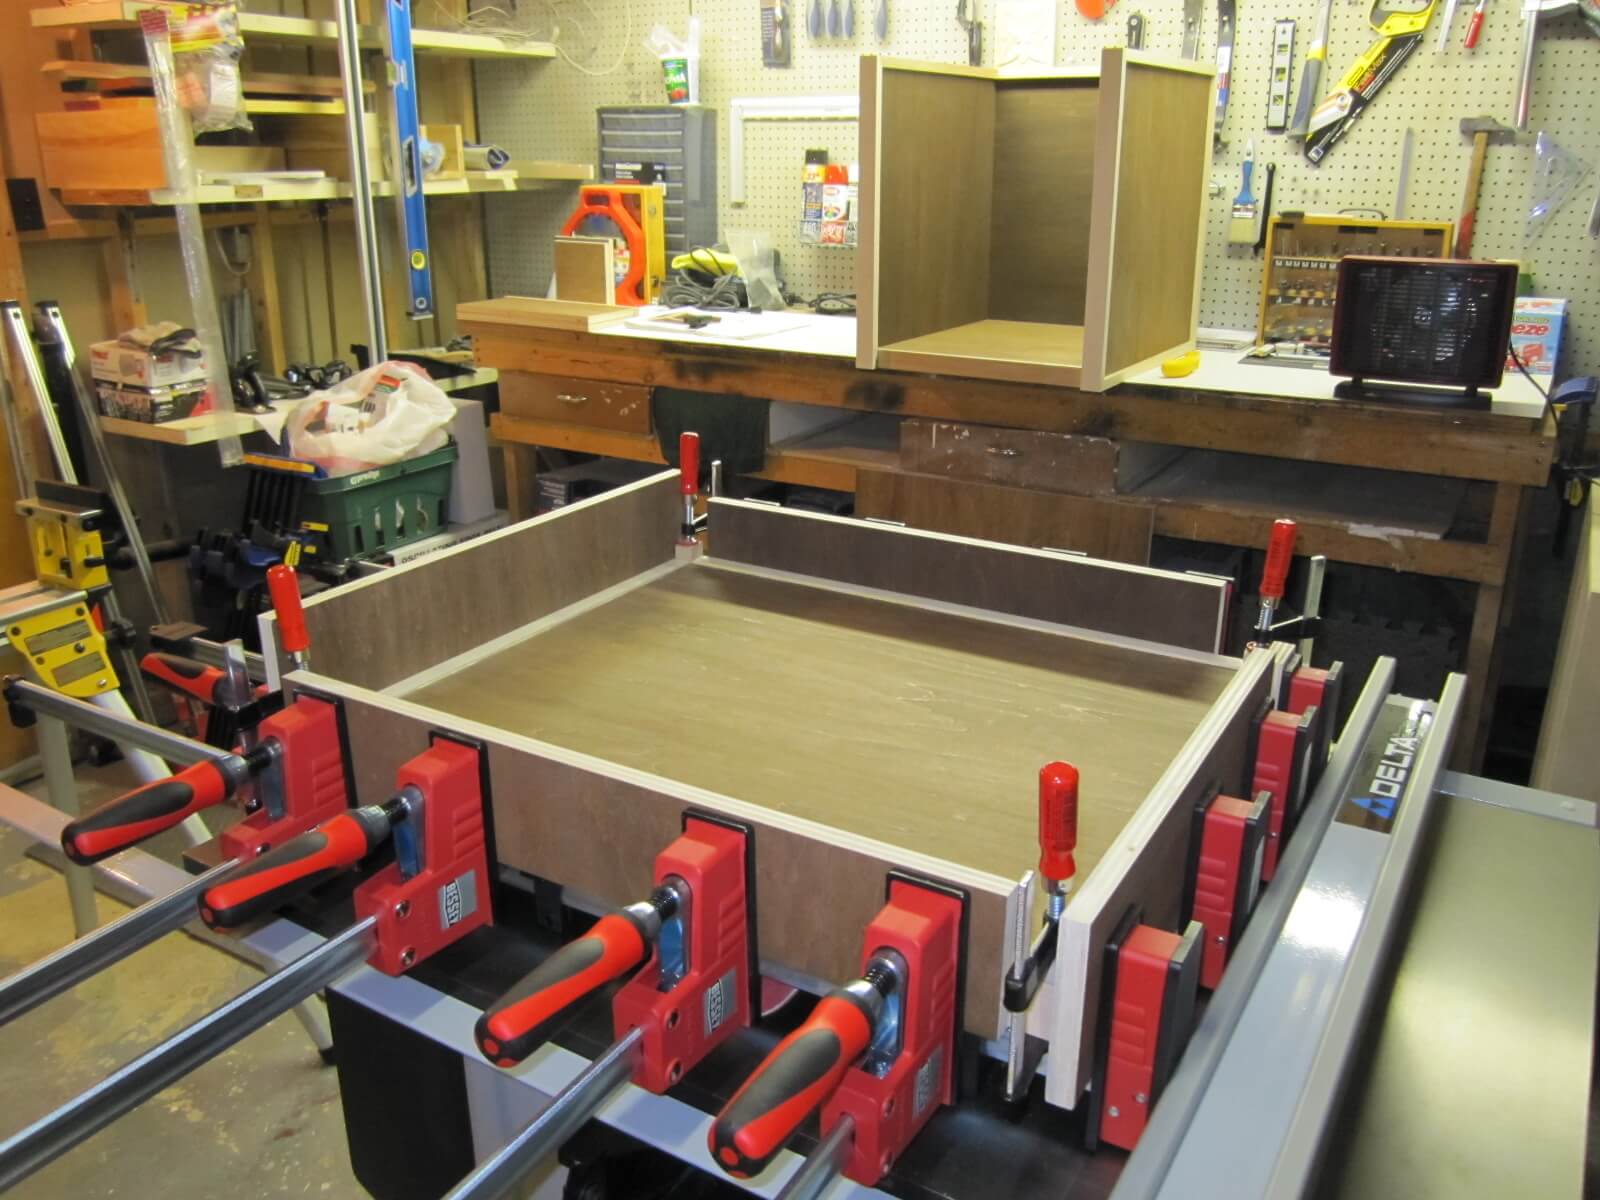
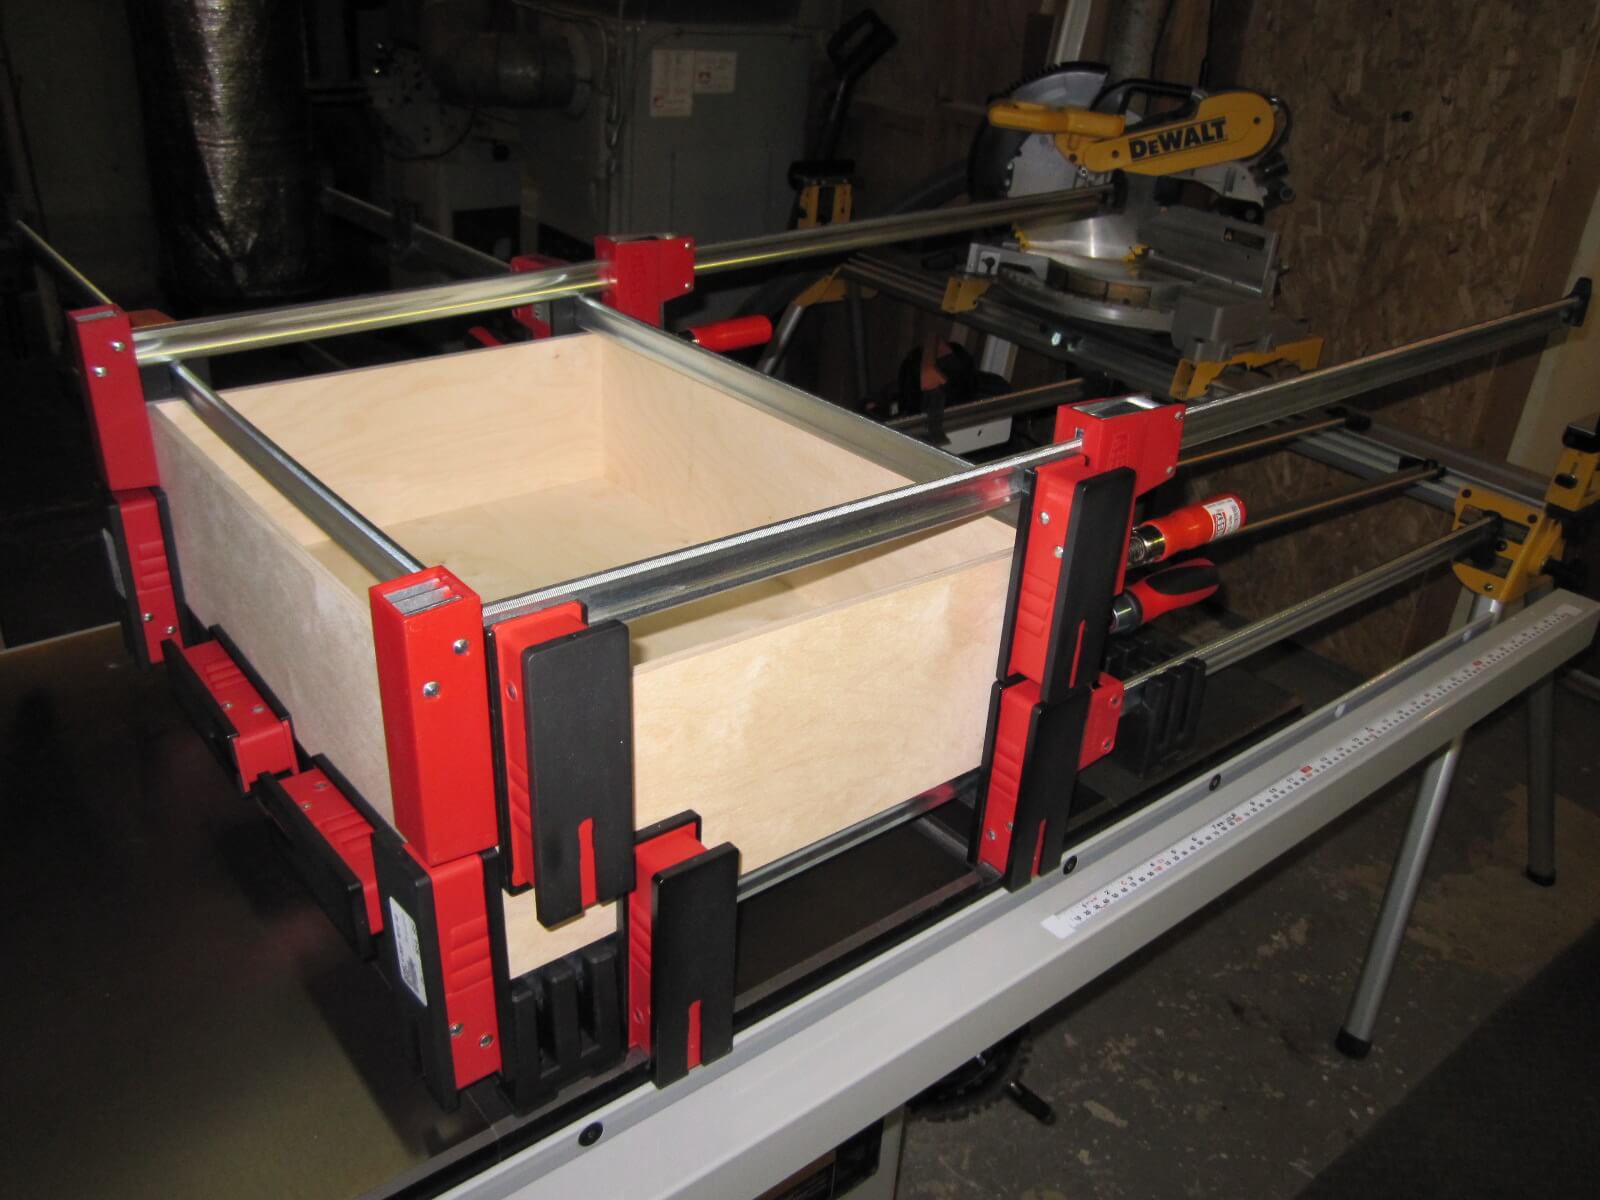
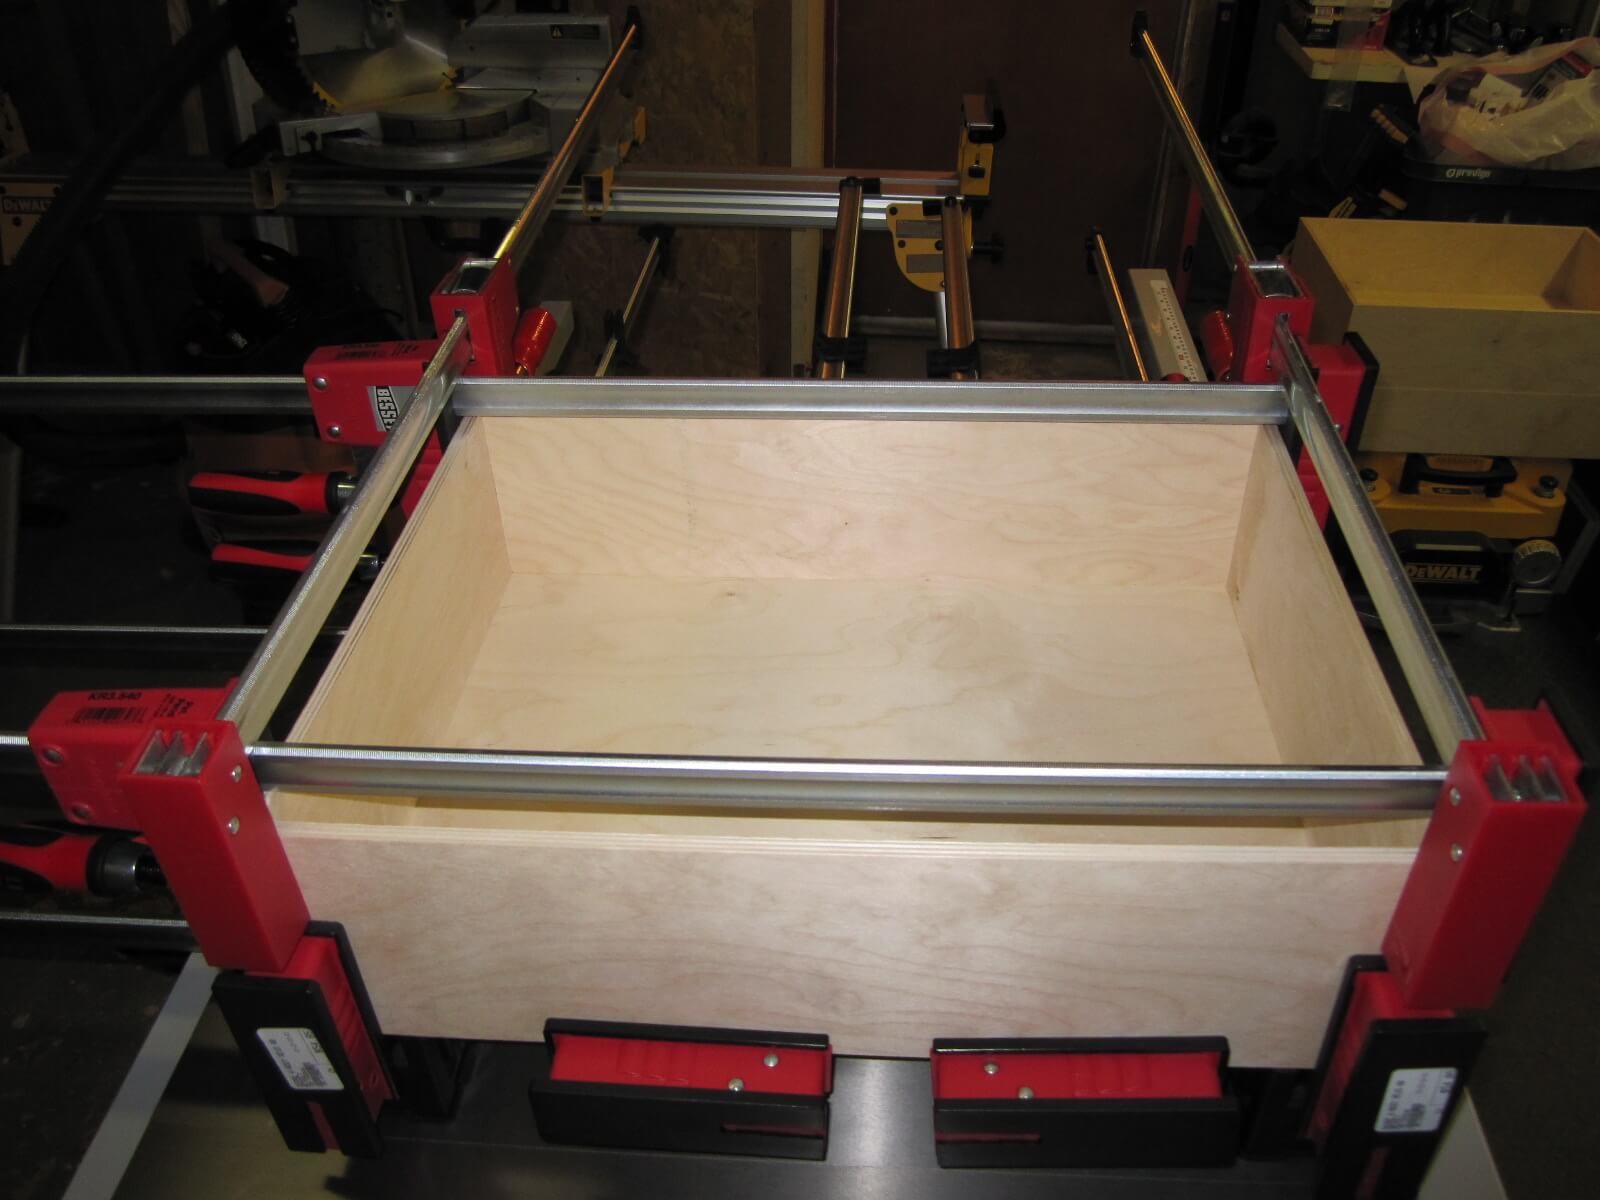
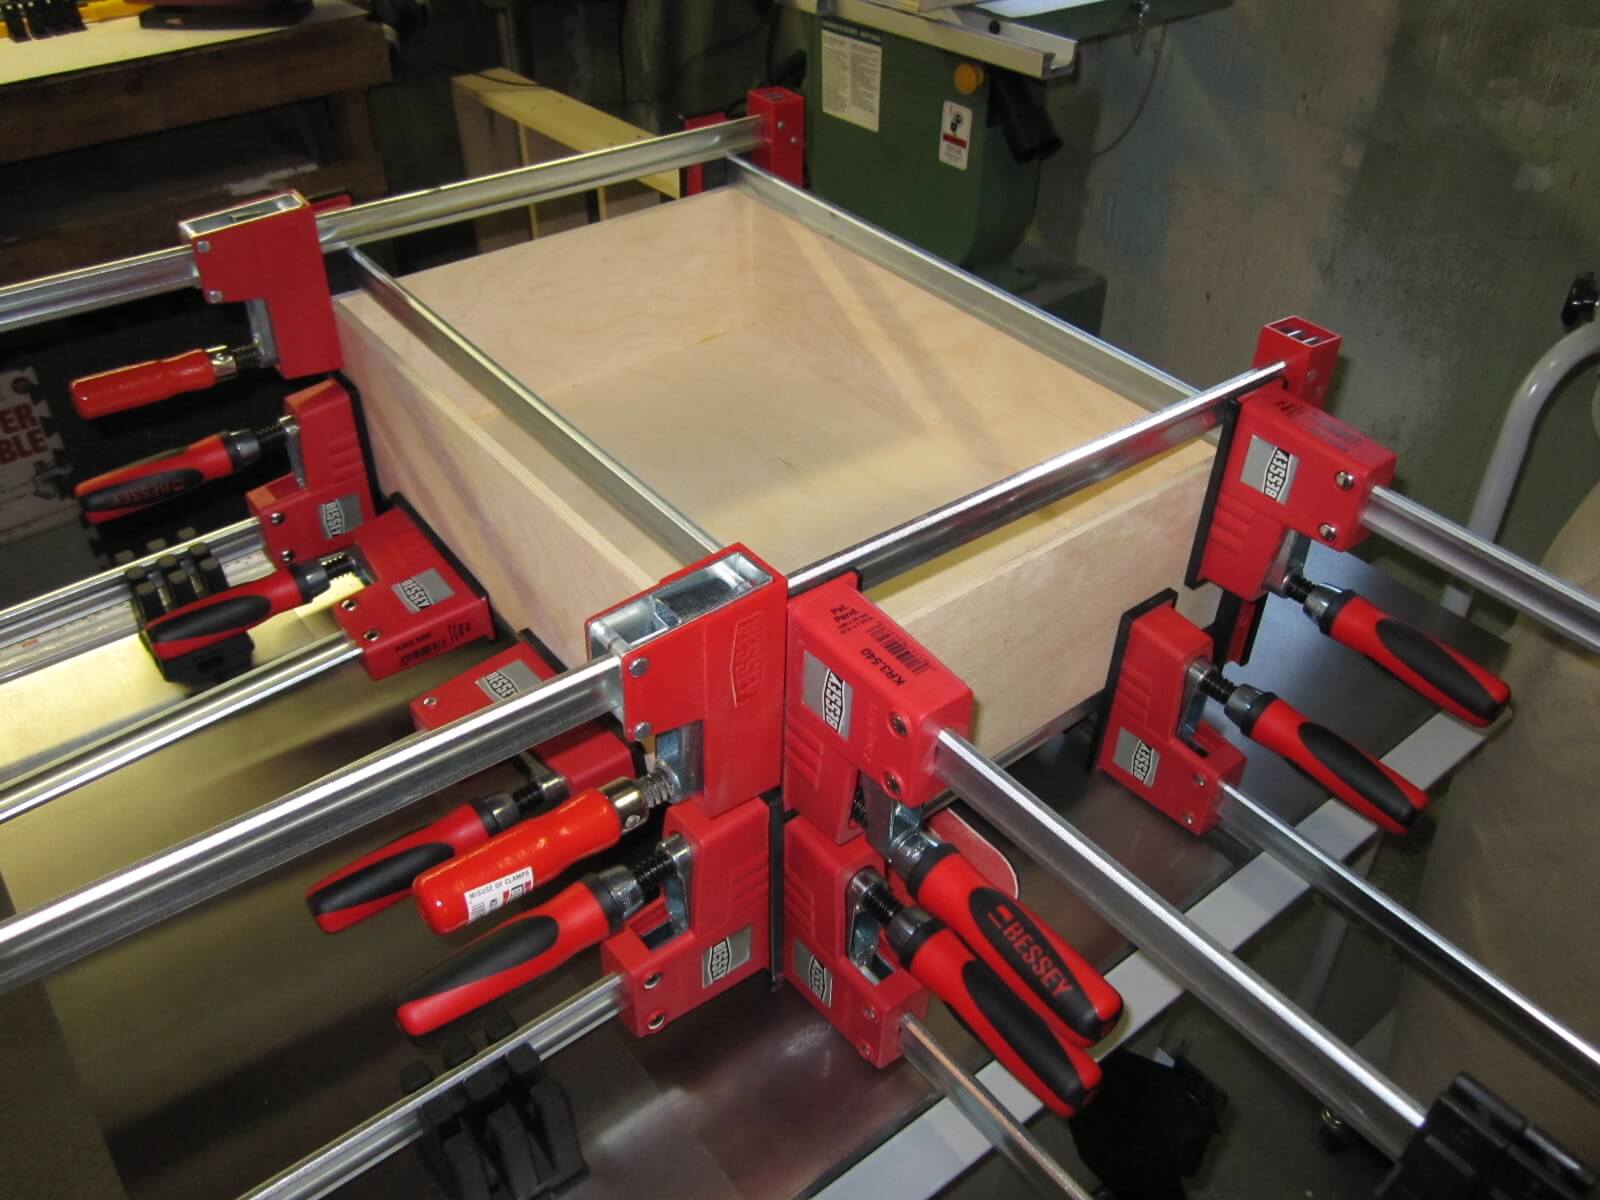
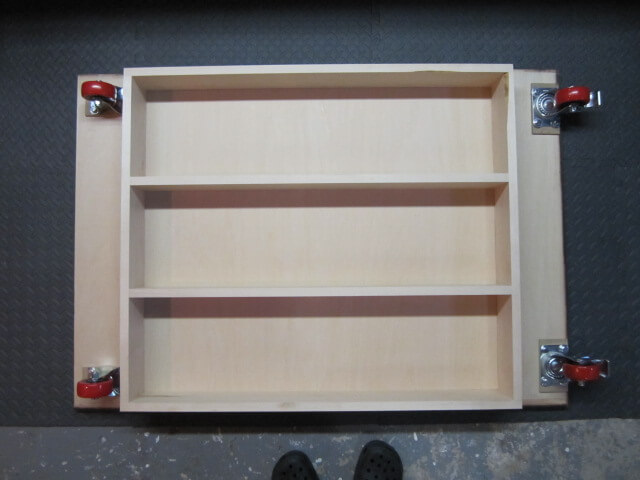
1.2 Cabinet assembly
I start with the background and the bottom then add the sides and the rails. Finally, the top will complete the whole.
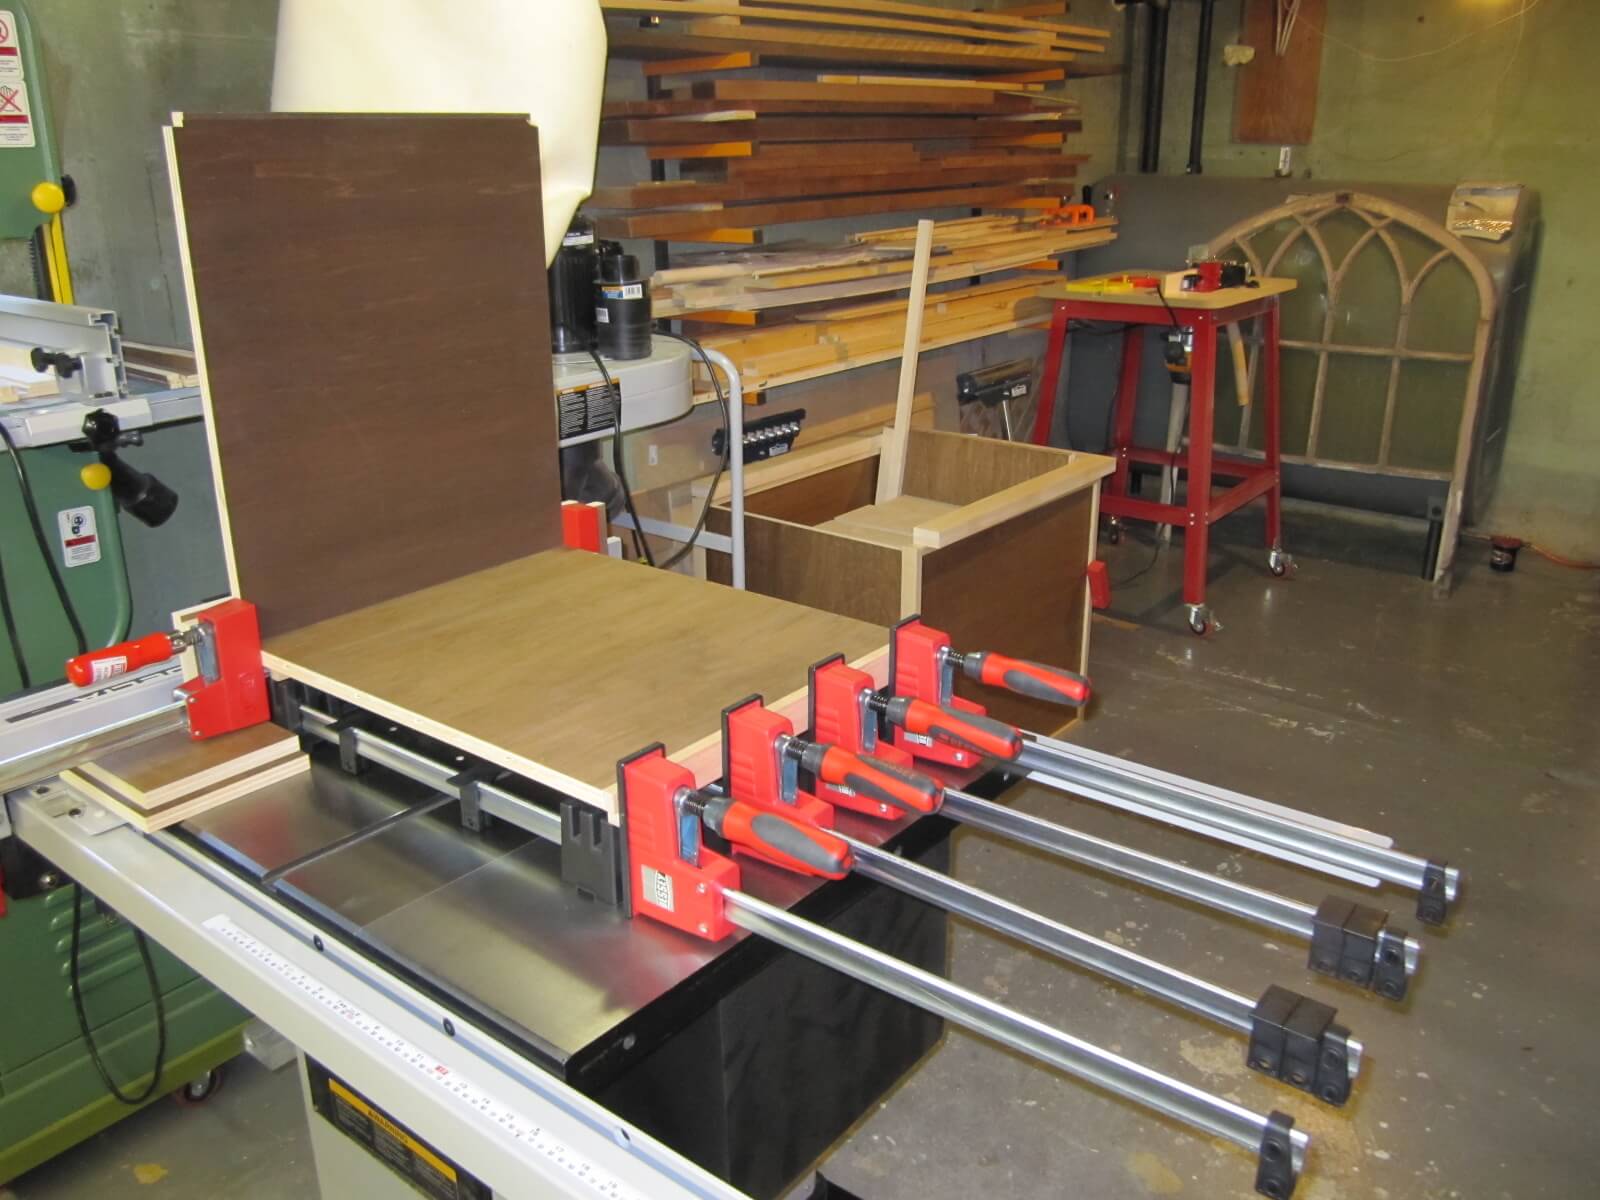
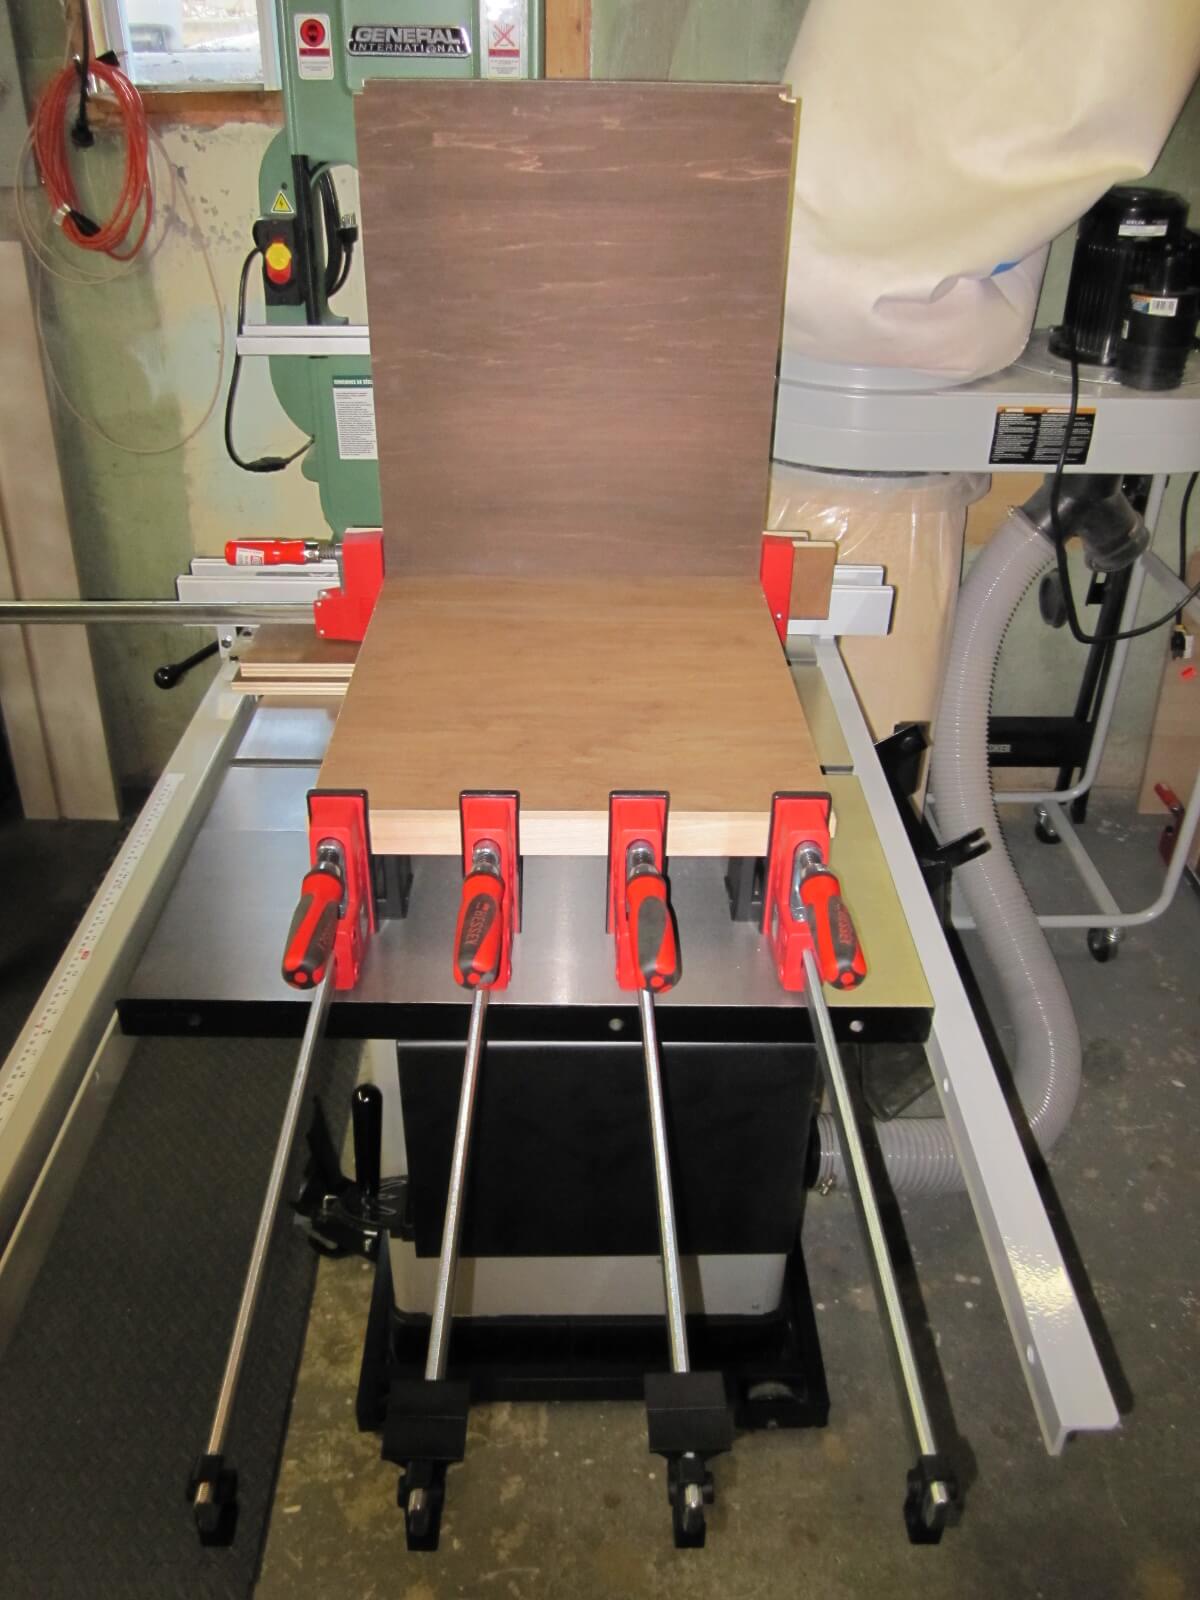

1.3 The drawers
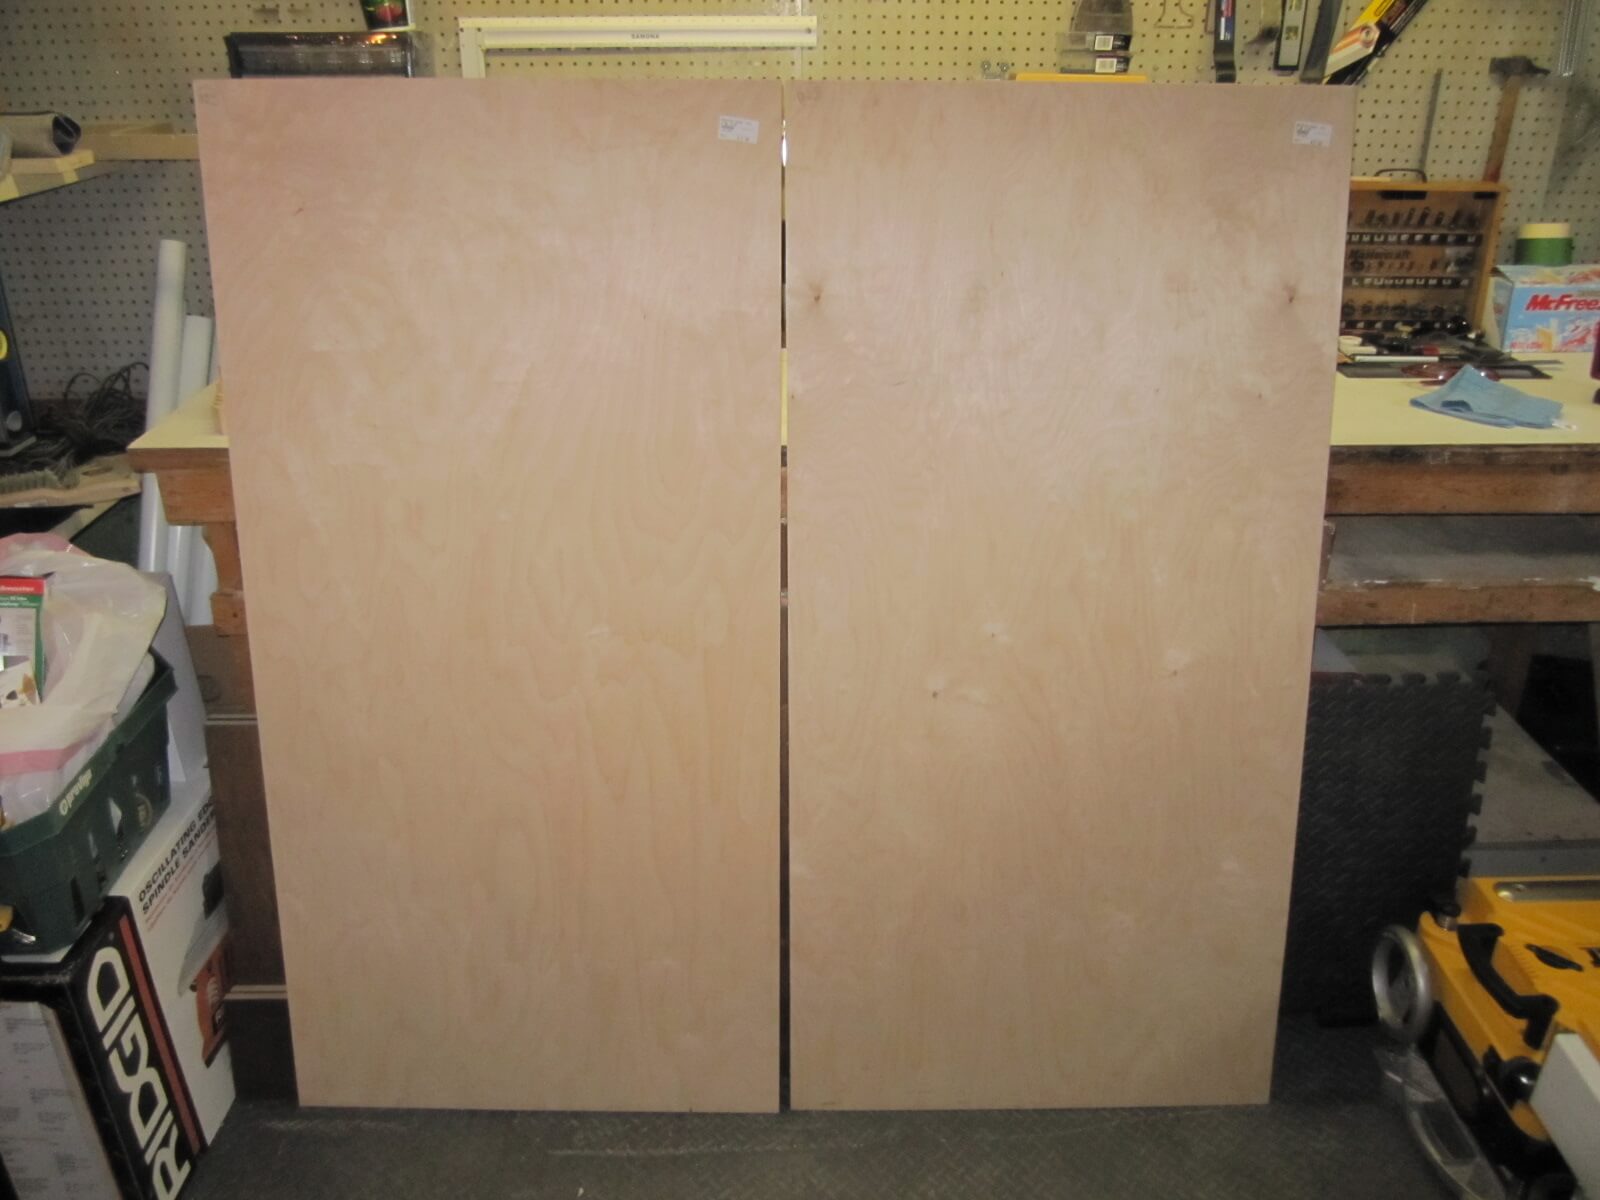
As this is a workshop furniture, I will realize simple drawers, solid but quick to manufacture. The sides will be joined with 1/2″ rabbets and the bottom will fit into a 1/4″ groove on all pieces 1/4″ from the edges.
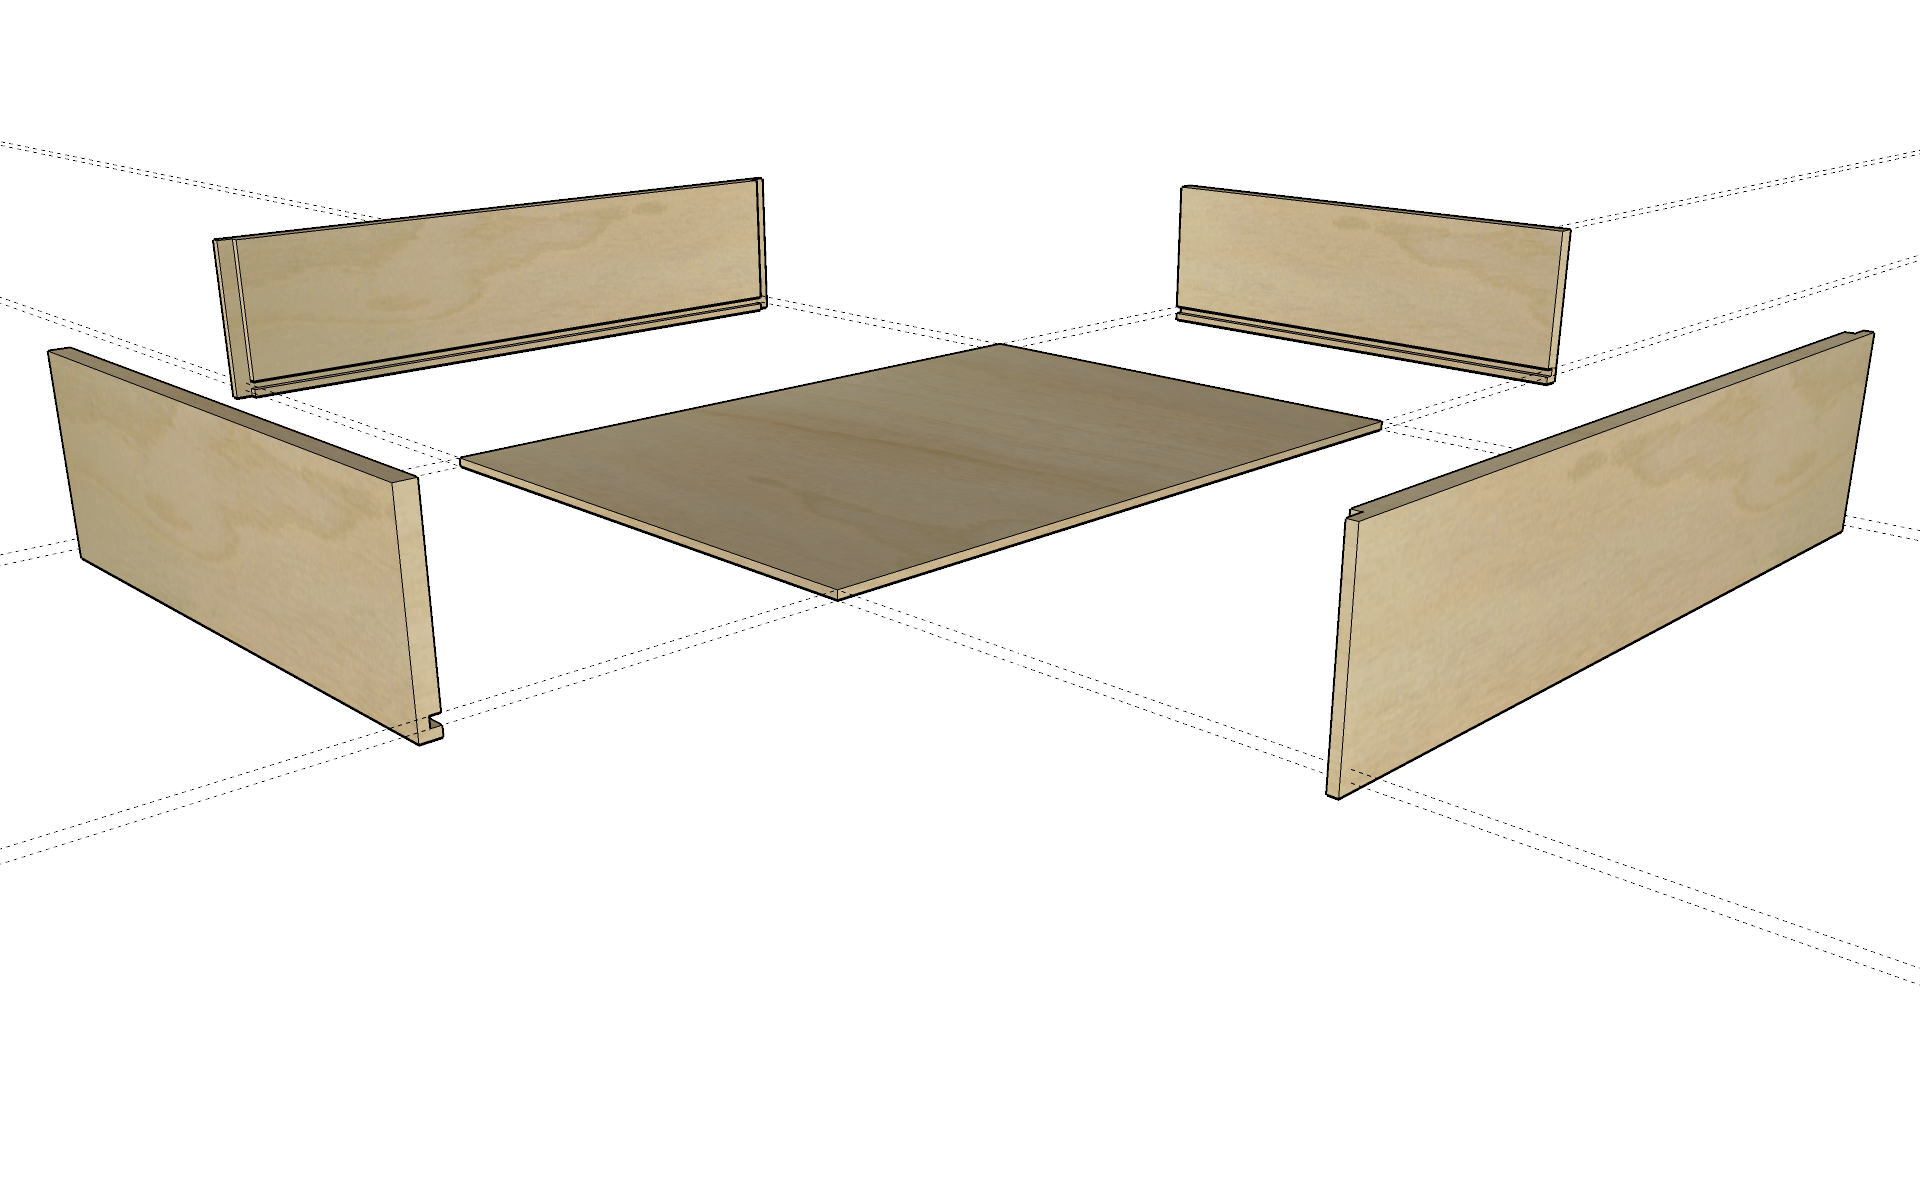


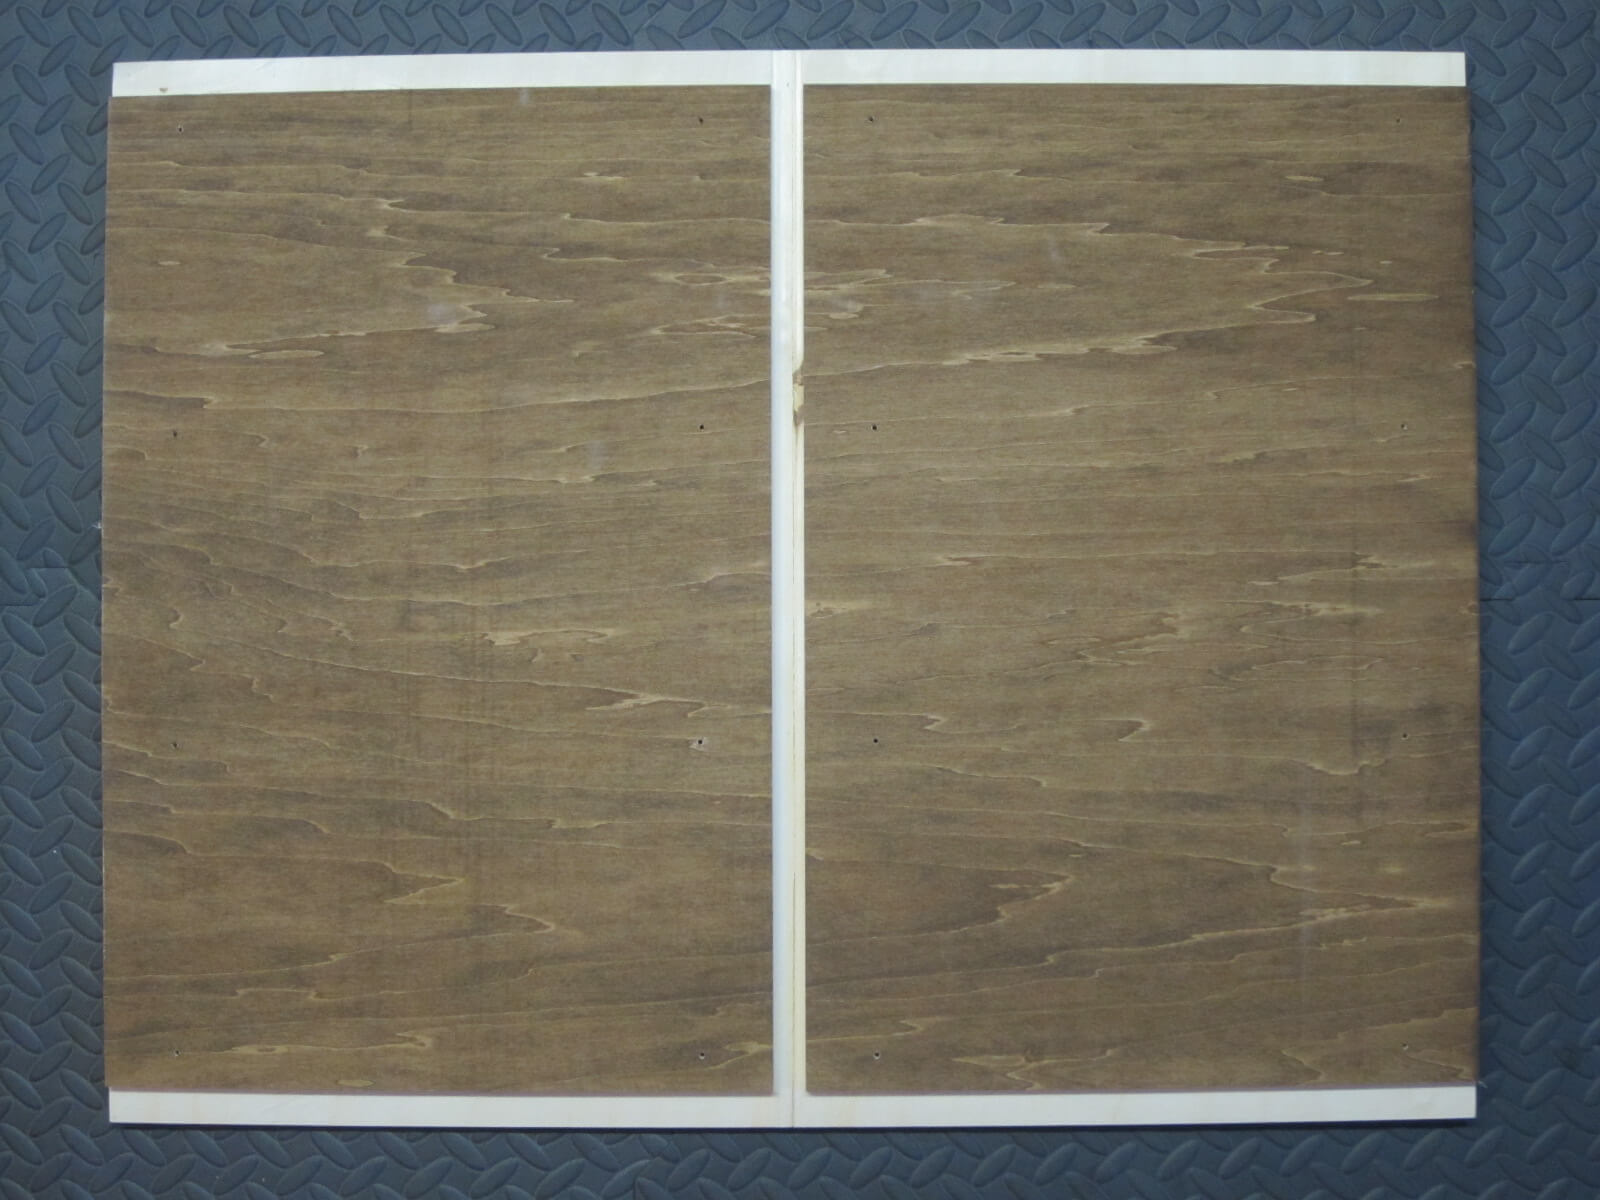
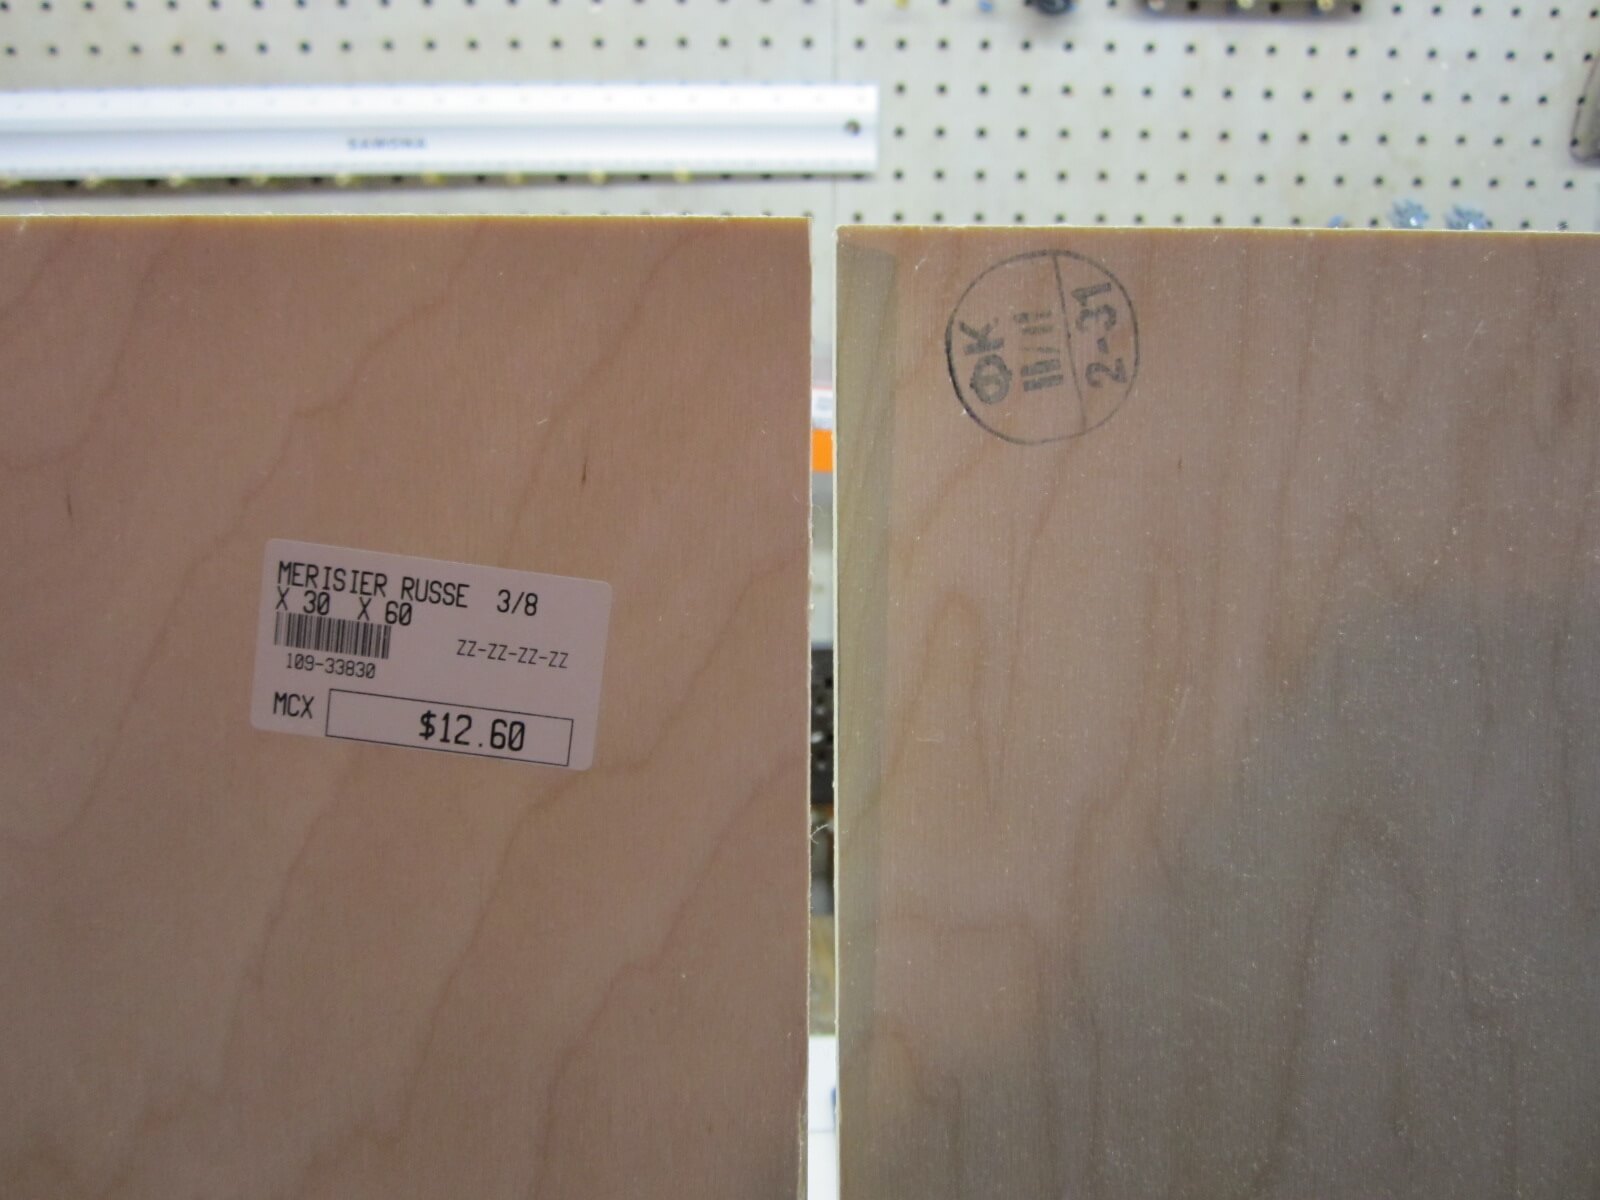
The three drawers will be made of 3/8″ thick plywood and two 30″ x 60″ sheets will be required for:
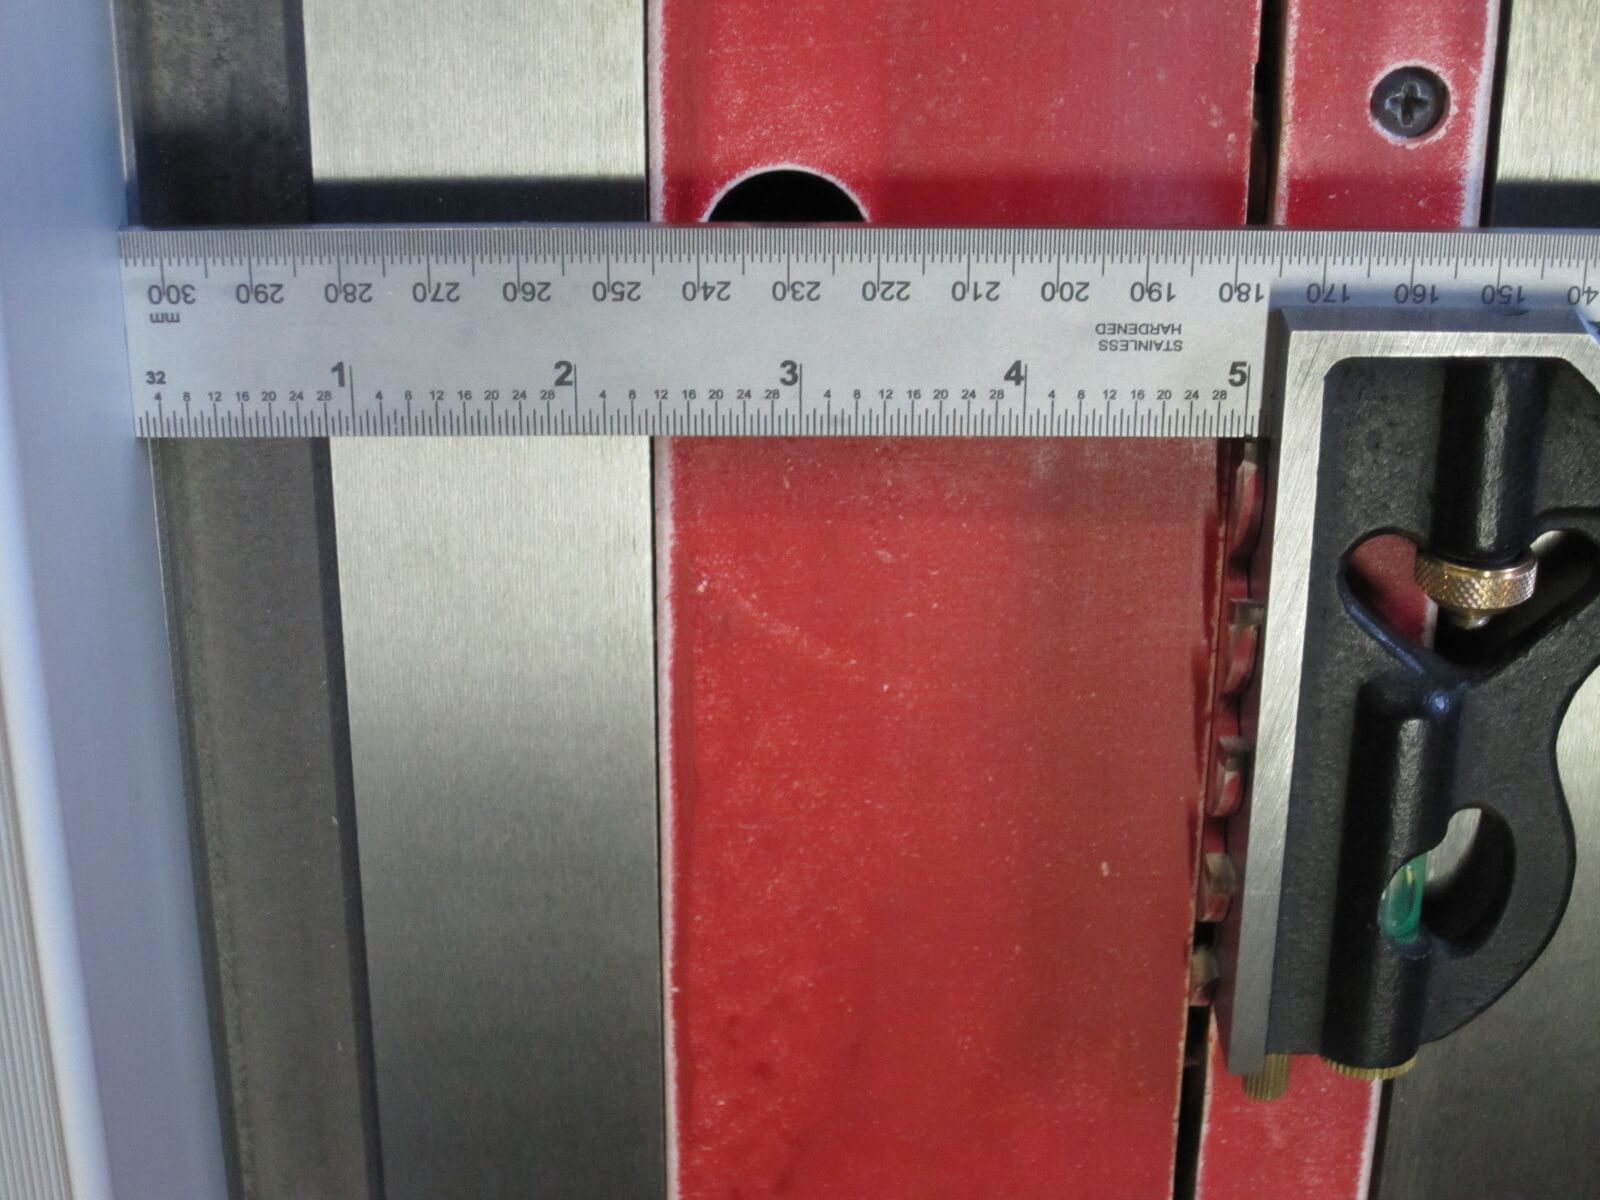
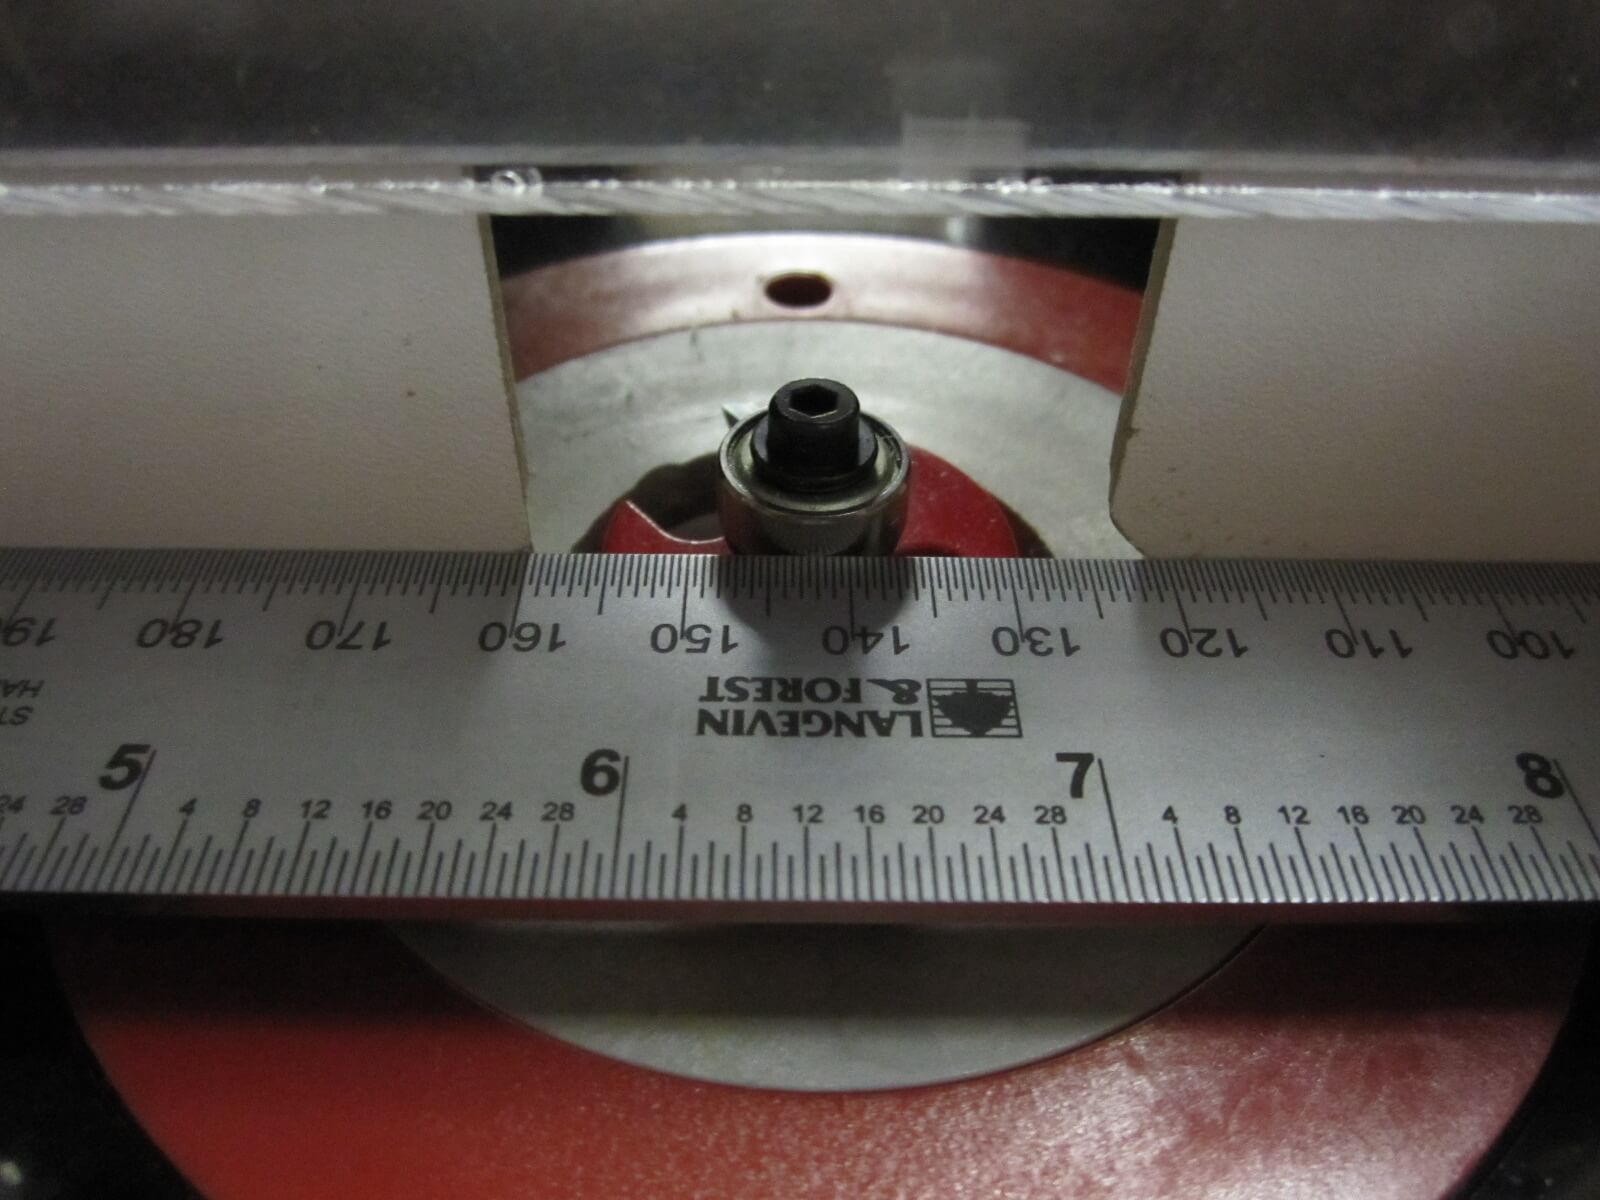
Setting of the table saw for cutting the height of the pieces of the big drawer:
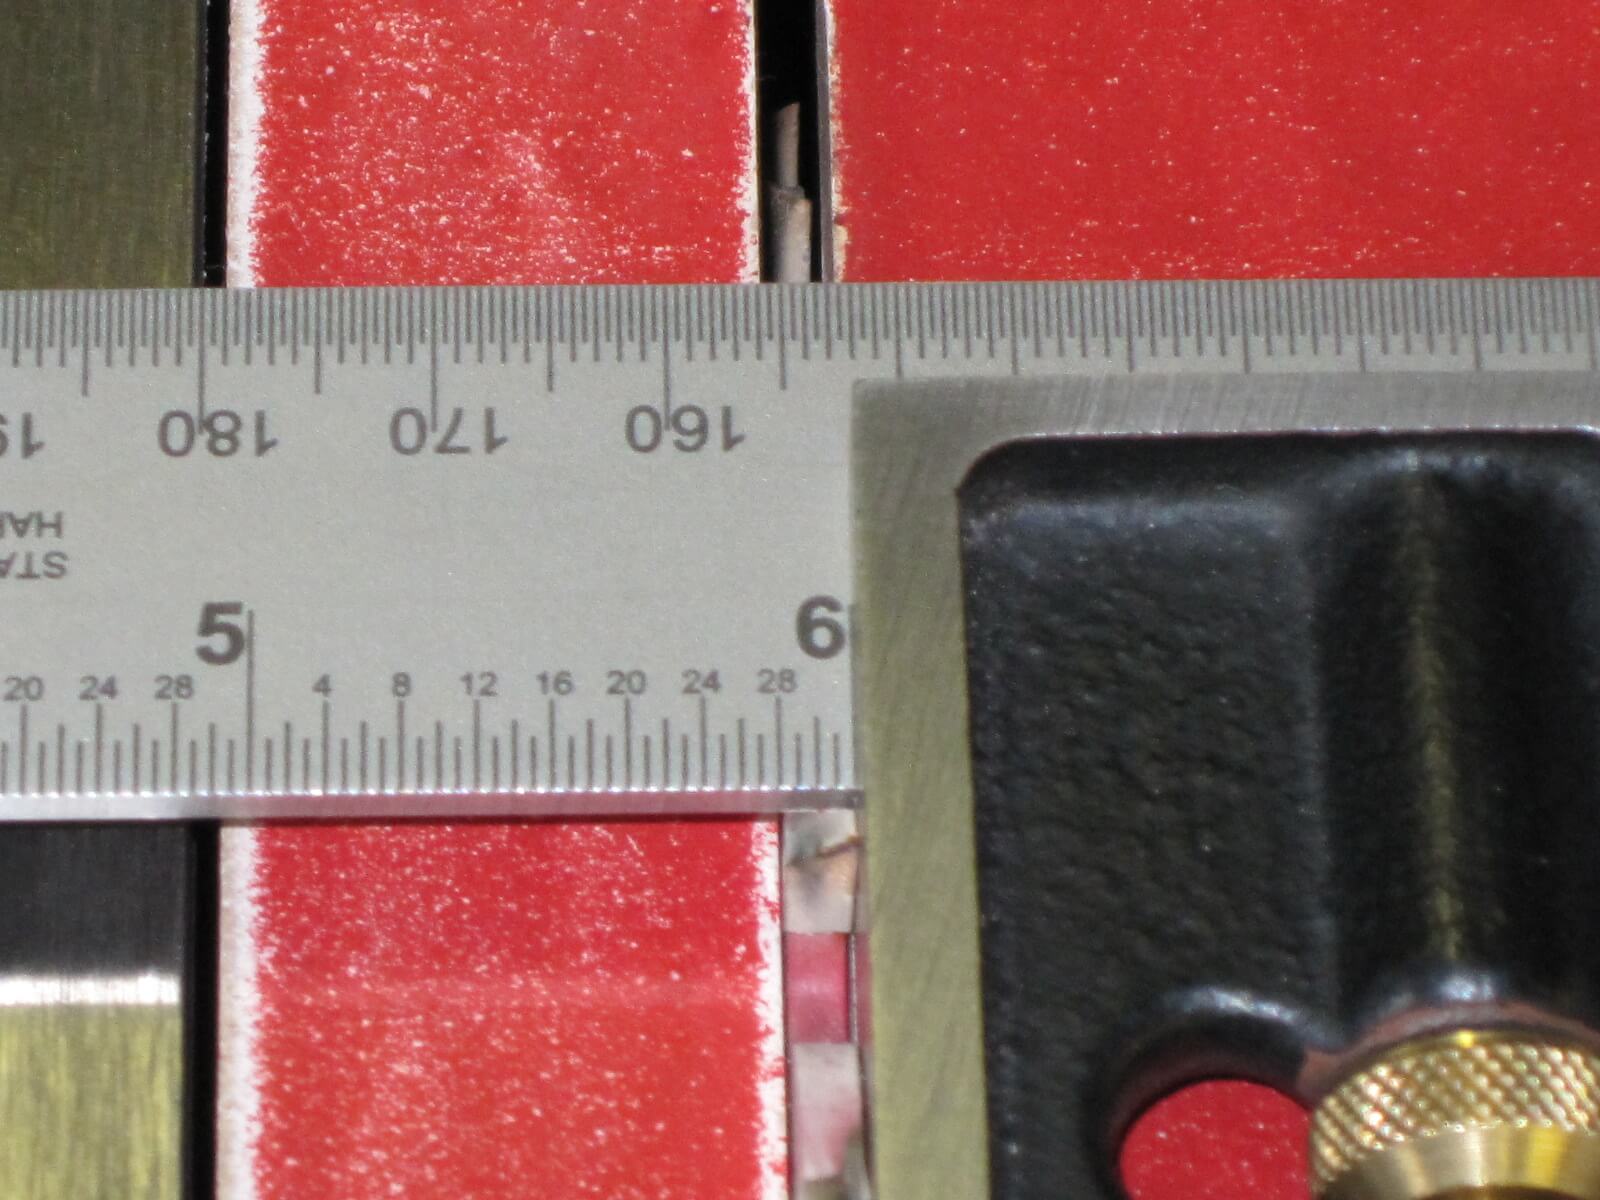
Setting the table saw for cutting the height of the pieces of the two small drawers:
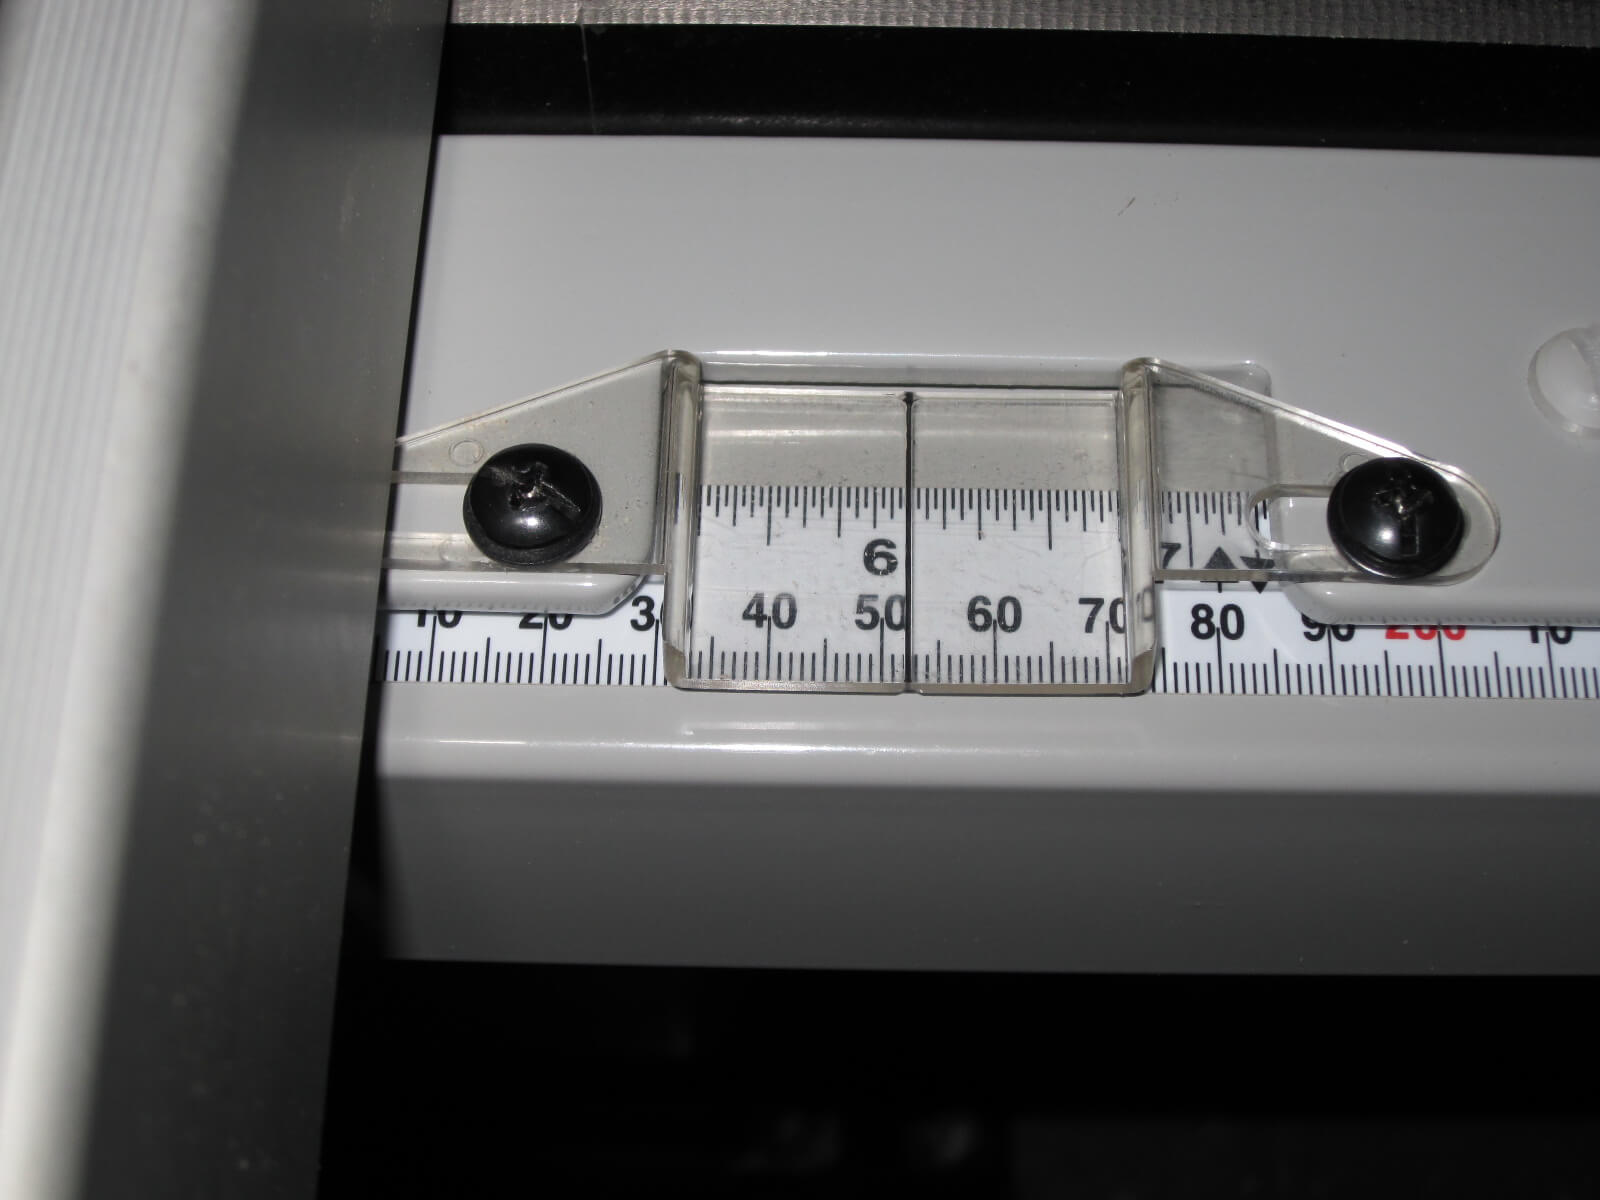
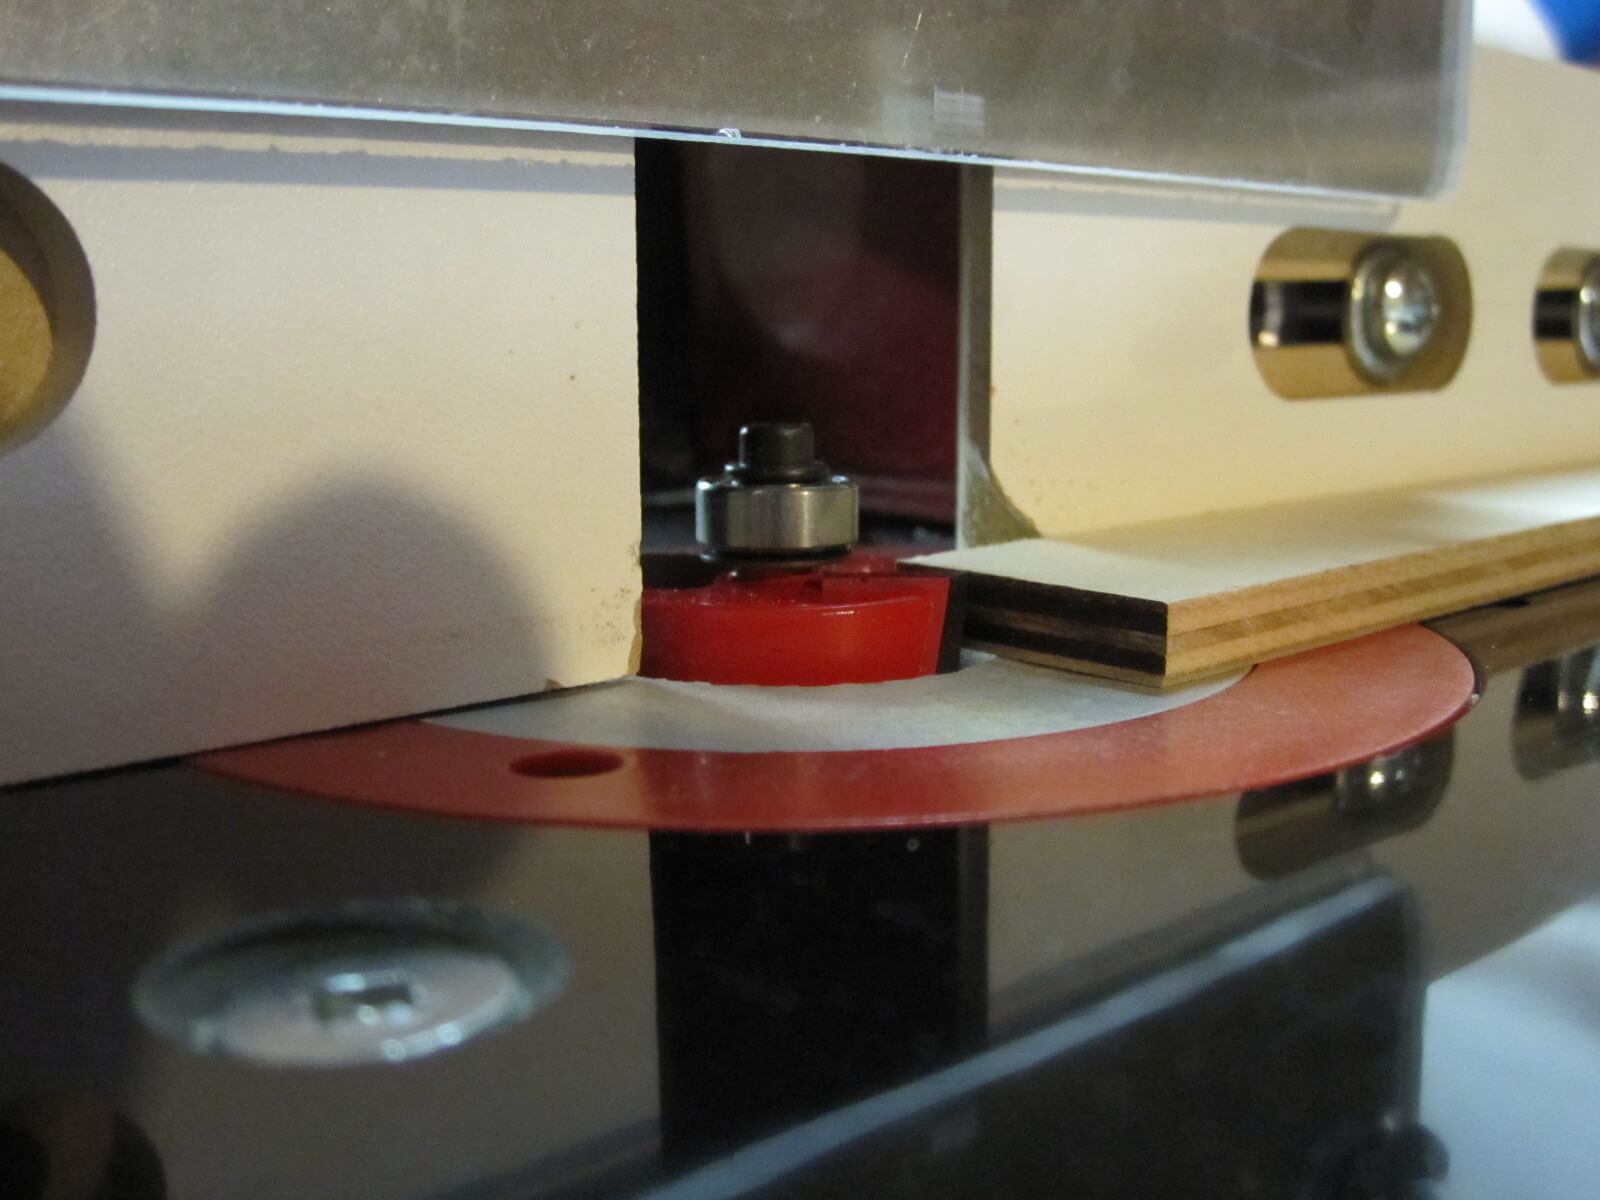
Setting the router table for the realization of the grooves:
I use 1/4″ and 1/2″ drops for settings.
Adjustment of the router table for the realization of rabbets:
Always unplug tools before to set them!
Here are the finished pieces:
Let’s go to the assembly:
Here are the drawers assembled:
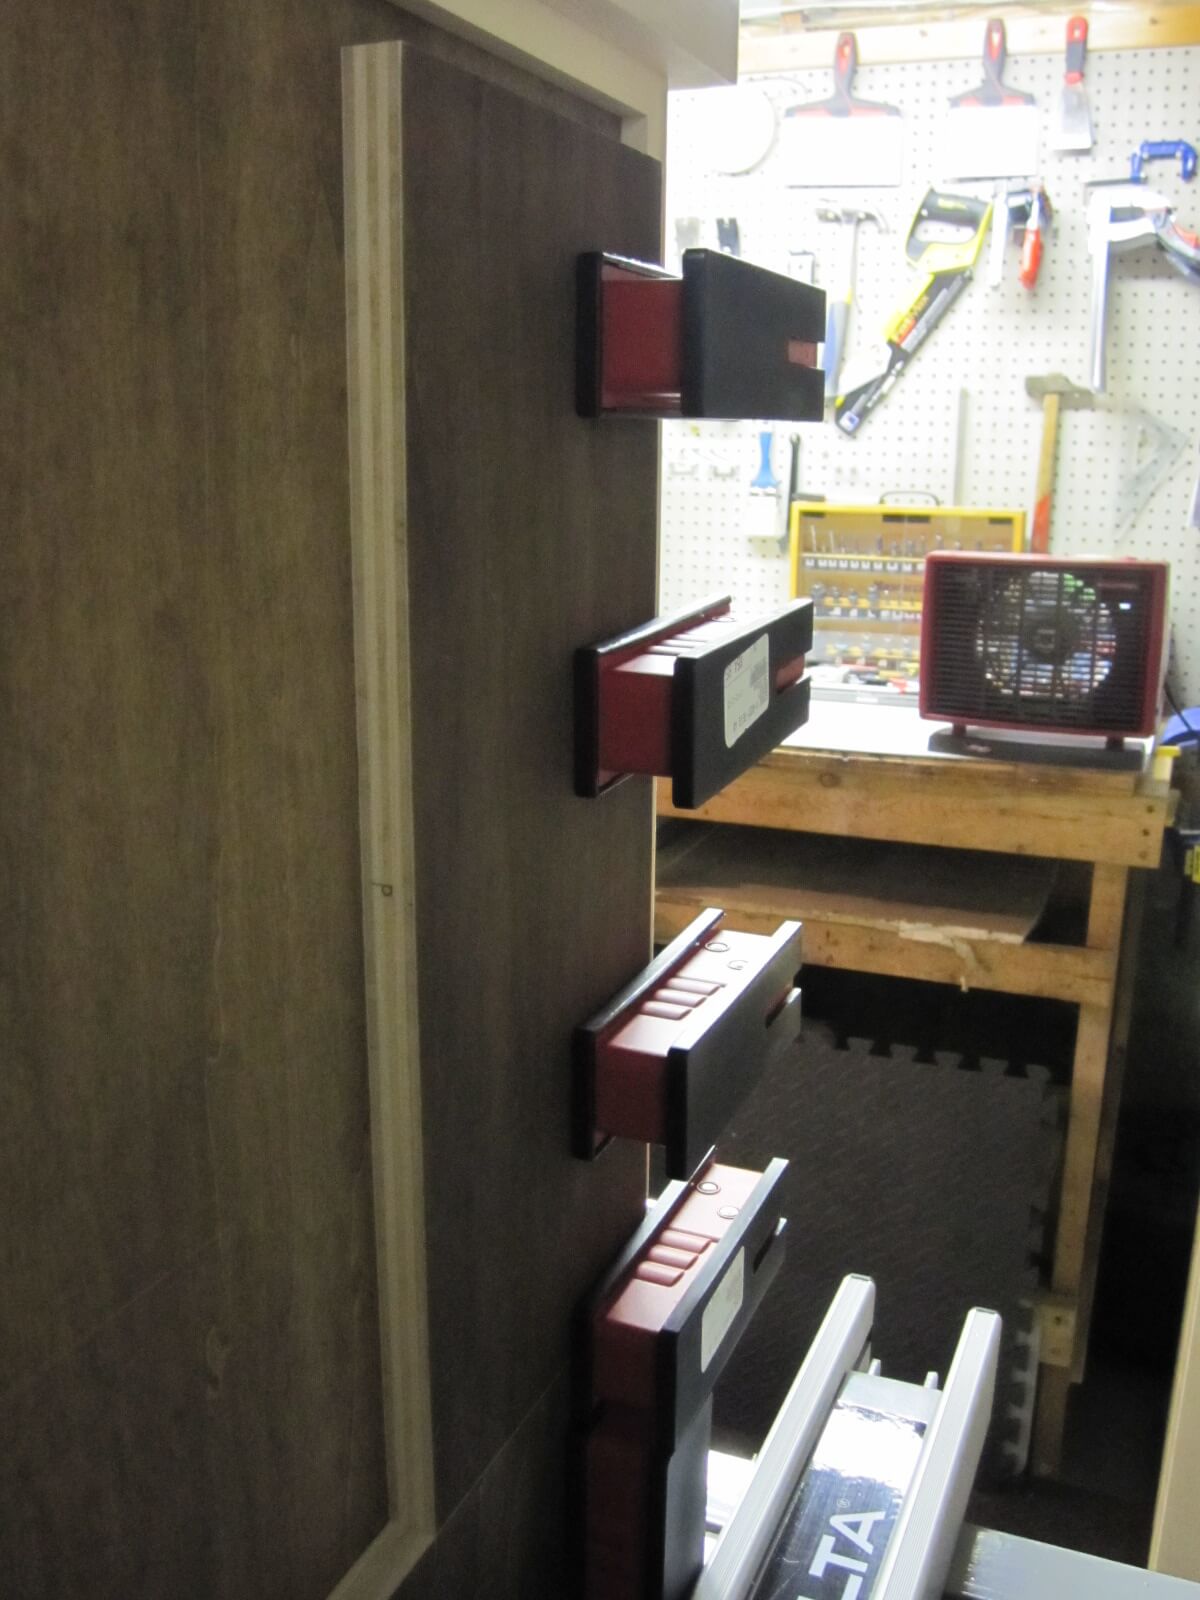
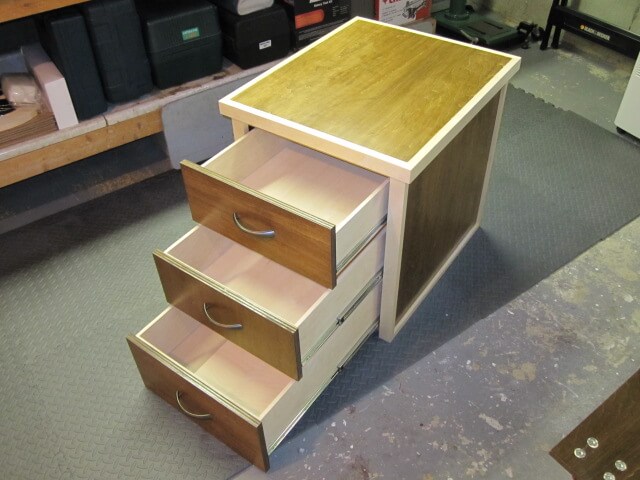
1.4 Drawers installation
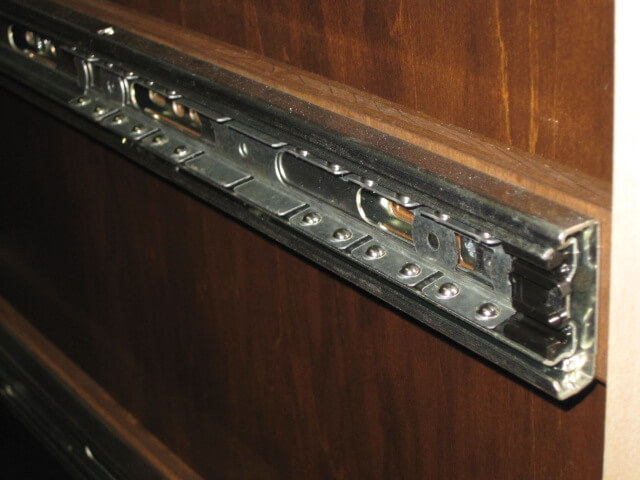
I used full extension slides of 25 kg of resistance. The drawer can go out completely and give access to all the content. It is very convenient and the price difference is worth it.
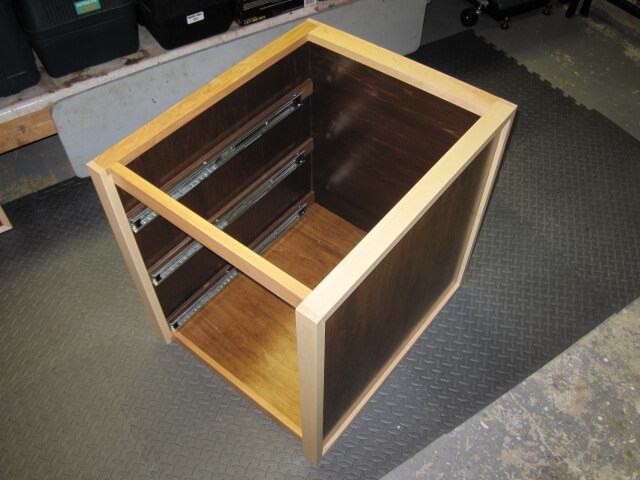
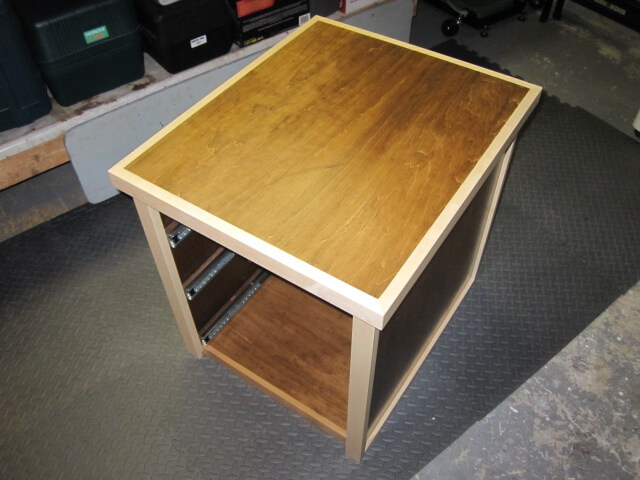
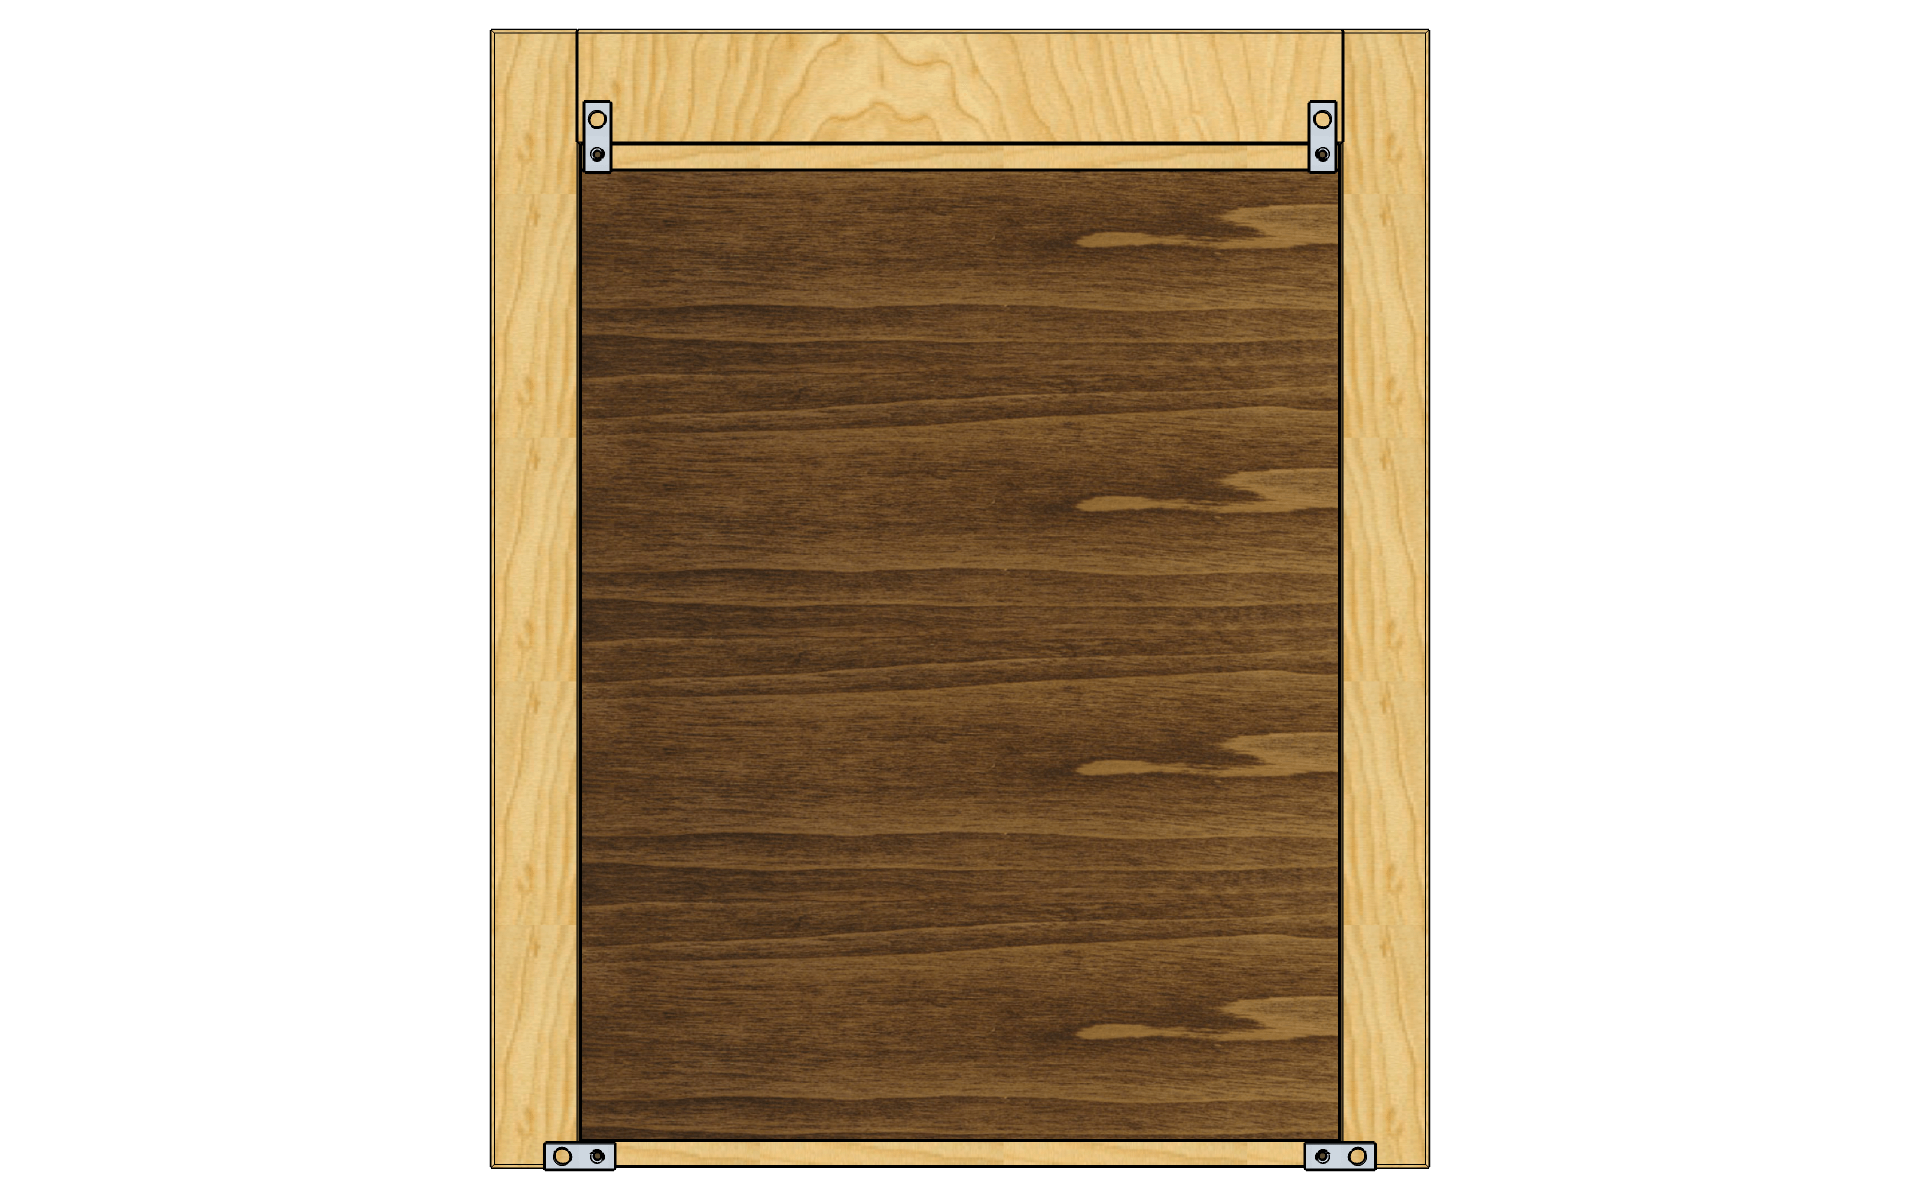
The installation of the drawers is of integrated style. They fit in the box to be at the same level as the facade.
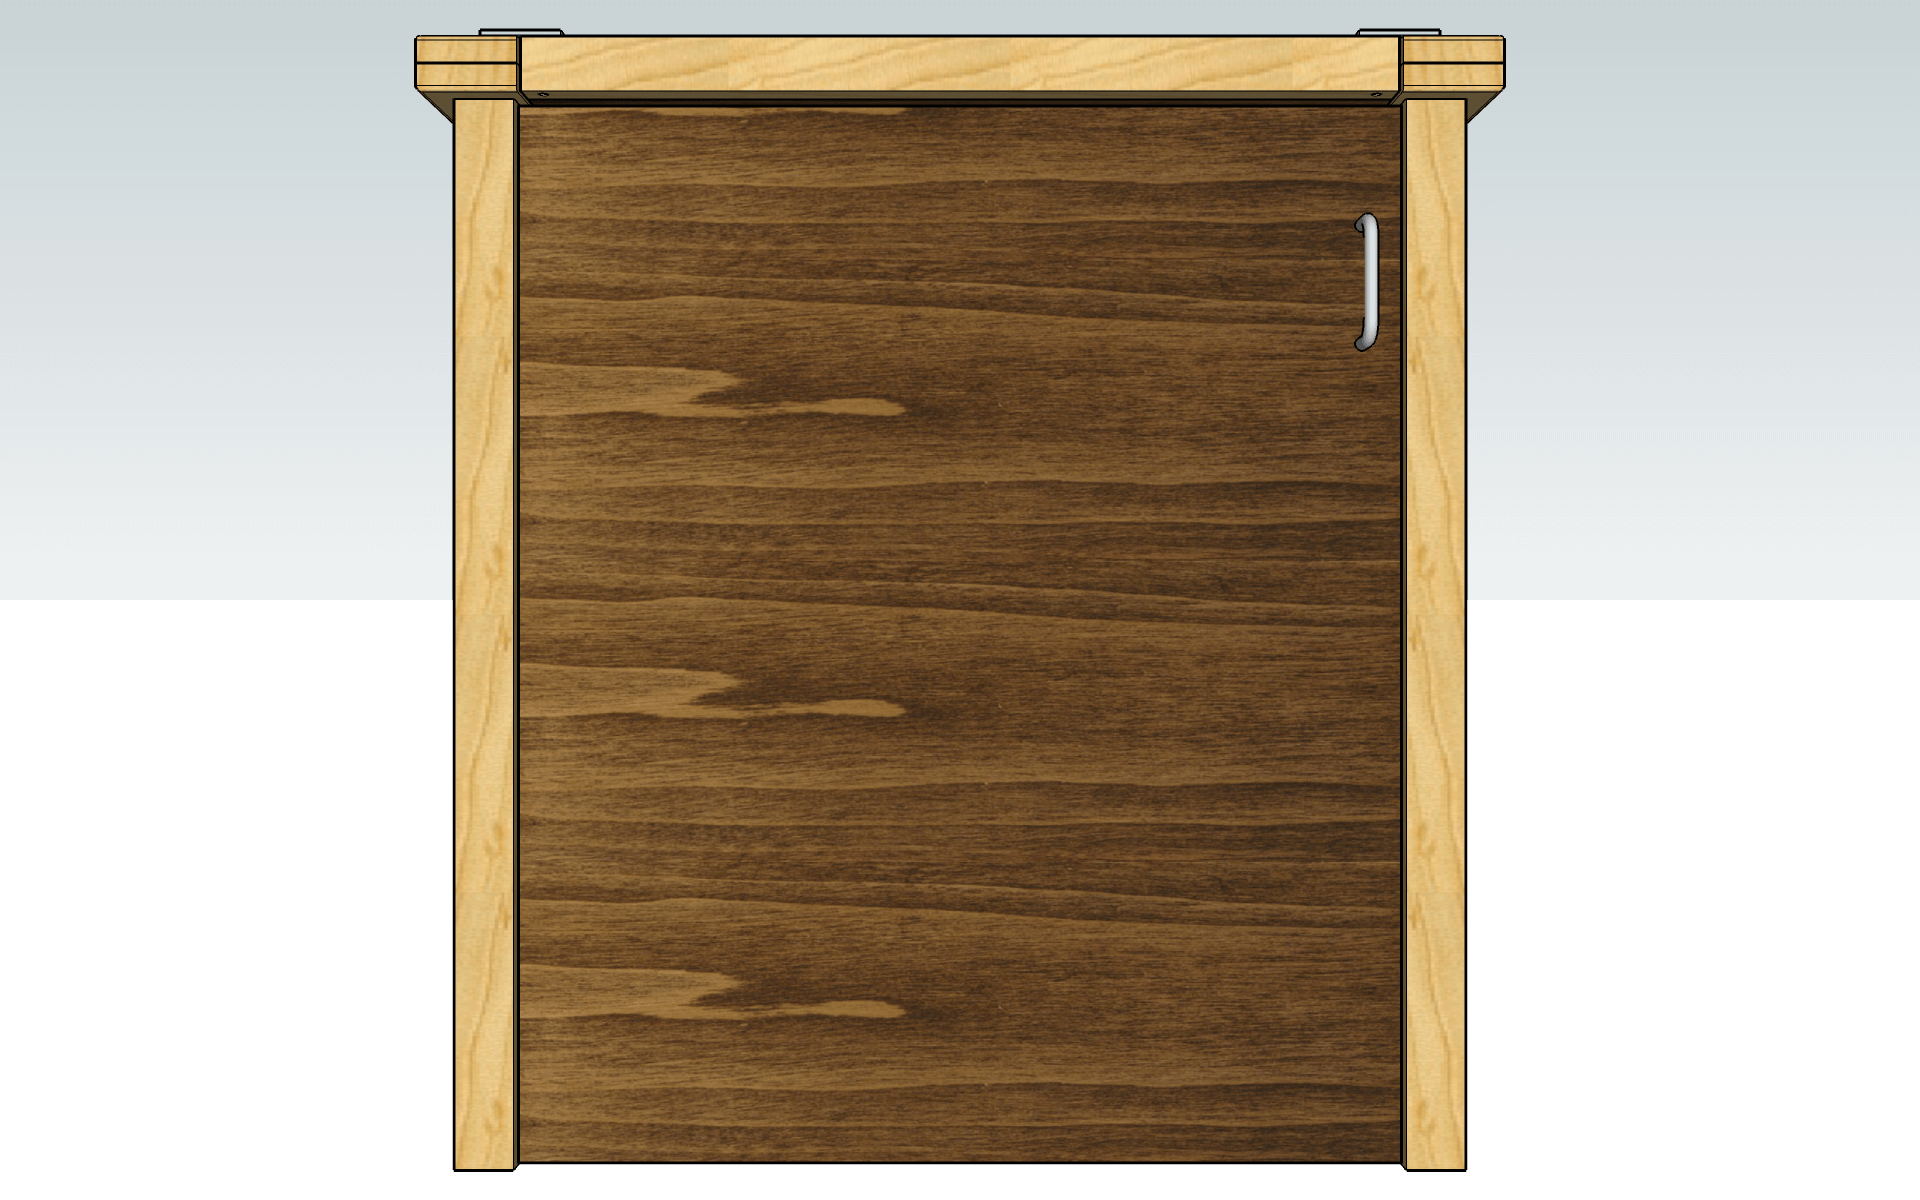
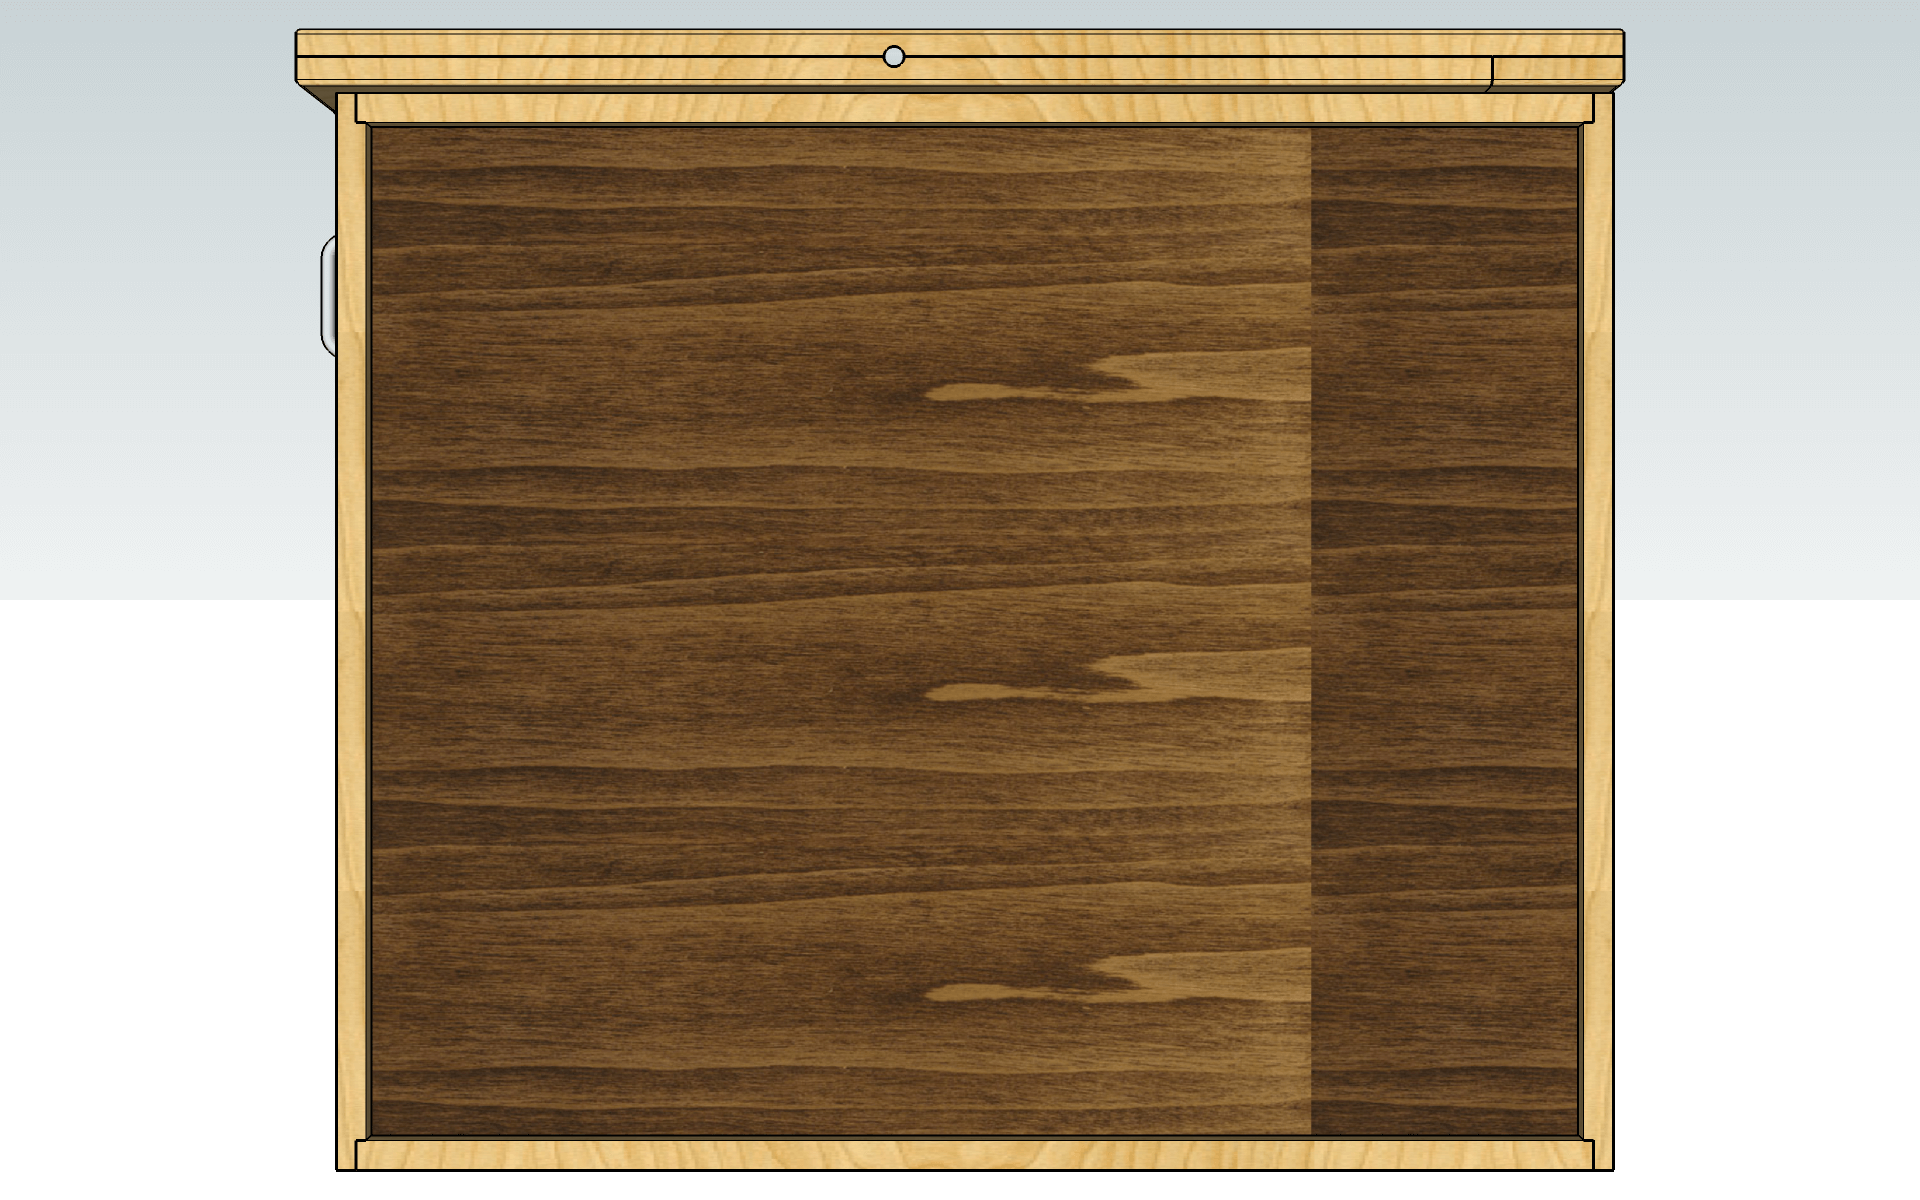
1.5 The facades
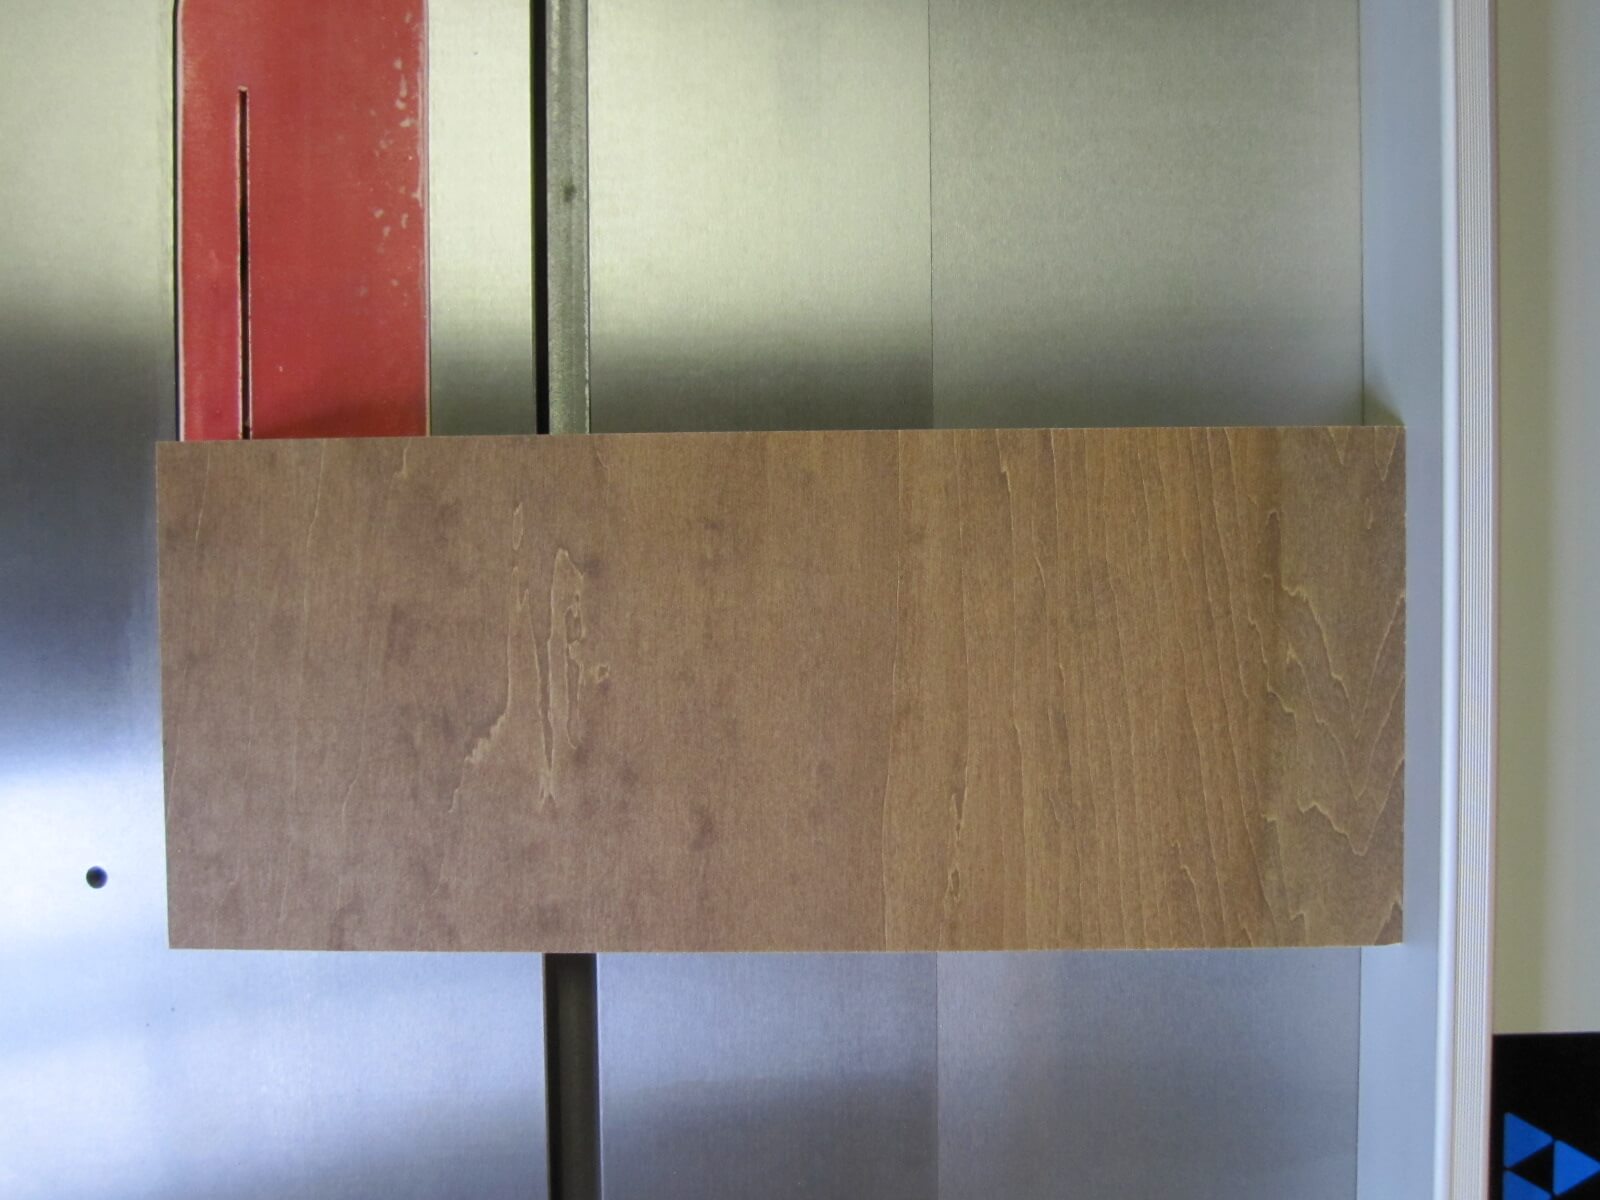
I size them to leave 1/8″ (about 3 mm) of play all around.
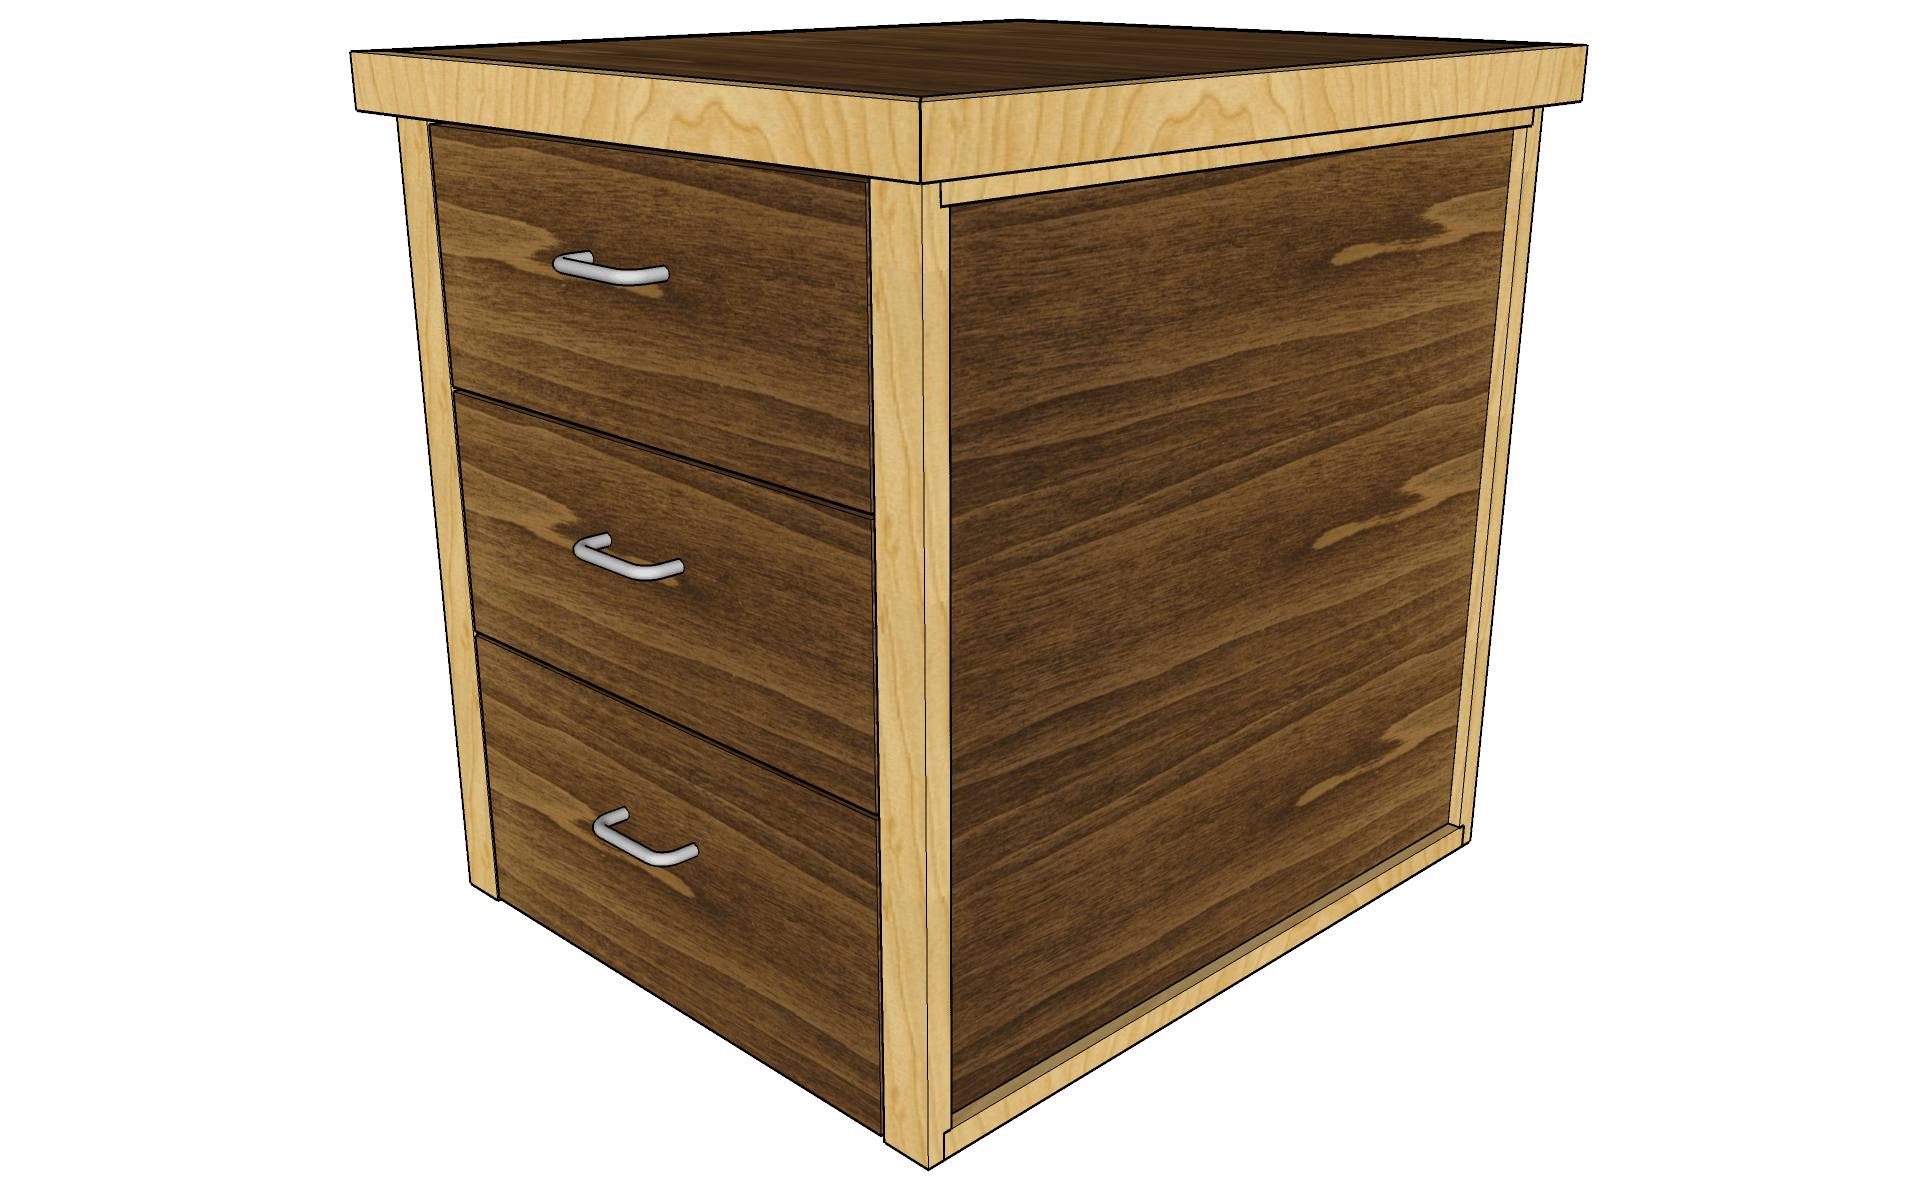
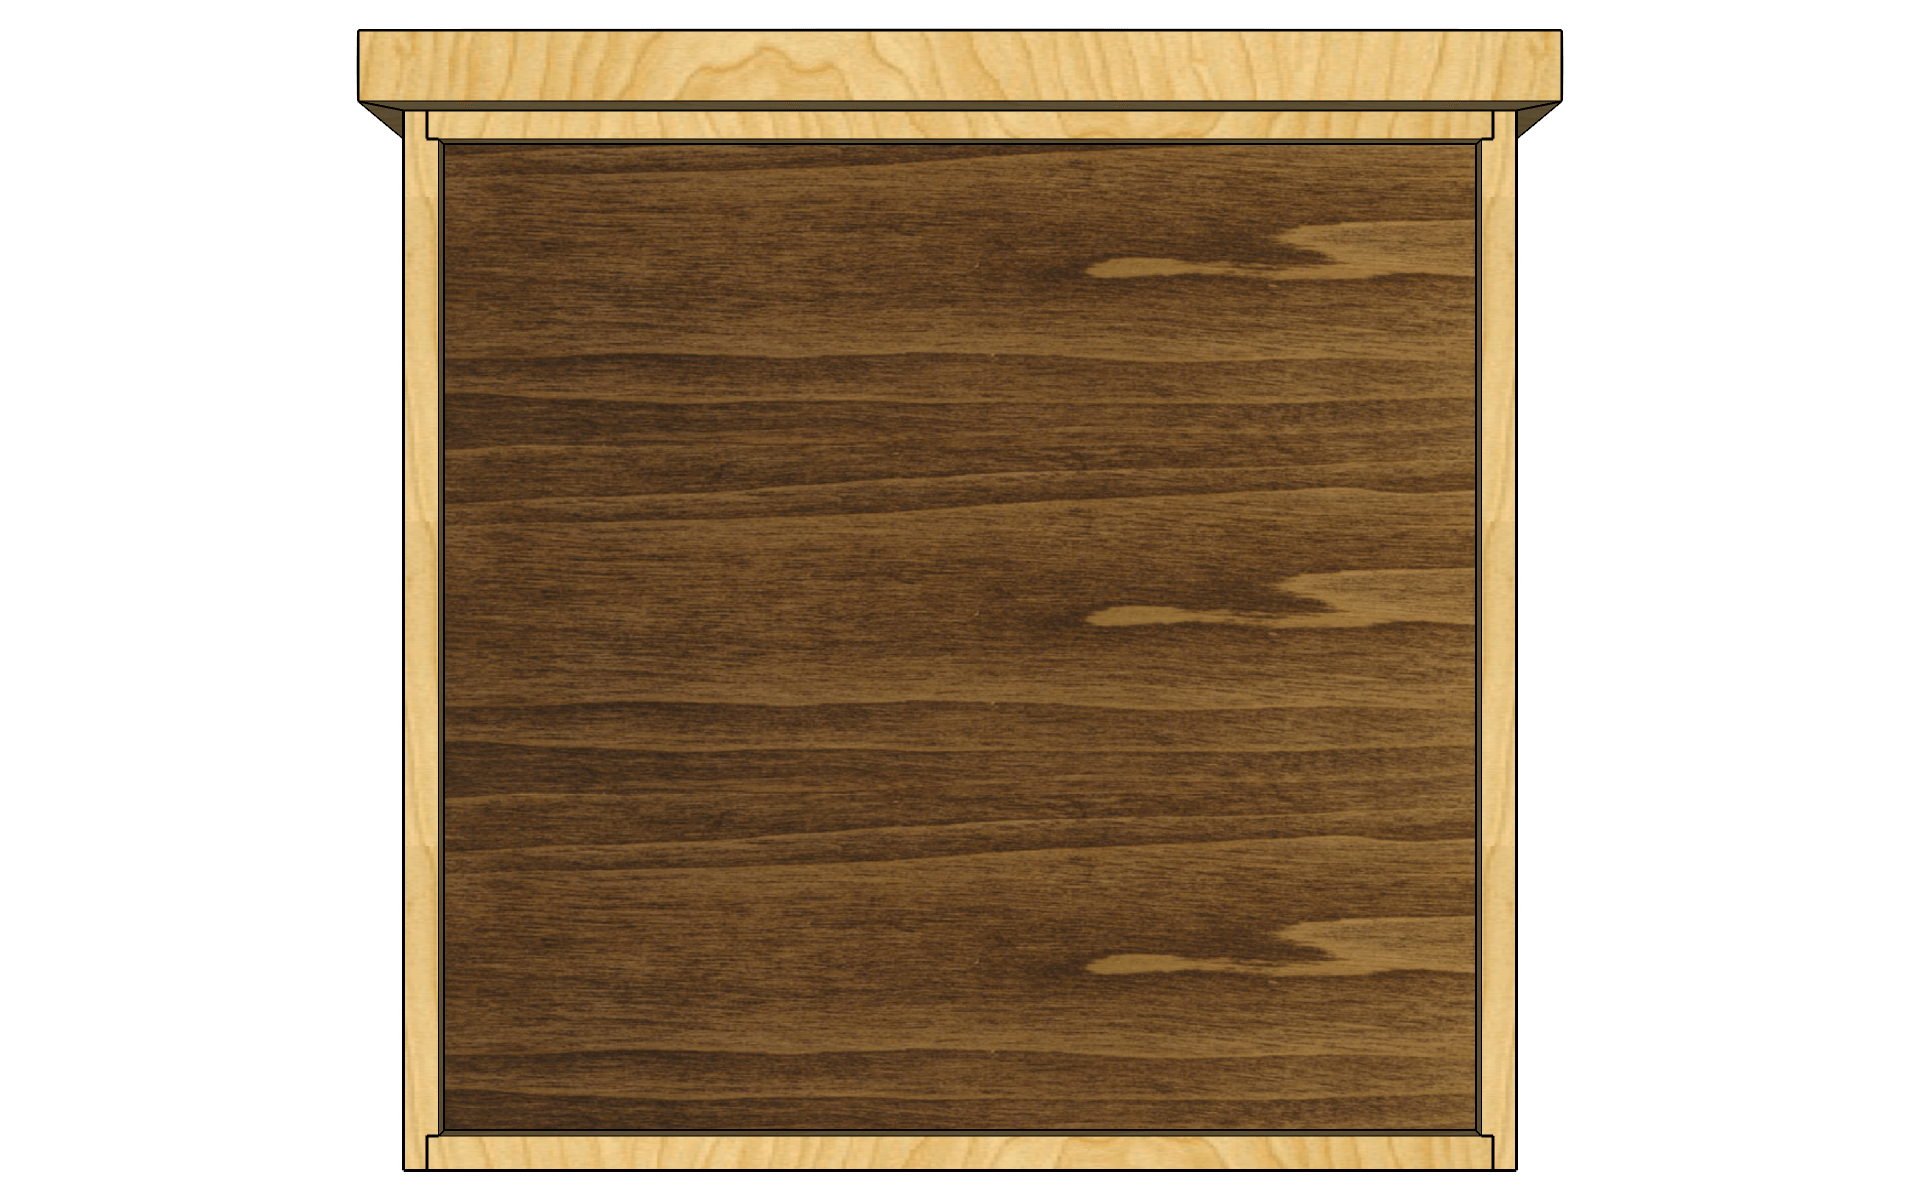
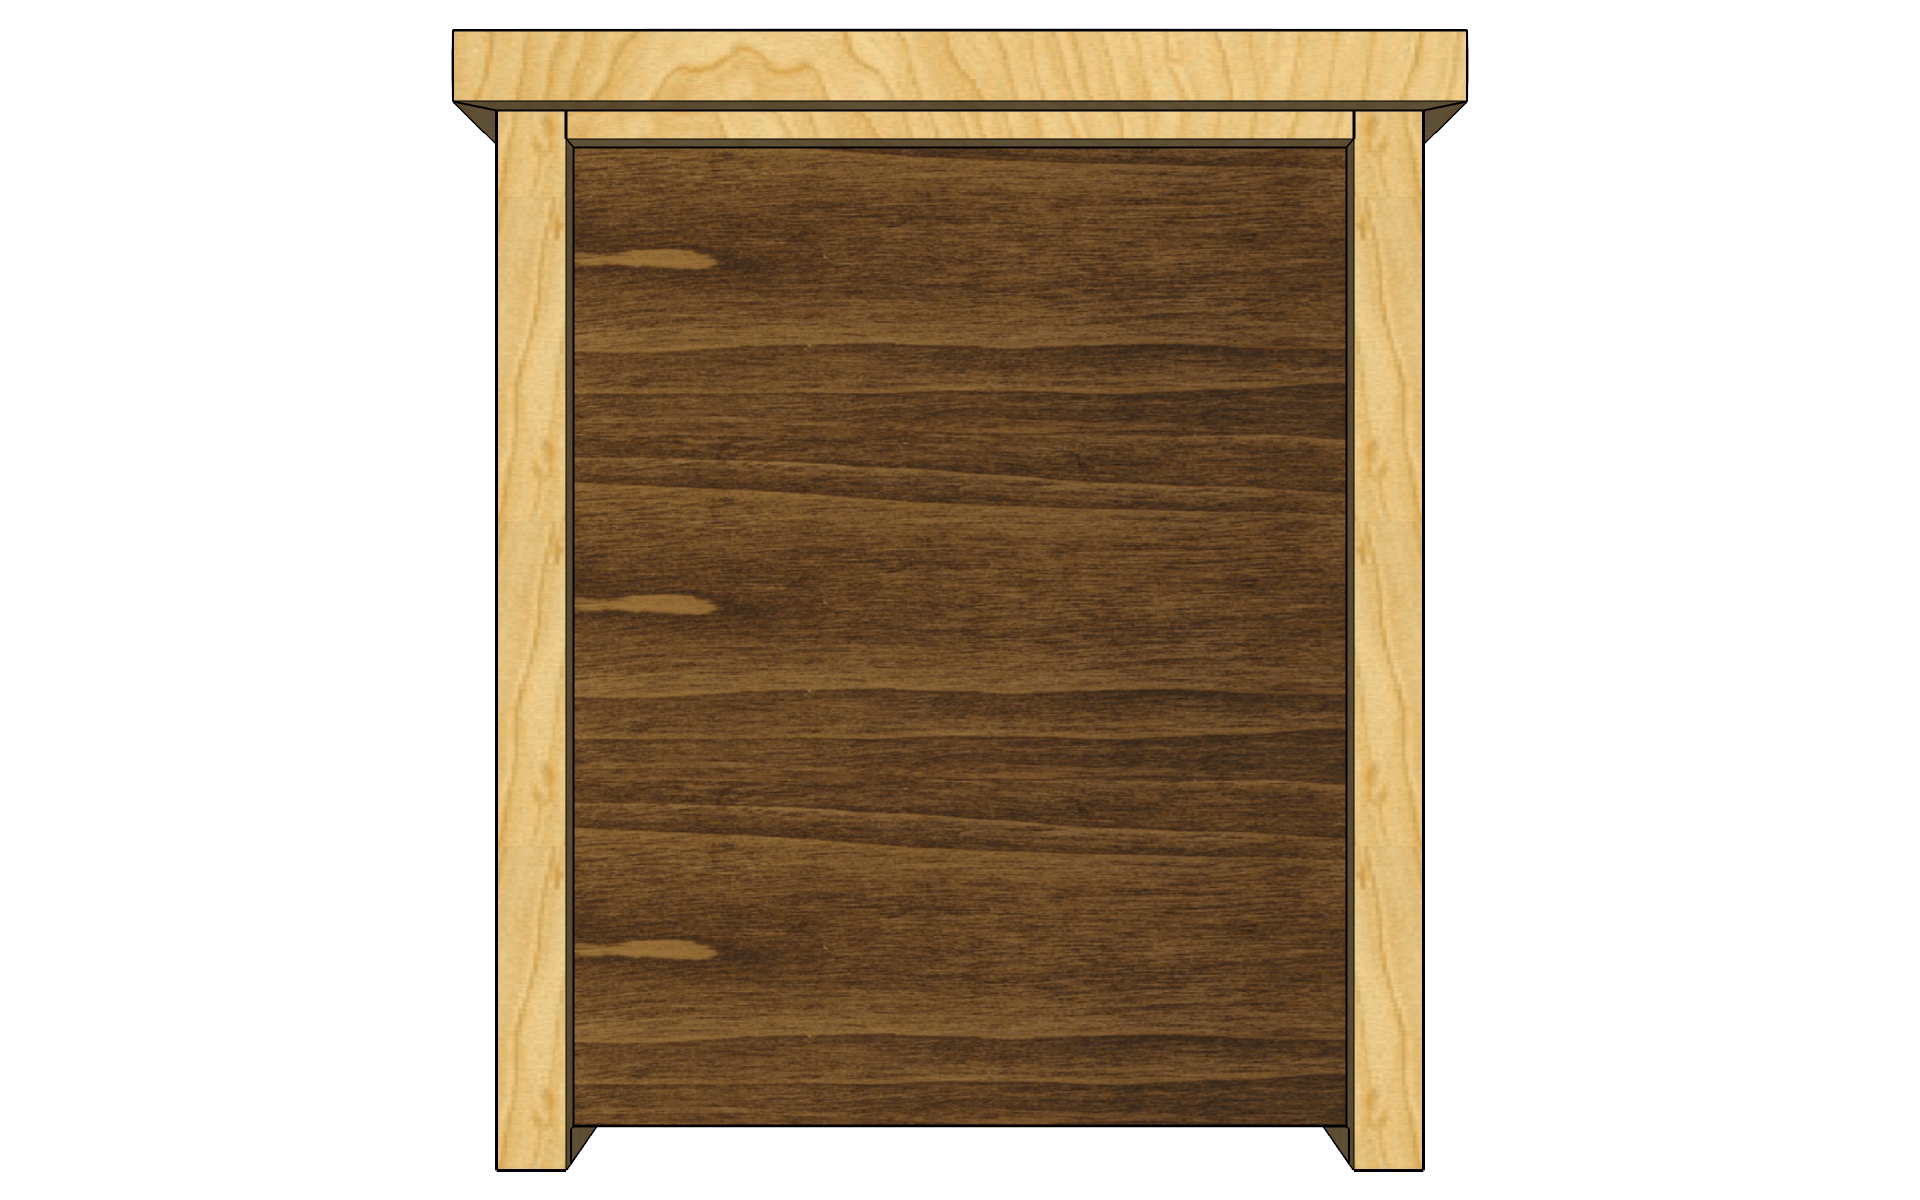
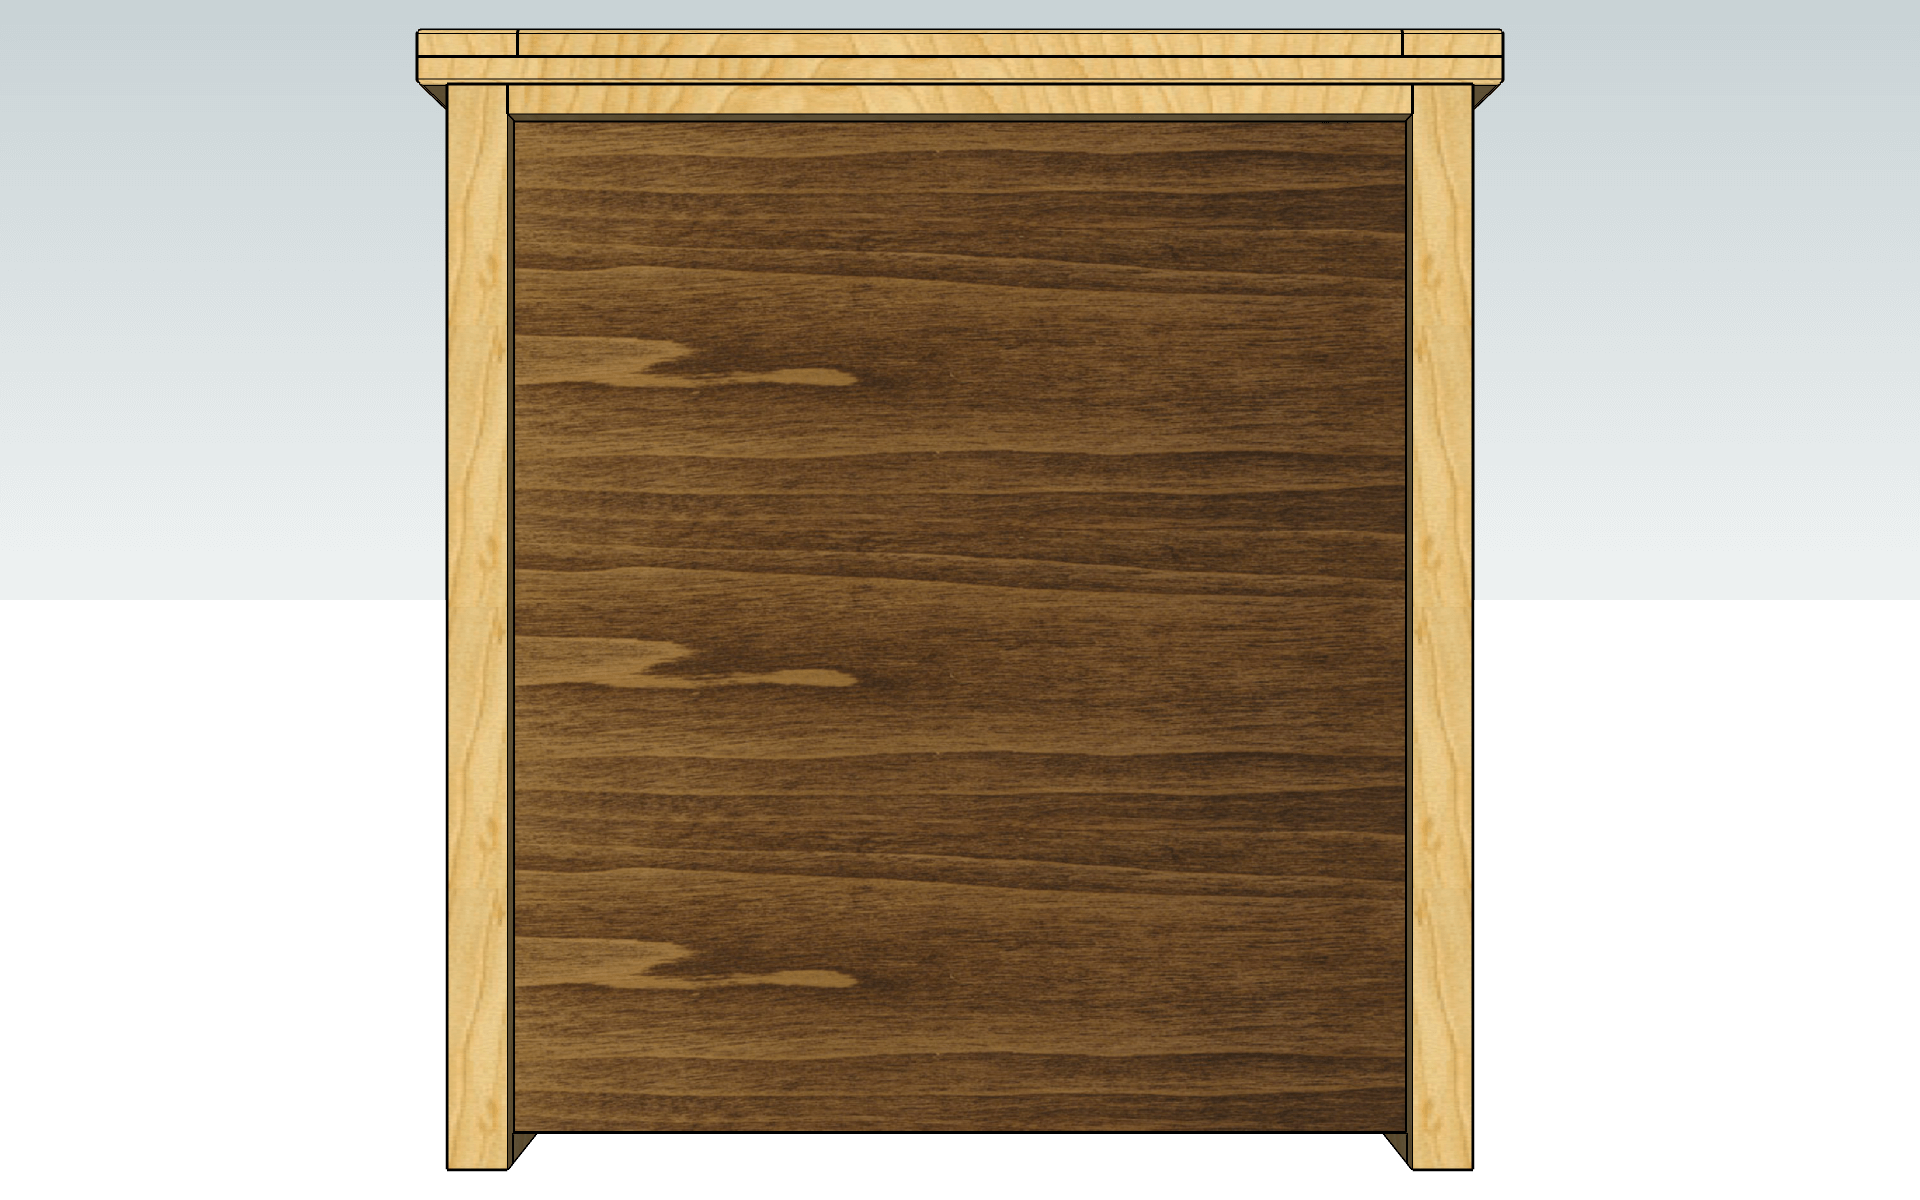
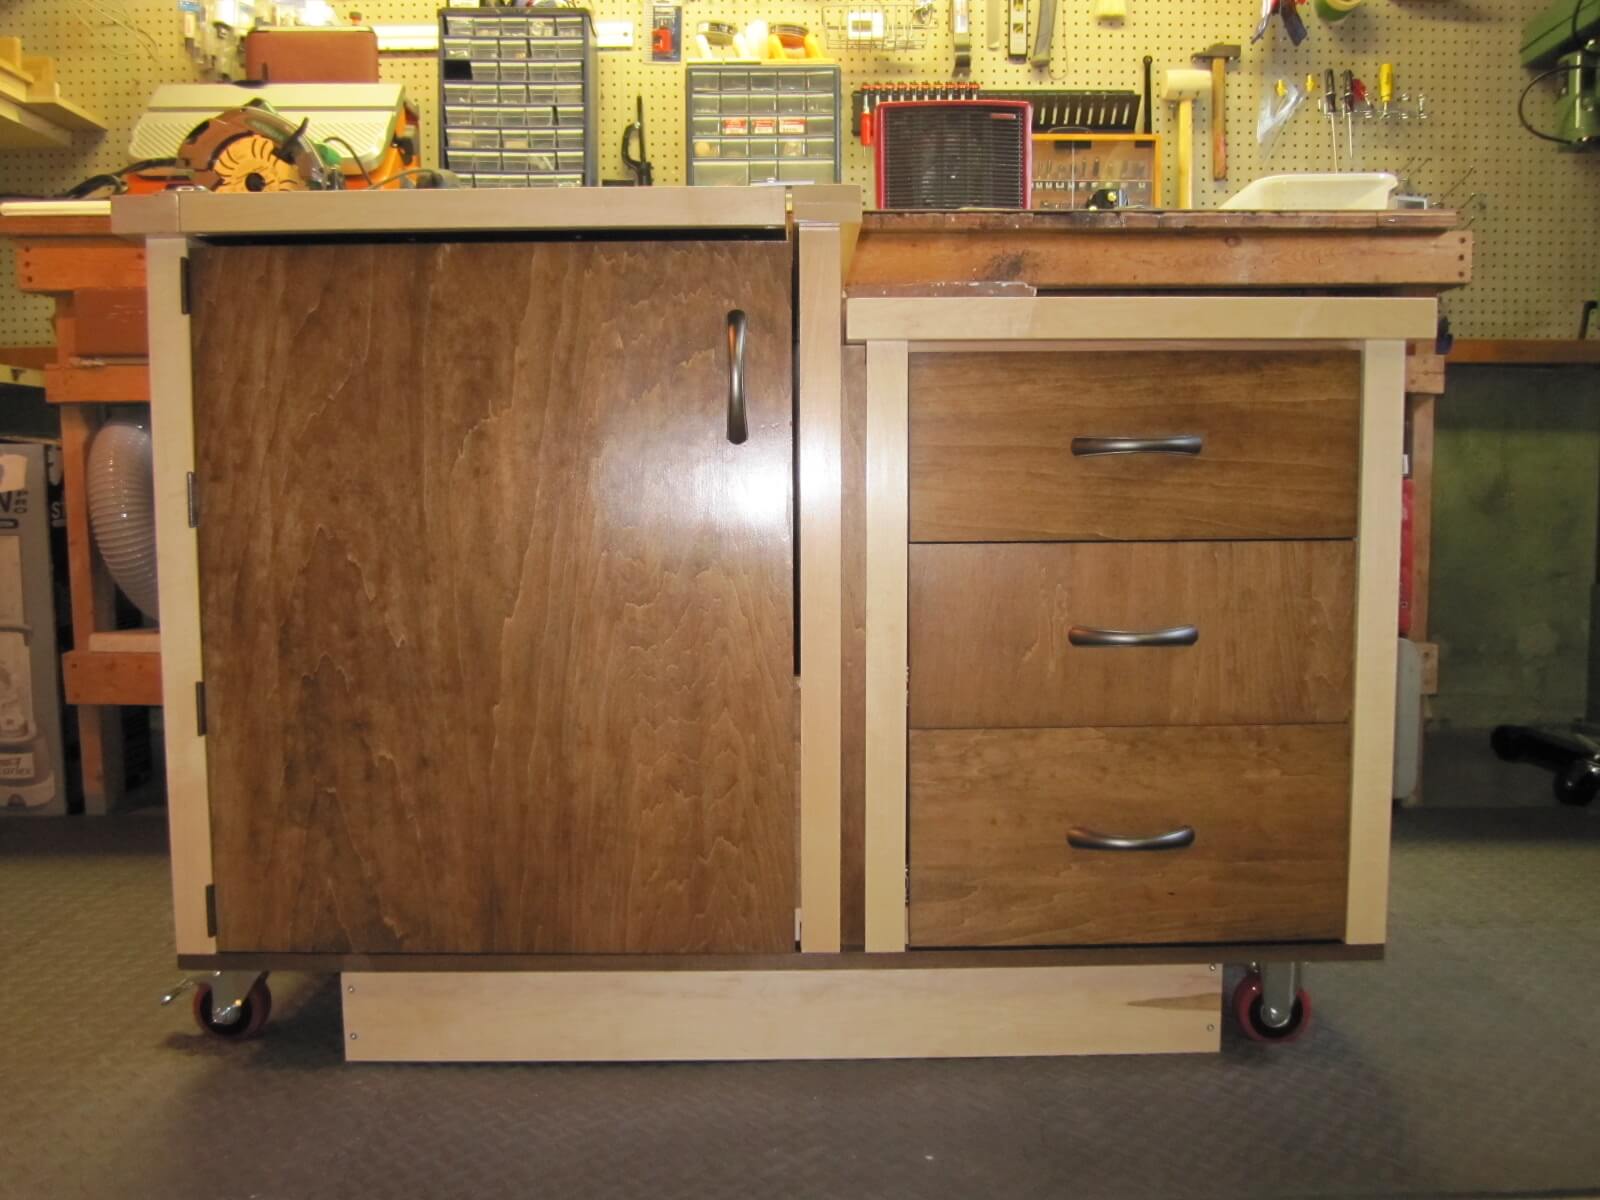
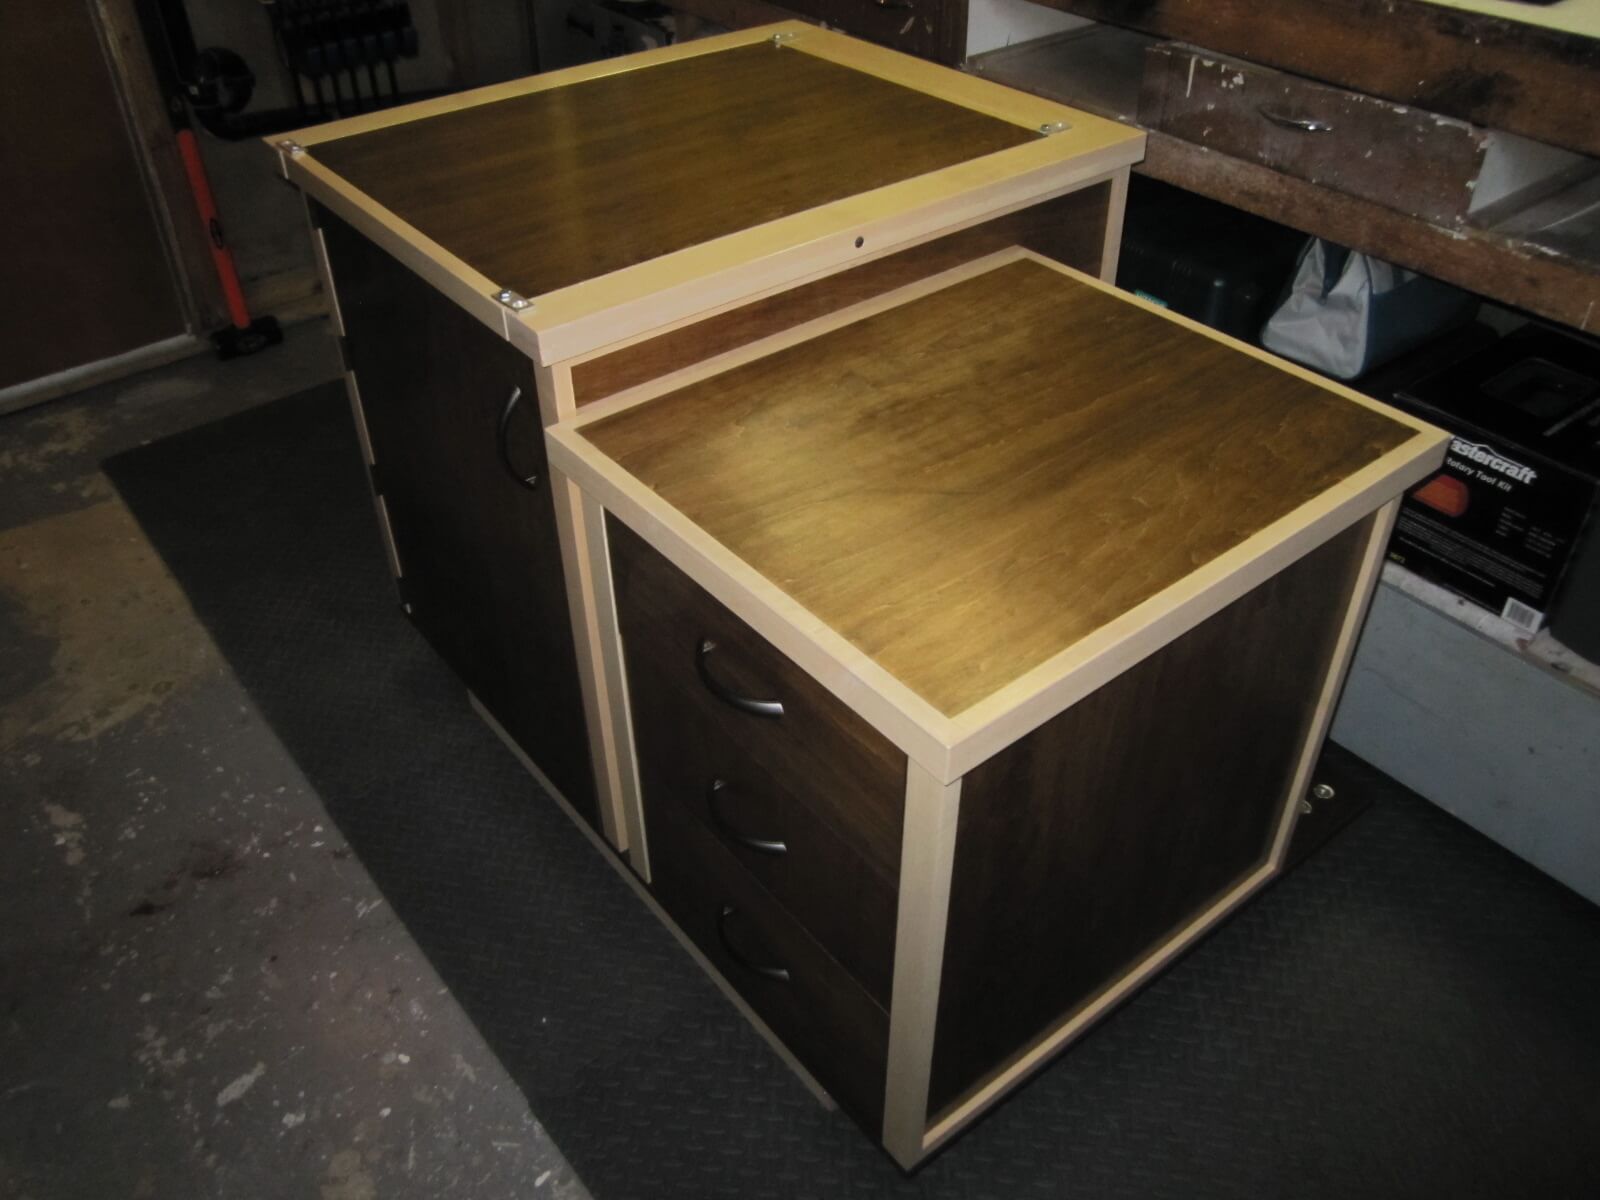
1.6 The result
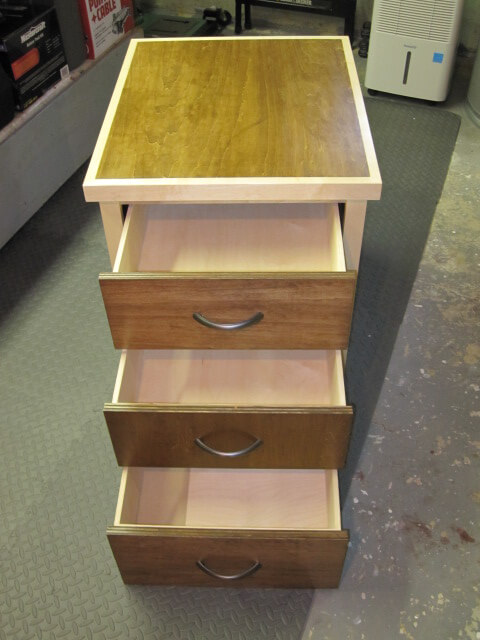
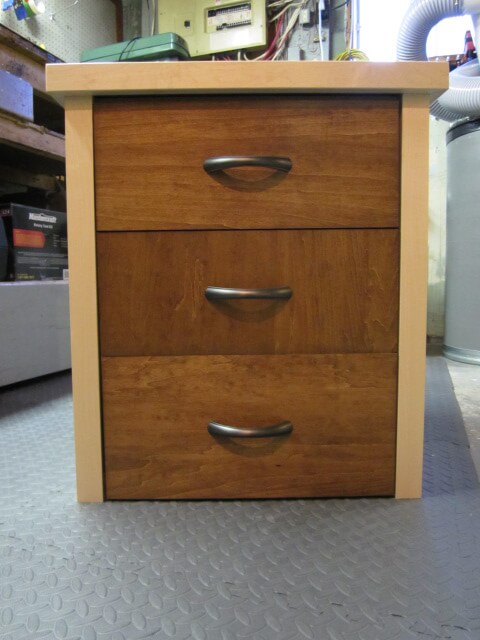
Oh yes! I was wrong in the direction of the fibers of the front of the second drawer… I will have to live with 🙂
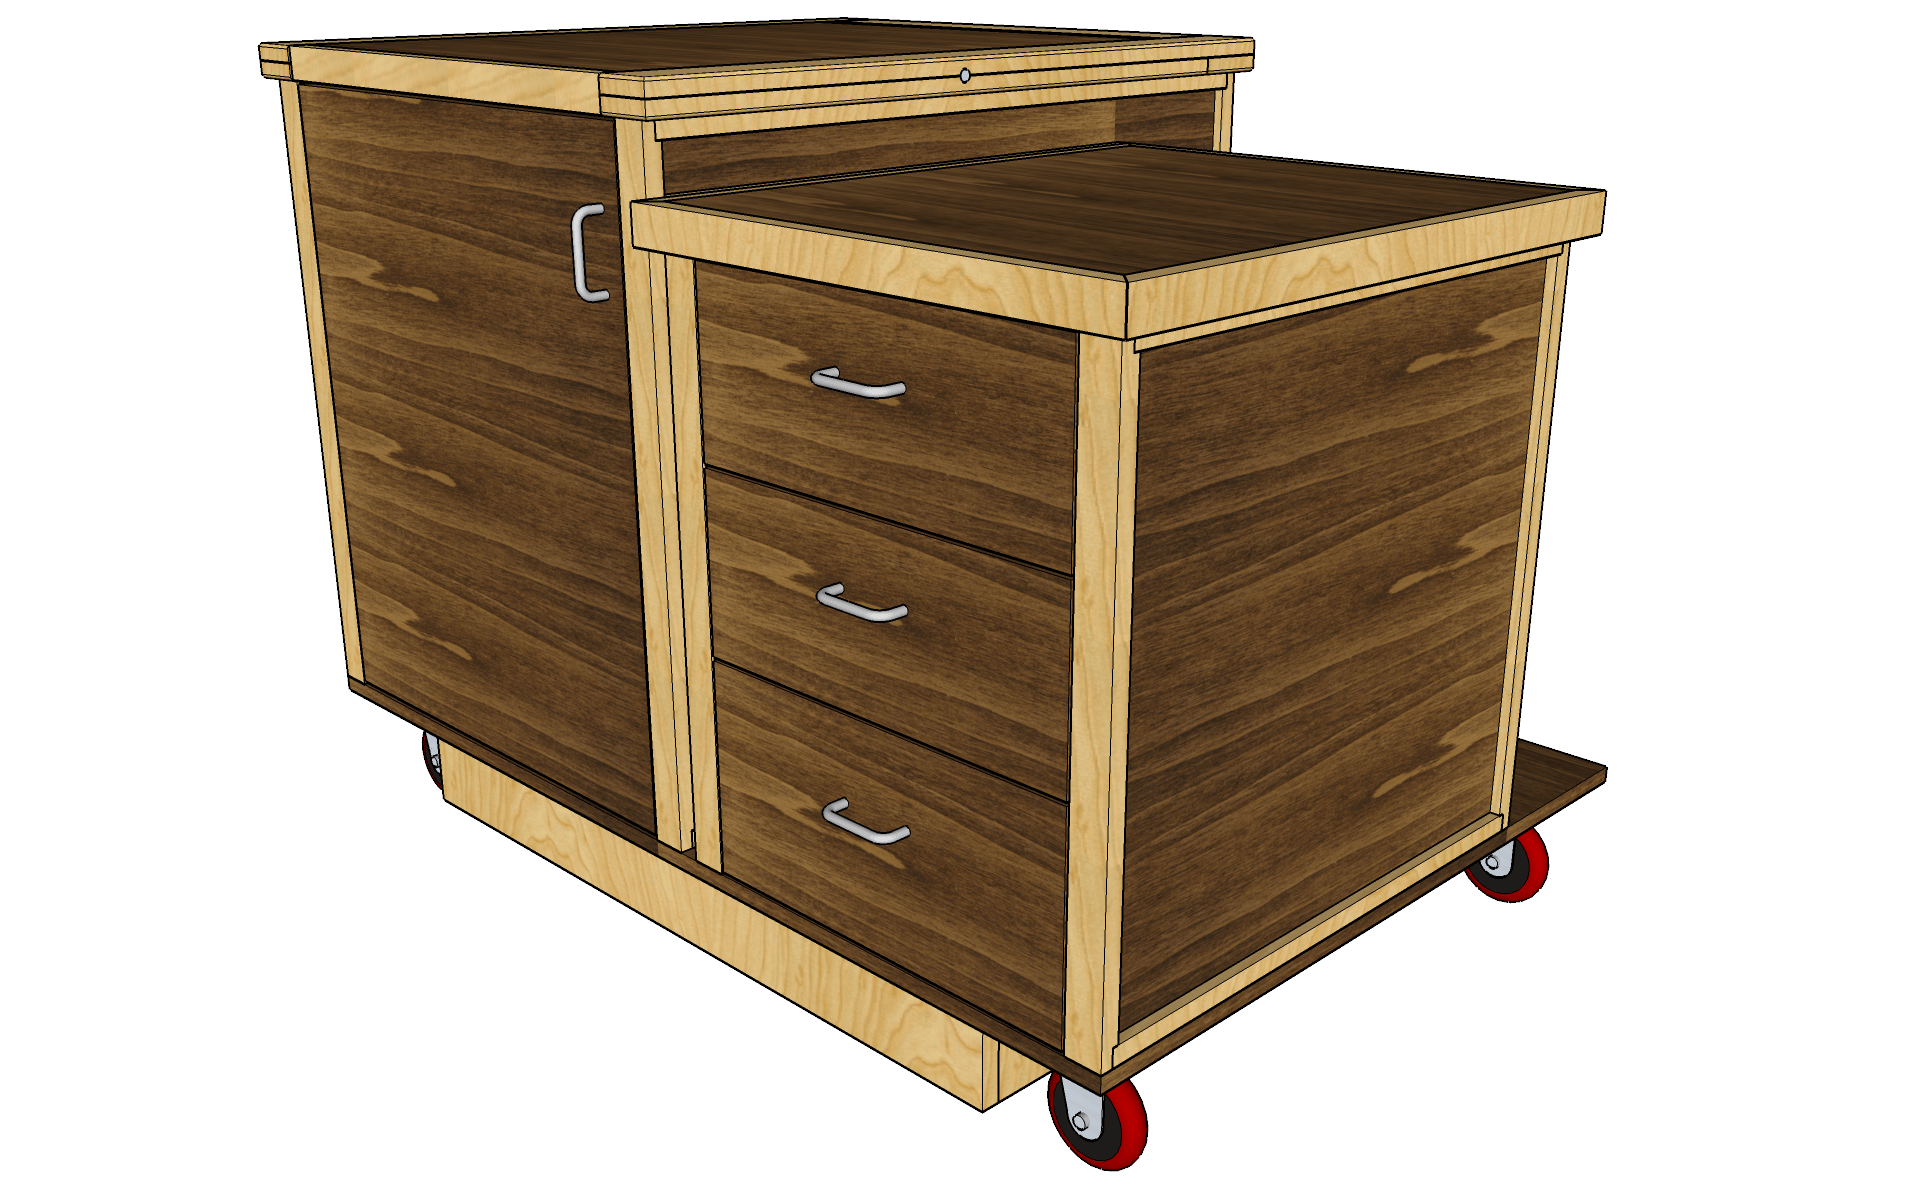
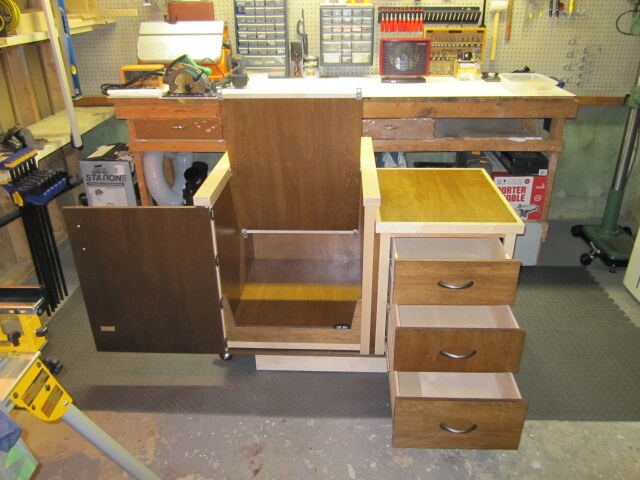
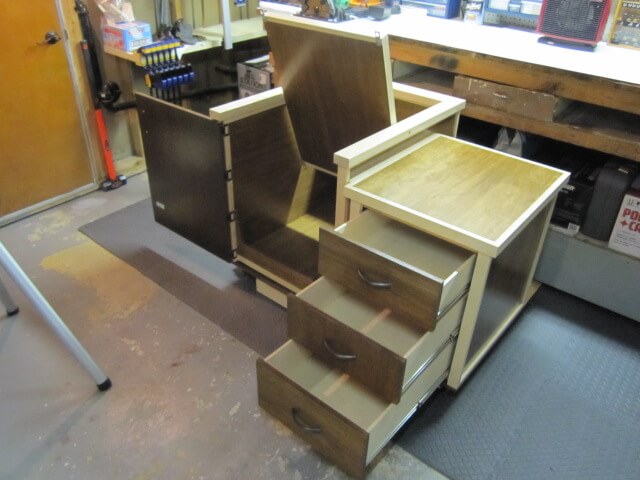
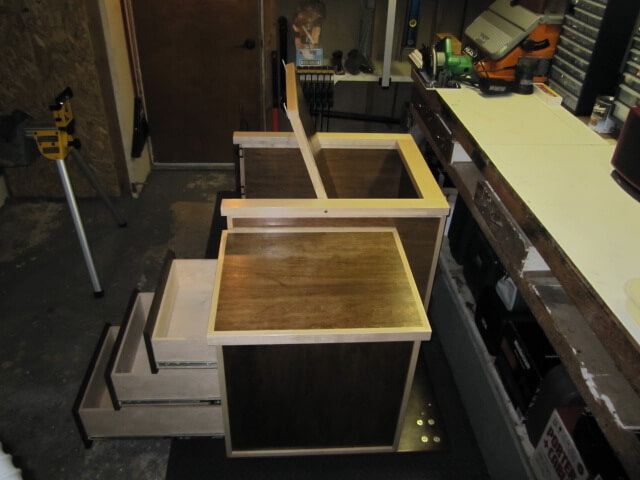
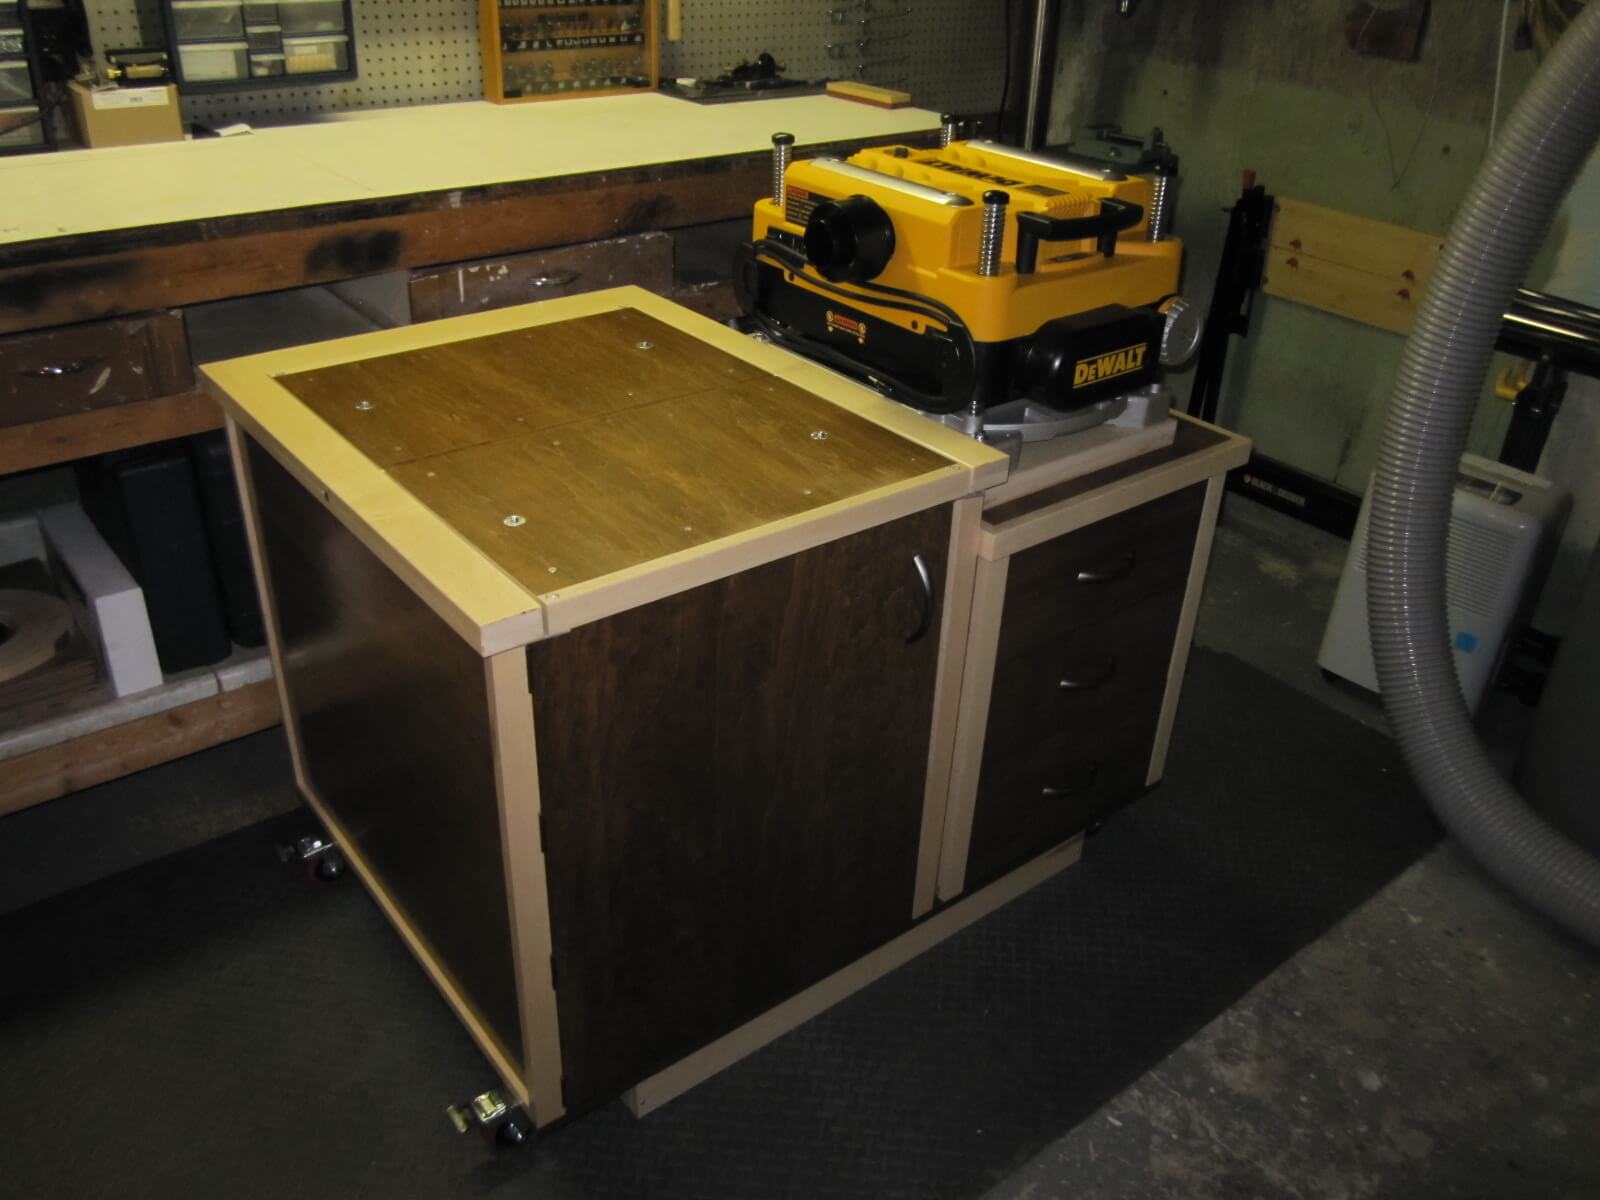
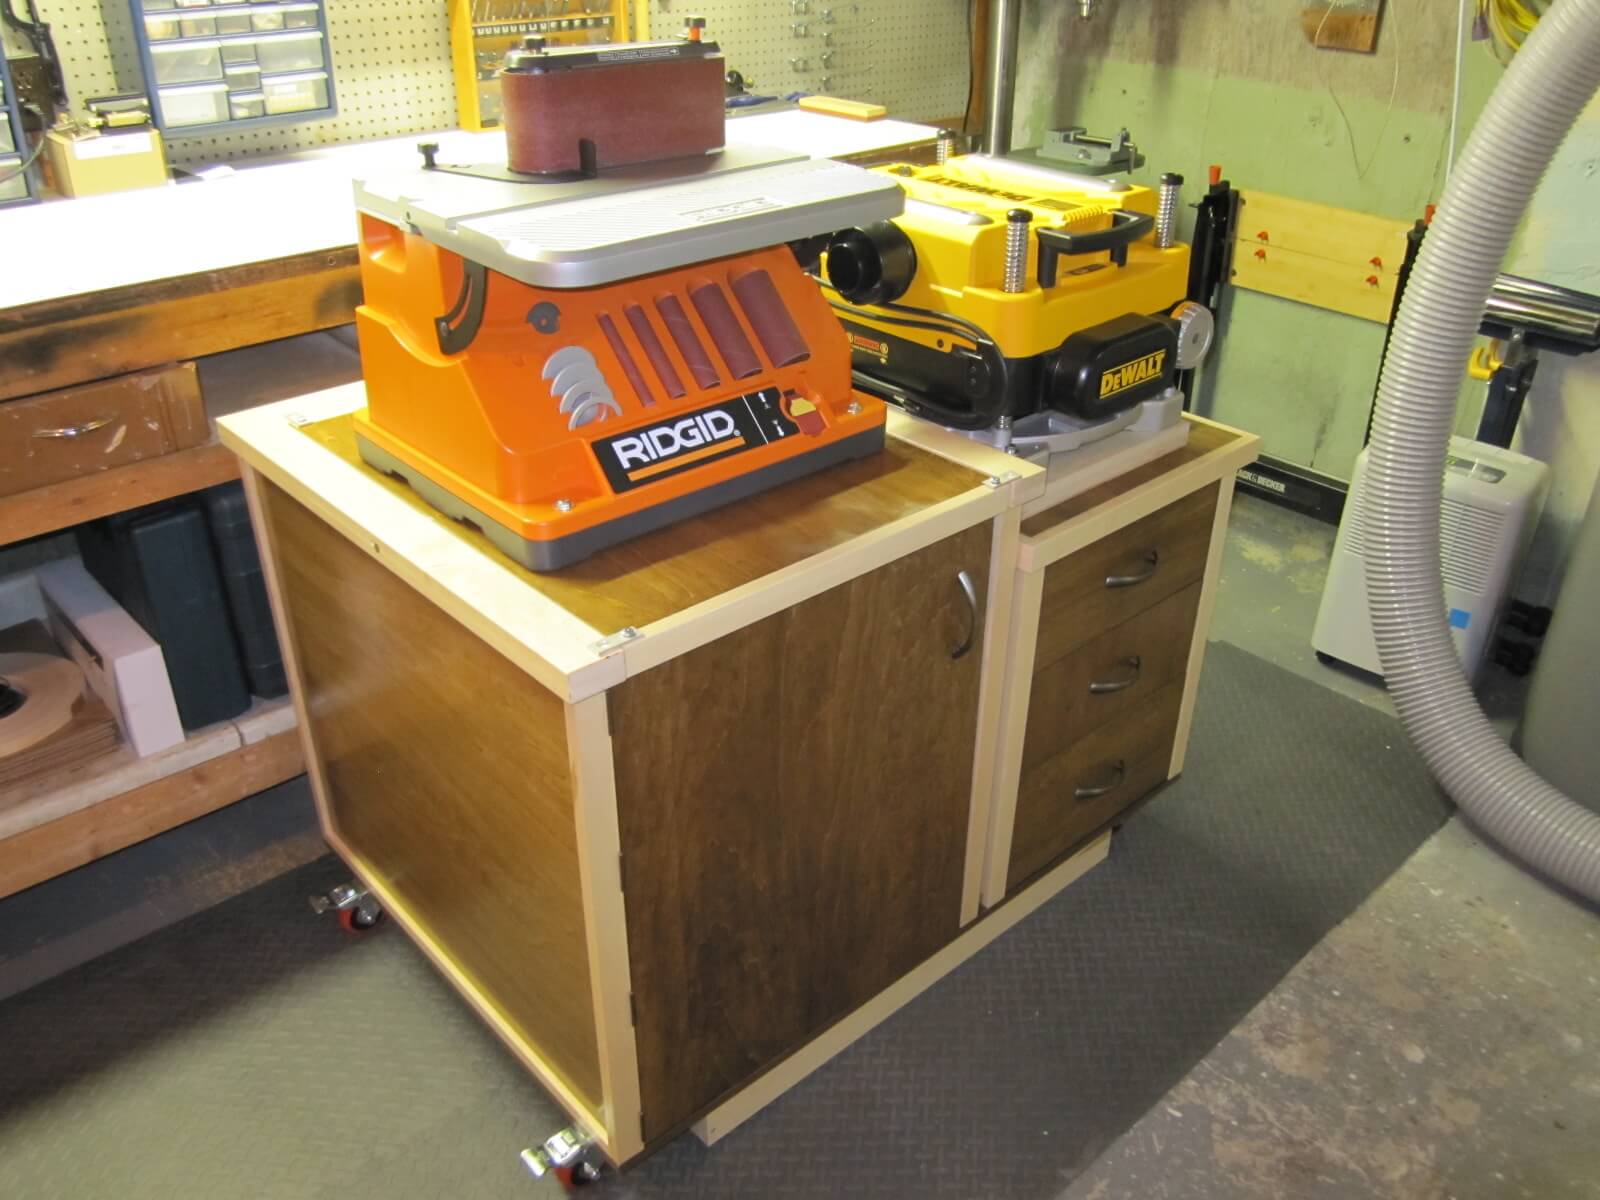
2. The big cabinet
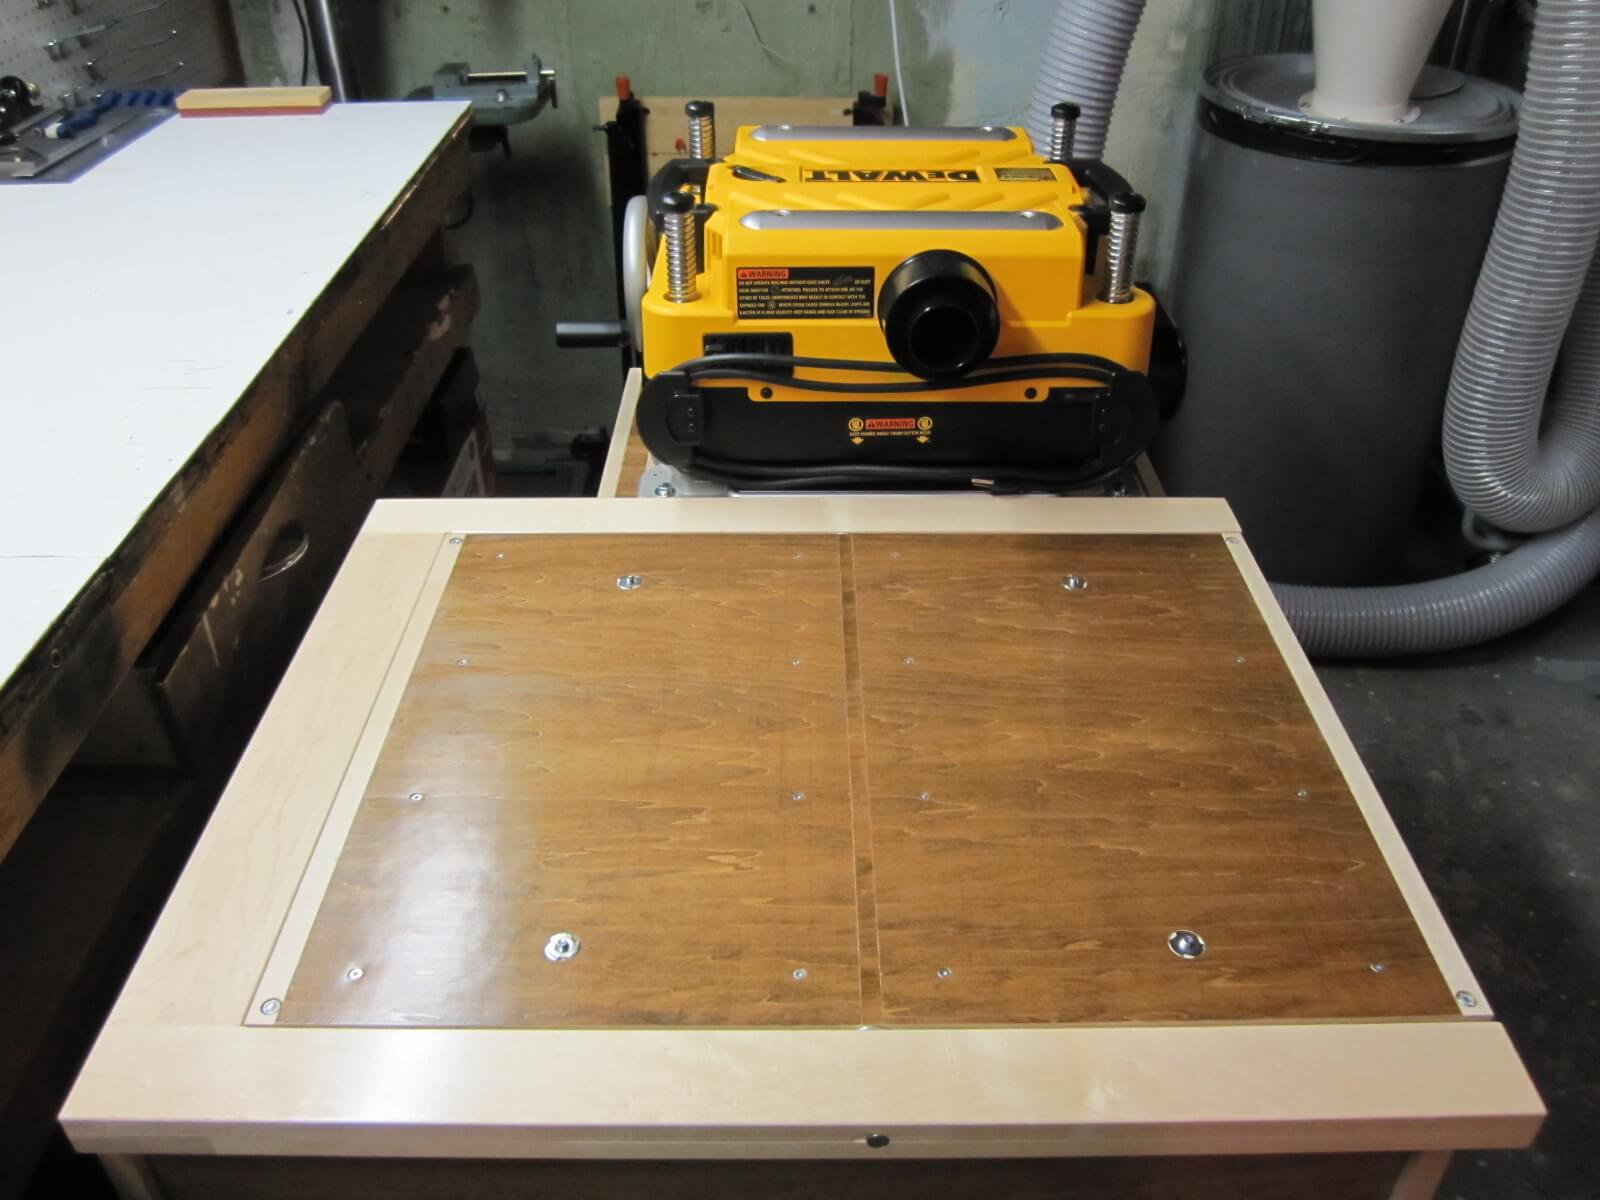
The top will be rotating which will allow to enter the sander inside the furniture when it will not be used. This will release the work surface for planks that will go into the planer. The outlet plate of the latter will be flush with the top of the box.
I repeat the same steps as for the building of the small cabinet, I cut all the pieces (the sides, the bottom, the back and the top) then I realize the hardwood frames:
The sides assembly:
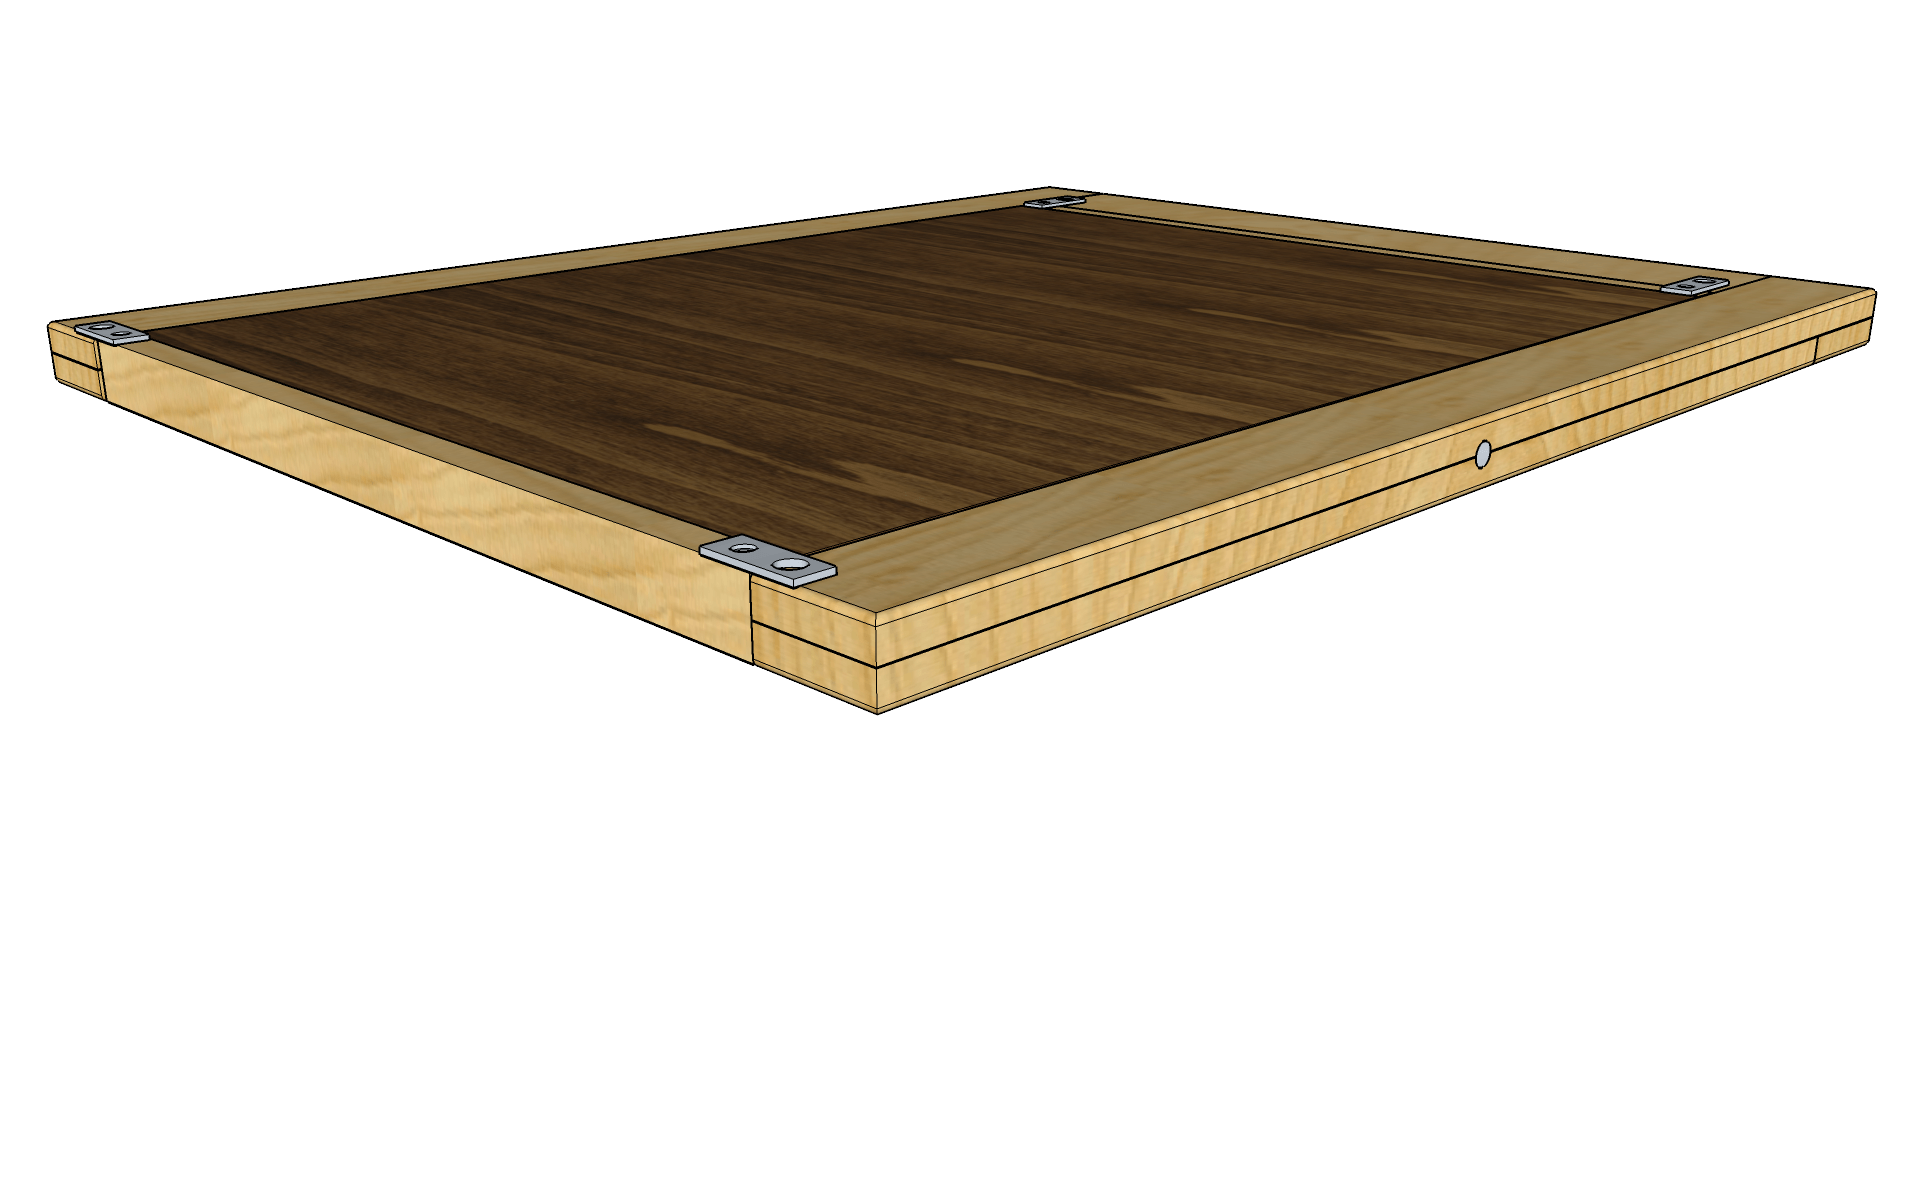
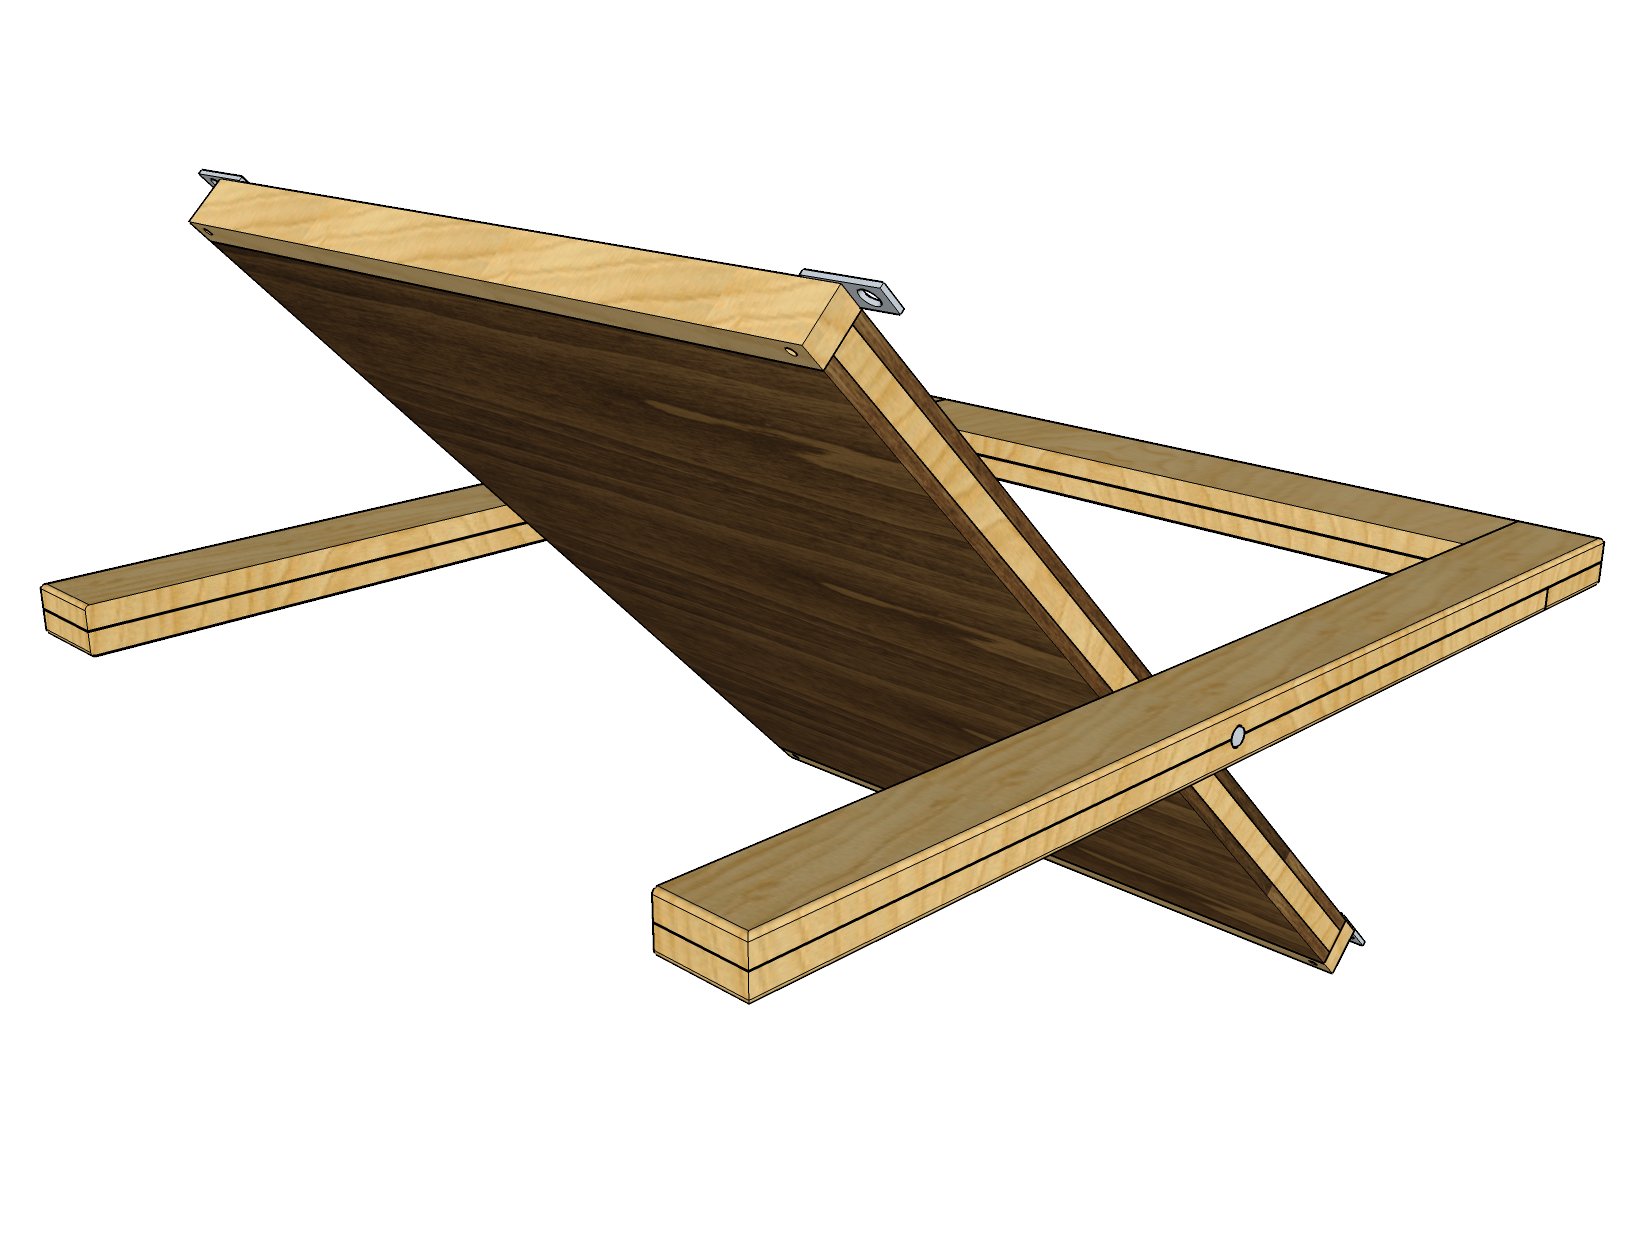
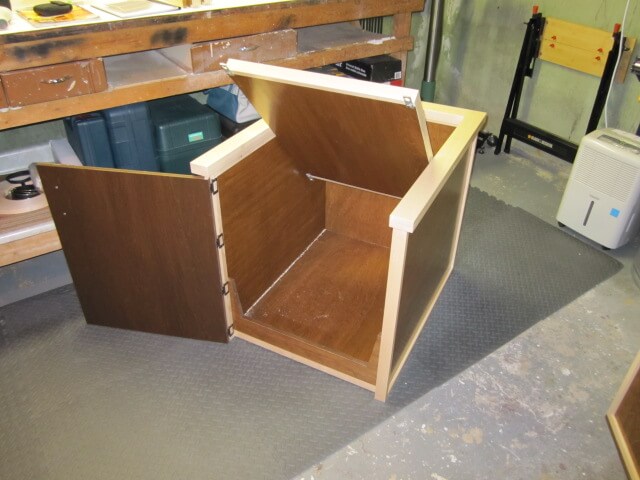
2.1 Reversible Top
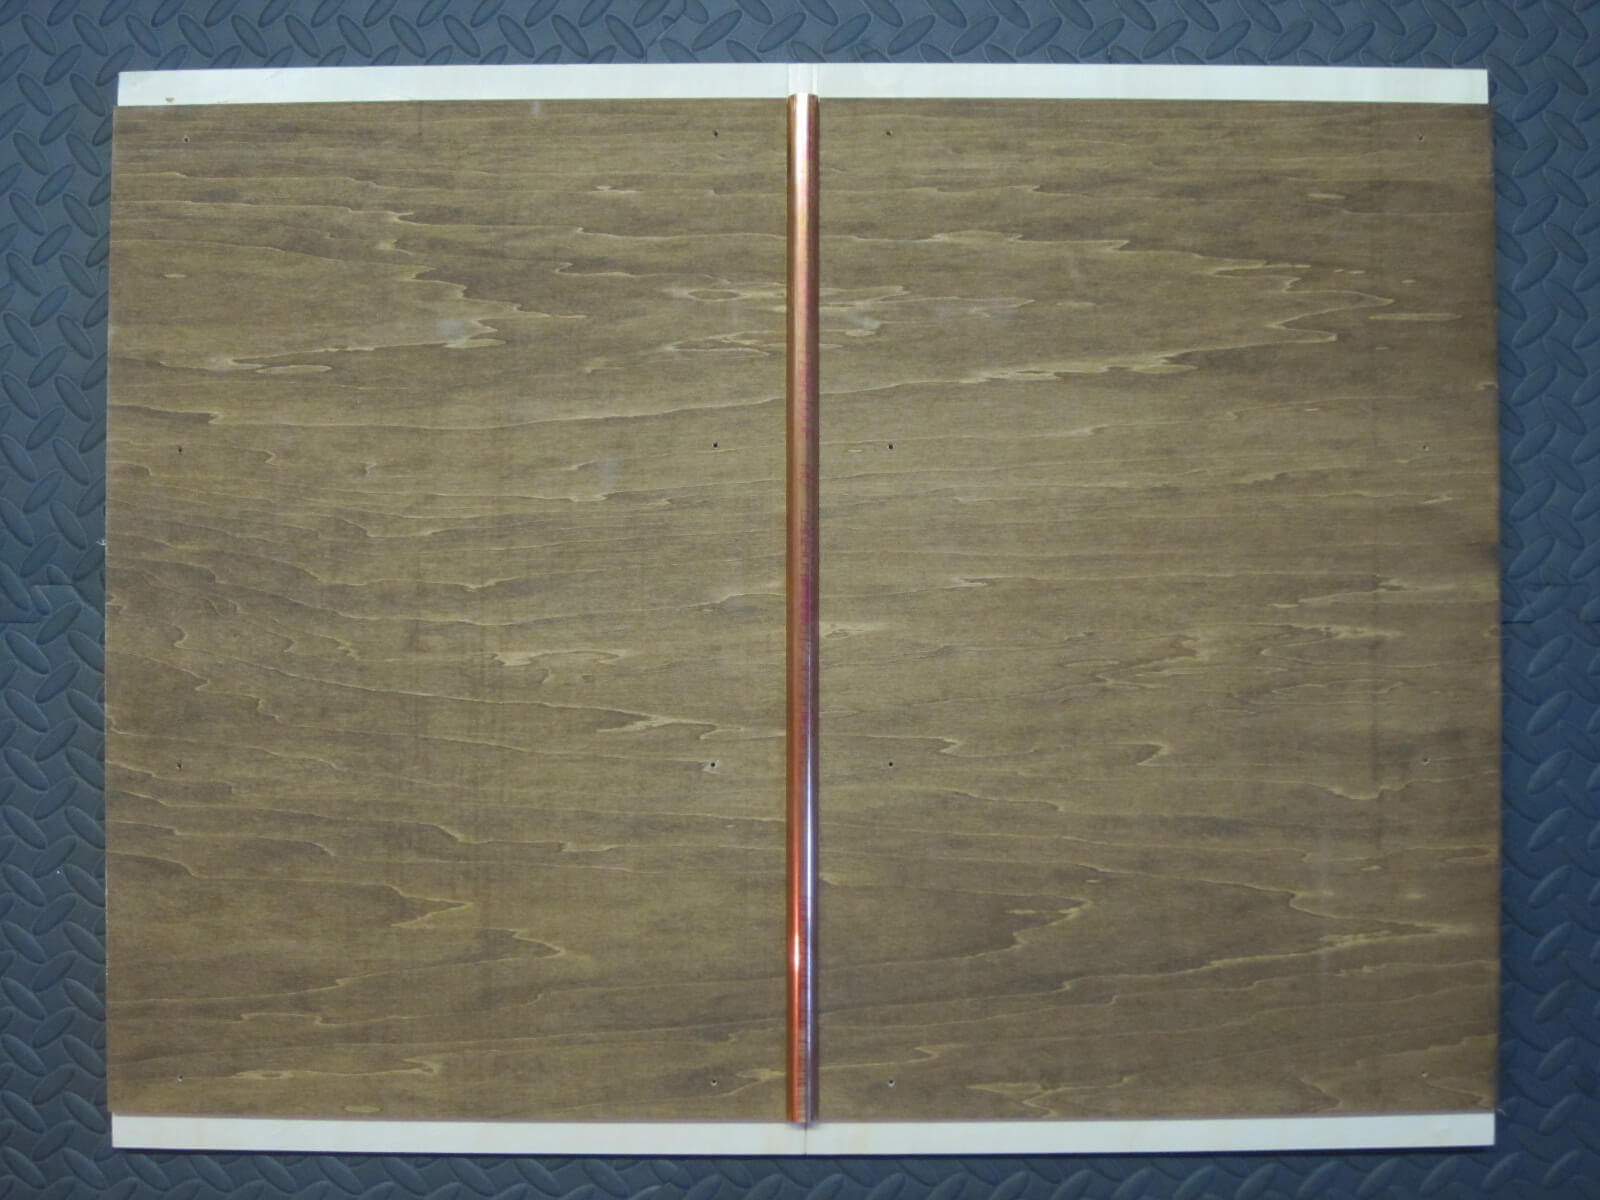
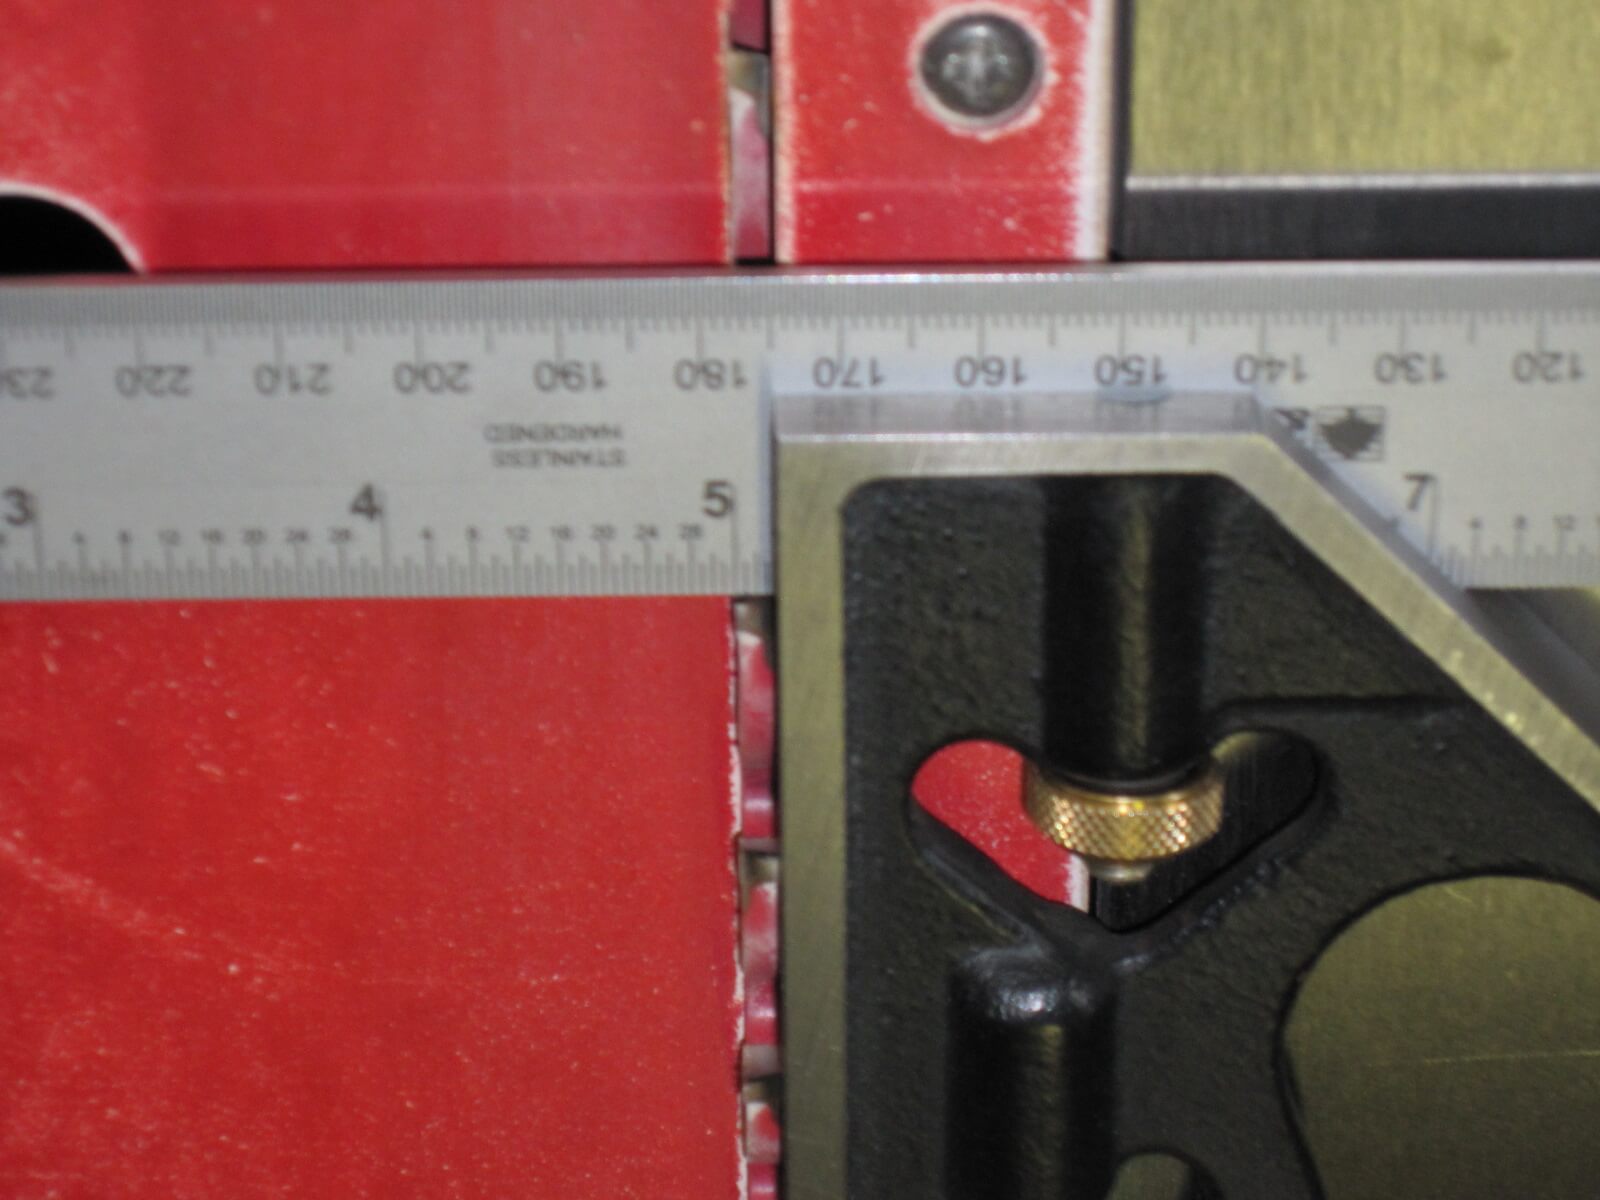
As for the small cabinet, the thickness will be doubled to reinforce the rigidity of the surface. To make the pivot, I inserted a copper pipe between the two layers. A steel rod will pass through and connect the two side jambs of the frame.
Four rectangular aluminum stops will maintain the position of the platform. They will be arranged at the ends of the pivoting part and will be supported on the cross member and the sides of the frame.
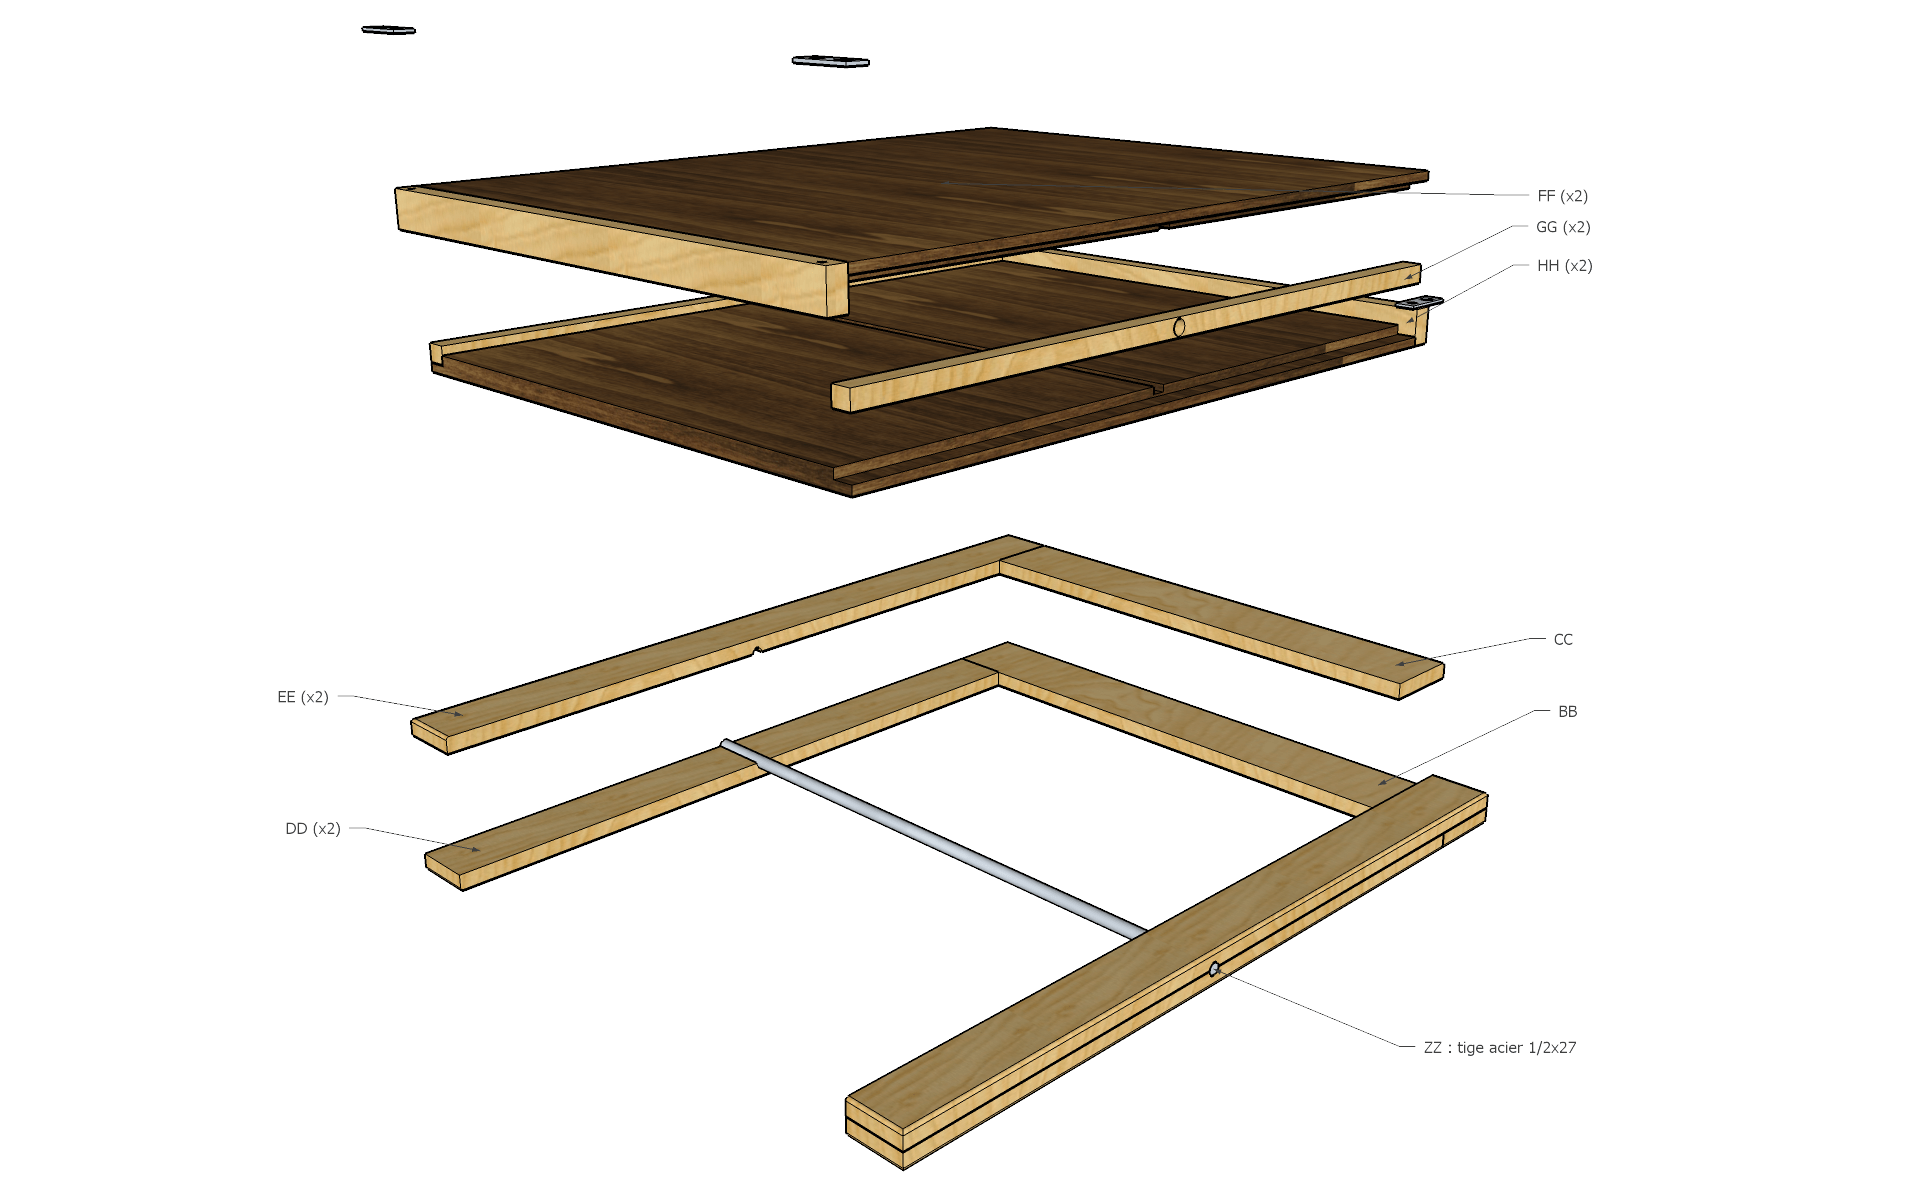
The maple frame parts of the platform:
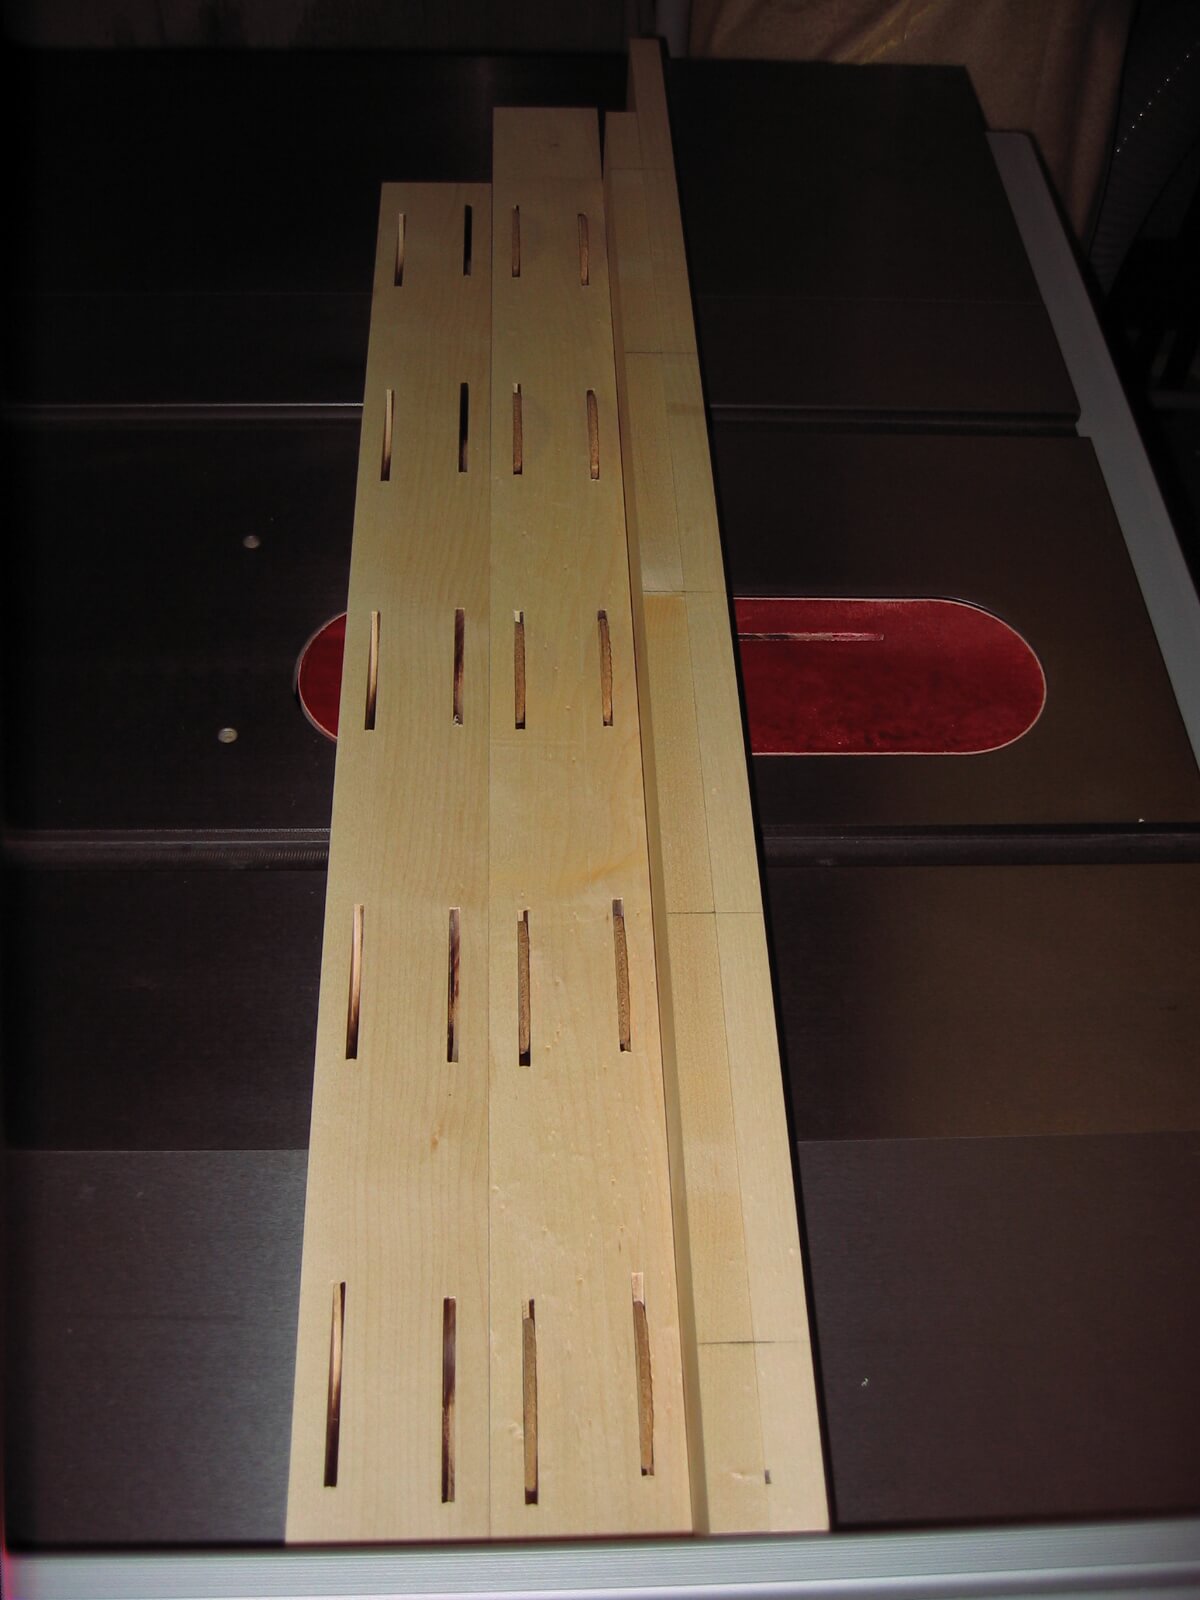
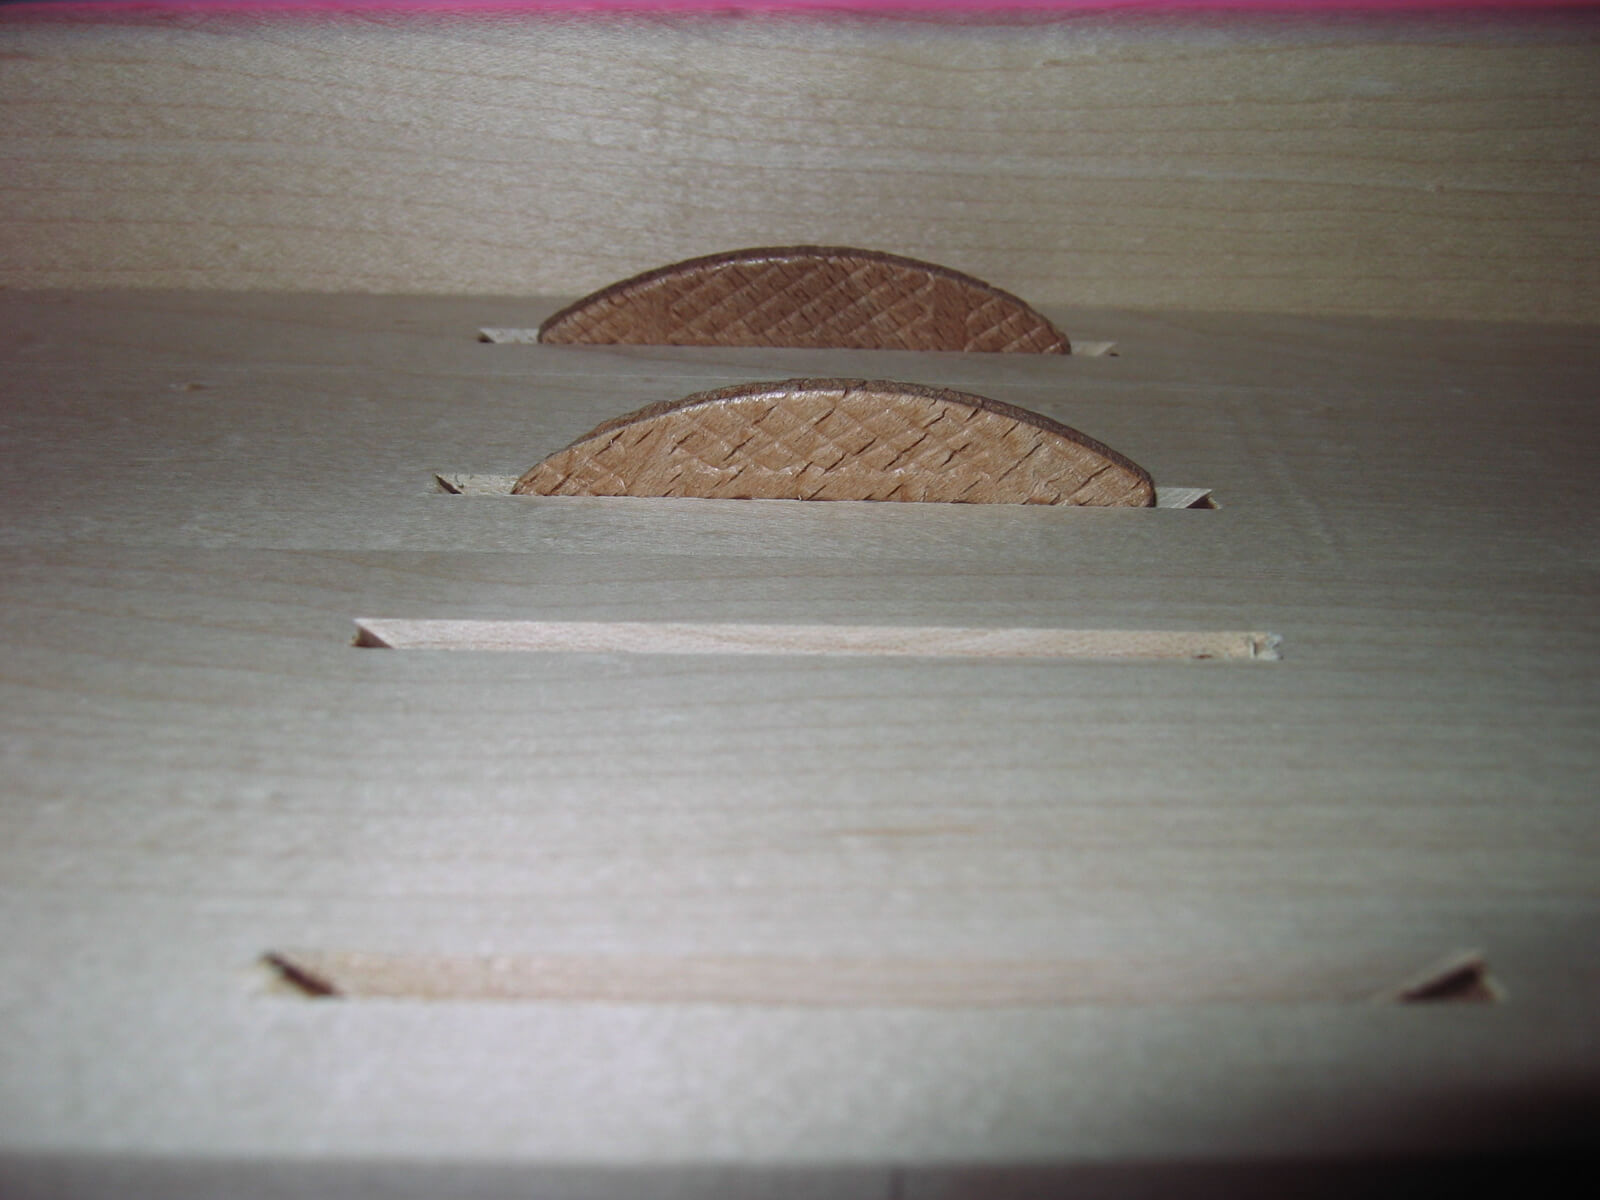
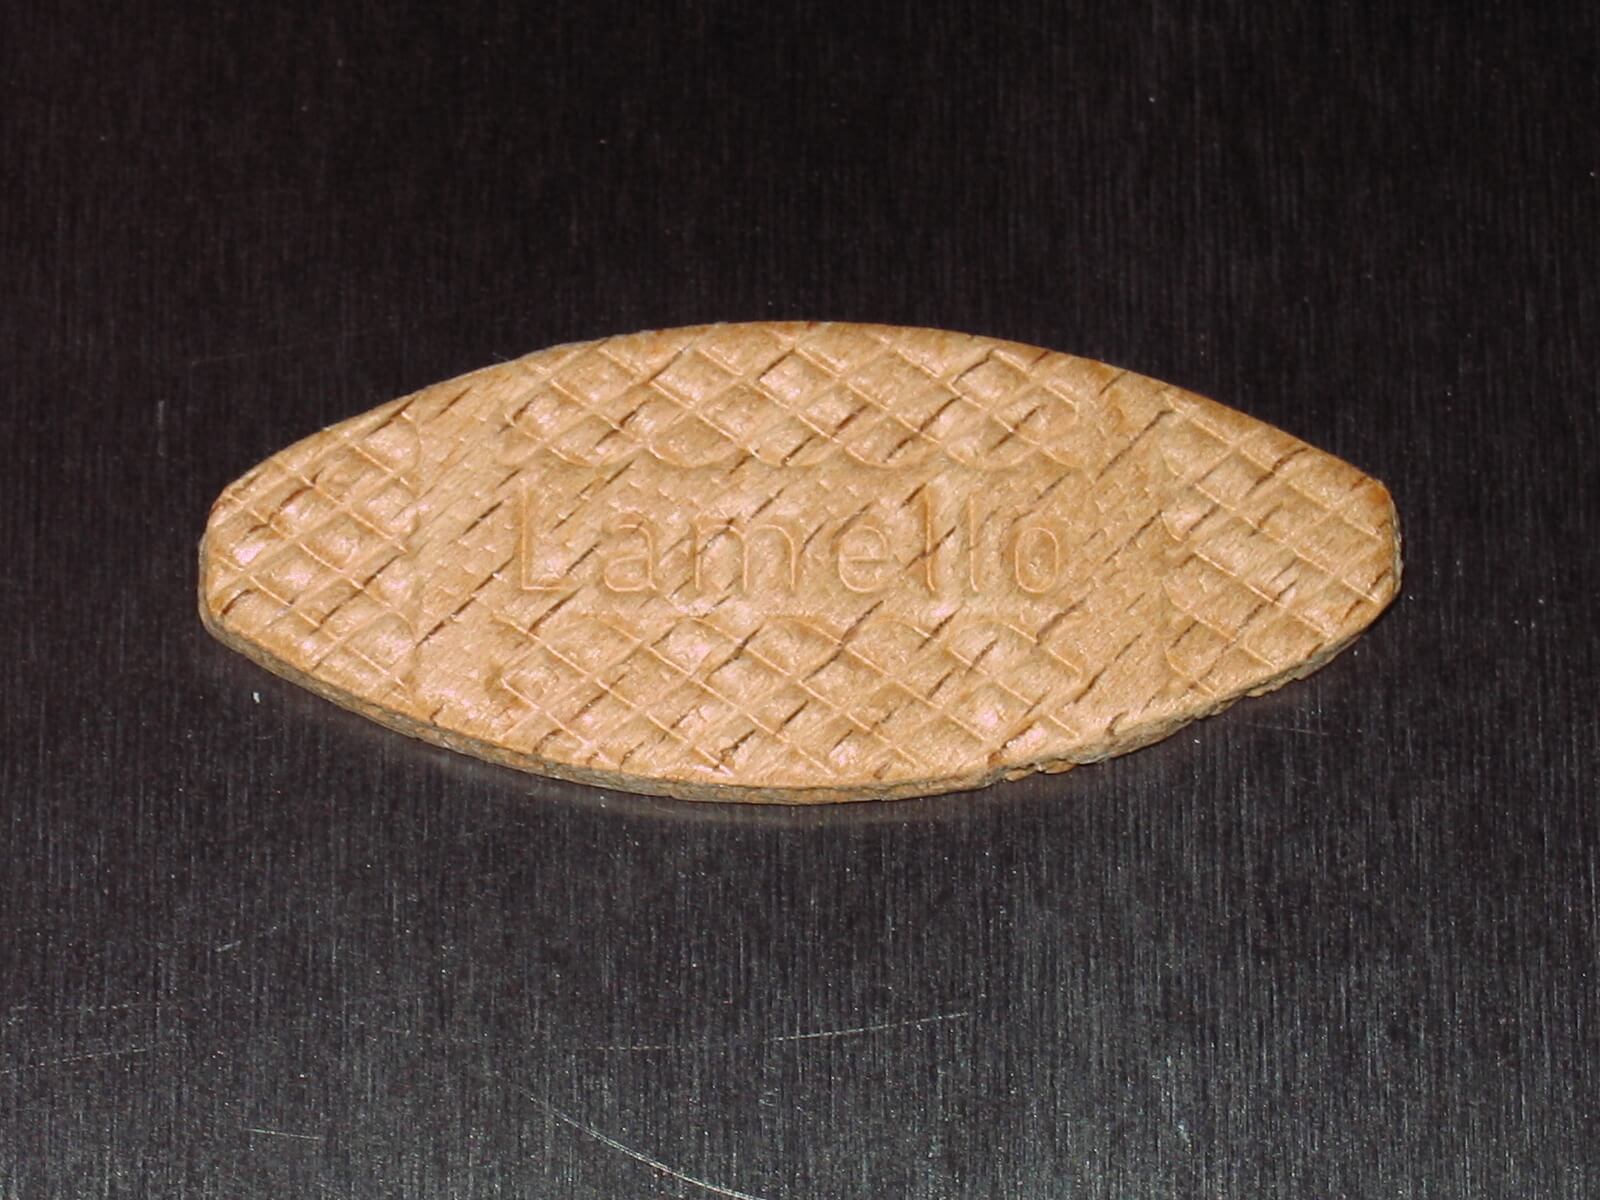
For the assembly of the frame, I opted for the plate (biscuits).


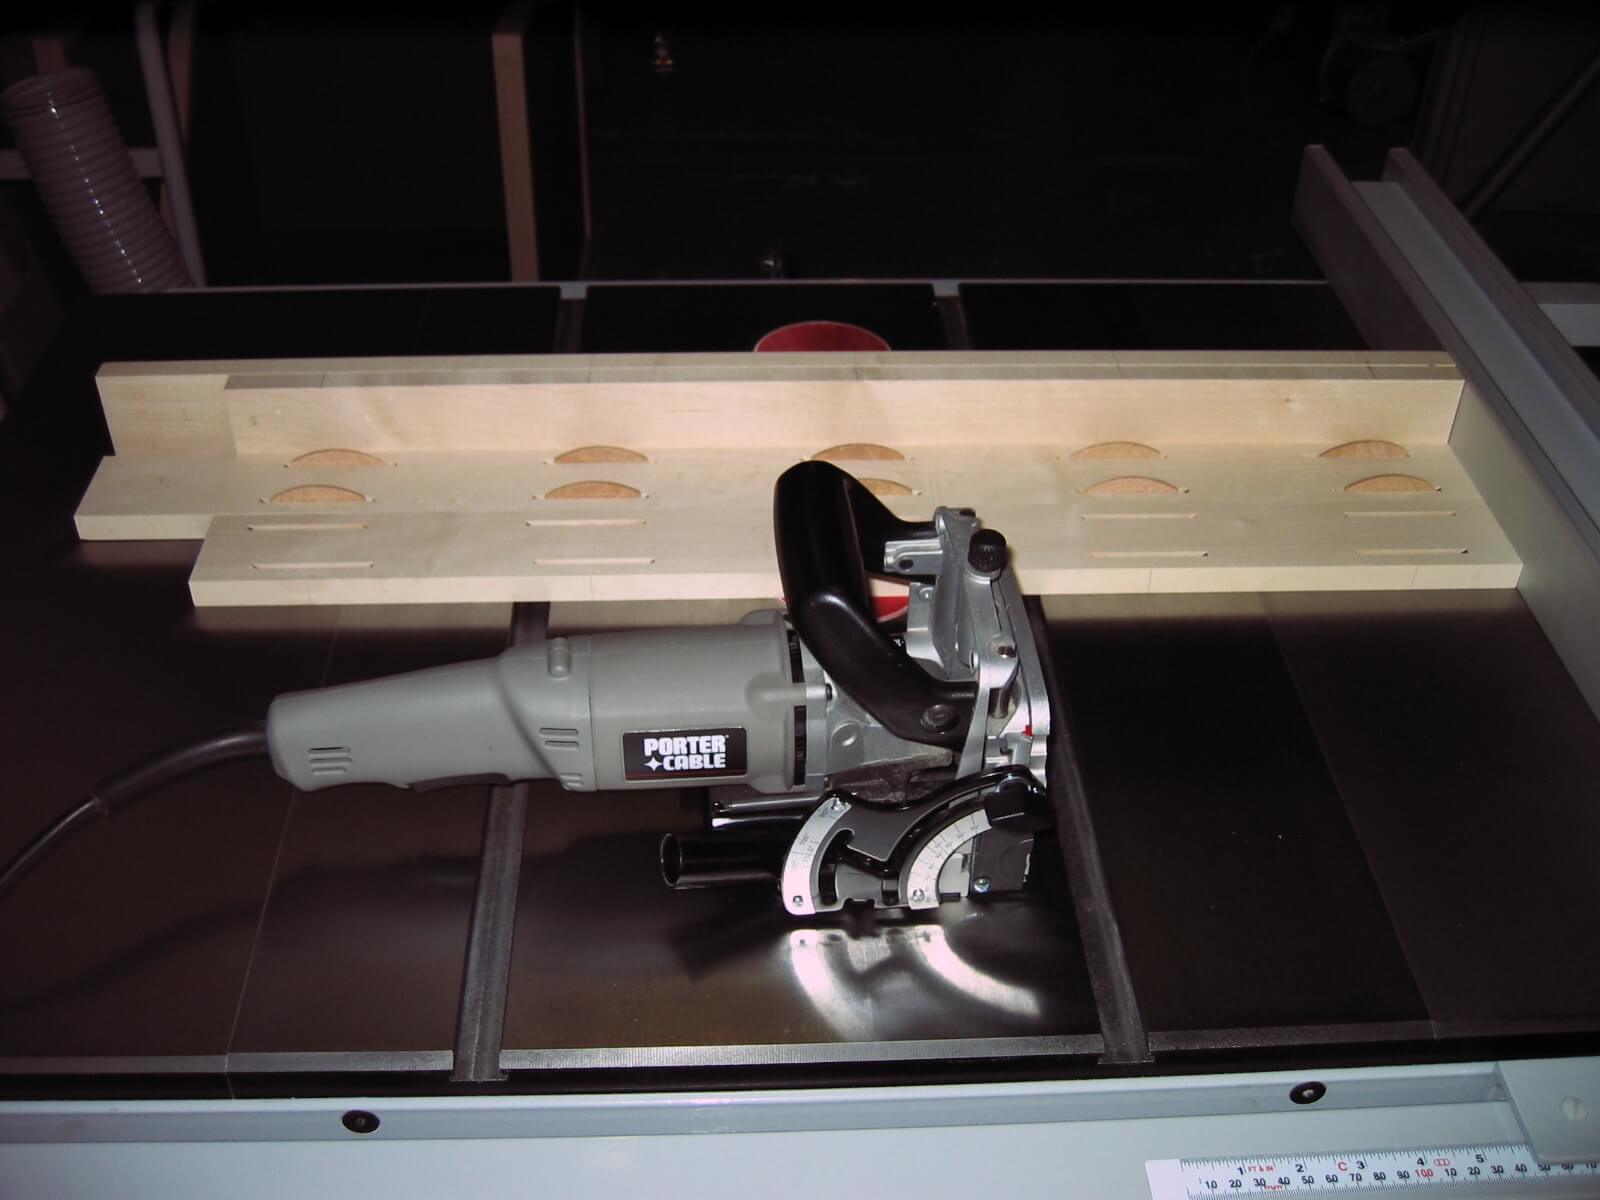
2.2 The “gousset”
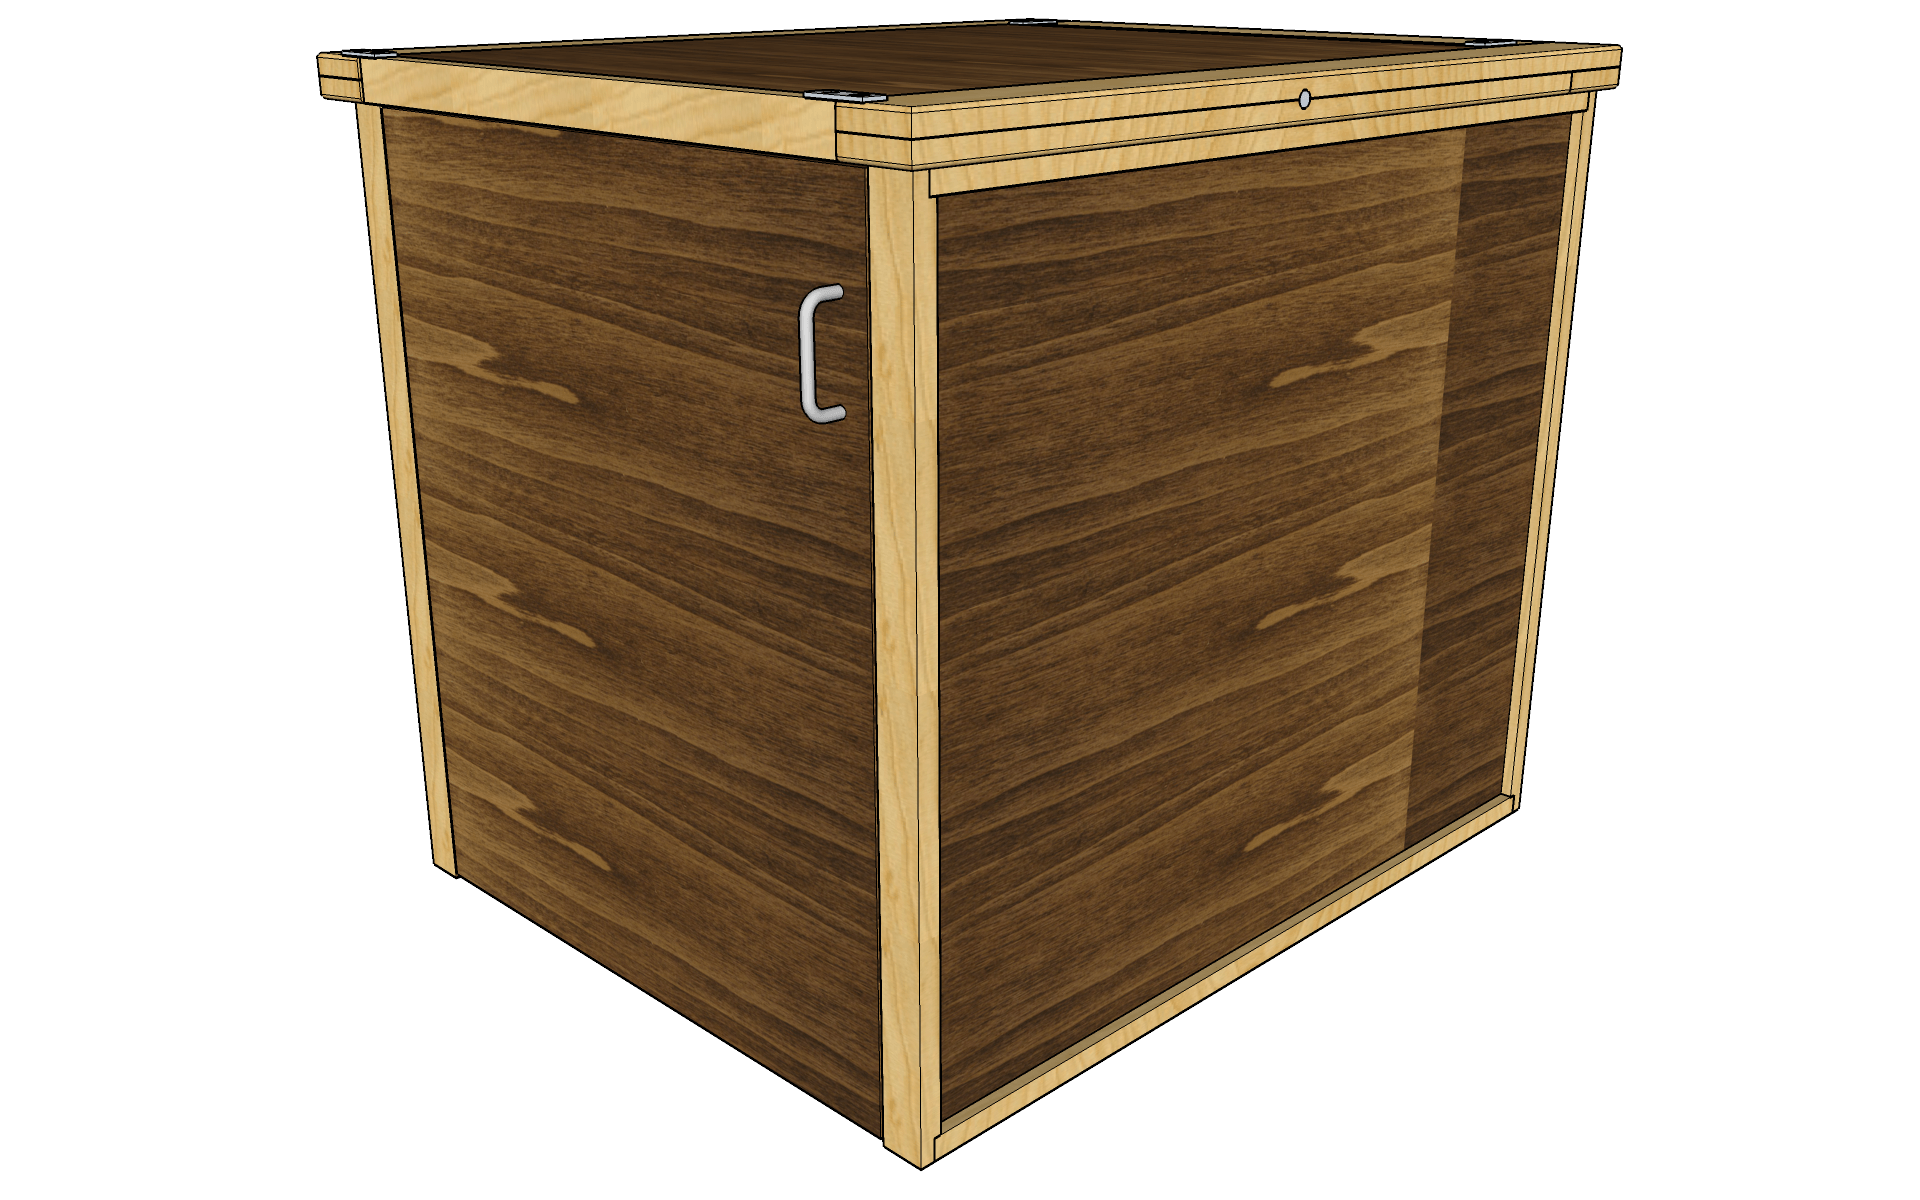
2.3 The big cabinet finished
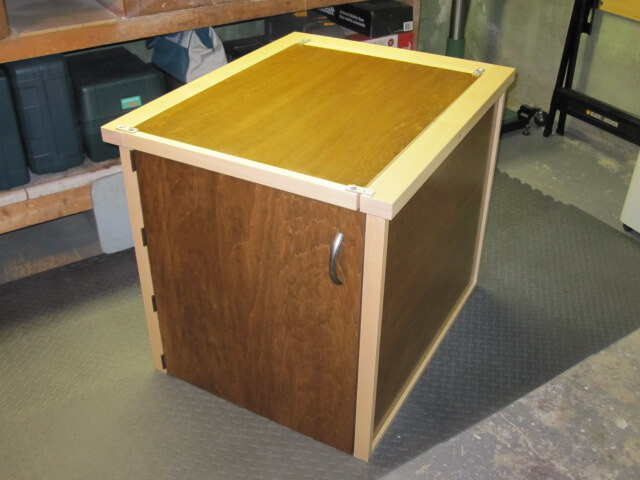
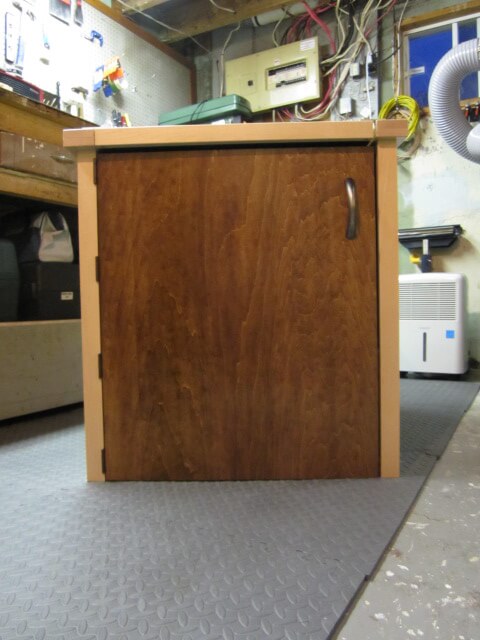
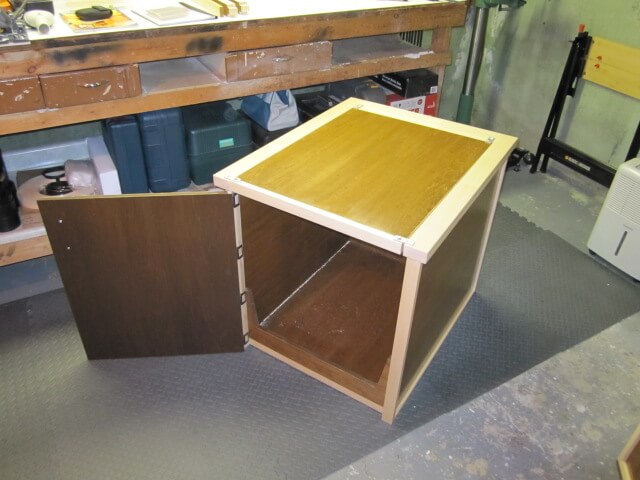
As for the drawers, the installation of the door is of integrated style. It fits into the box to be at the same level as the facade.
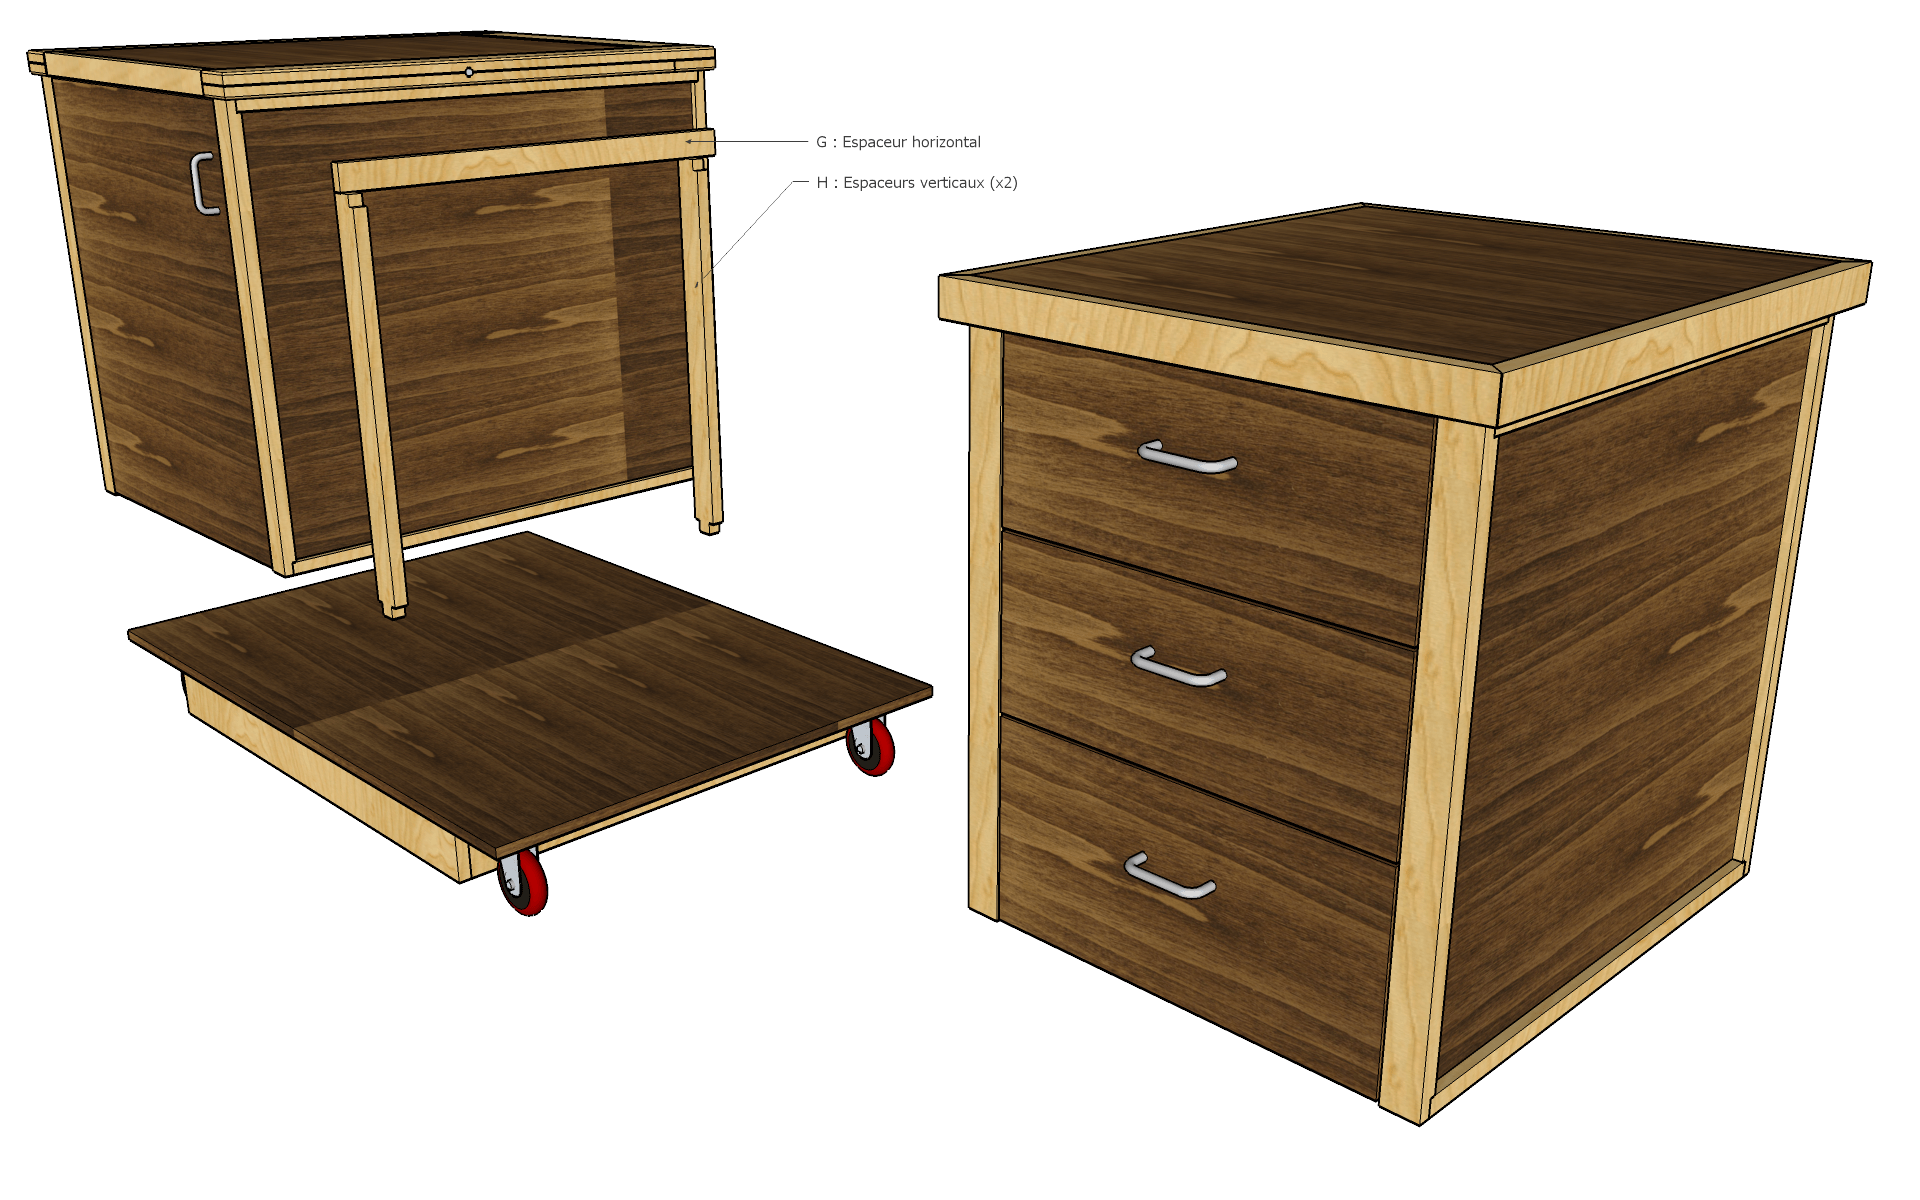
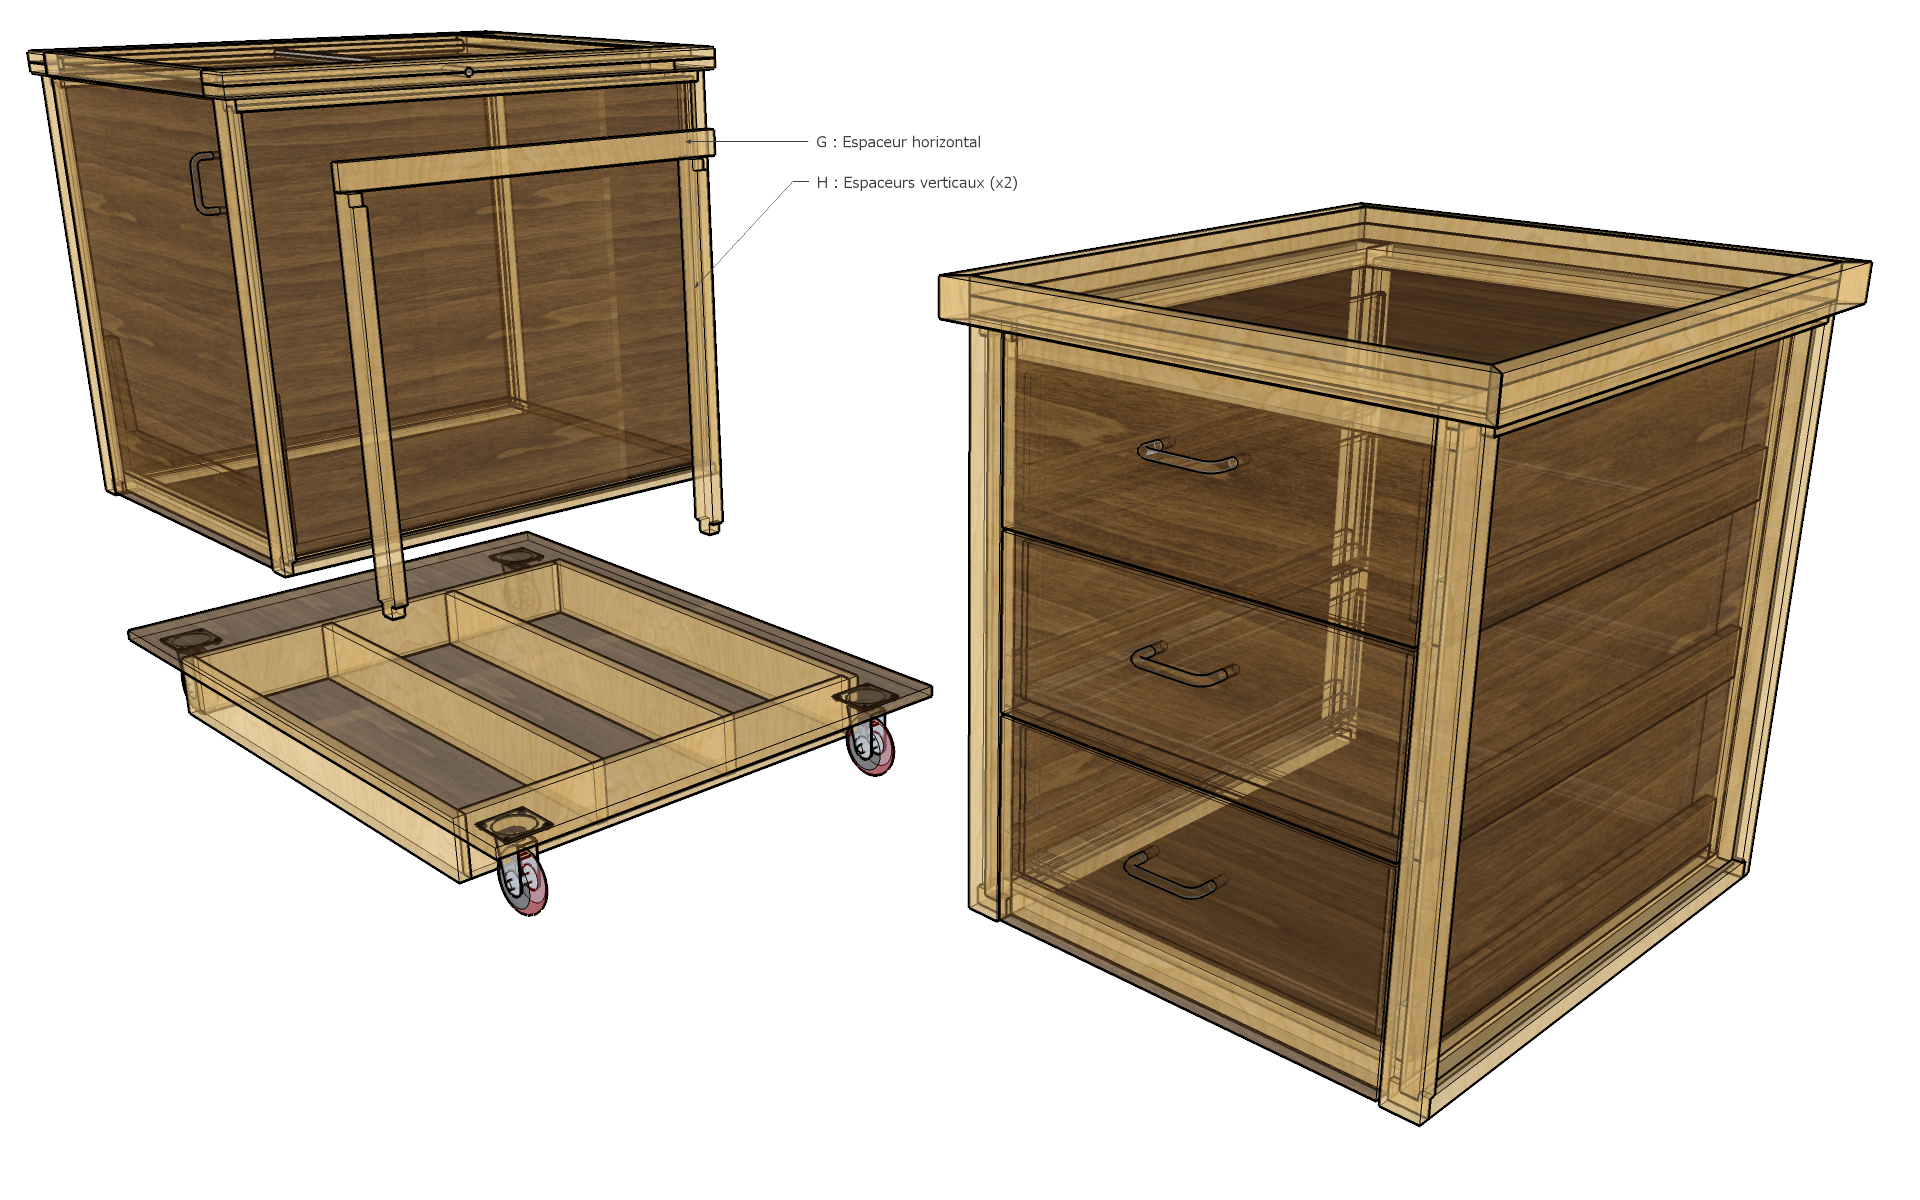
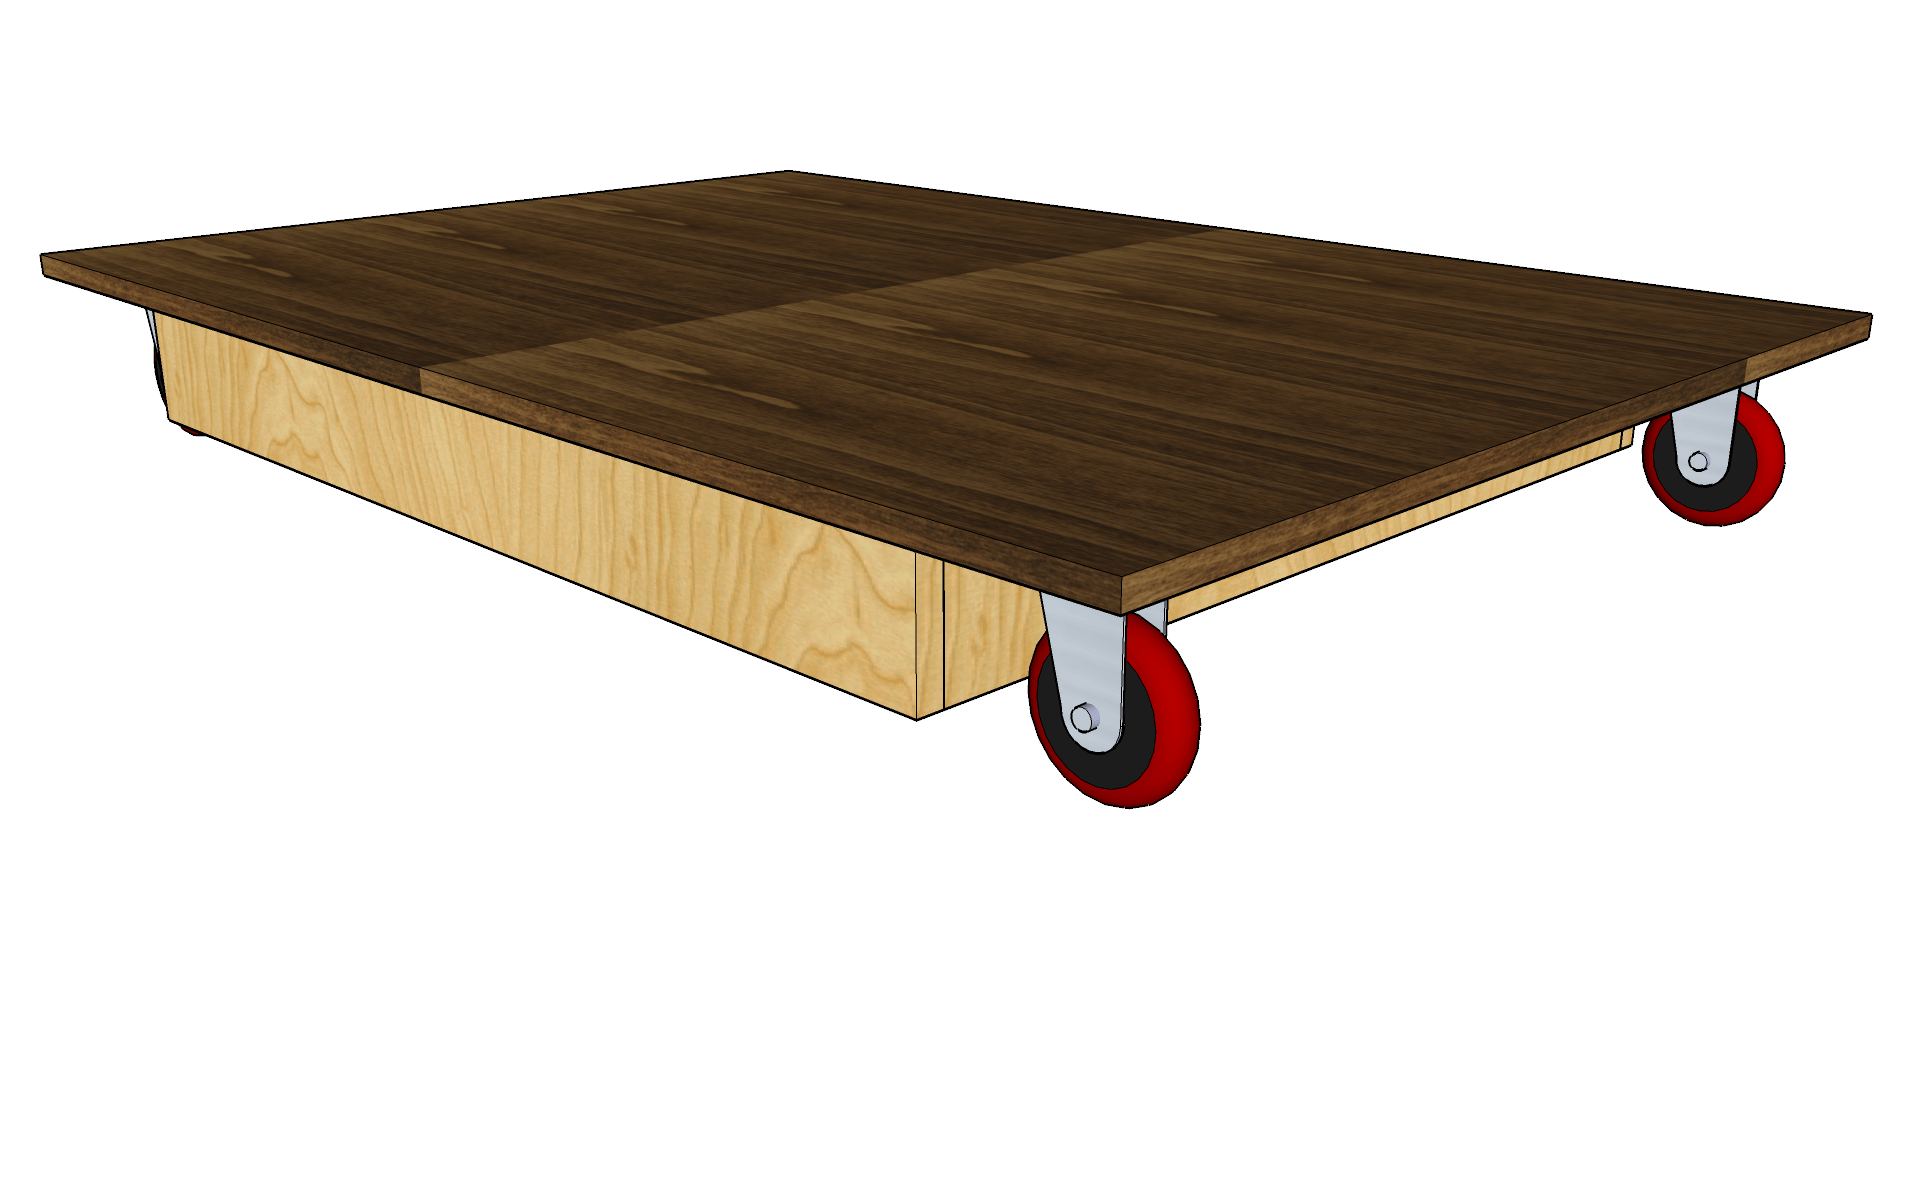
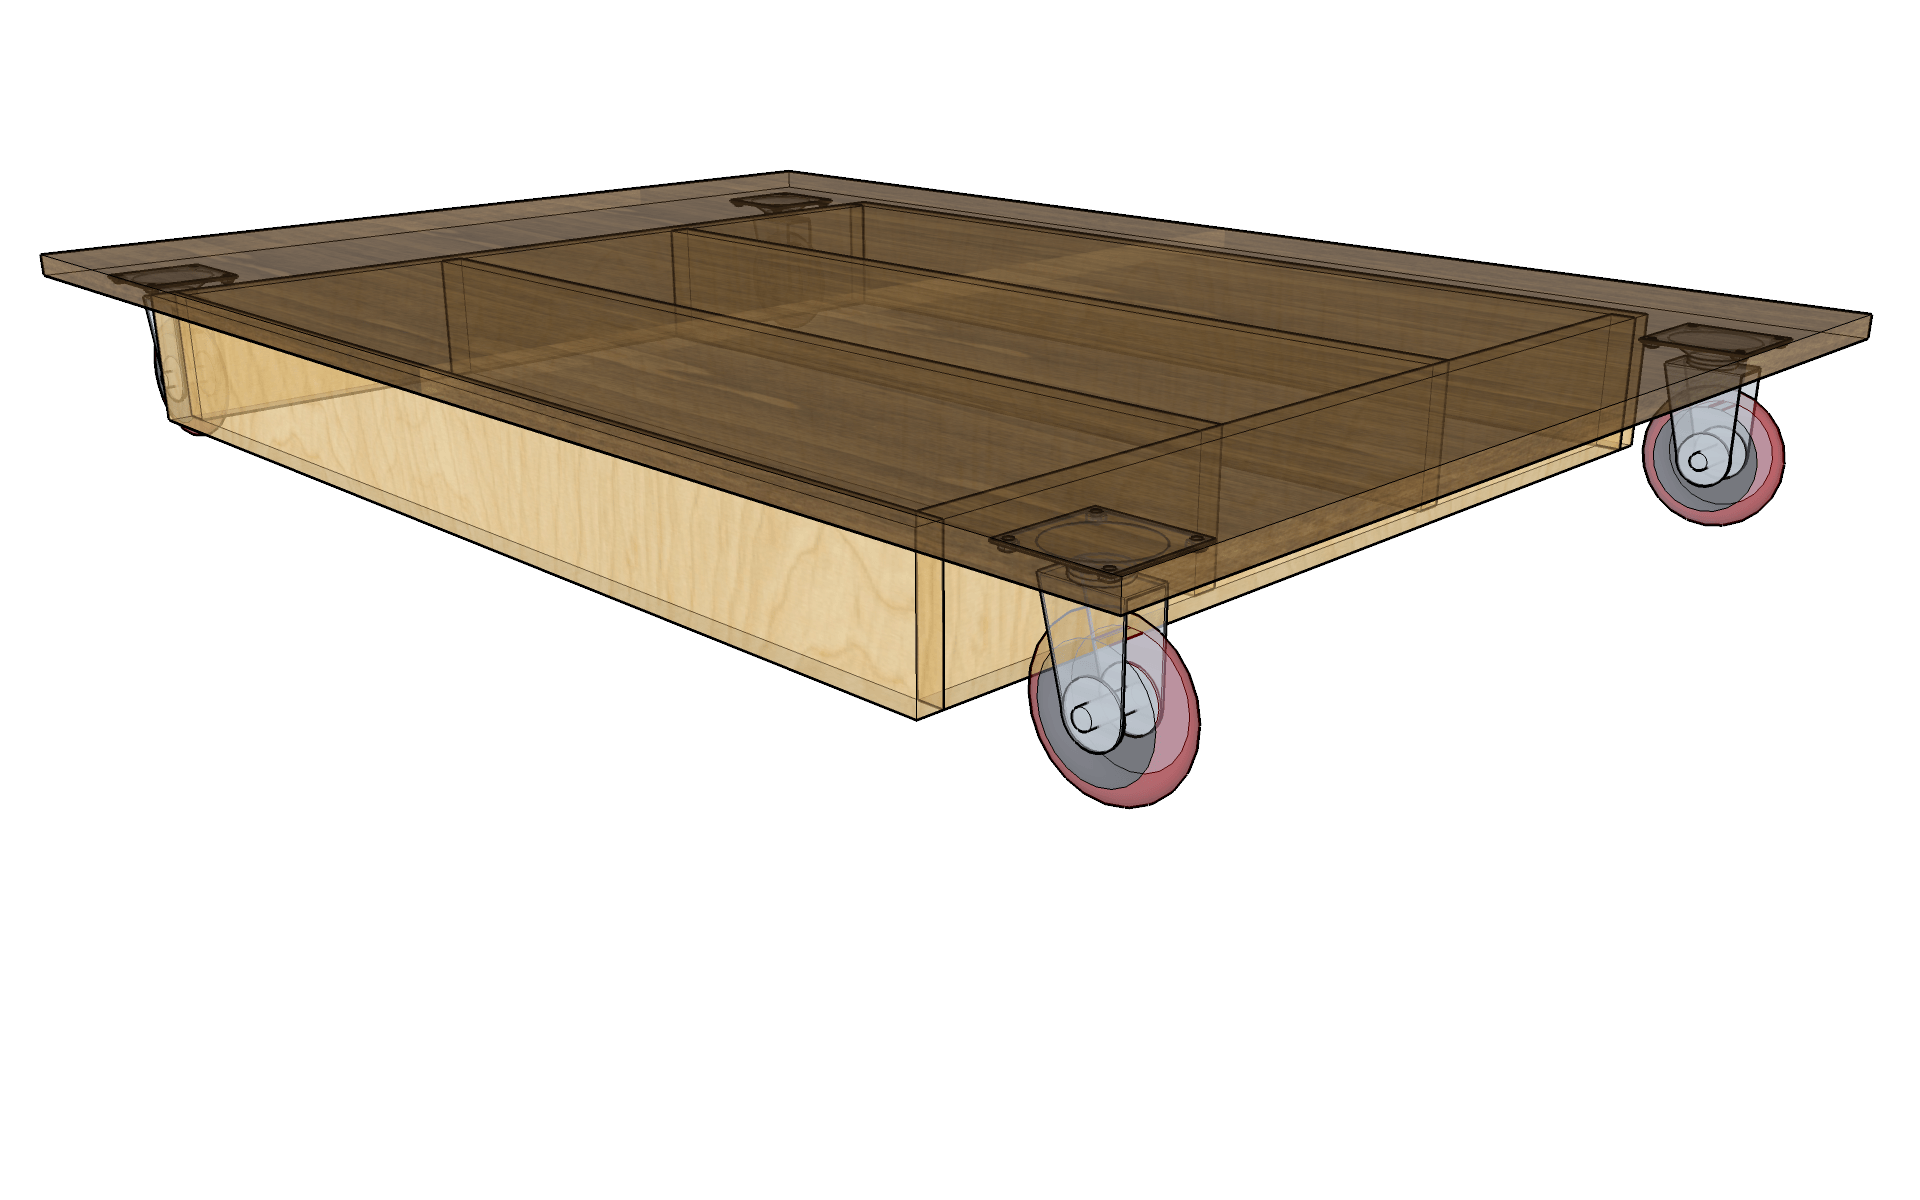
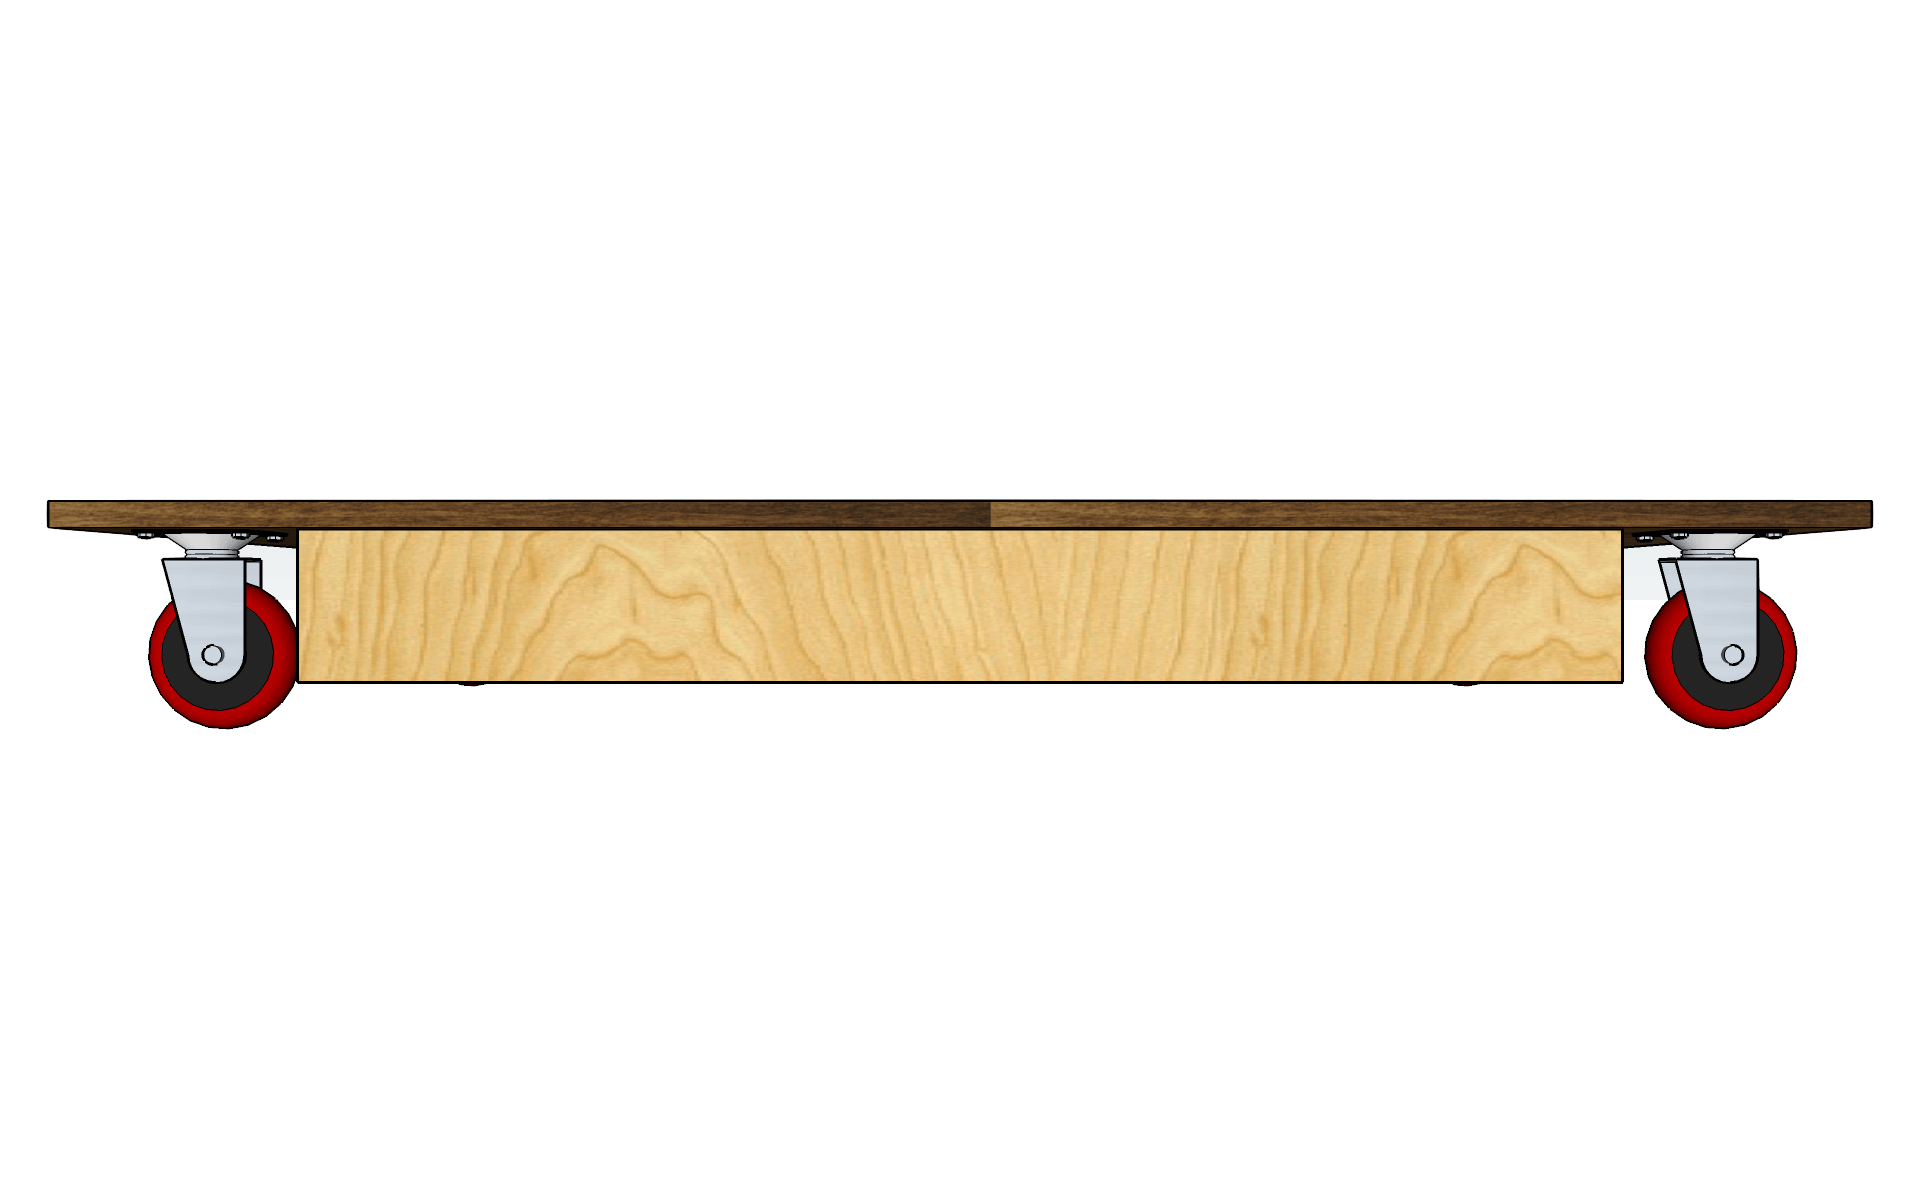
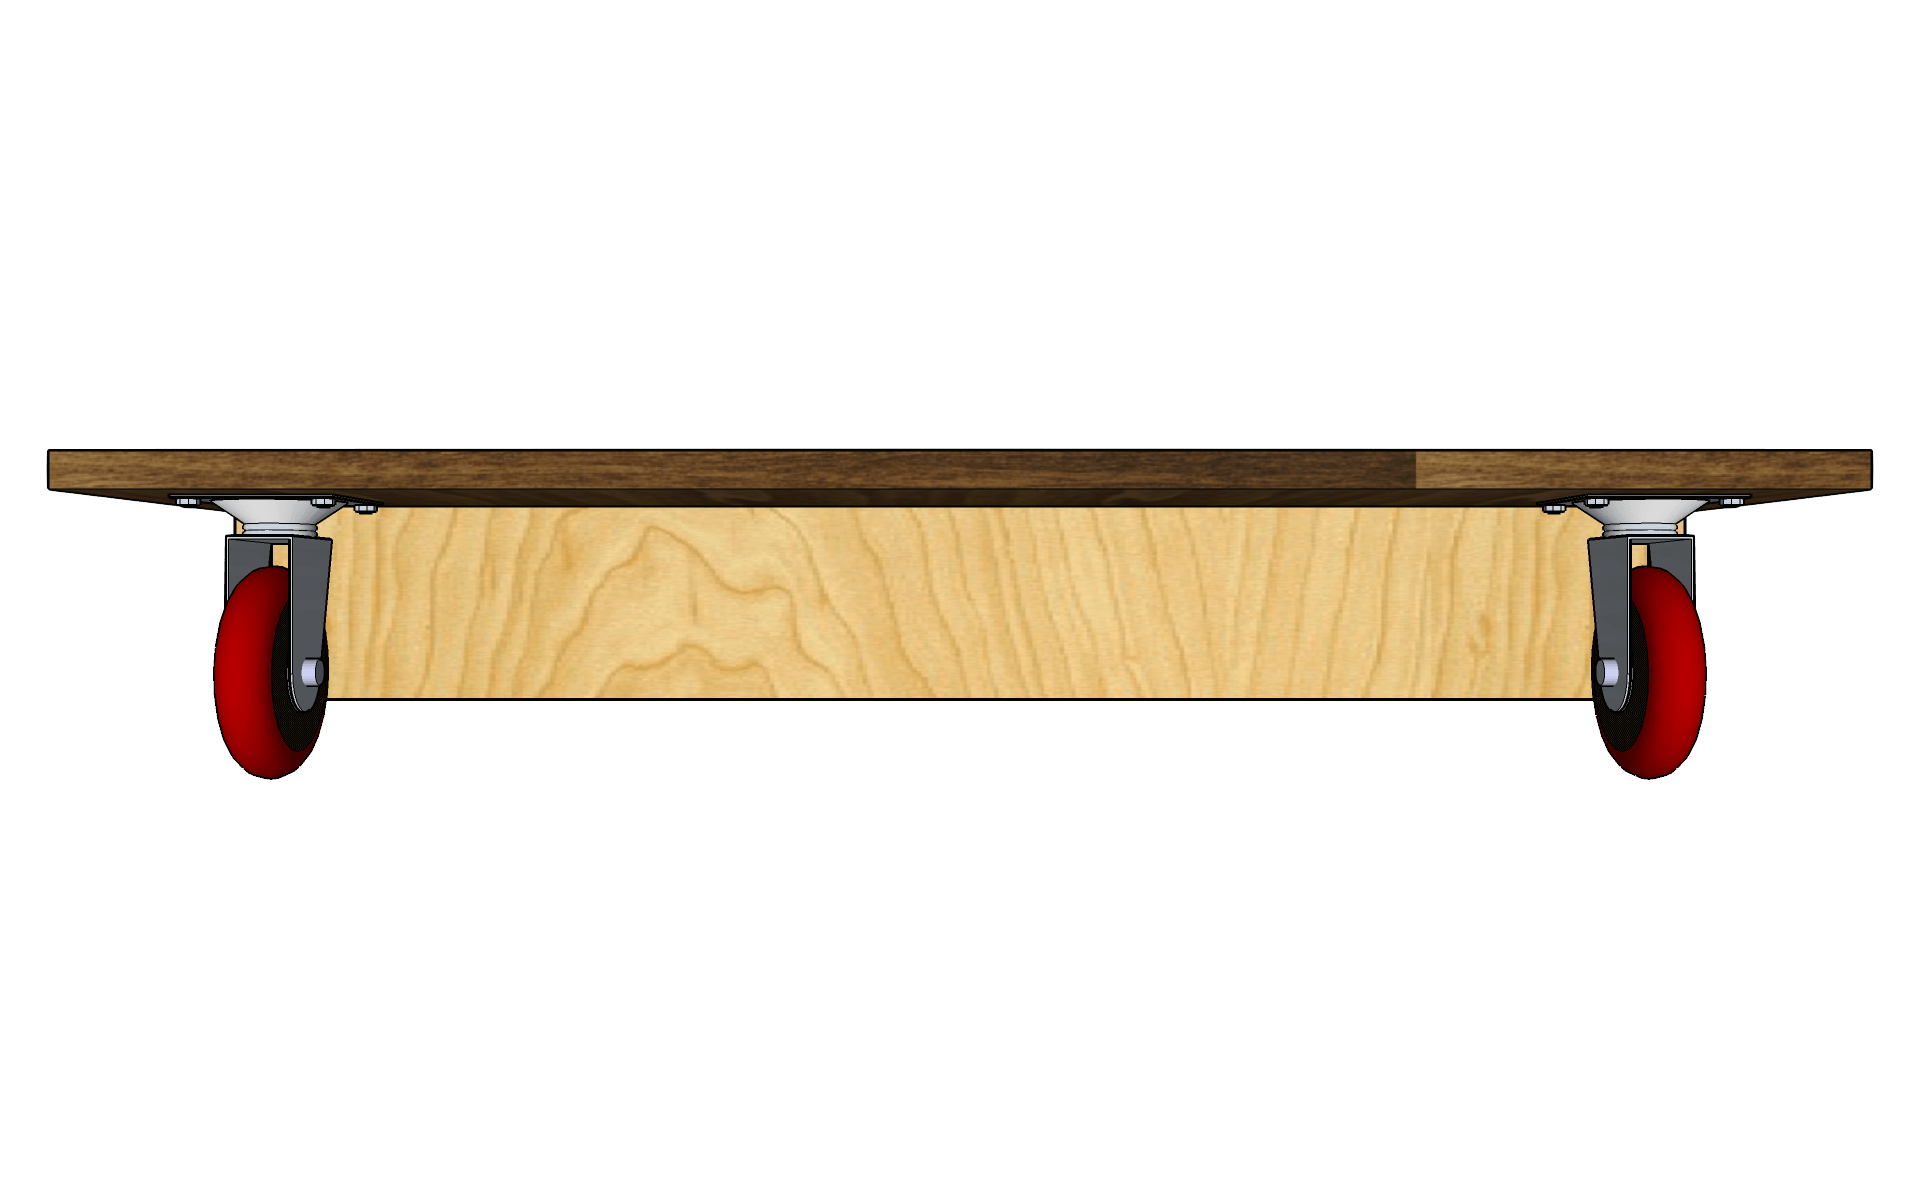
3. The mobile platform
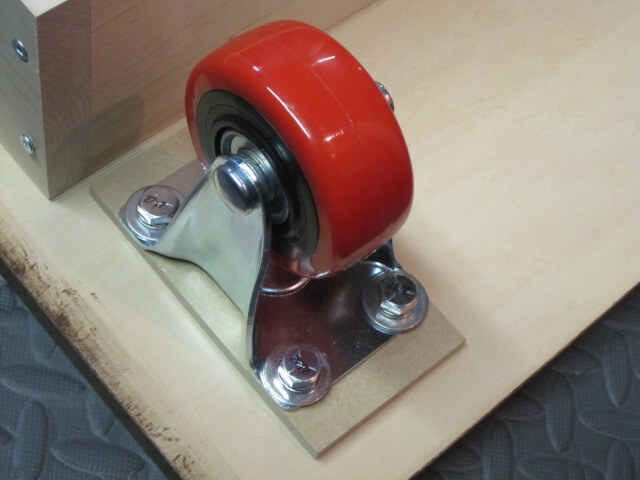
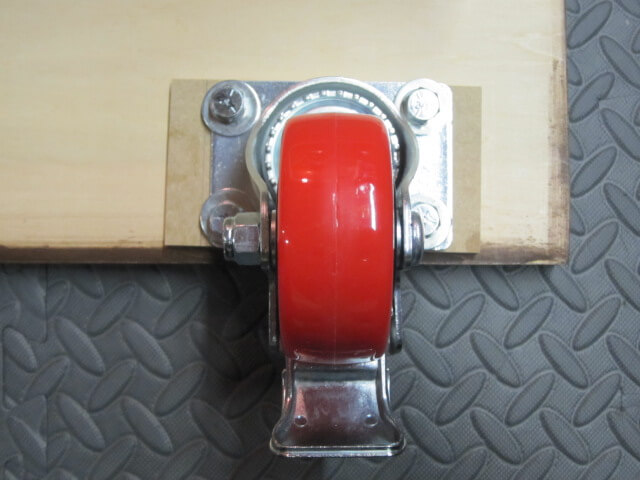
I kept the easier for the end. The platform is simply a maple structure covered with a large plywood board. The edges will be plated and dyed during the finishing. All will stand on industrial polyurethane casters. Those in front will be fixed while those behind will be 360° swiveled and equipped with brake.
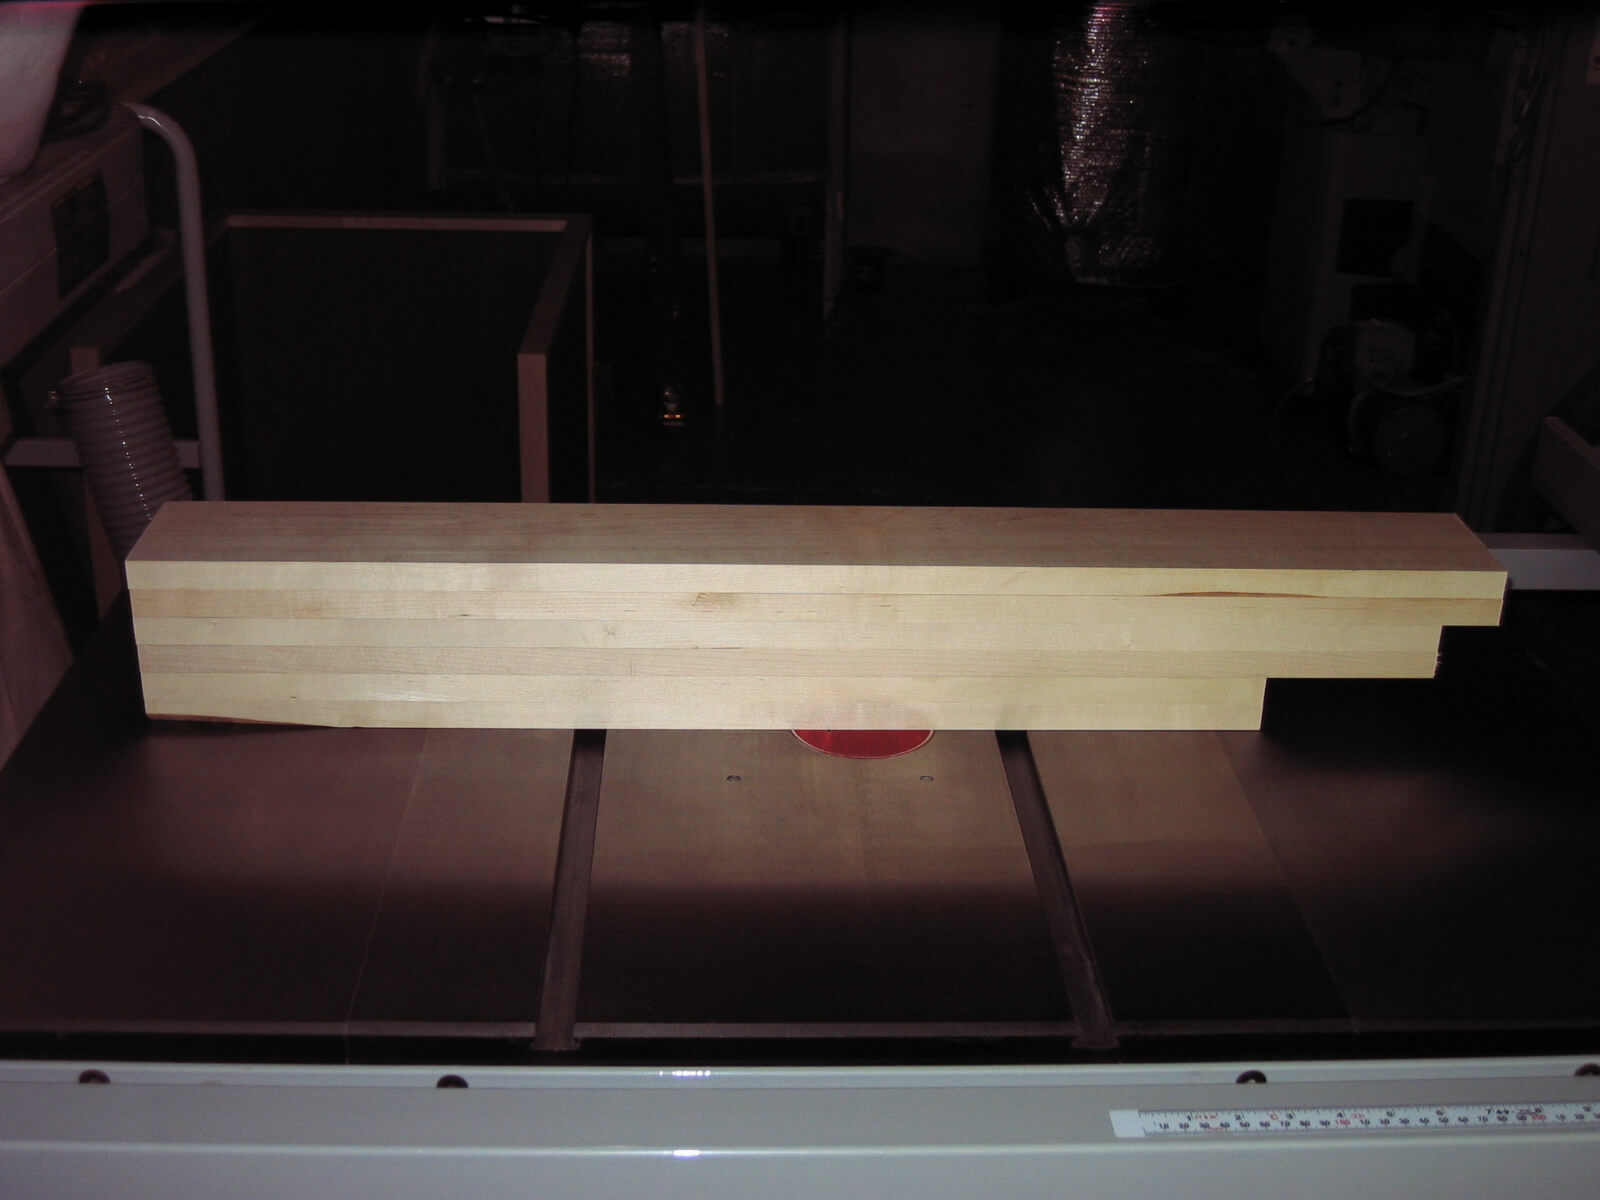
3.1 The structure
So that the platform does not bend under the weight of cabinets and tools, I will consolidate it with a maple structure. Here are the boards made from raw wood:
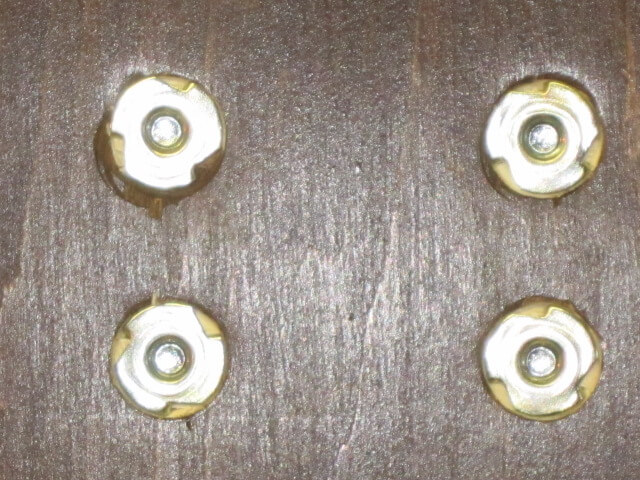
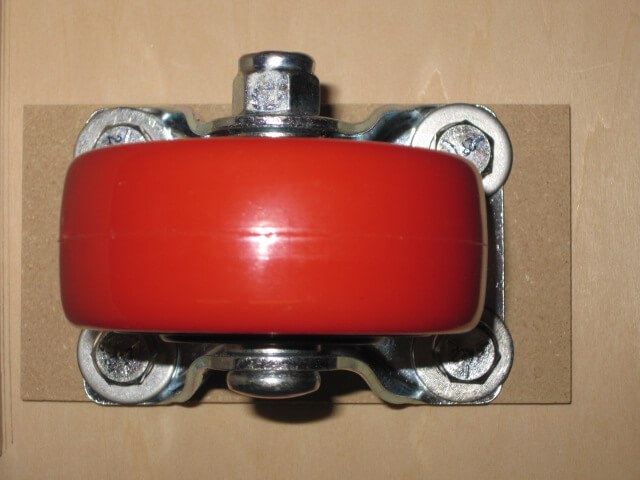
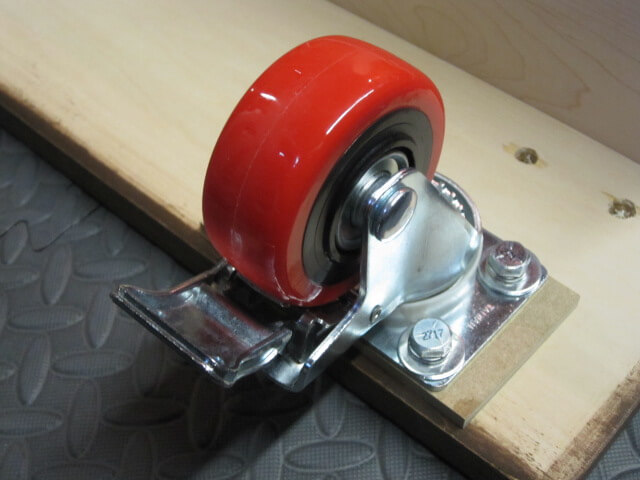
3.2 The Casters
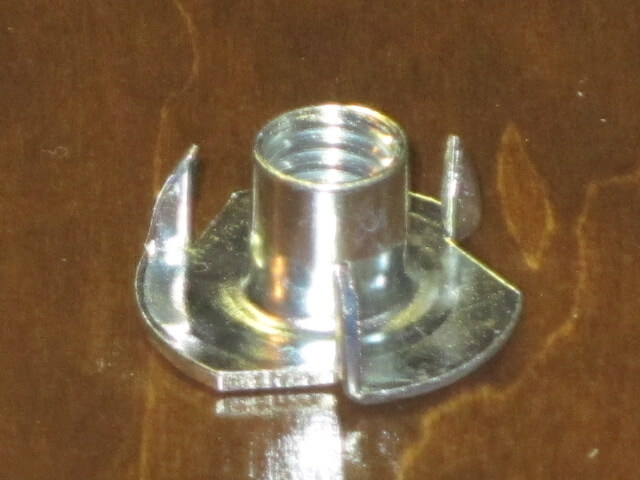
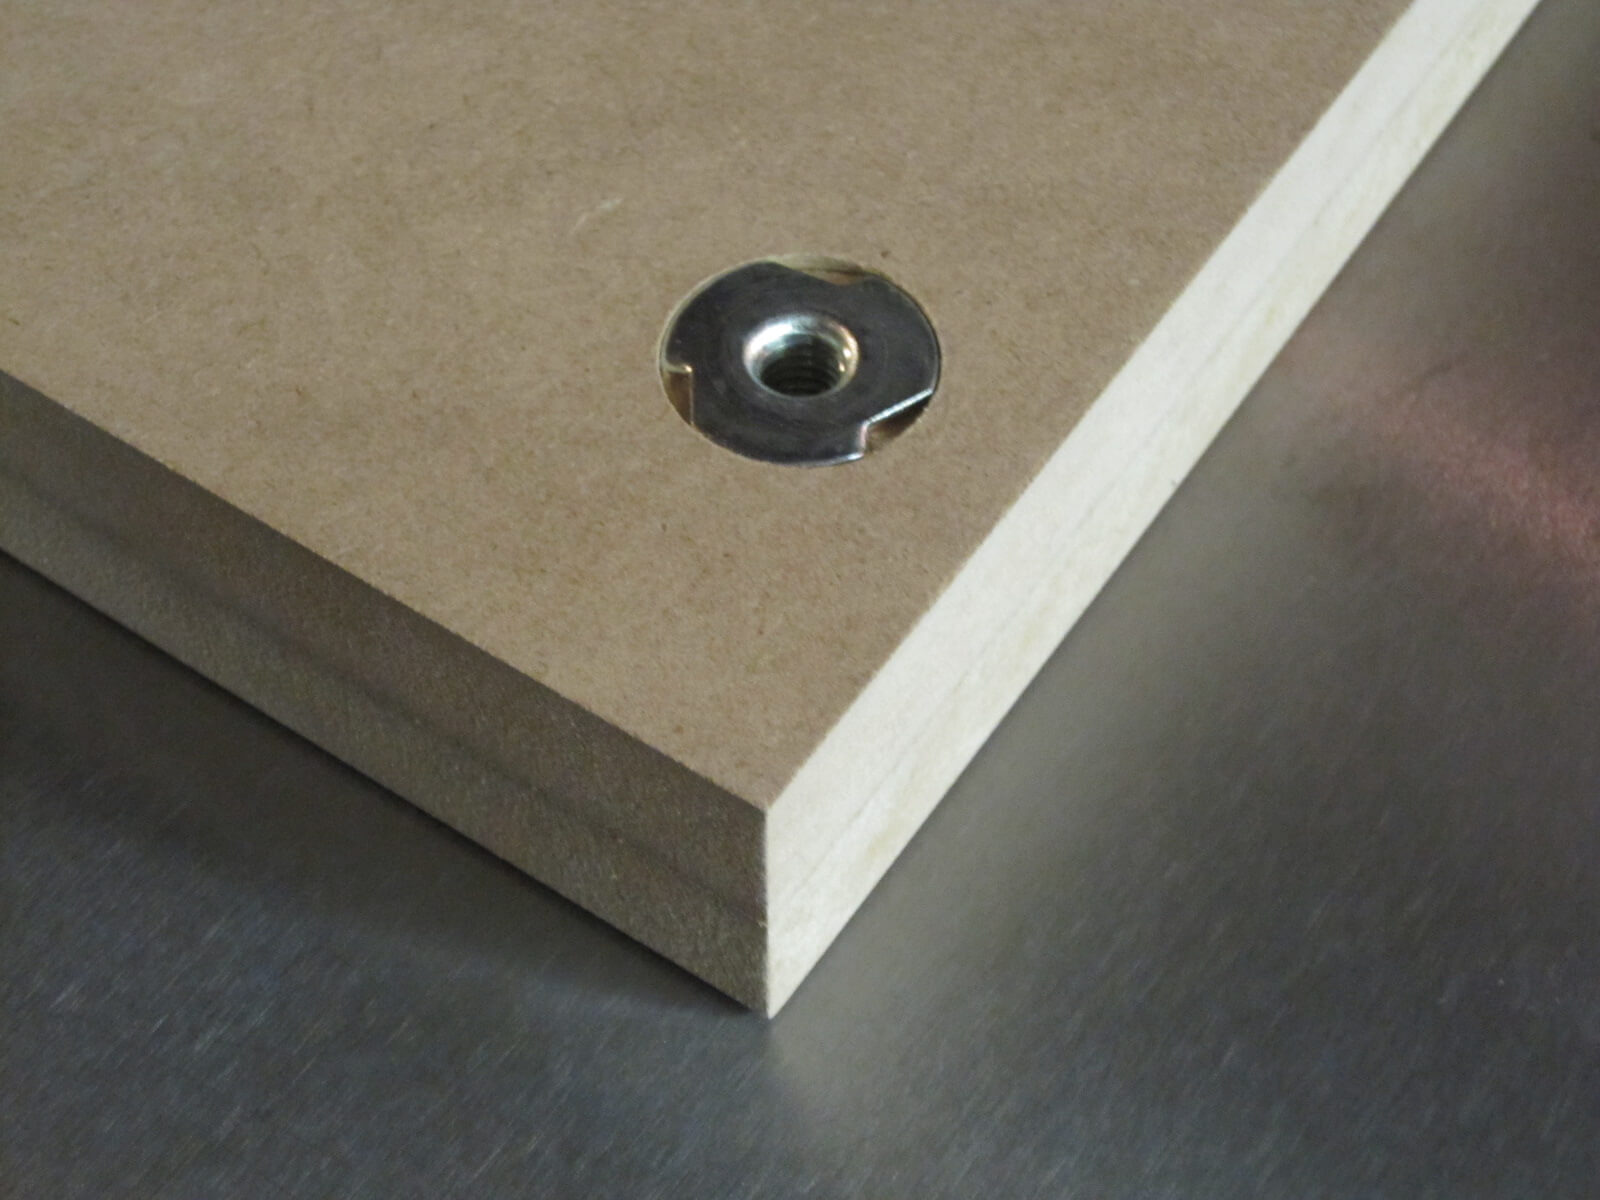
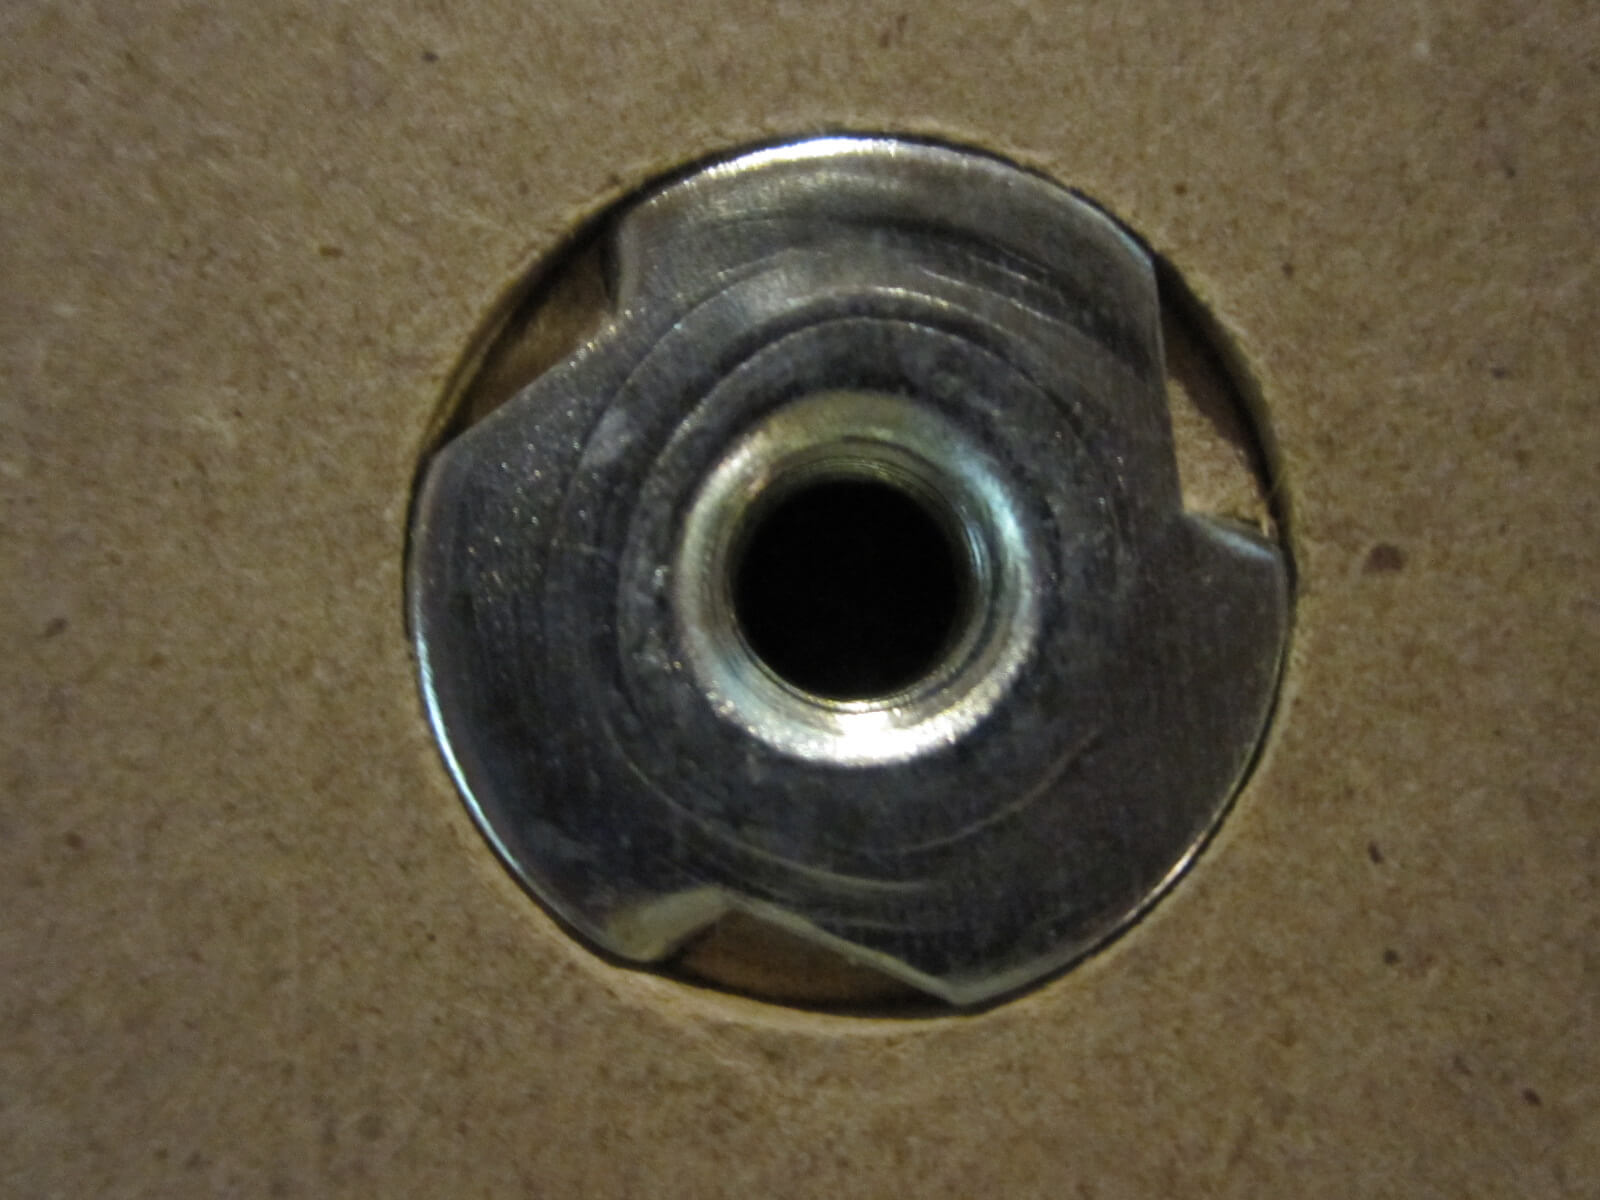
They will be attached to the base with 4 T-Nuts on the top. They will secure the 4 bolts from below.
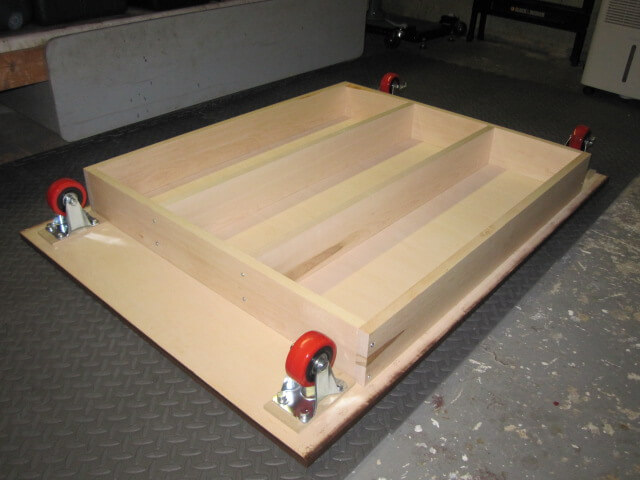
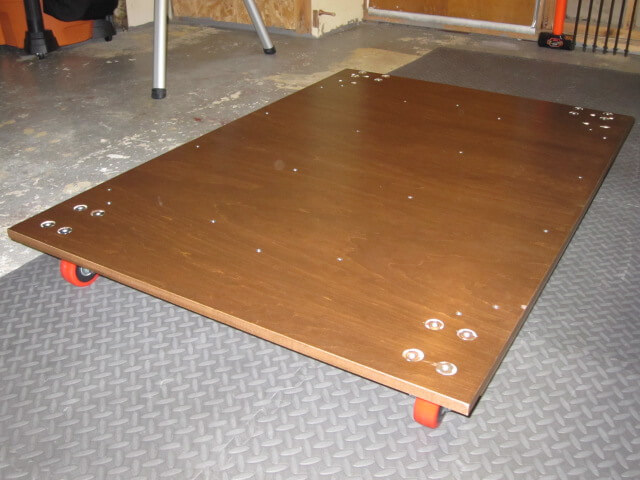
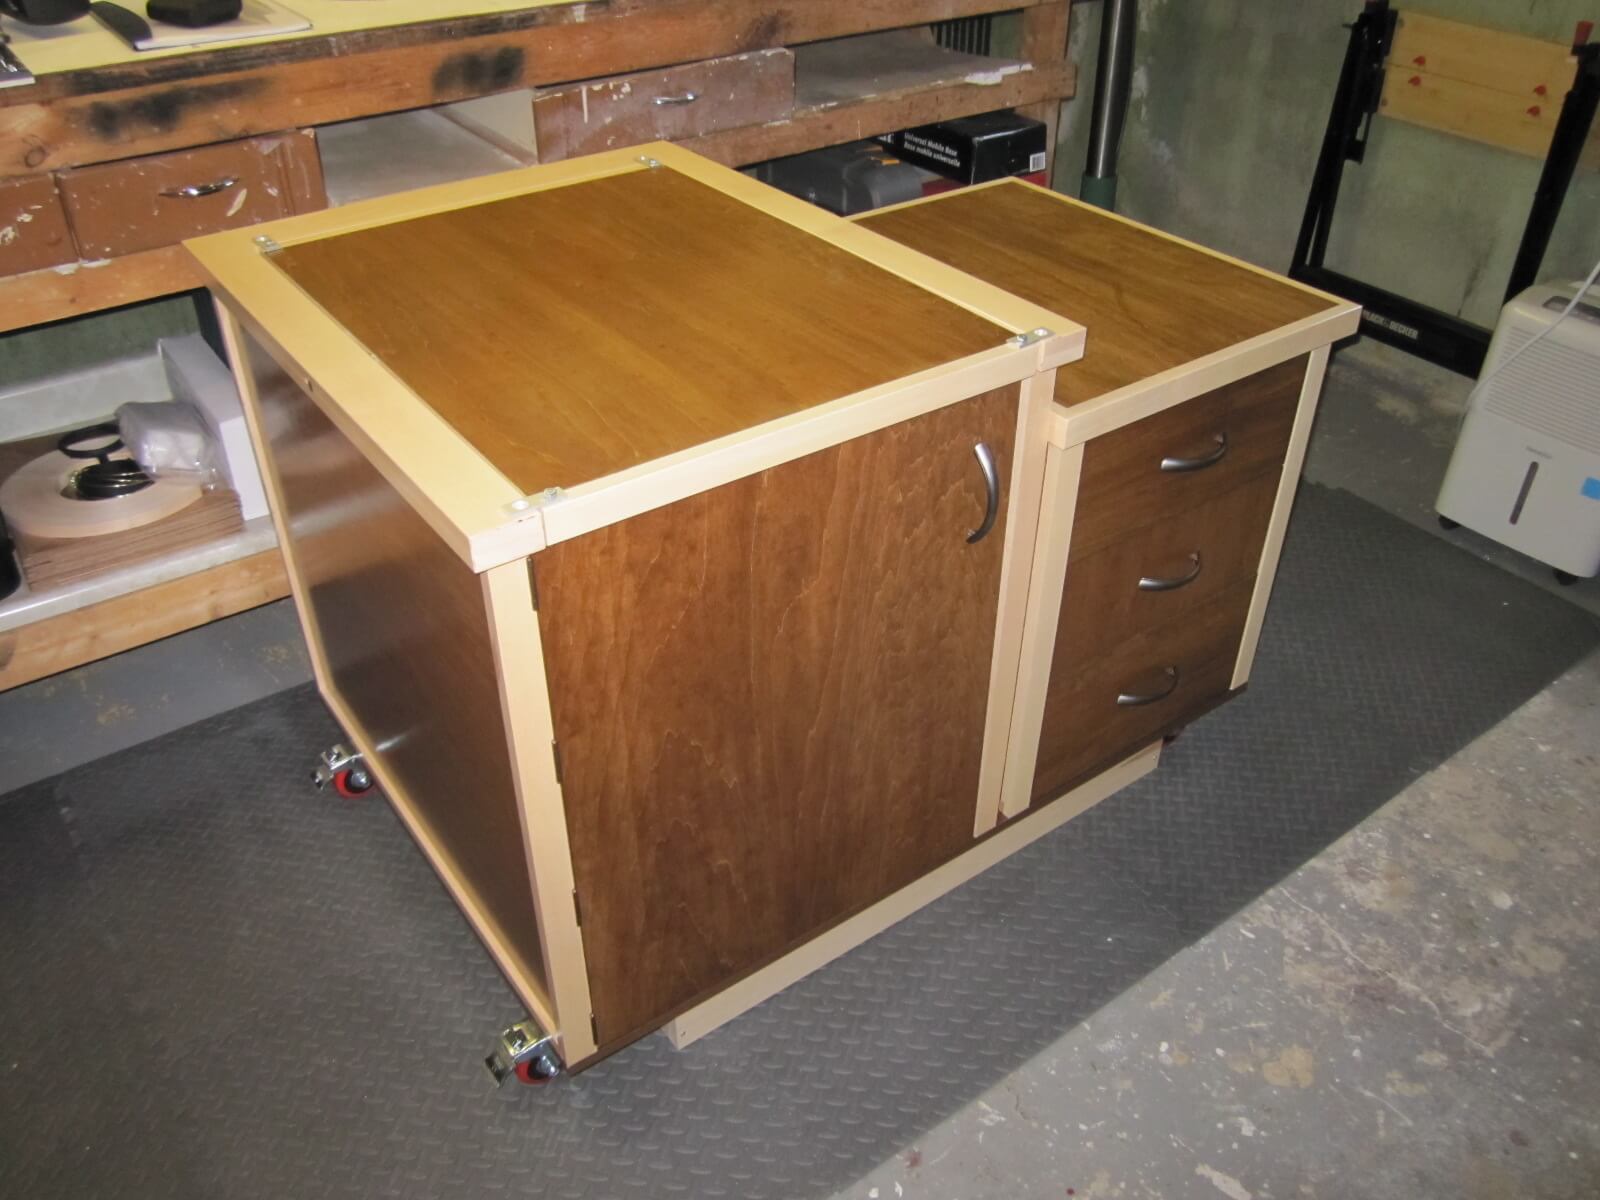
3.3 The finished mobile platform

If I had to redo it, I would put 4 360° swivel castors equipped with brake.
4. Finishing
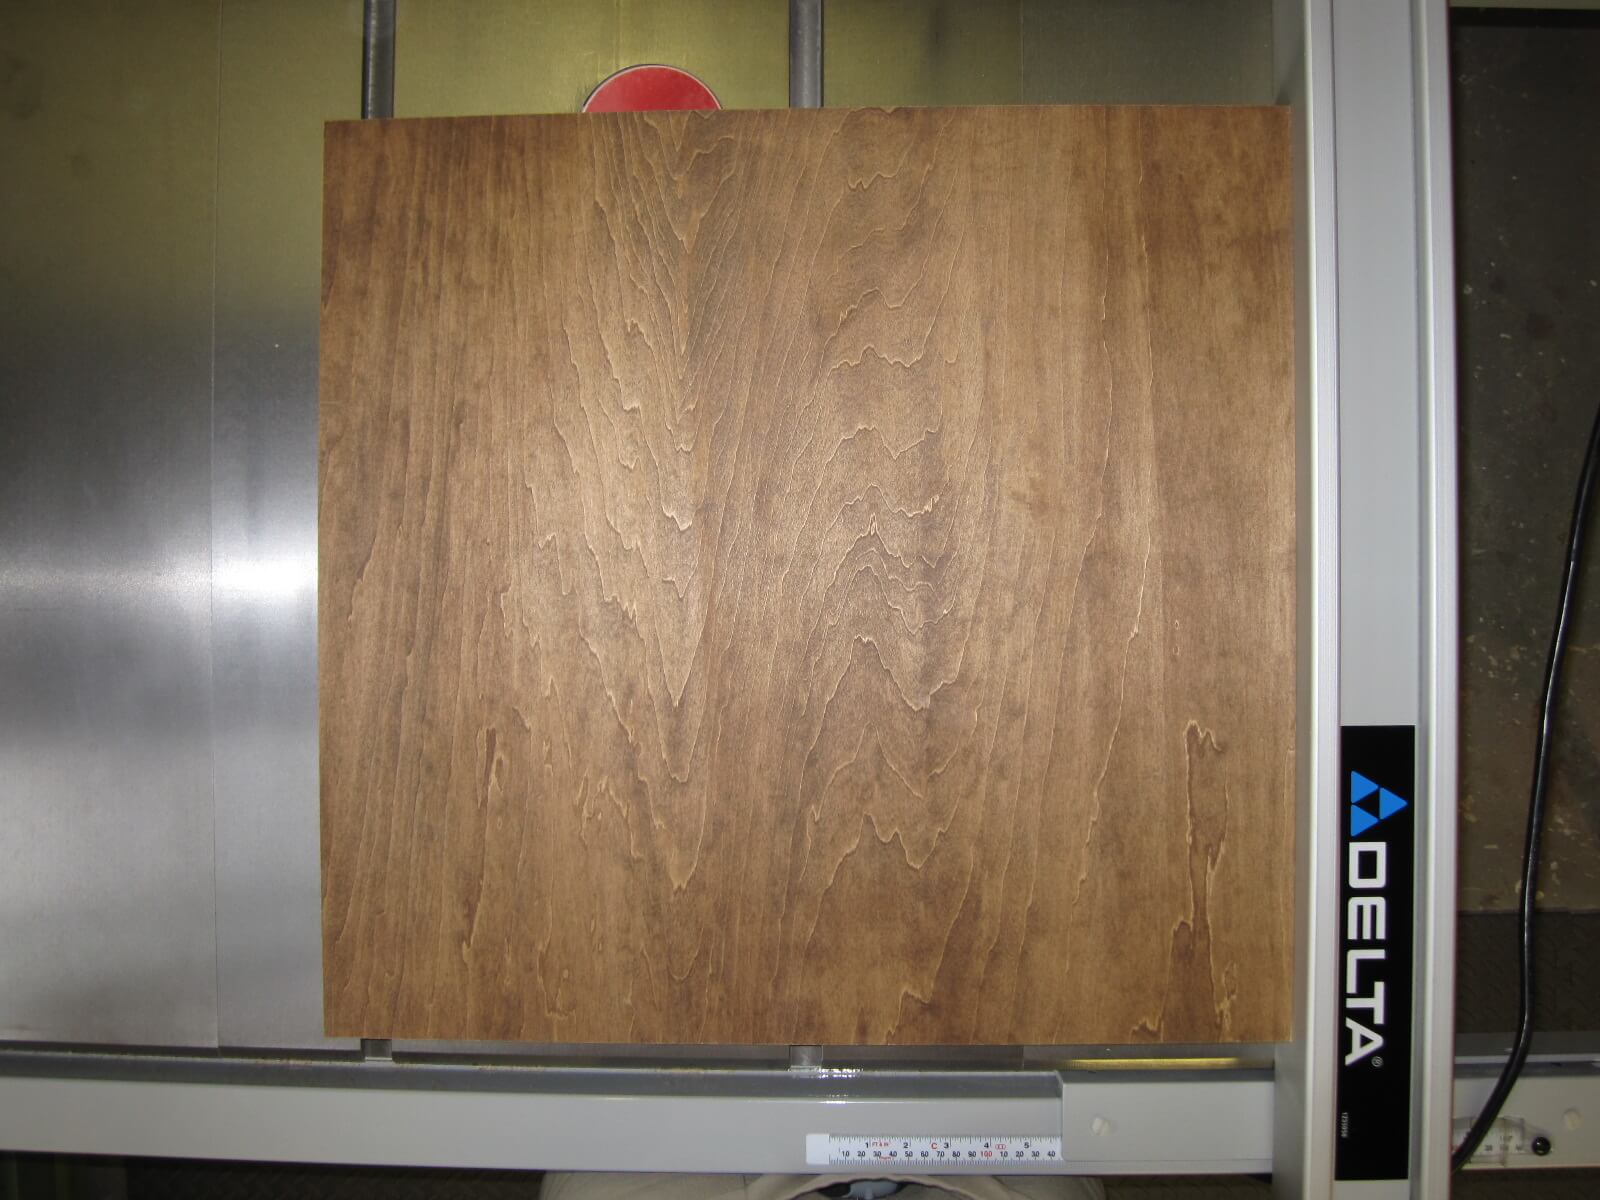
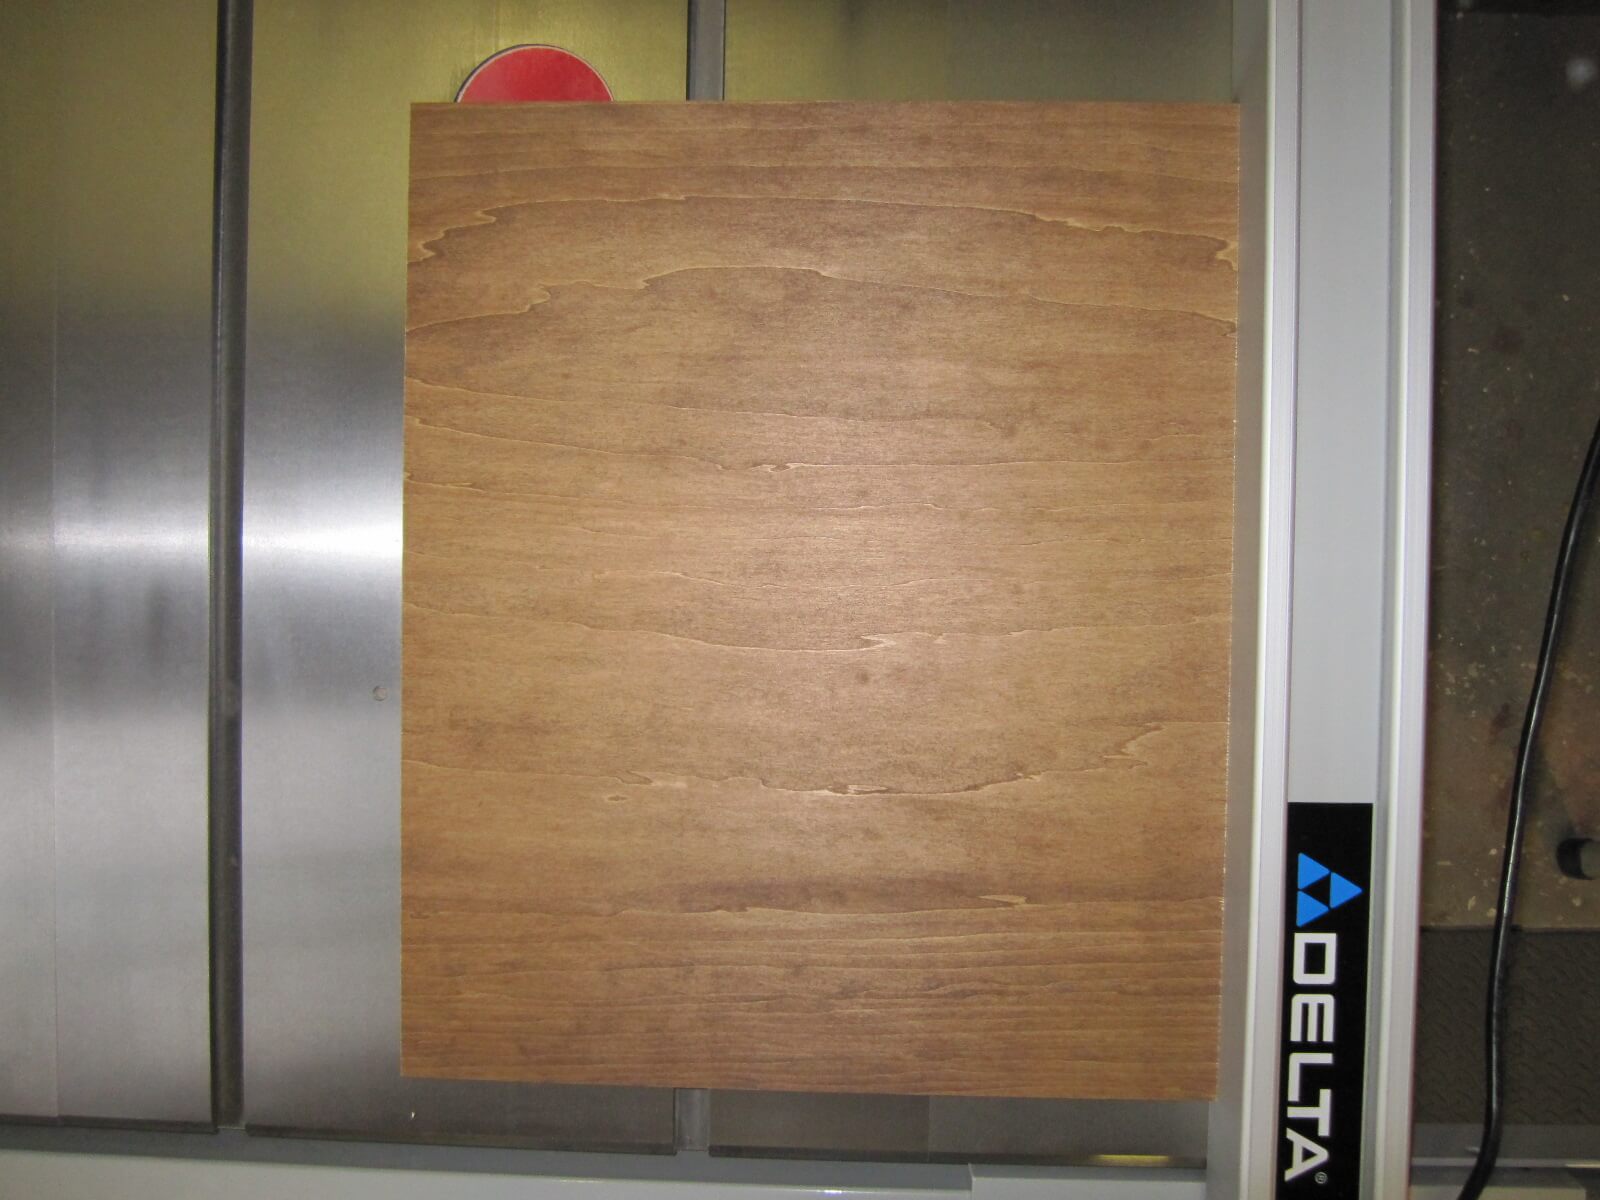
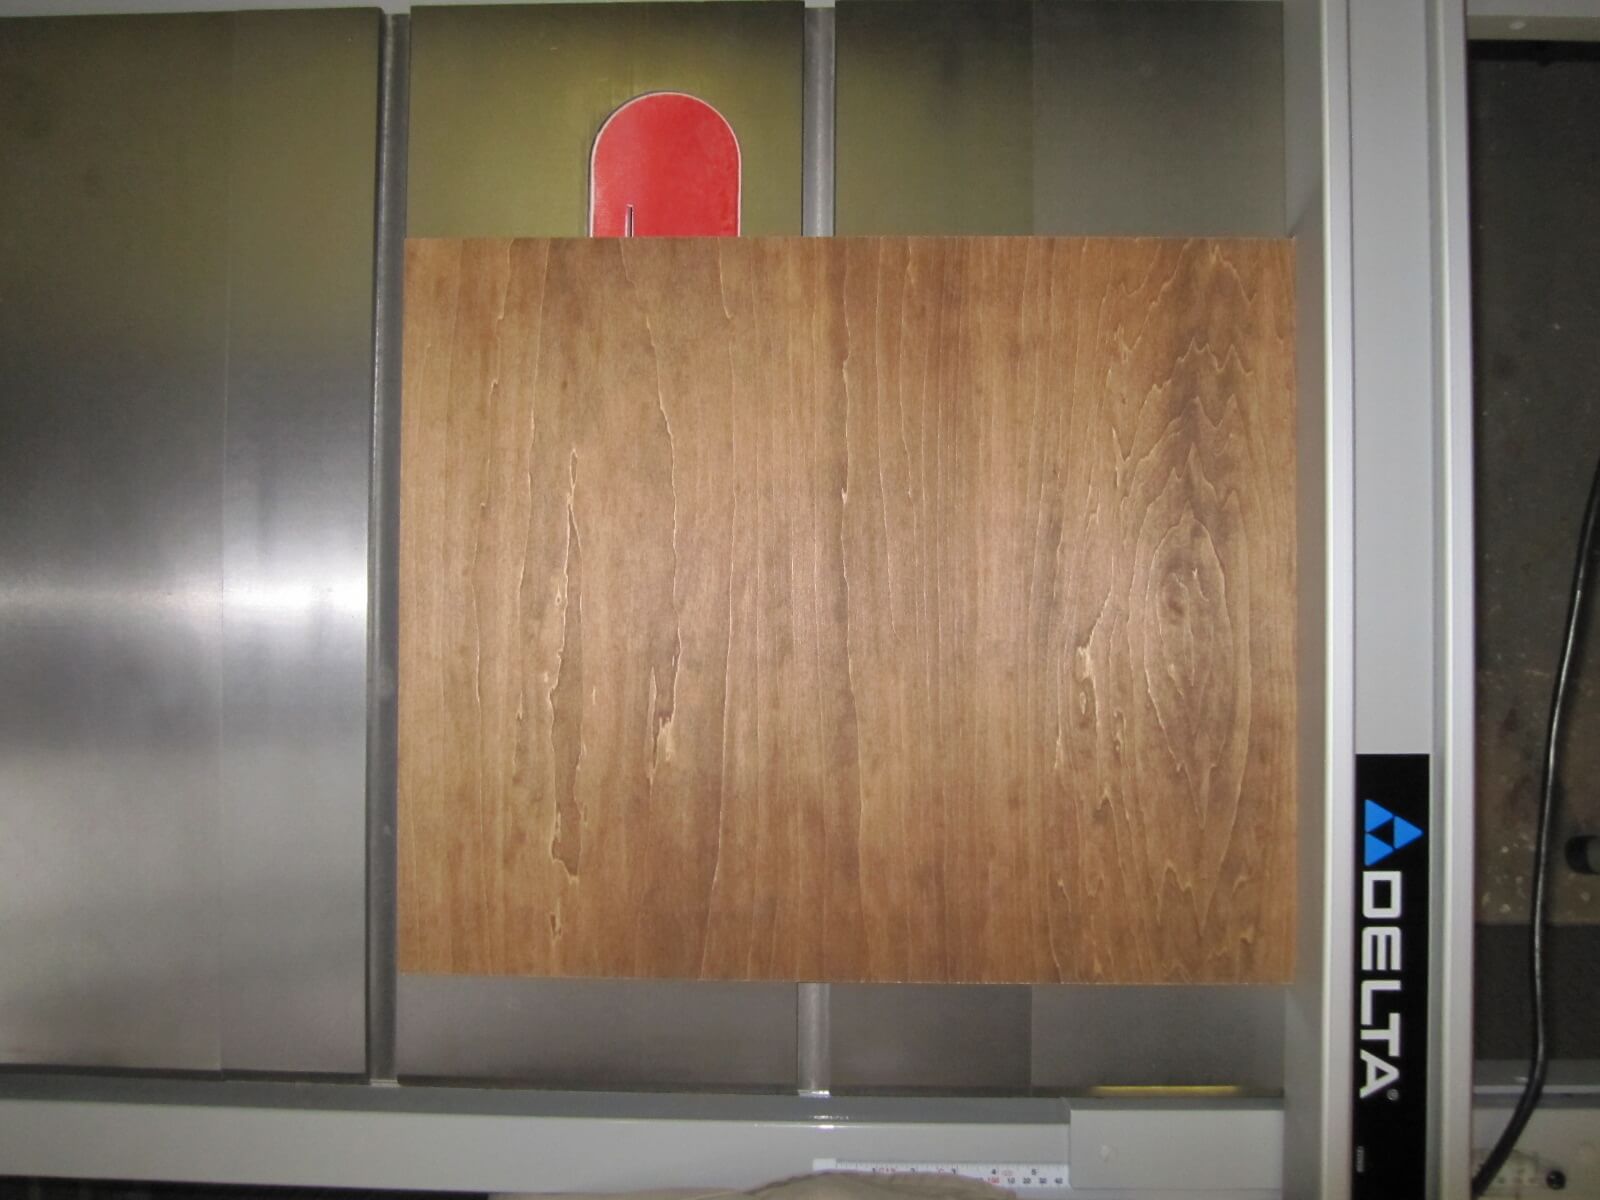
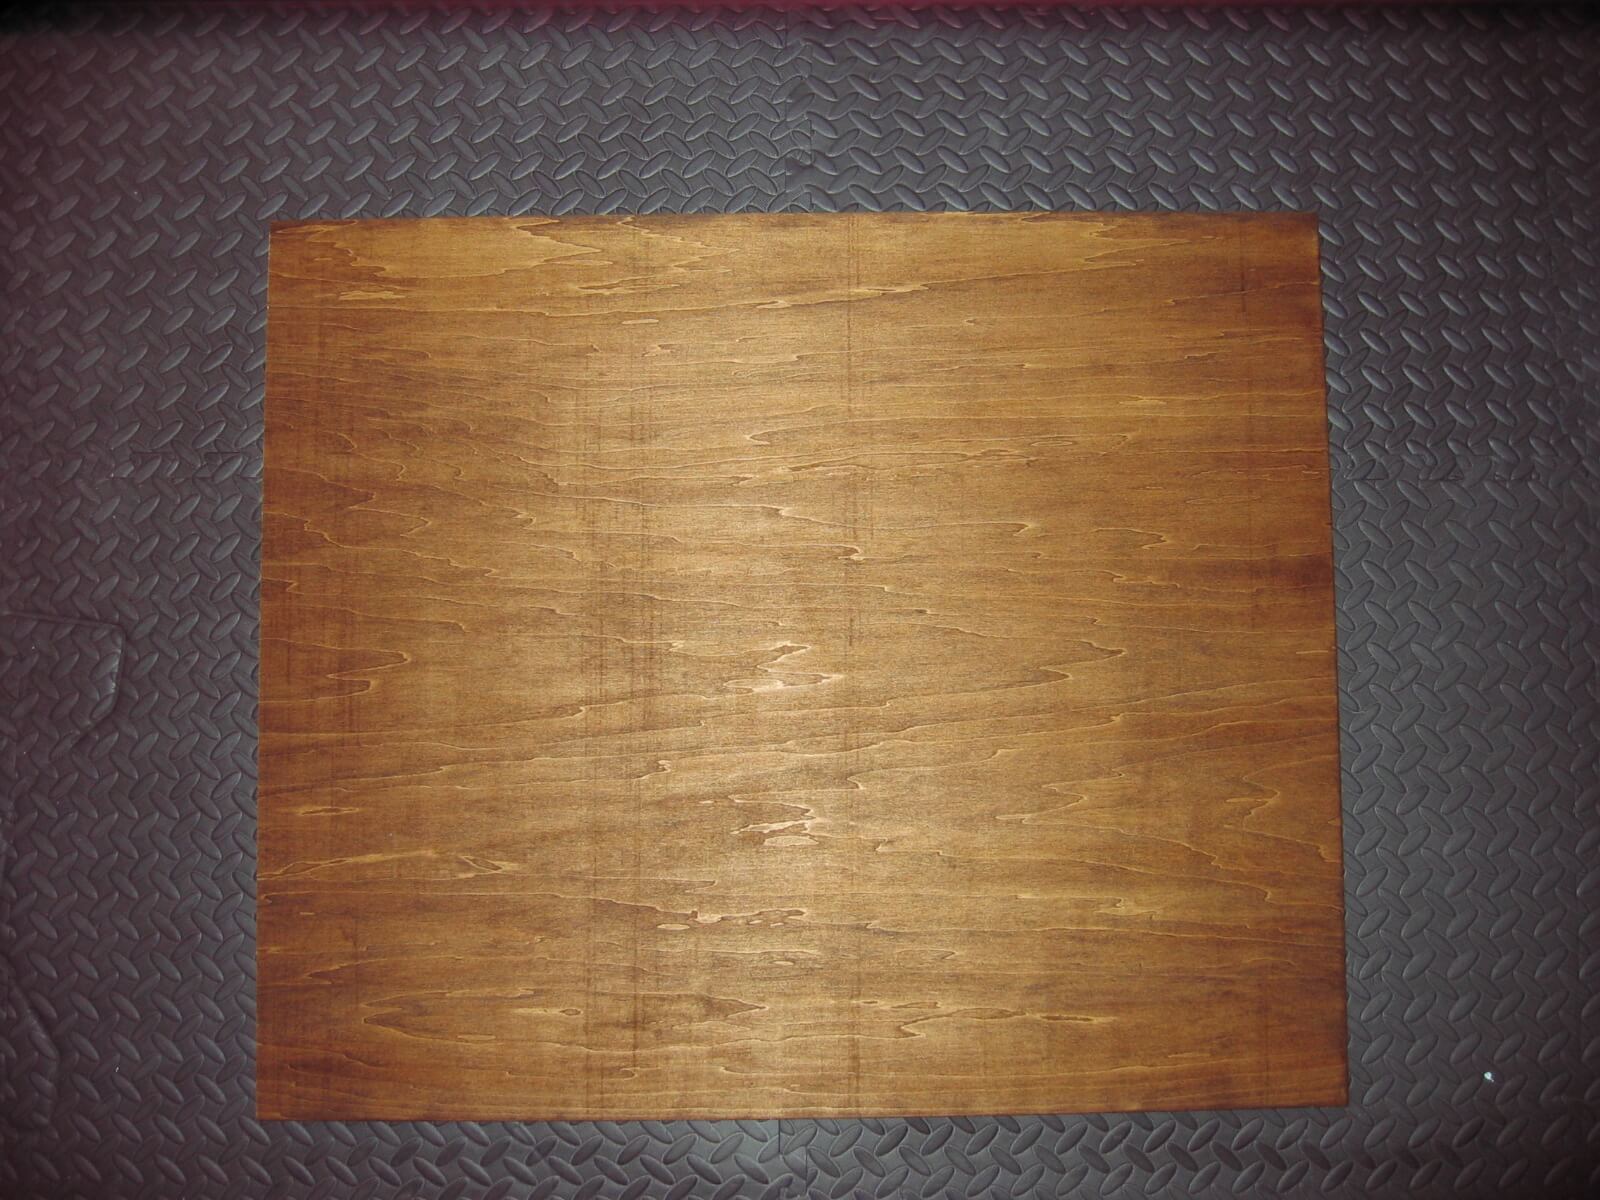
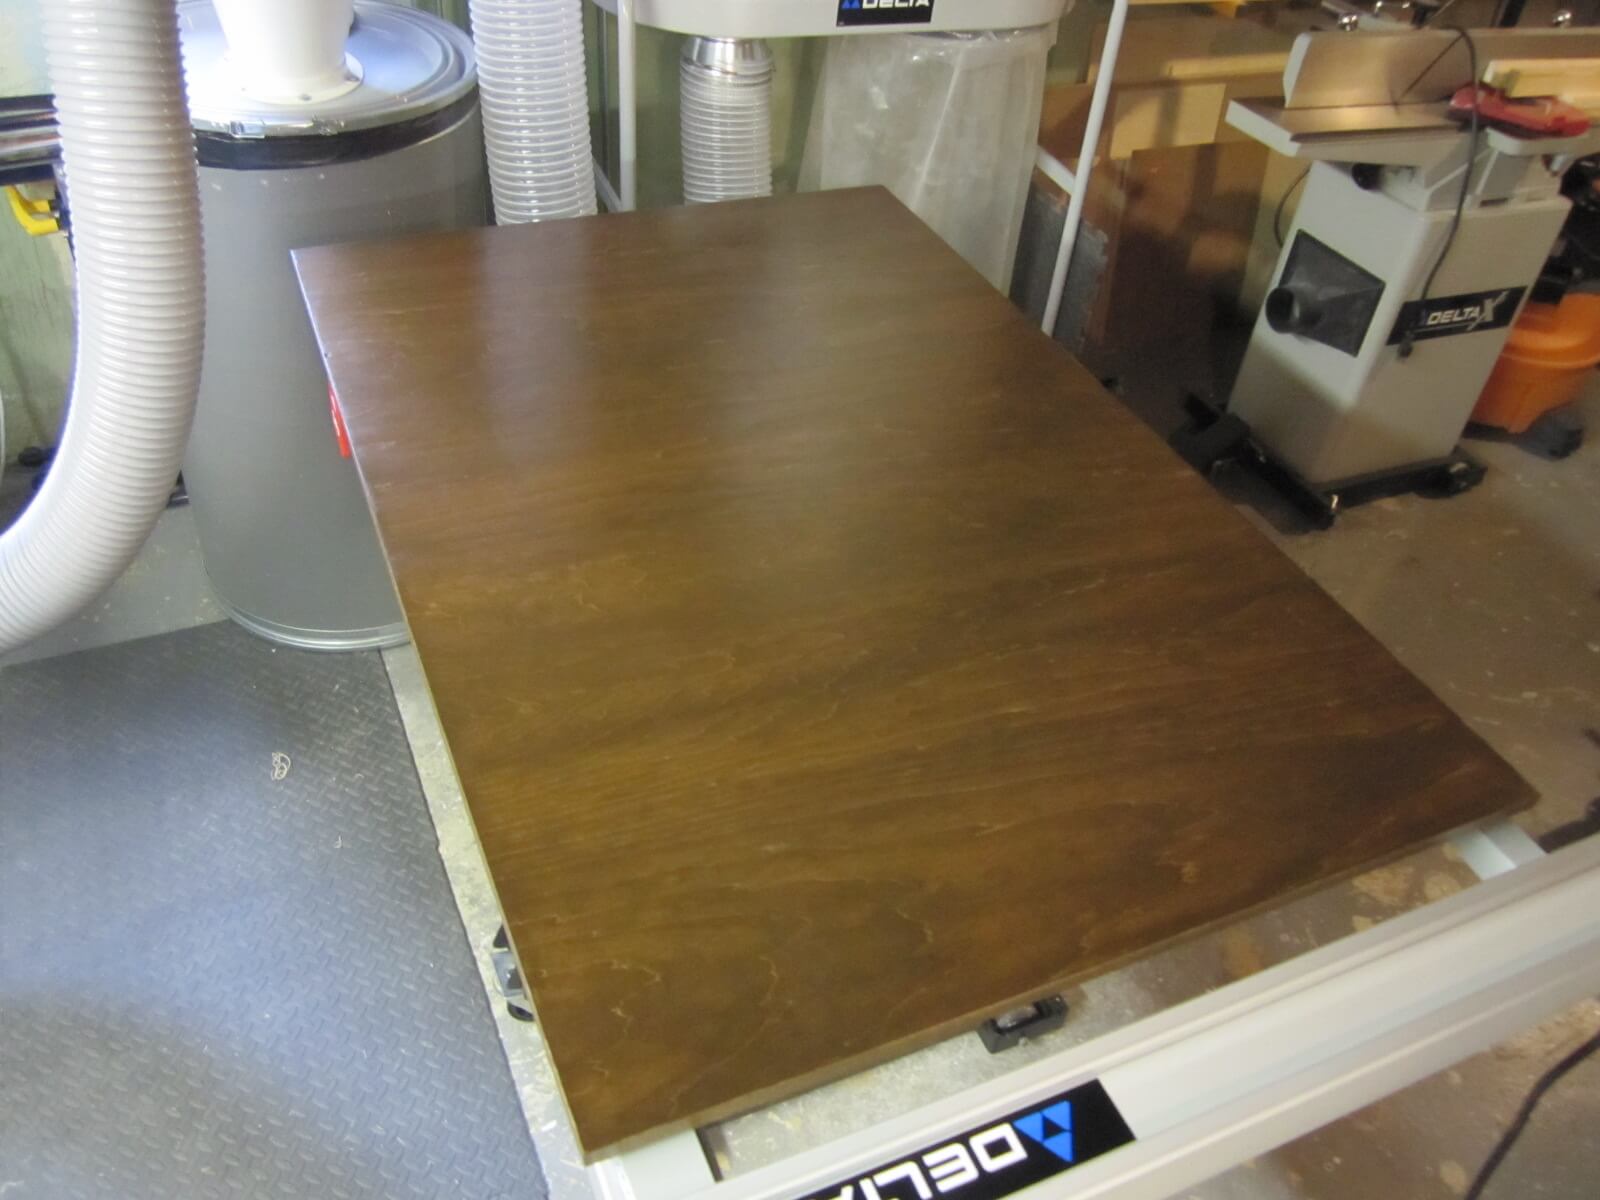
For the color of the plywood pieces, I chose to use an “American Black Walnut” dye color to contrast with the maple frames that is rather white.
All, including the drawers, is covered with 3 layers of water-based polyurethane varnish to resist the wear and tear of the time which I applied to the cotton wick.
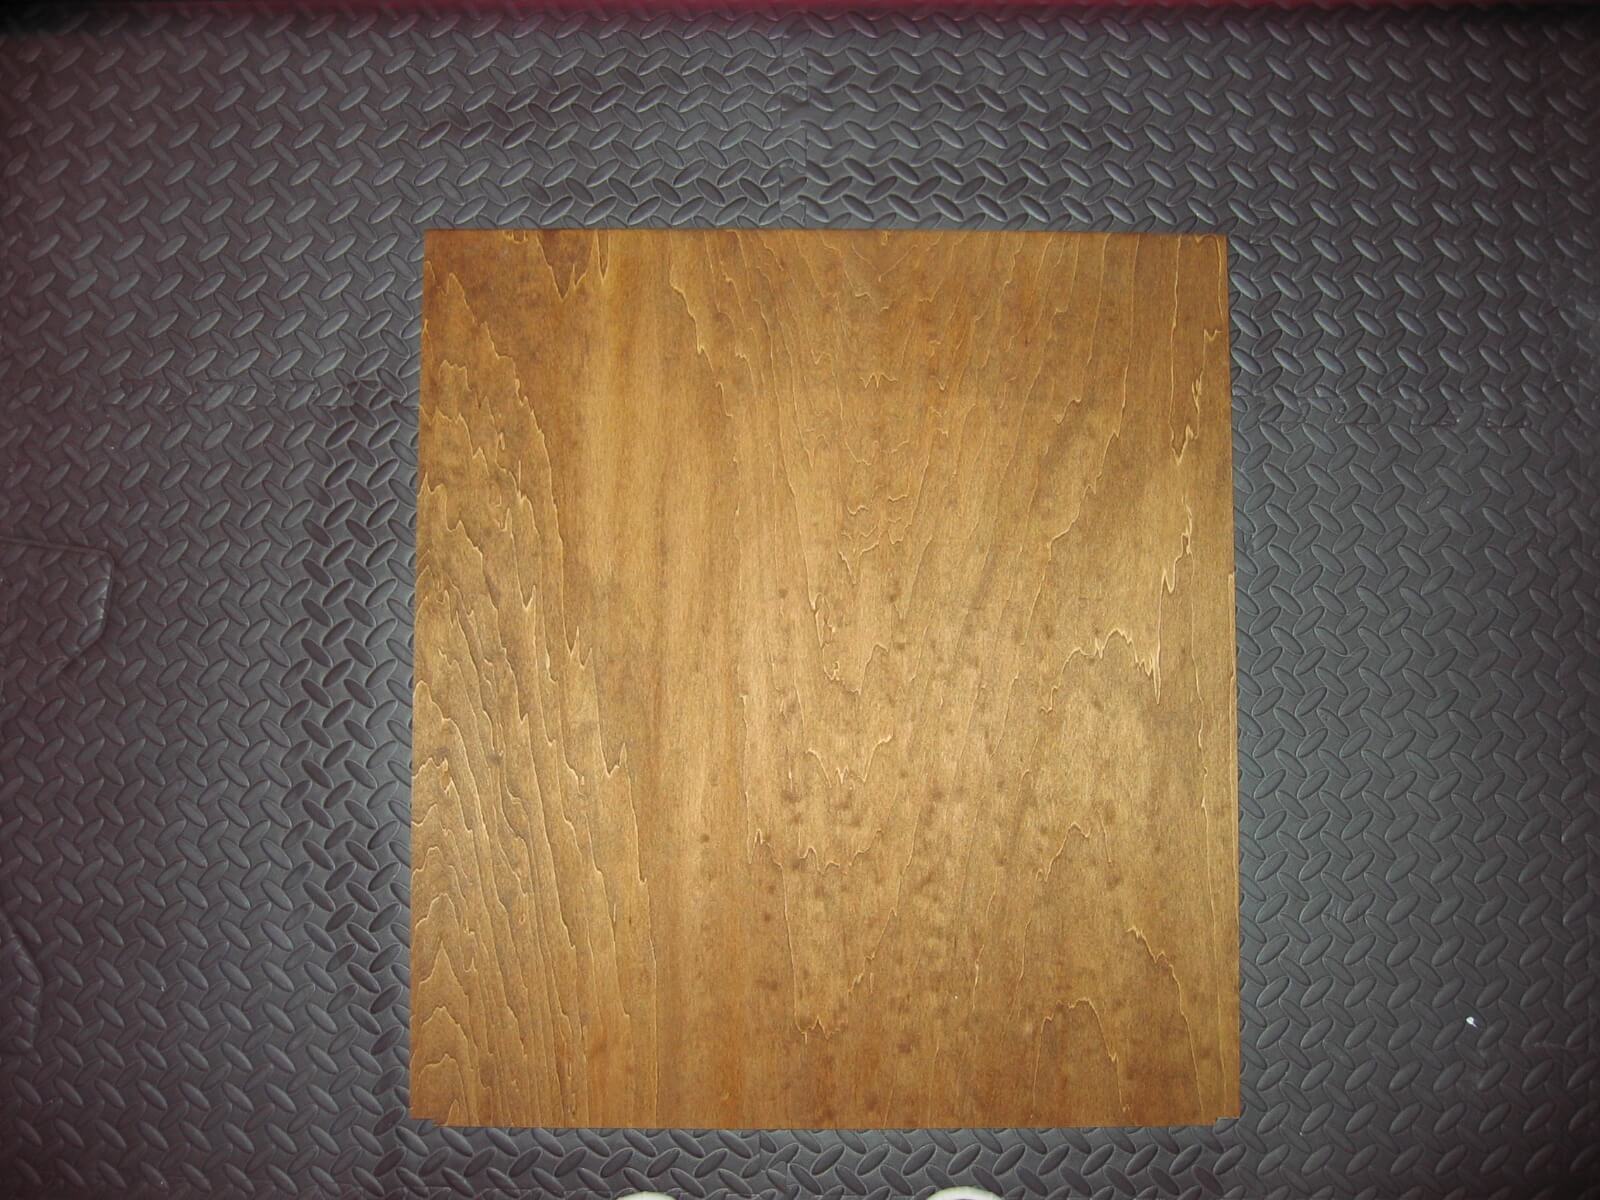
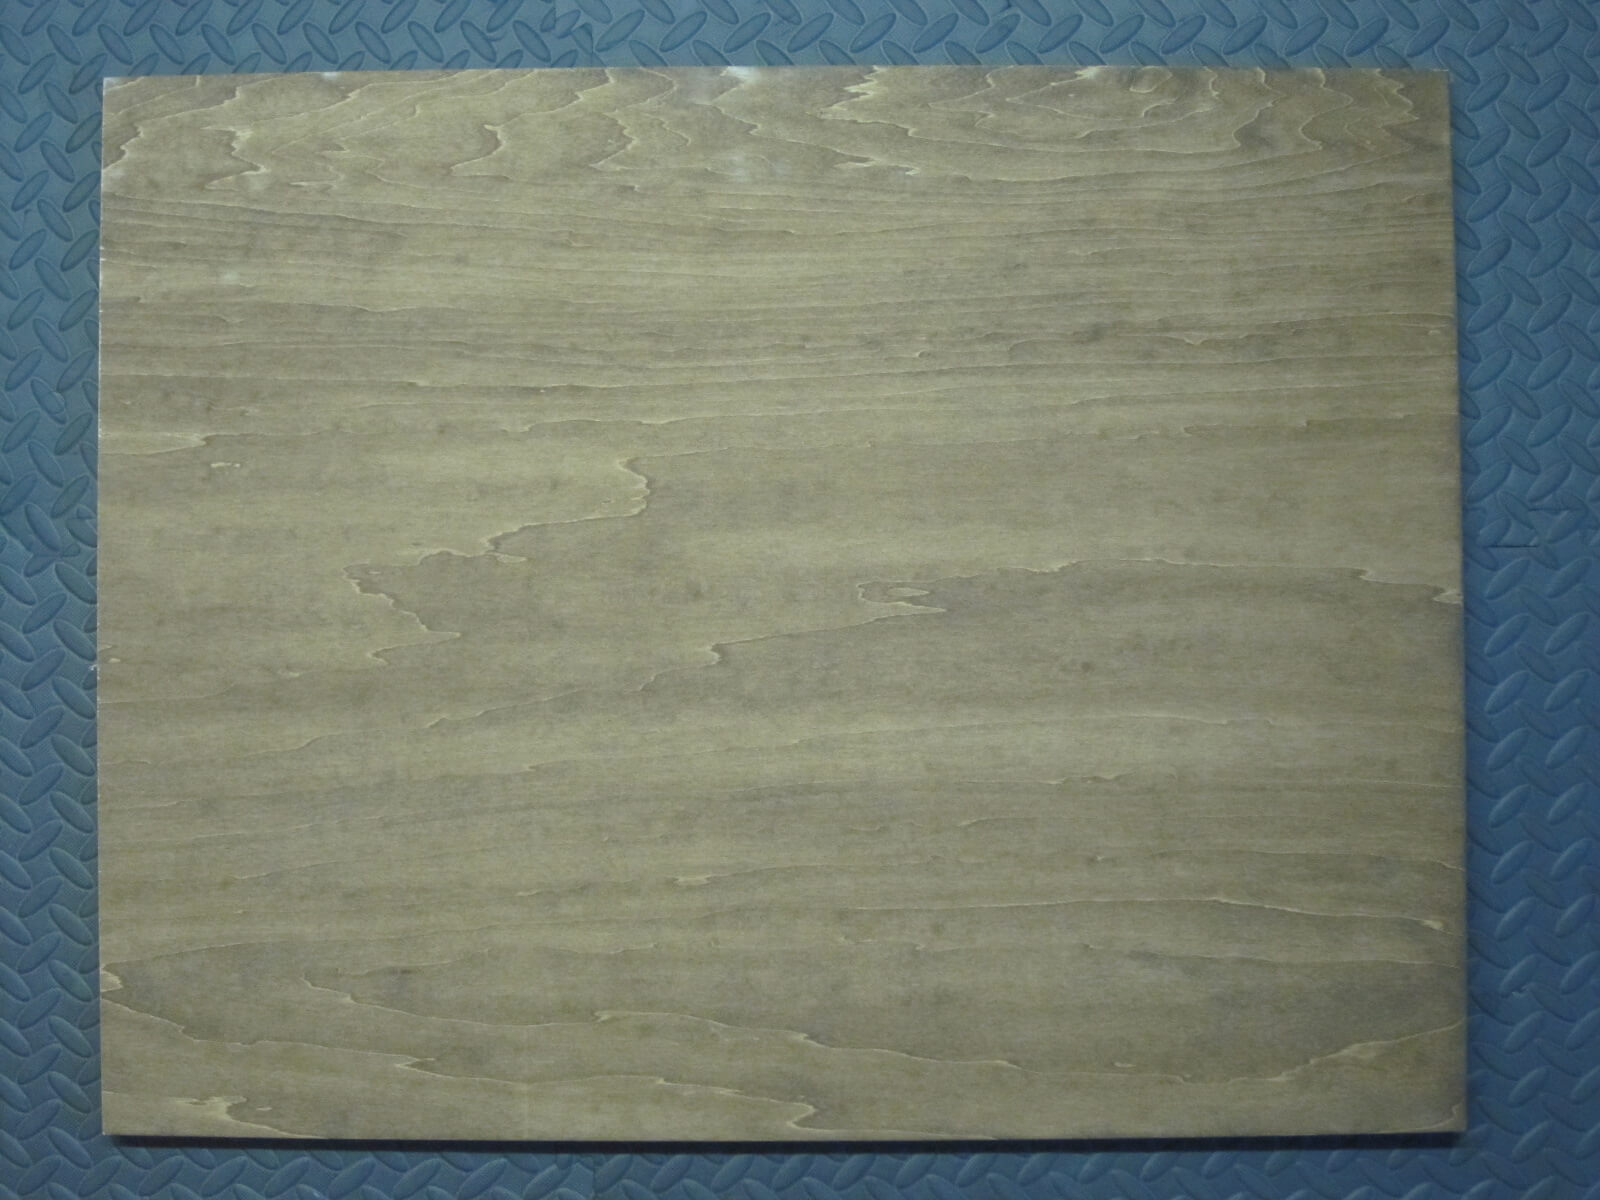
Before the realization, I completely dyed both sides of the plywood sheets.
5. The final assembly
Unlike the thread of this article, I made all the same cuts of materials in one step. For example, once I’ve installed the grooving blade on the saw bench, I make all the necessary cuts in frames, grooves, and so on. Same for cutting plywood or maple planks. It’s more efficient.
Here is the mobile workstation completed and ready to receive the tools:
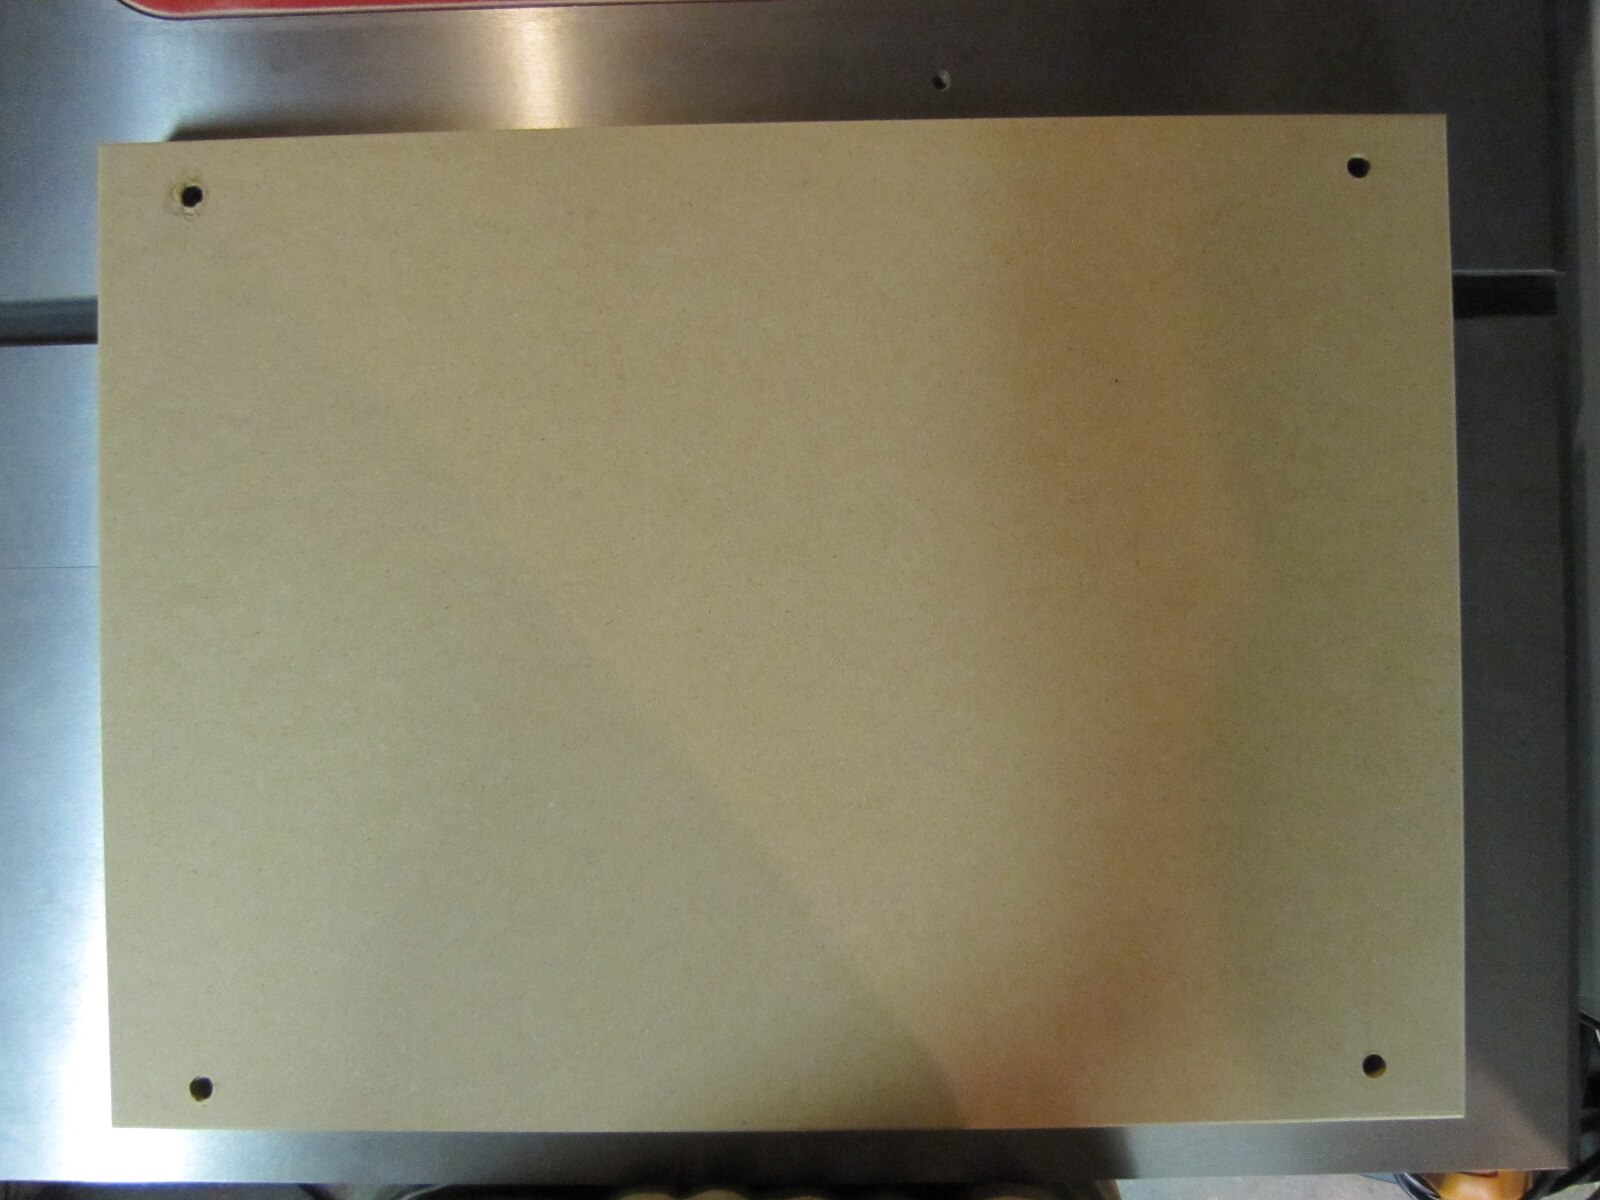
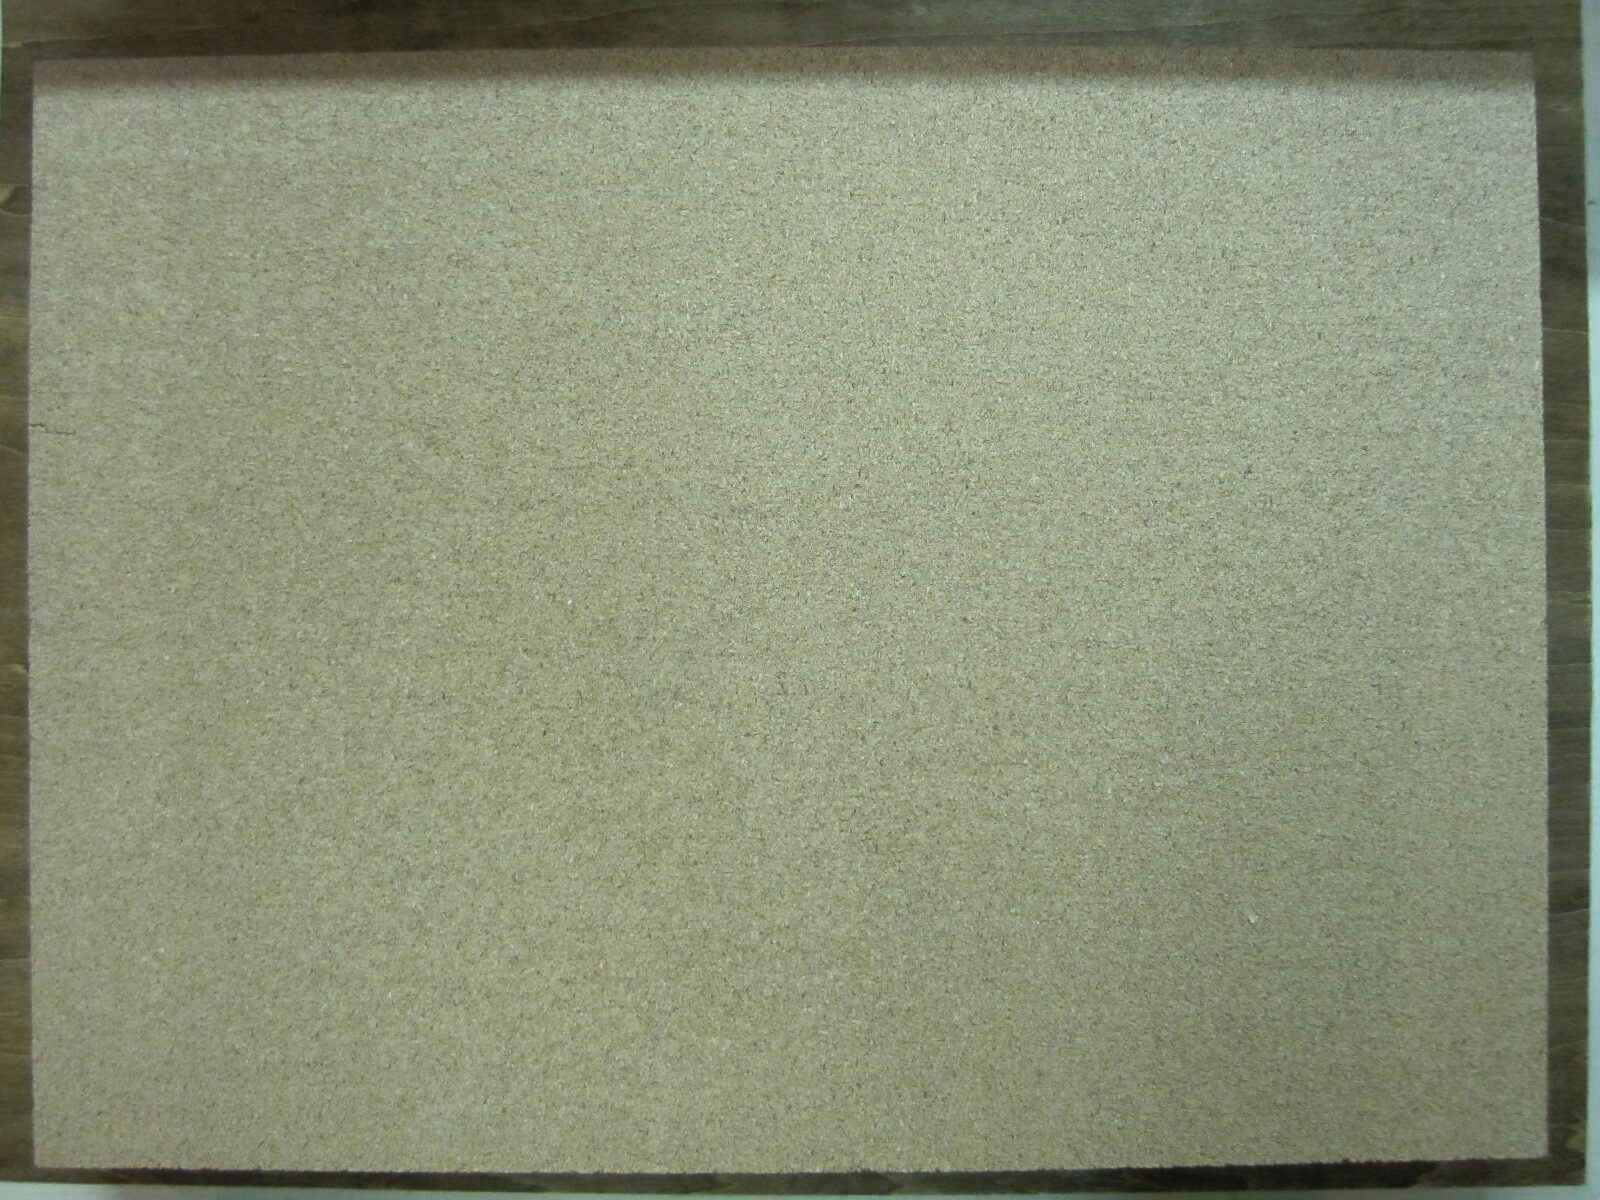
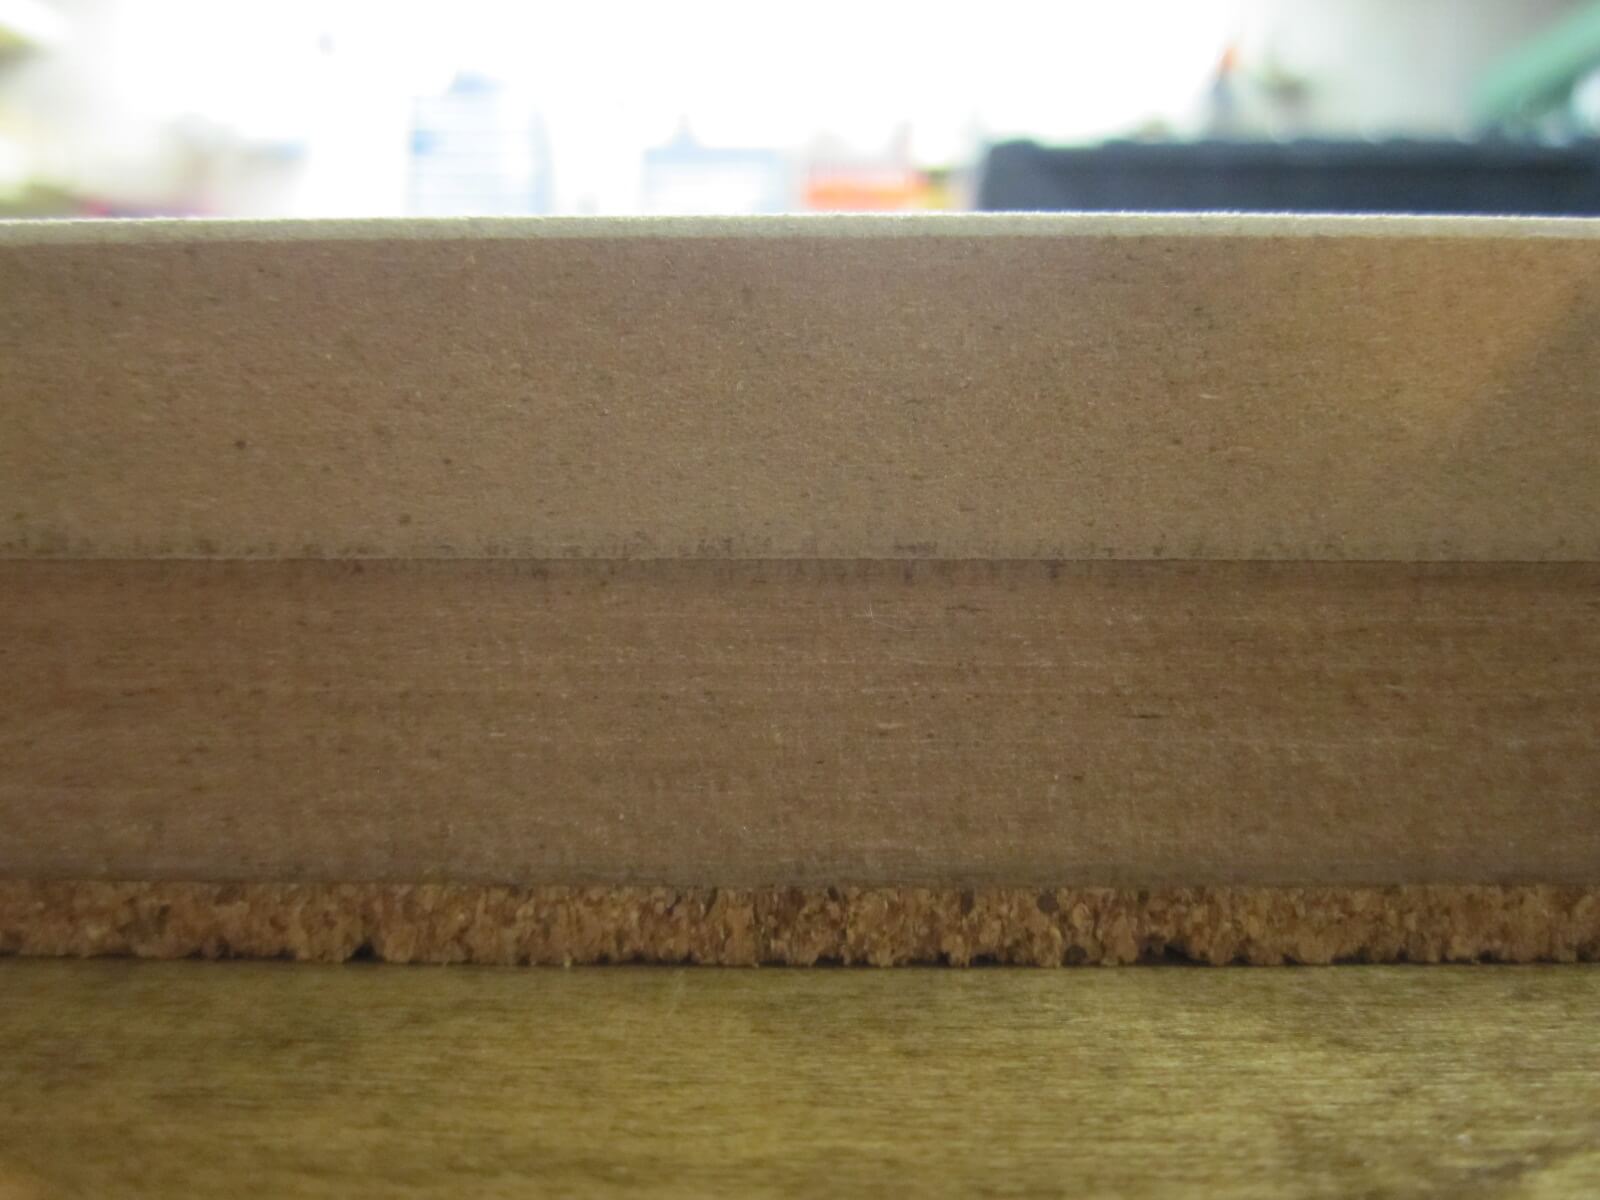
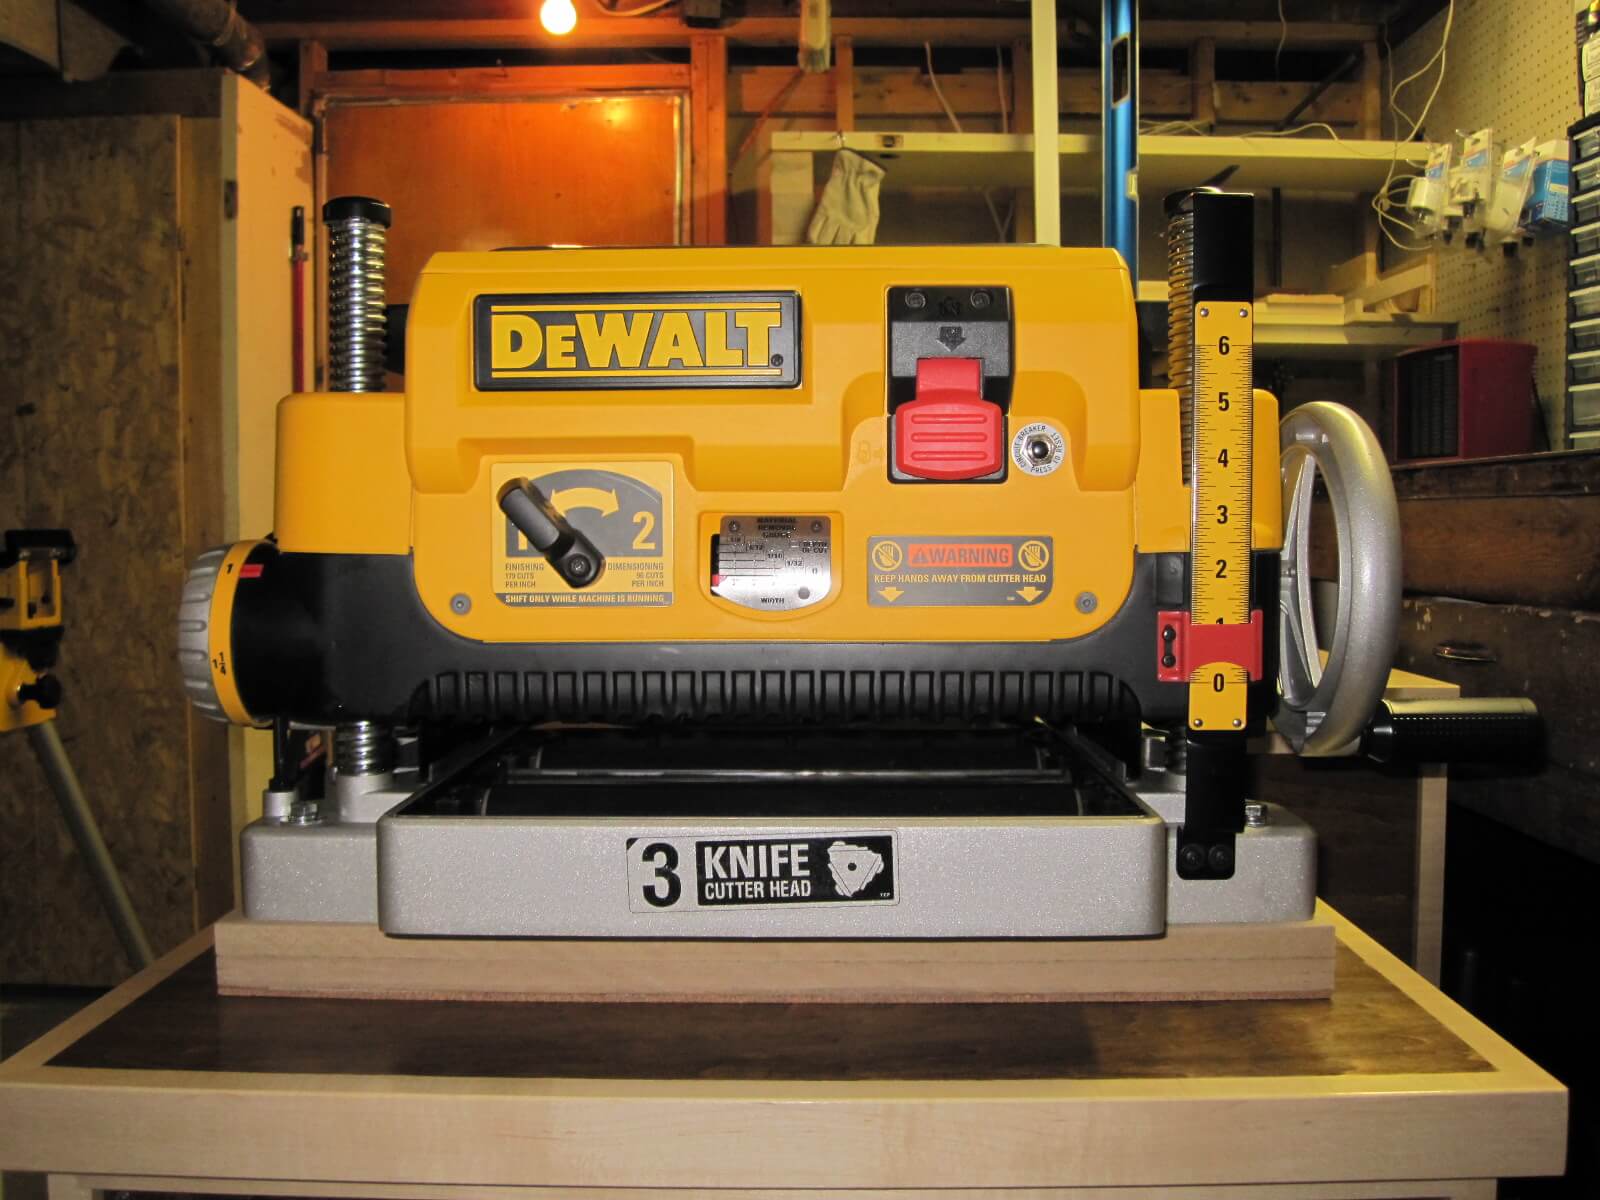
6. Docking station for the planer
From MDF and cork, I made a docking station in which I will screw the planer. The cork will absorb some of the vibrations generated by the planer.
Here again, I use the 3 T-Nuts to fix the planer to its docking station.
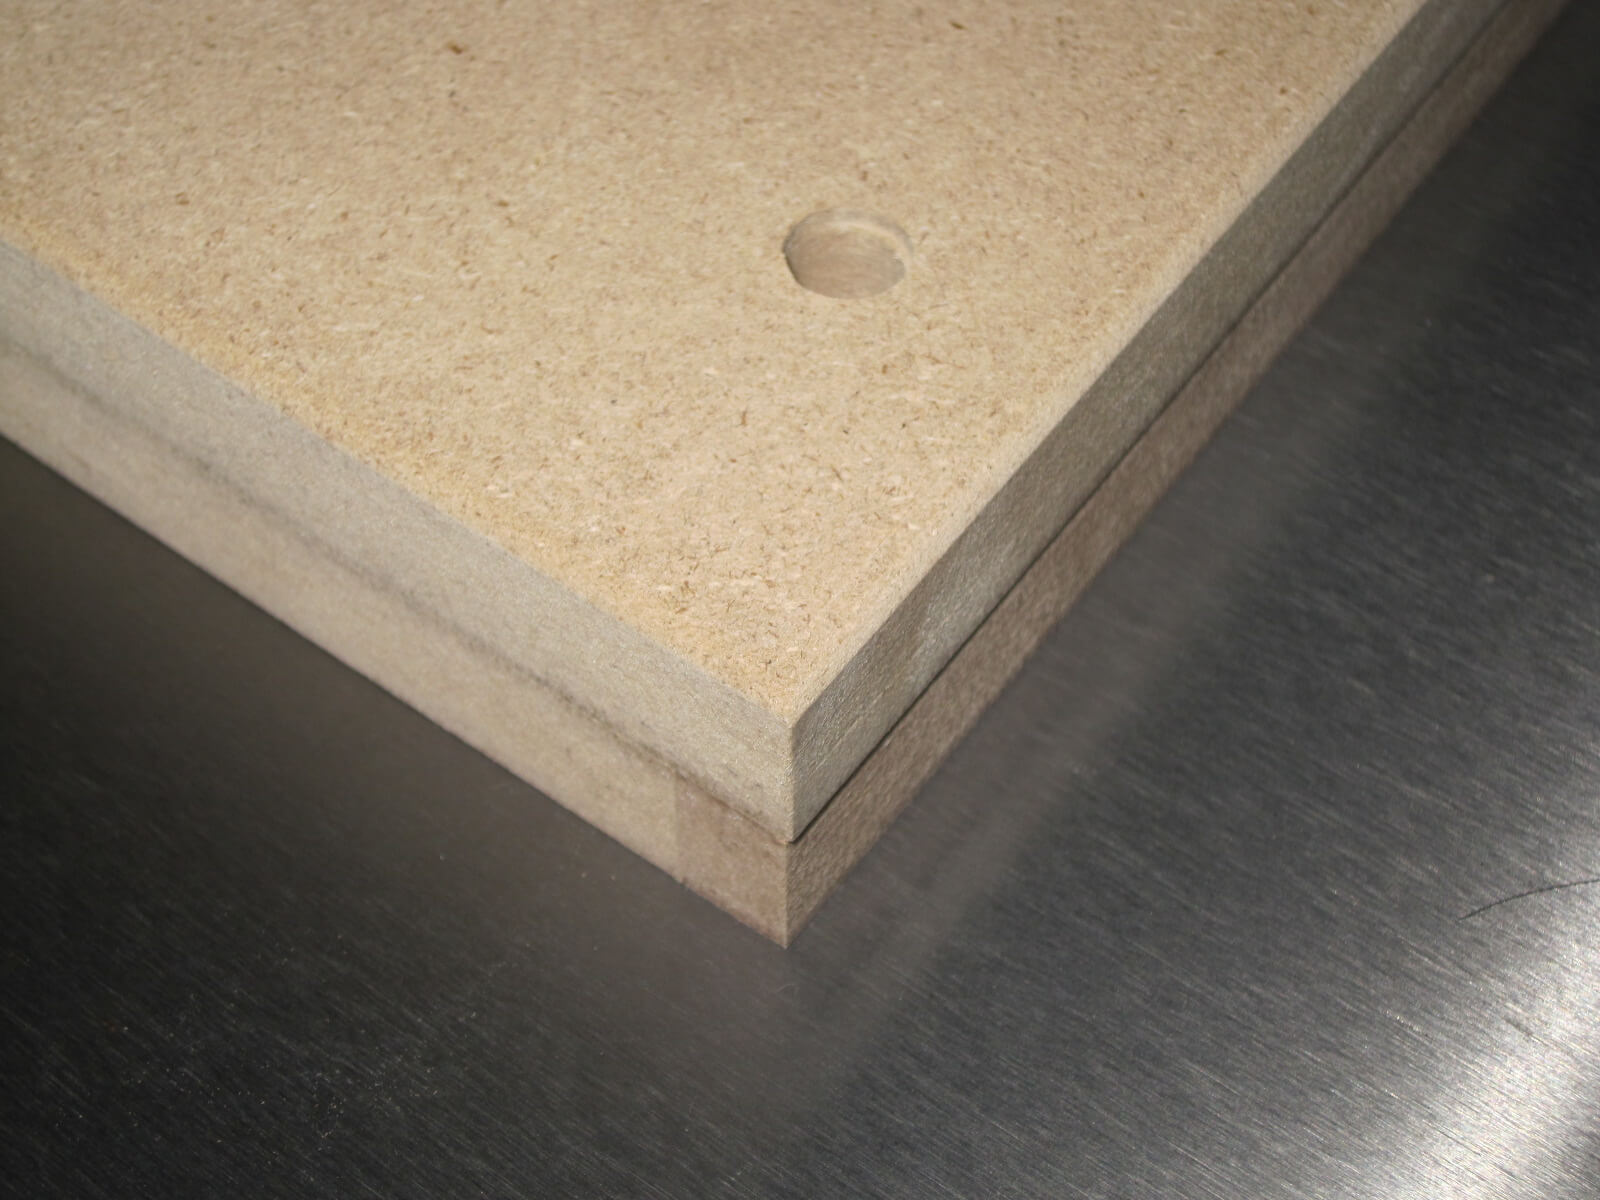


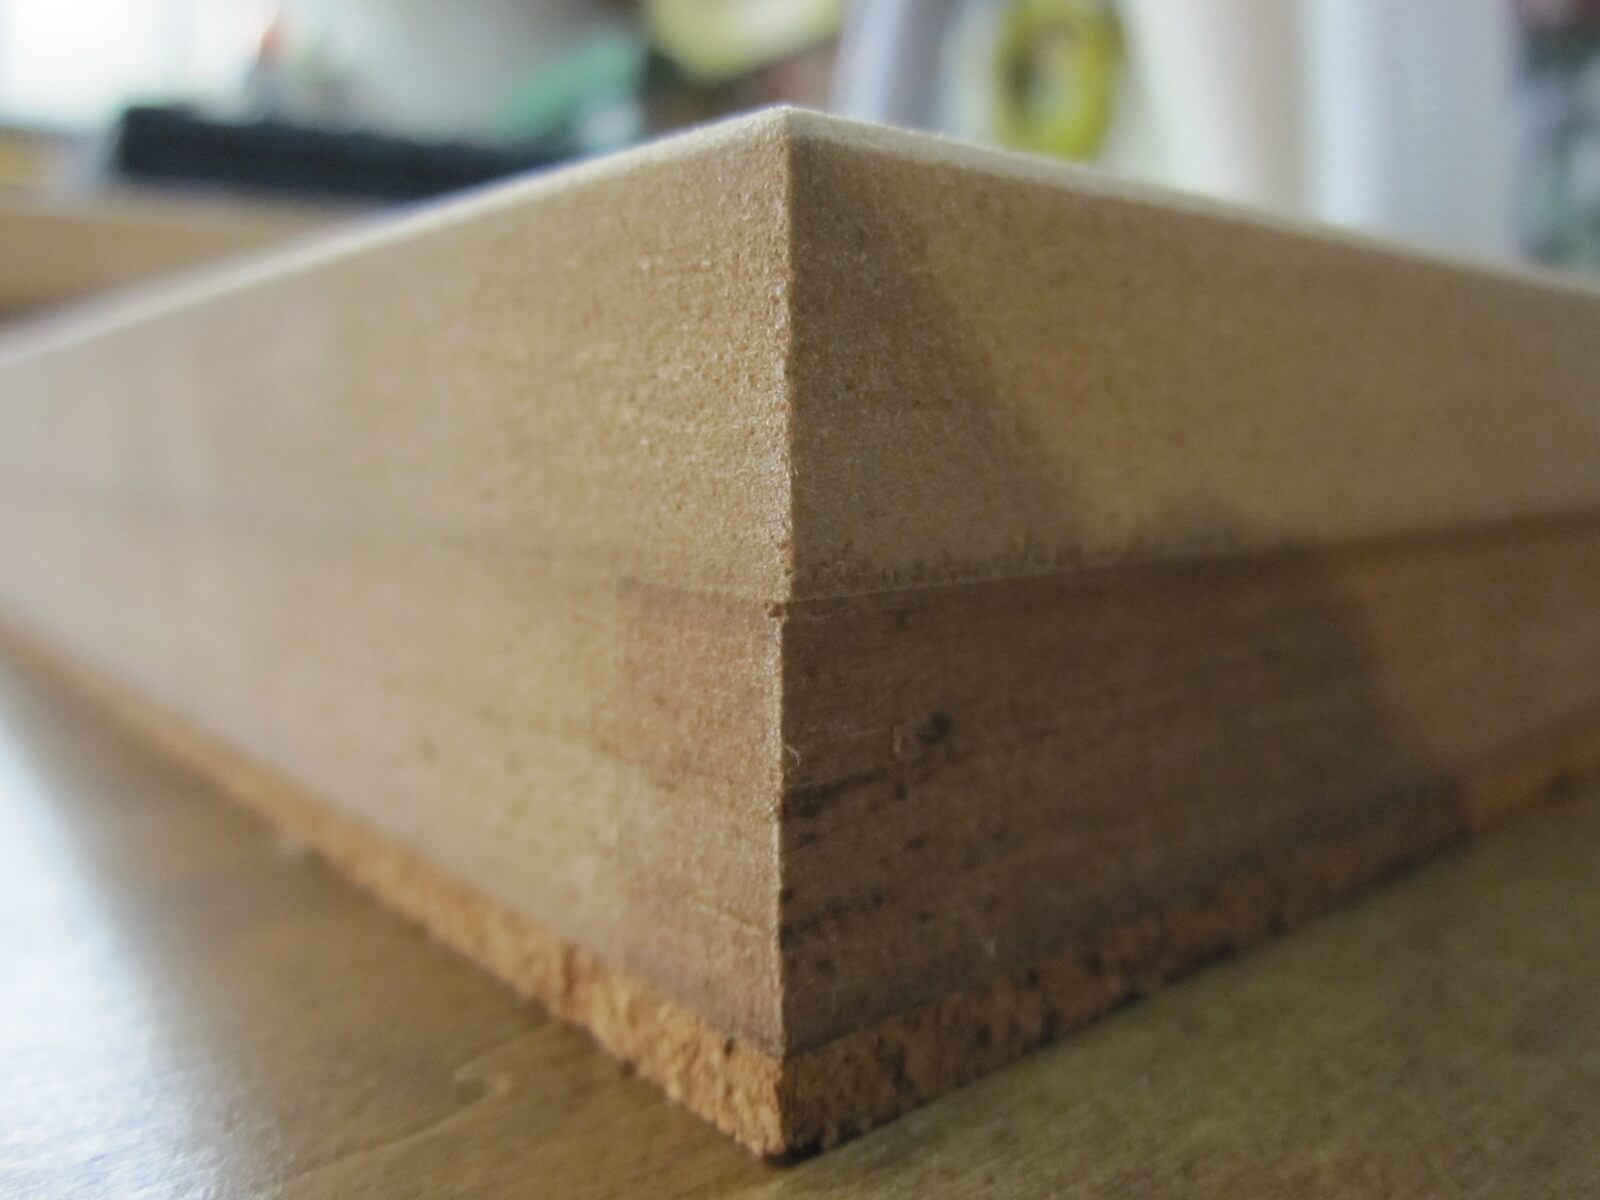
The edges are rounded with a 1/8″ convex round bit on the router table to avoid injury with sharp corners or edges.
7. The Workstation is operational
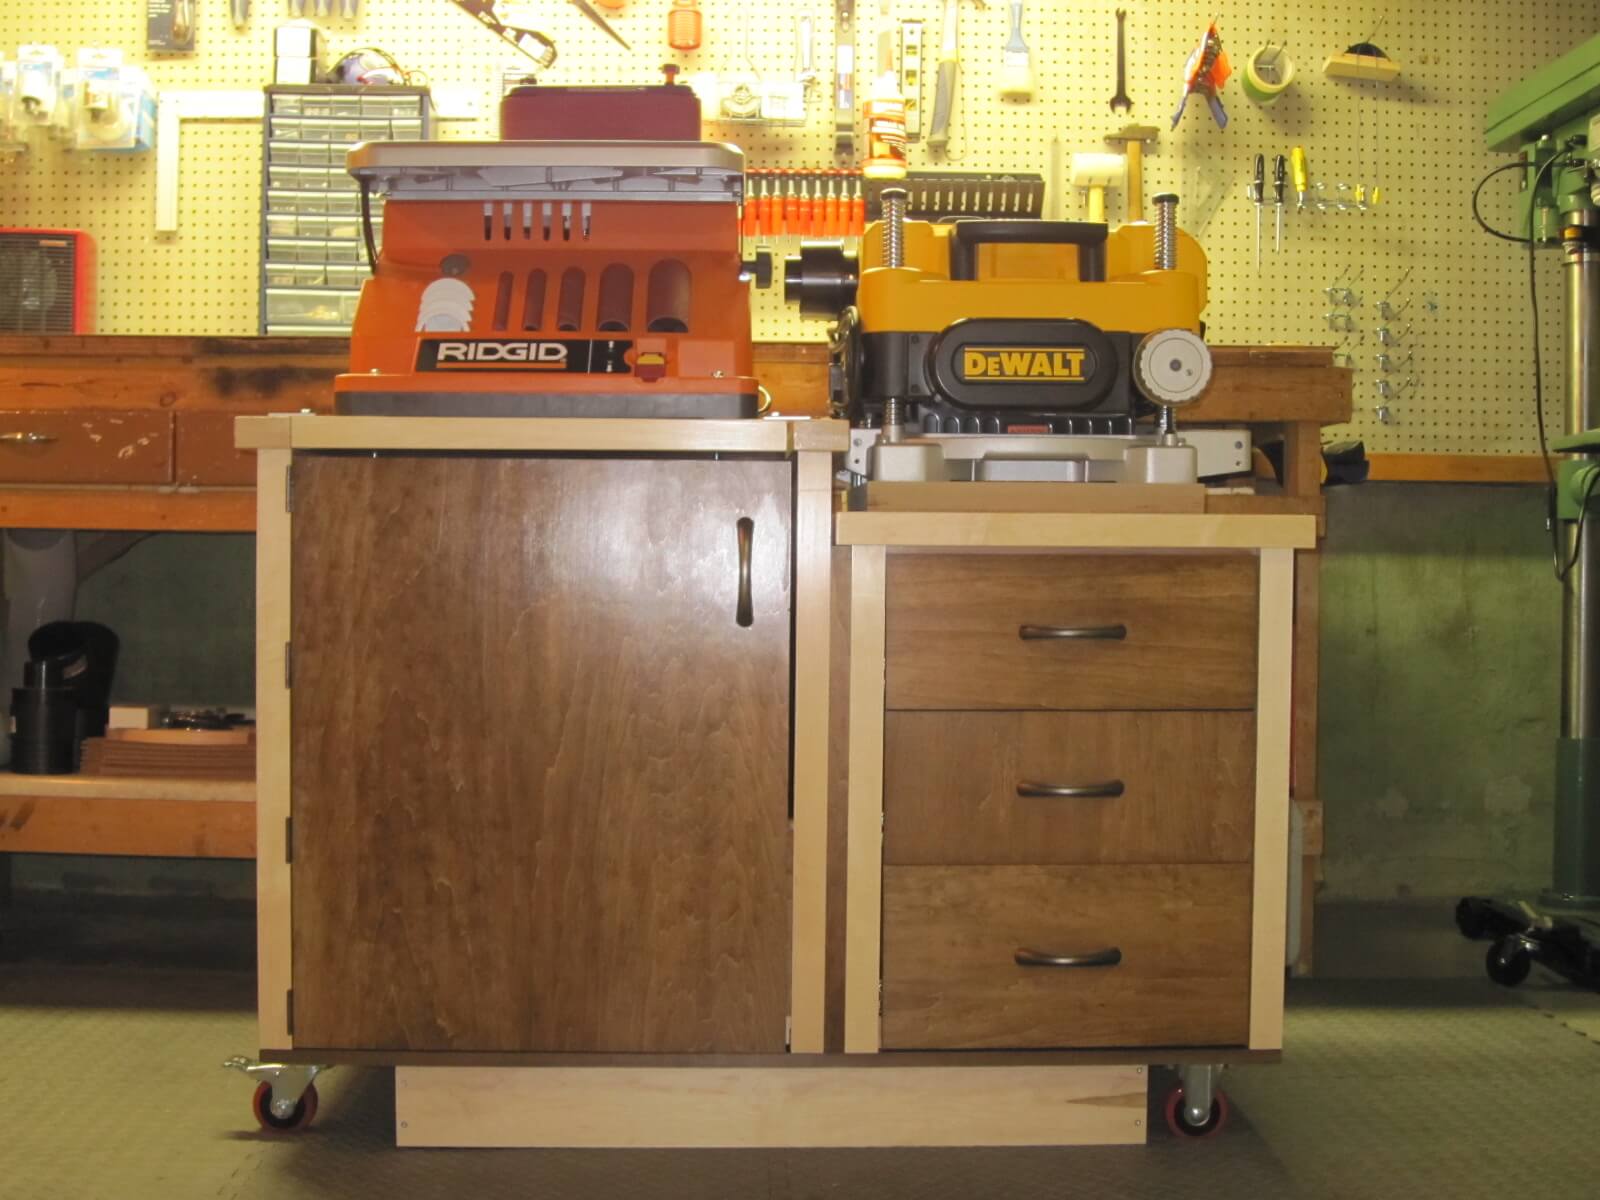
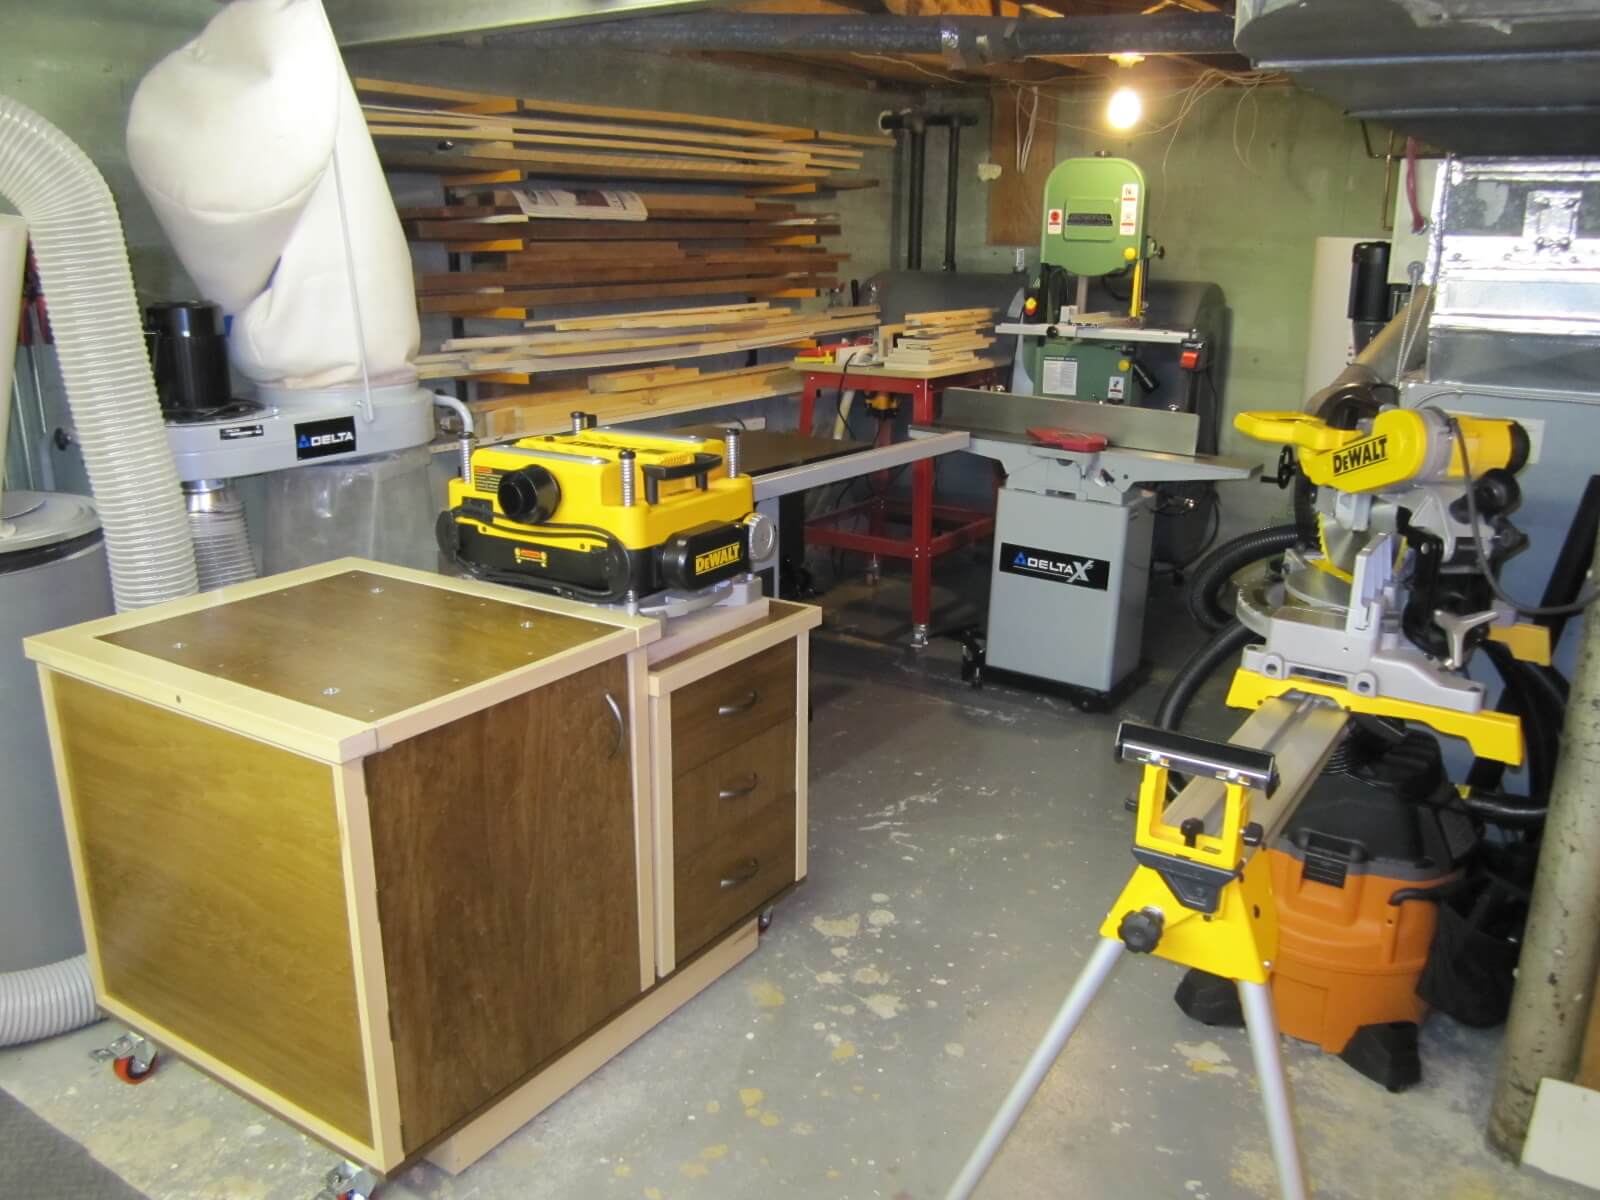
It’s a project that required a lot of attention, especially for the reversible platform, the drawers and the door.
I had a lot of fun doing it and I already had the opportunity to use it. Honestly, it is very practical and the gain of space that it provides is very appreciable.

