
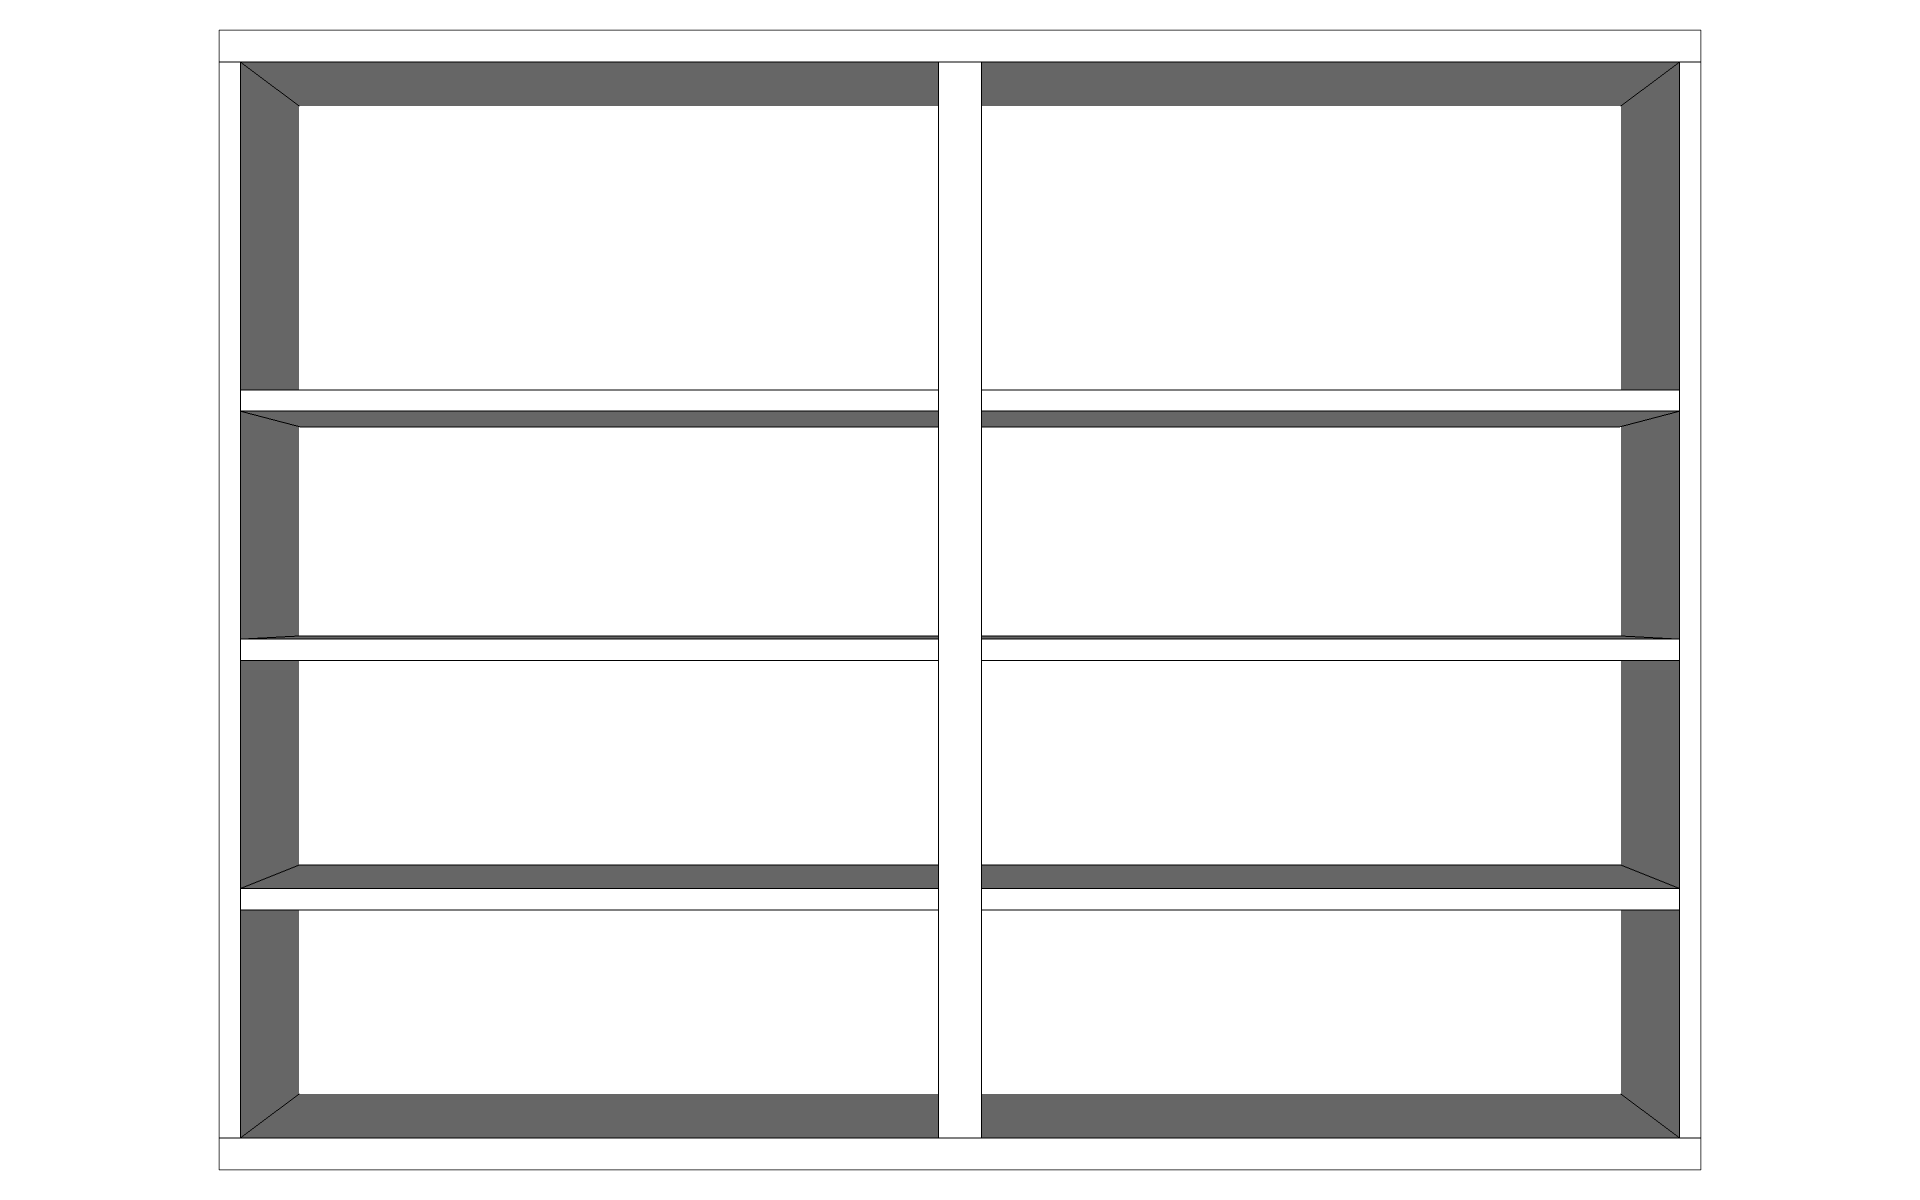
1. Design
Here is what it should look like. A simple but effective bookcase whose goal is to offer maximum storage. Which explains why his style is so refined.

For fixing to the wall, I chose to joint 2 boards cut at 45°. The first will be fixed to the bookcase and the other to the wall. But, I will come back to it in more detail during the realization.

The top shelf will be much higher to store films with non-standard box sizes or box sets.
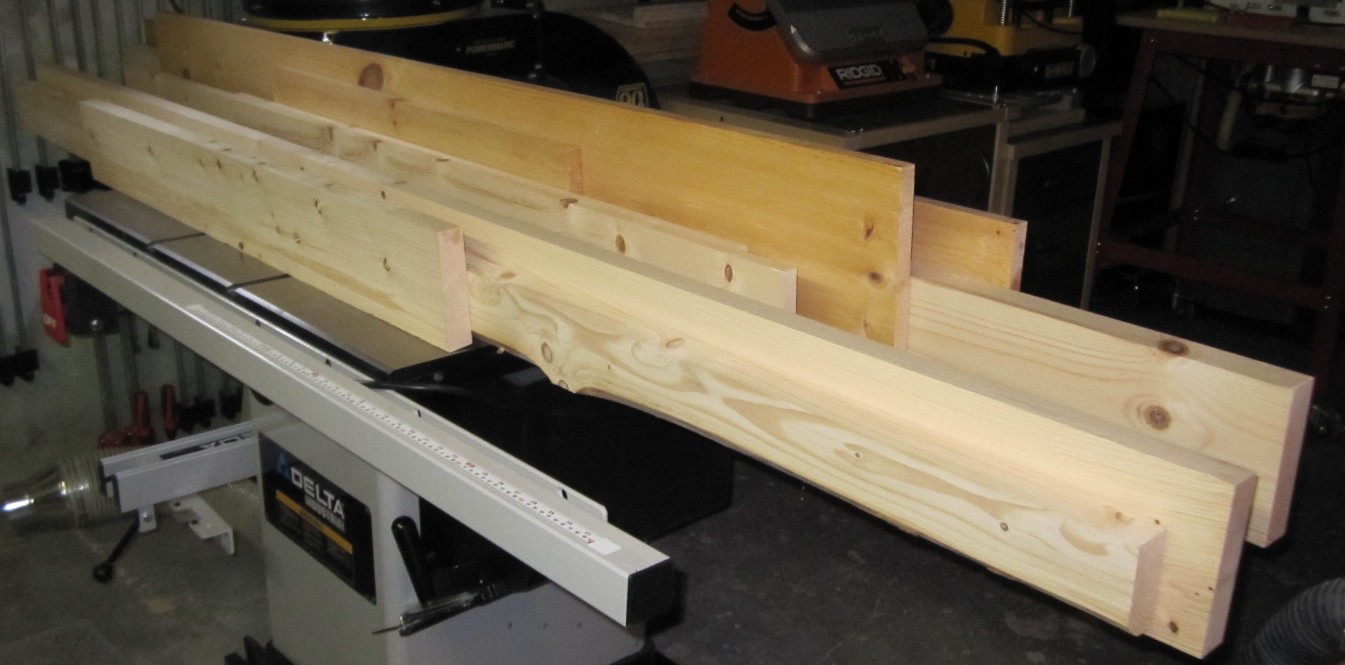
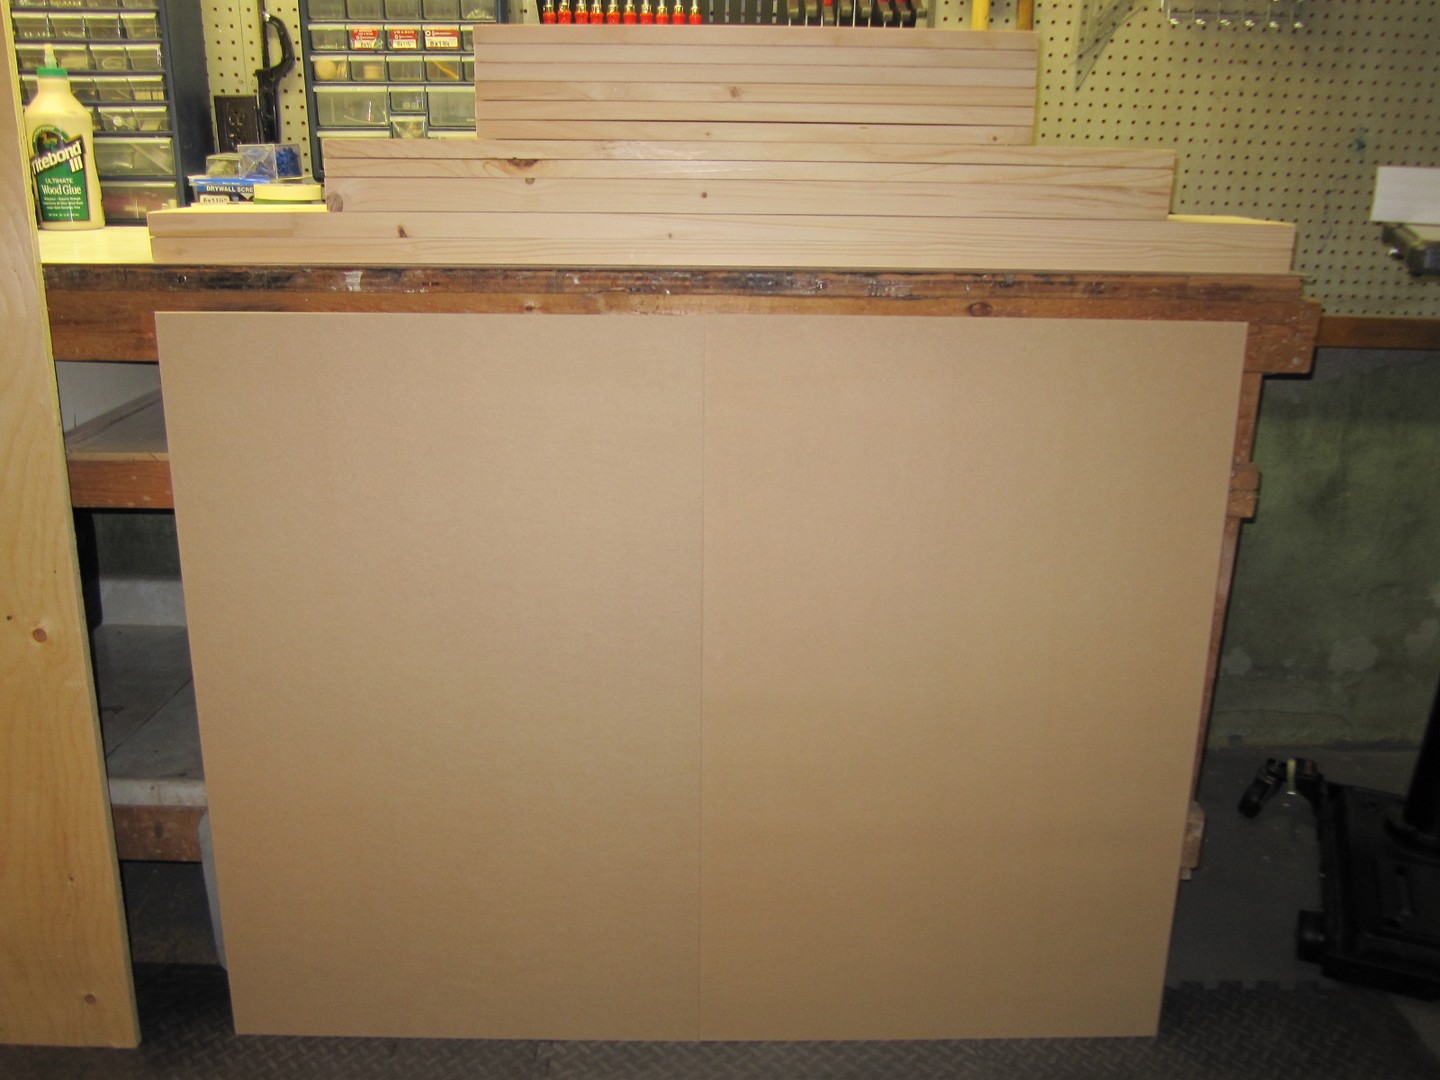
2. Realization
First step, shaping the raw wood into planks. I really like this step which reveals all the beauty of the wood essence.
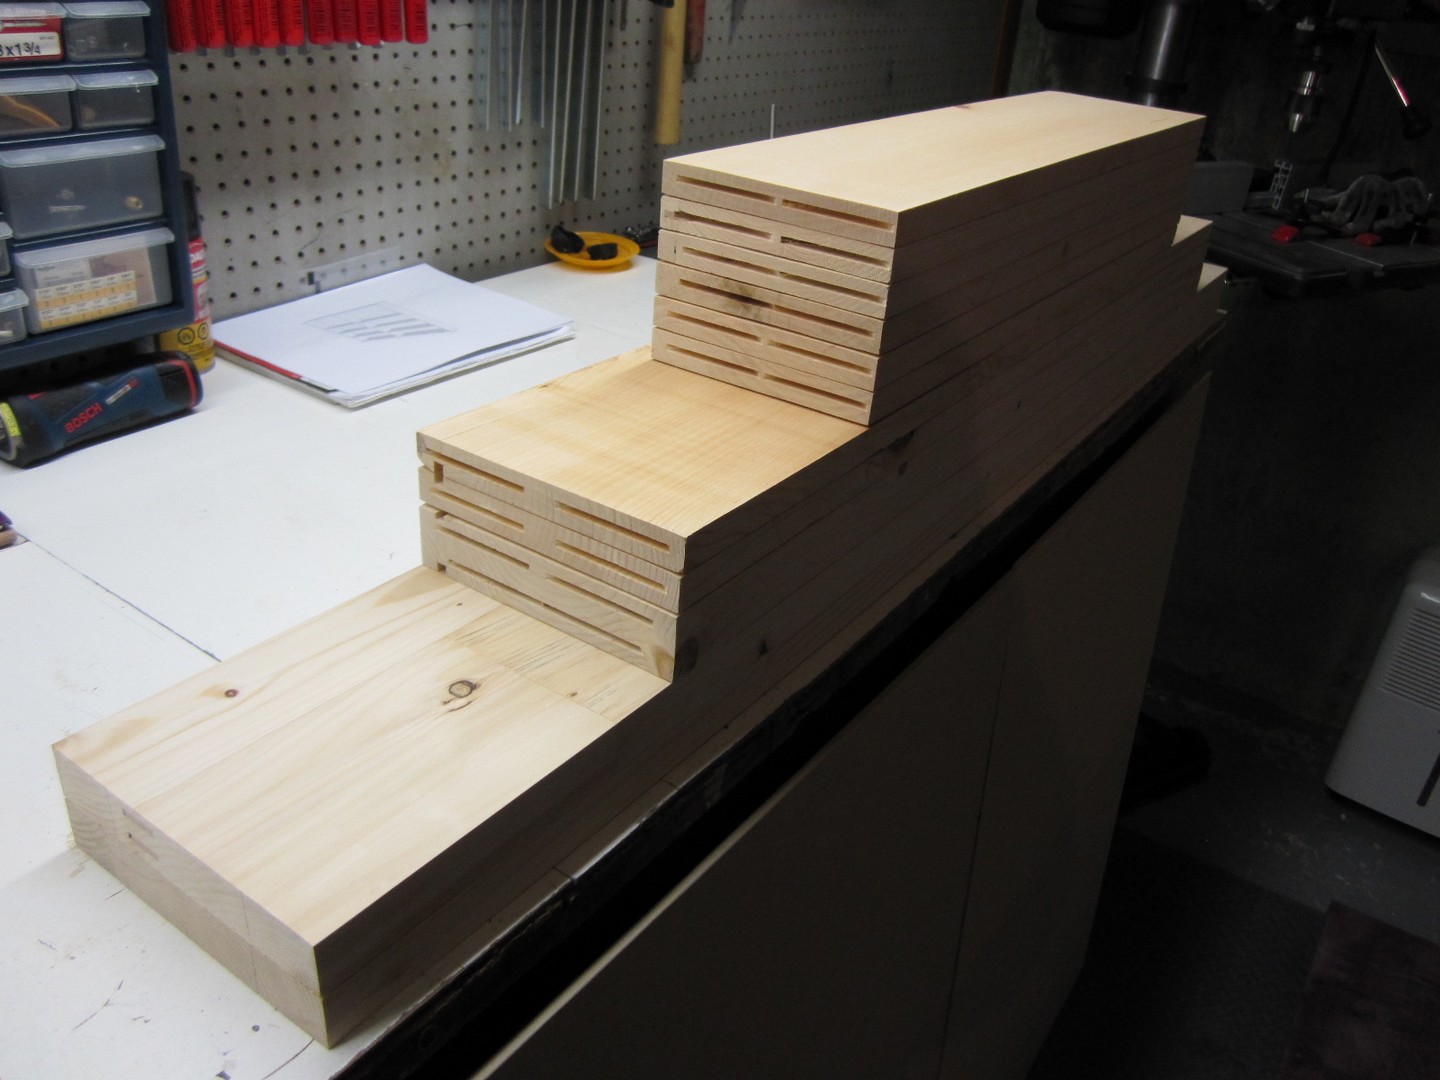
Second step, the cutting of the boards to the final dimensions. The bottom of the bookcase will be made of 2 sheets of MDF measuring ¼” x 25″ x 38 ¼” (6 mm x 635 mm x 971.5 mm).
For the joint, I chose to use strips commonly called: “biscuit assembly”. Simple and quick to make with a laminator (“biscuit machine”), they have the great advantage of allowing dry assembly and being invisible during final assembly.
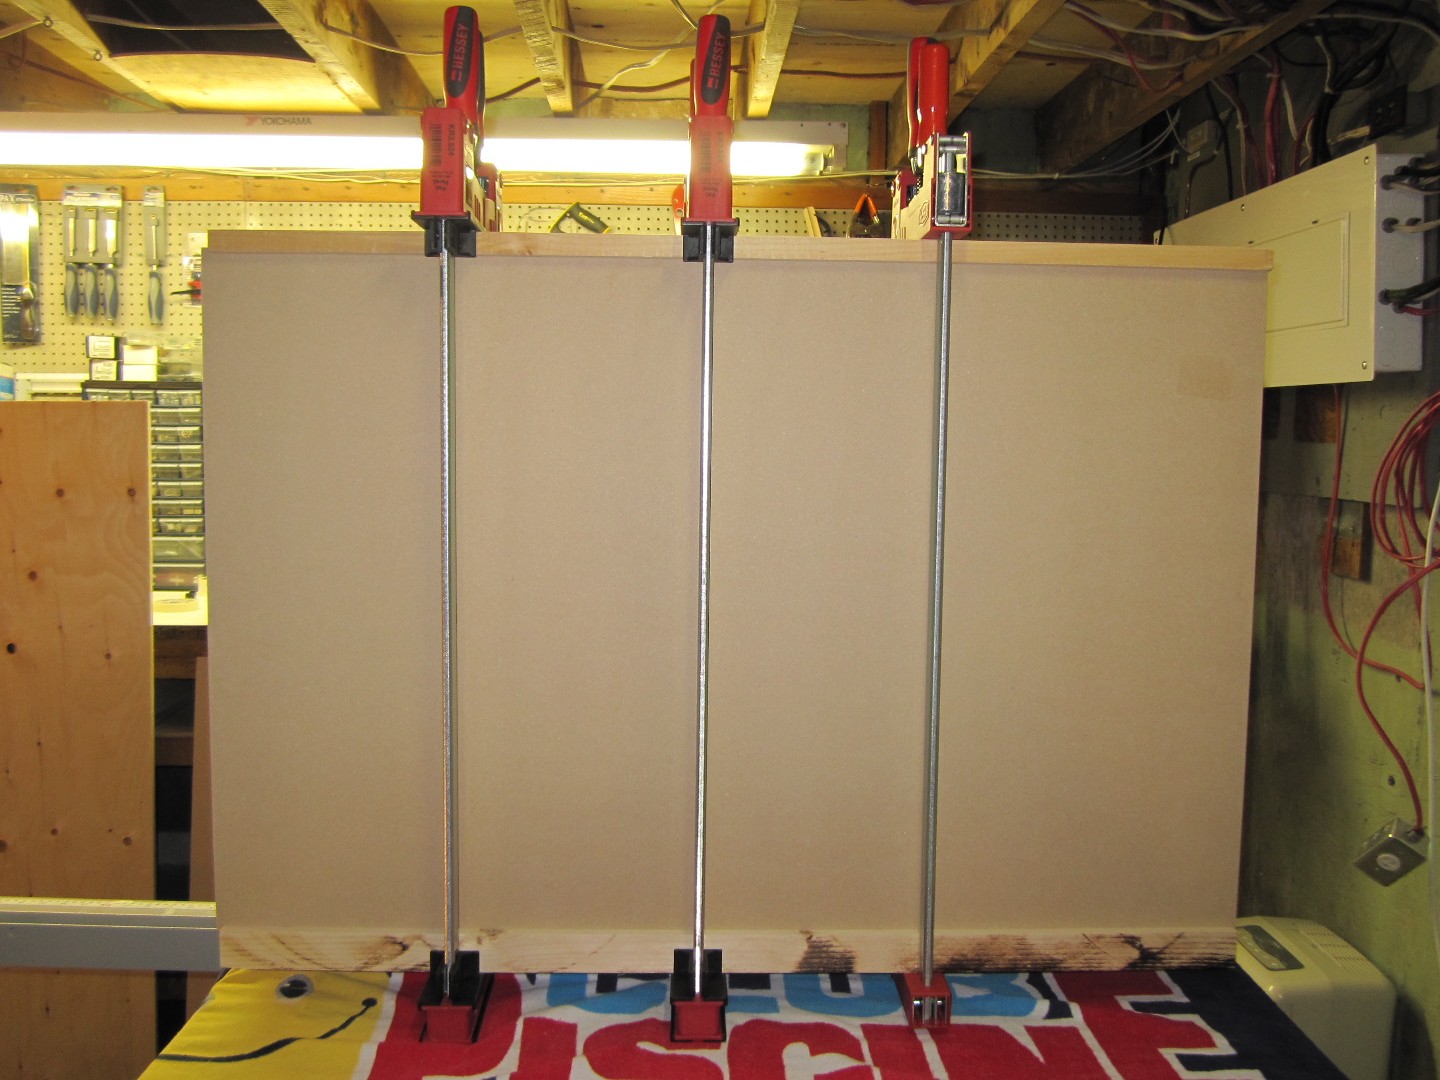
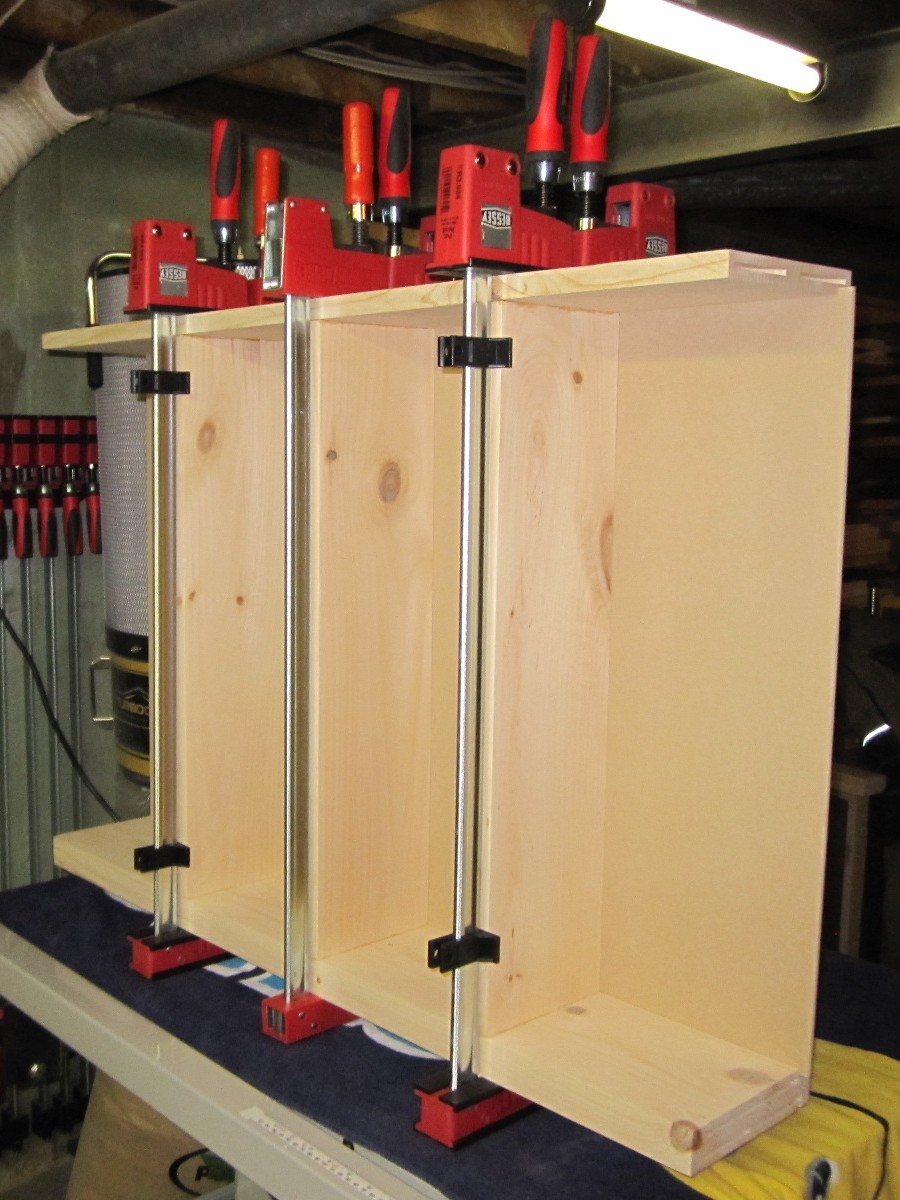
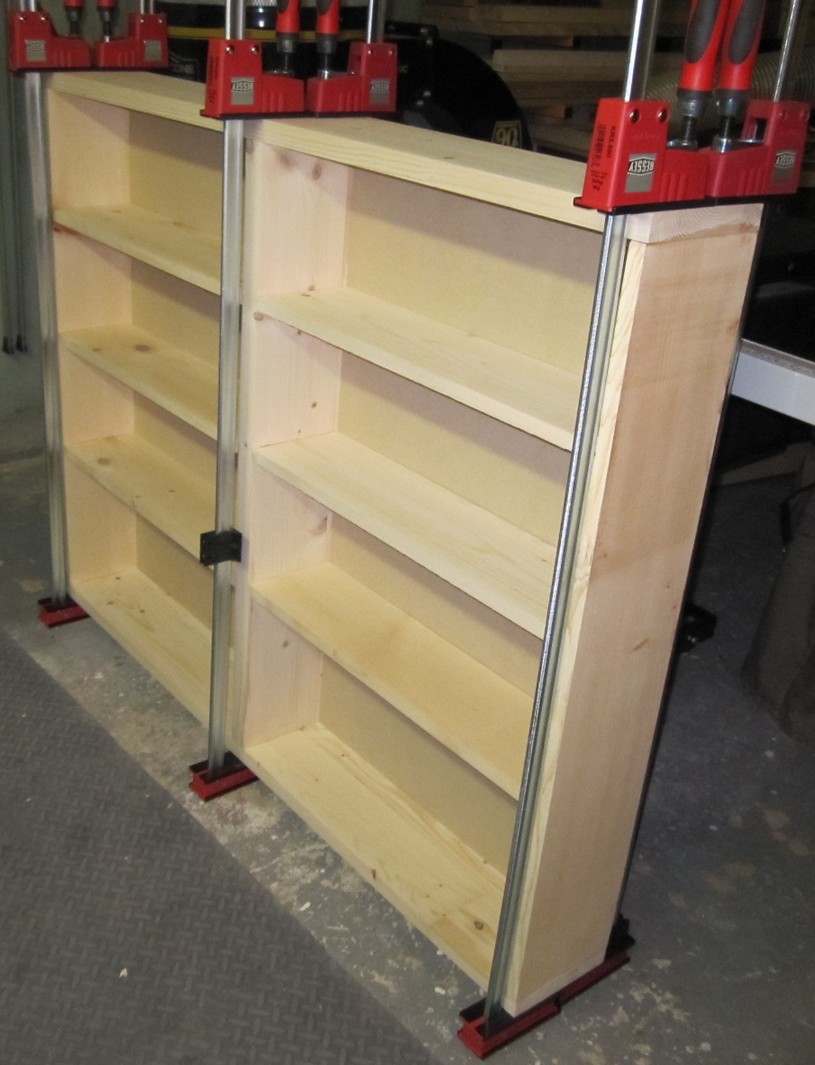
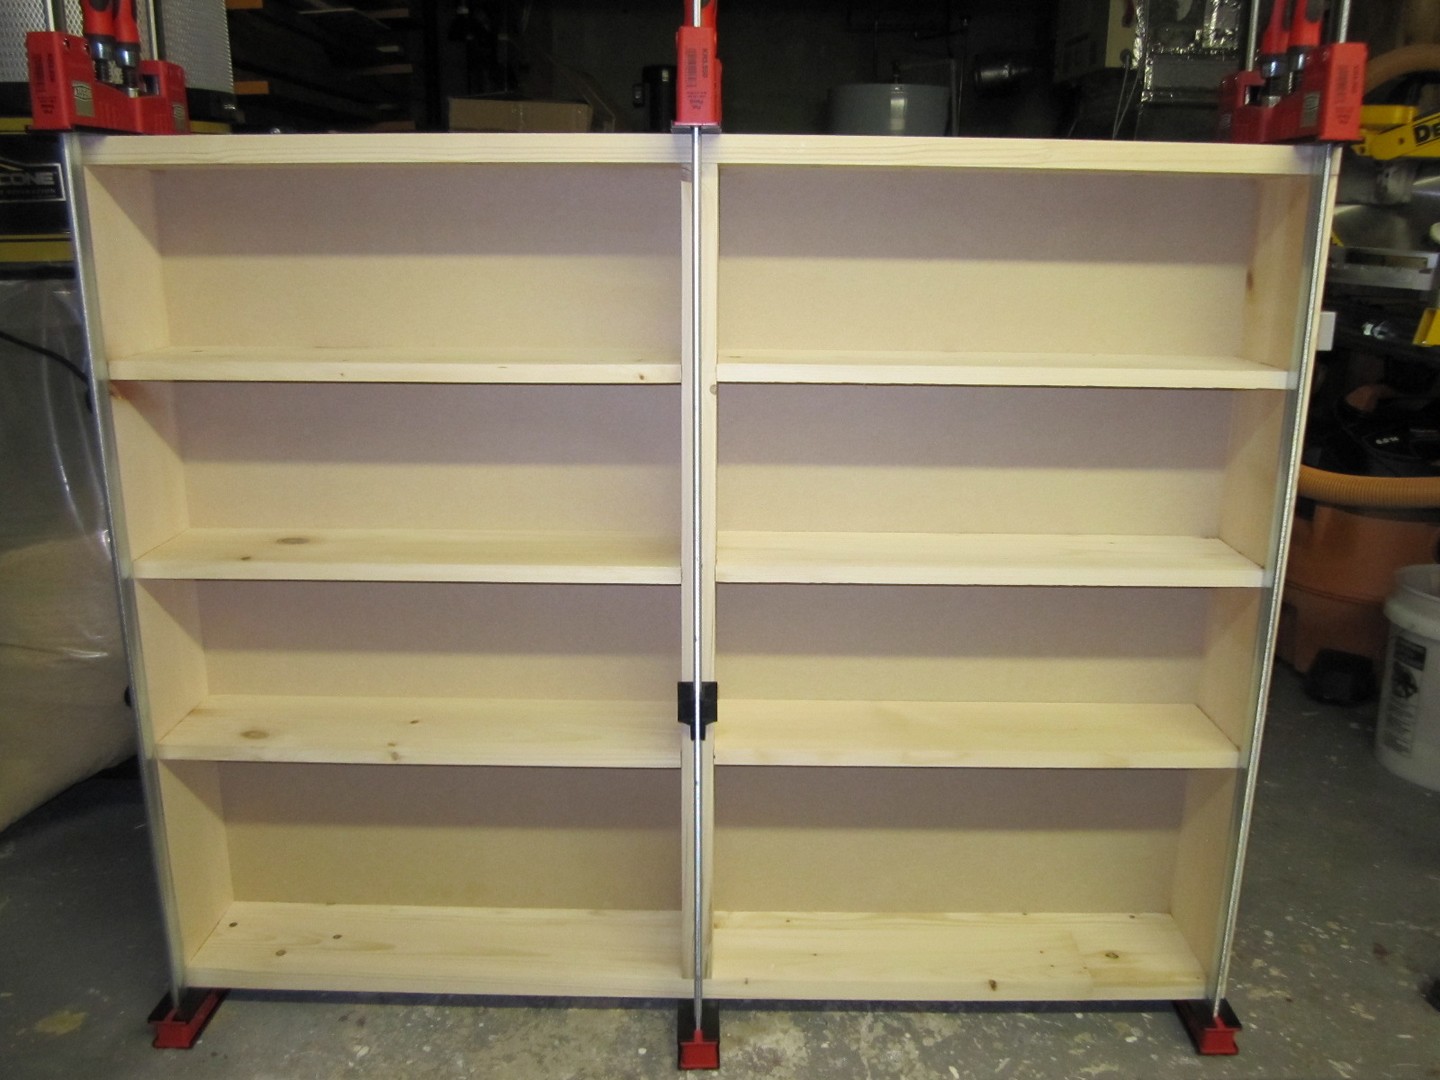
We can now move on to the final assembly and gluing of the bookcase. There is a saying in cabinetmaking that we can never have too many greenhouses…
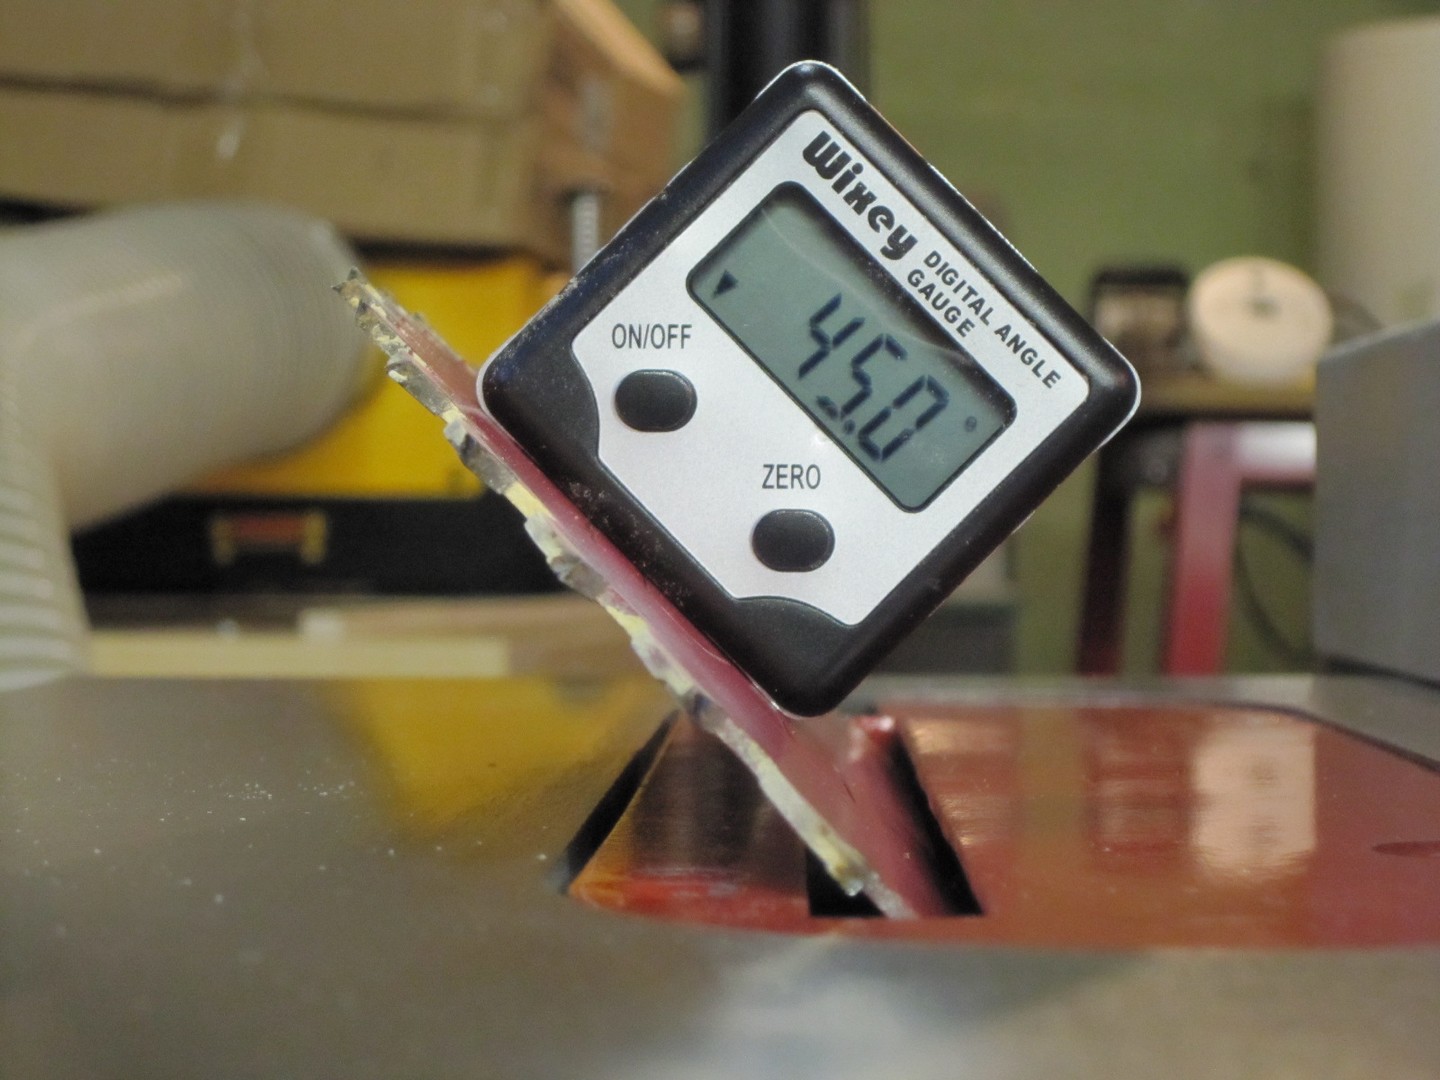
3. Fixing to the wall
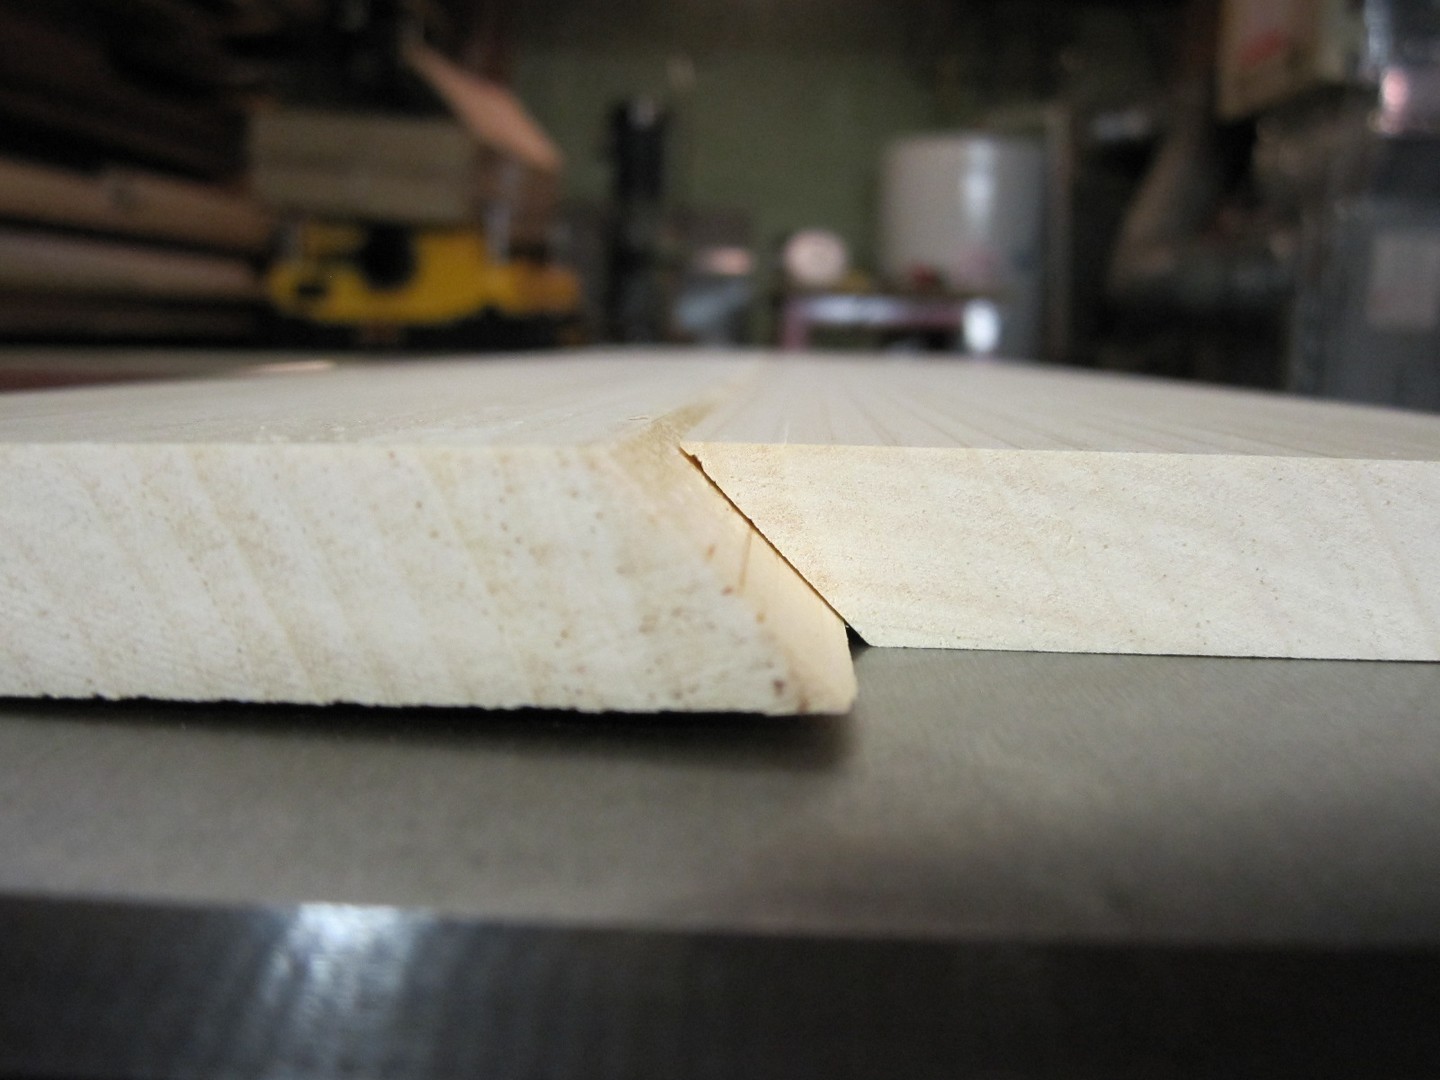
In order to fix the bookcase to the wall, I will use 2 boards cut at 45 degrees that will fit together. One will be fixed to the bookcase while the other will be fixed to the wall. What I like about this technique is that it’s clean, strong, invisible and allows for some side play when mounting the unit to the wall. It can therefore be hung and then centered more easily.
First step, we set the blade of the table saw to 45 degrees. For this, I have a very practical but above all very precise digital protractor.
Finally, we cut the 2 boards along the entire length and we check the accuracy of the assembly.

This profile view clearly indicates the jointing mechanism.
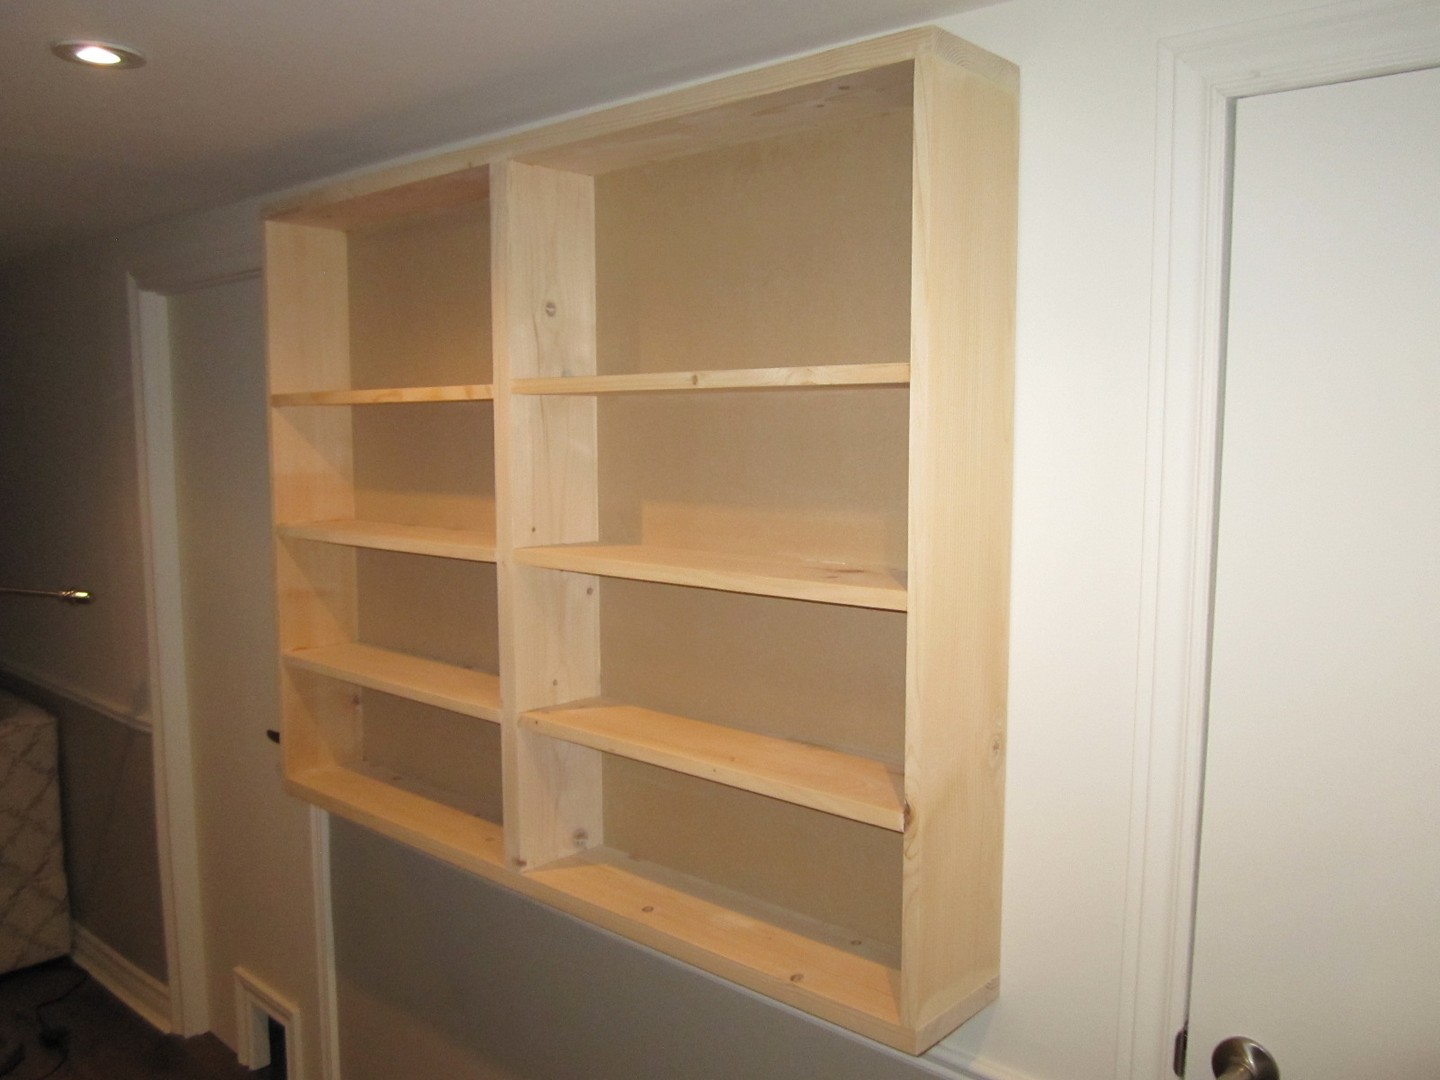
A dry run:
4. finishing
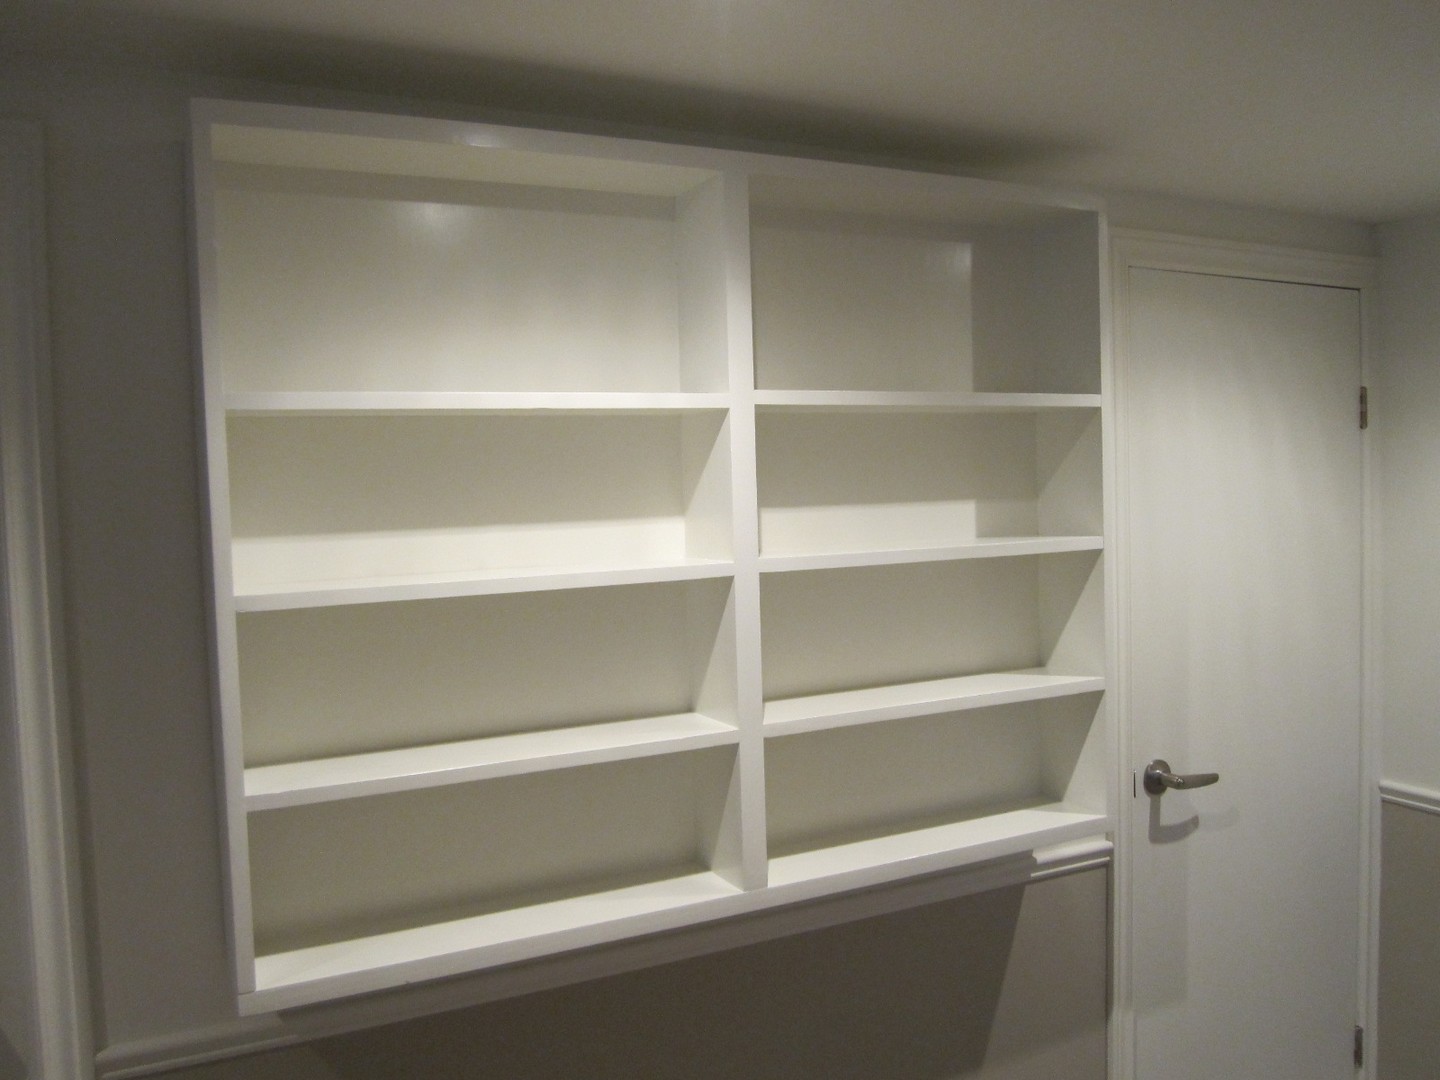
A good sanding followed by two coats of white primer, 2 coats of white paint and to finish, 2 coats of clear polyurethane (water-based) varnish for protection.
Finally, it is quite similar to the original plan.🙂
A simple project that gave me a lot of pleasure and will be very useful to us. I let you judge the result.


