
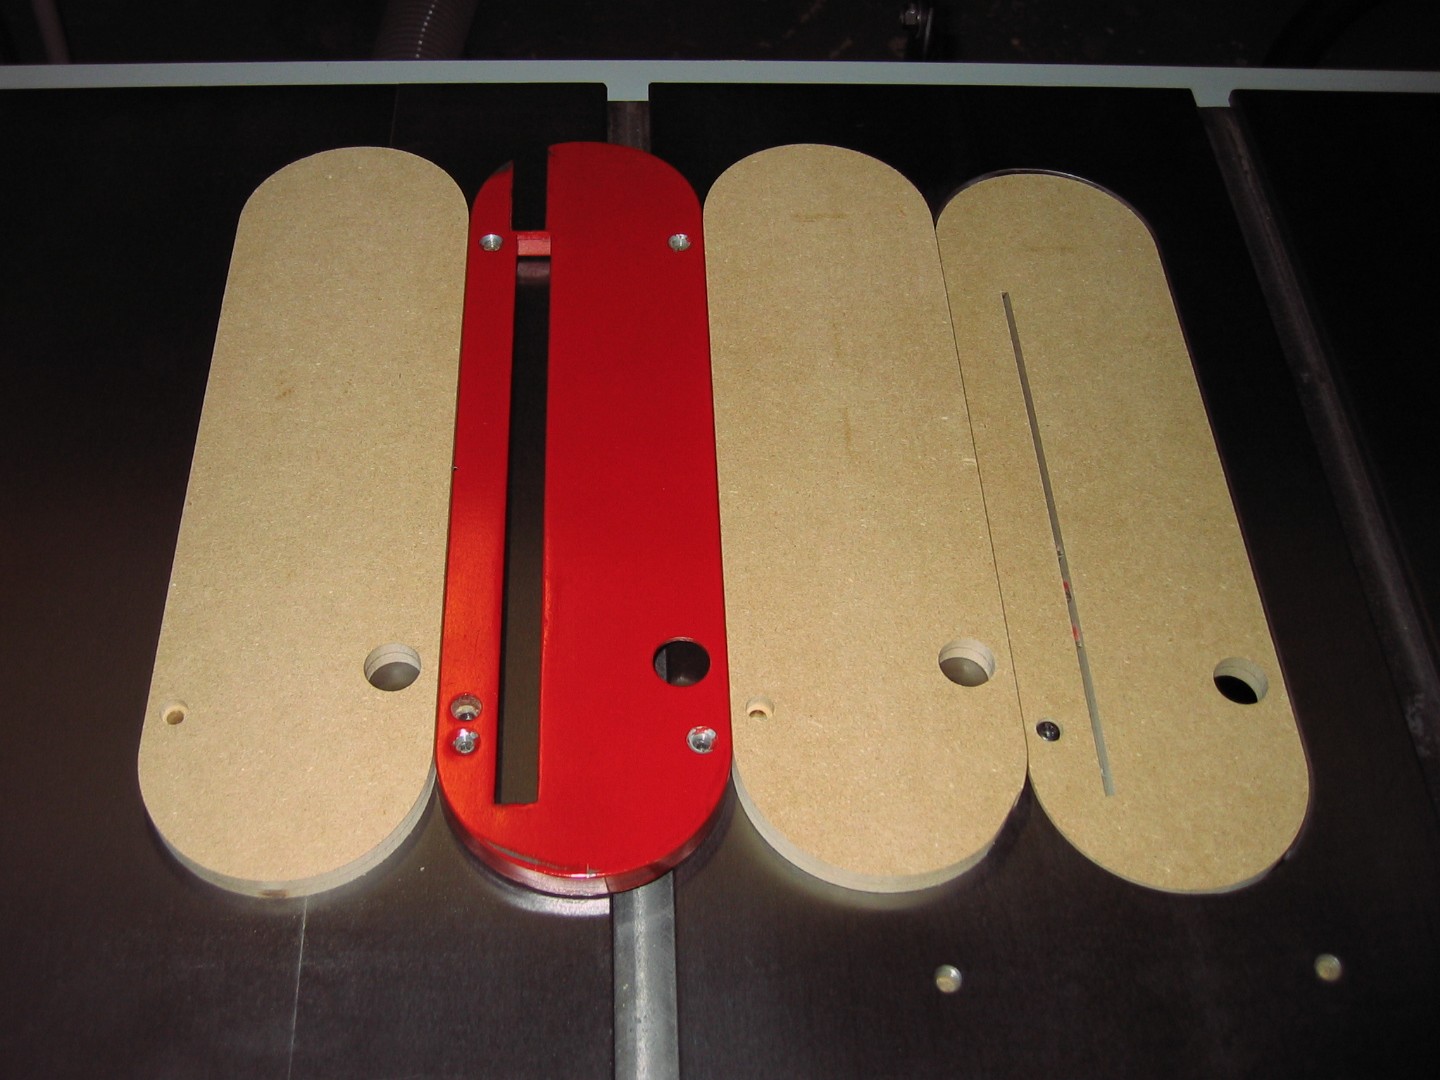
The realization of this project is a good investment because it is easy and will only take a few hours. A simple piece of plywood or MDF* and the use of the original plate as template will suffice. I advise you to take the opportunity to make several plates. In addition to having relief, they will serve you for your different blades. Perfect if you make grooves on the table saw for example.
I own a Delta 36-715 table saw with plate dimensions of 1/2″ x 5″ x 14-3 / 8″(13mm x 127mm x 365mm). I had no 1/2″ (about 13 mm) plywood or MDF, so I used 1/4″ MDF that I plated to get the right thickness.
*Ideally, I advise you to use a piece of phenolic veneer. It is very resistant and the wood will slide much better when cutting. Melamine will do just fine too.
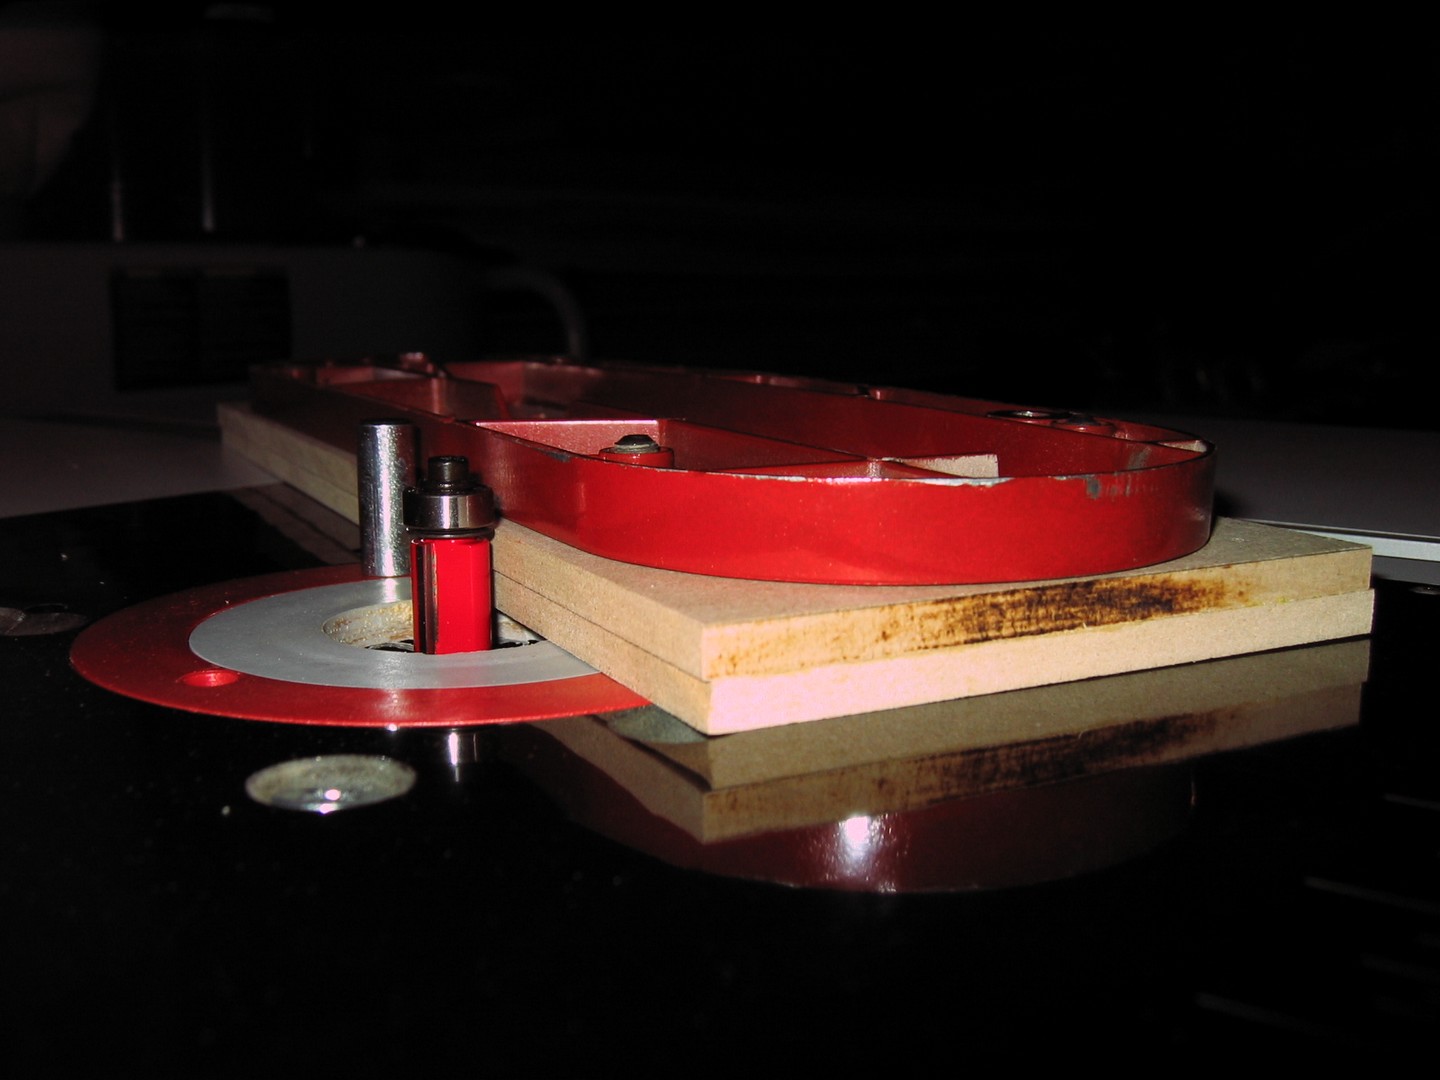
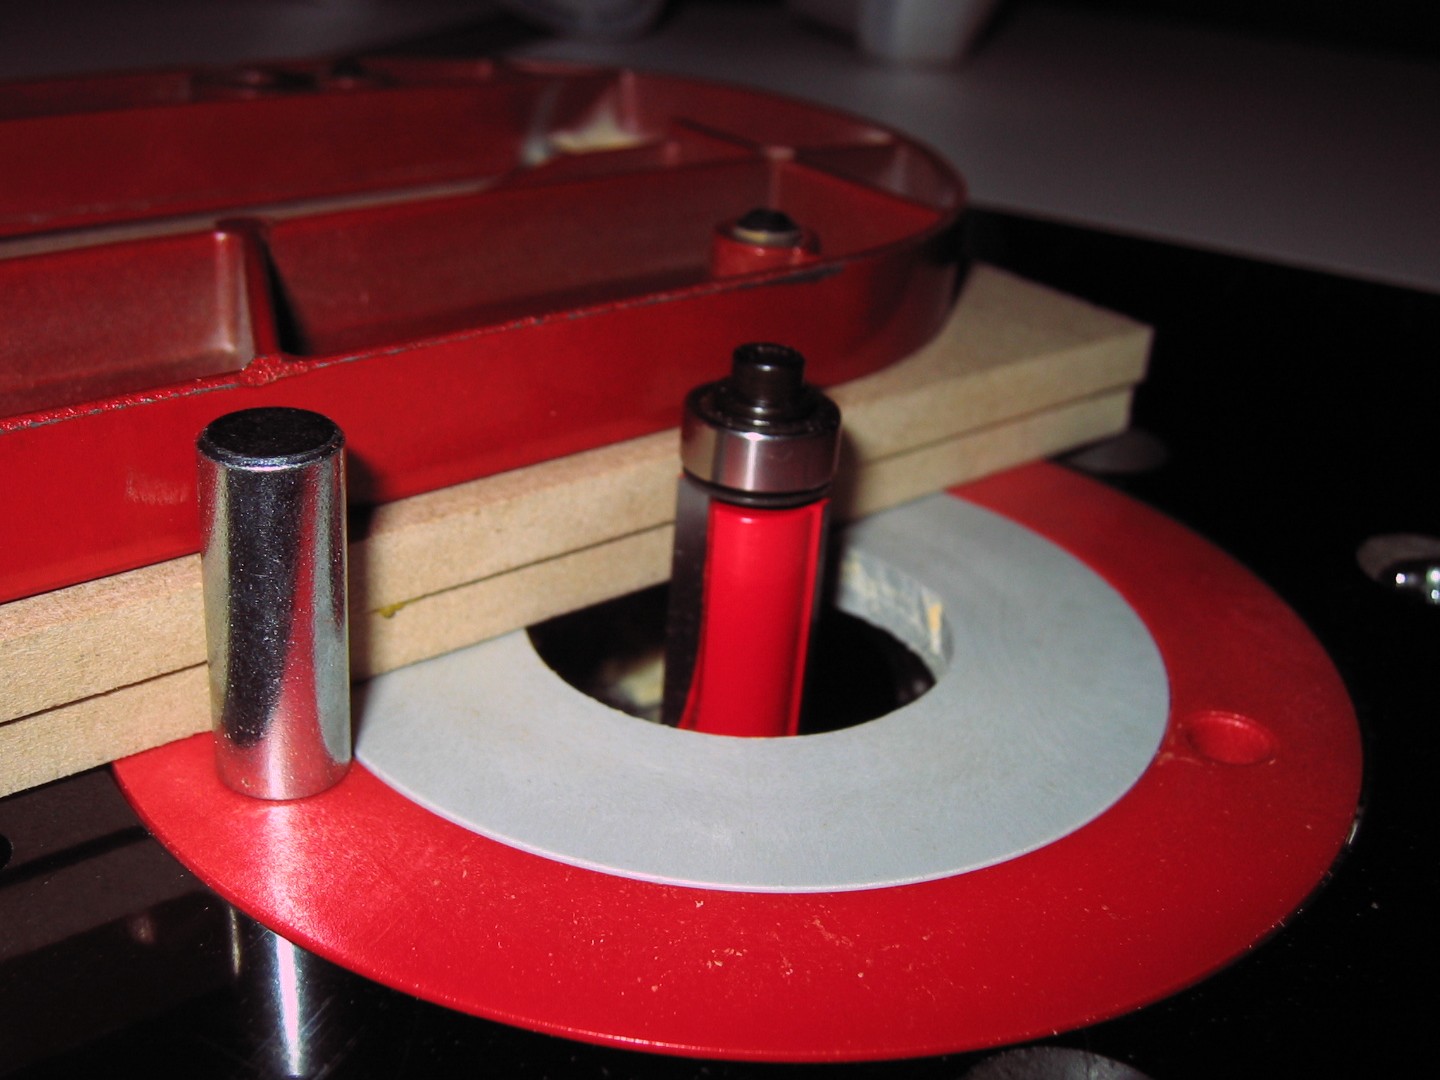
Once the piece is cut to the correct size, stick it on the original plate with double-sided tape. This one used to glue the carpet does very well. Using a router table equipped with a flush trim bit, reproduce the shape using your original plate as a template.
Be very careful during this step.
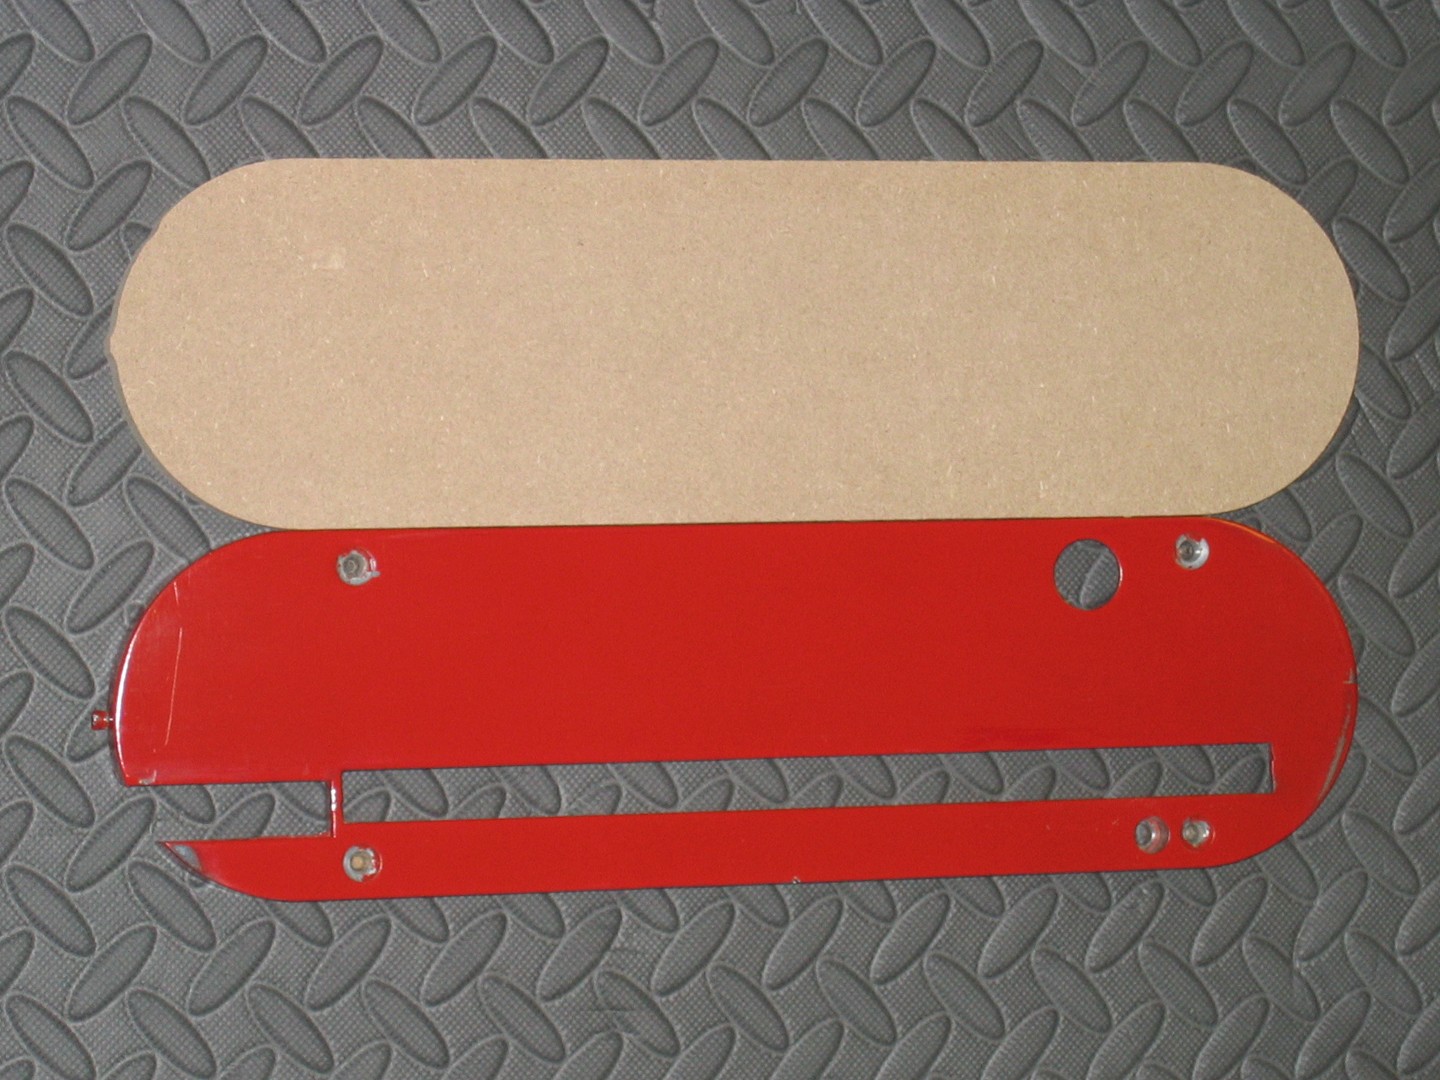
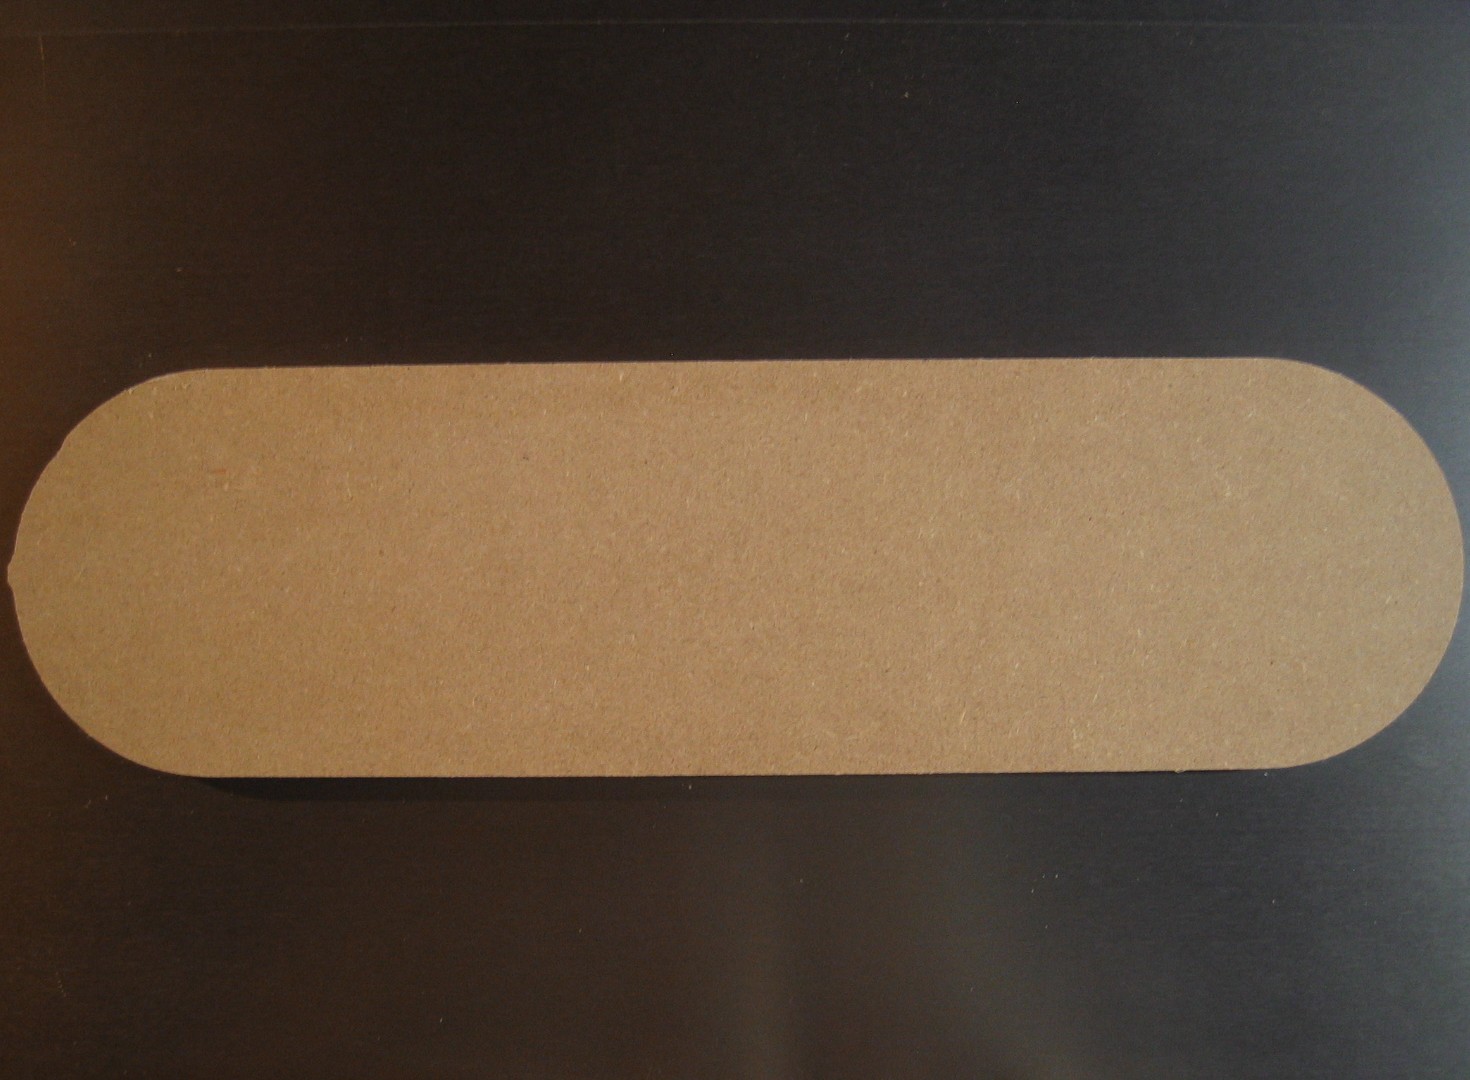
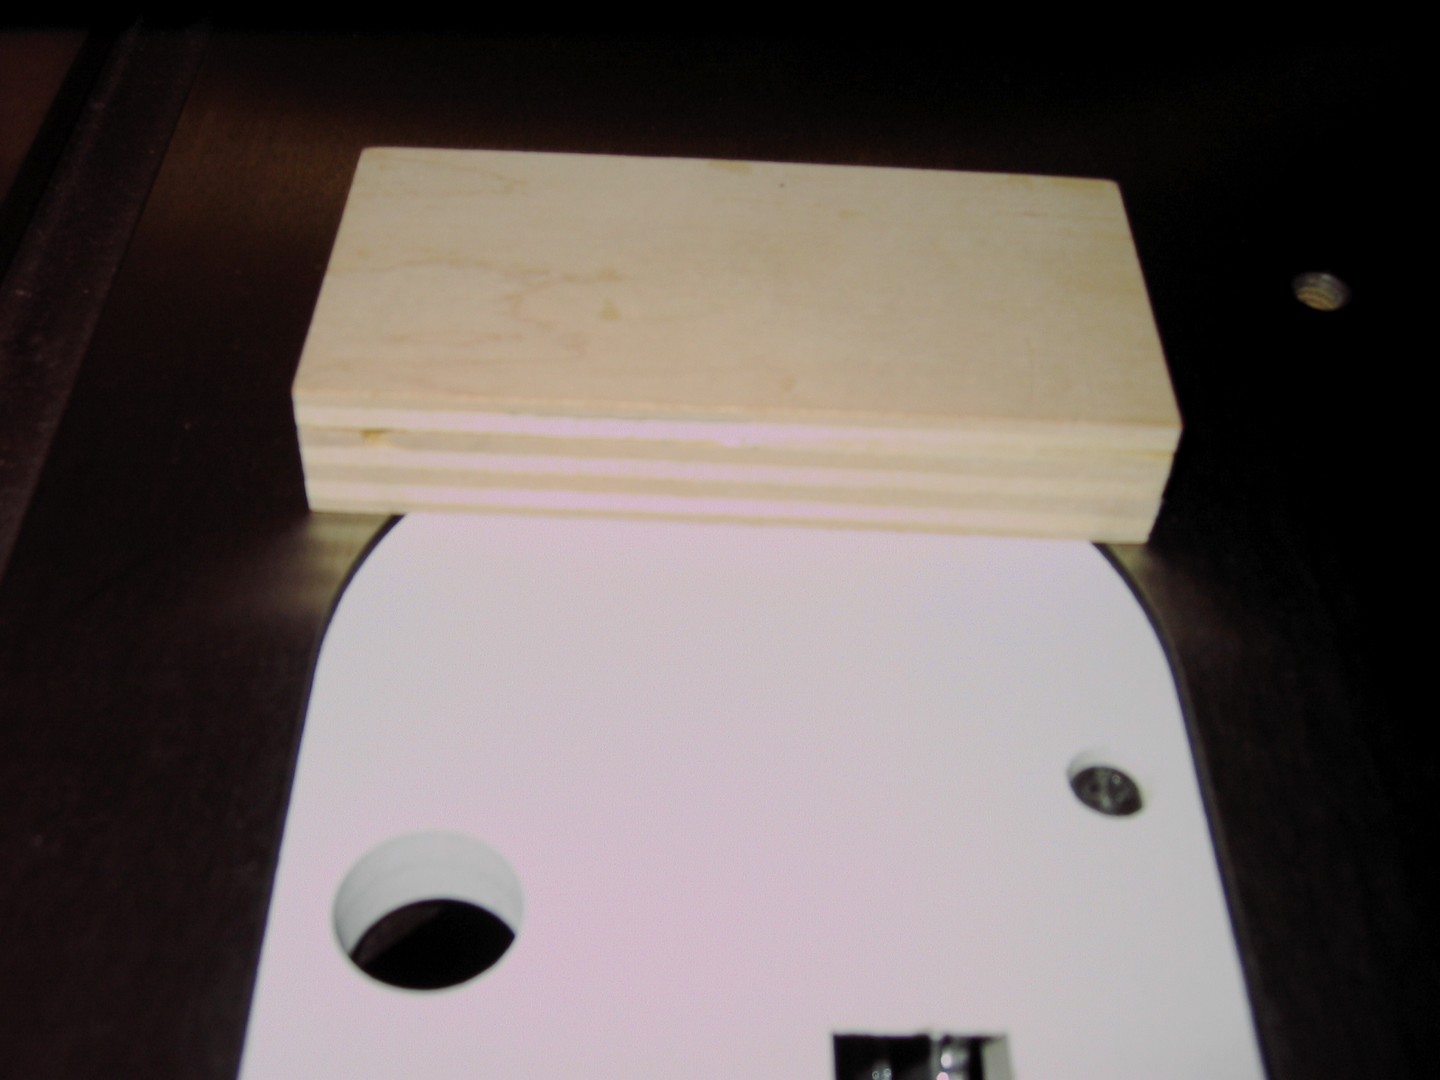
Here is the result:
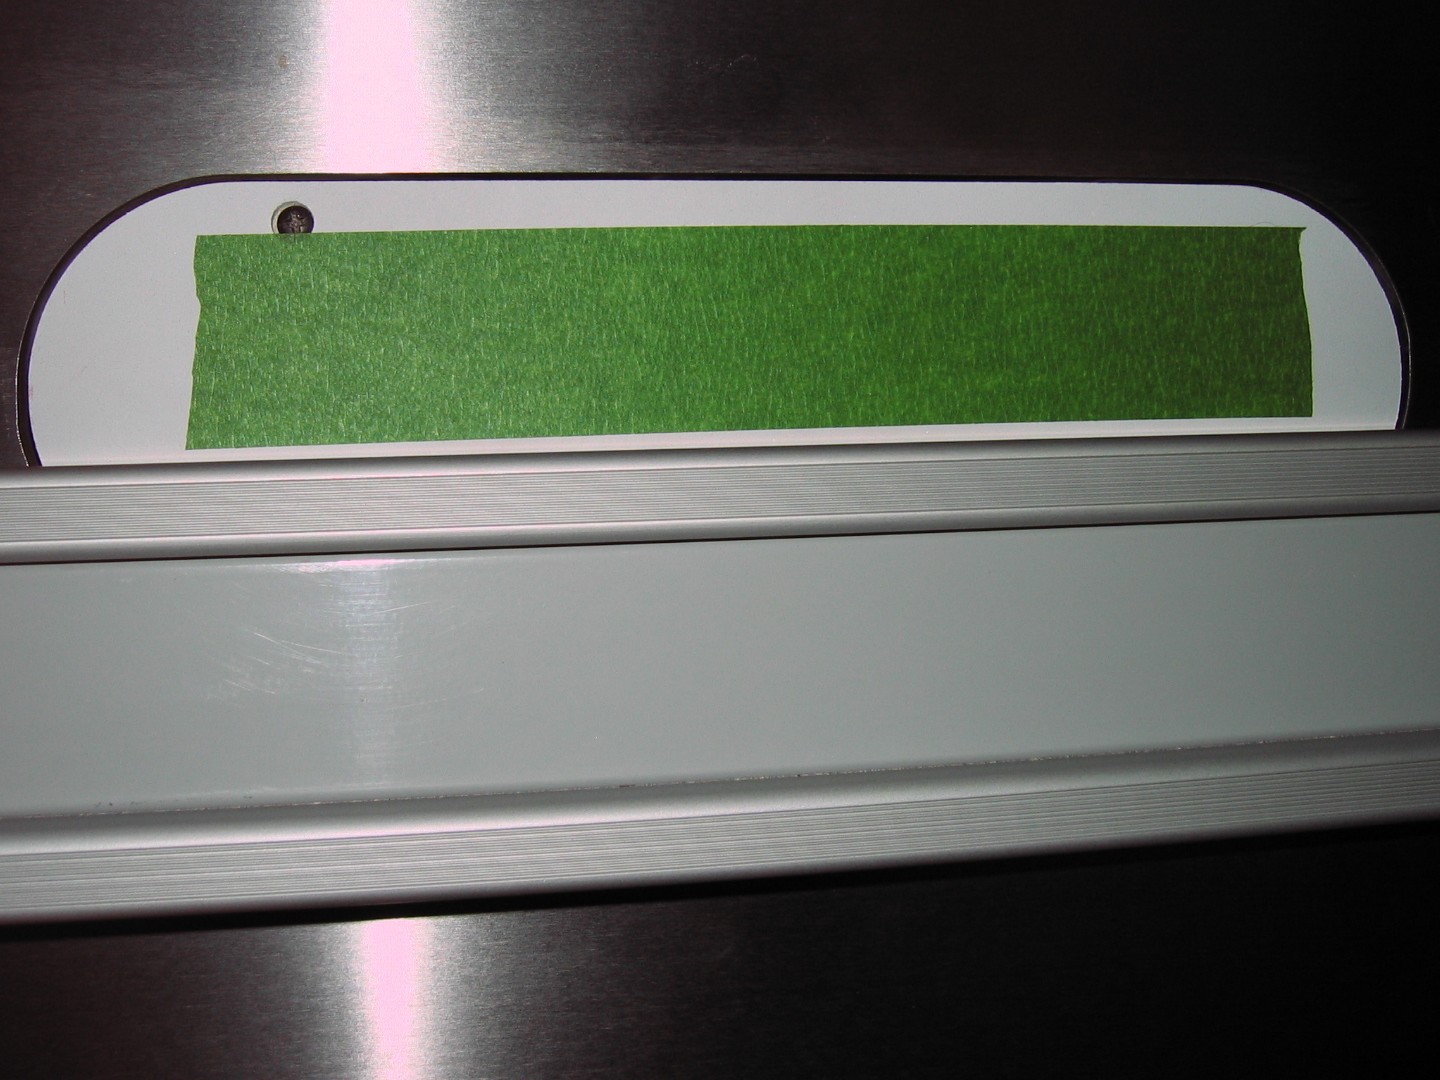
Using a drill press, make the necessary holes. Here, one to manipulate the plate and the other for the mounting screw.
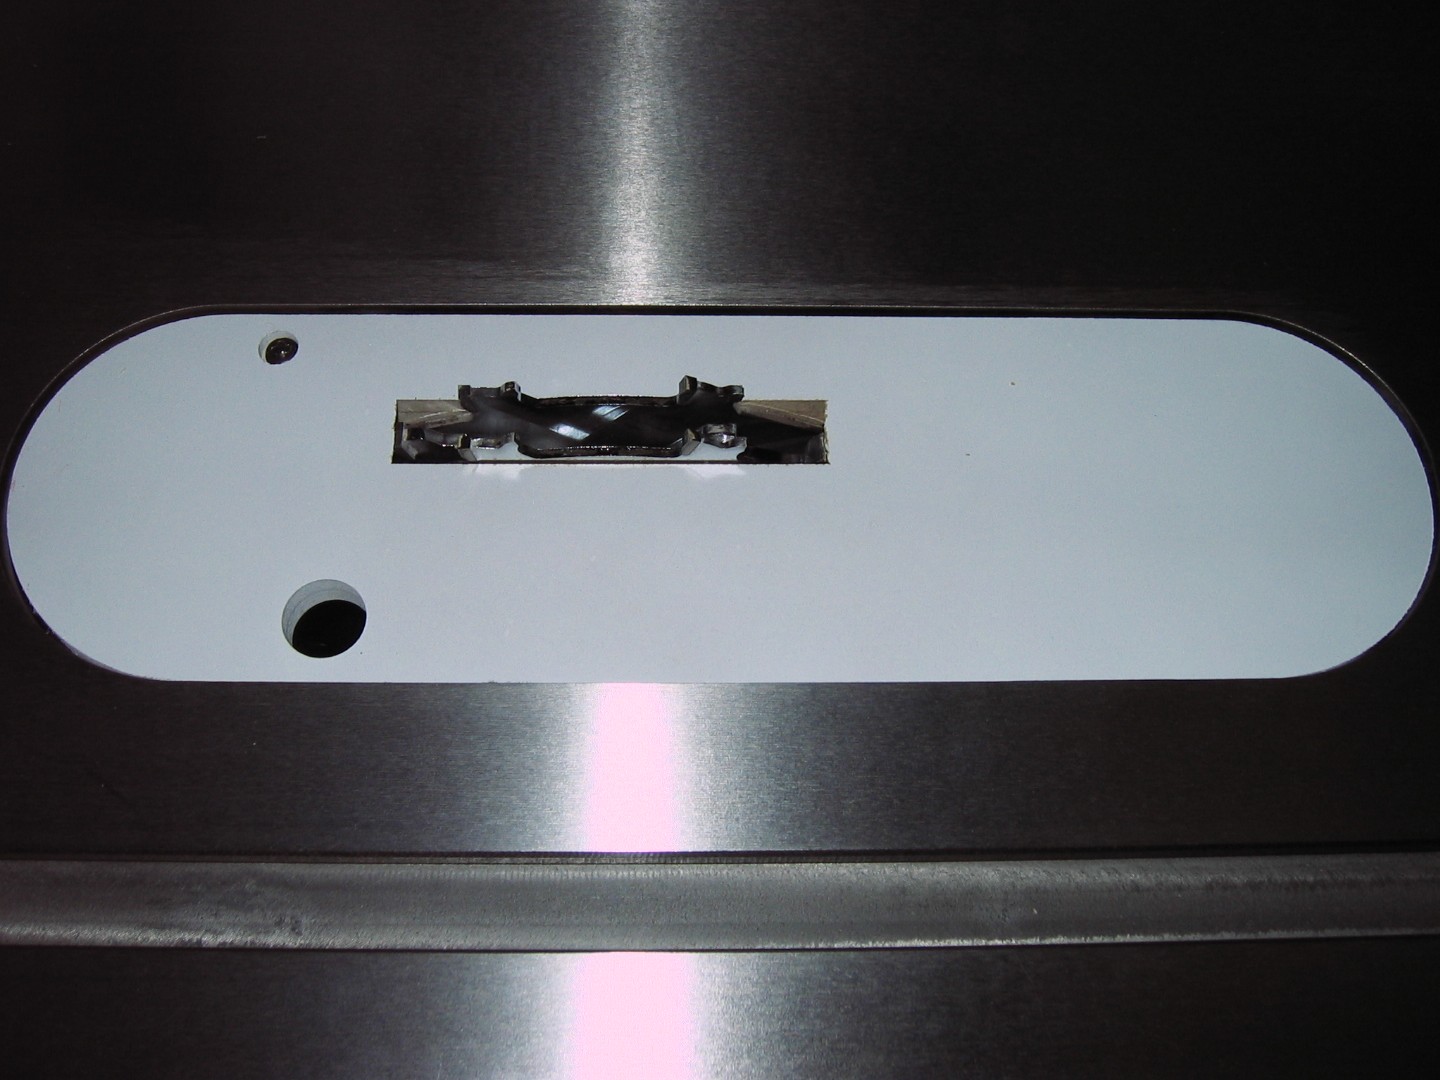
Let’s move on to the most delicate step, making the window zero clearance. Install the new plate securely on the table saw so that it fits securely and does not move during the operation. Light your table saw and gently lift the blade. Climb up as high as you need but you do not have to go to the top of the hill. Personally, I stopped halfway up the race.
Again, be very careful during this step.
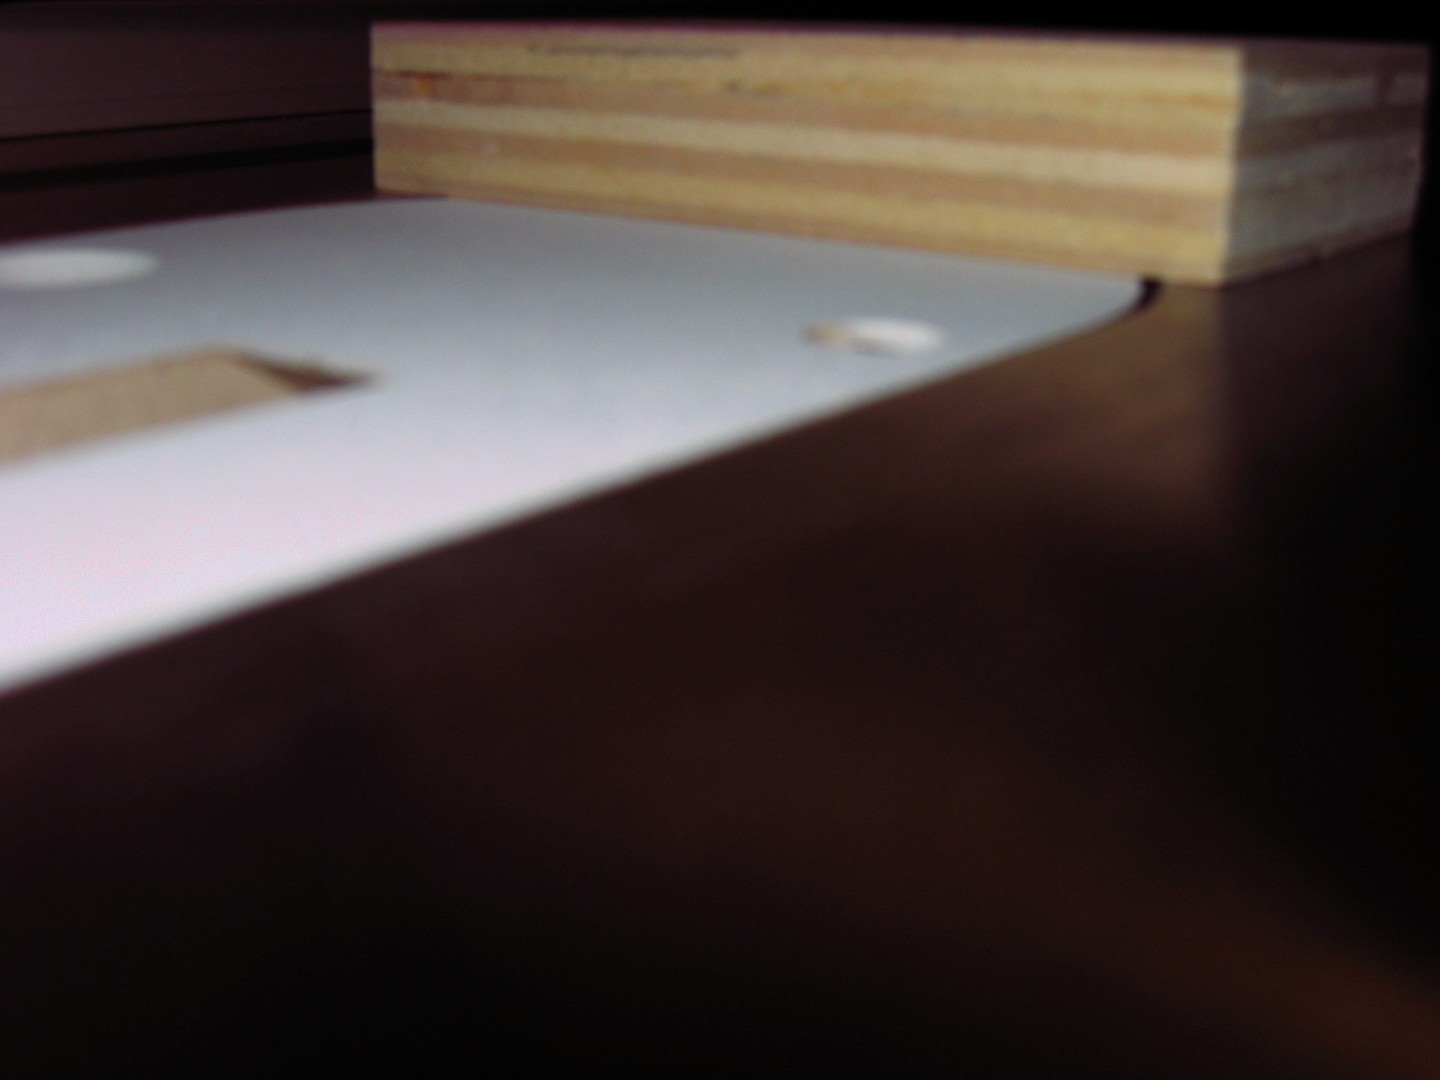
Here is the result:
And last, the finish. I put 2 coats of primer and 2 coats of water-based polyurethane varnish for protection and make the surface smoother.
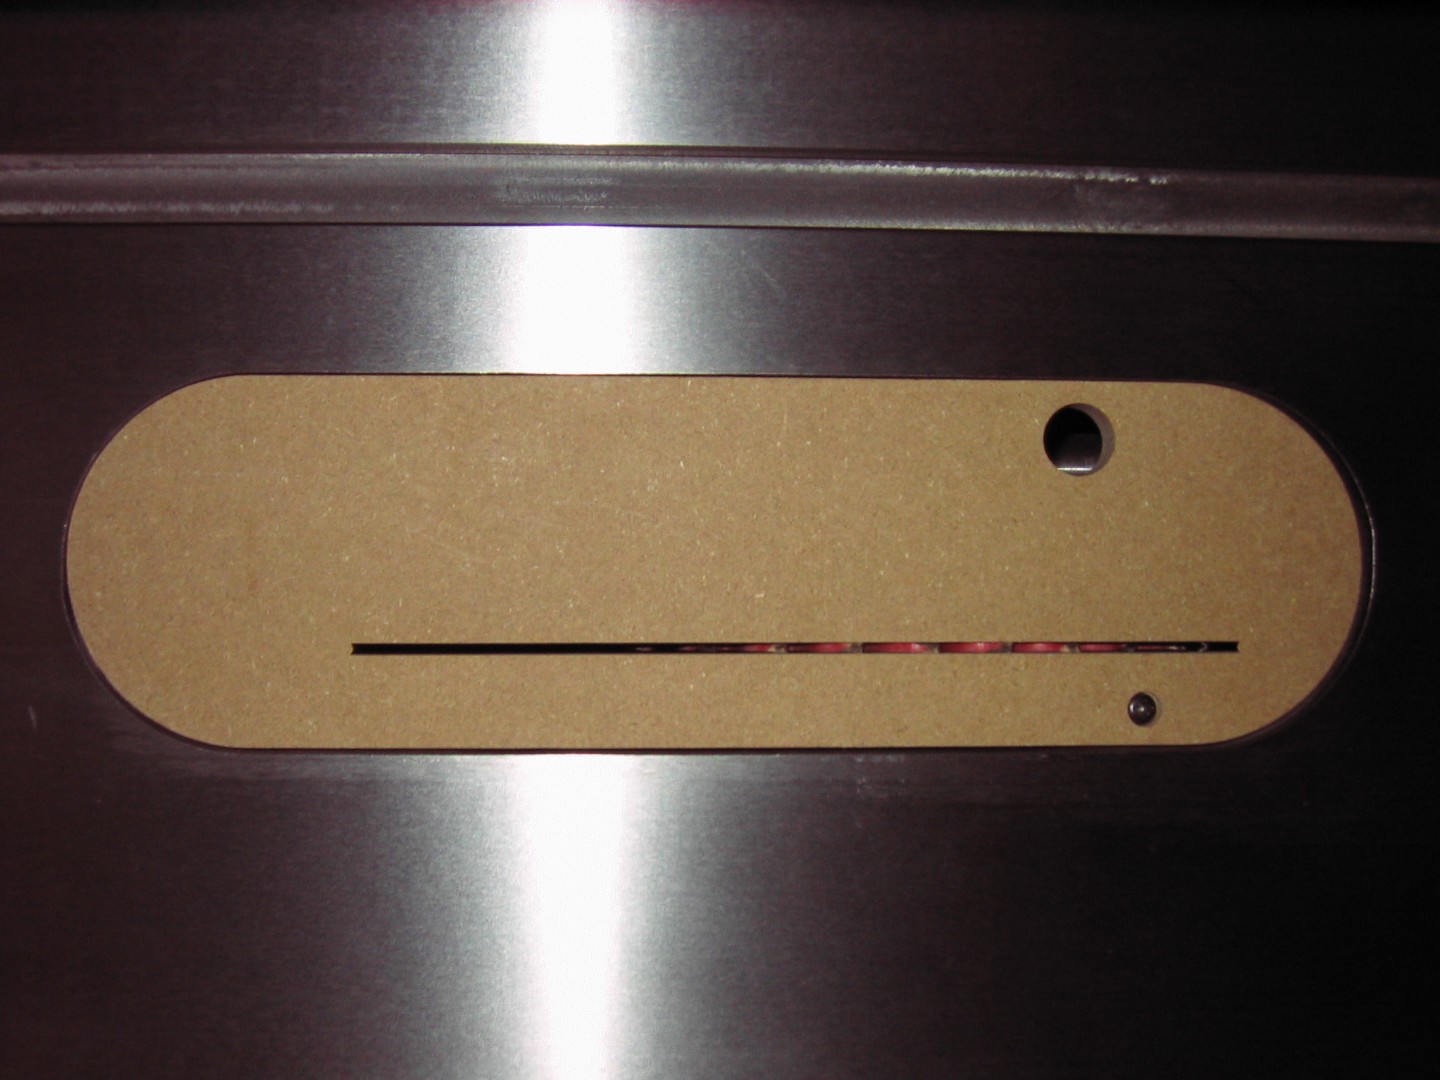
Grooving Blade
Here, the realization of a zero-clearance insertion plate for 1/2″ grooving blade.
Normally, I would have installed 4 screws to adjust the height of the insertion plate on the table saw but I noticed during the test of my plates that the flush with the table was perfect.
Addendum :
I do not have this table saw that served me very well. I have since invested in a 3,5 HP SawStop table saw that comes equipped with this type of insert plate.

