
1. Realization of the "Dead & Breakfast" Sign
1.1. The Columns
Unfortunately, I do not have a wood lathe in my workshop. Anyway, it would have been necessary to turn pieces of 6″ x 6″ x 6′ (about 15 cm x 15 cm x 183 cm) which is really not obvious. Never mind, after some research, I found on a classified Web site two columns turned that will do the trick.

1.2. The Gallows
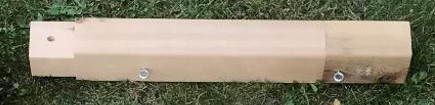
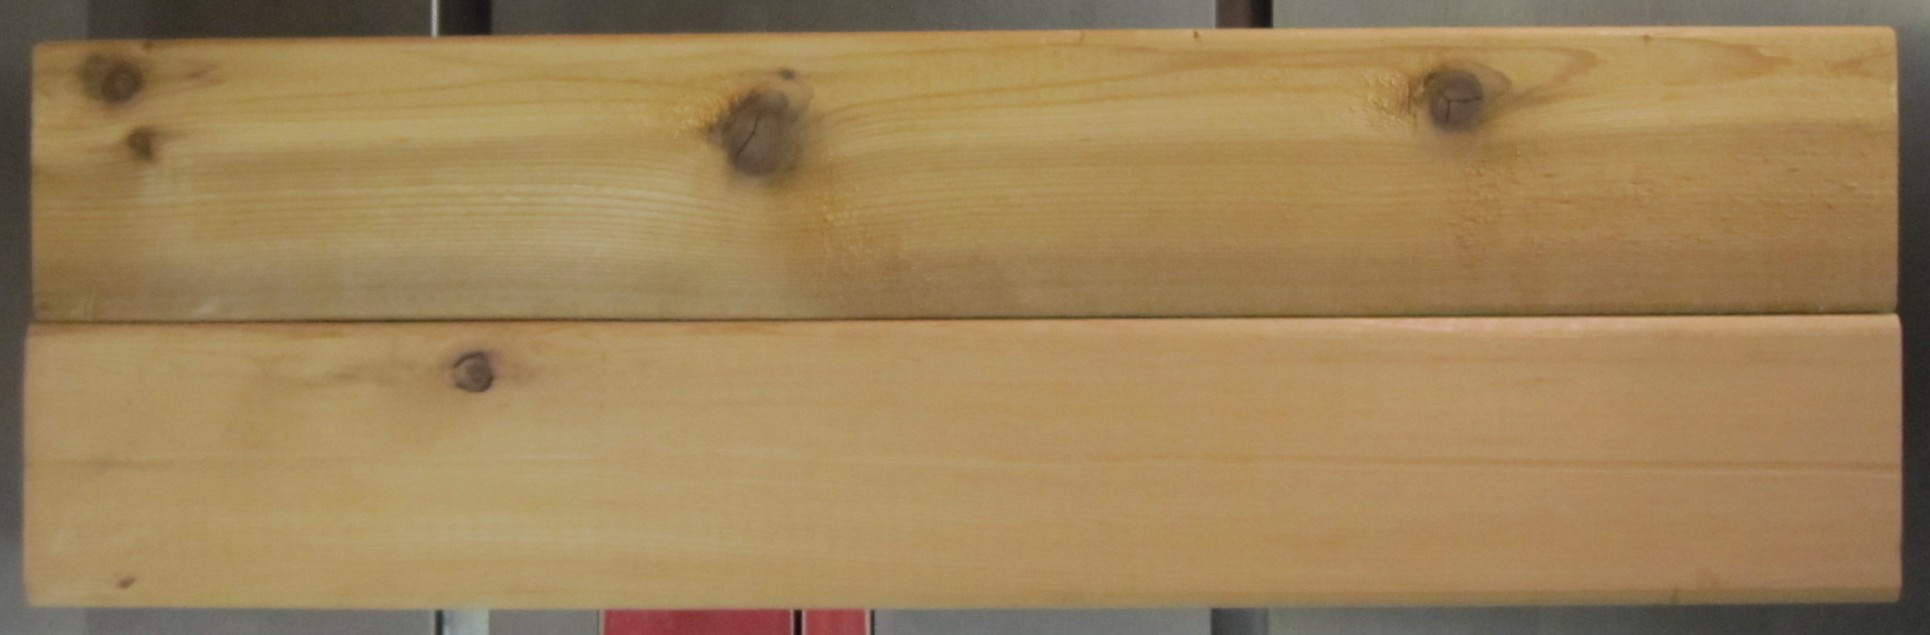
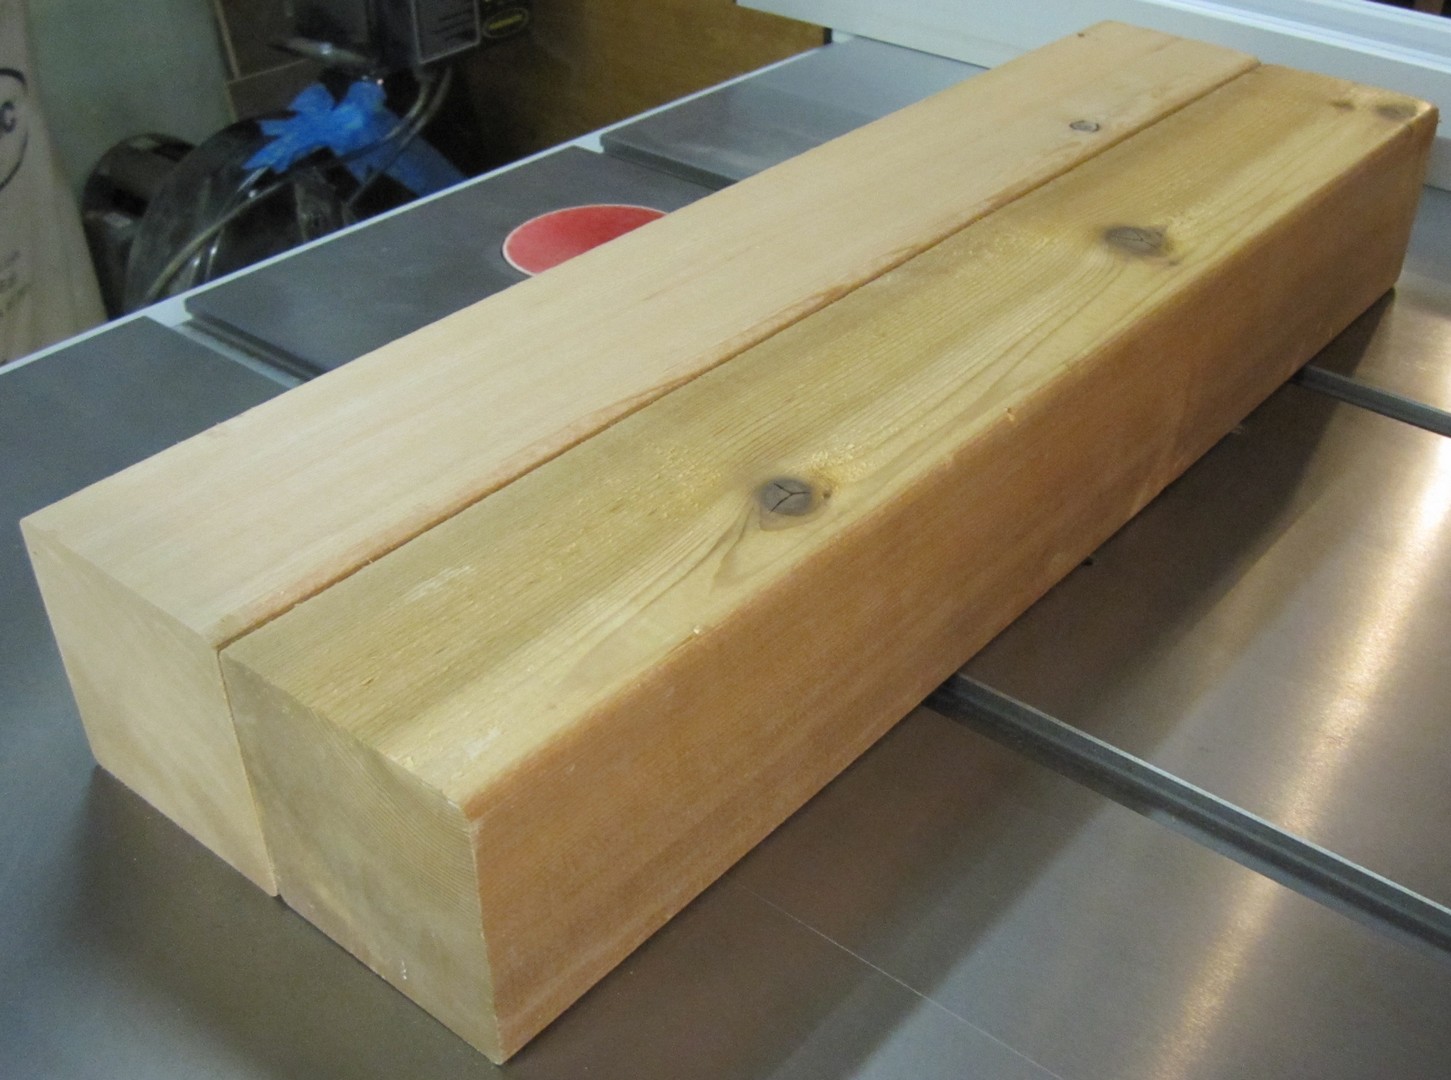
For the 1st gallows, I took two remaining cedar plank of 4″ x 4″ (about 10 cm x 10 cm) that I will join to get the right length. As everything will be painted, we will not see the fitting. For the 2nd gallows, I used an old piece of pine that was already split lengthwise. The gallows will be assembled to the columns thanks to pegged mortise and tenon technique. It’s simple to make, very solid and it has the huge advantage of being removable as the seasons go by.
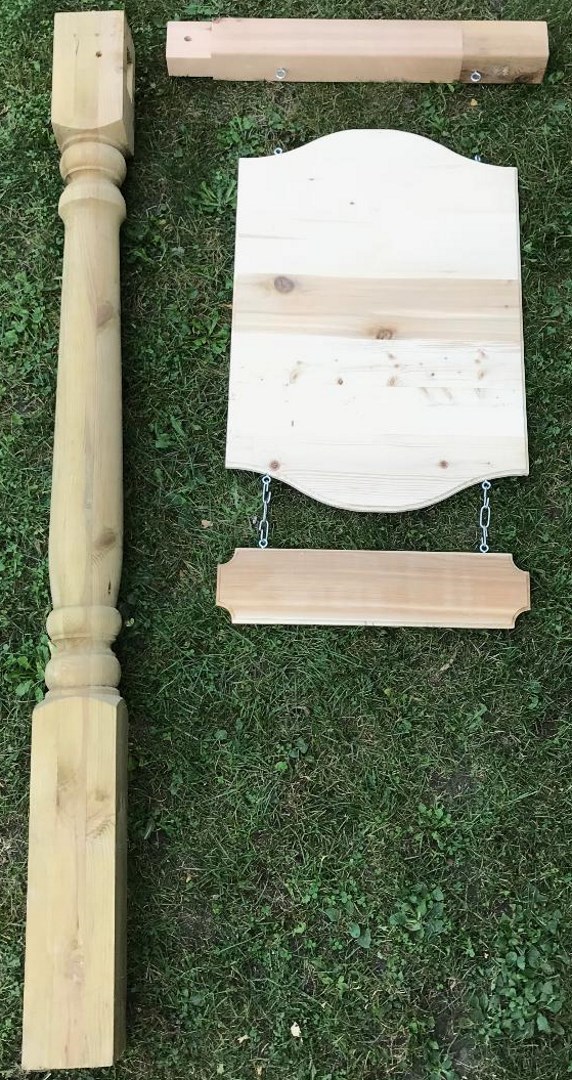
Once the pieces glued, I just had to cut everything to the right length (29-1/4″ ≈ 74.3 cm), round the edges with the router, sand all and finally realize the tenon. Below, the final result.
1.3. The Signs
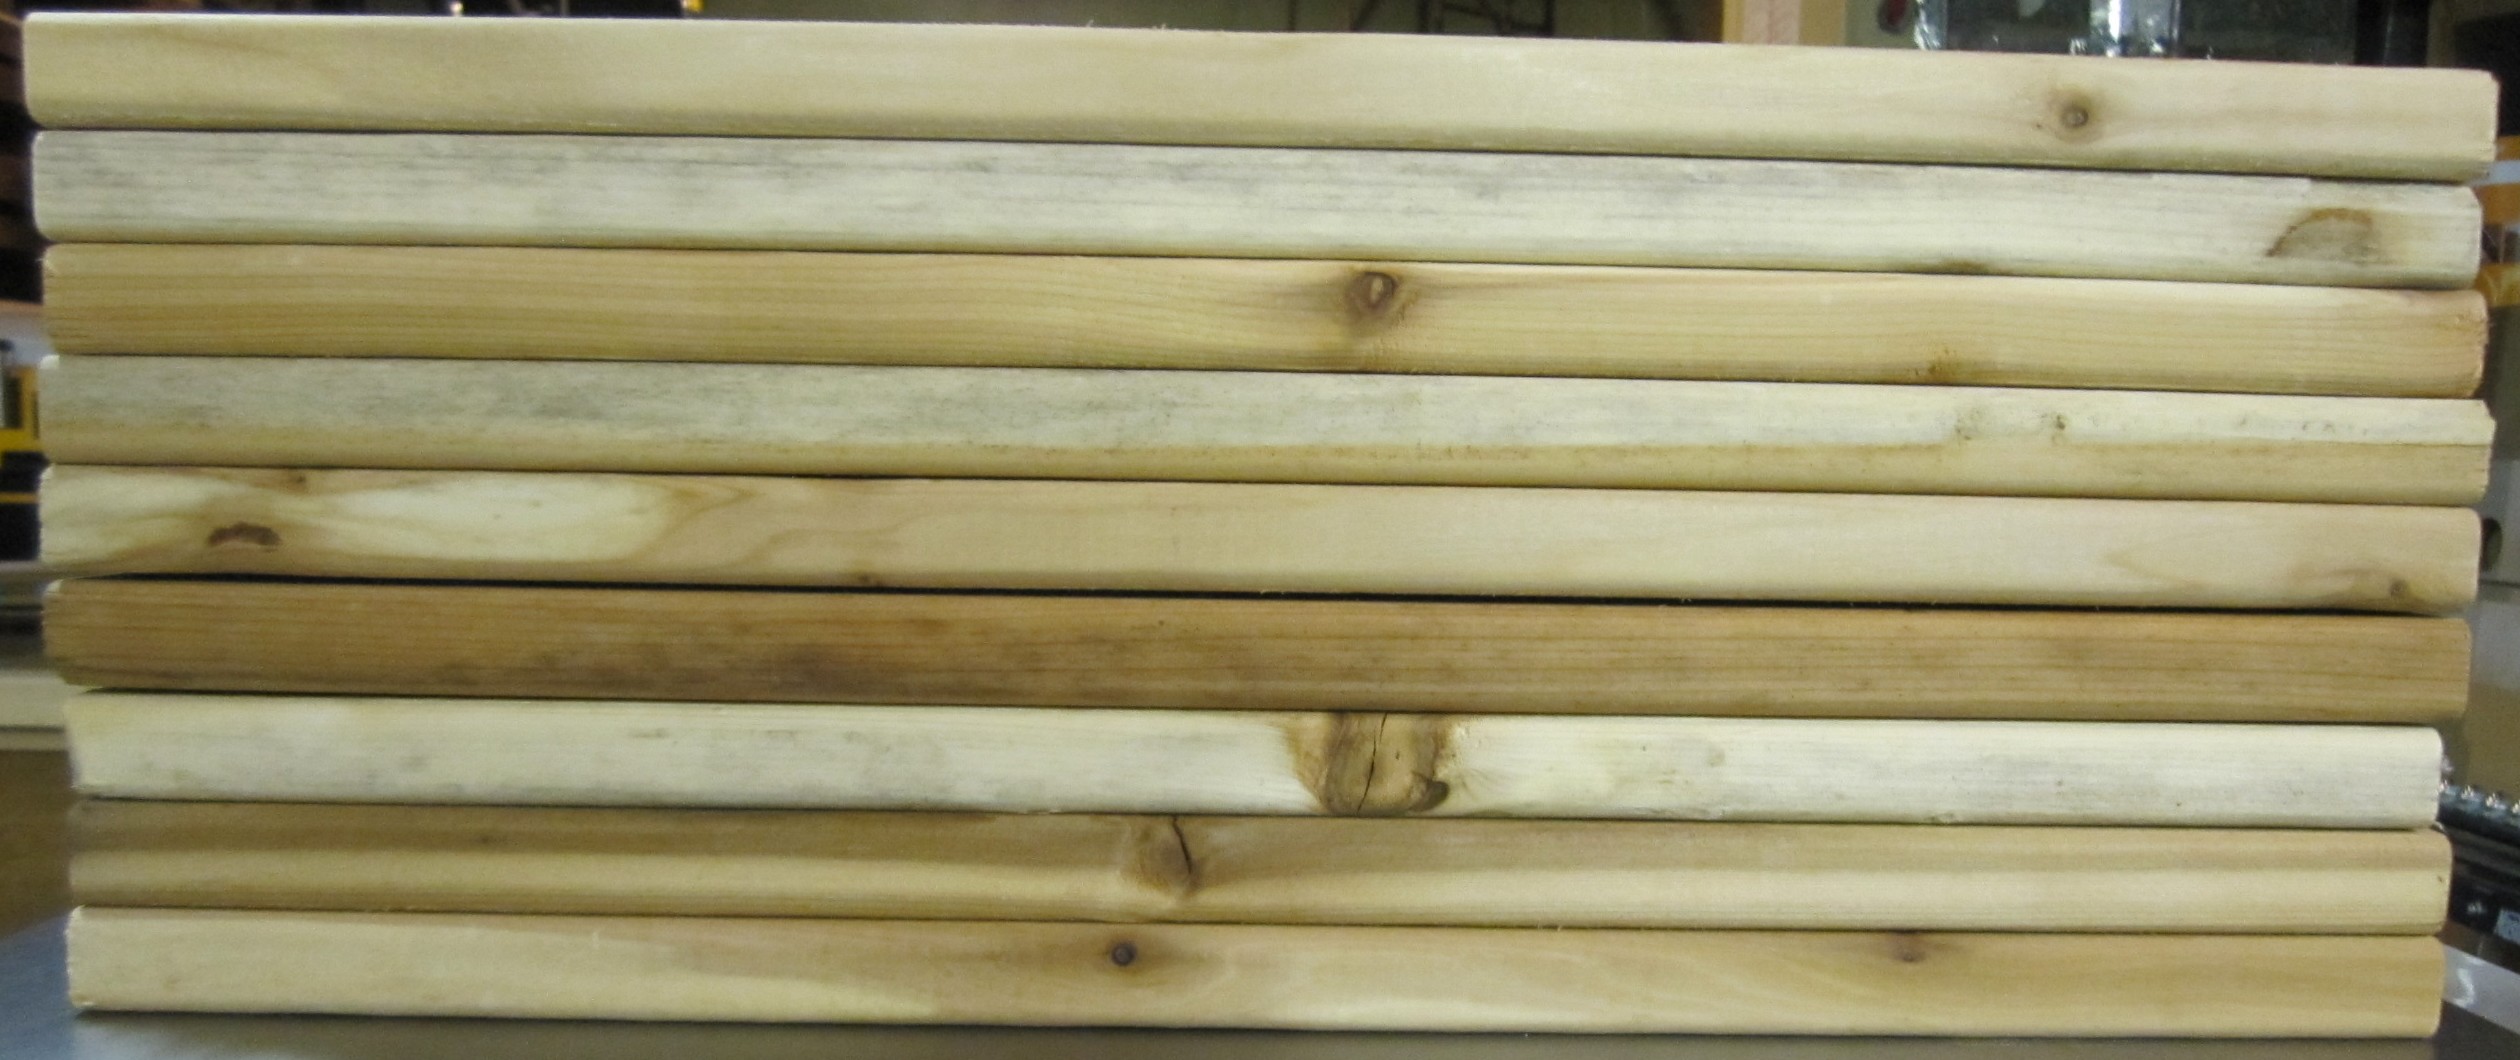
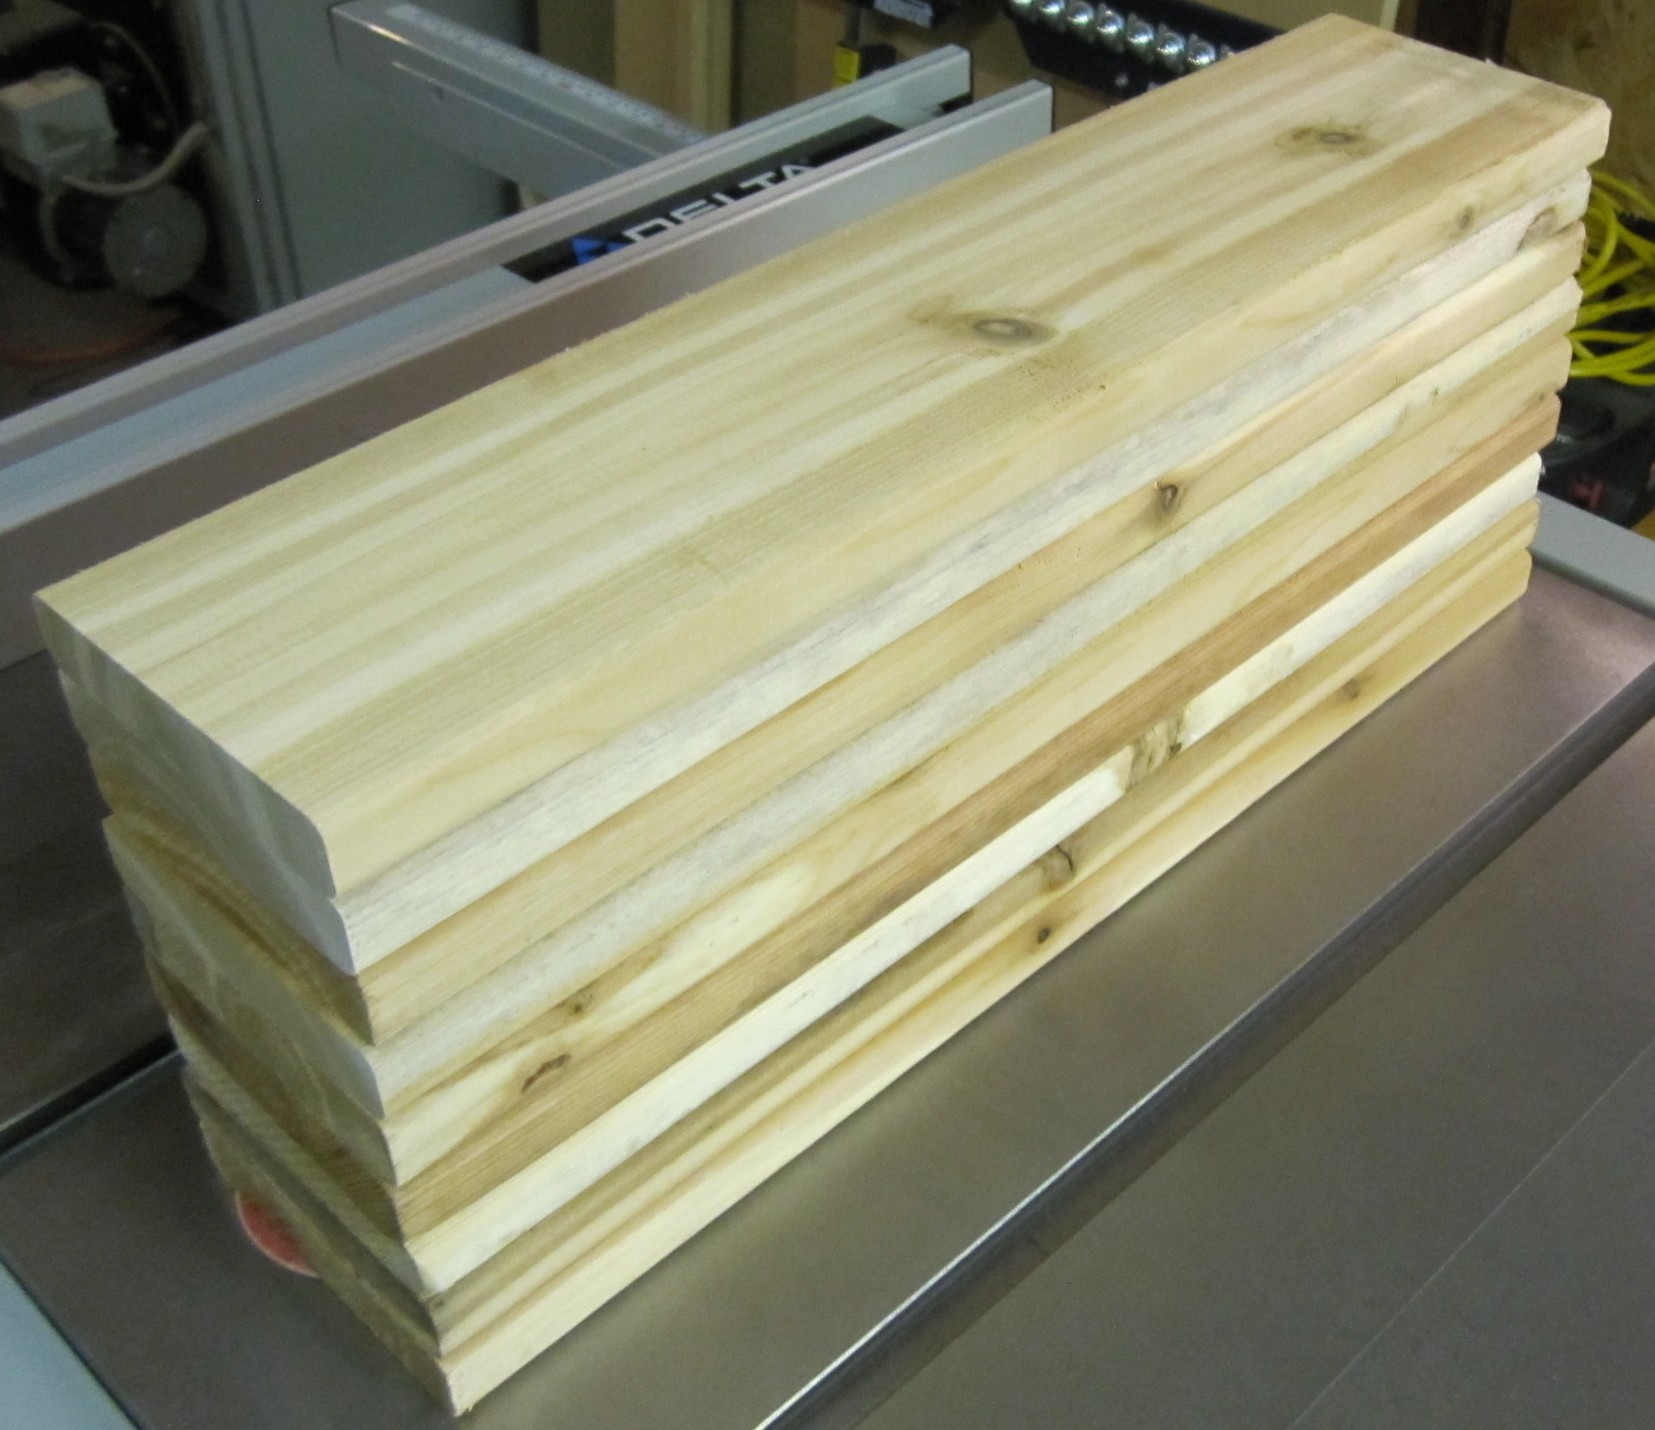
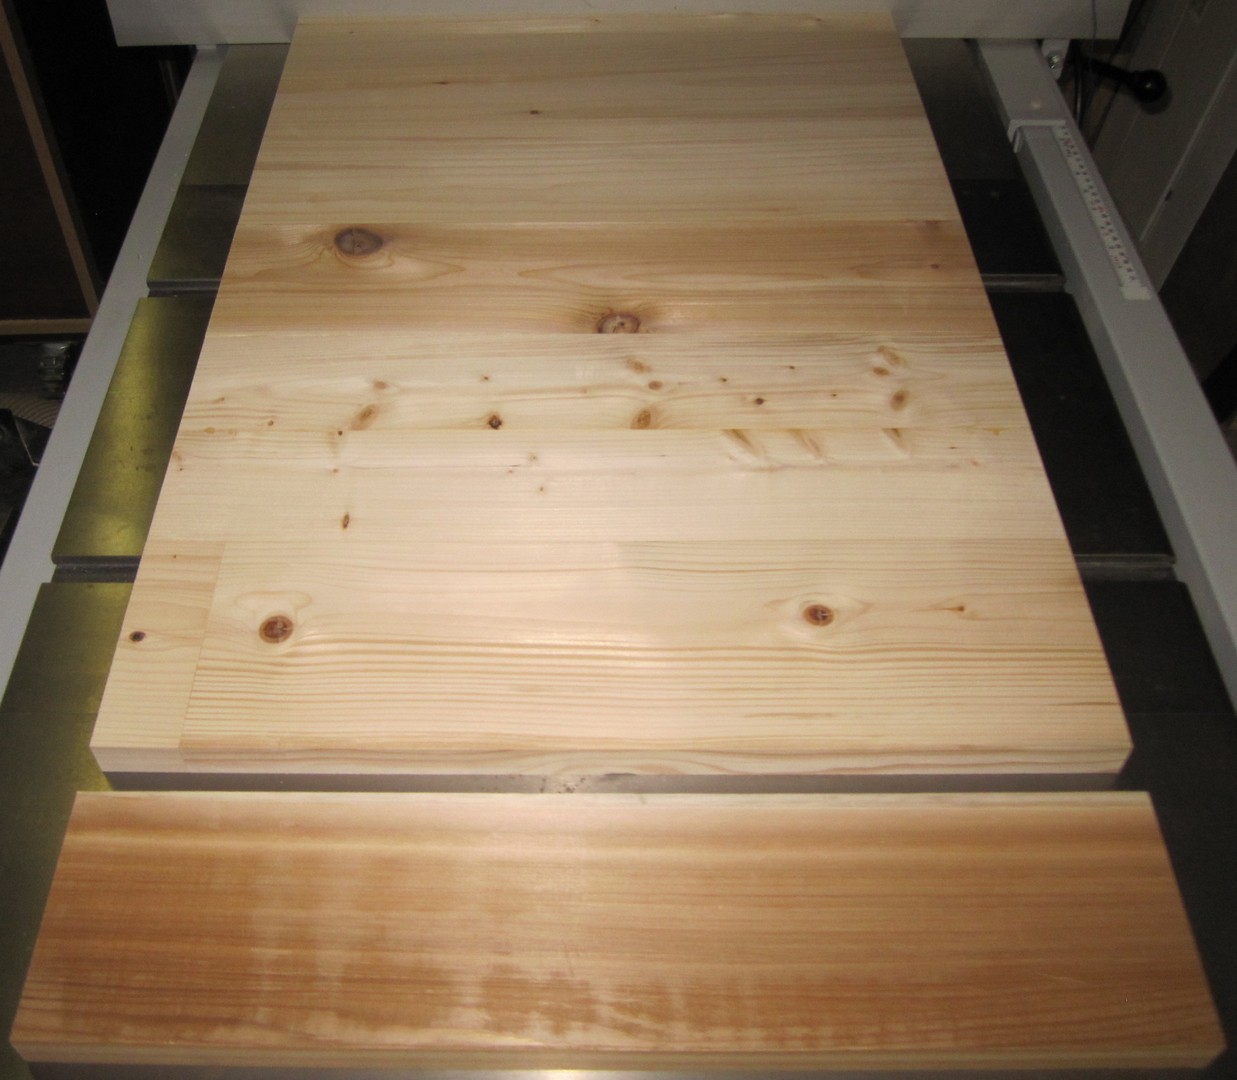
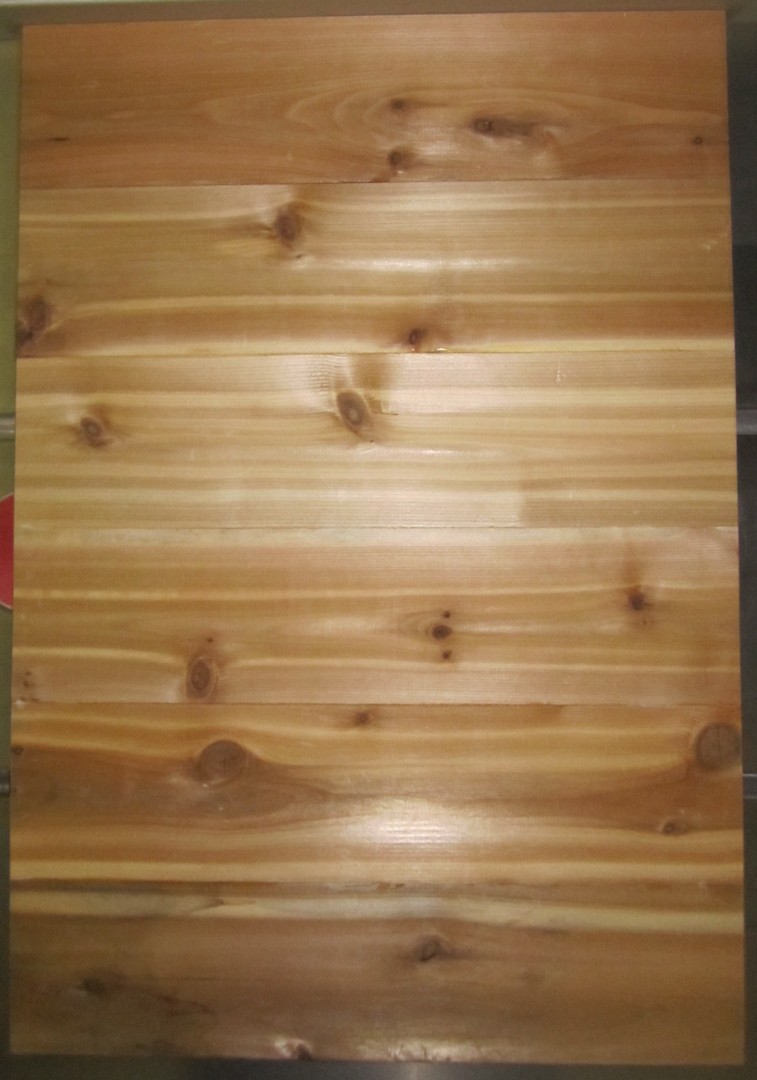
The signs will be in two parts, the “Dead & Breakfast” part and the “Vacancy” part. The 1st sign will be made from leftover cedar planks and the 2nd with remains pine boards that I had from an old project. The dimensions of the signs will be 1″ x 22″ x 33″ (approximately 2.5 cm x 55.8 cm x 83.8 cm).
After squaring the boards and choosing their order of assembly, we can move on to gluing and putting them in greenhouses.
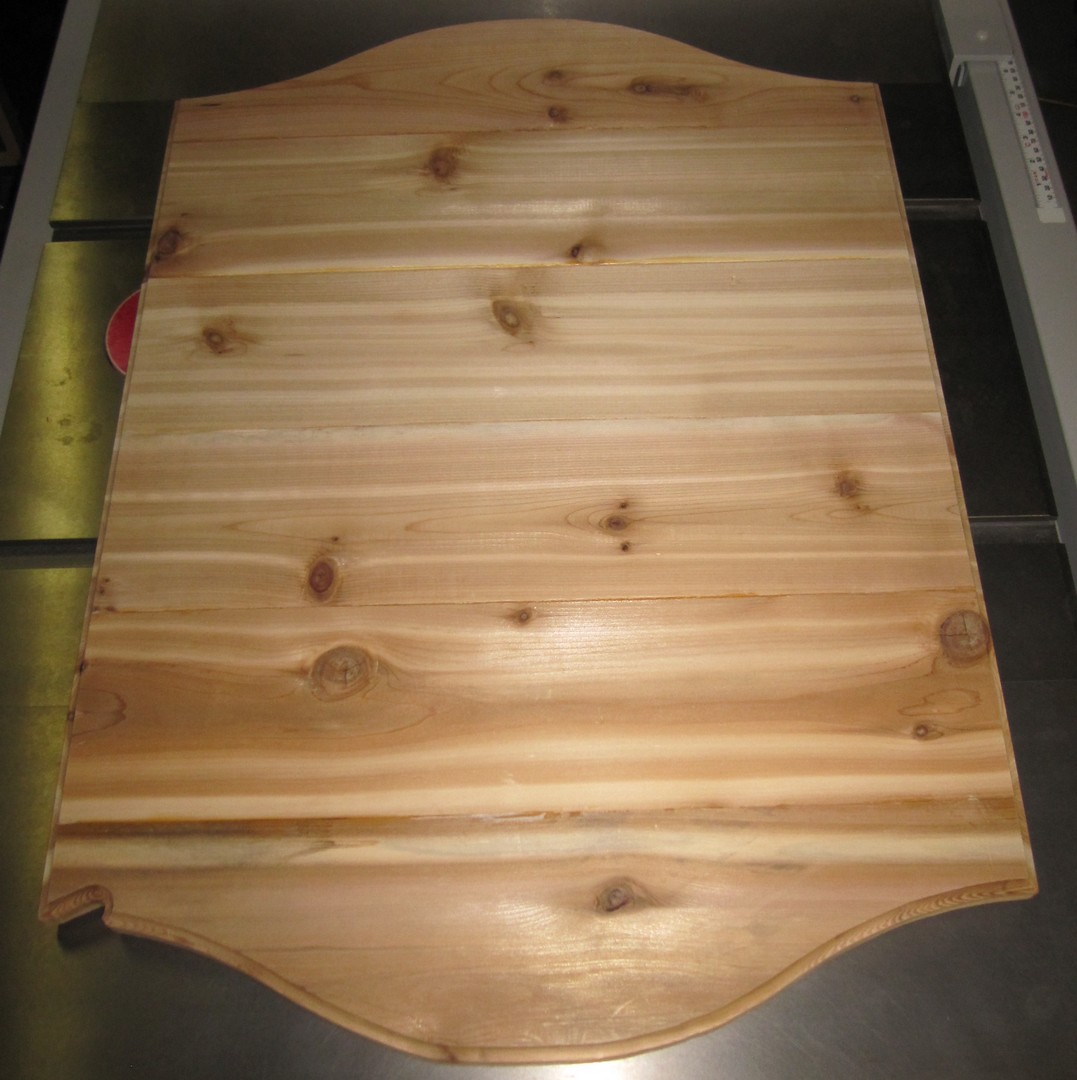
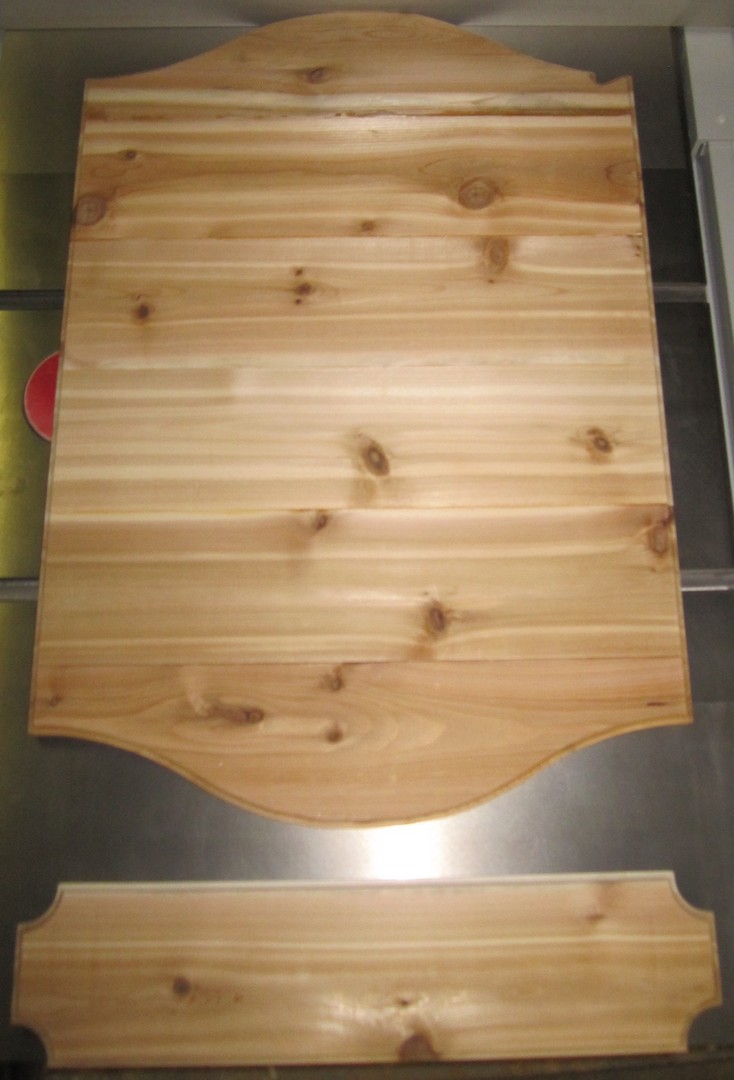
Once the glue dries, it can be debited to the final dimensions of the sign. Below, the two signs in cedar and pine.
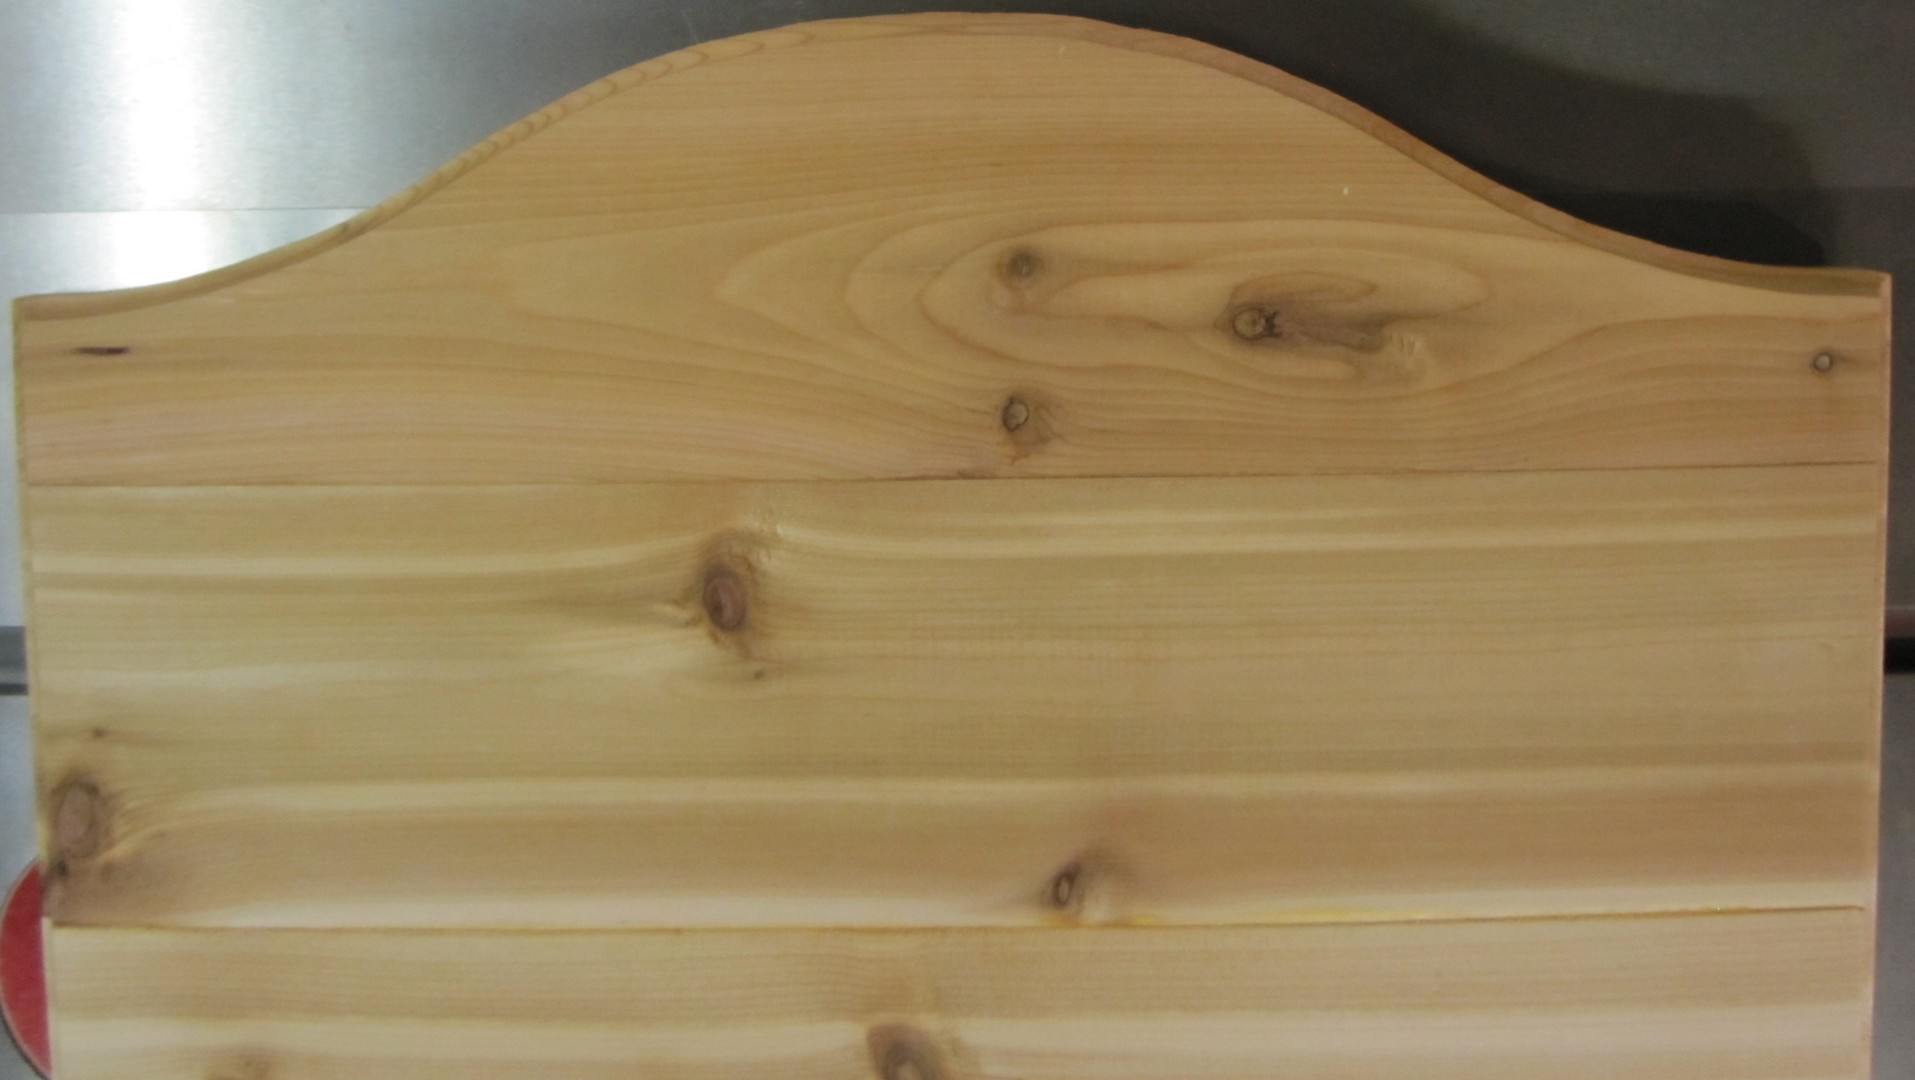
The next step will be to cut the shape of the policeman’s hats from the sign. For that, I made myself a template in MDF. Then we will make a 1/4″ groove on the contour and on each side.
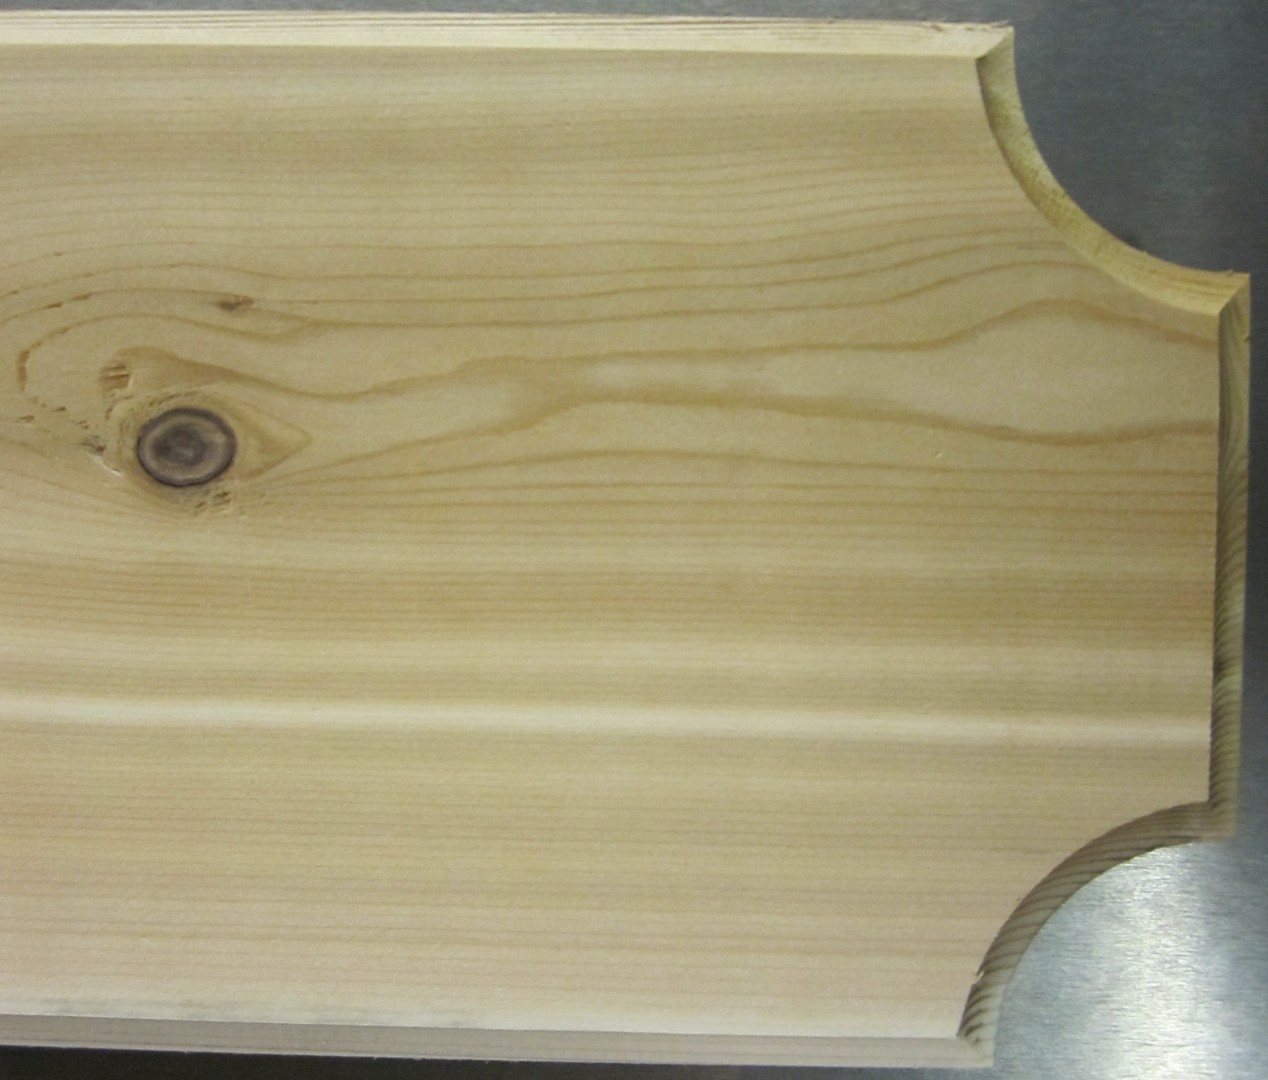
A light sanding and here is the result.
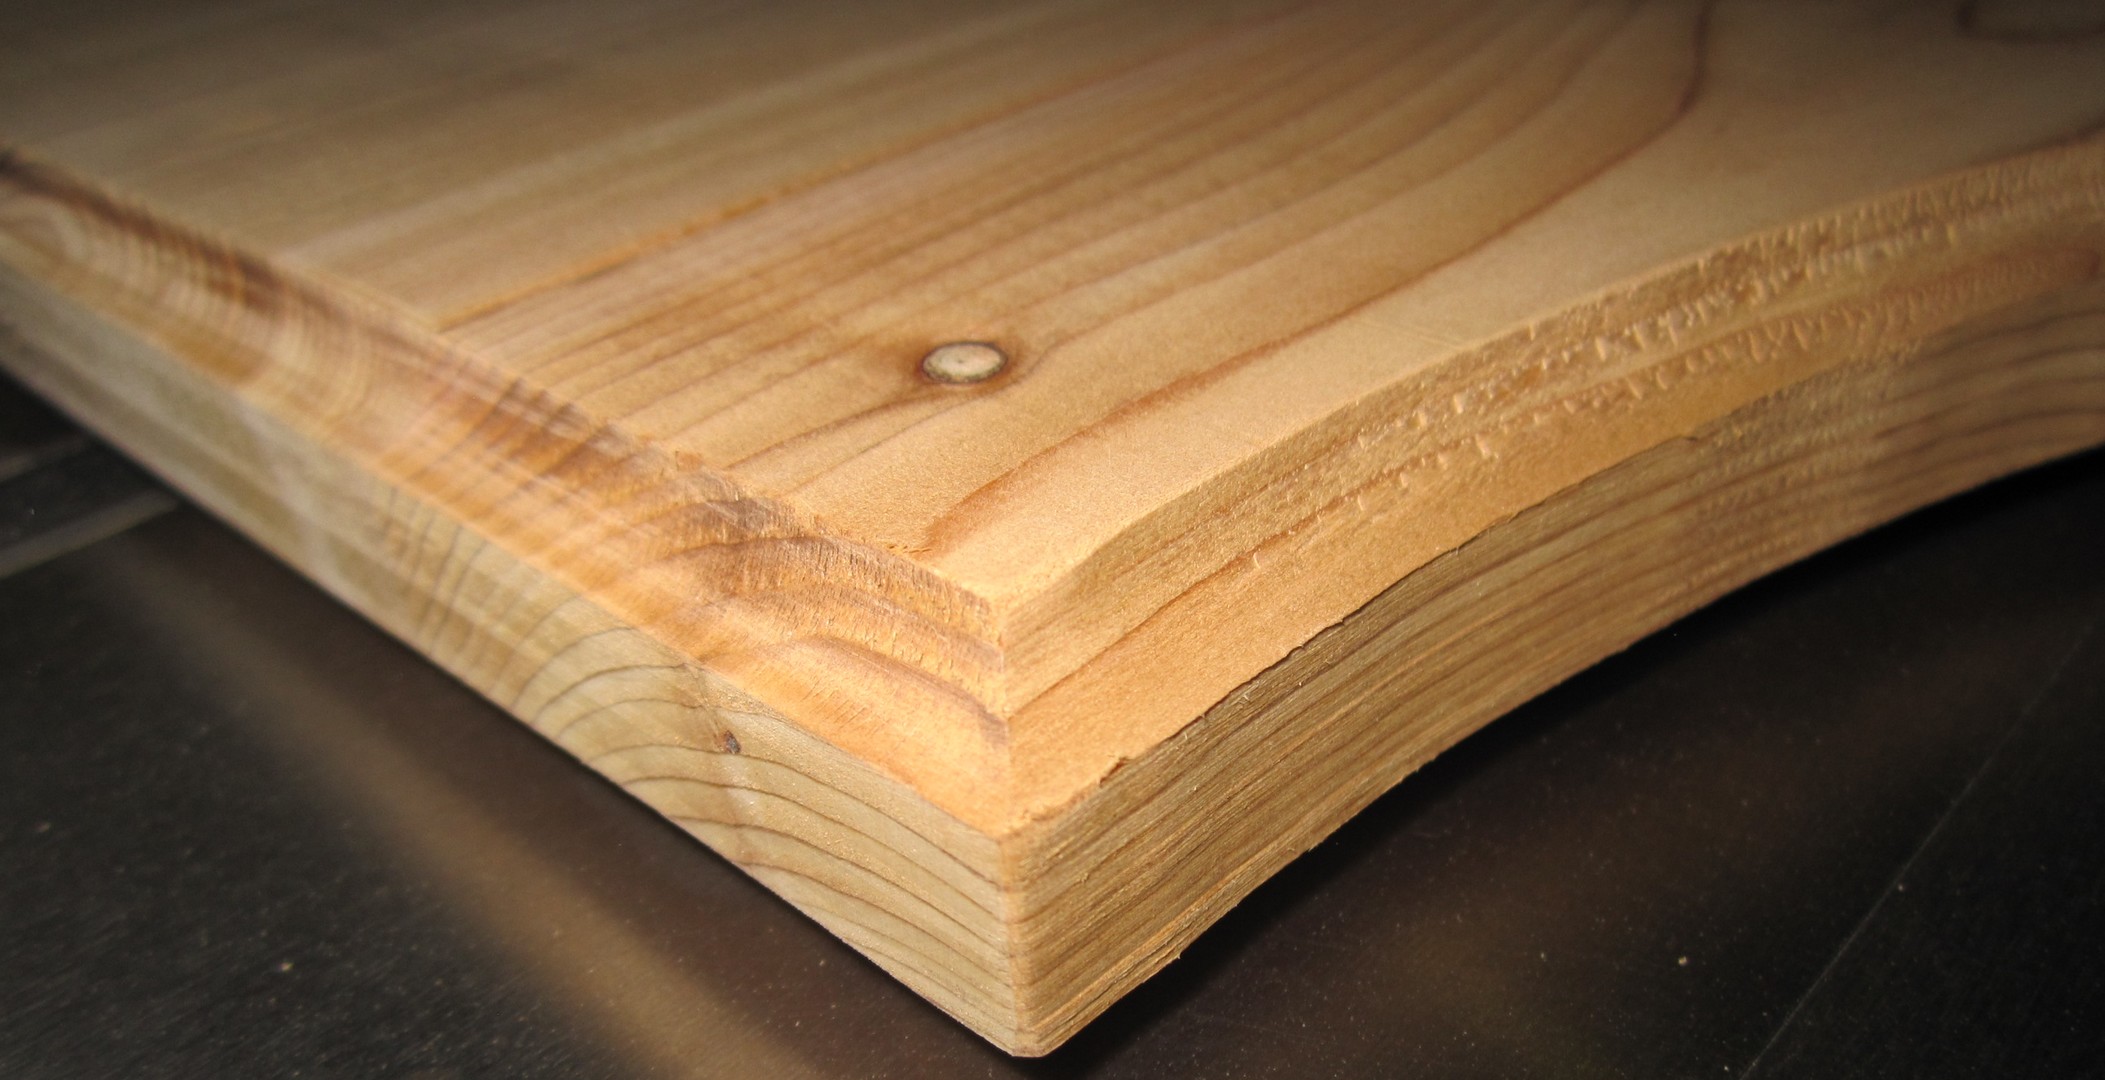
You will notice, at the bottom left, that a knot jumped during the passage of the router. This will add charm to the sign…
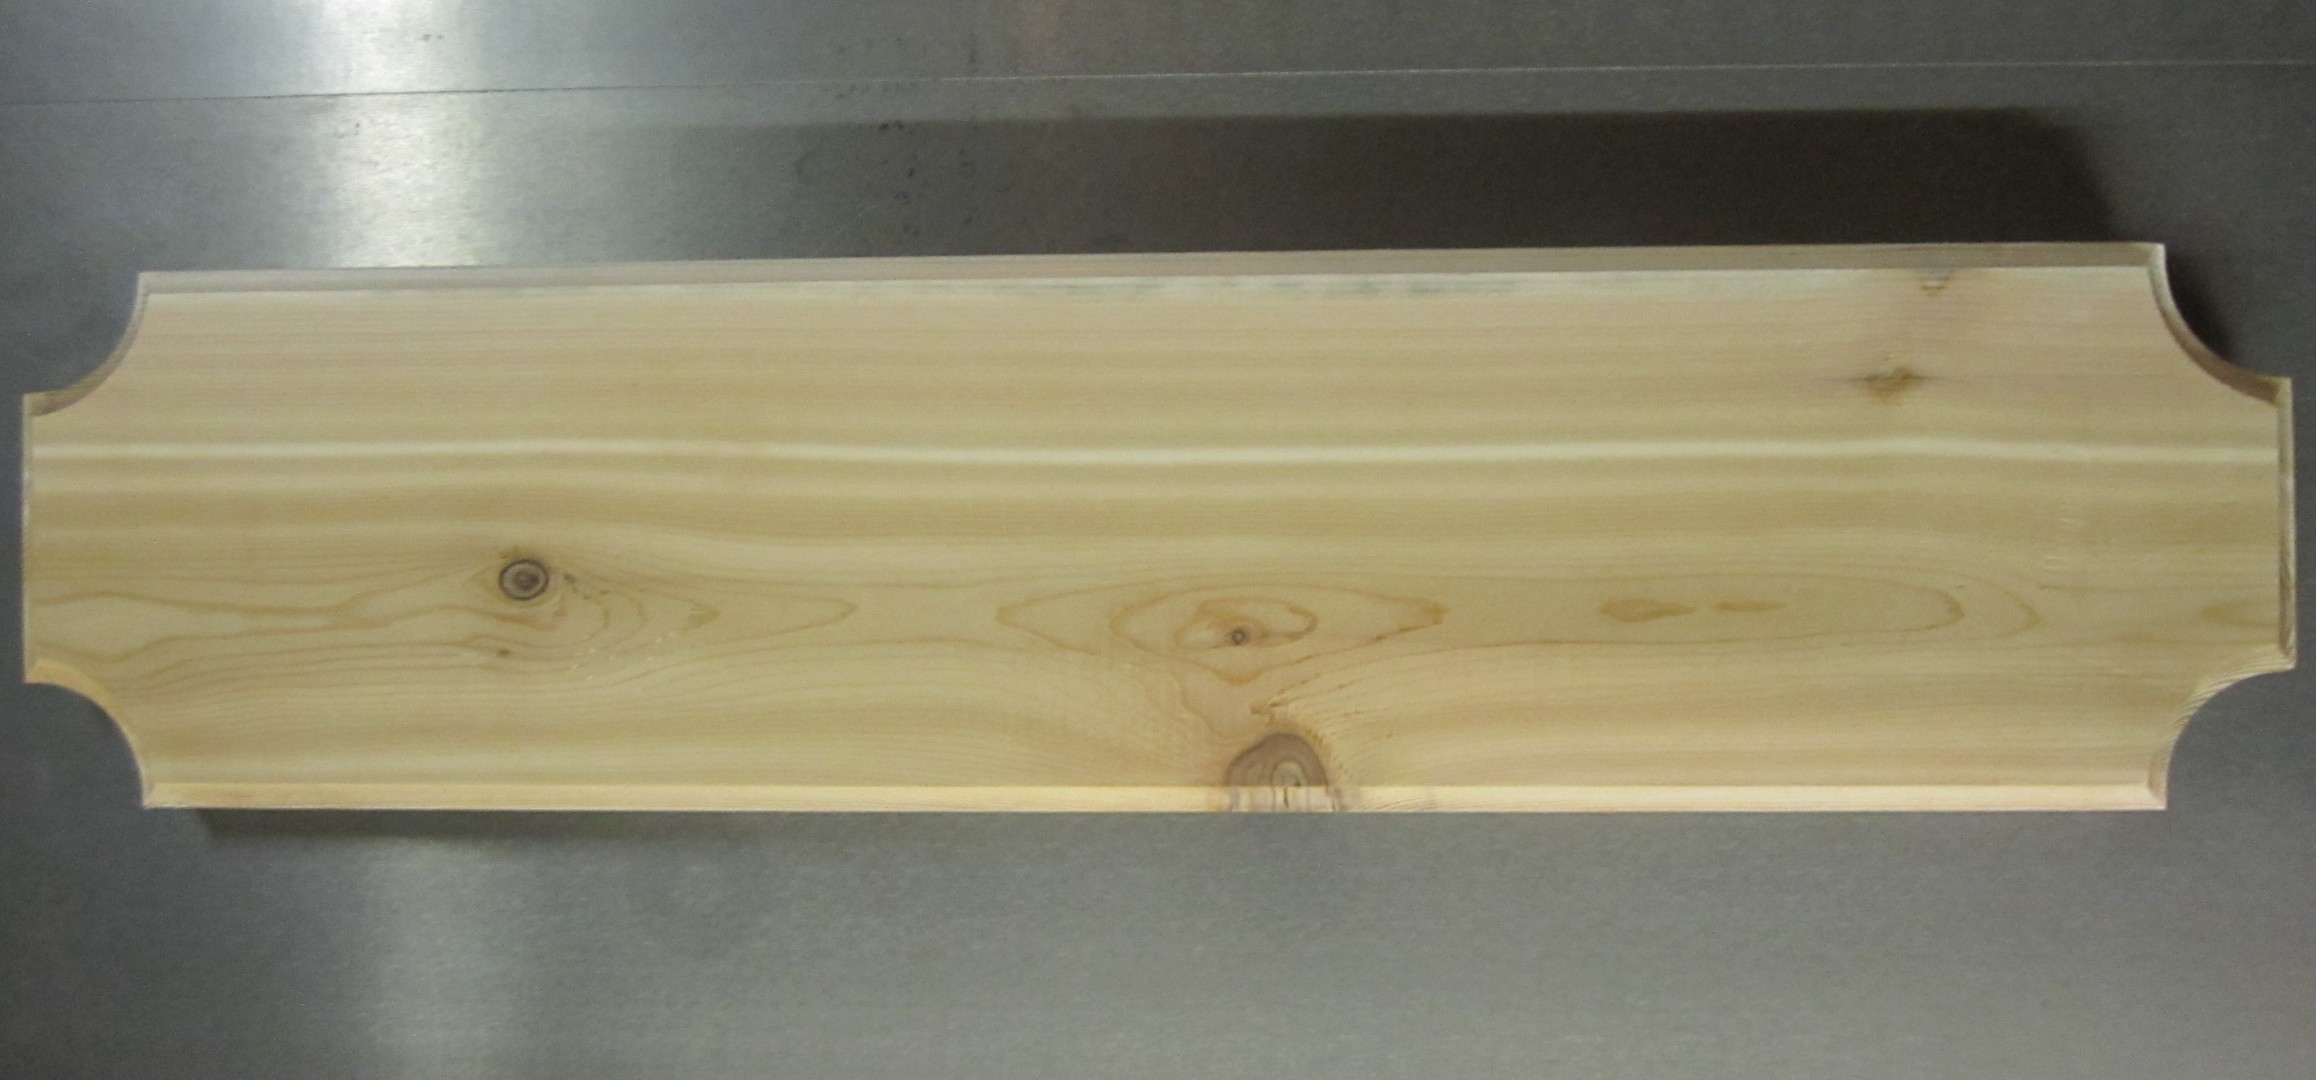
For the building of the sign “Vacancy”, a simple board will be enough. It will follow the same steps as for the realization of the sign “Dead & Breakfast” but, in addition, we will cut quarters of an inch circle (2.54 cm) at the 4 corners.
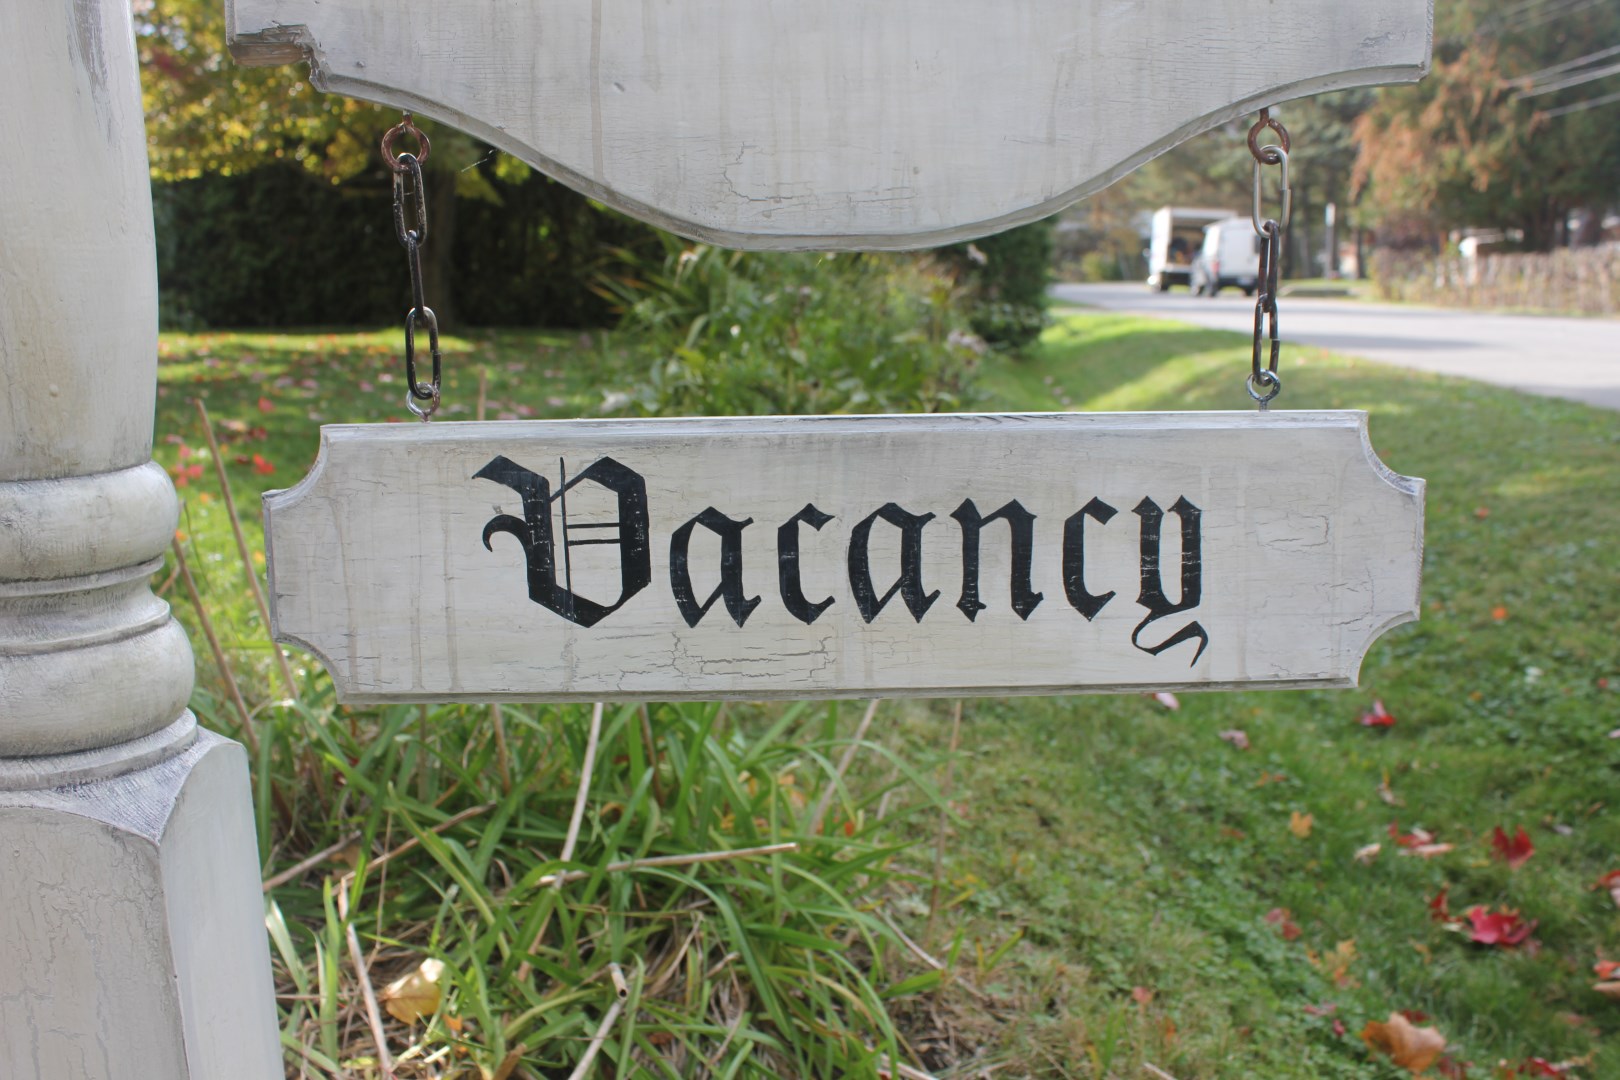
Both sides of a sign that will welcome the word “Vacancy”.
Here is the final result.
1.4. The Assembly
For the assembly, I used the rings of a rest of chain of lighting that I connected with eyelets and hooks out of stainless steel.
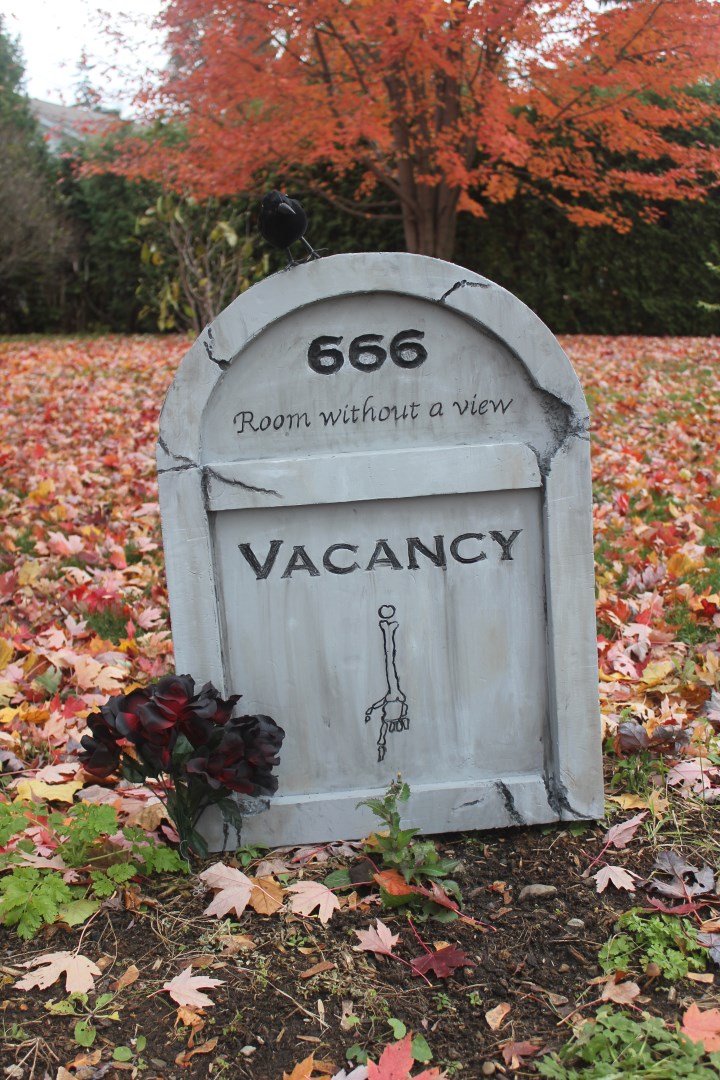
1.5. Finishing
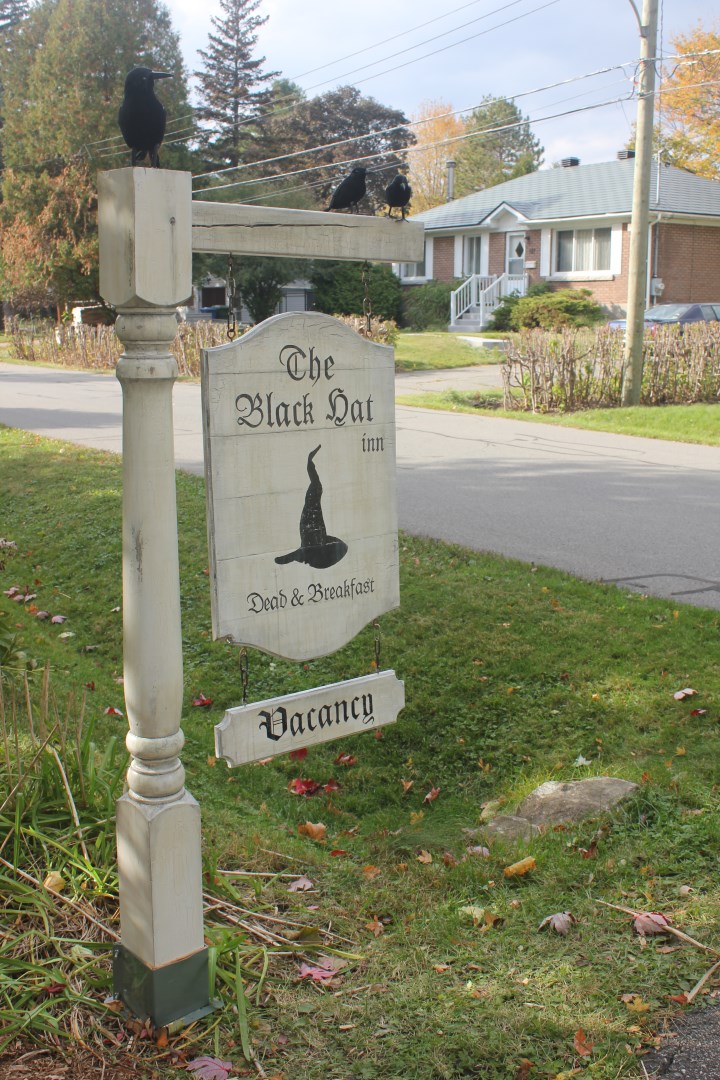
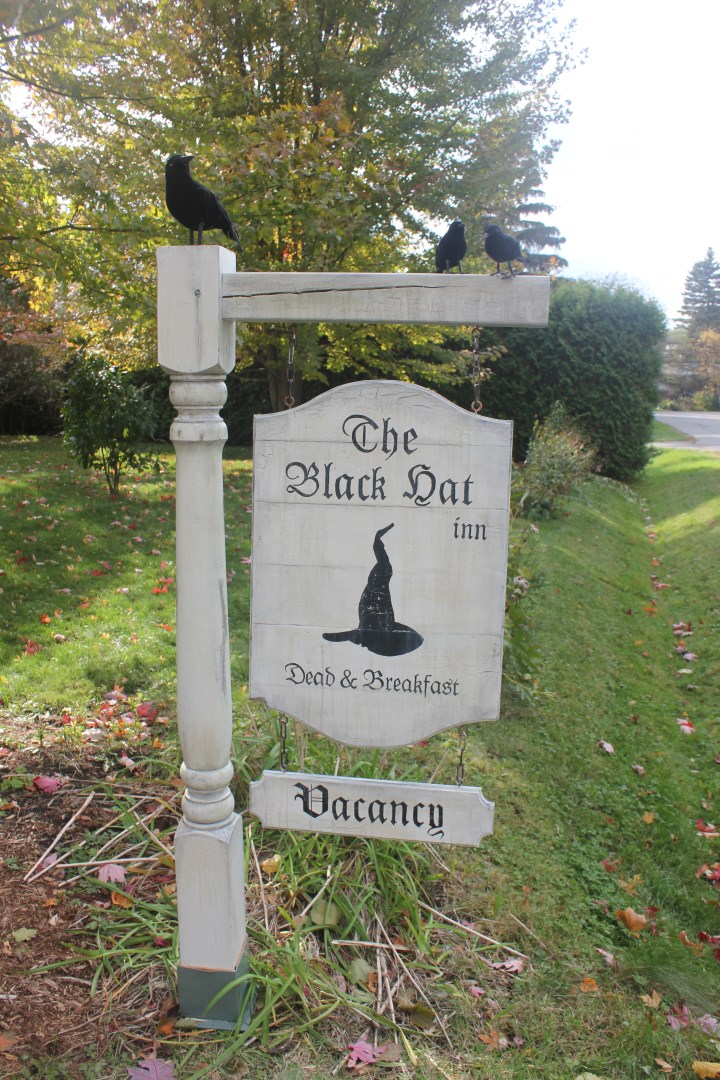
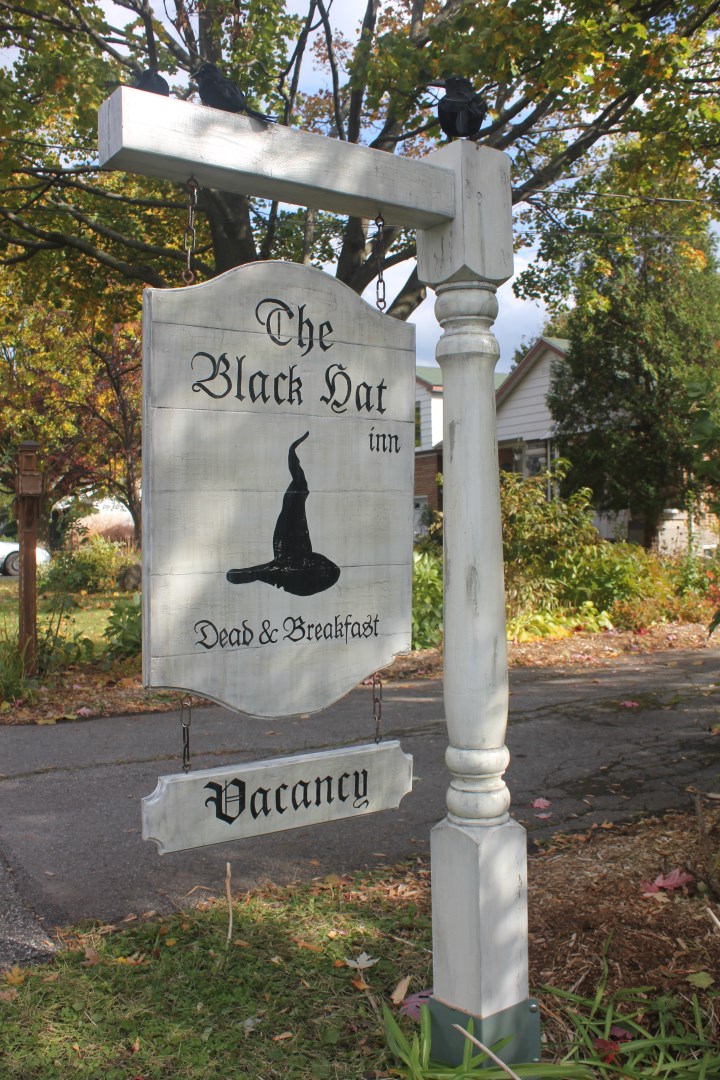
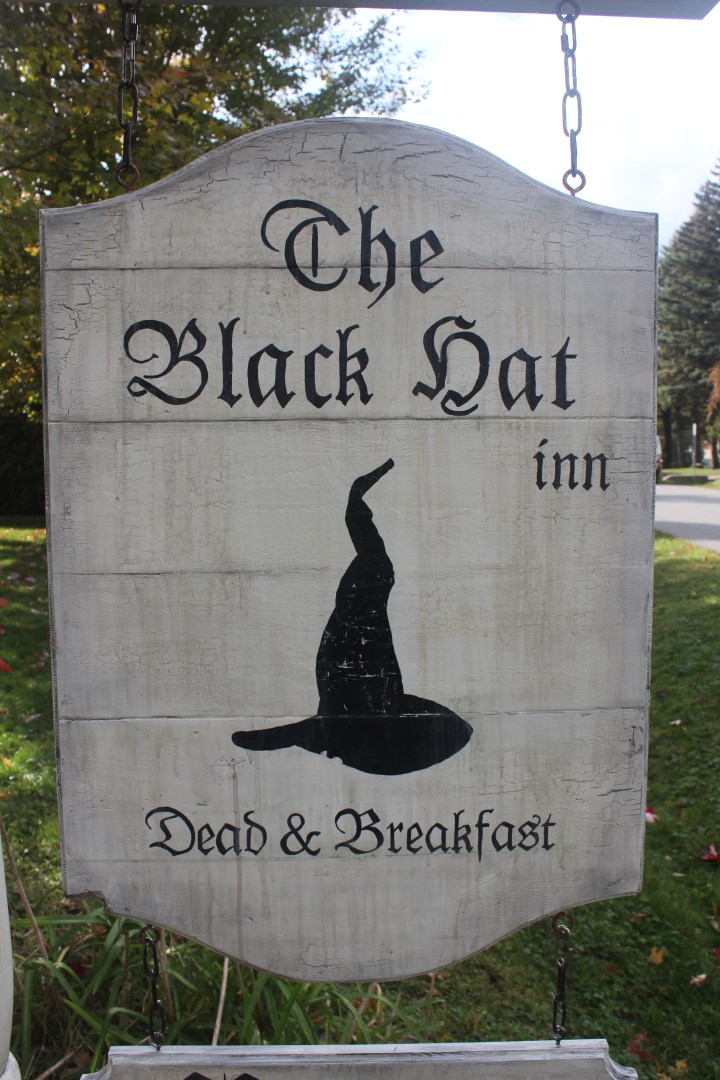
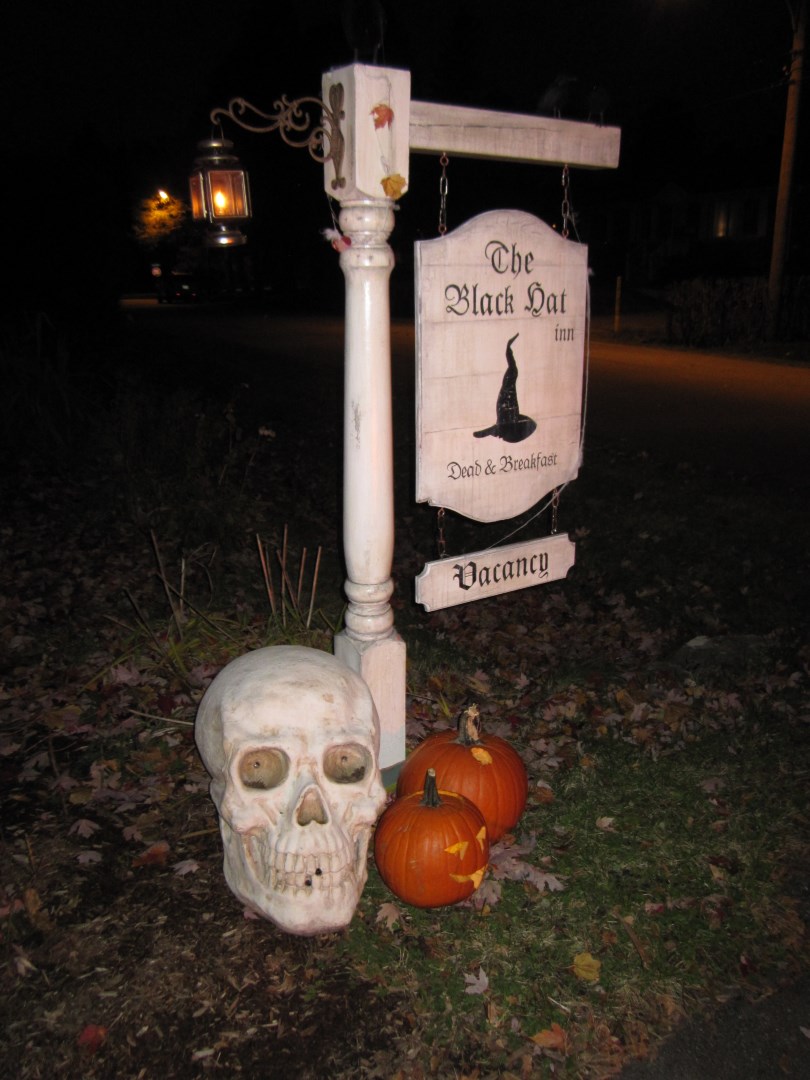
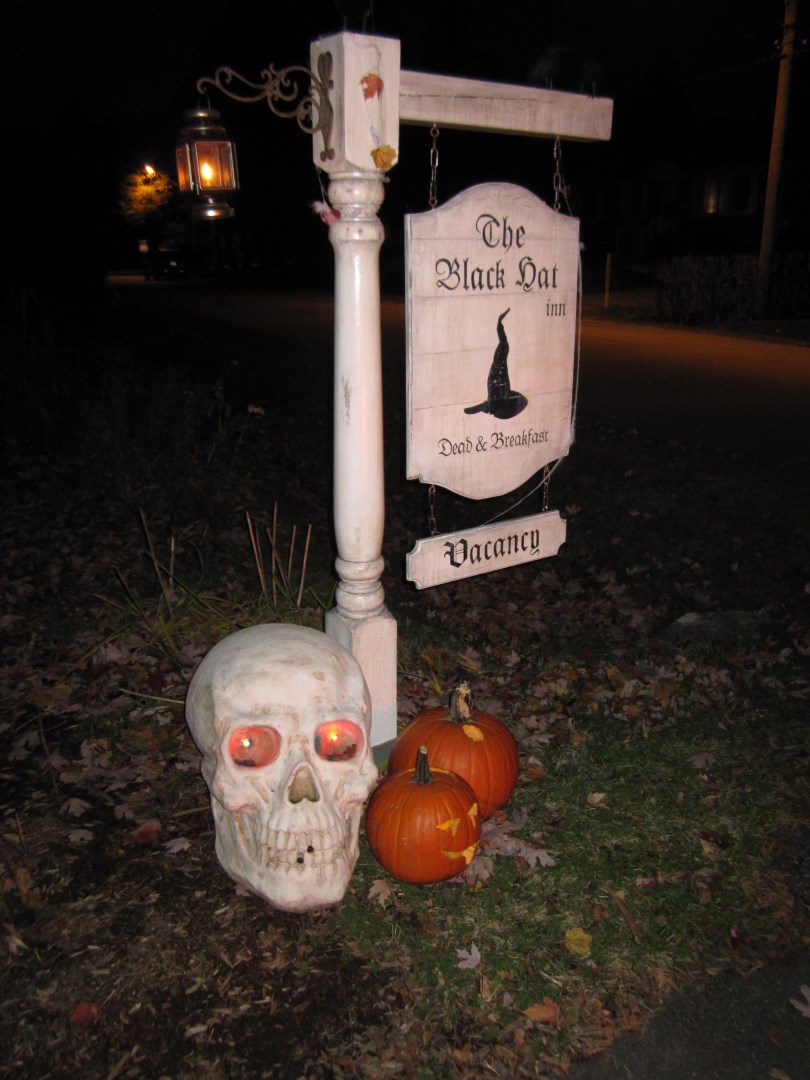
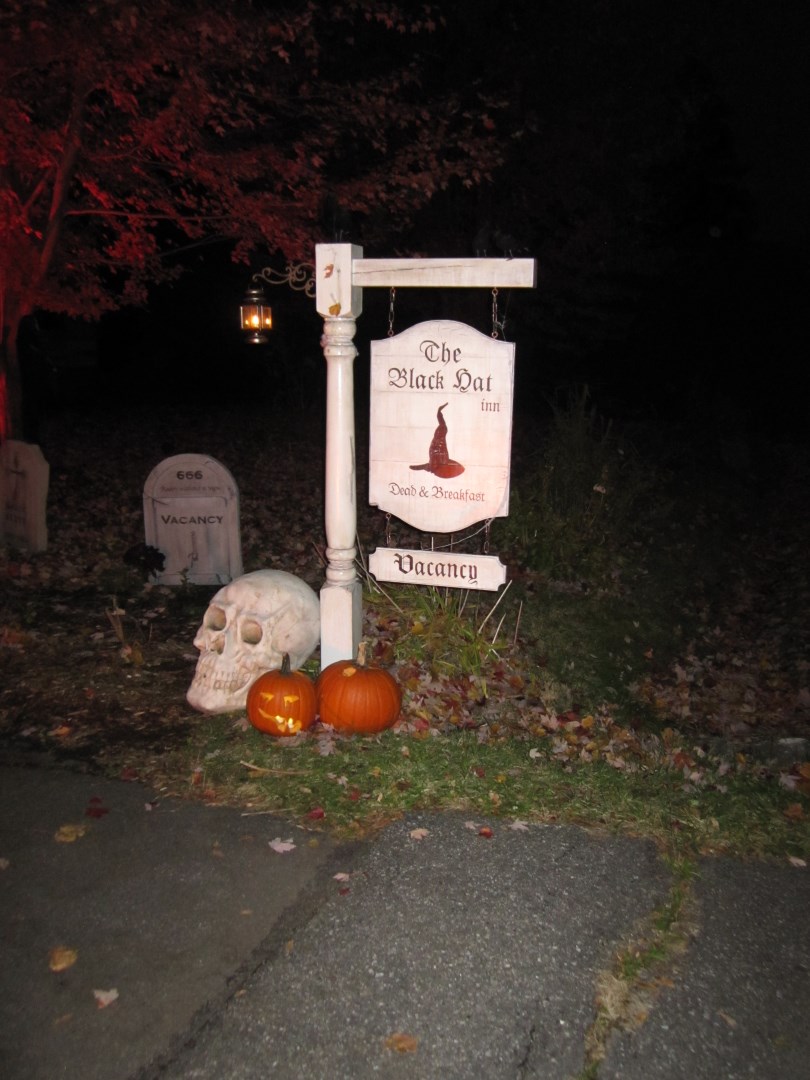
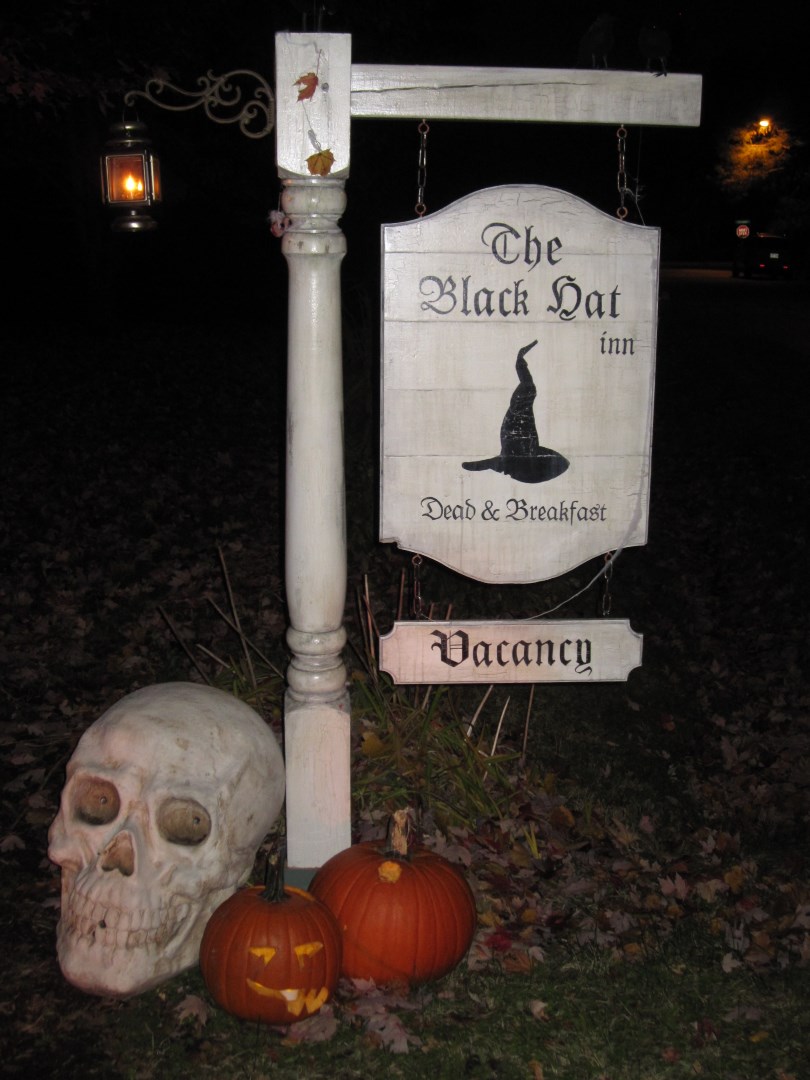
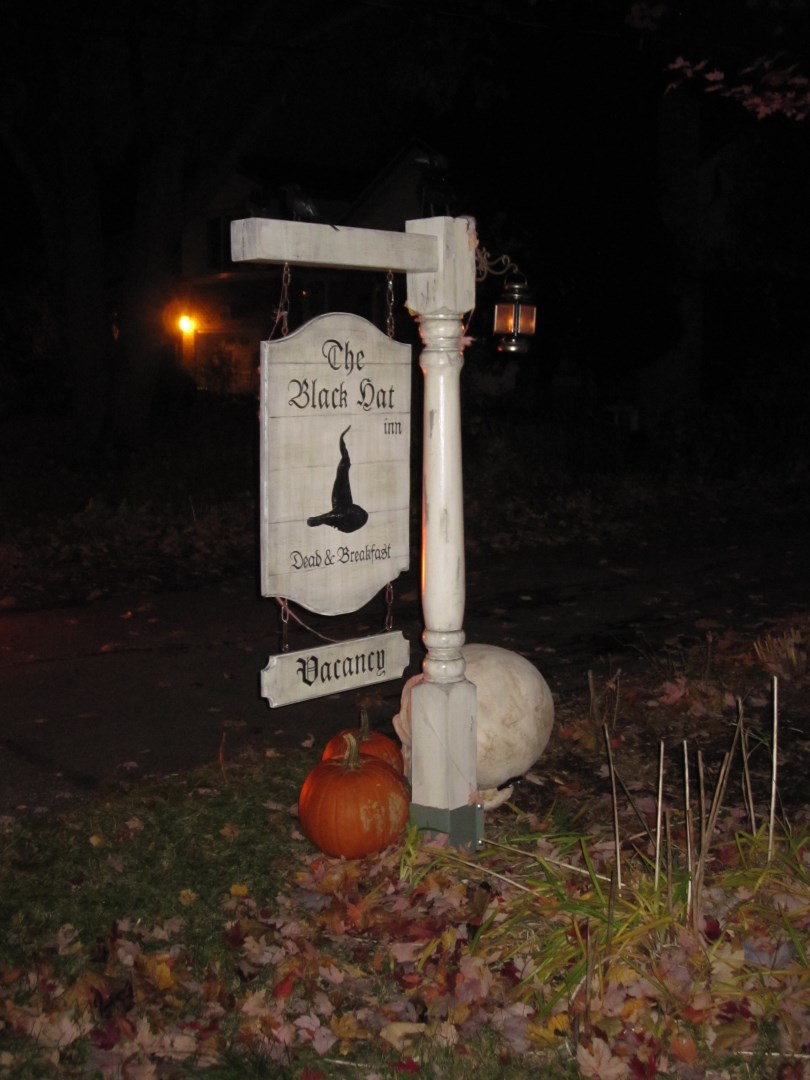
Here is the domain of my little wizard. We were a bit pressed by the time so unfortunately we did not have any pictures of the steps. We lightly sanded it all out with #120 paper, applied a coat of primer and then my wife did a great finishing job. She made a dirty white peeling paint. For the steel parts, she gave them a rusty appearance. Finally, she mixed three fonts to get the lettering and the needed style. All, fully performed freehand please. Hats off to The Artist 🙂
I let you judge on the pictures below 🙂
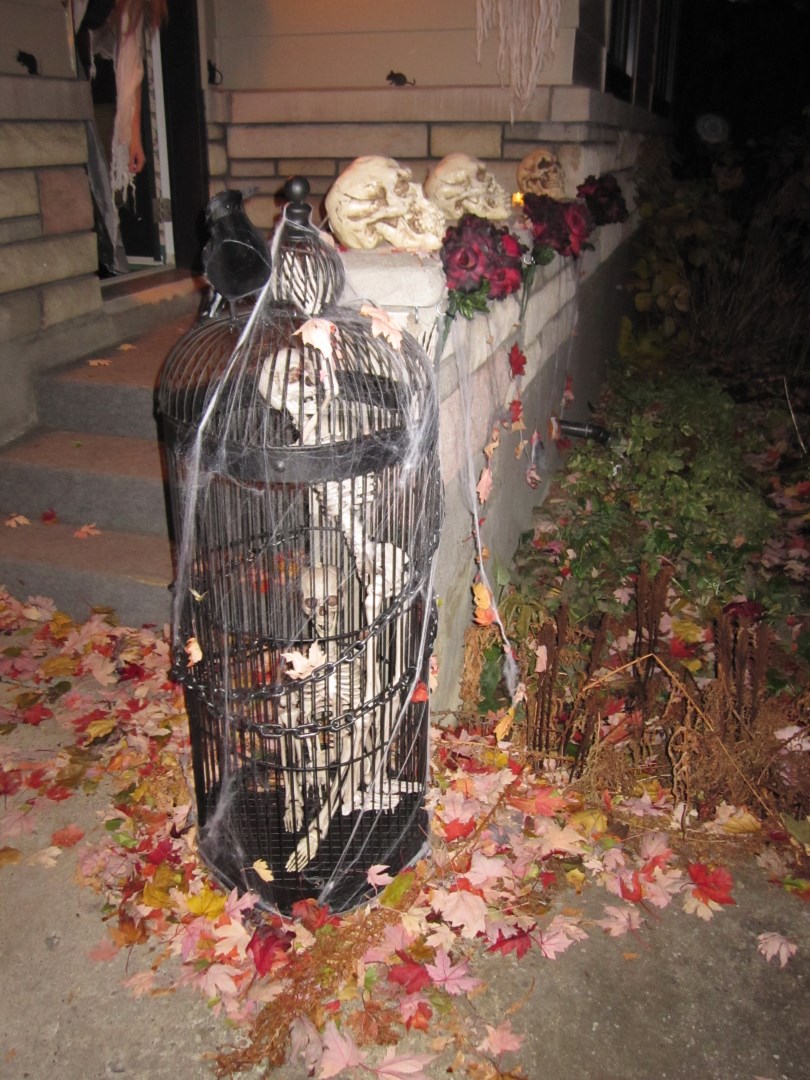
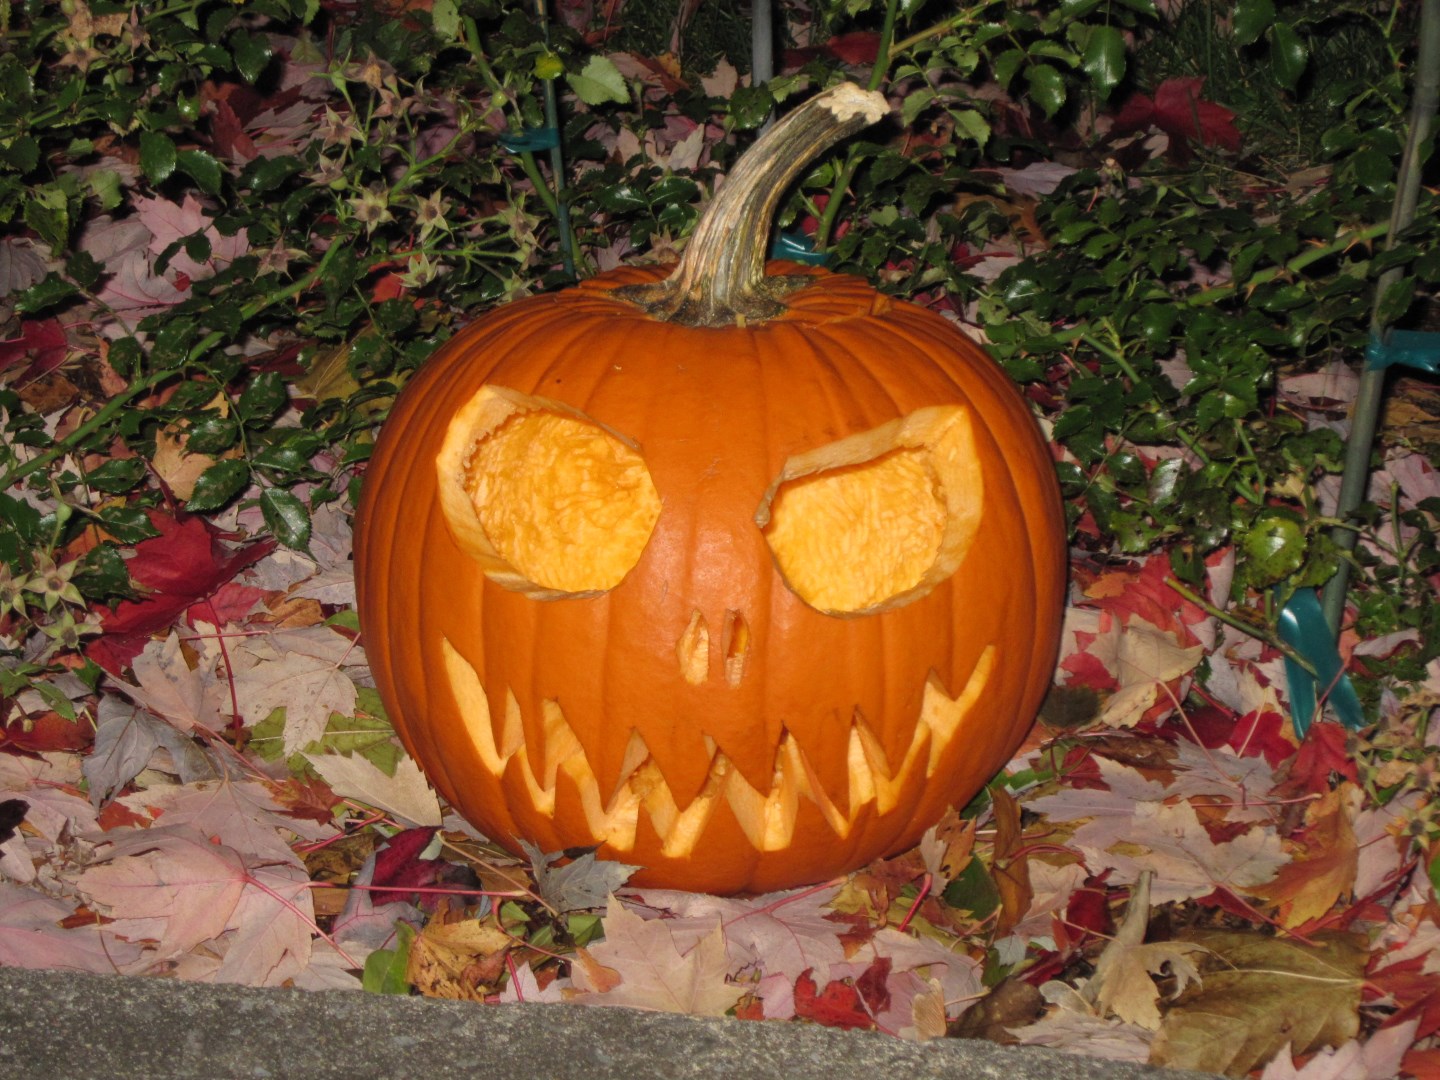
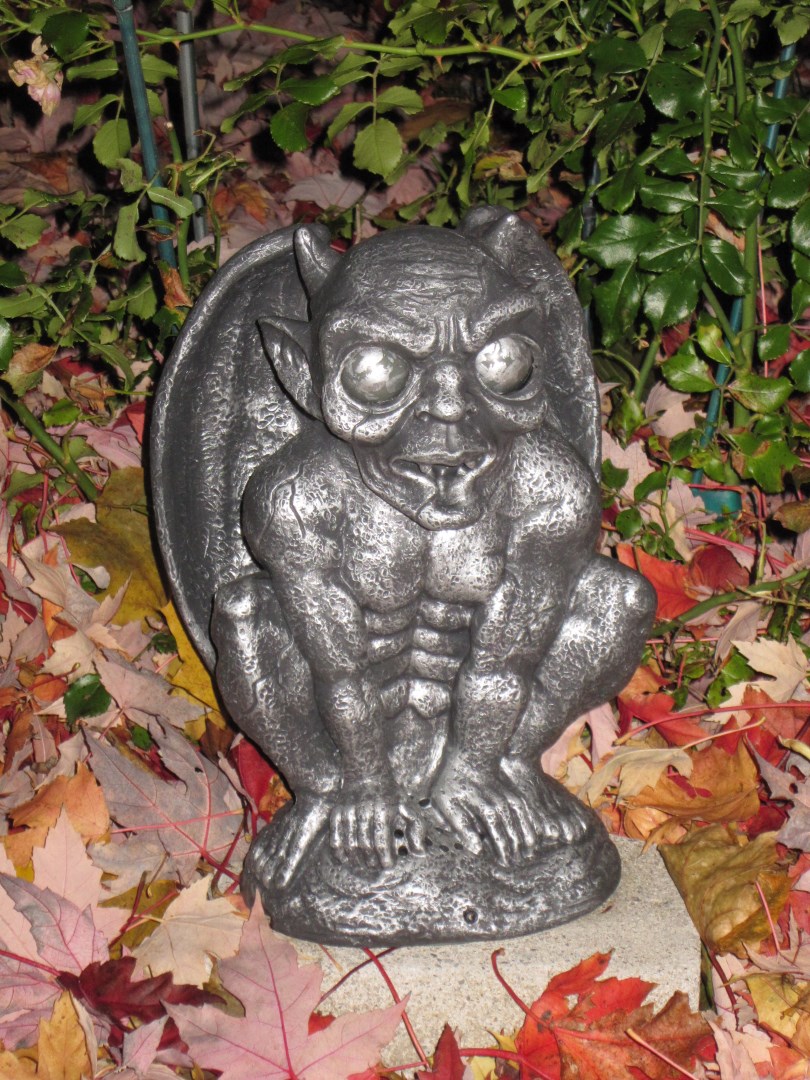
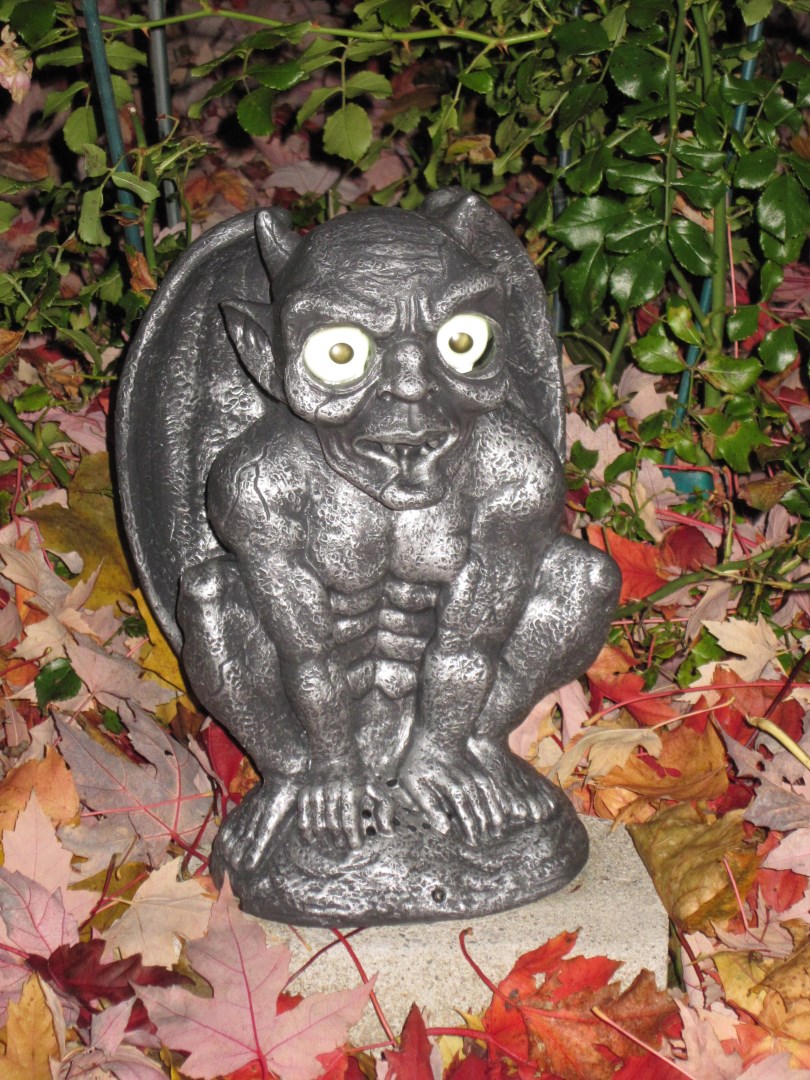
2. We setup the decor...

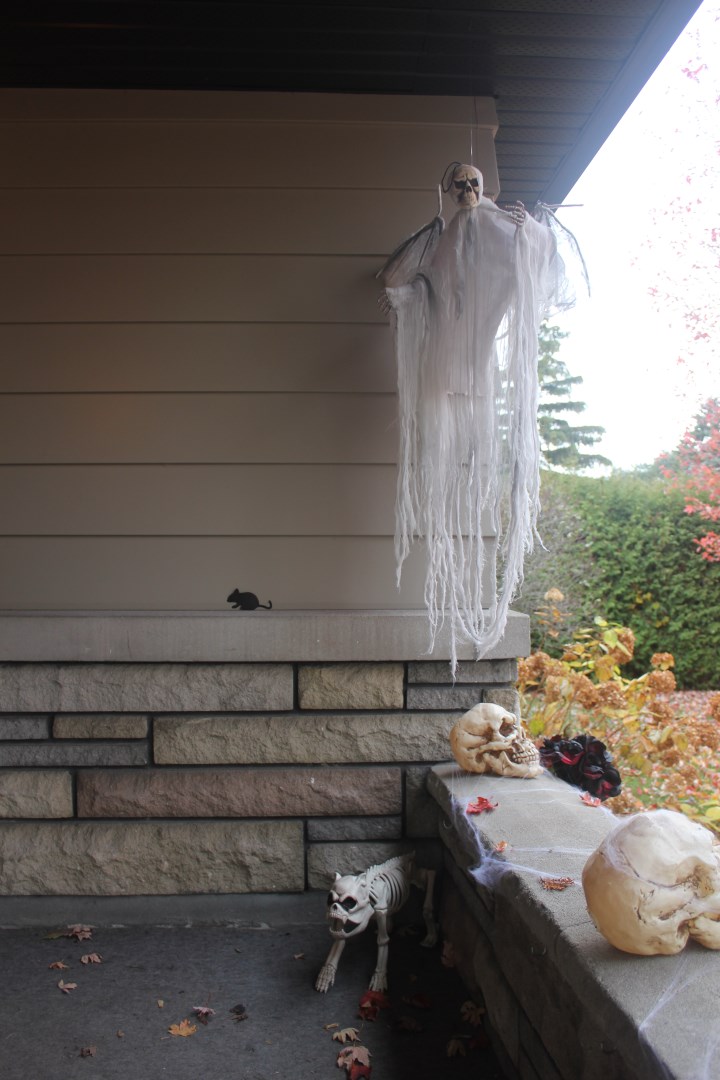
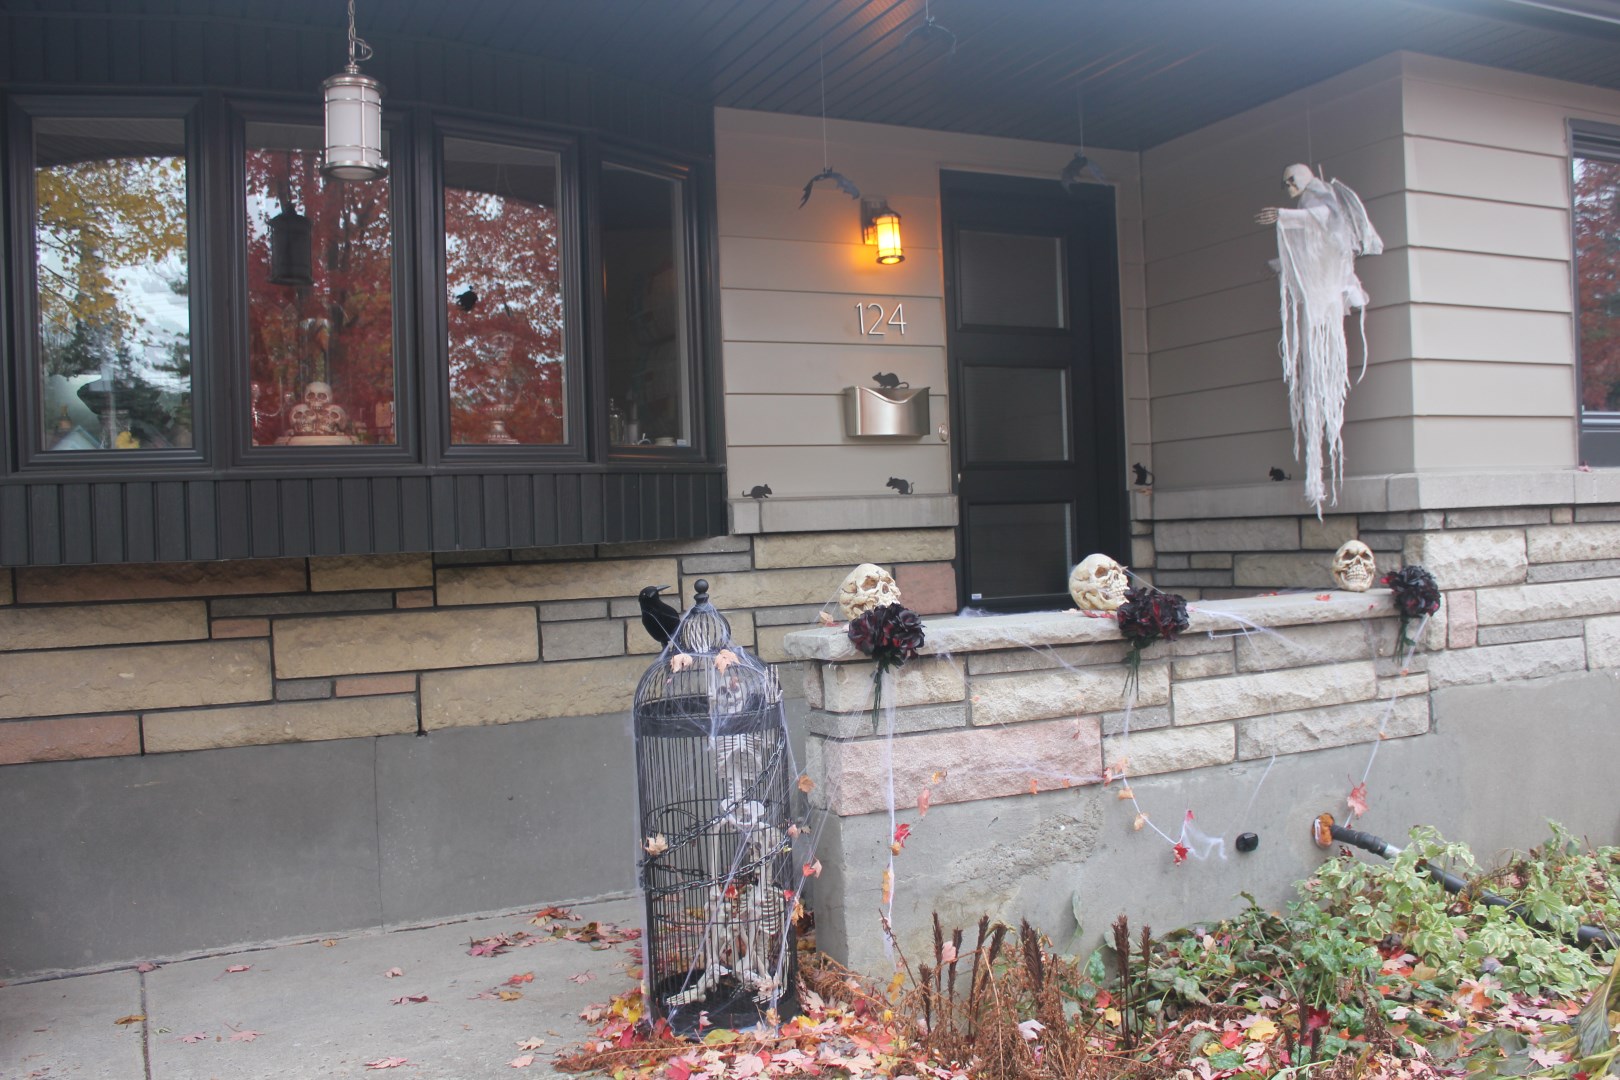
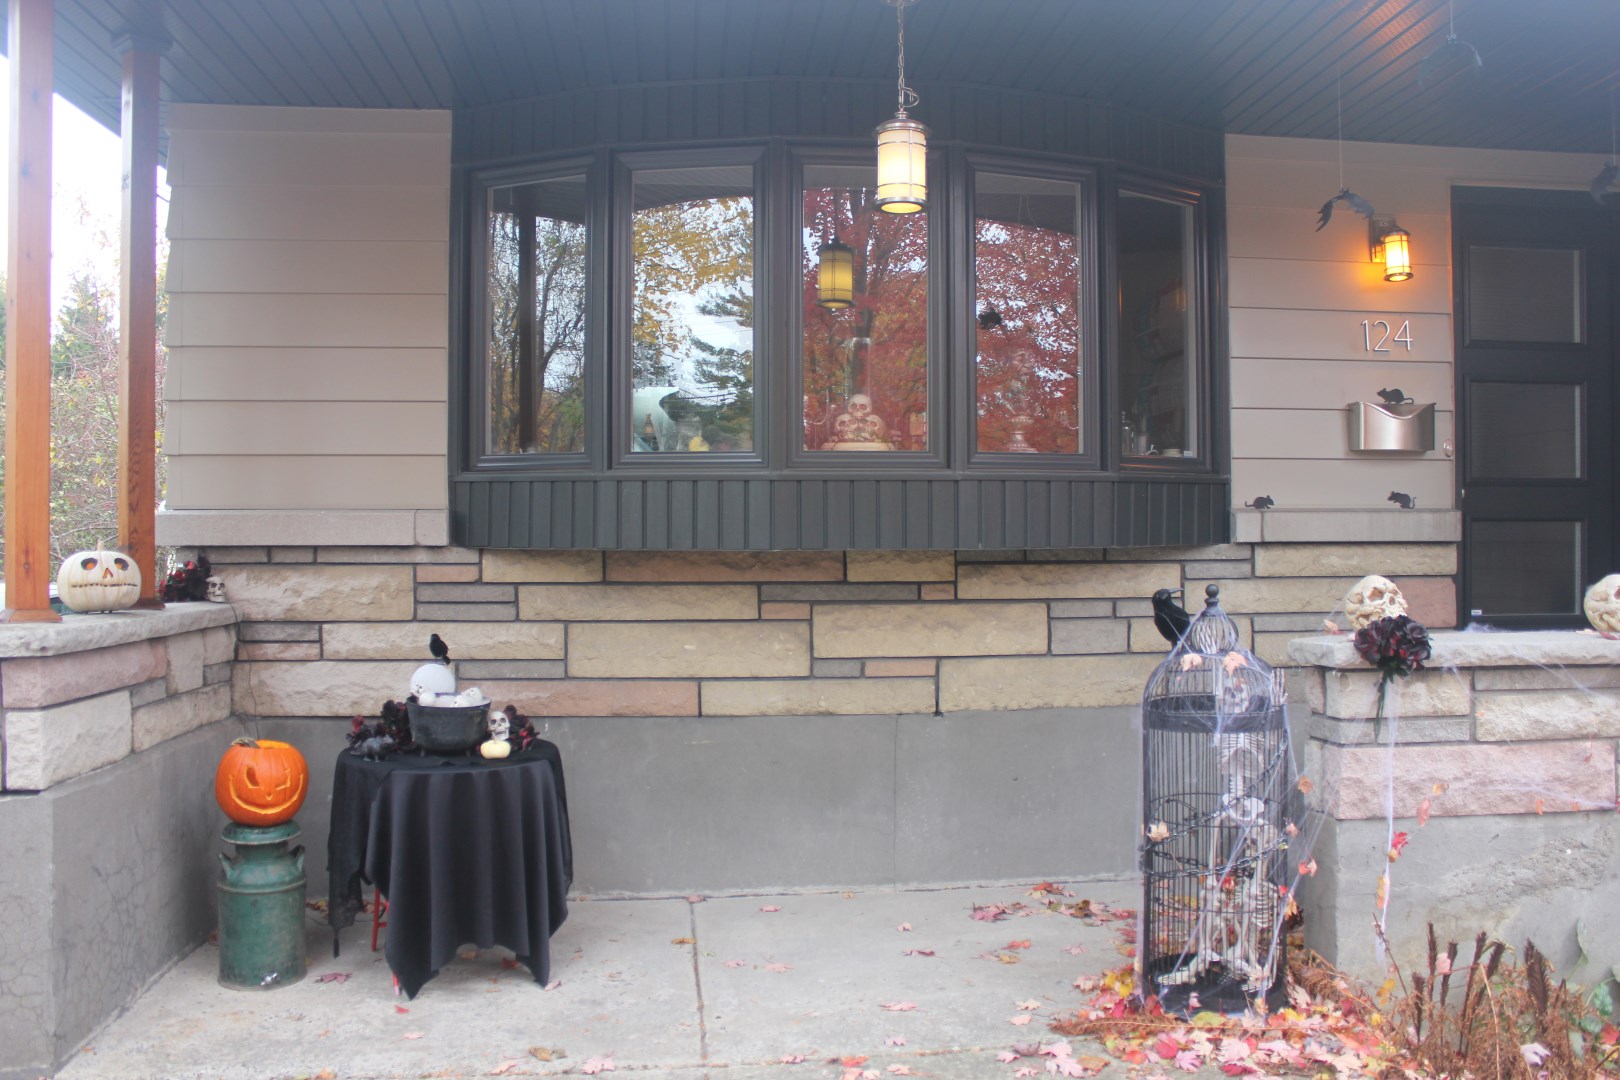
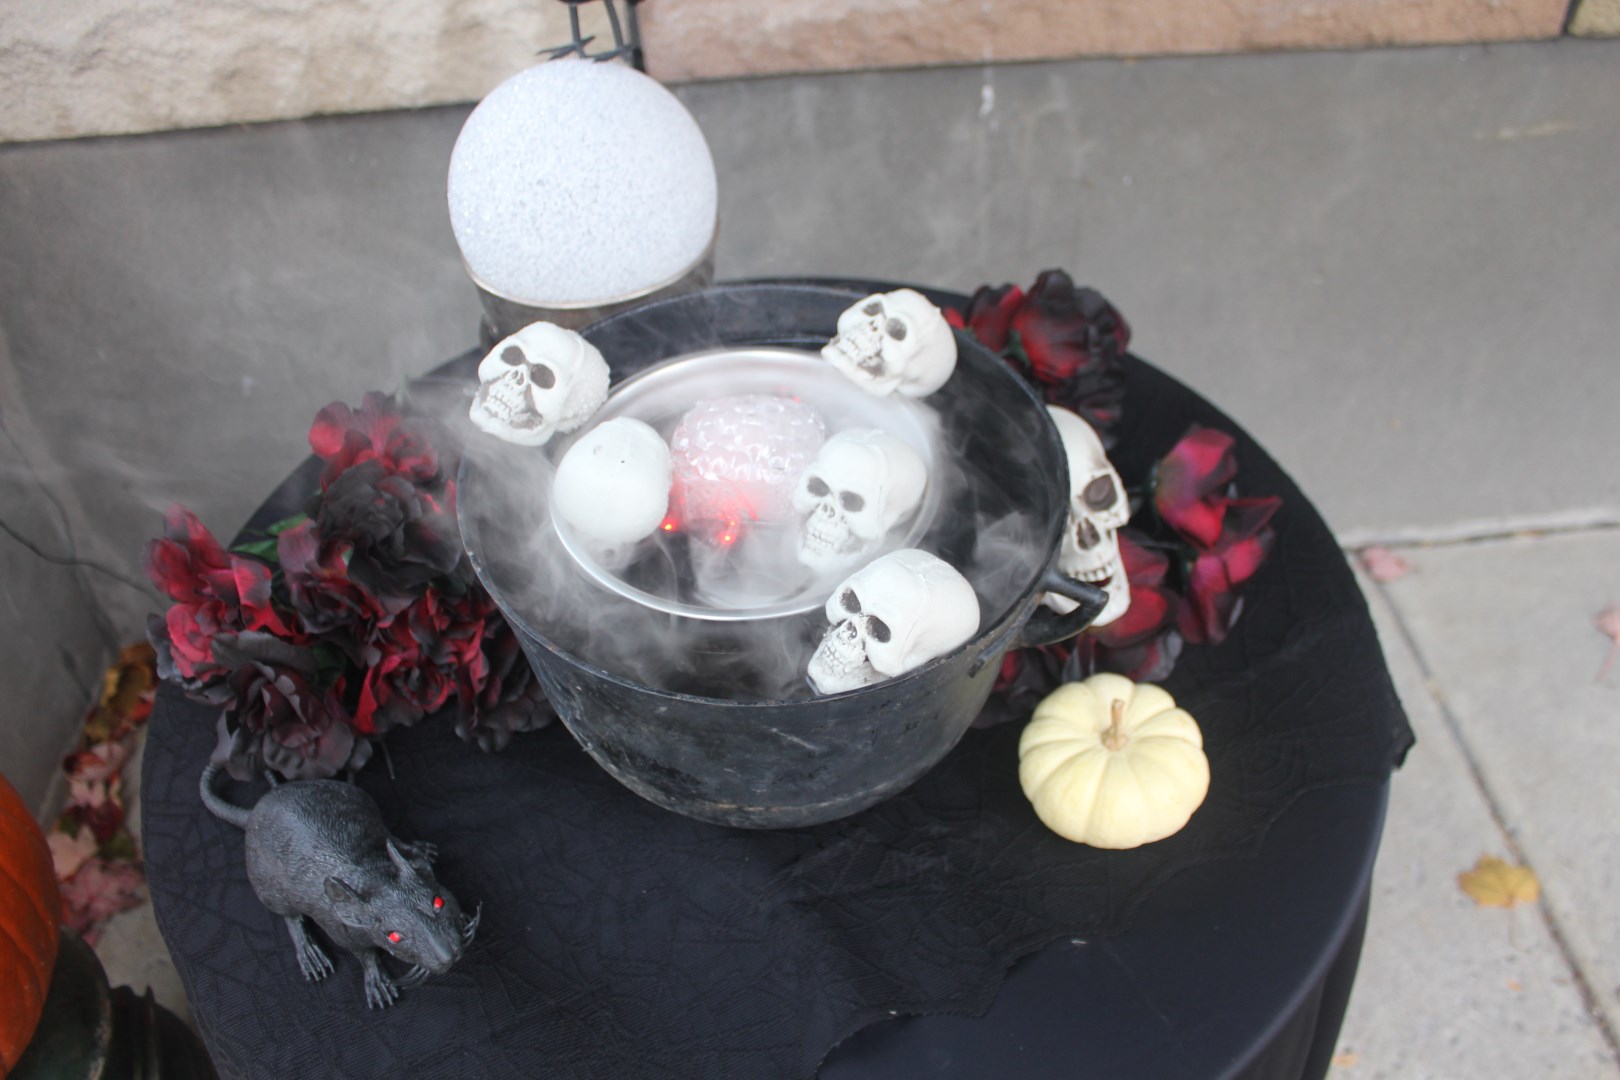
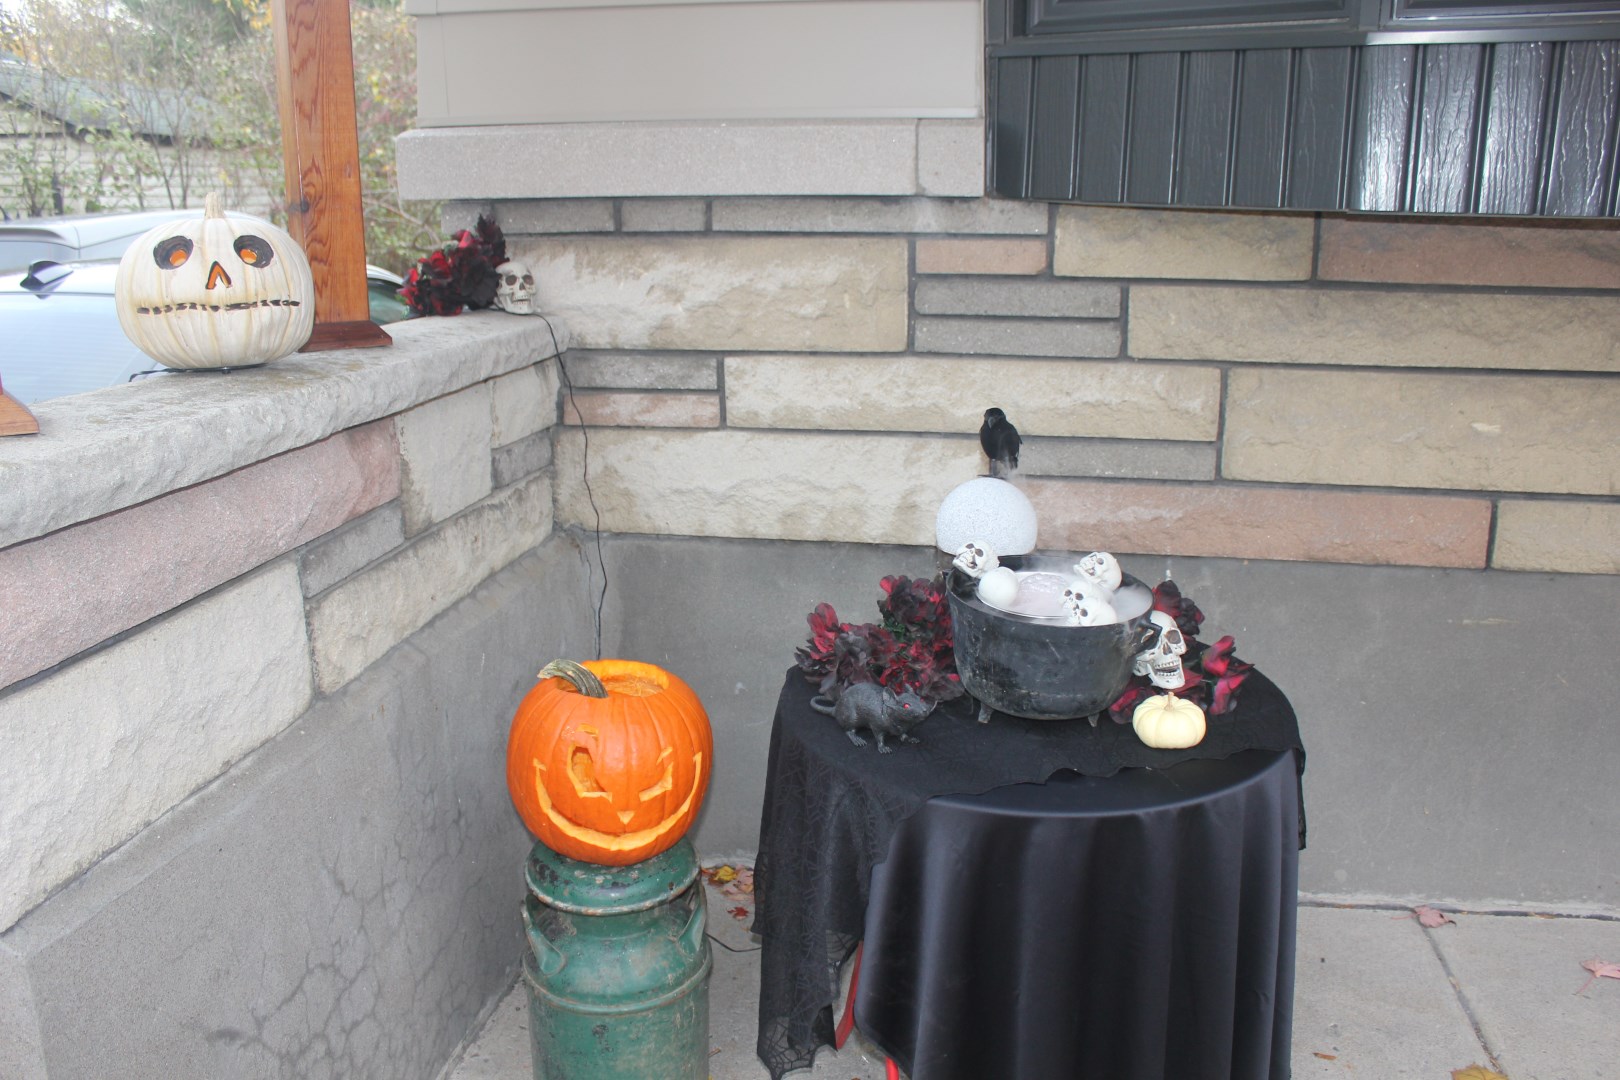
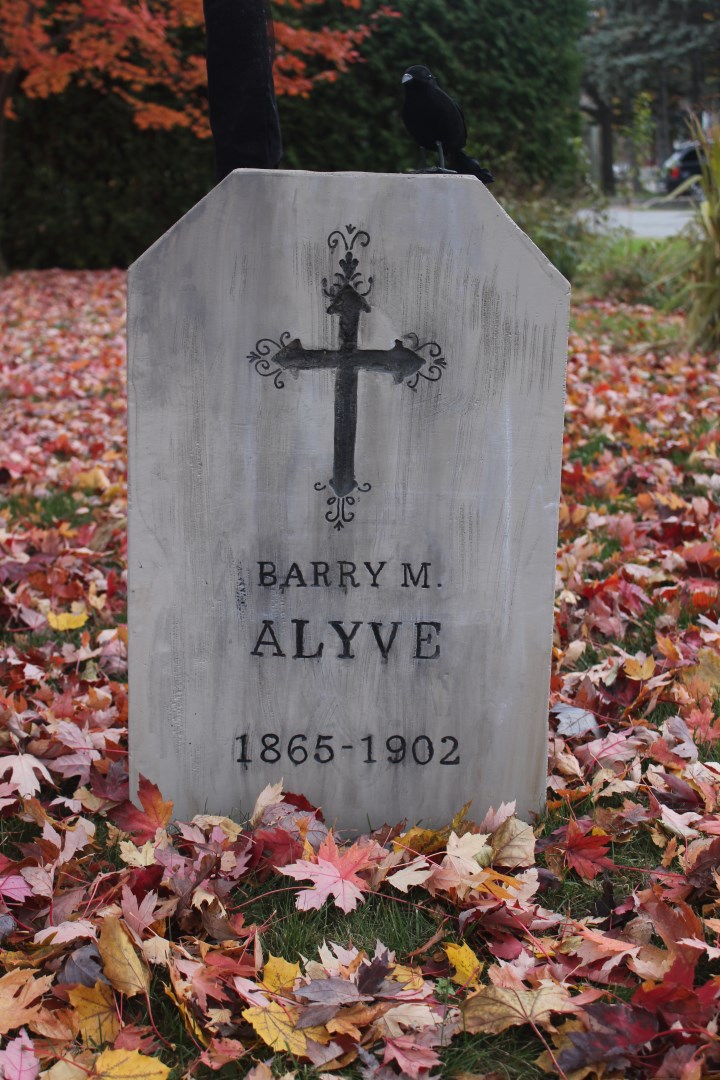
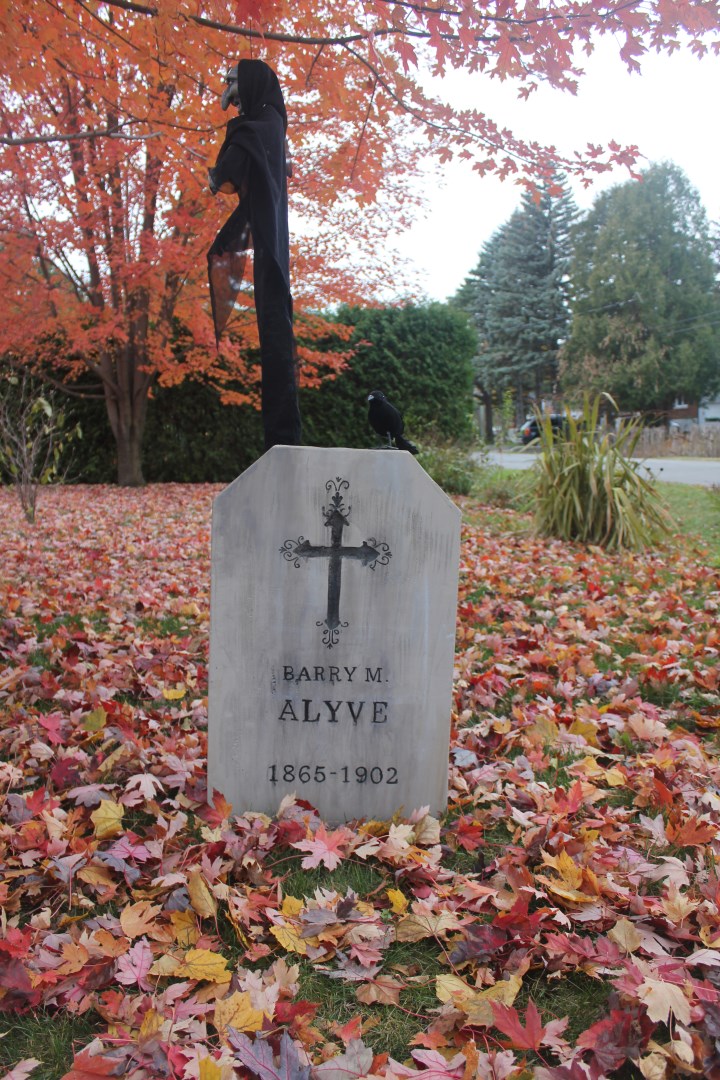
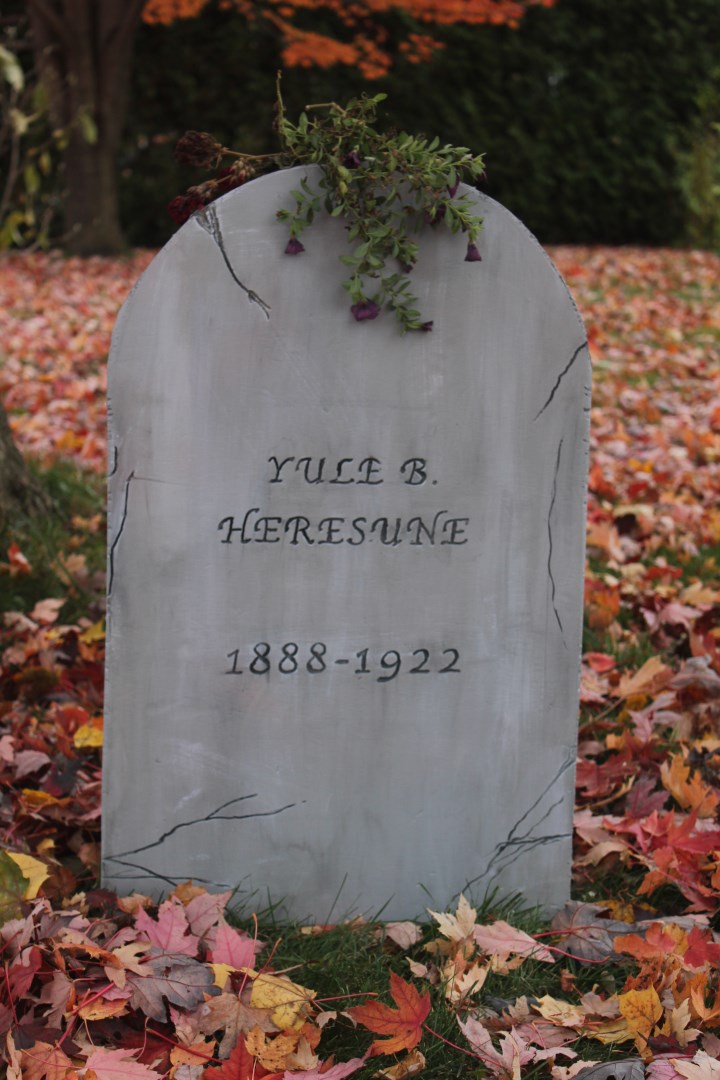
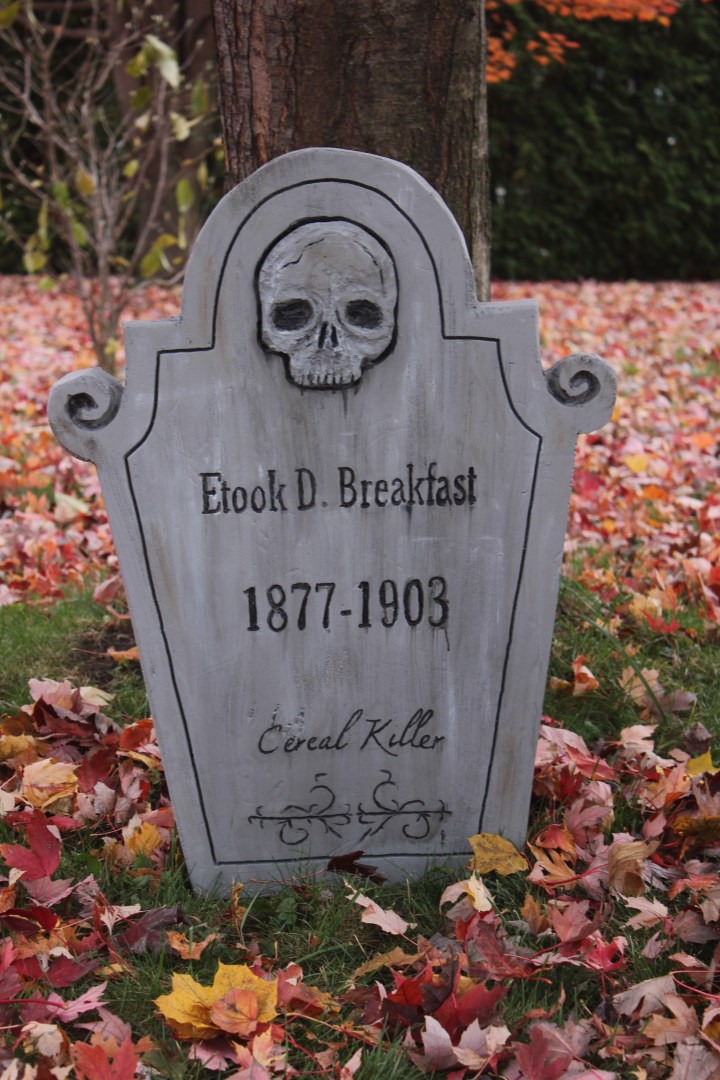
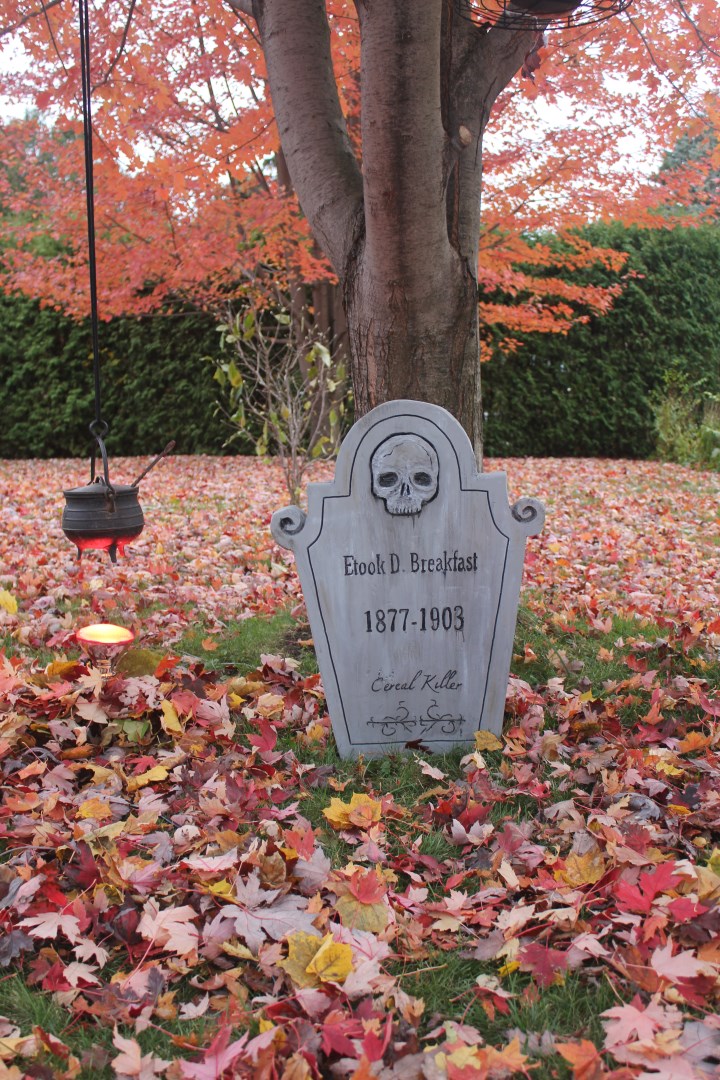
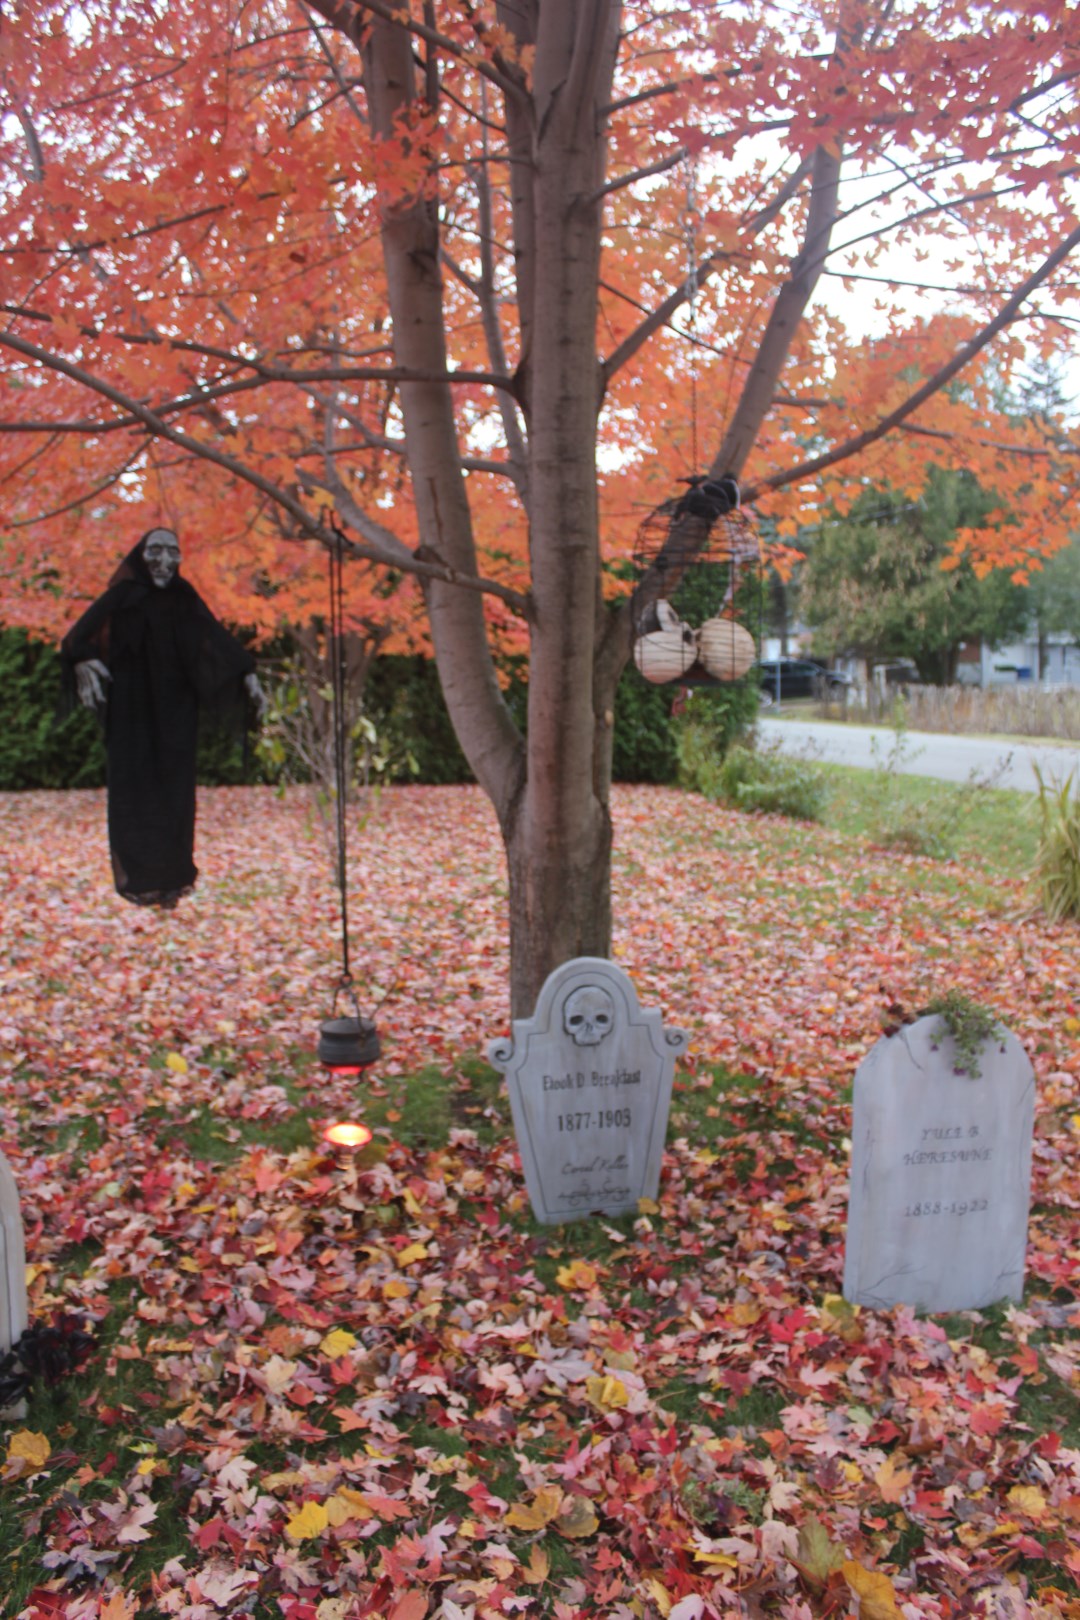
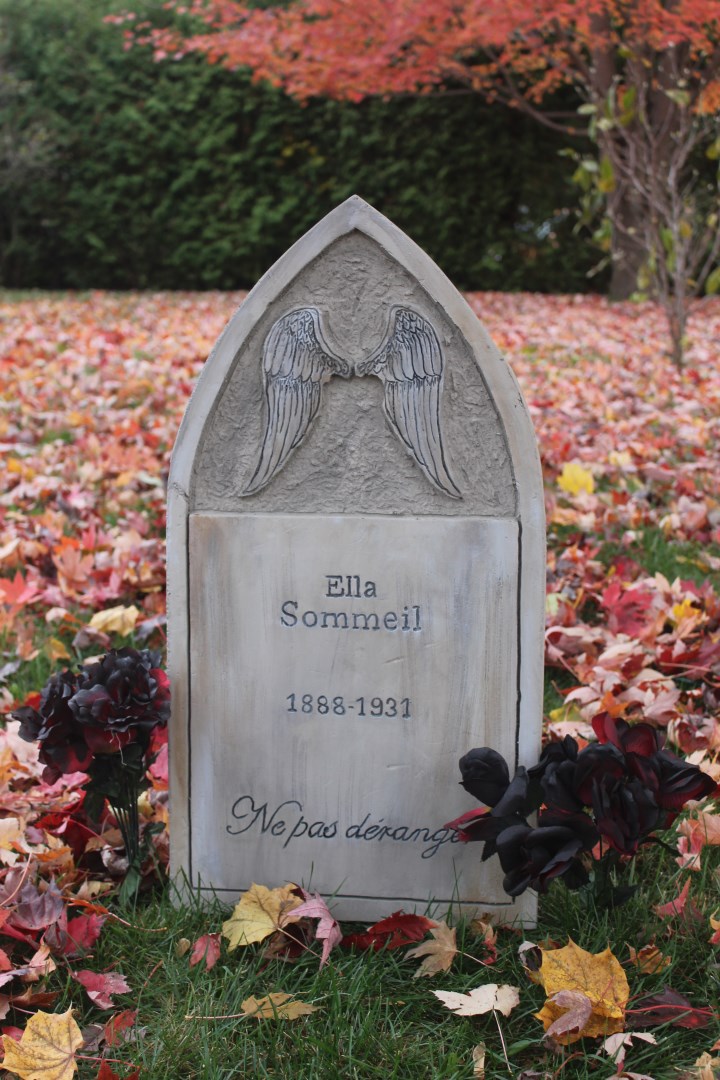
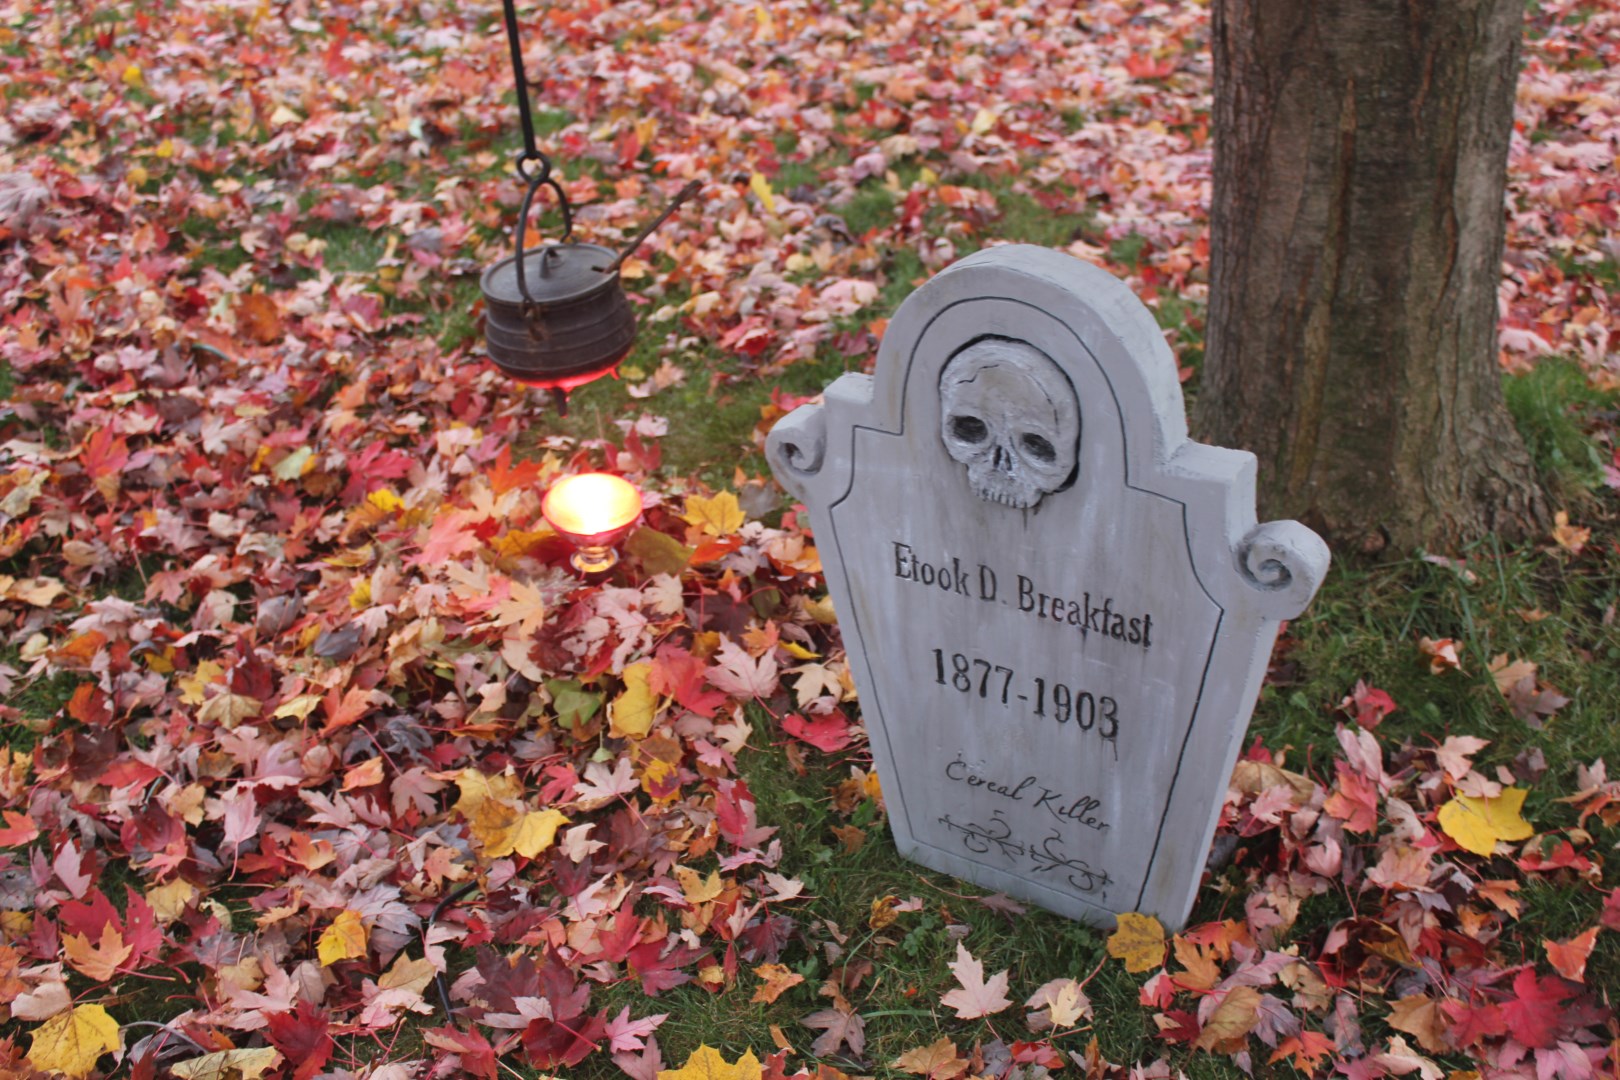
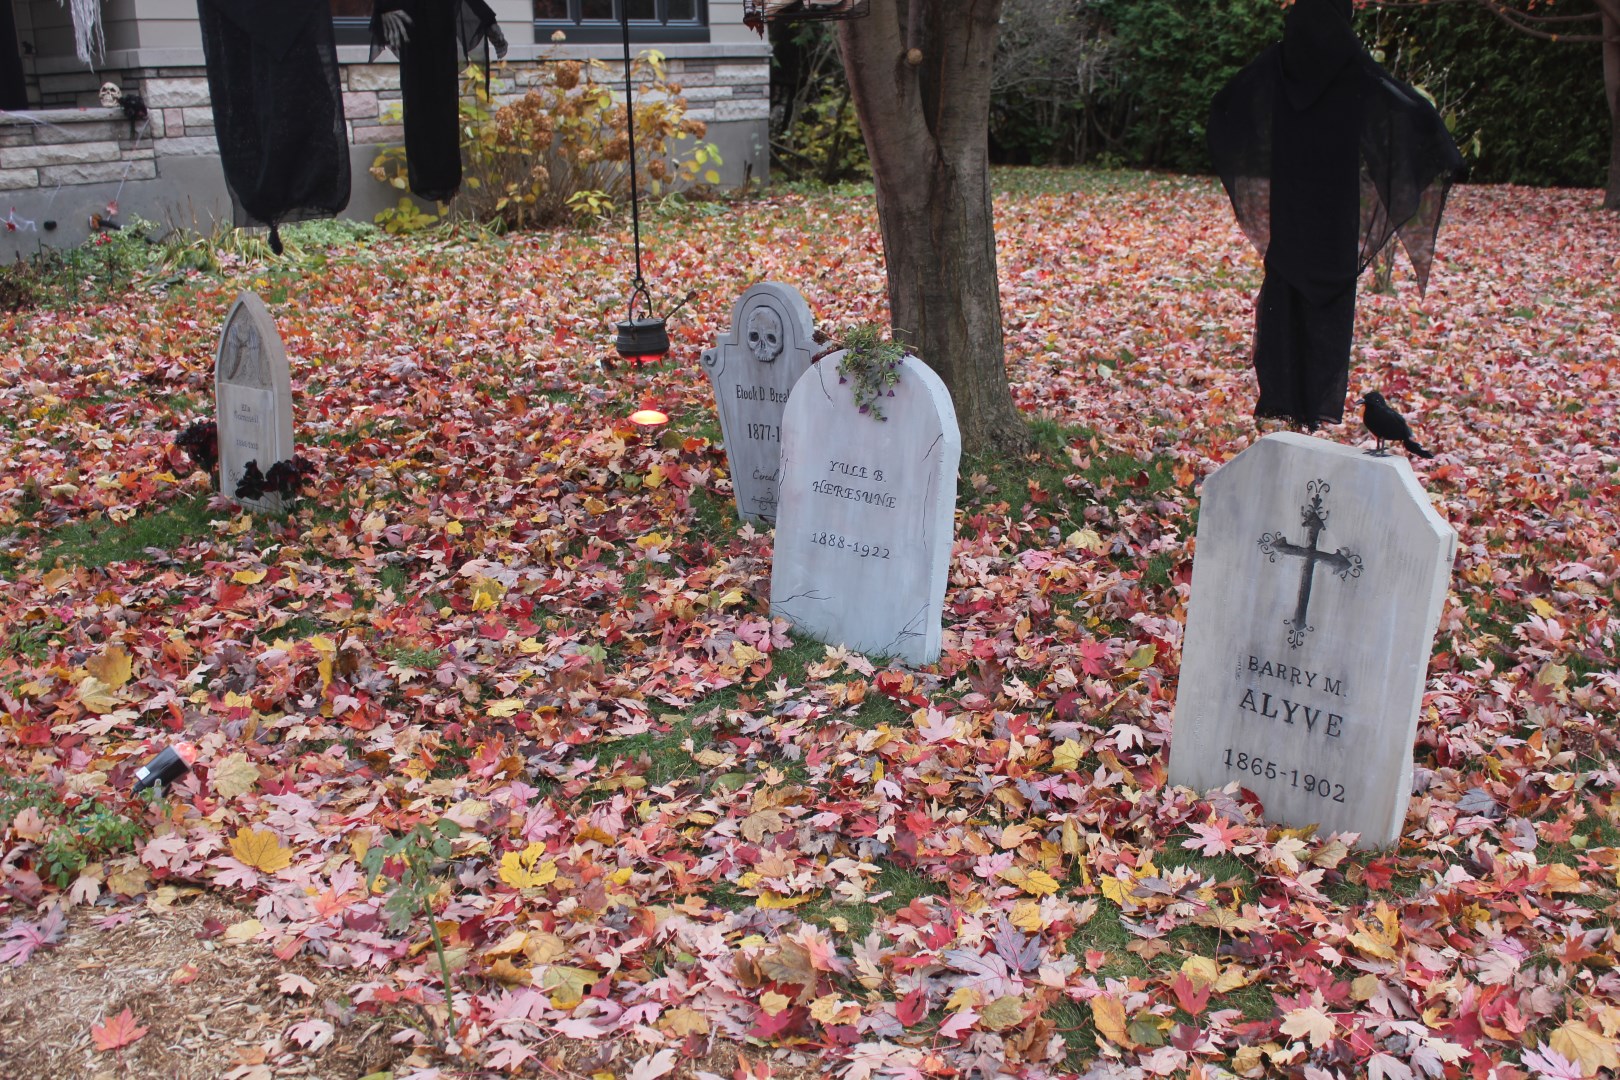
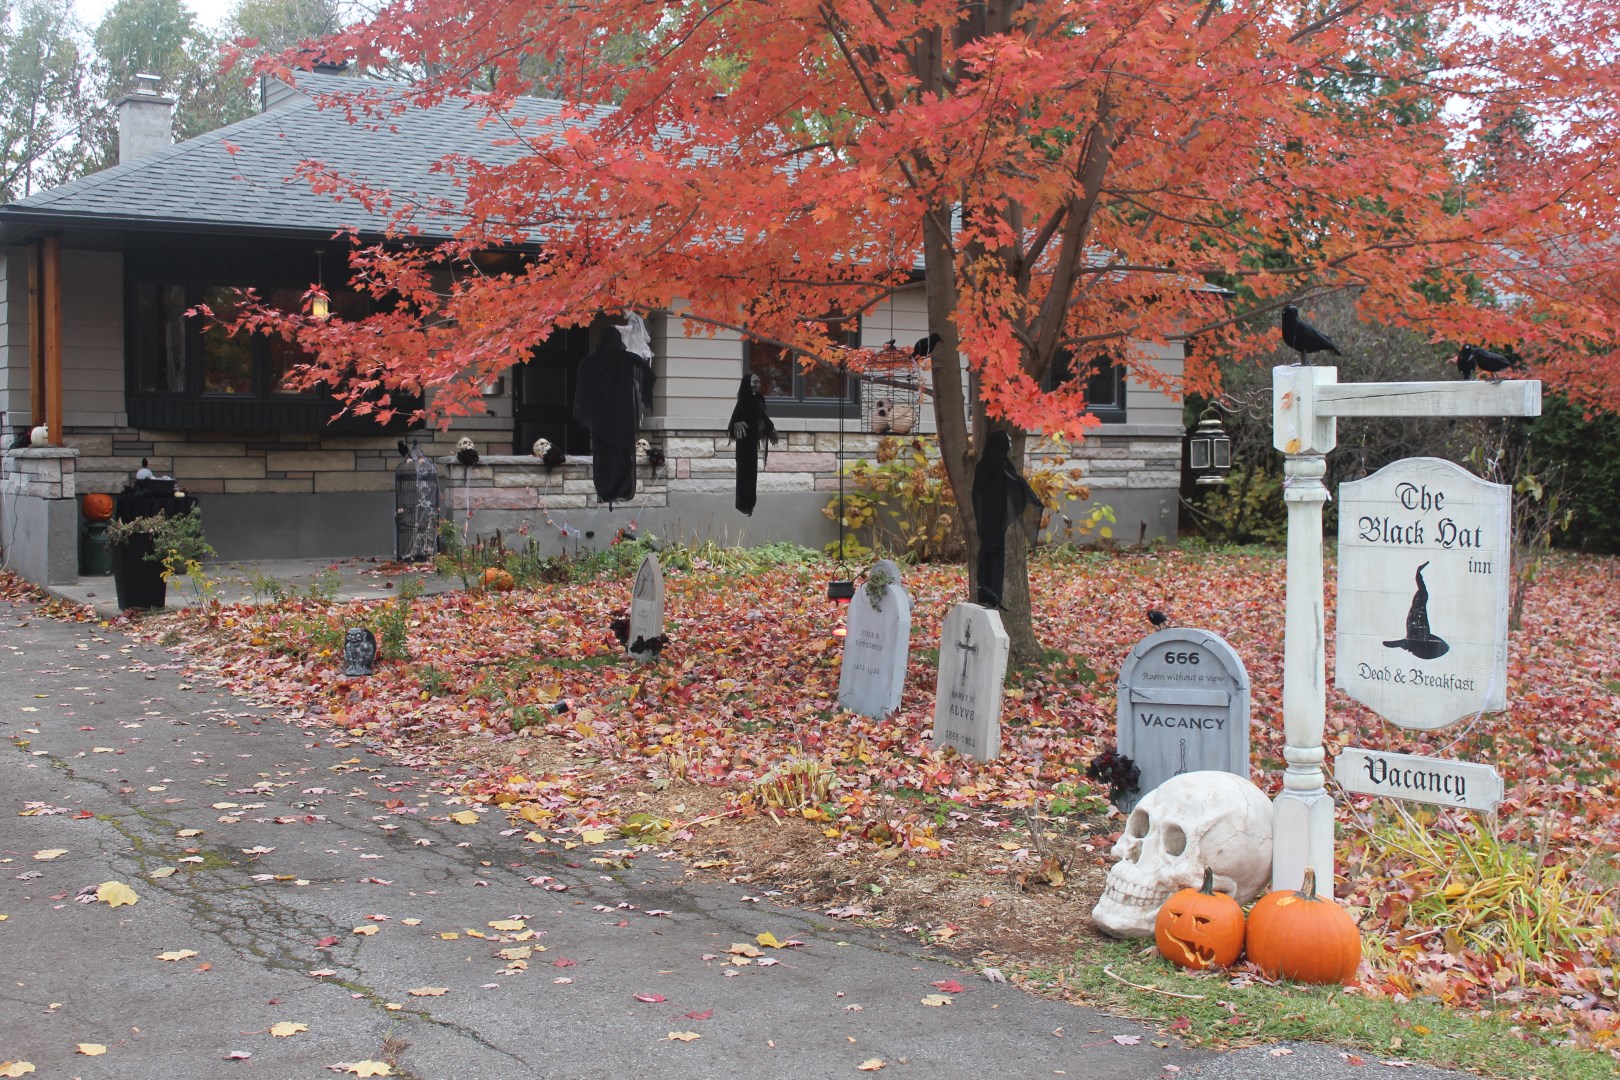
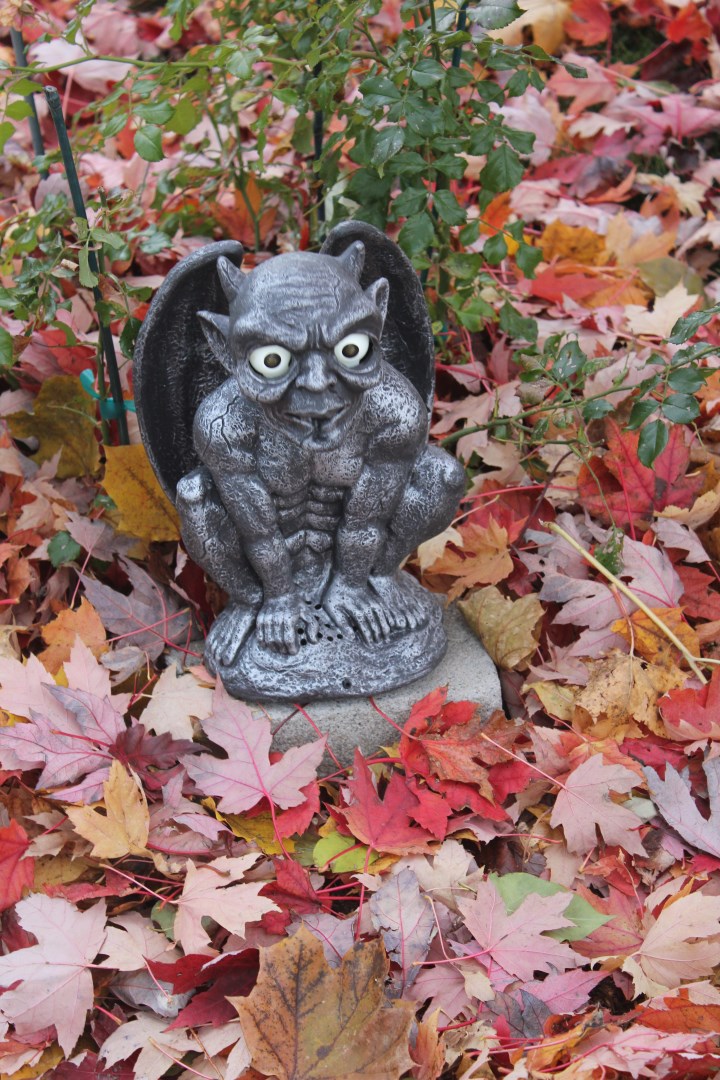
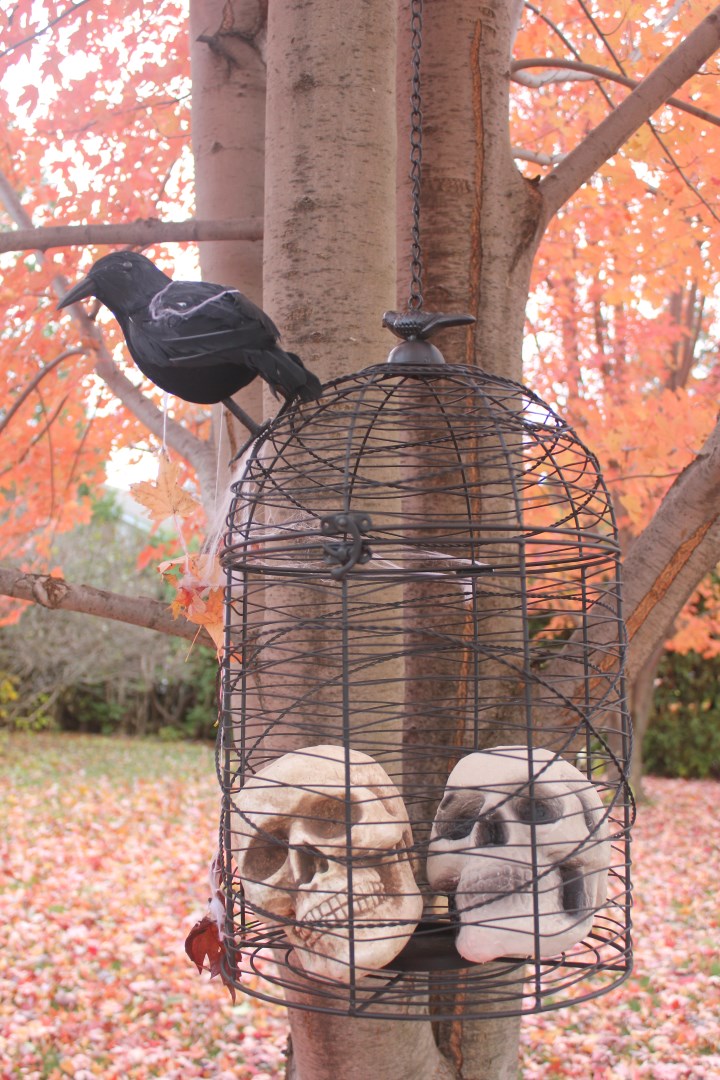
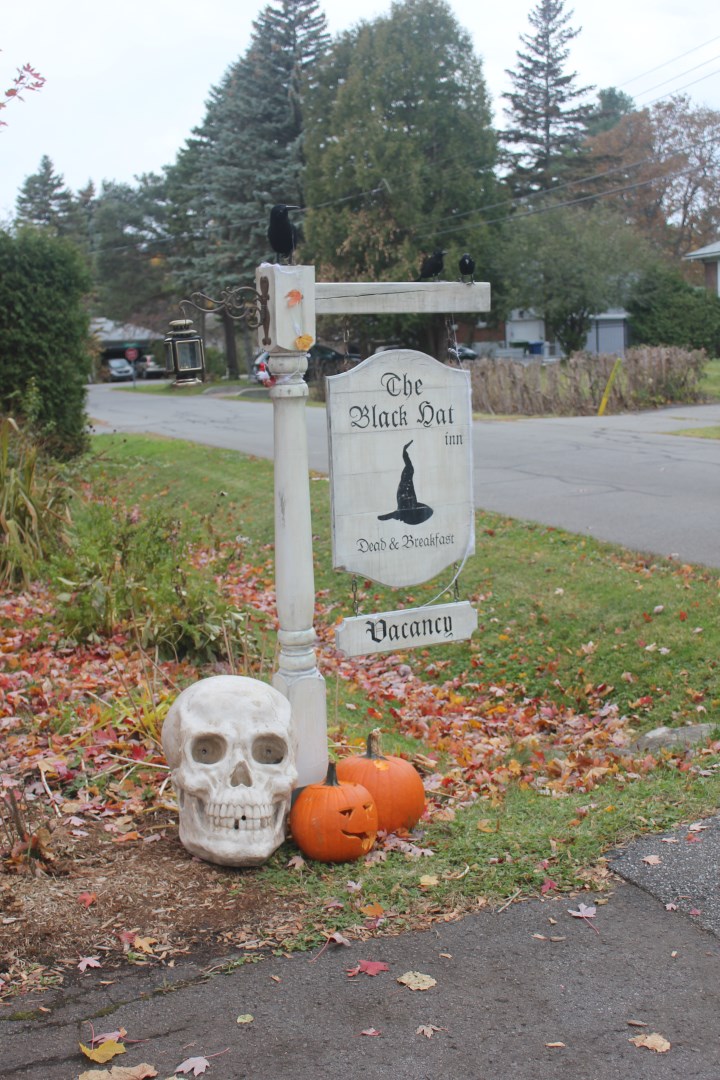
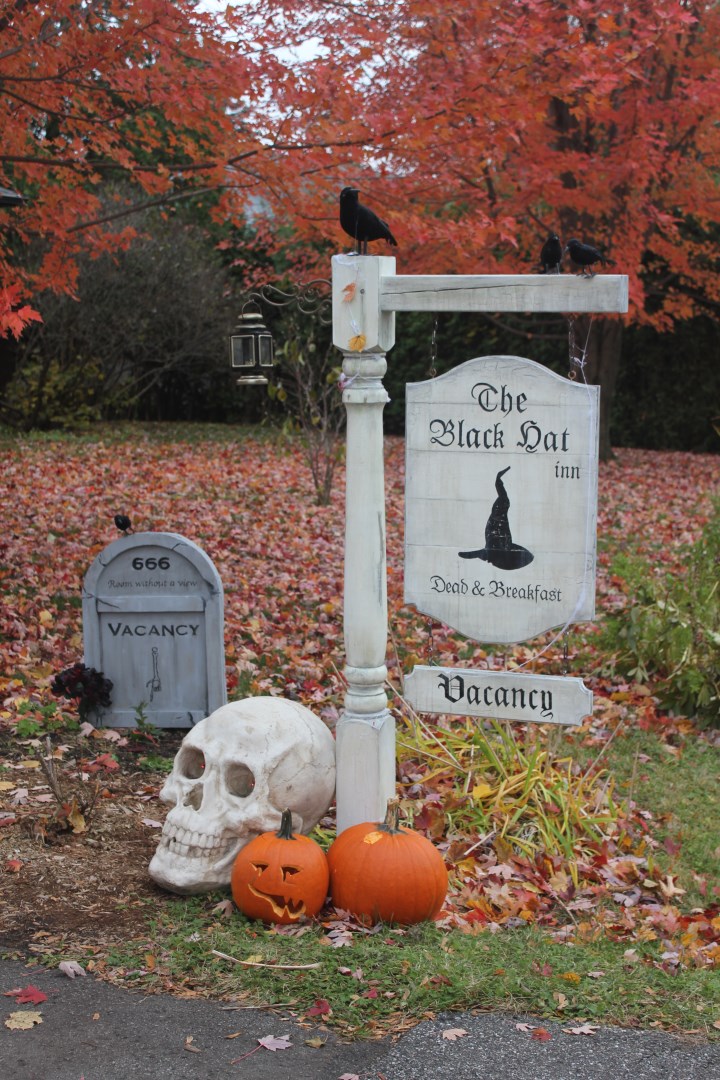
2.1. Some pictures of the "H" day!
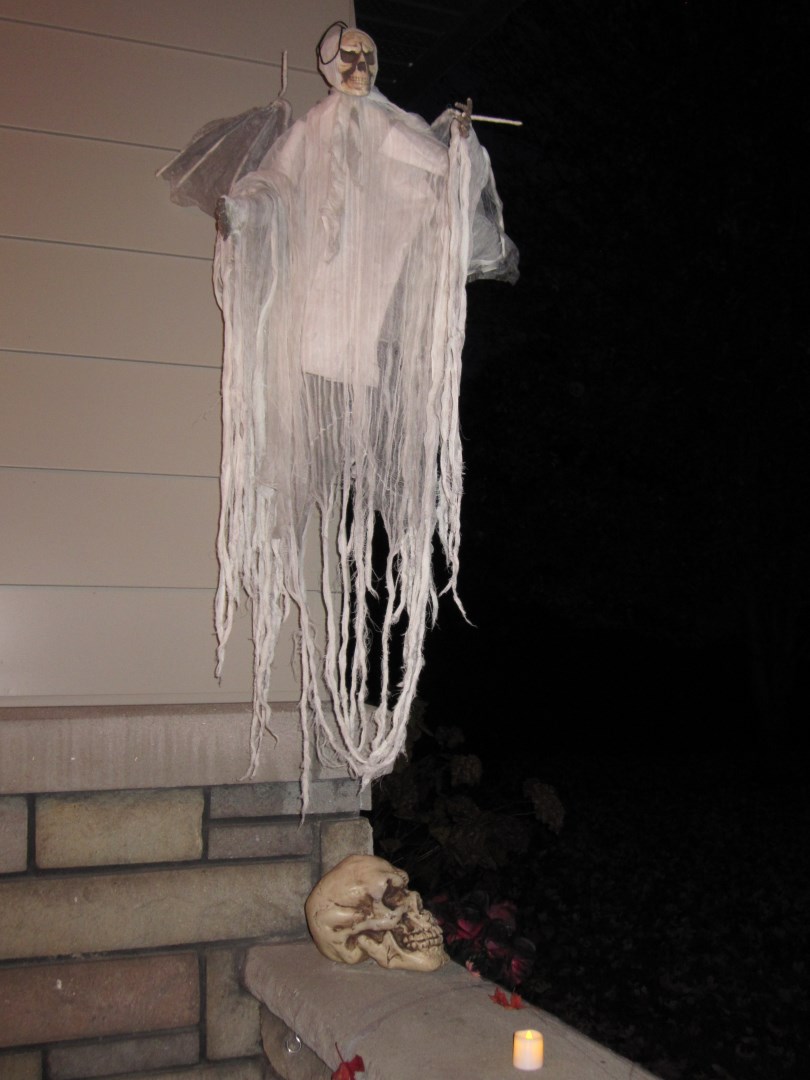
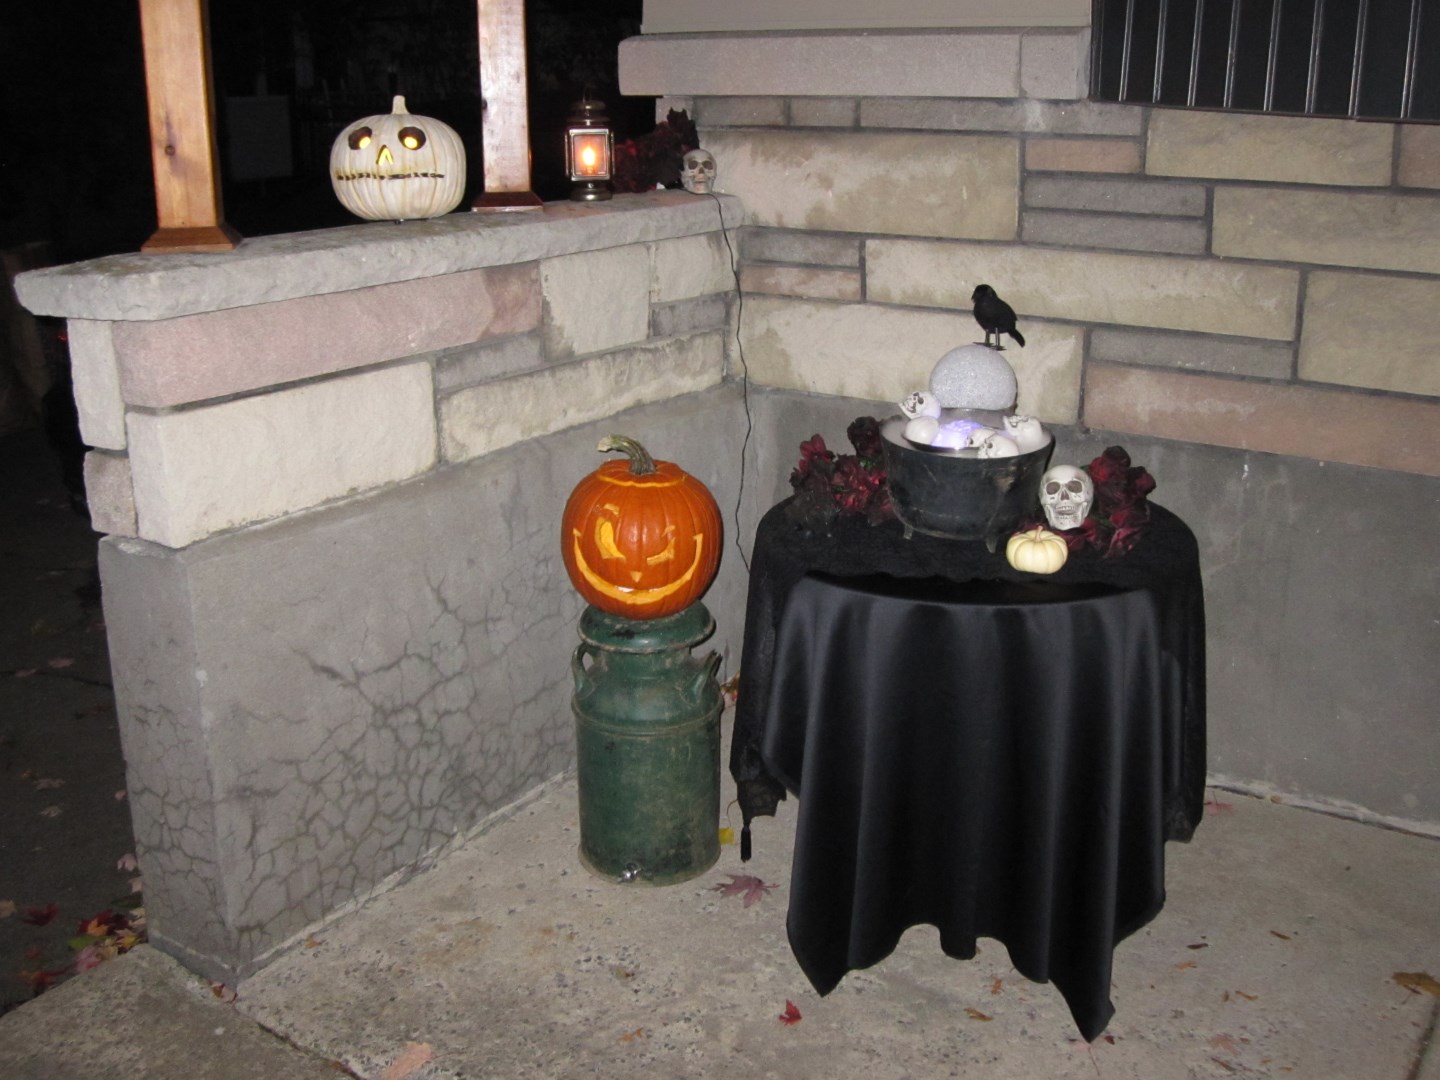

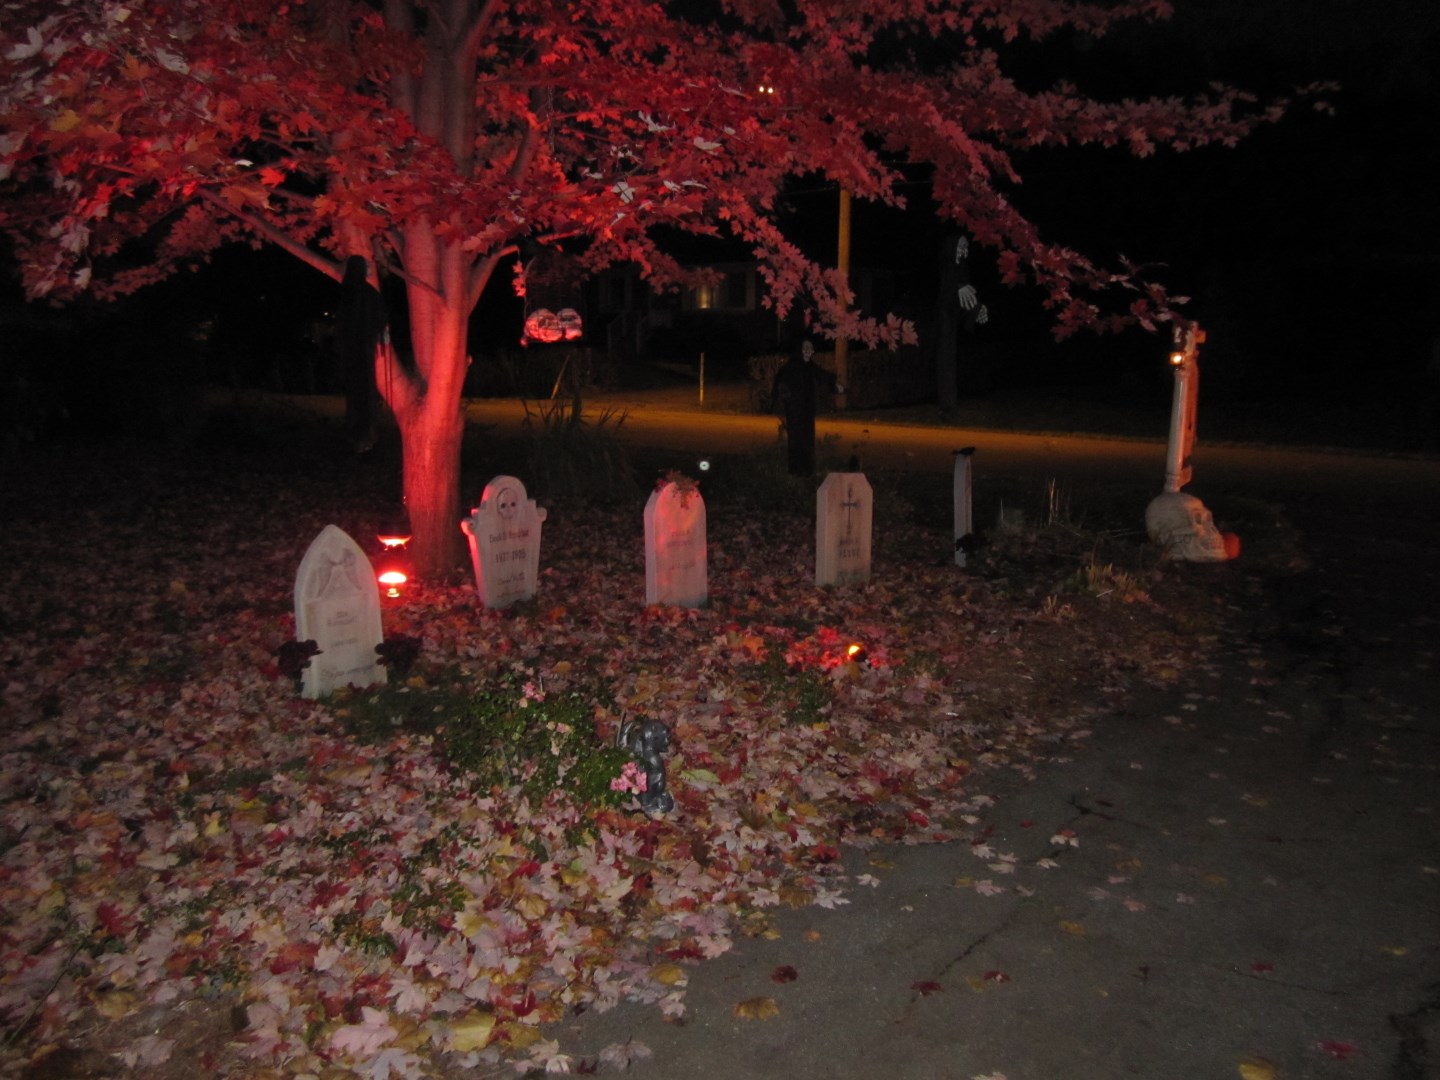
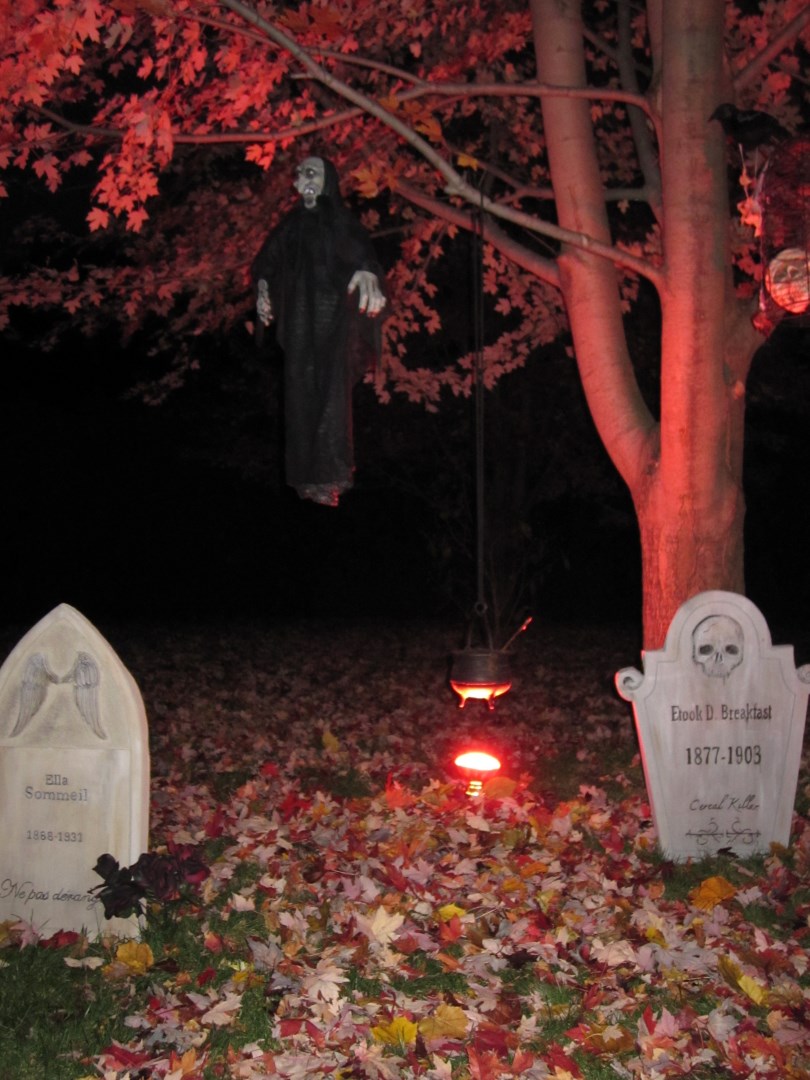

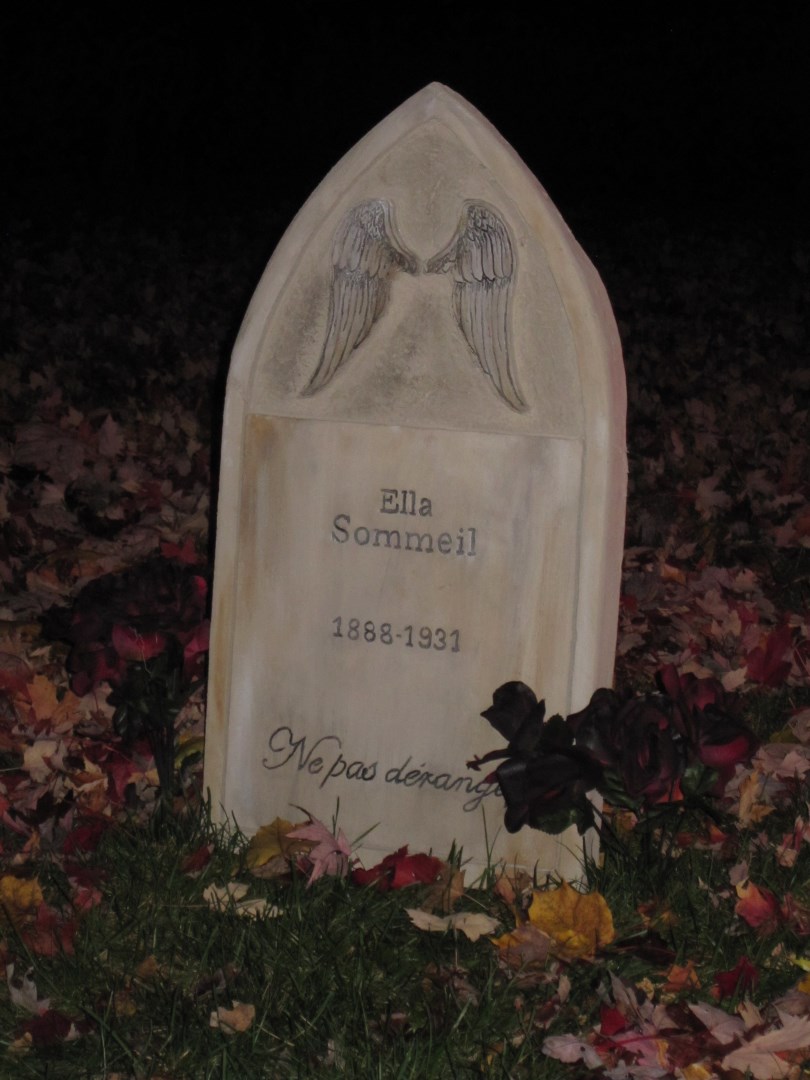

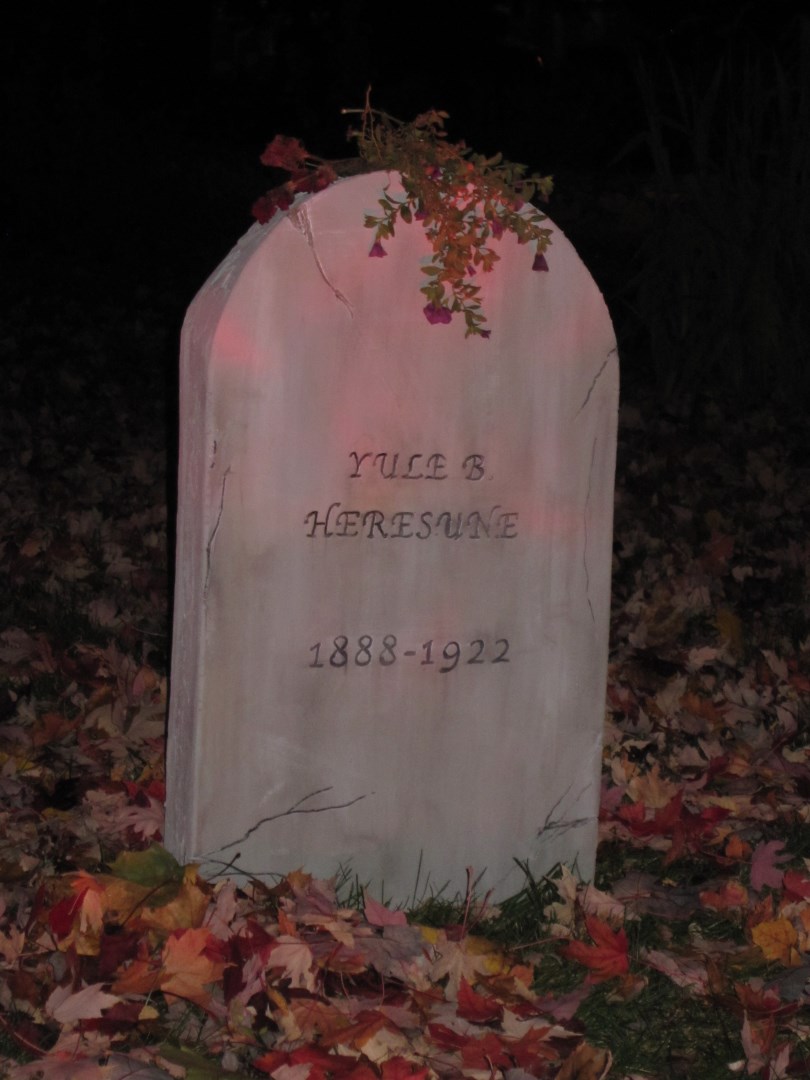
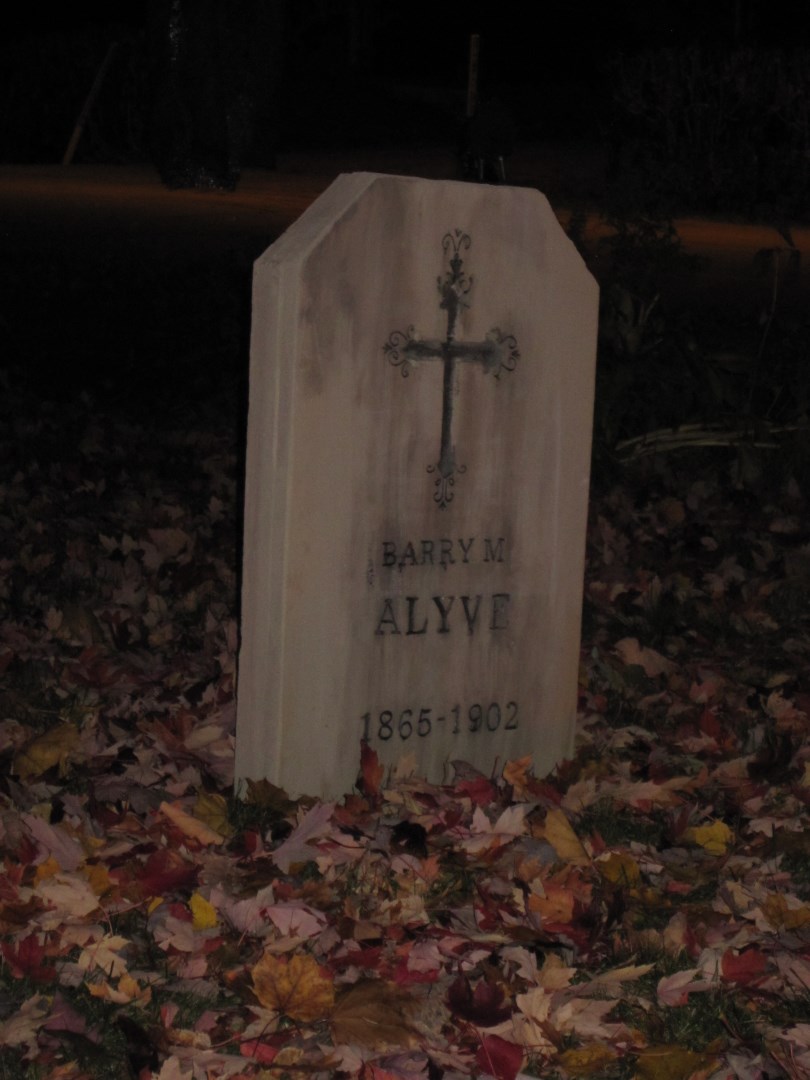
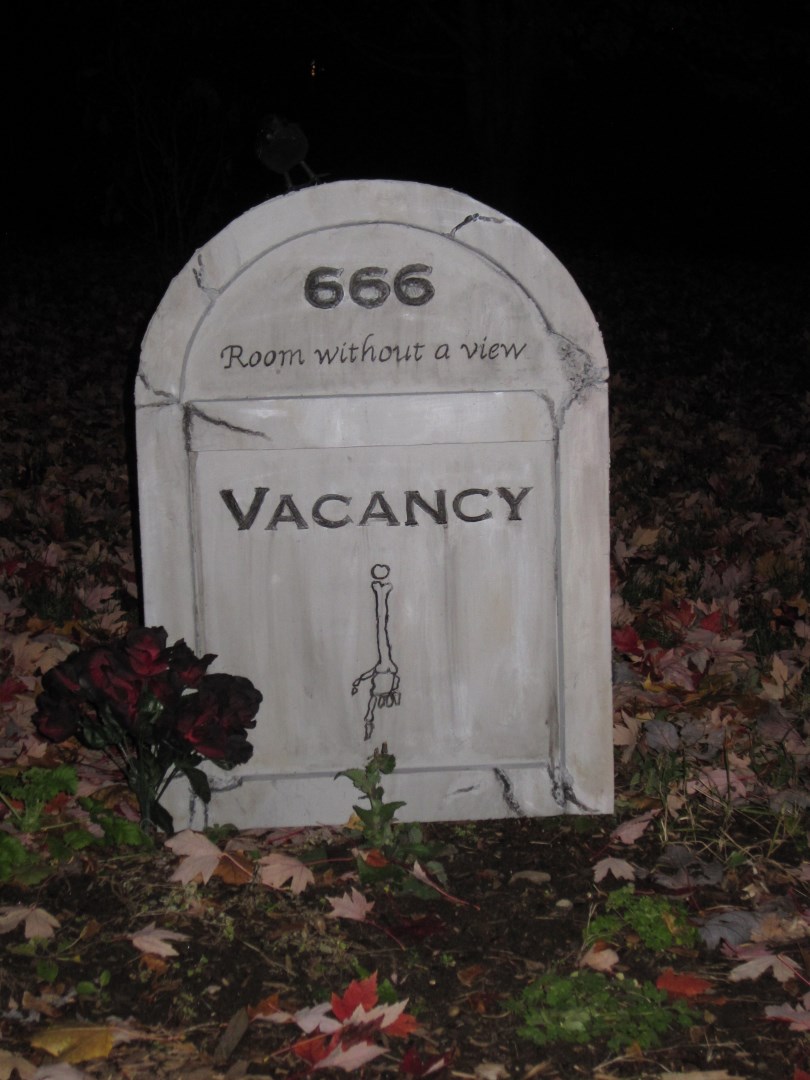
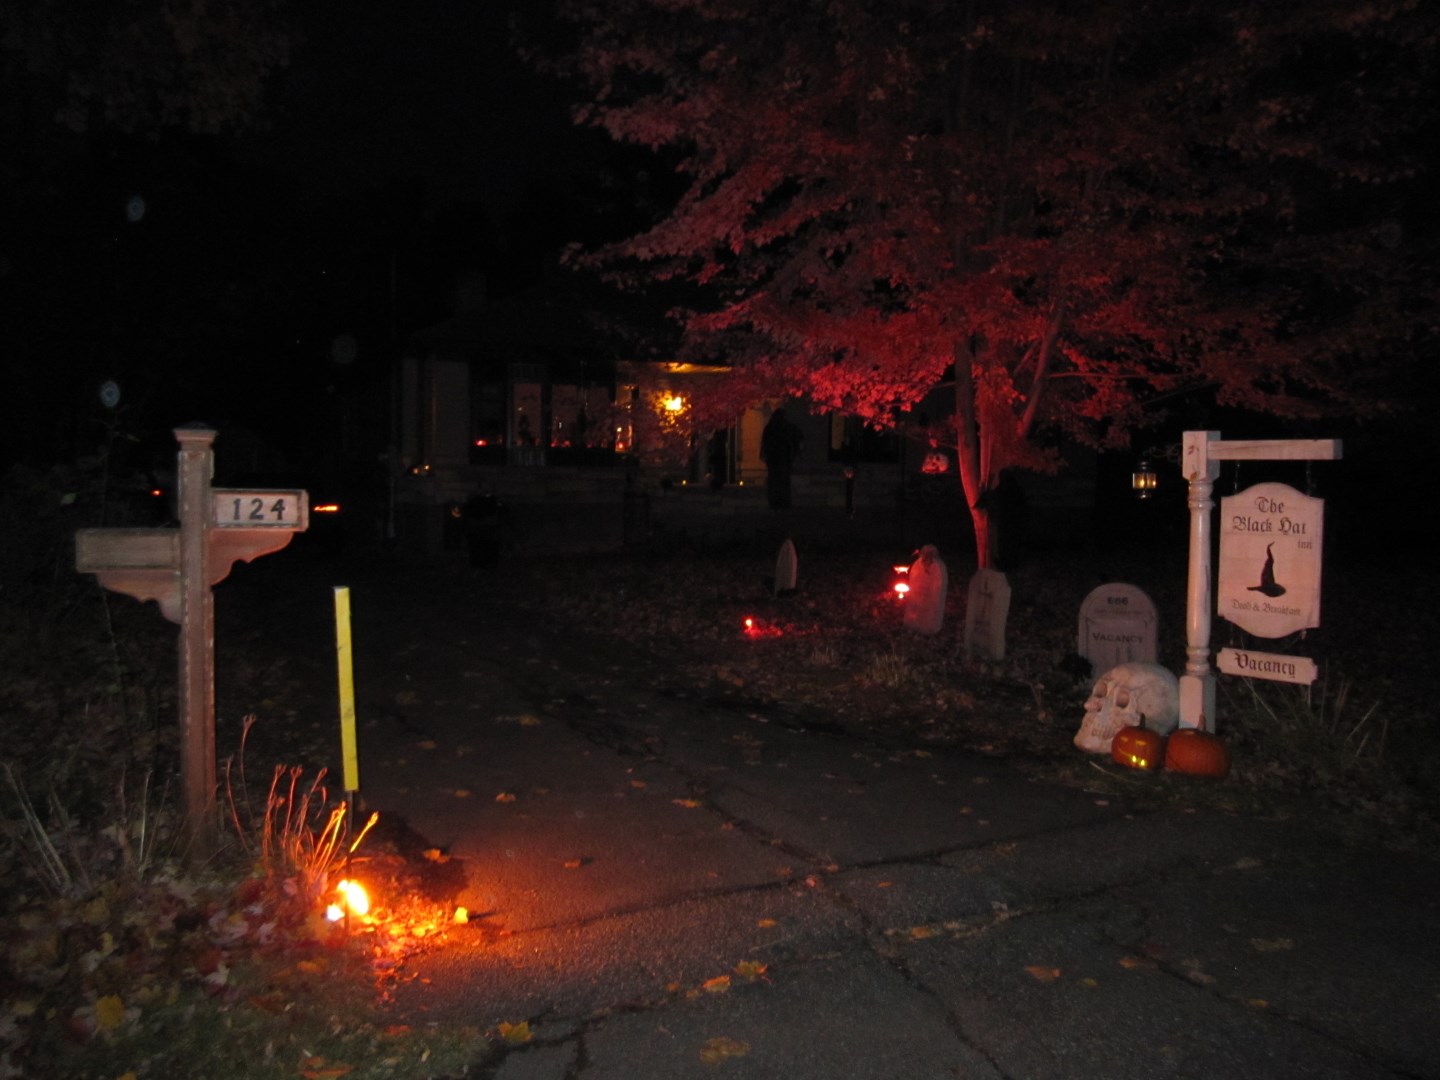
See you the next Halloween…

