
1. The Design
For reasons of cost, this piece of furniture will be made entirely of MDF.
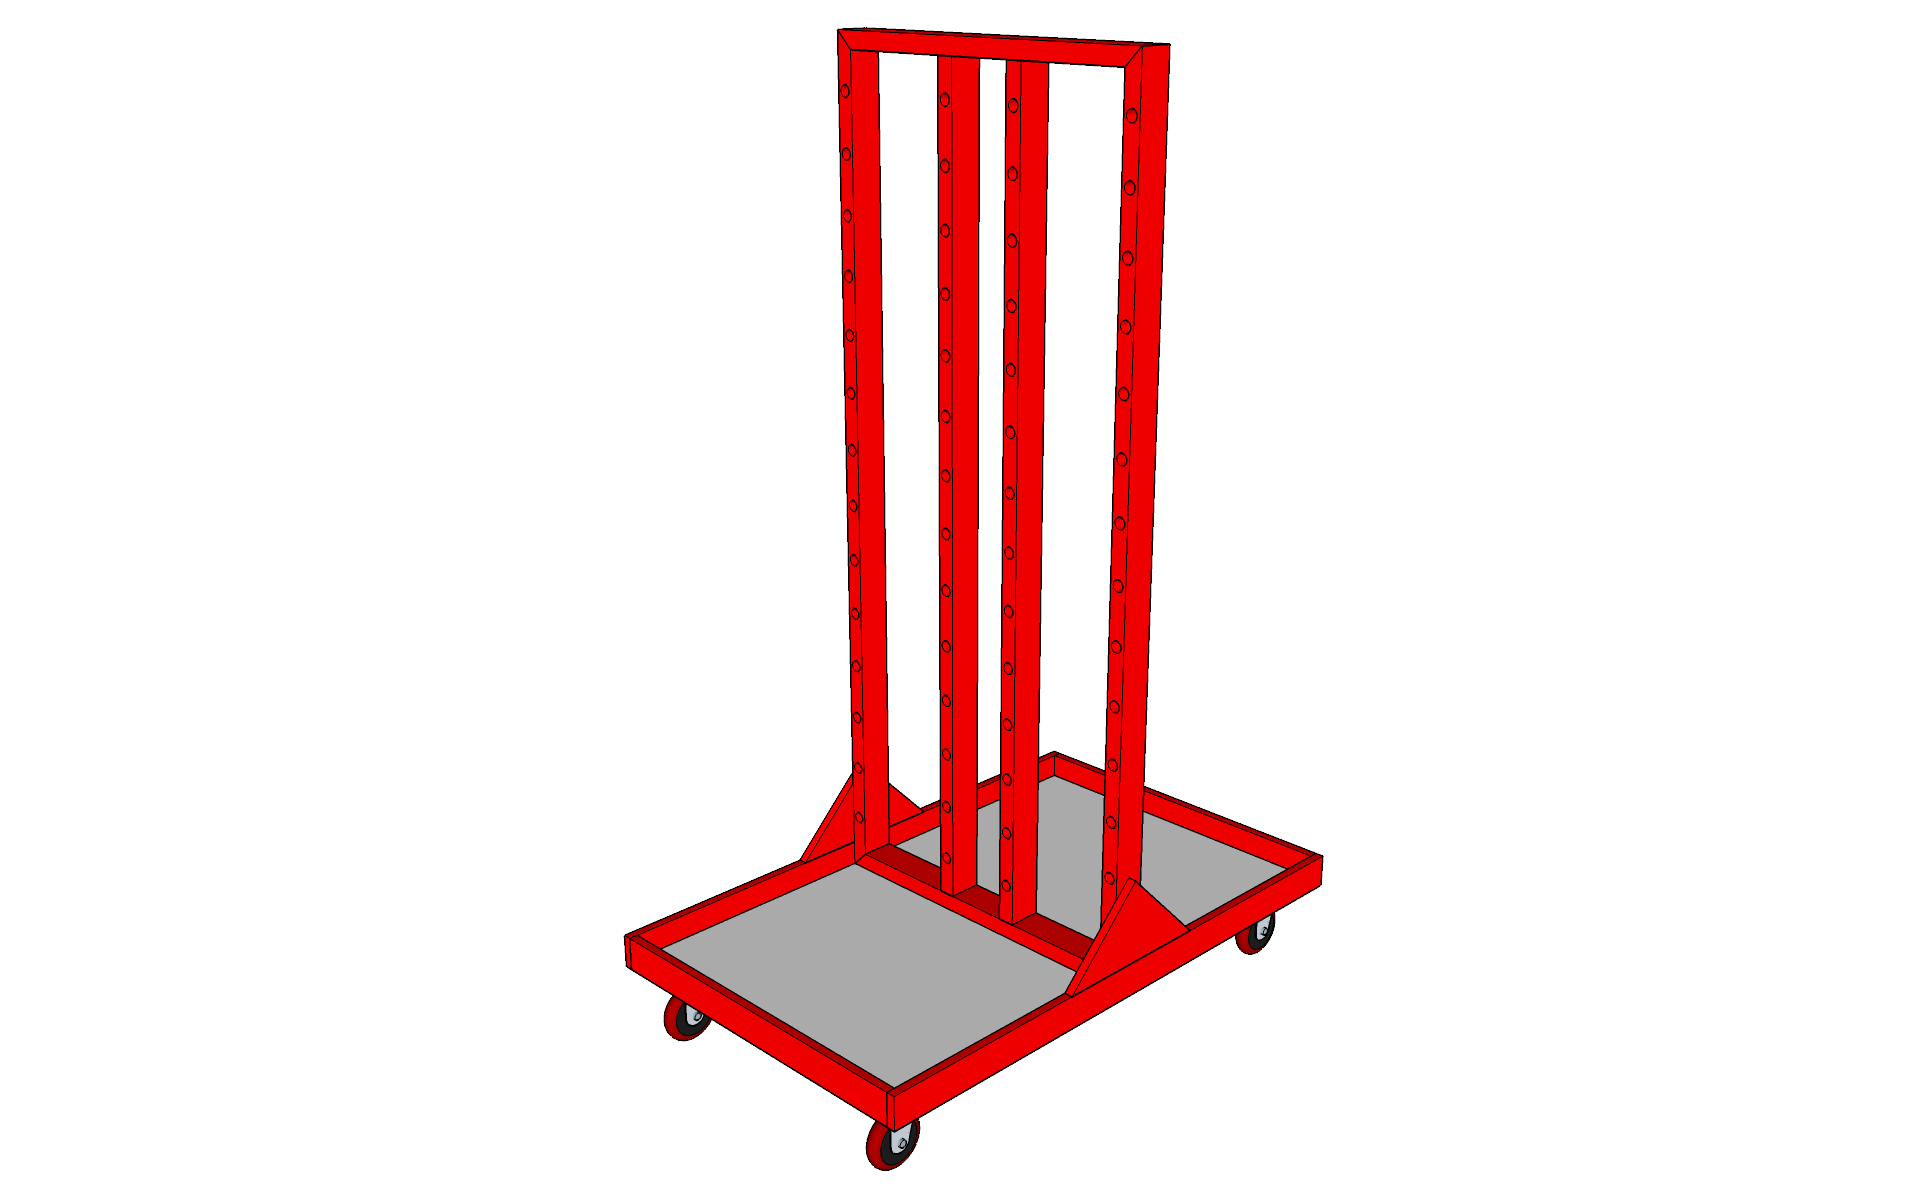
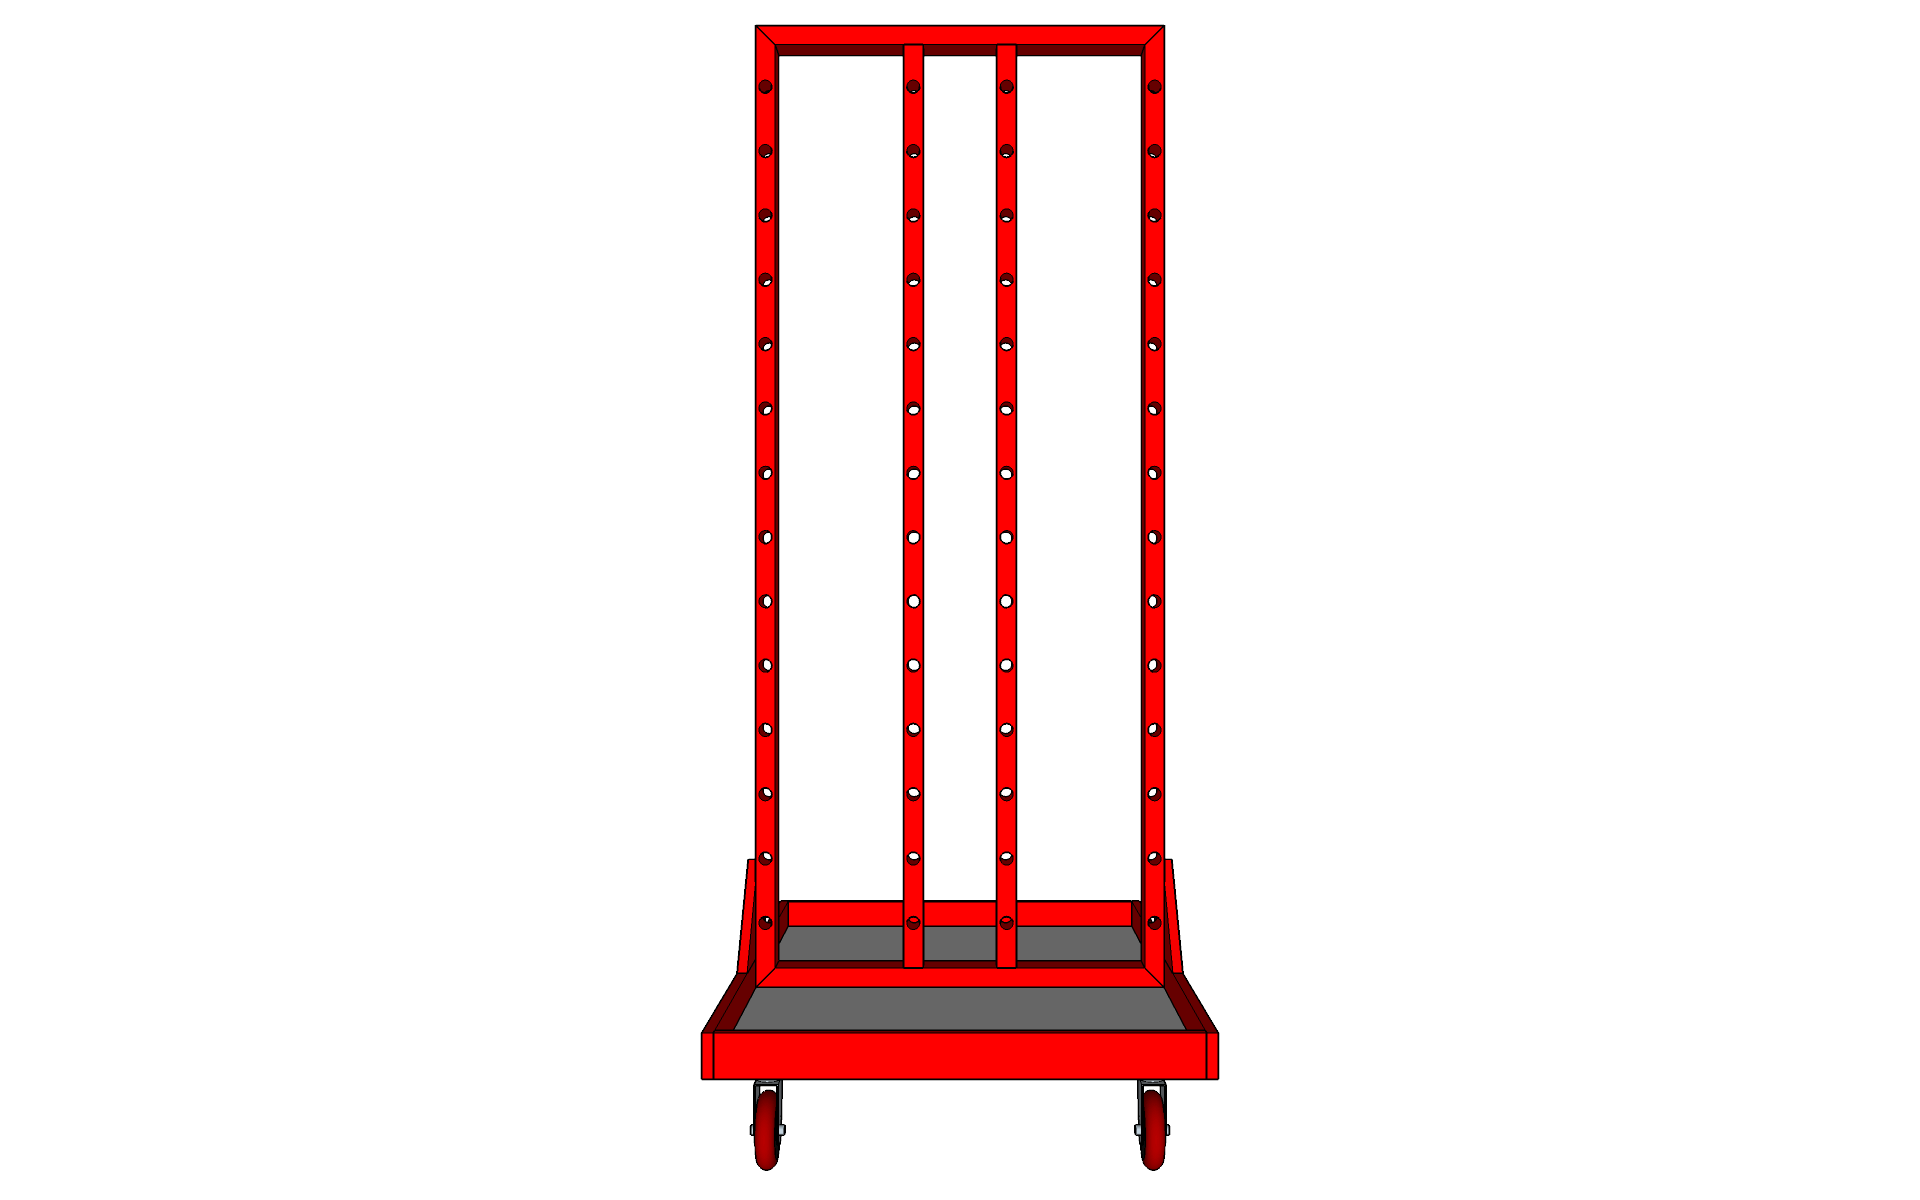
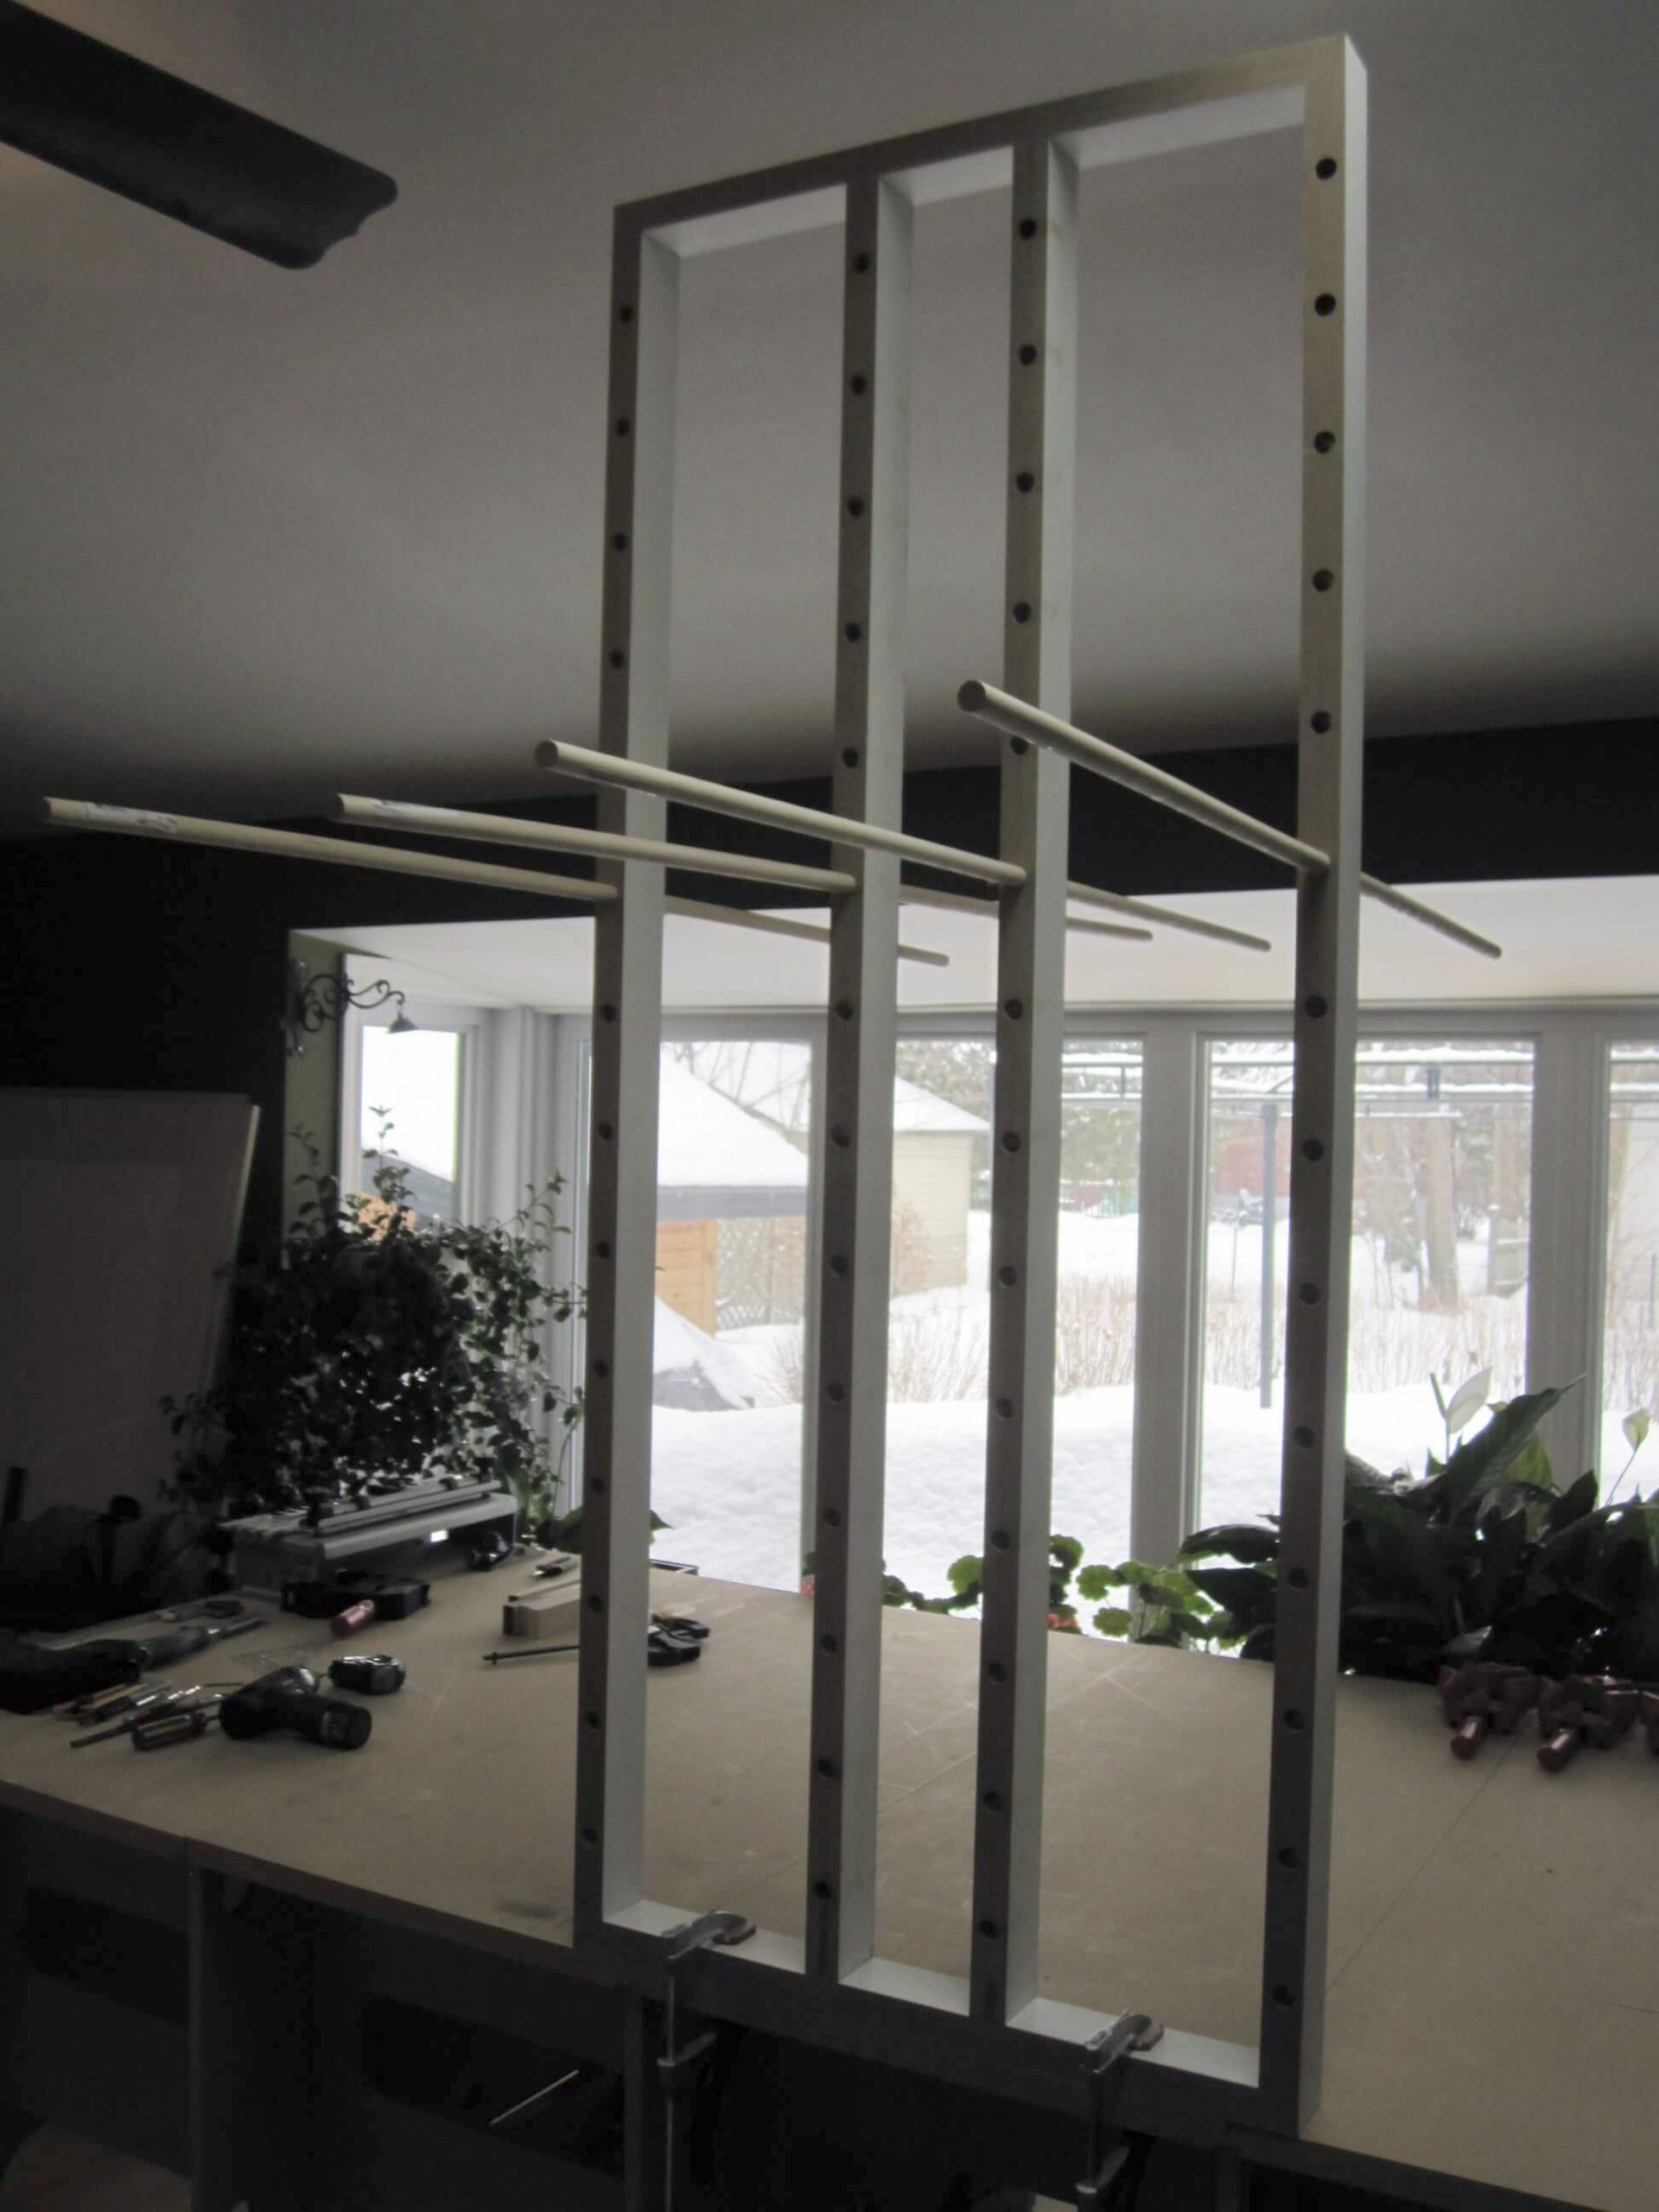
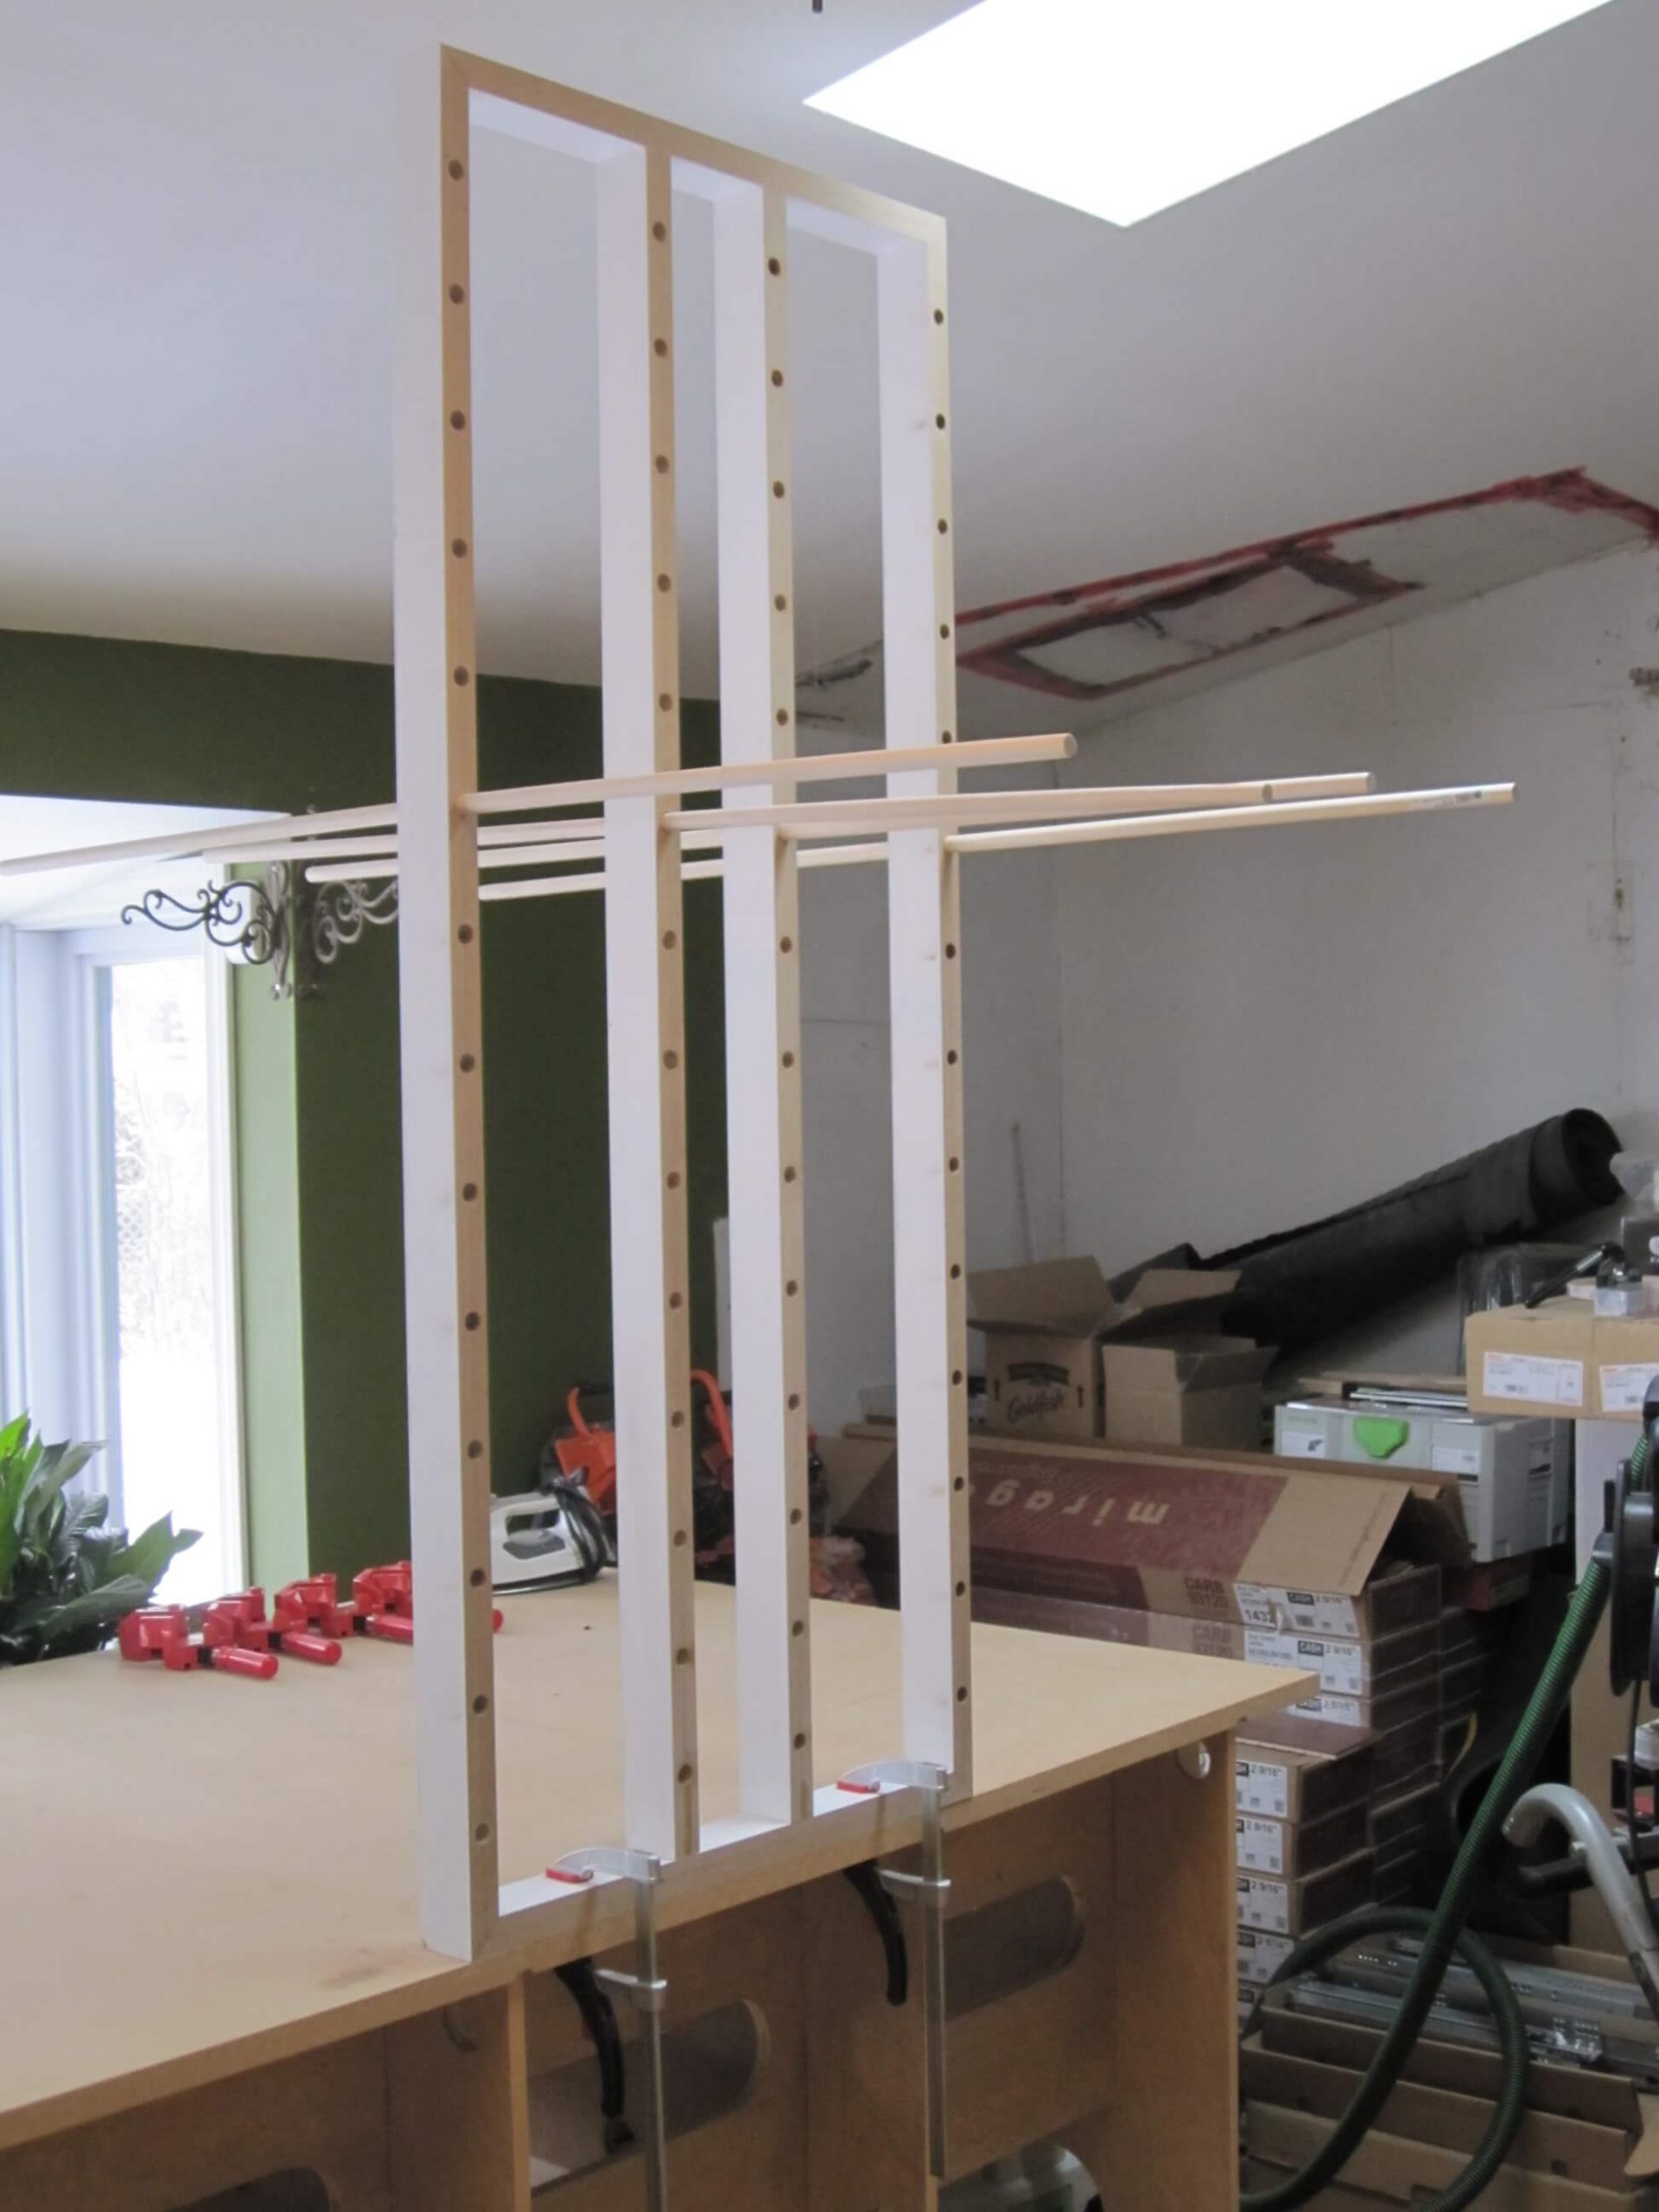
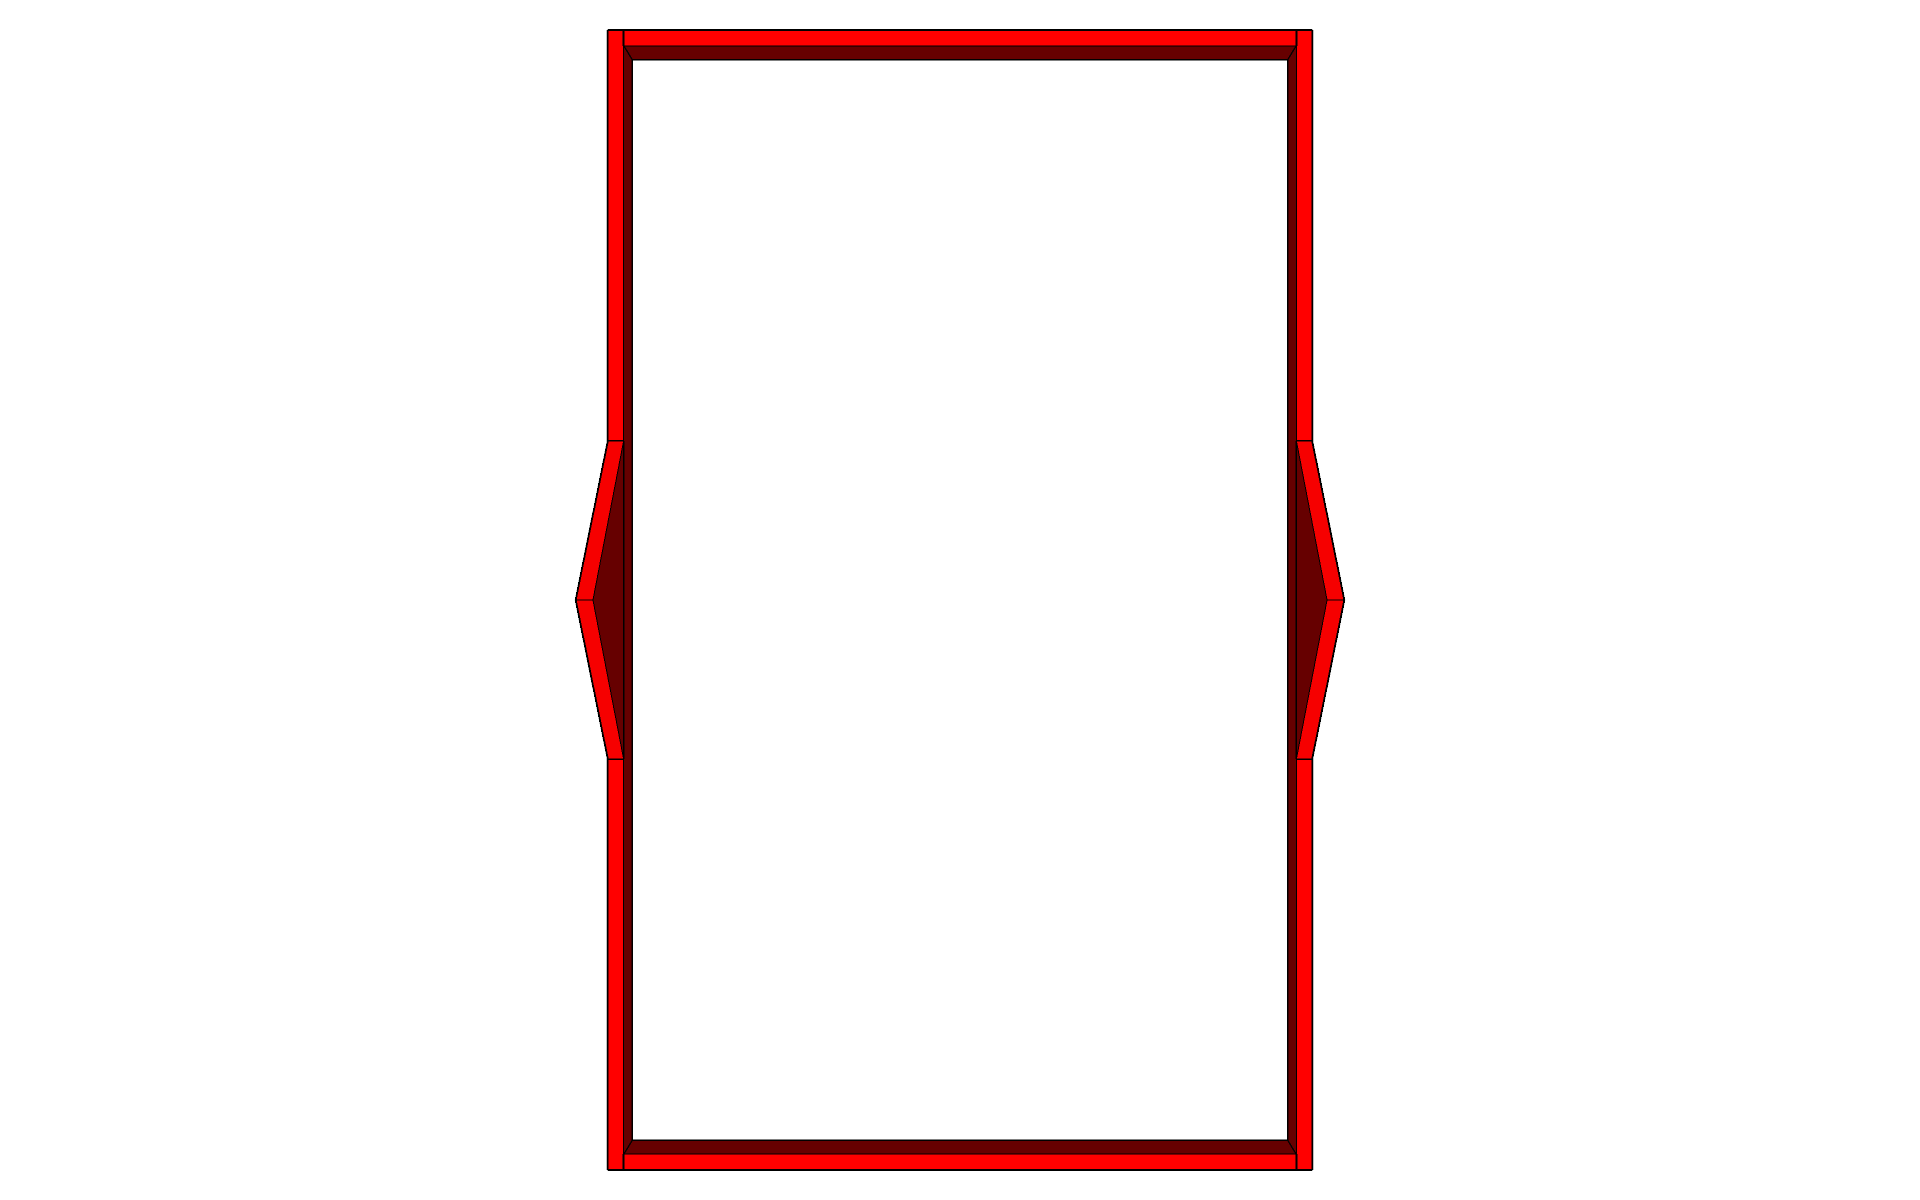
2. The Frame
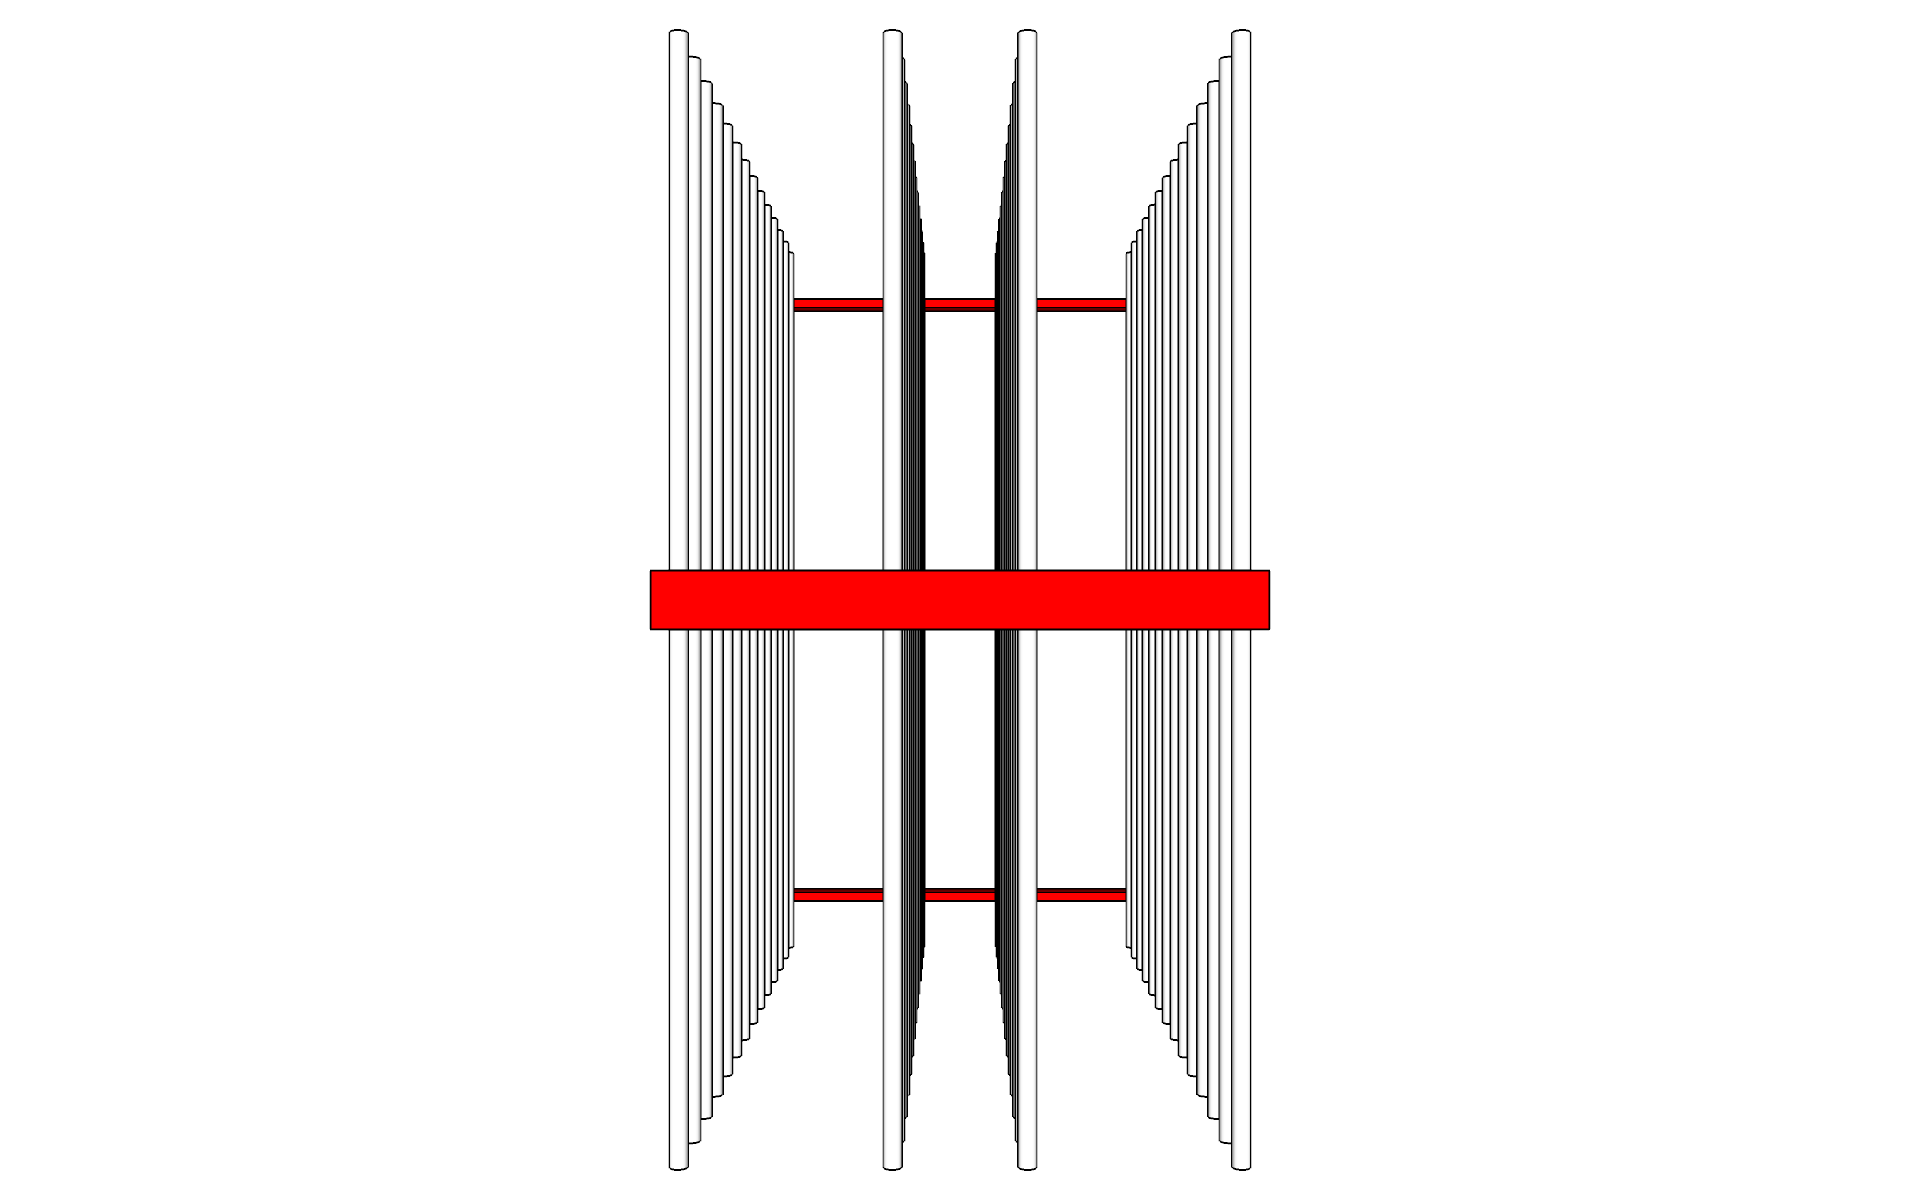
I imagined it modular and functional. Indeed, this dryer will serve me for virtually all my projects, so I have to adapt according to the number of pieces and their dimensions. The structure should be able to accommodate 4 x 14 rows.
I will be able to dry a maximum of 28 pieces. I will only have to adapt the dryer according to the size and weight of the parts of my projects.
The constituent parts of the frame:
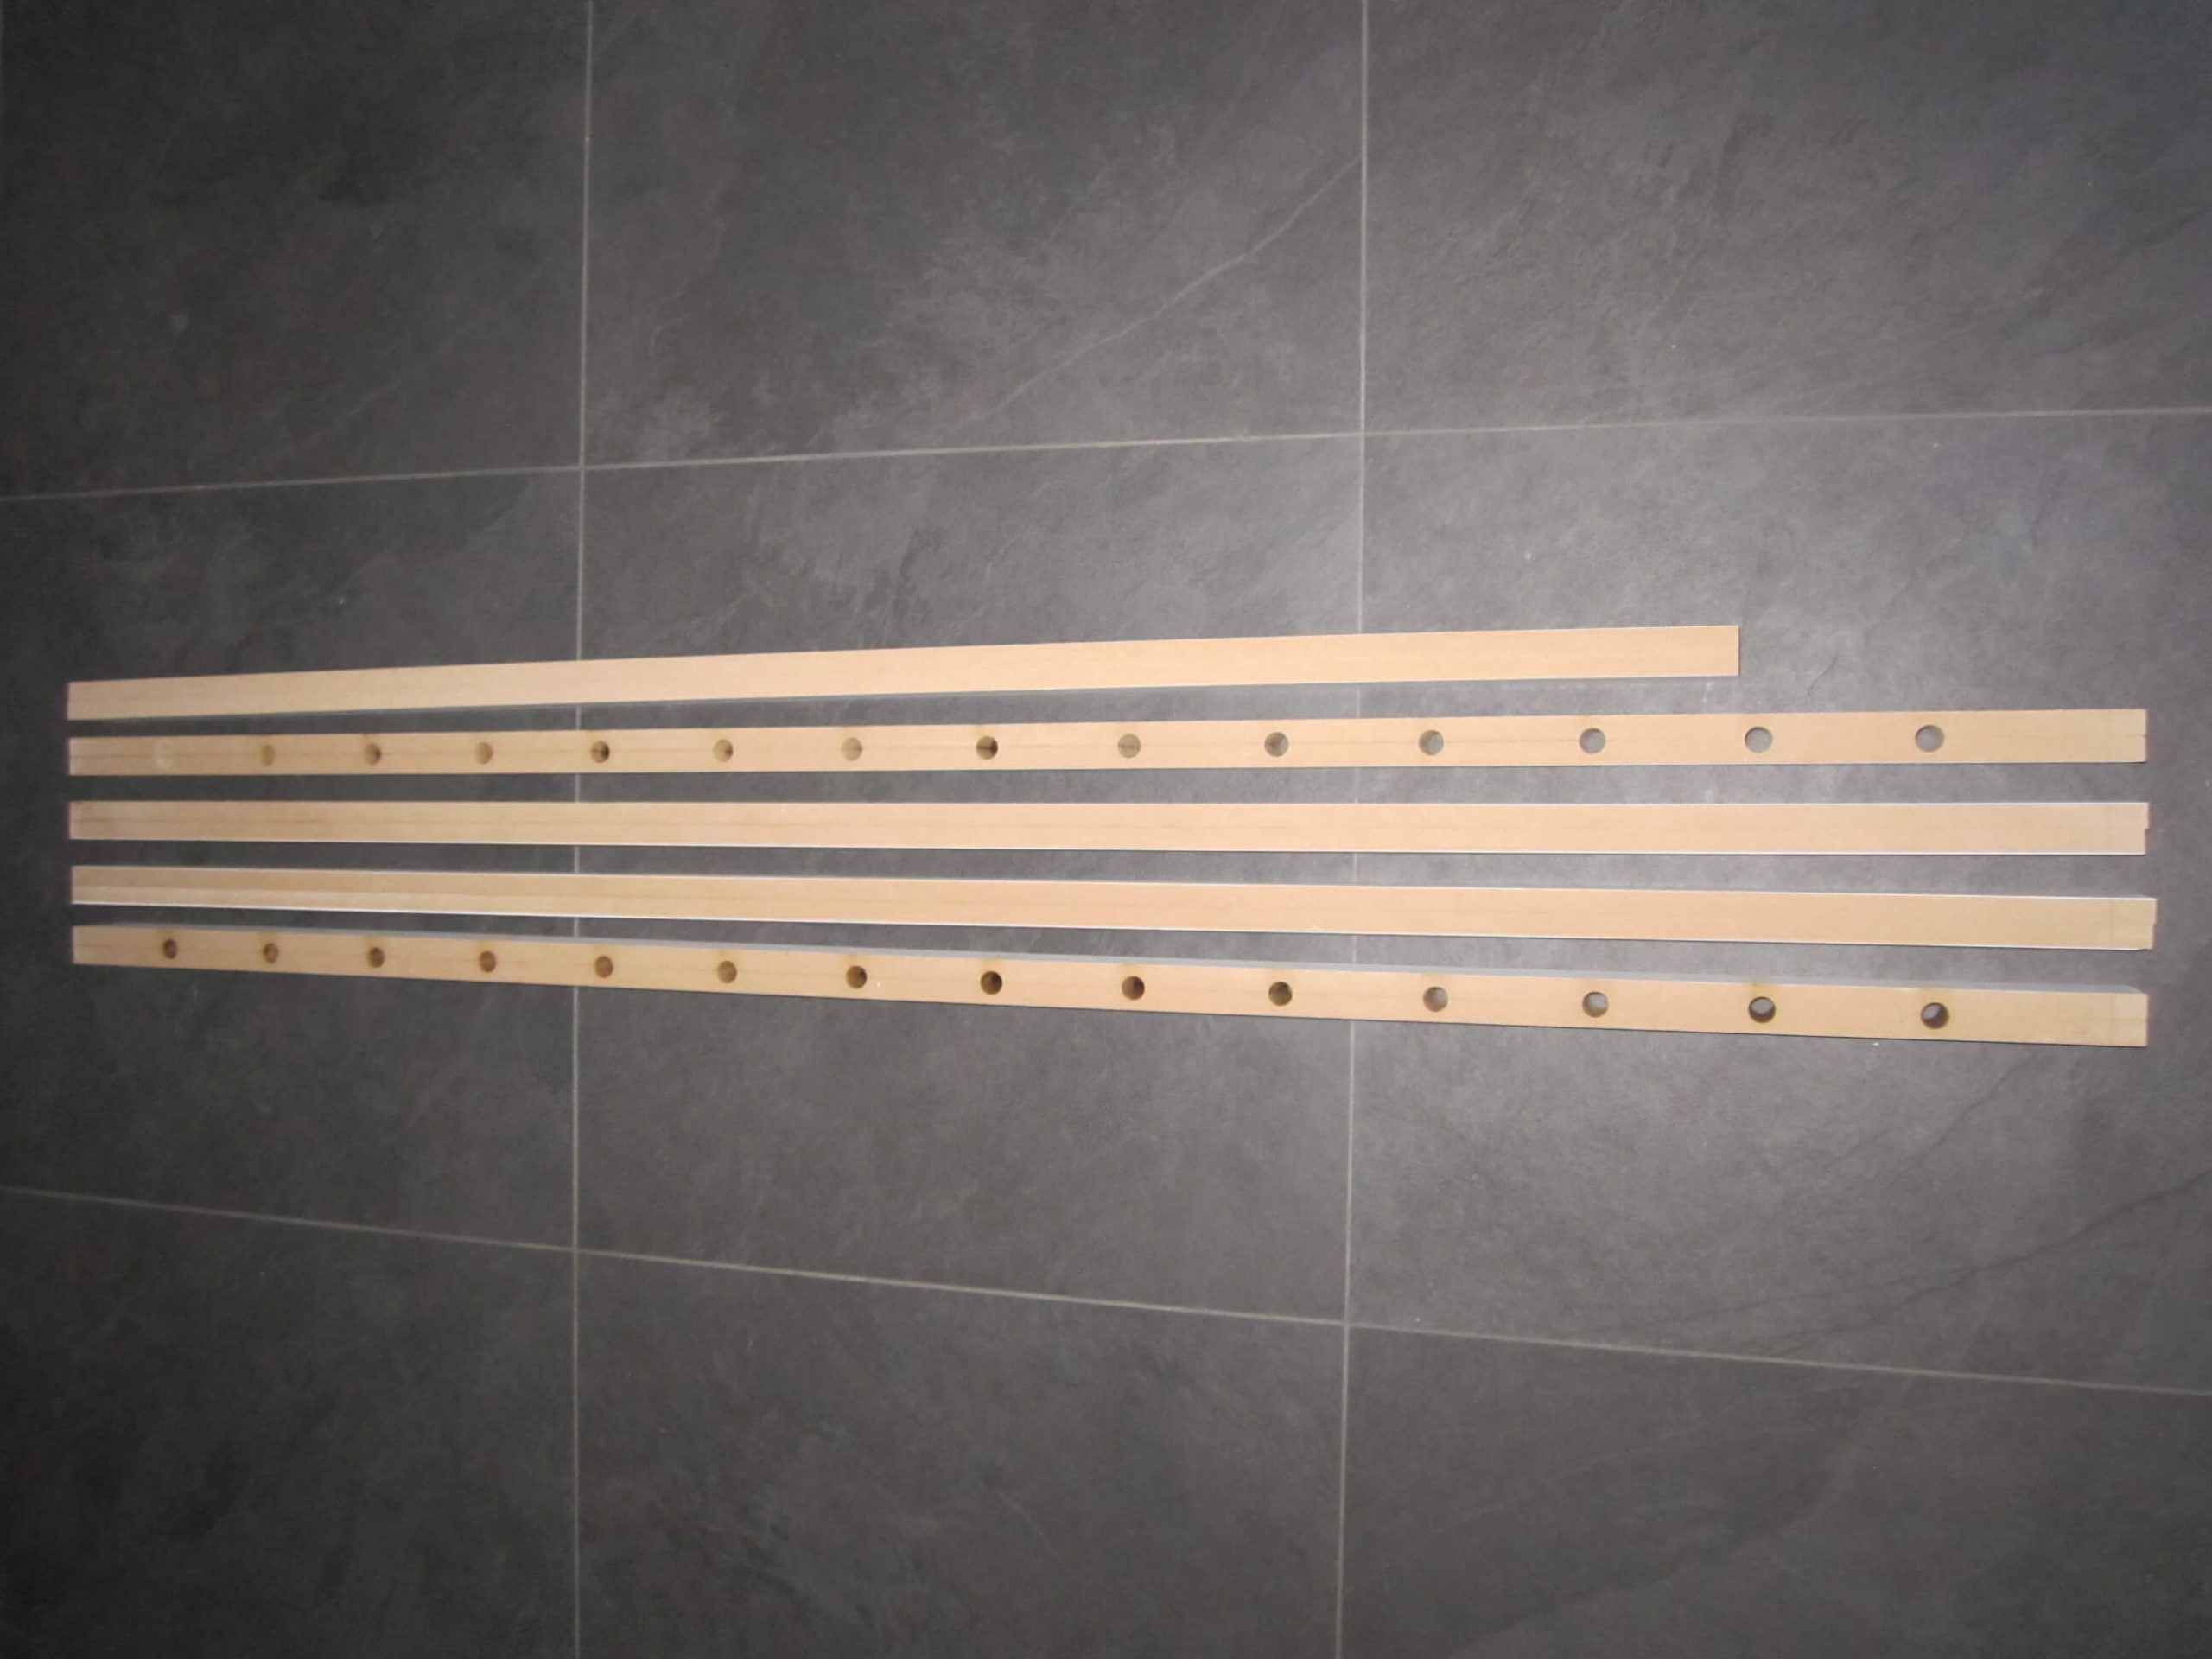
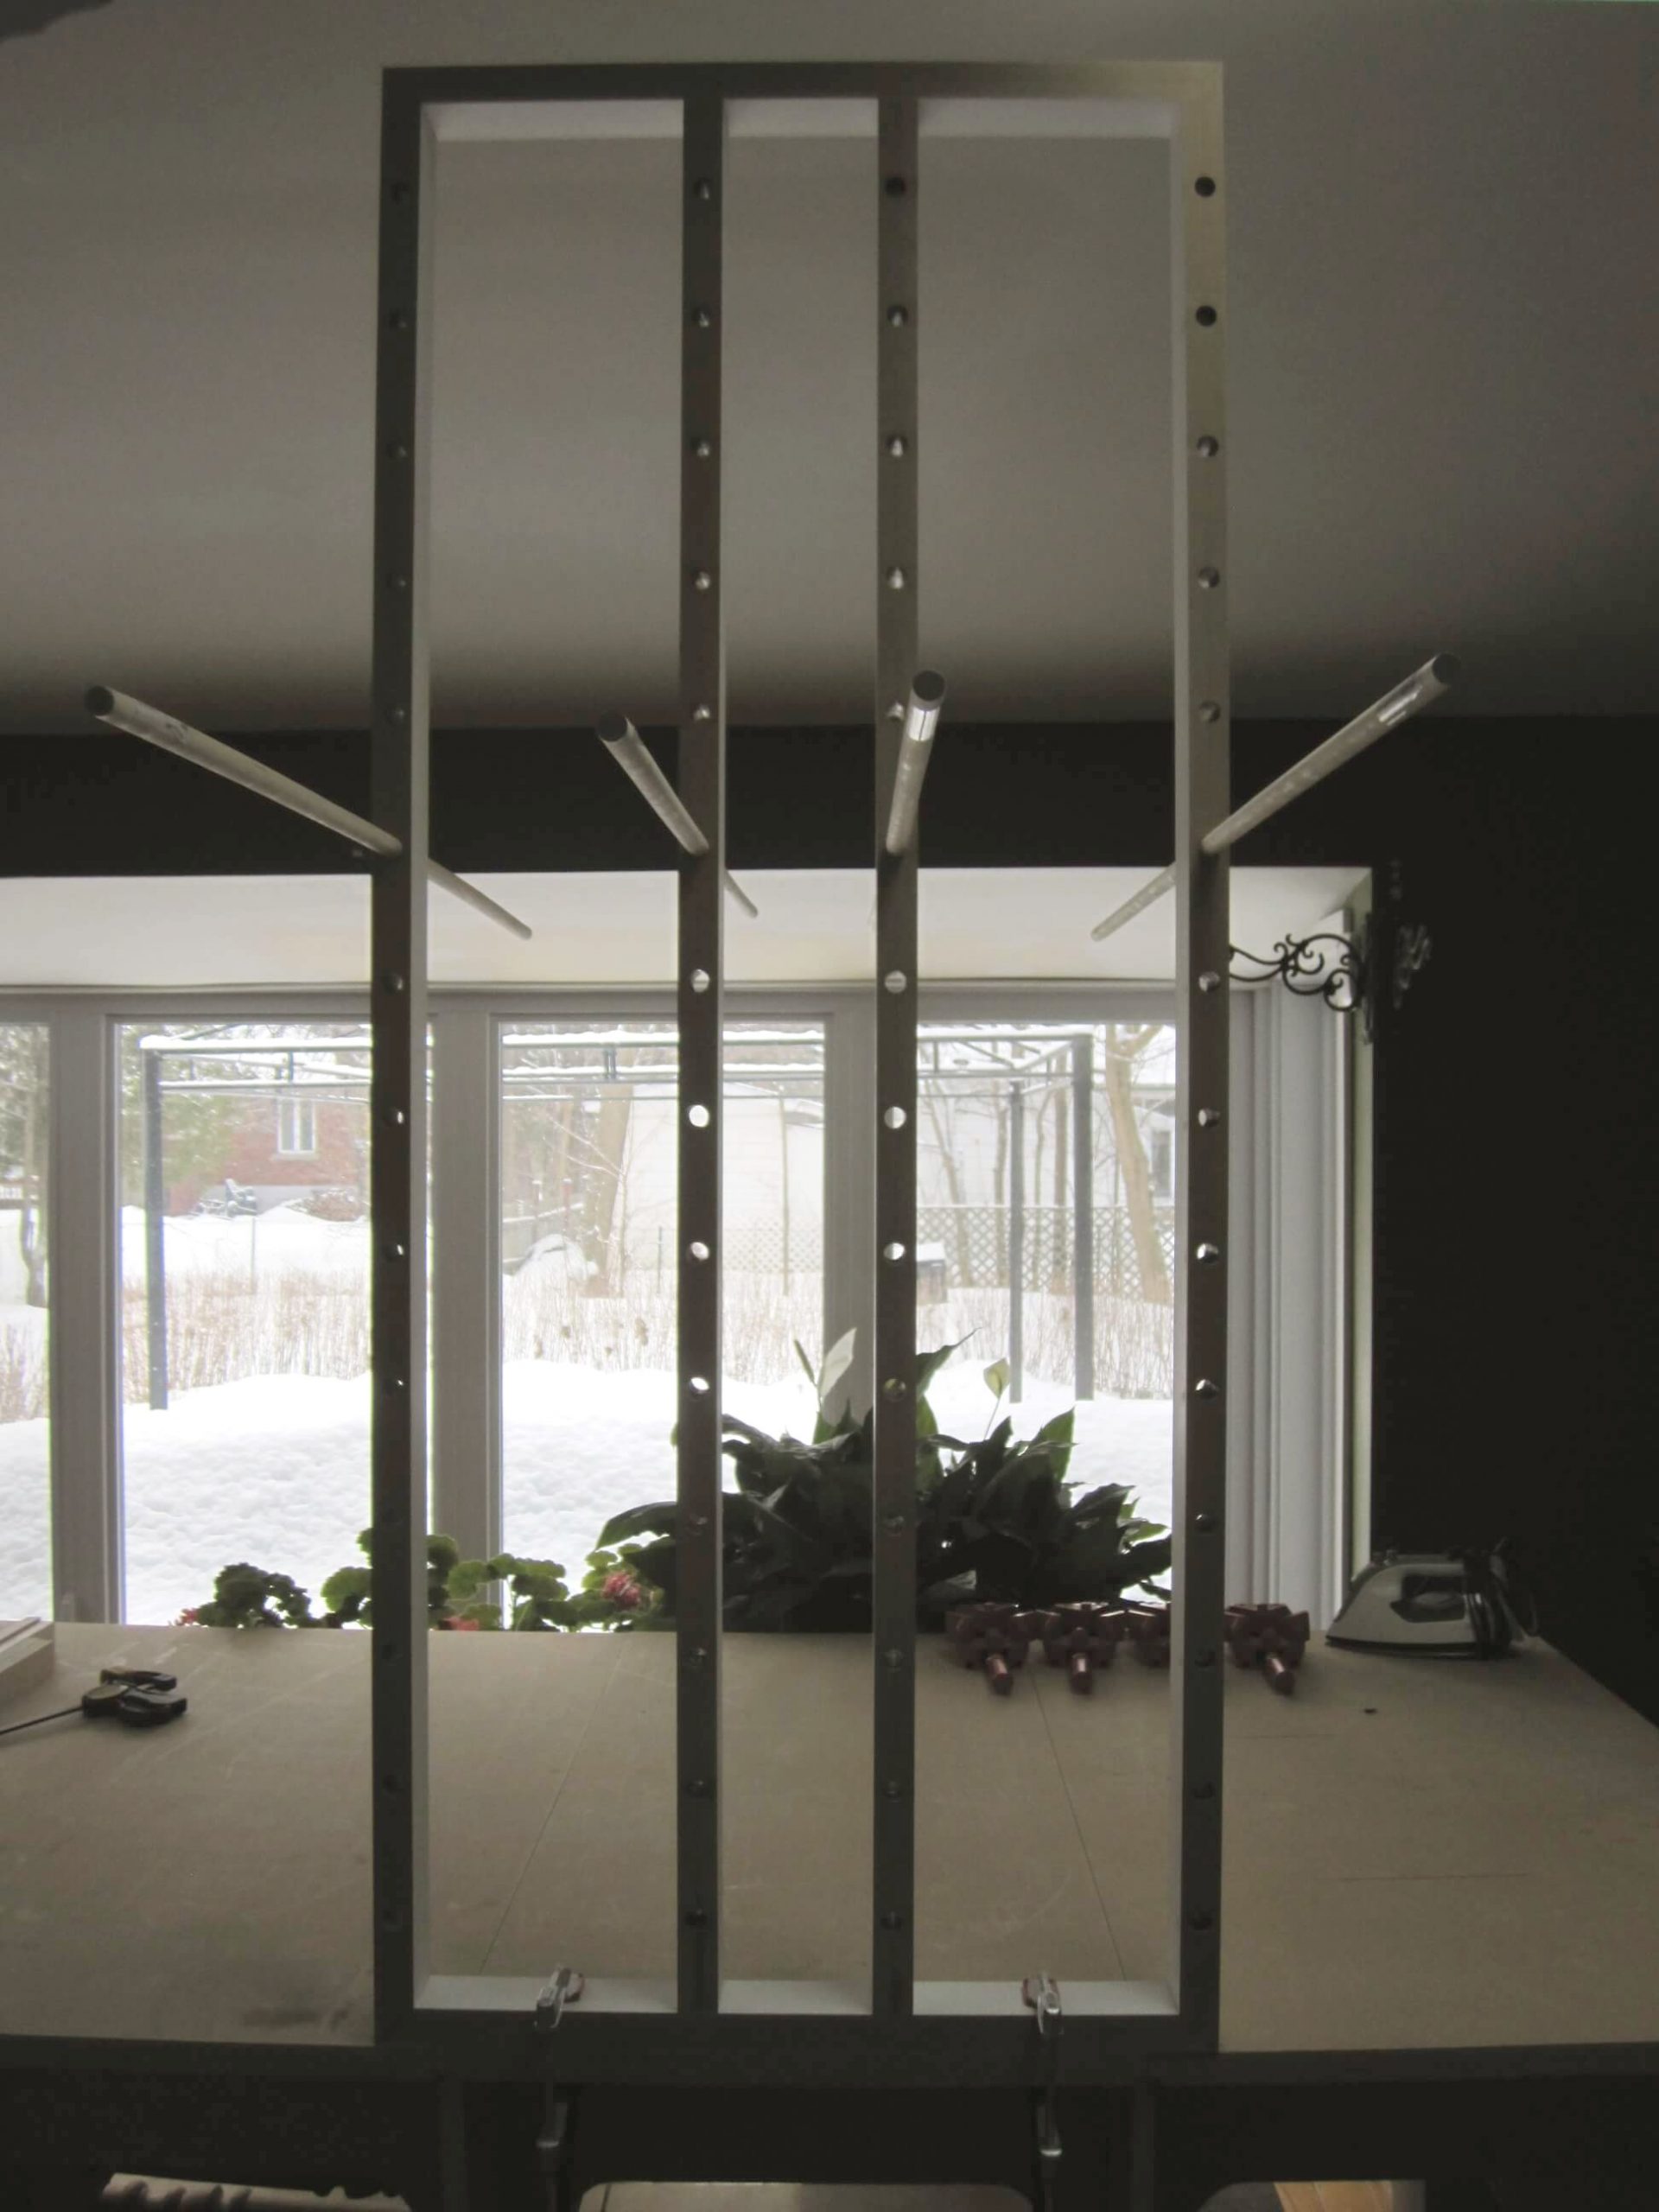
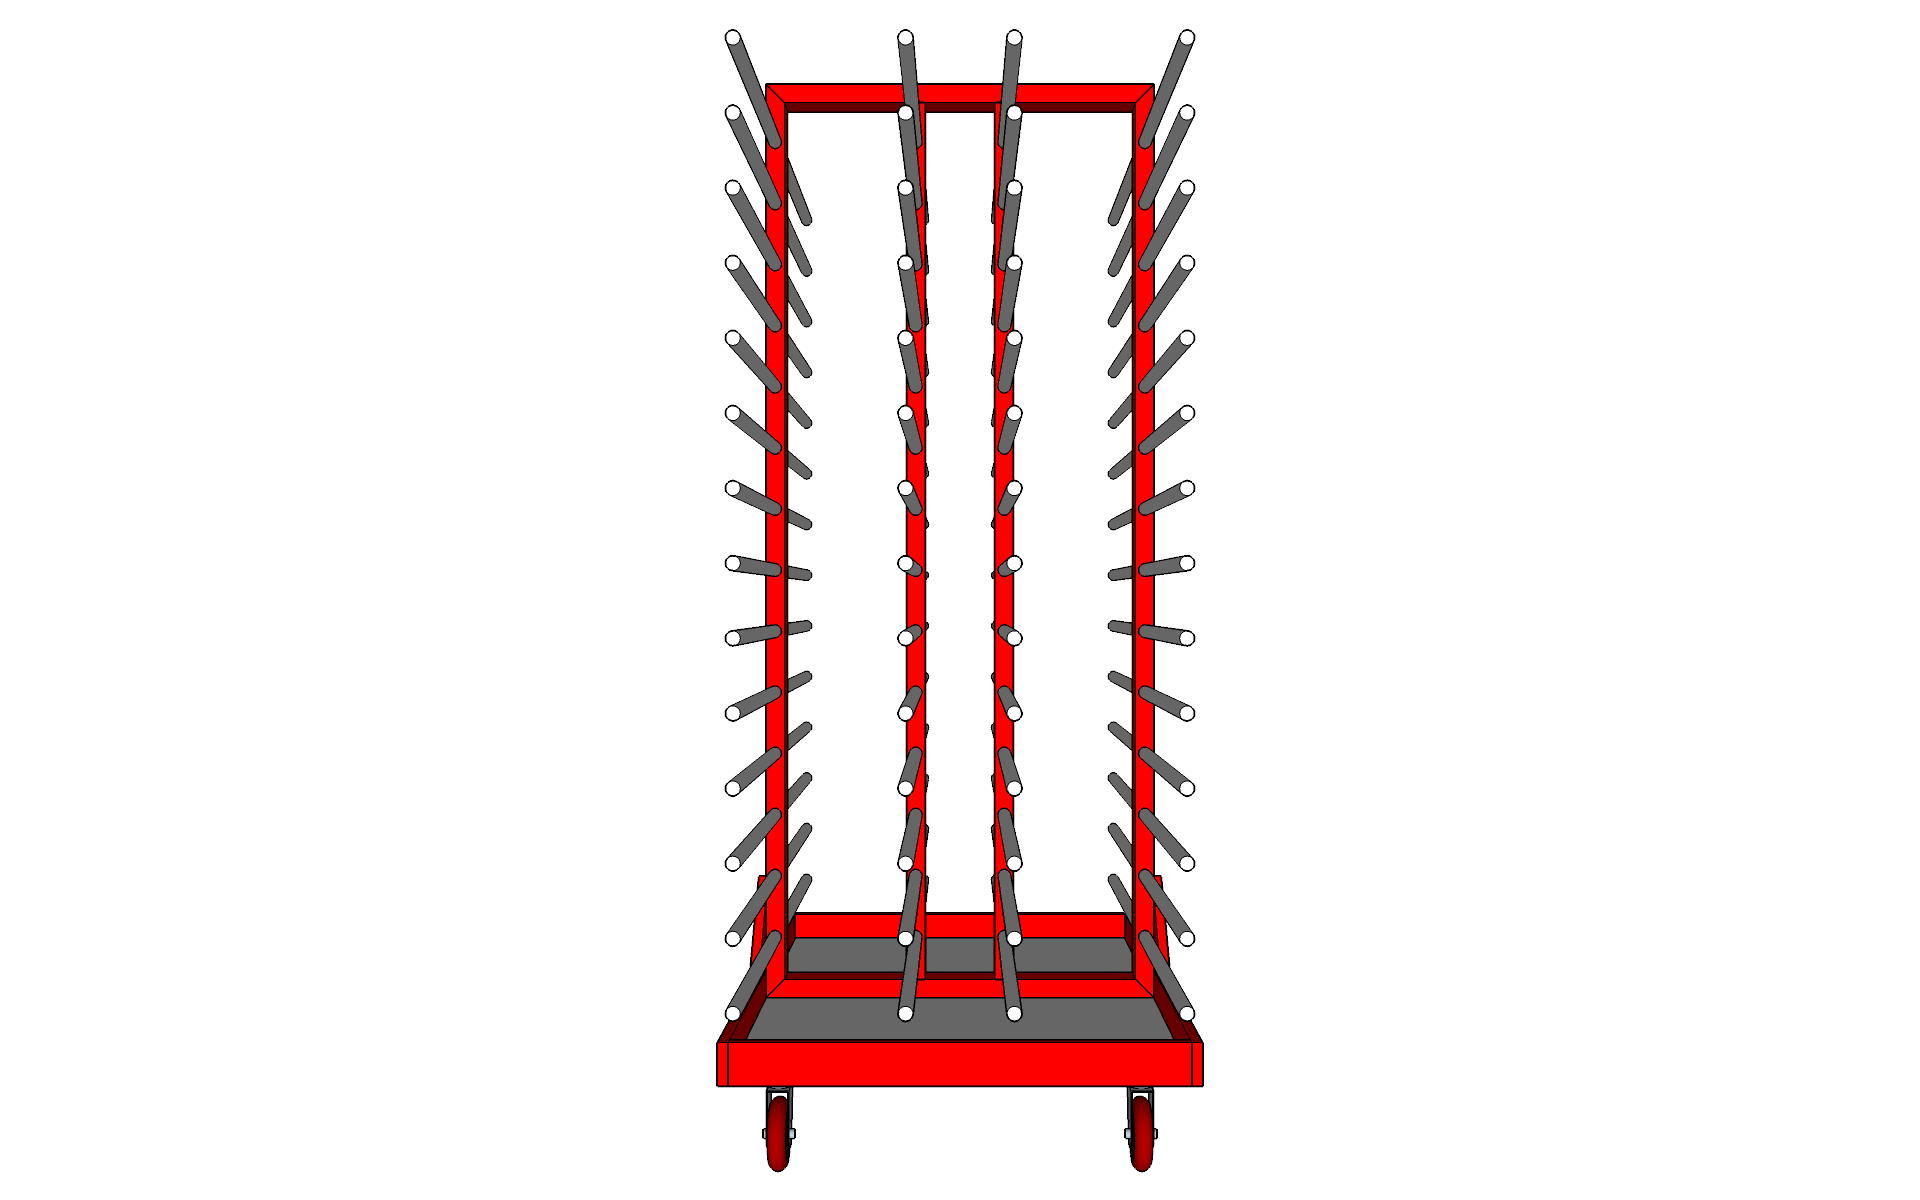
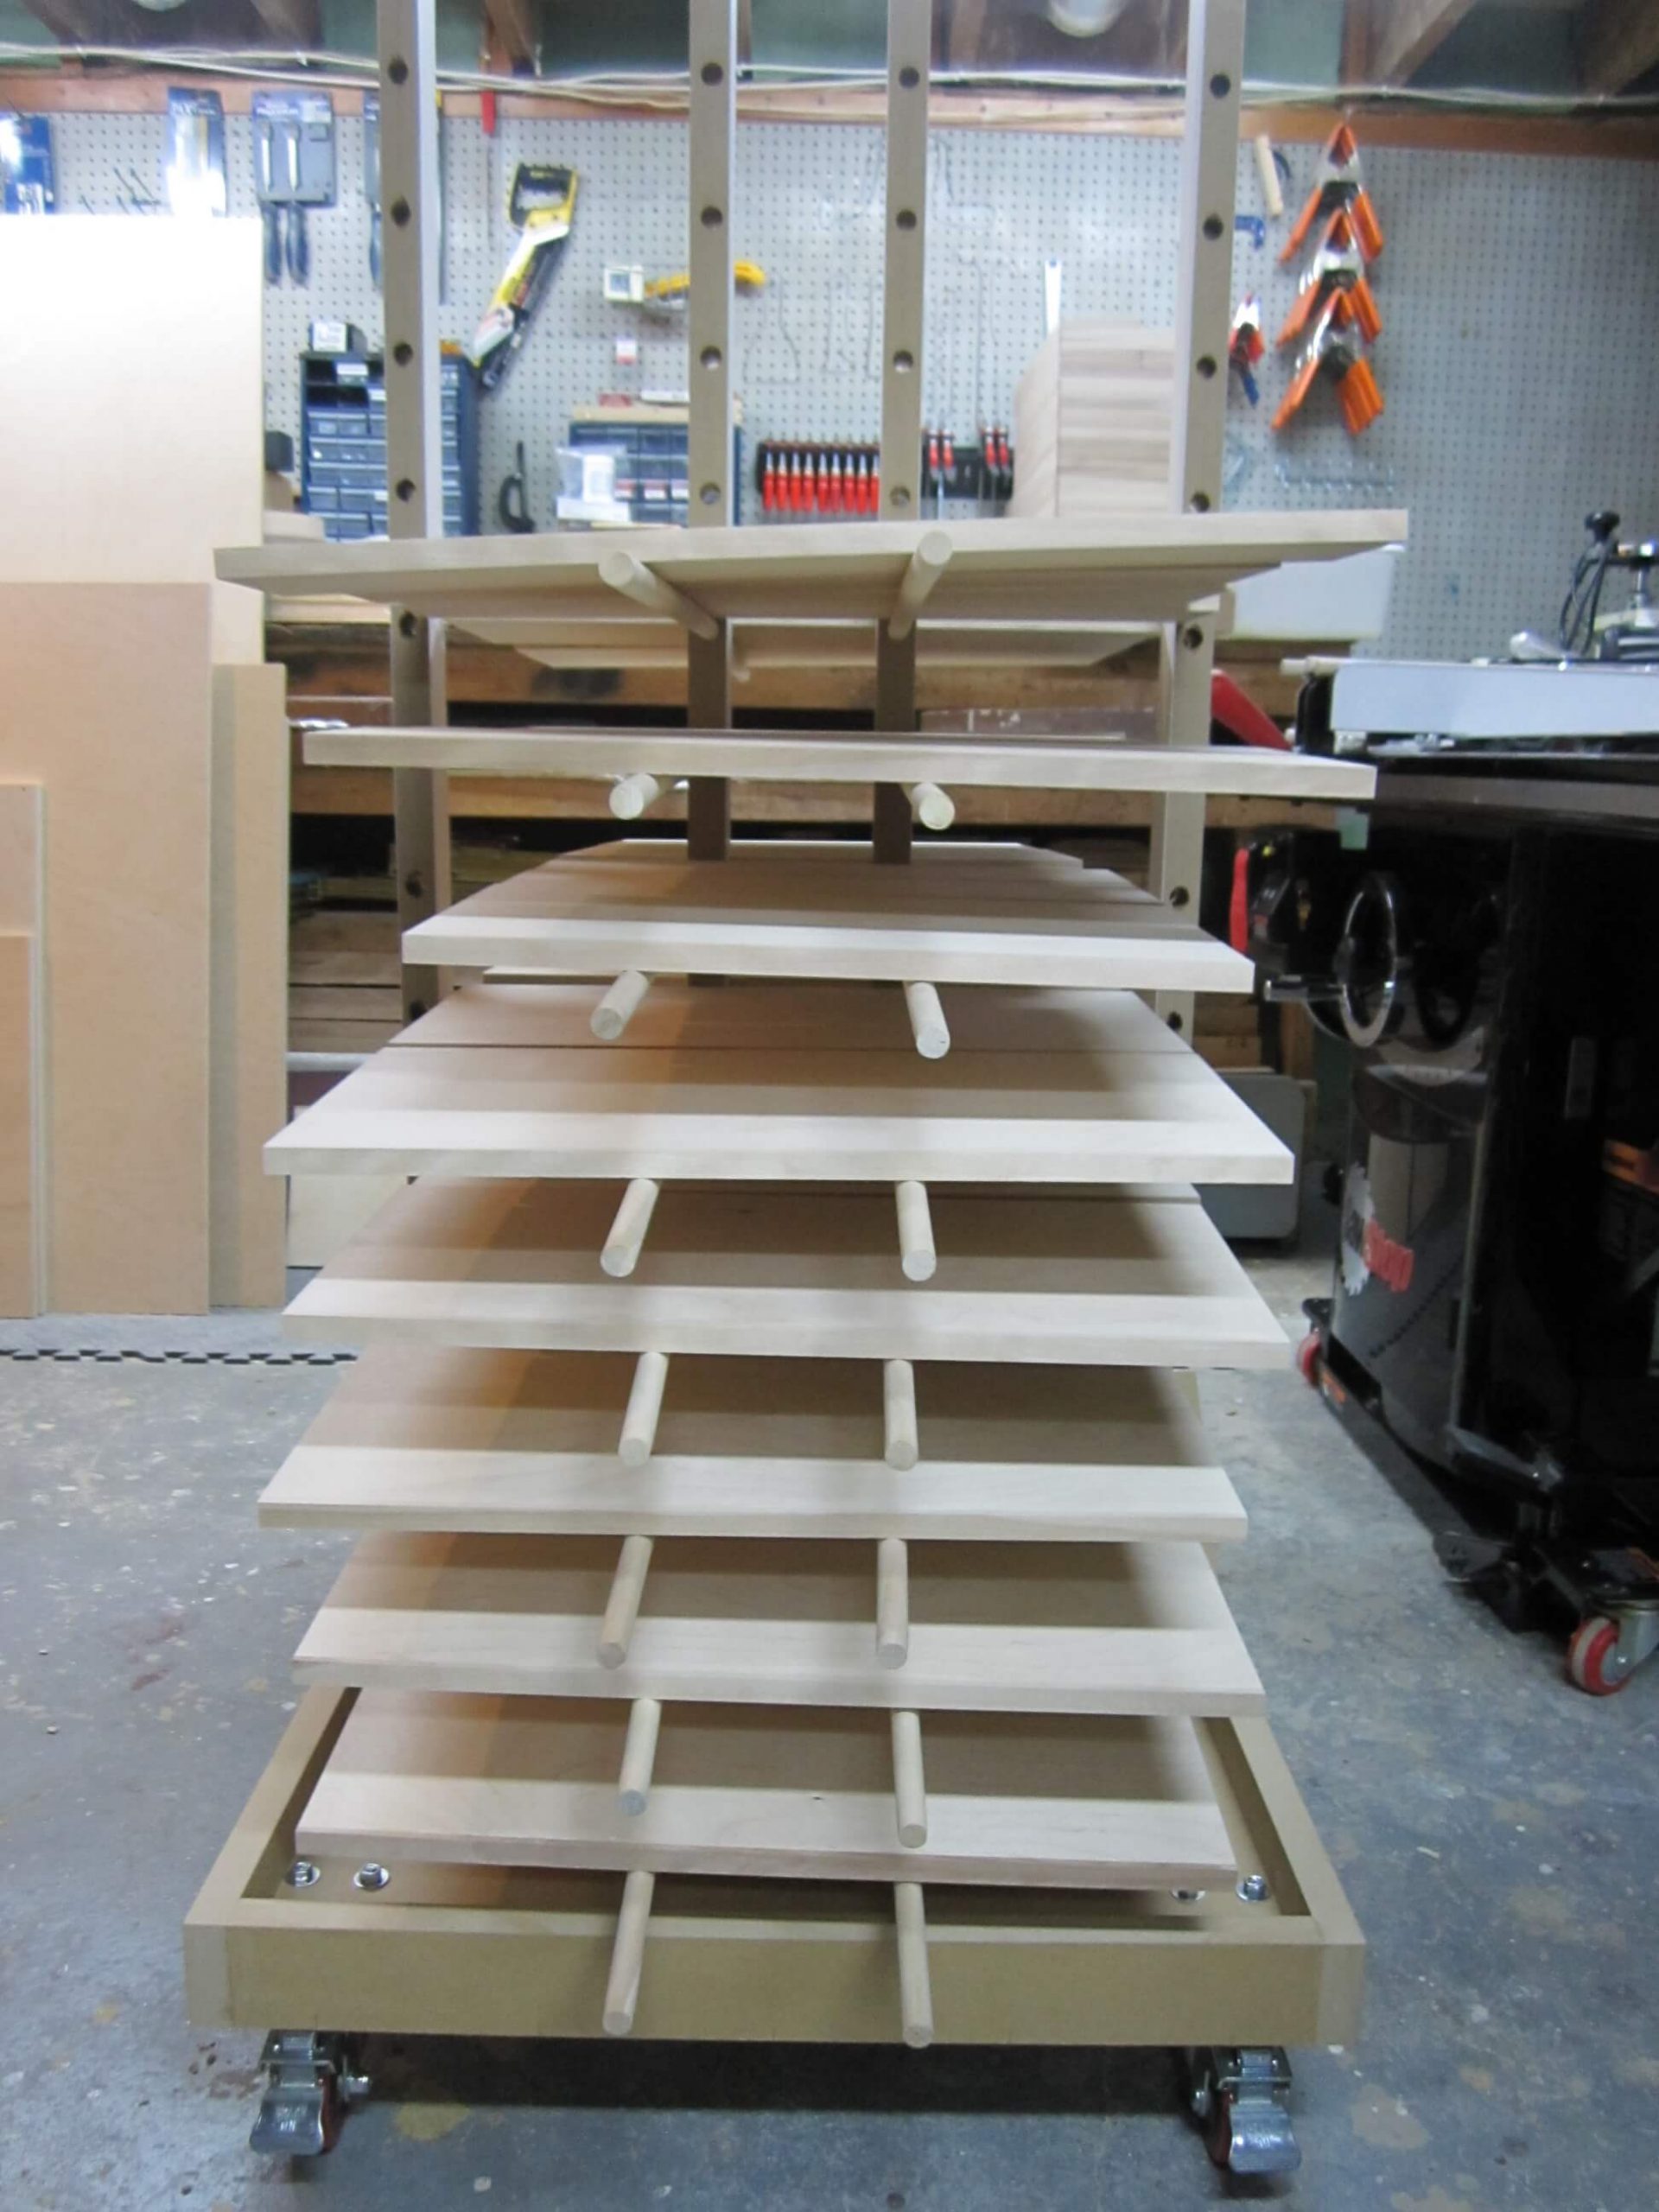
3. The Supports
Originally, I wanted them in aluminum but, for cost reasons, I reoriented myself to 56 Beech stems. A simple and economical solution, I grant you 🙂
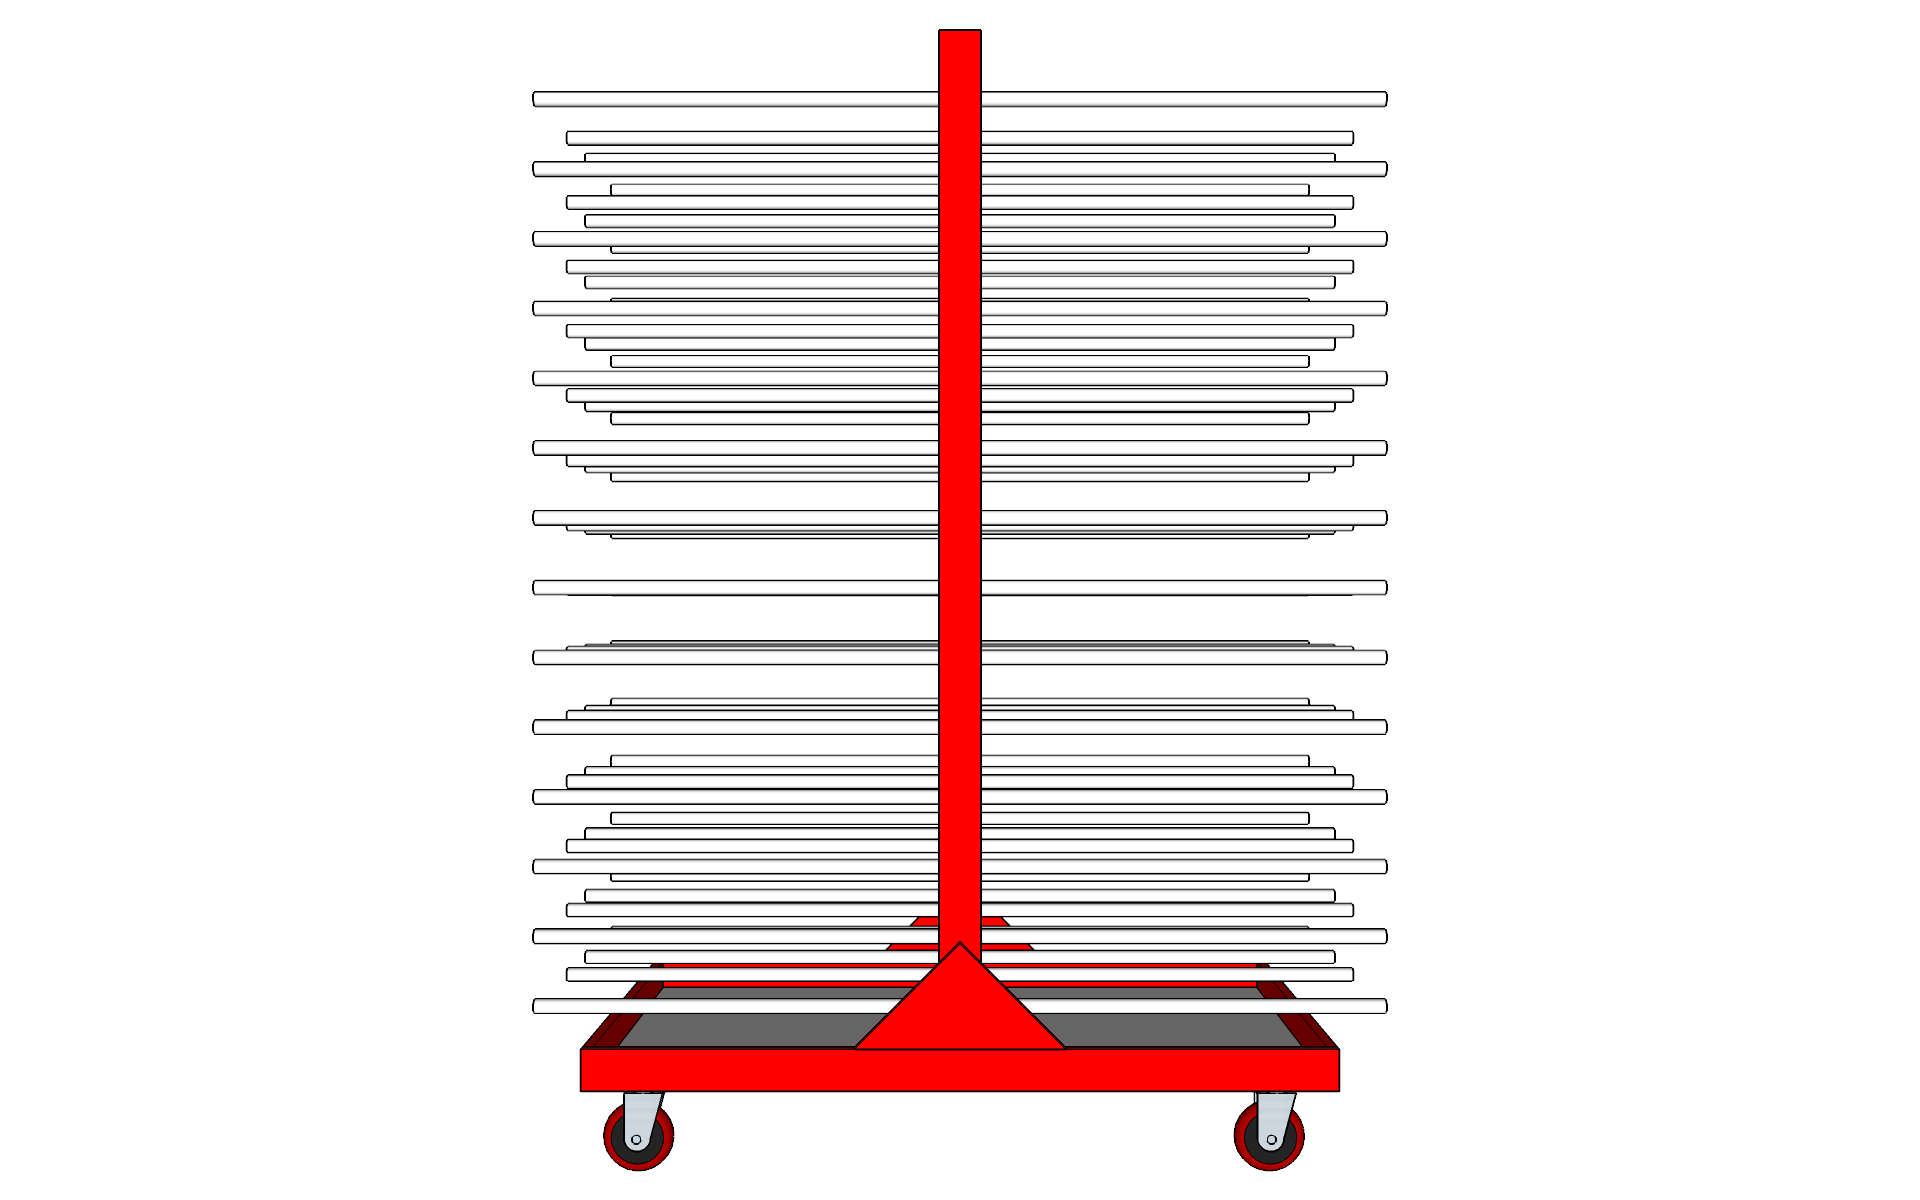
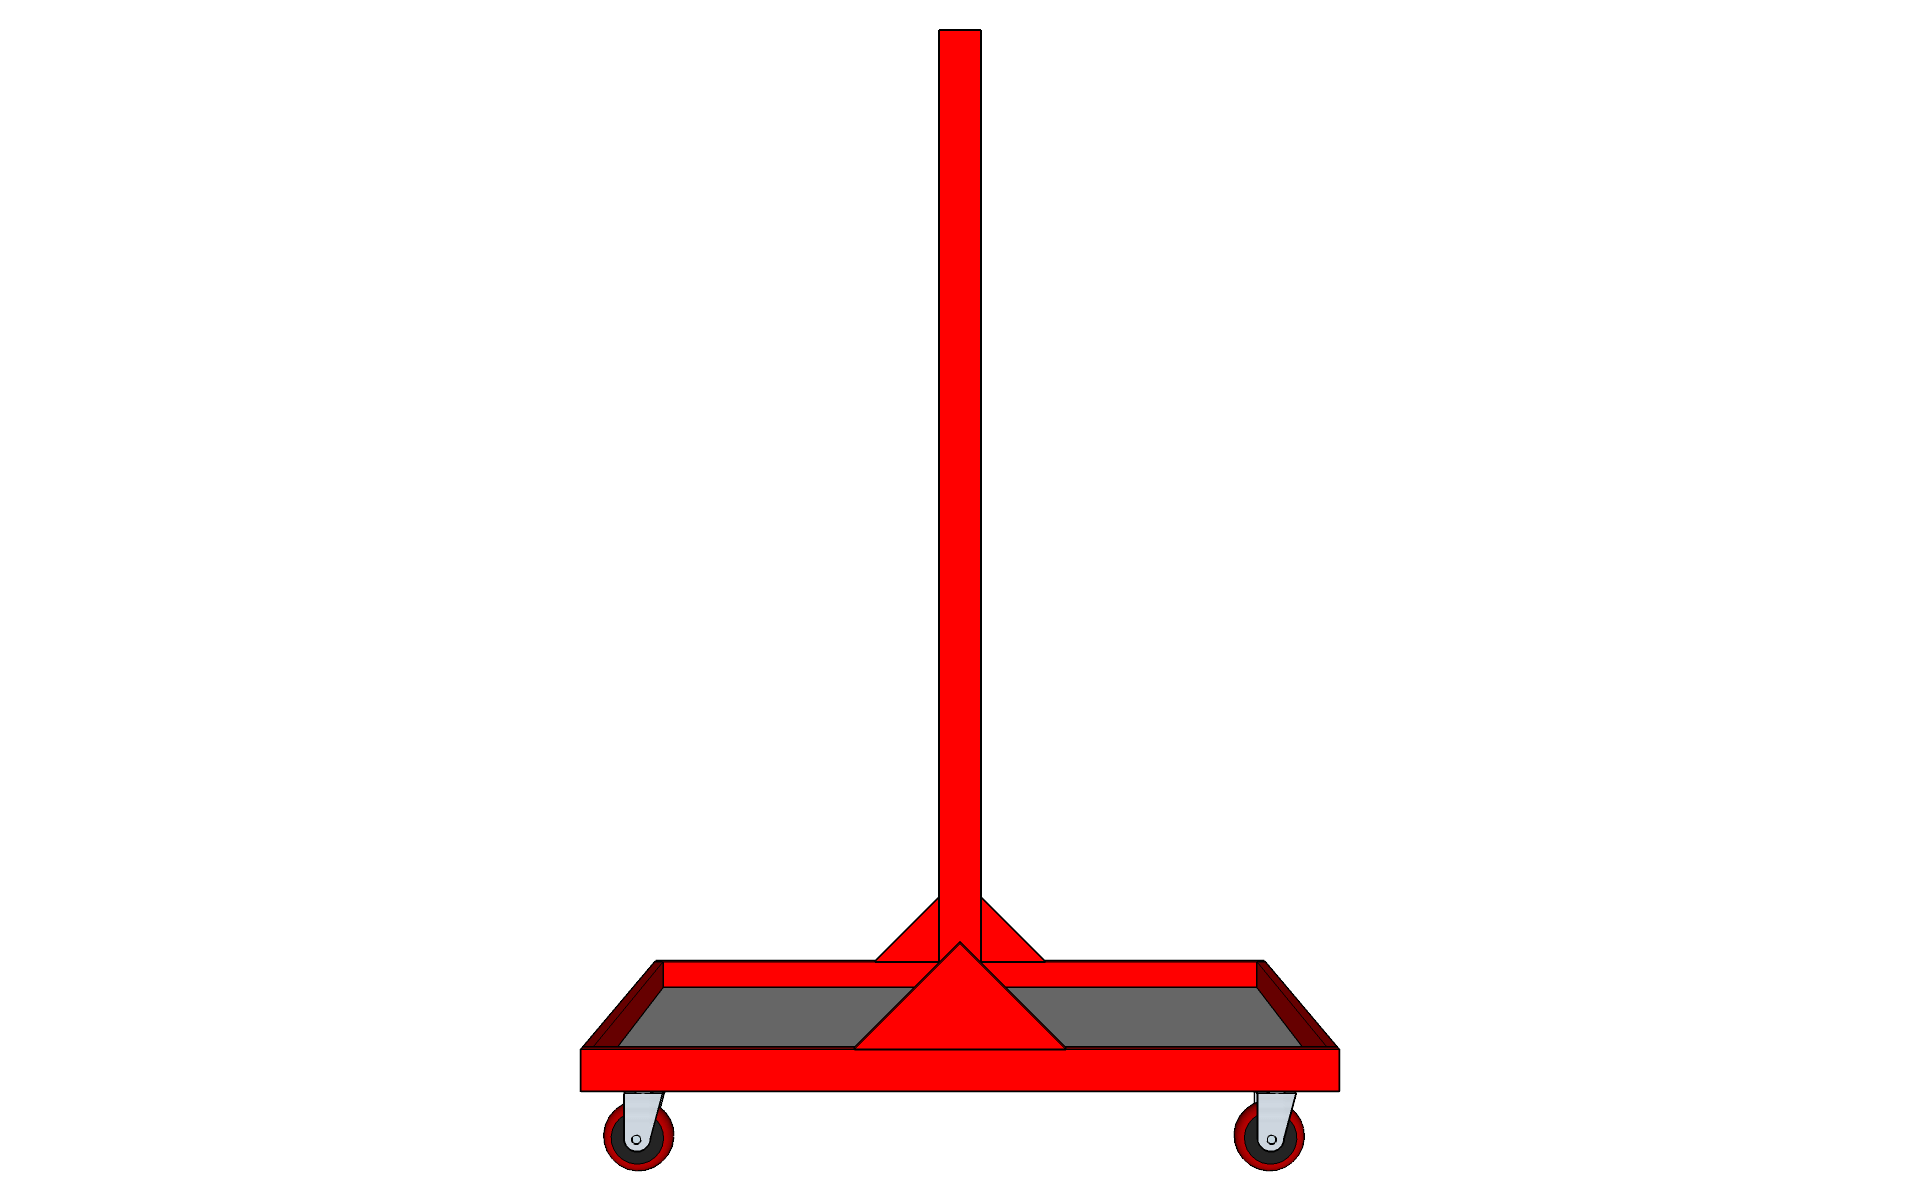
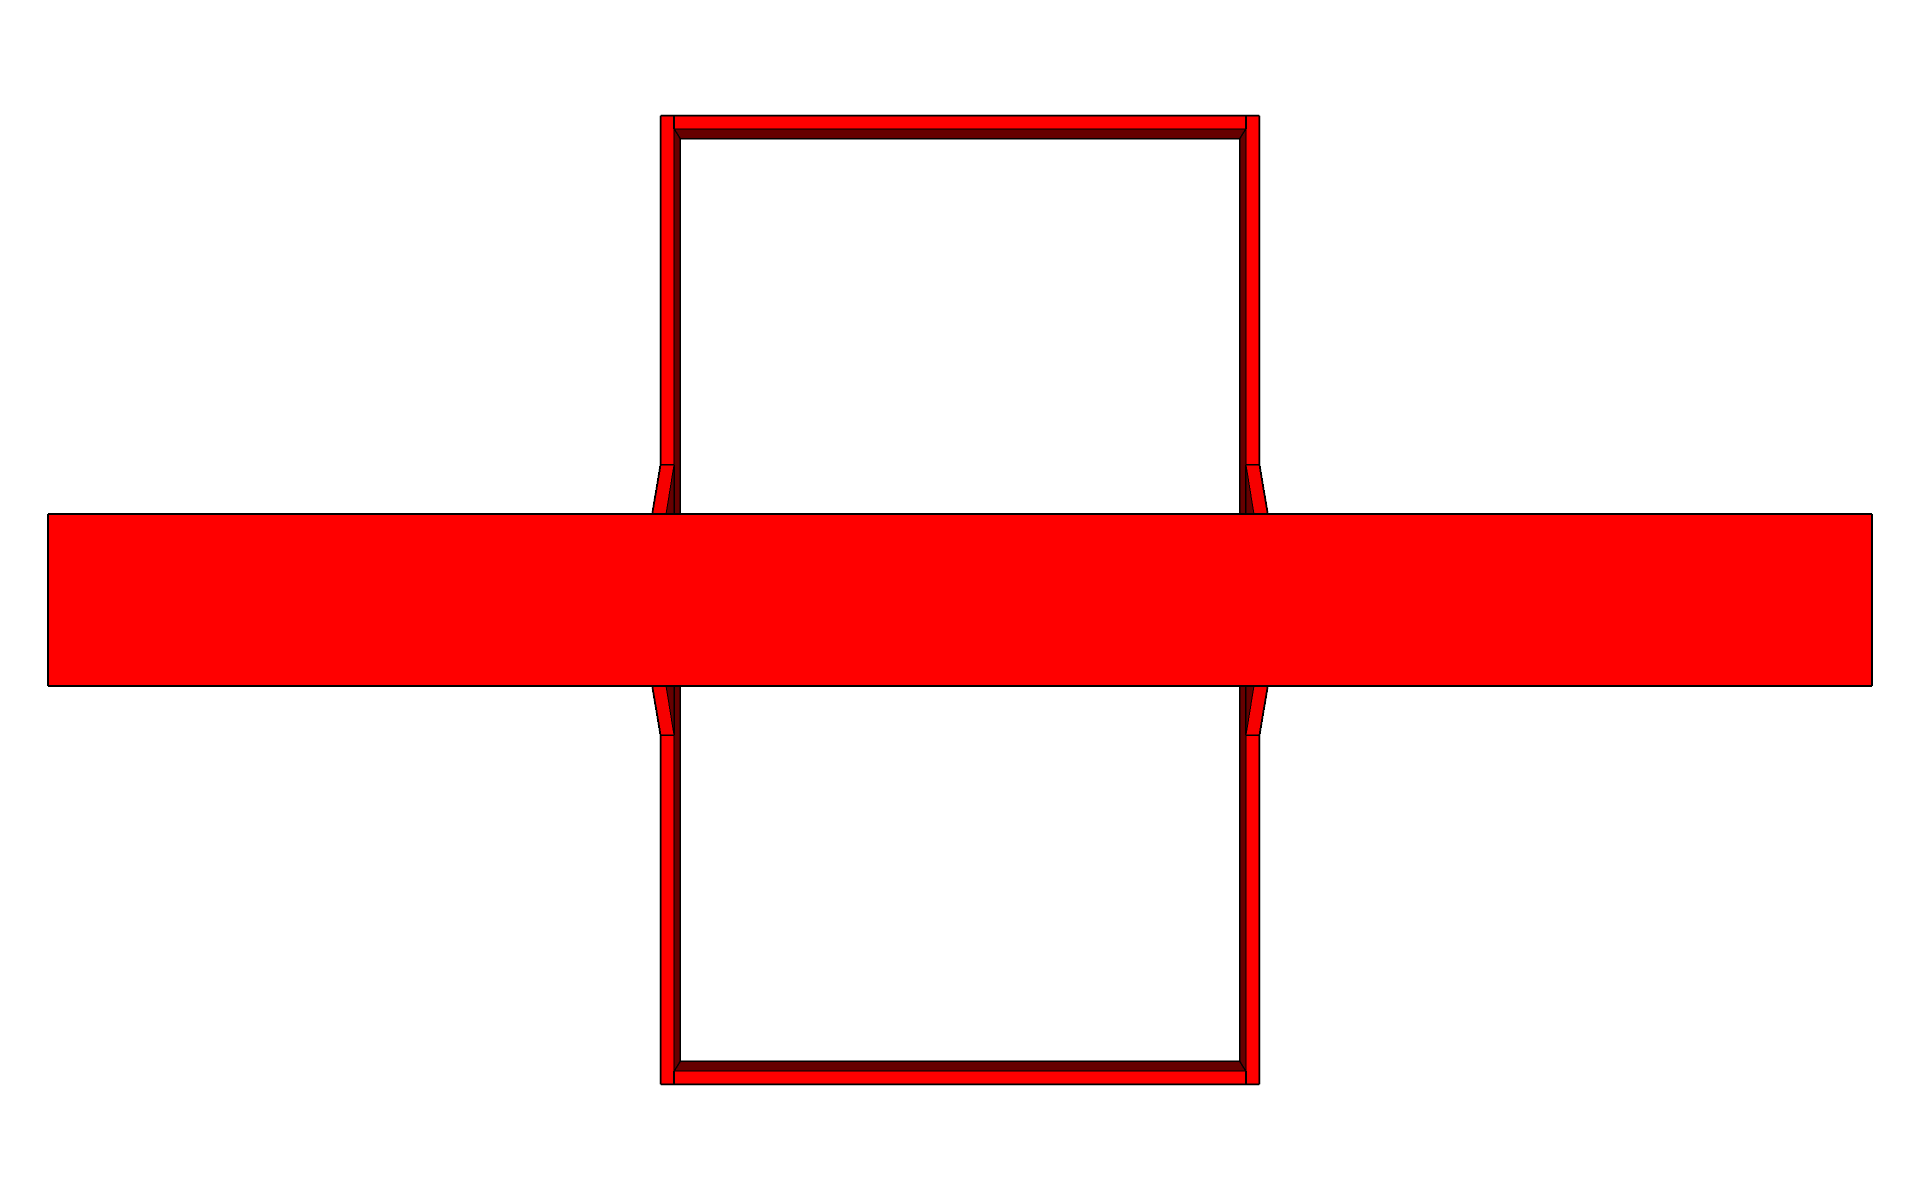
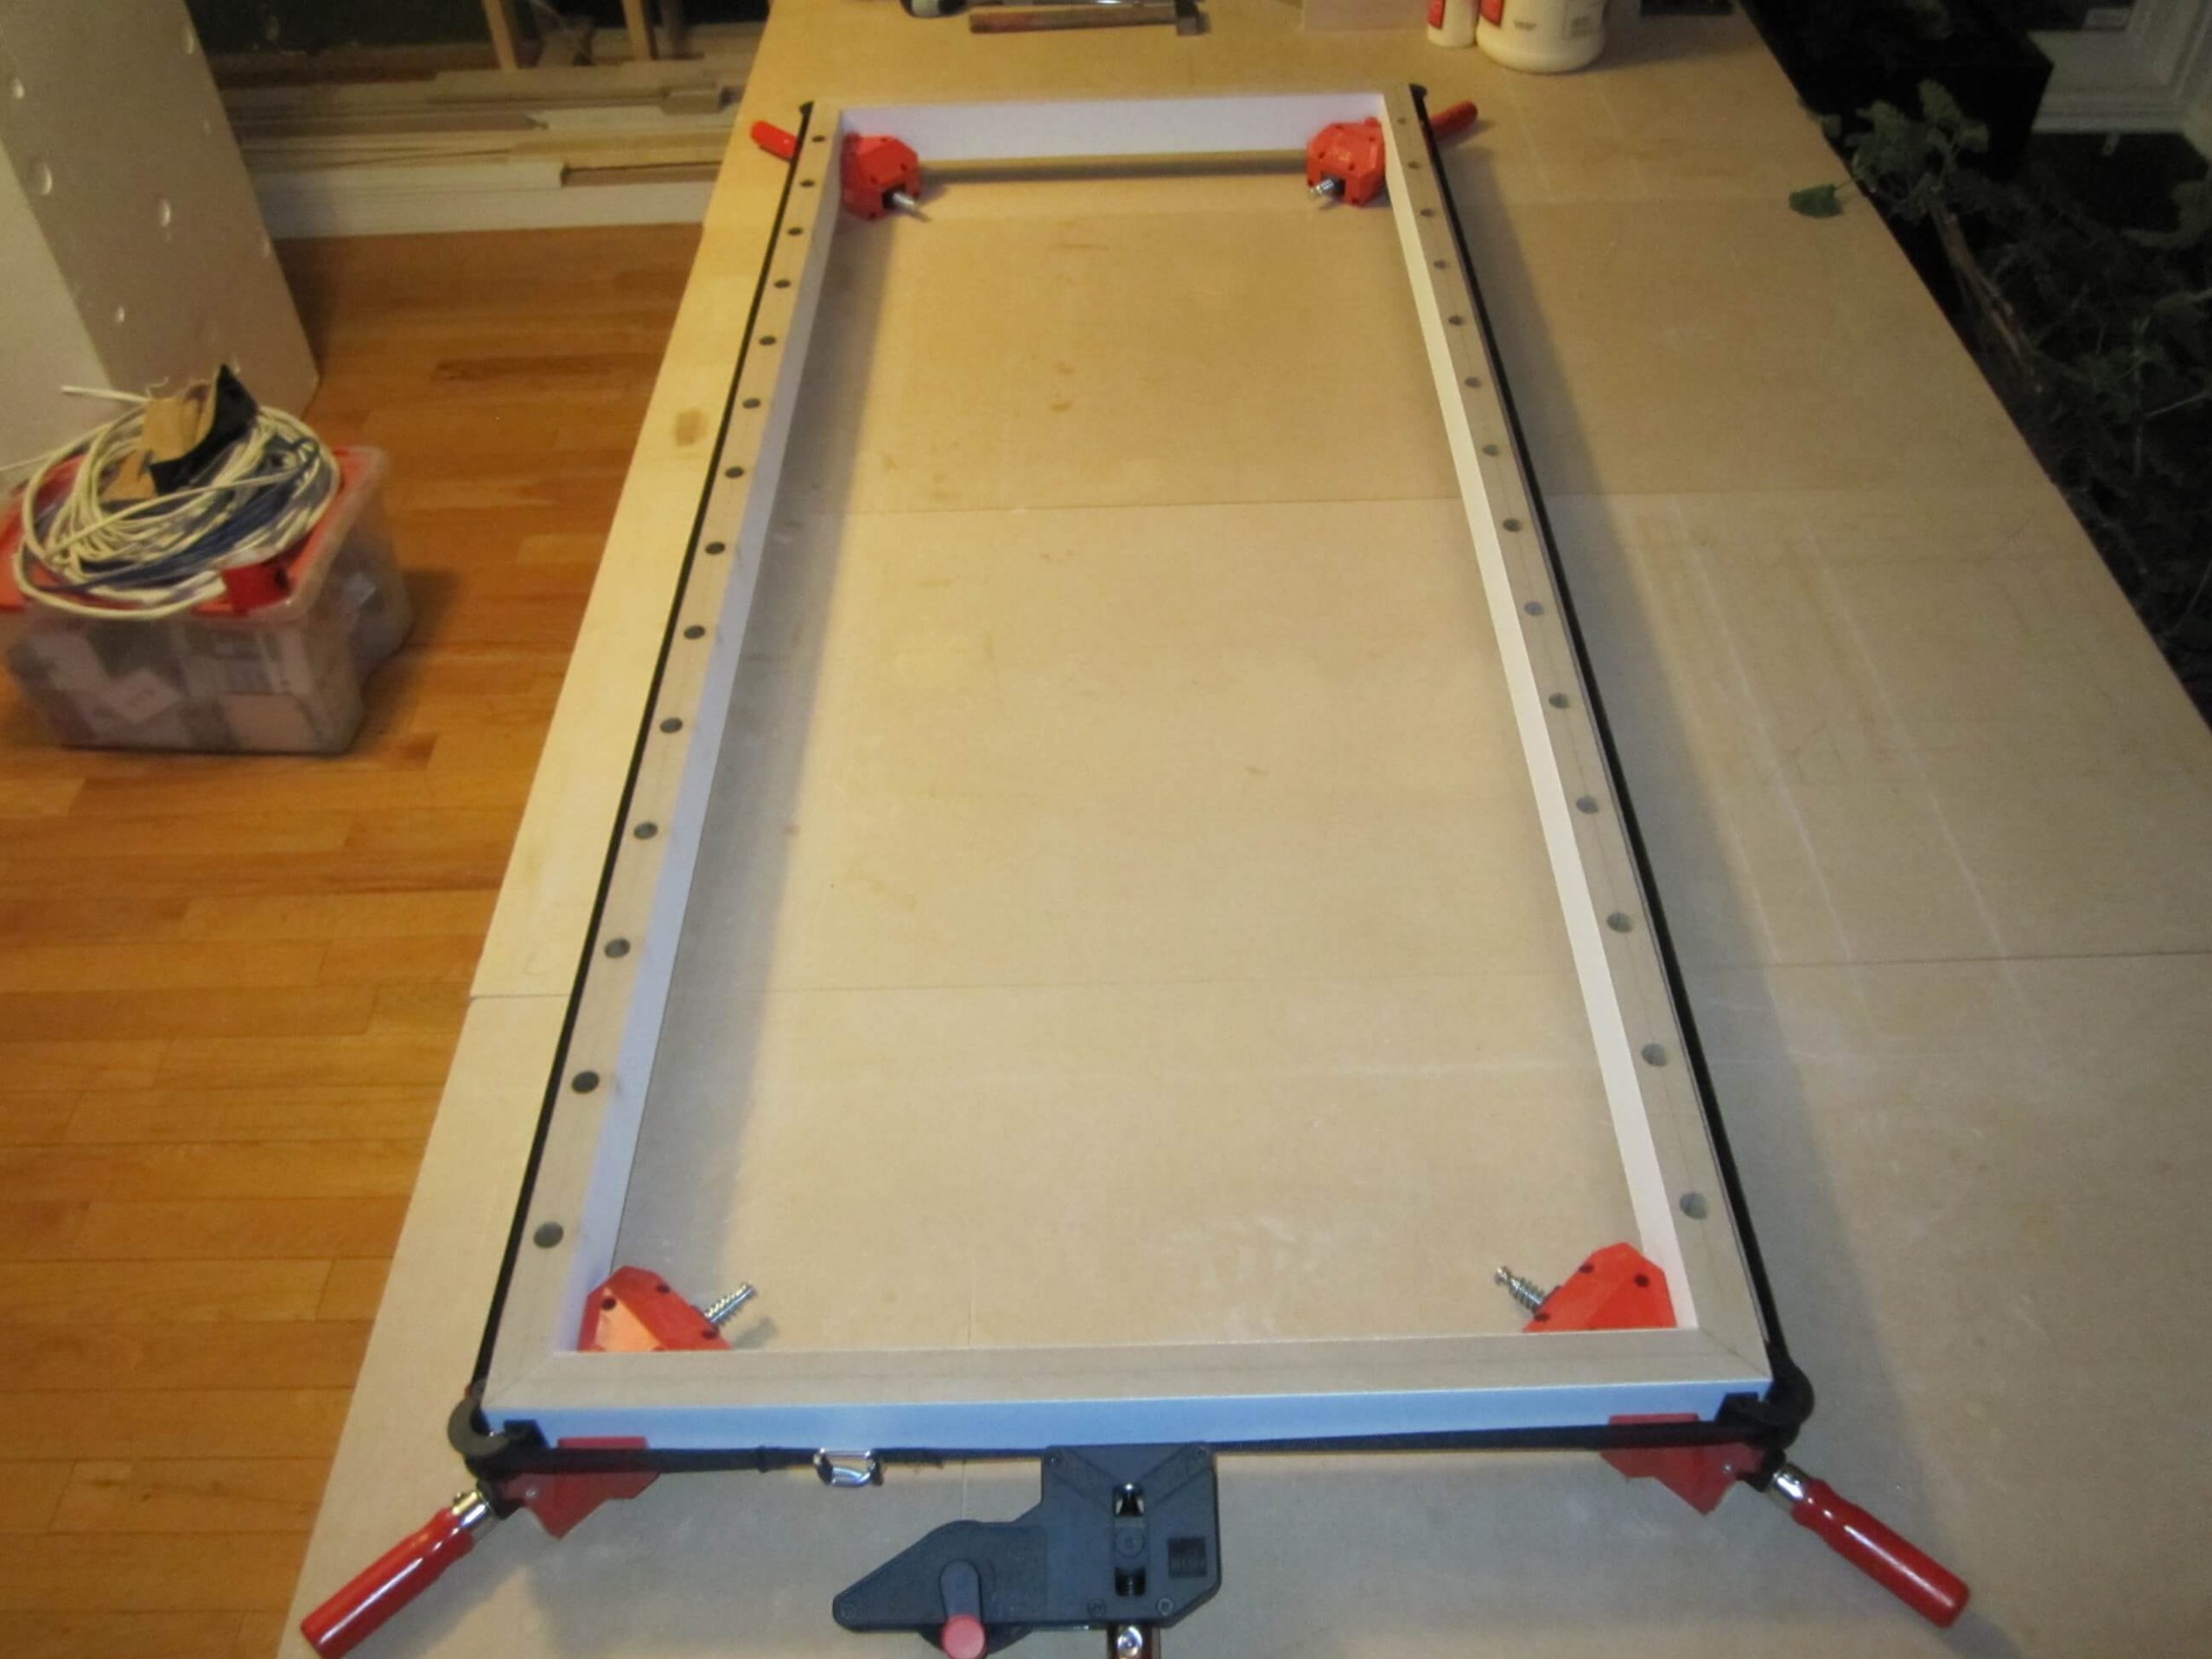
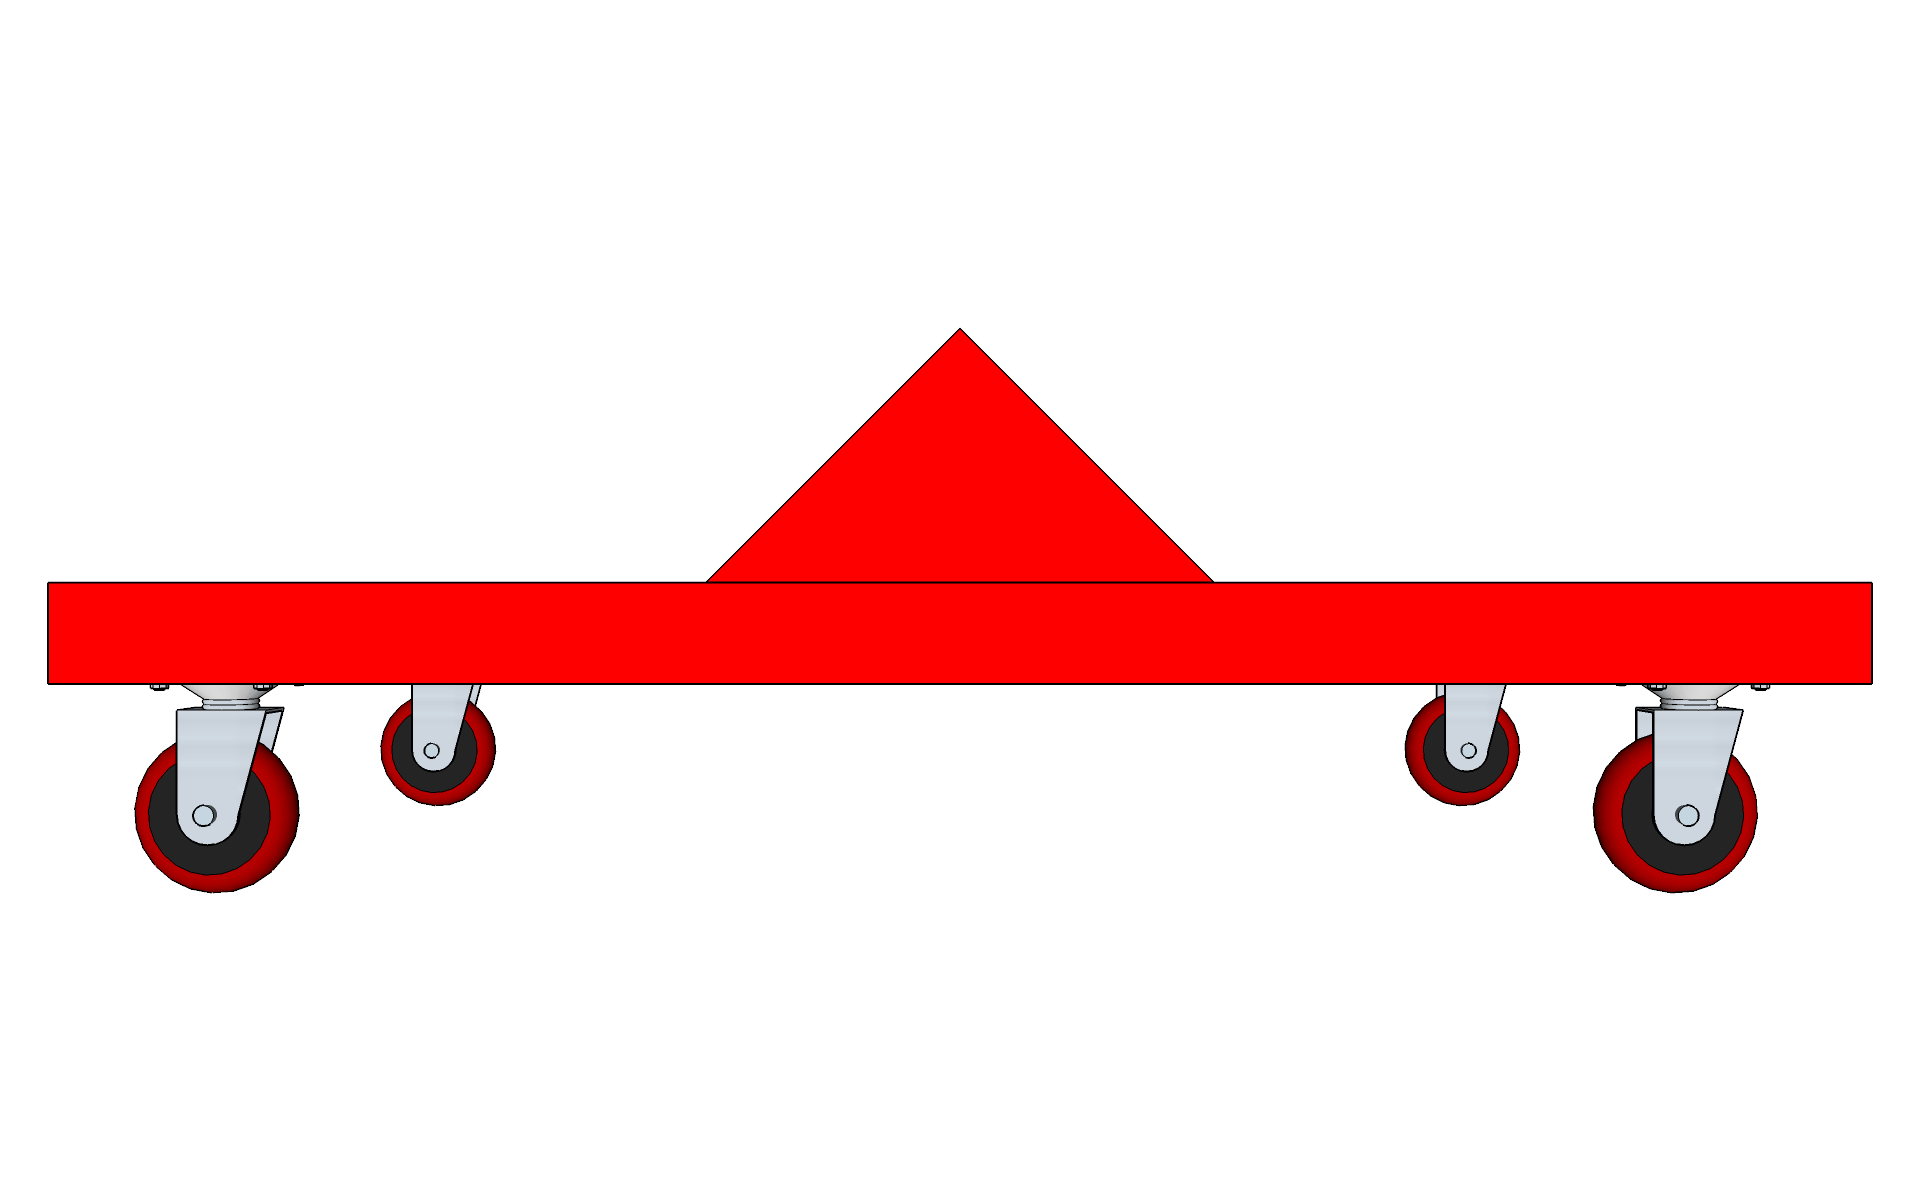
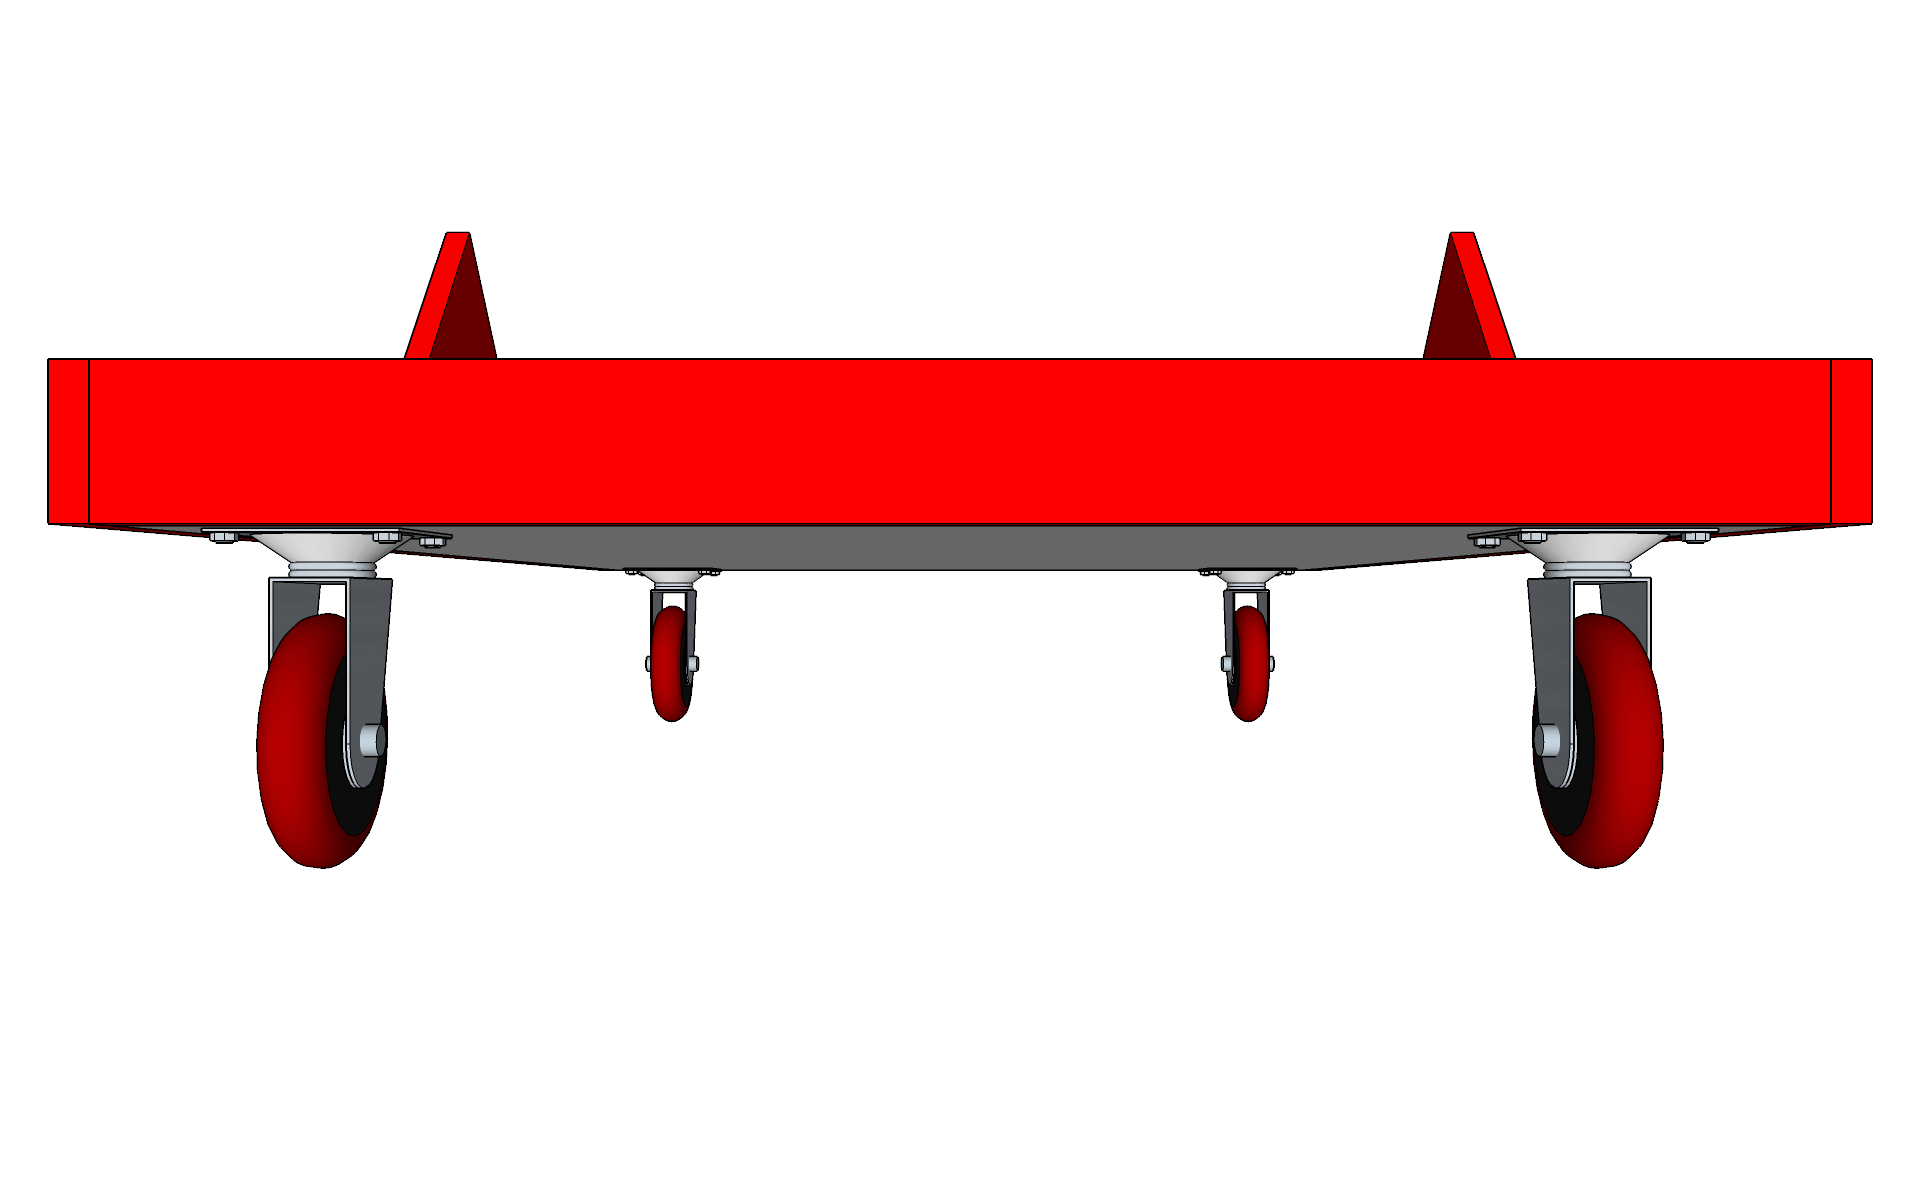
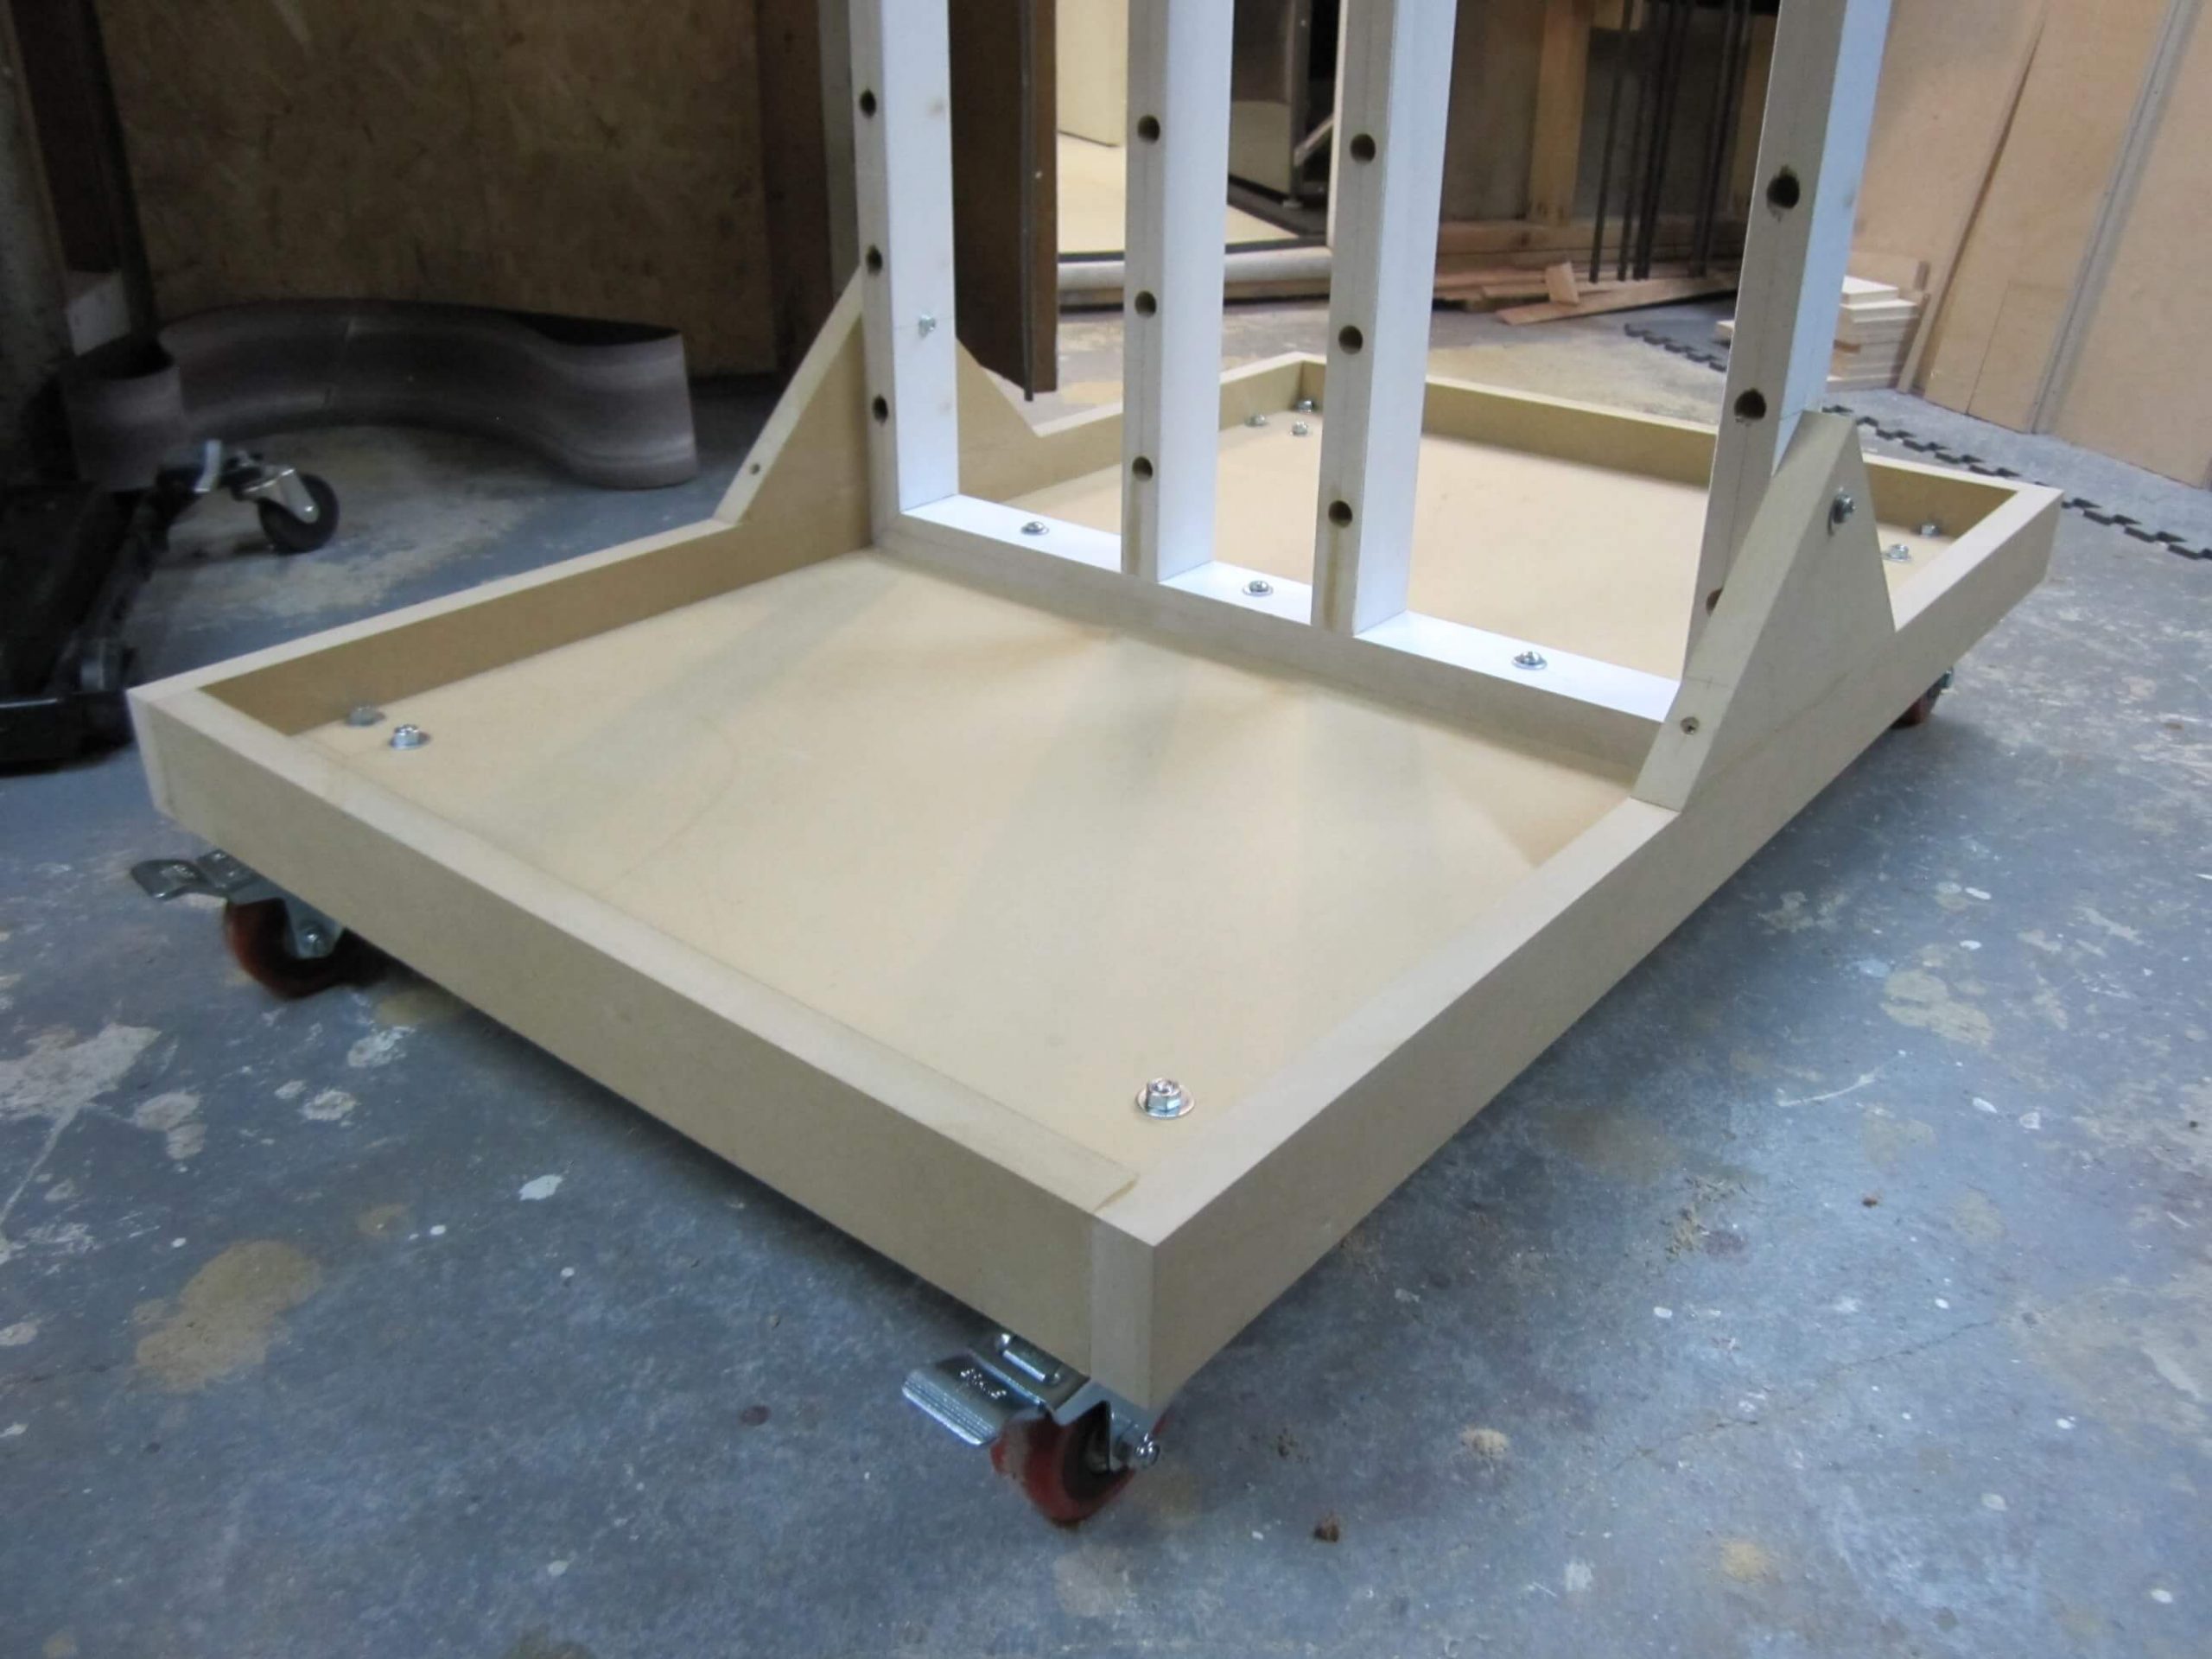
4. The Base
It must be solid, wide enough to accommodate and distribute all the weight of the parts. The dryer should not be rocking…
Finally, it will be on wheels to ensure mobility of the whole.
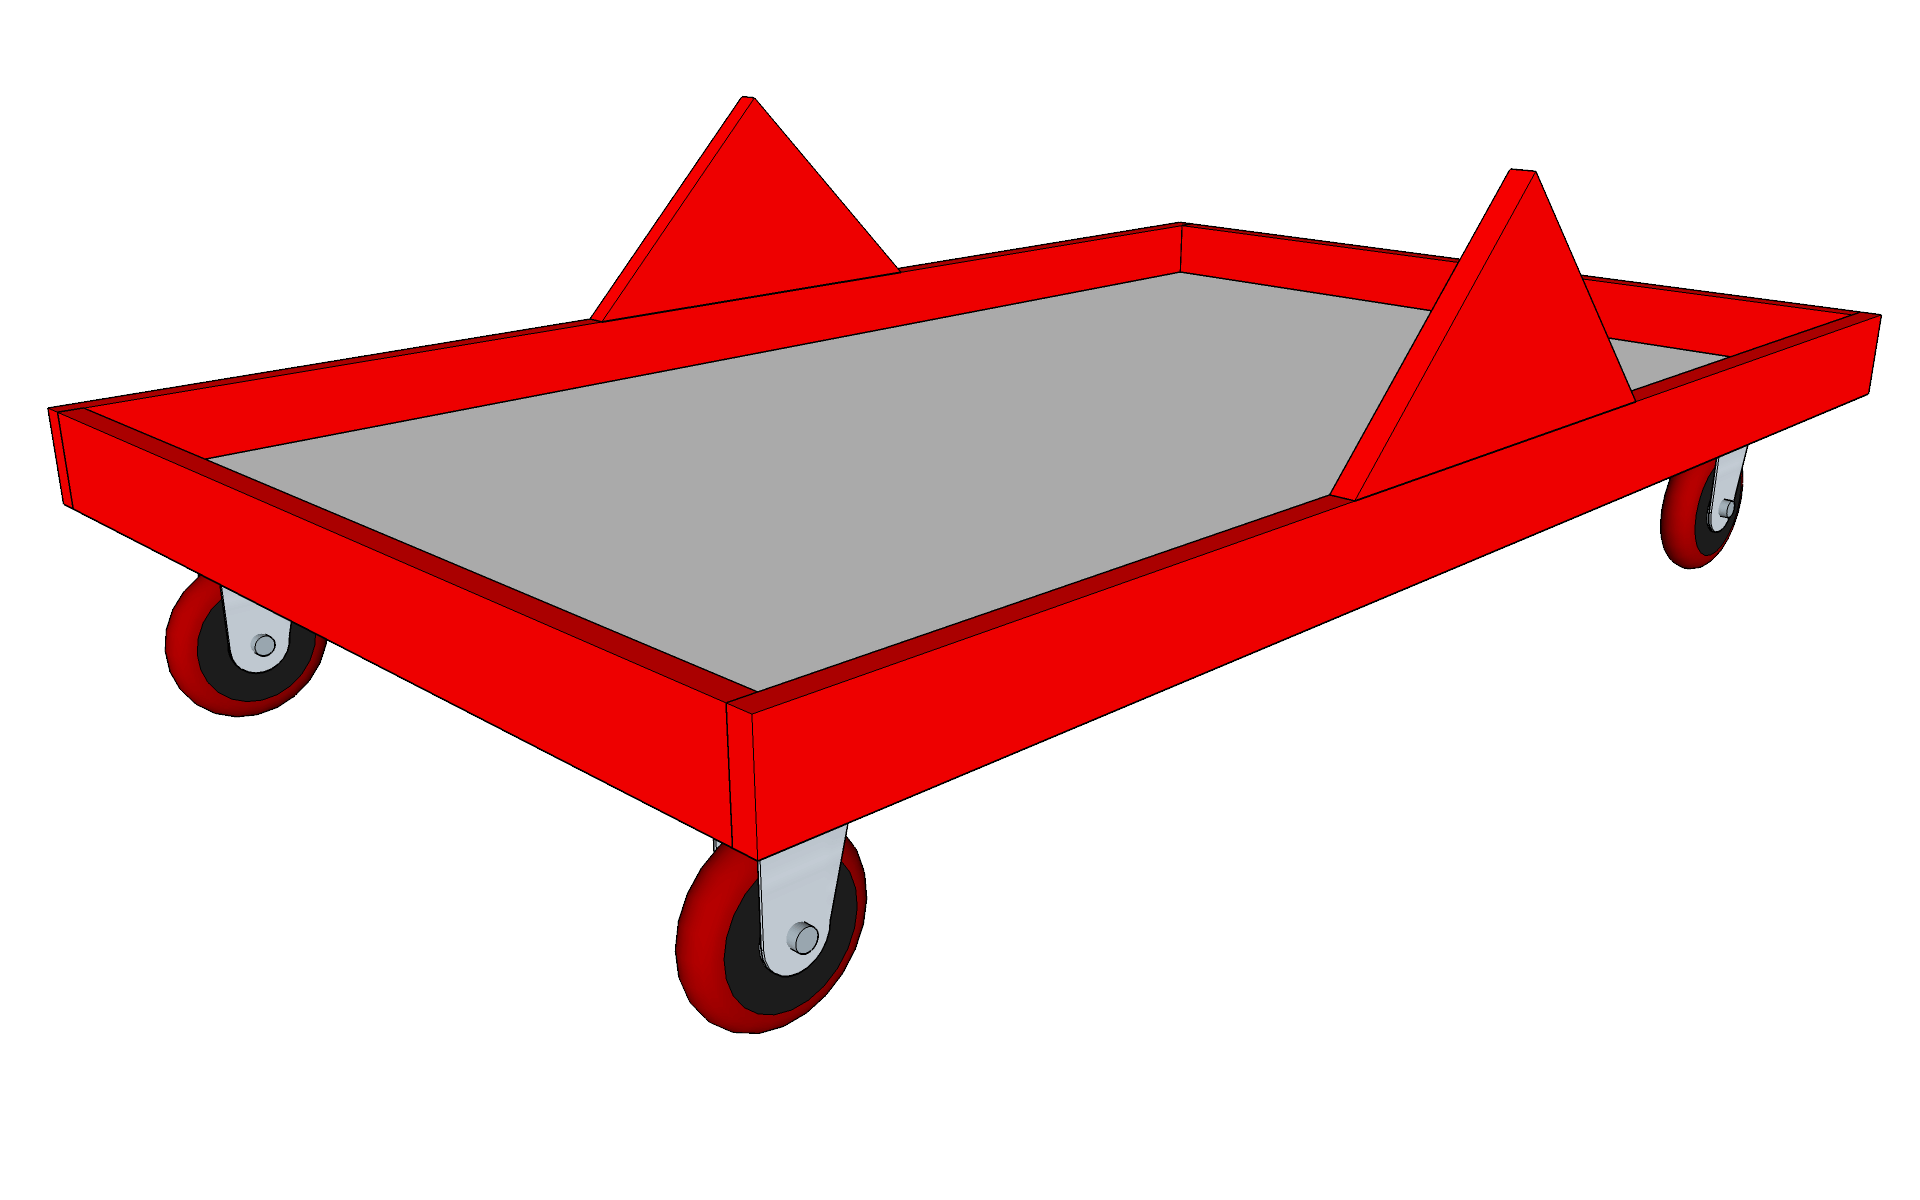
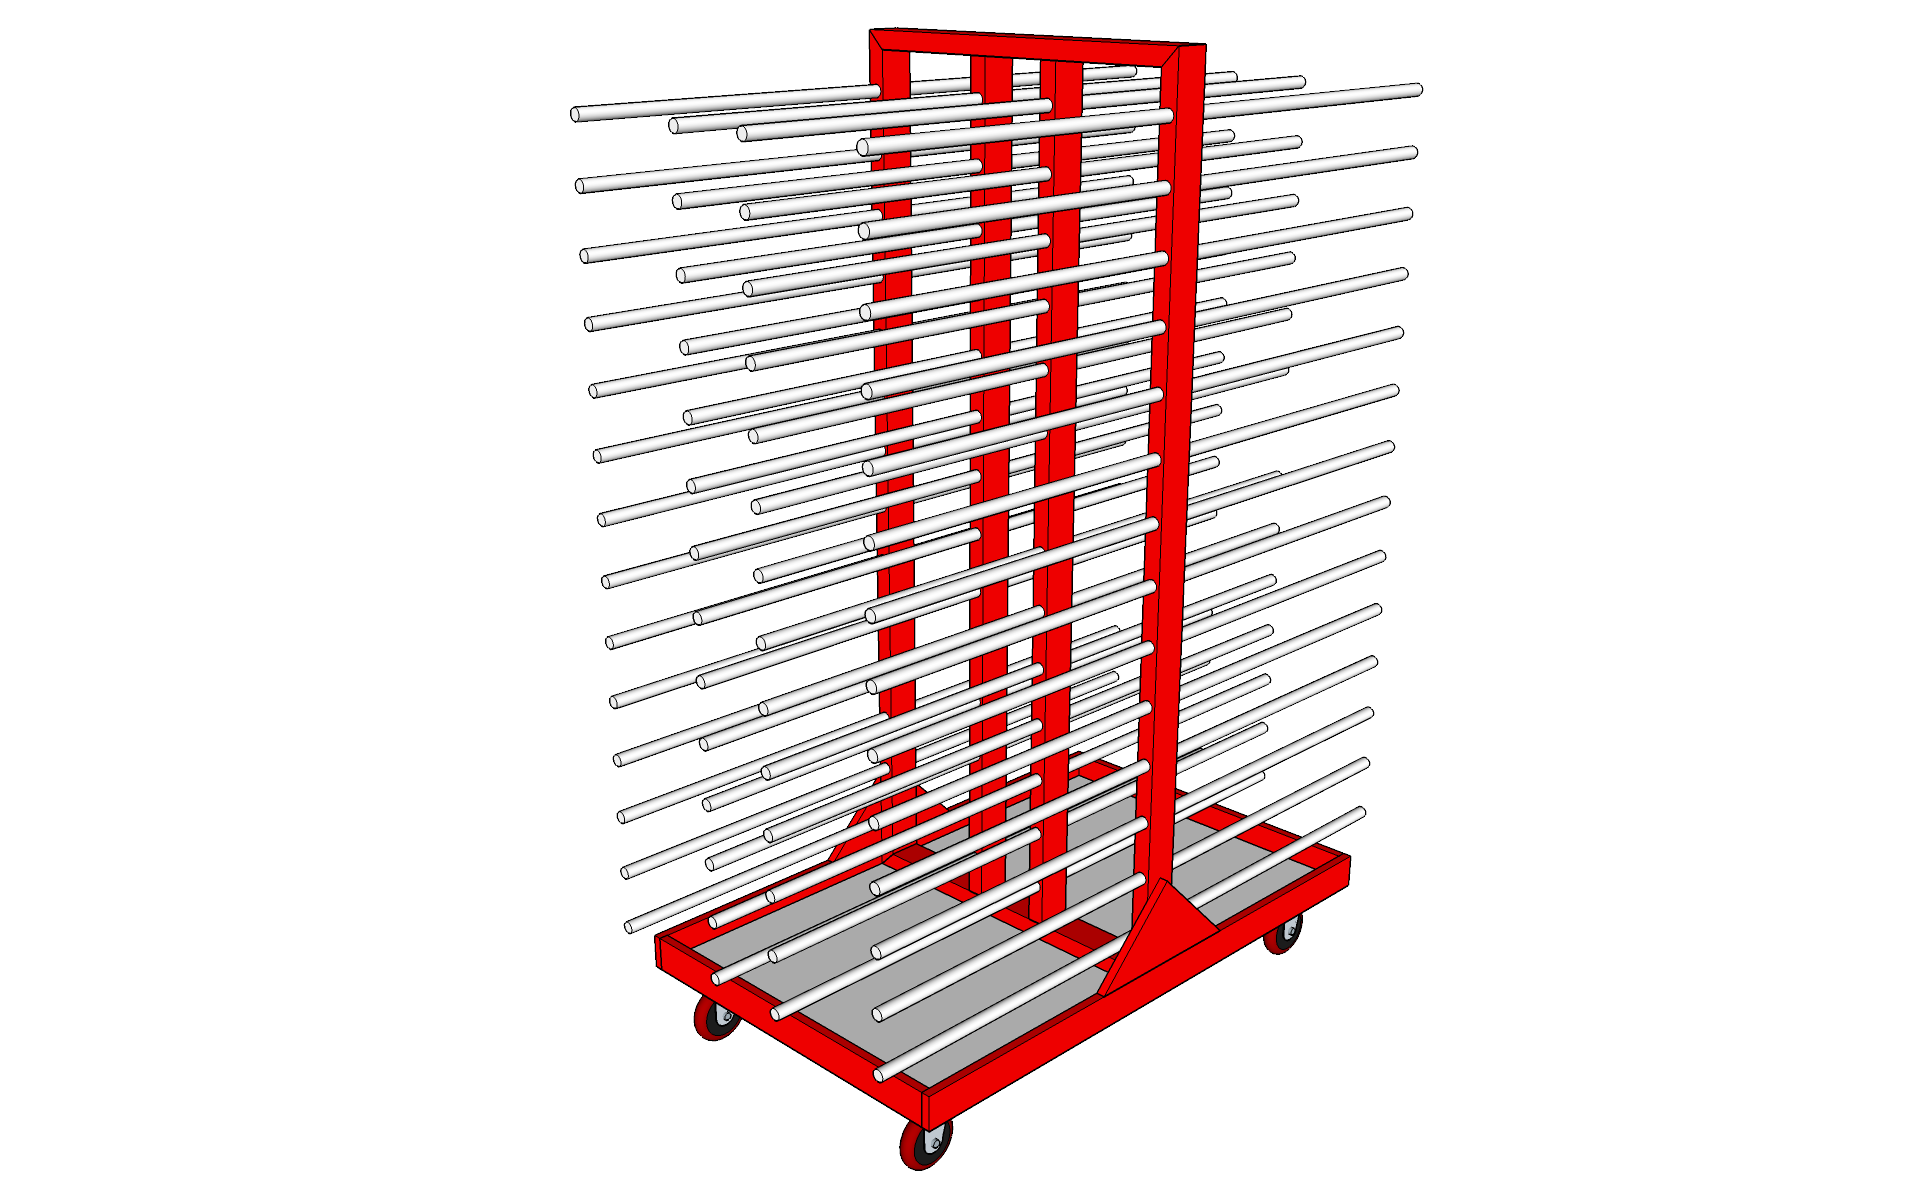
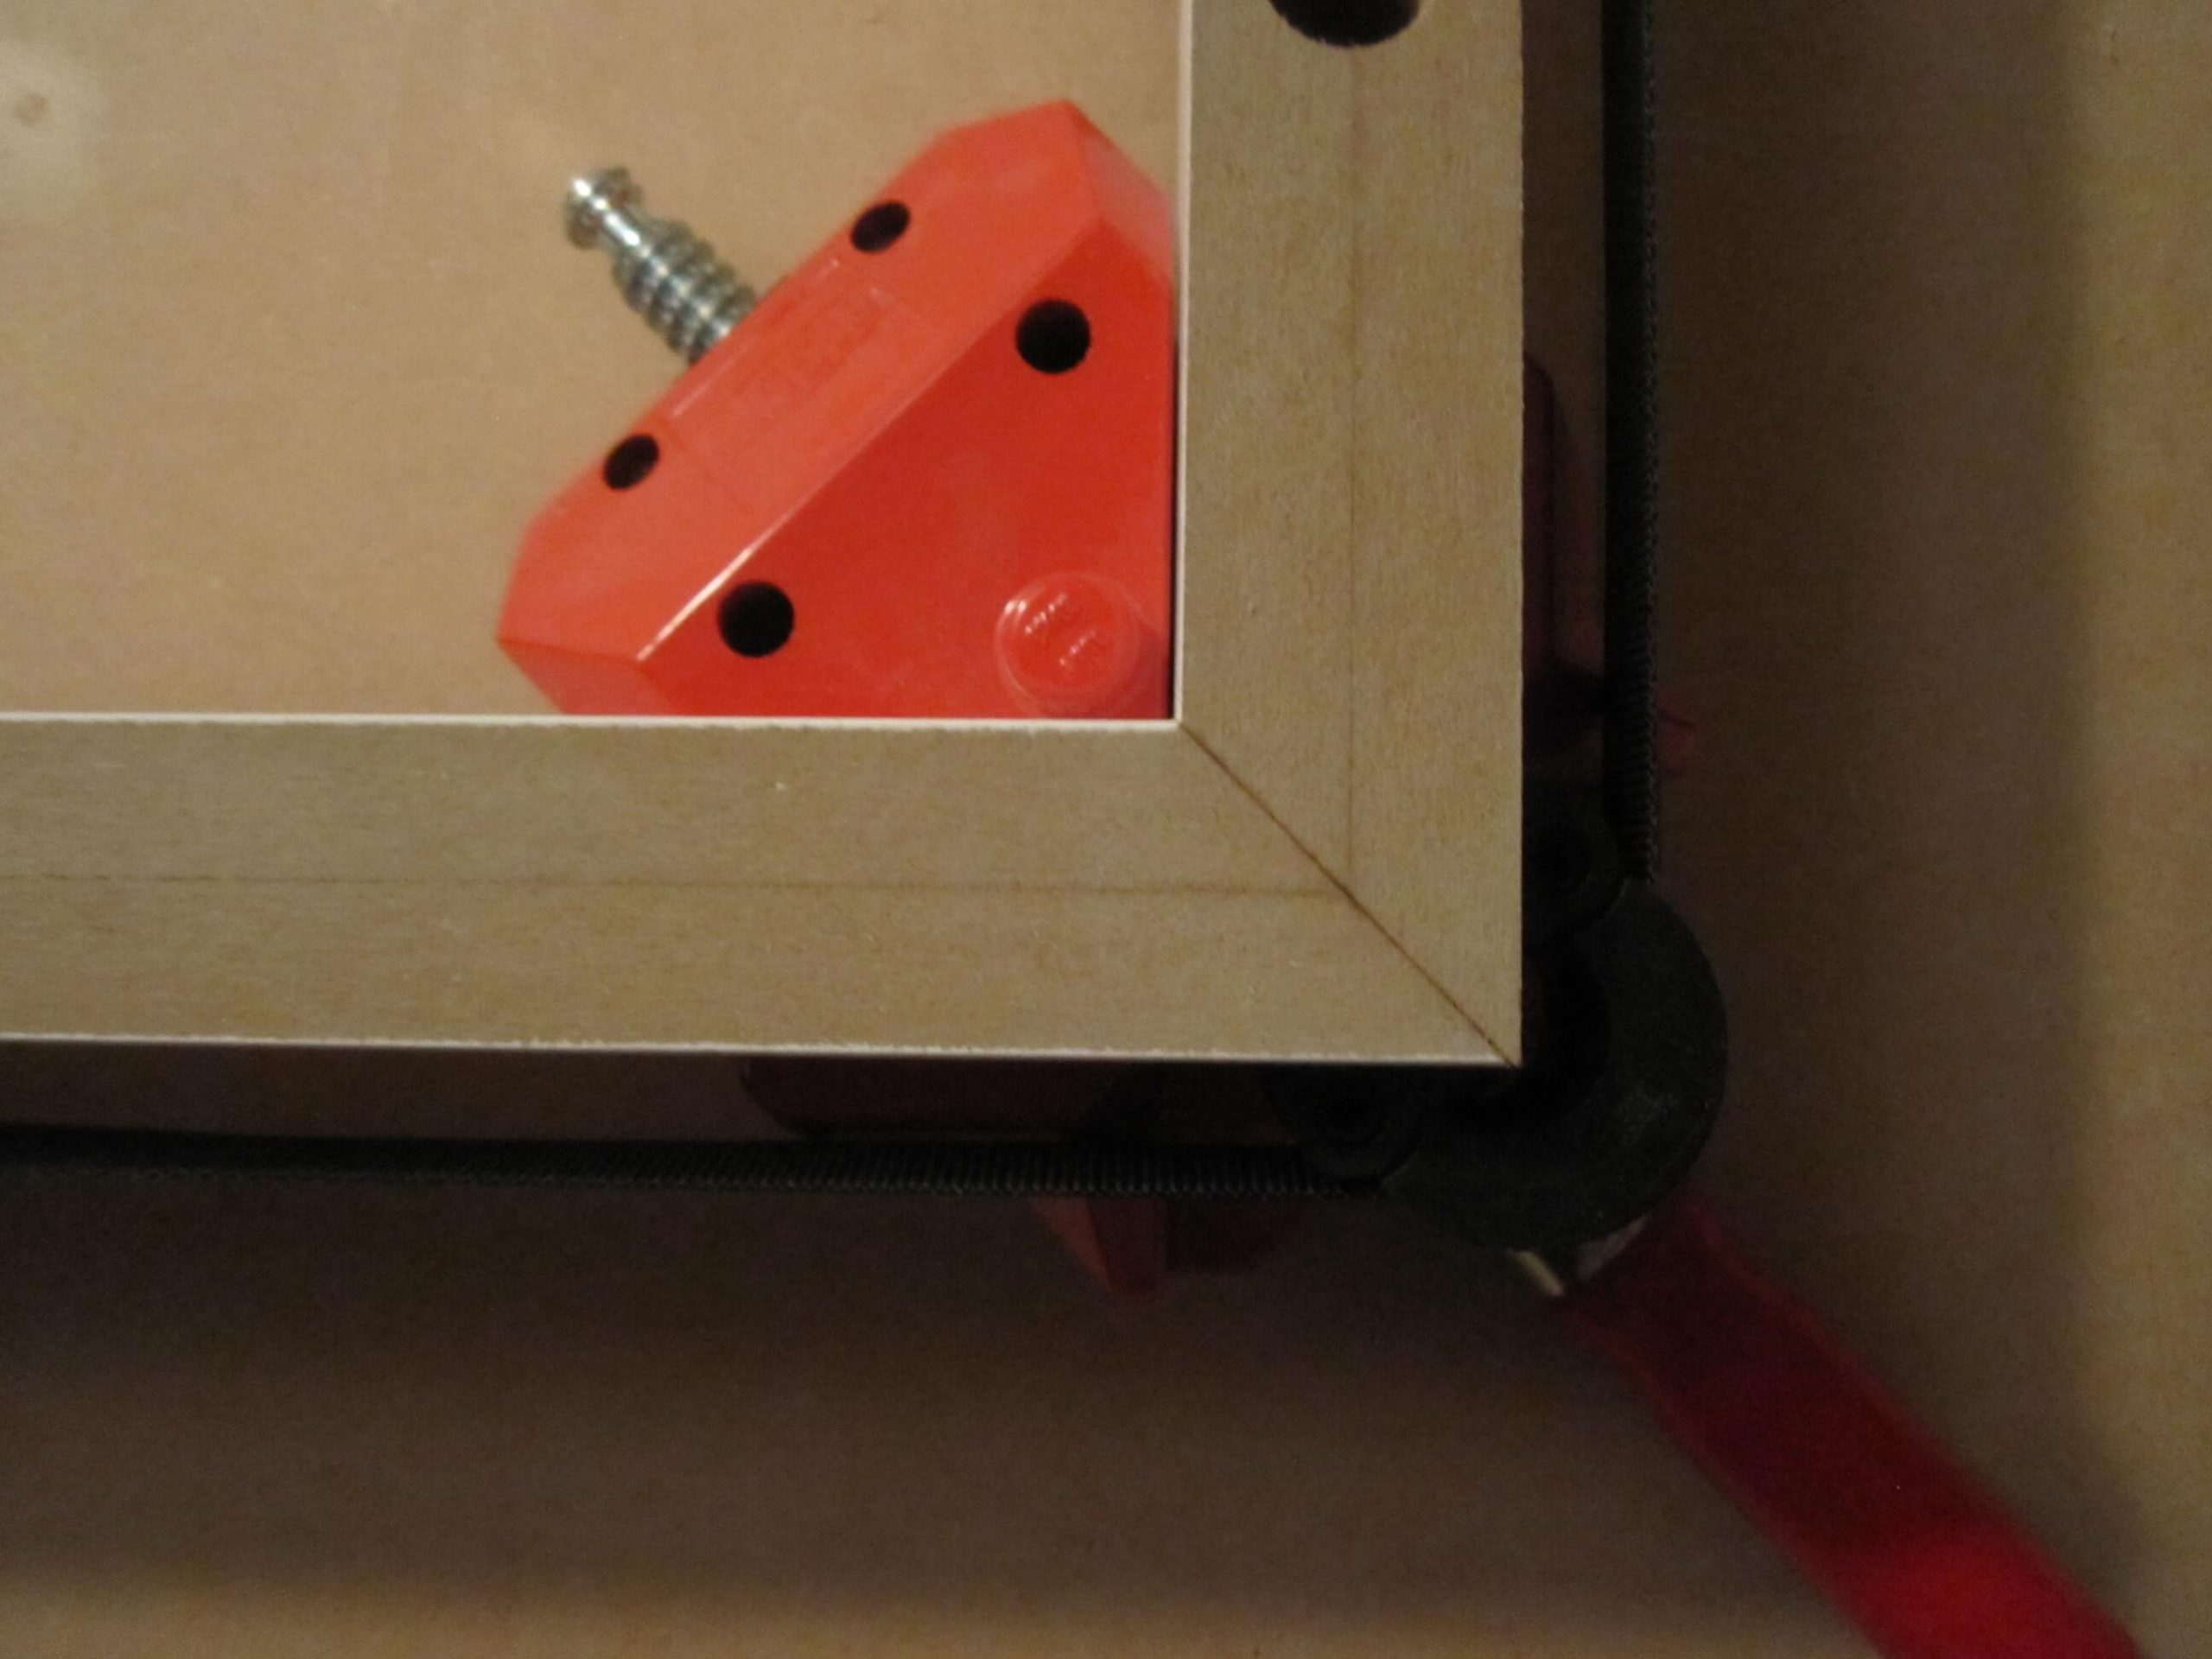
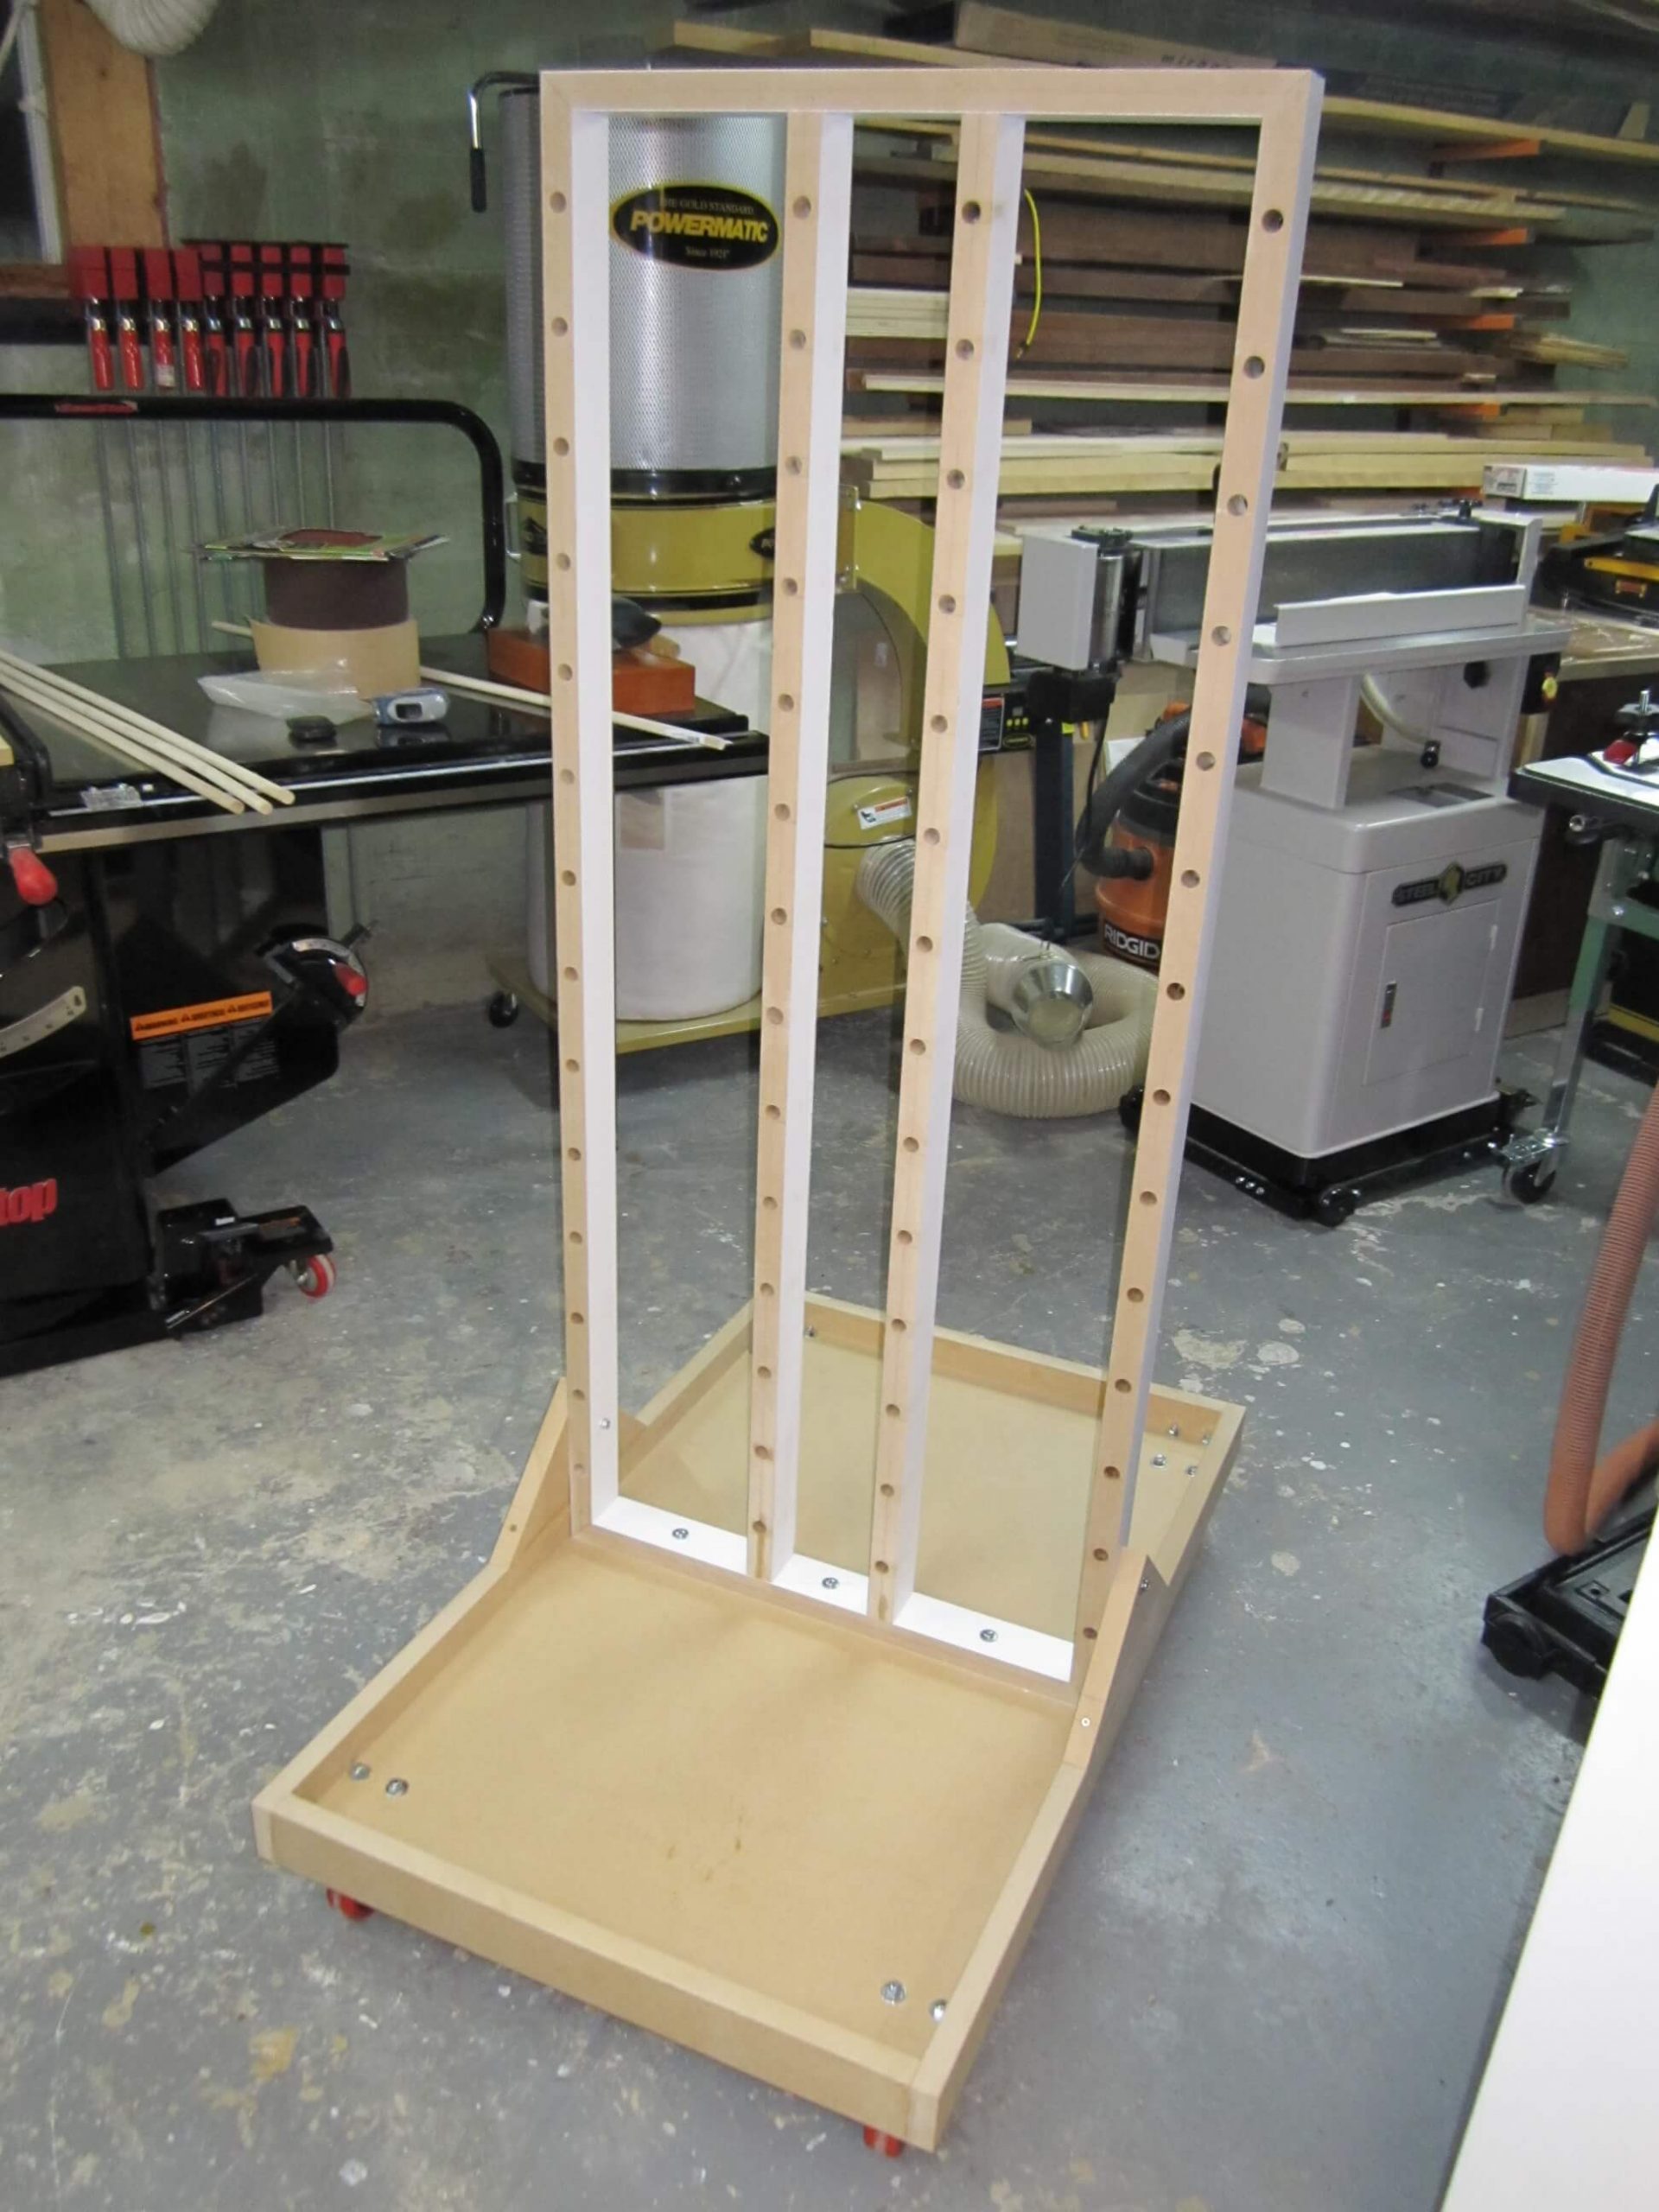
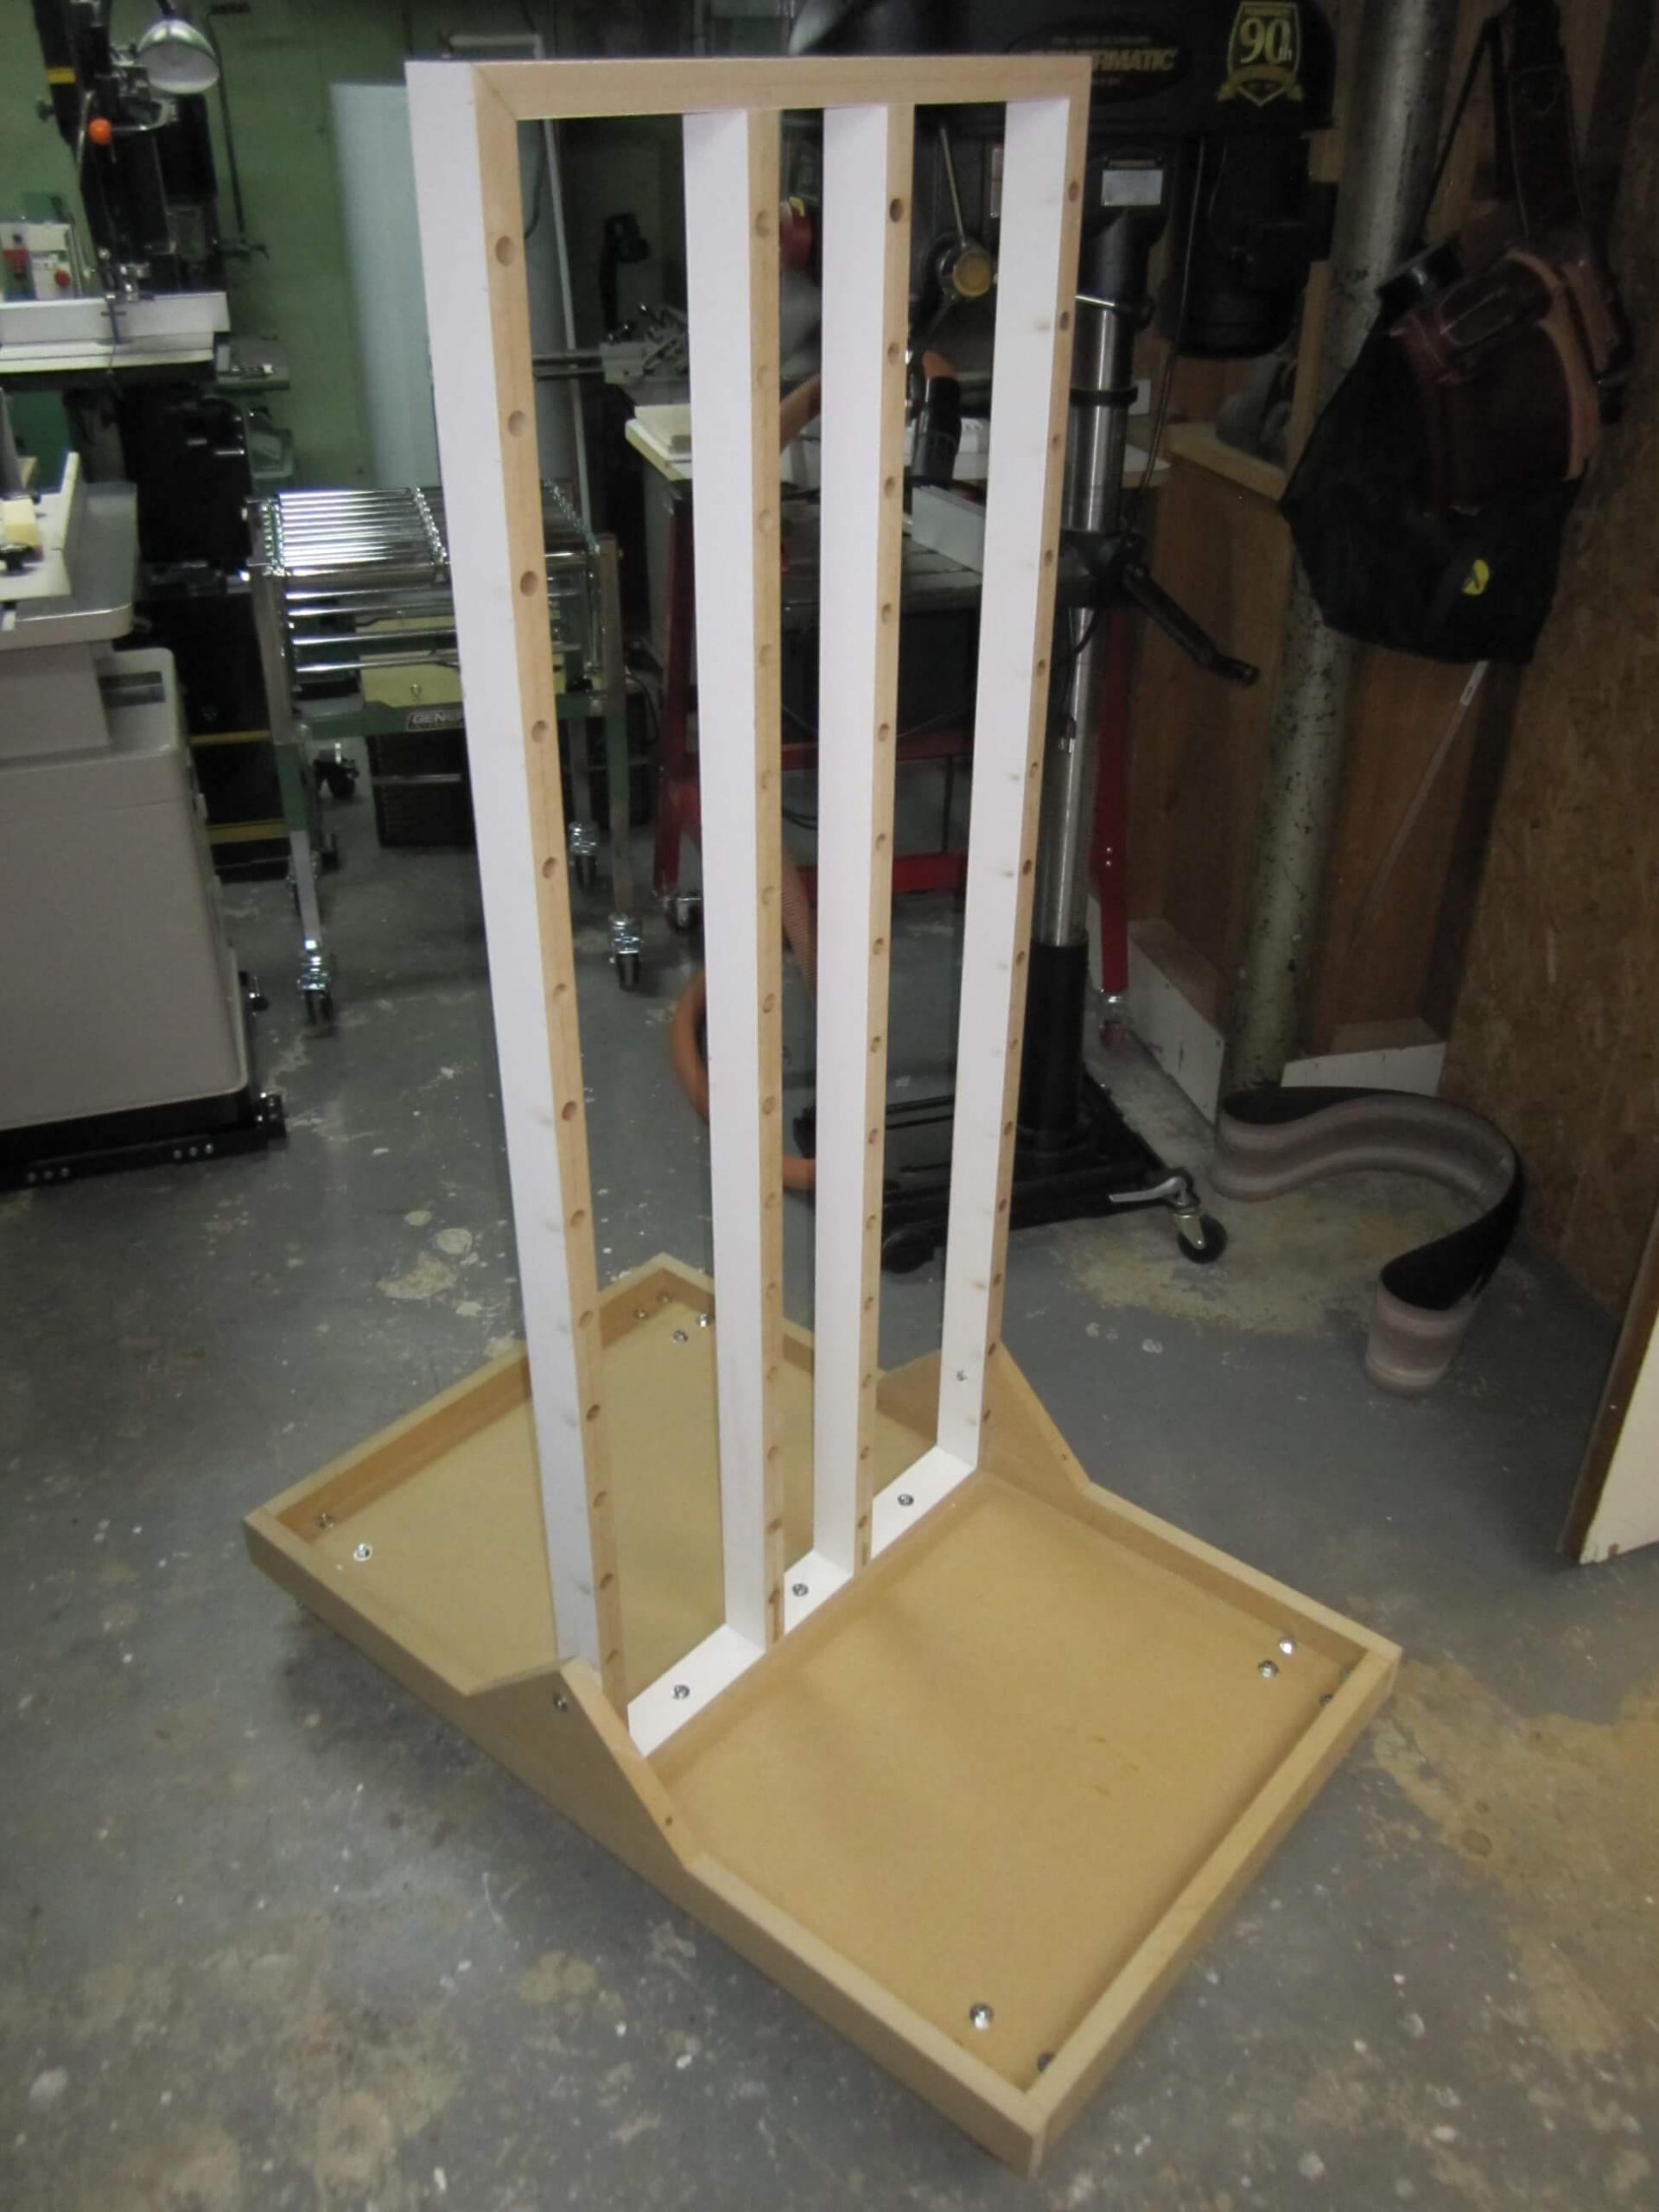
5. The Assembly
Here is the structure assembled at its base:
6. Finishing
I planned to give two coats of primer, 2 coats of paint (white and red) then 2 coats of water-based polyurethane varnish but I did not have the patience to wait before using it but, I promise, I’ll put pictures of the dryer as soon as I paint it.
7. The drying rack in use
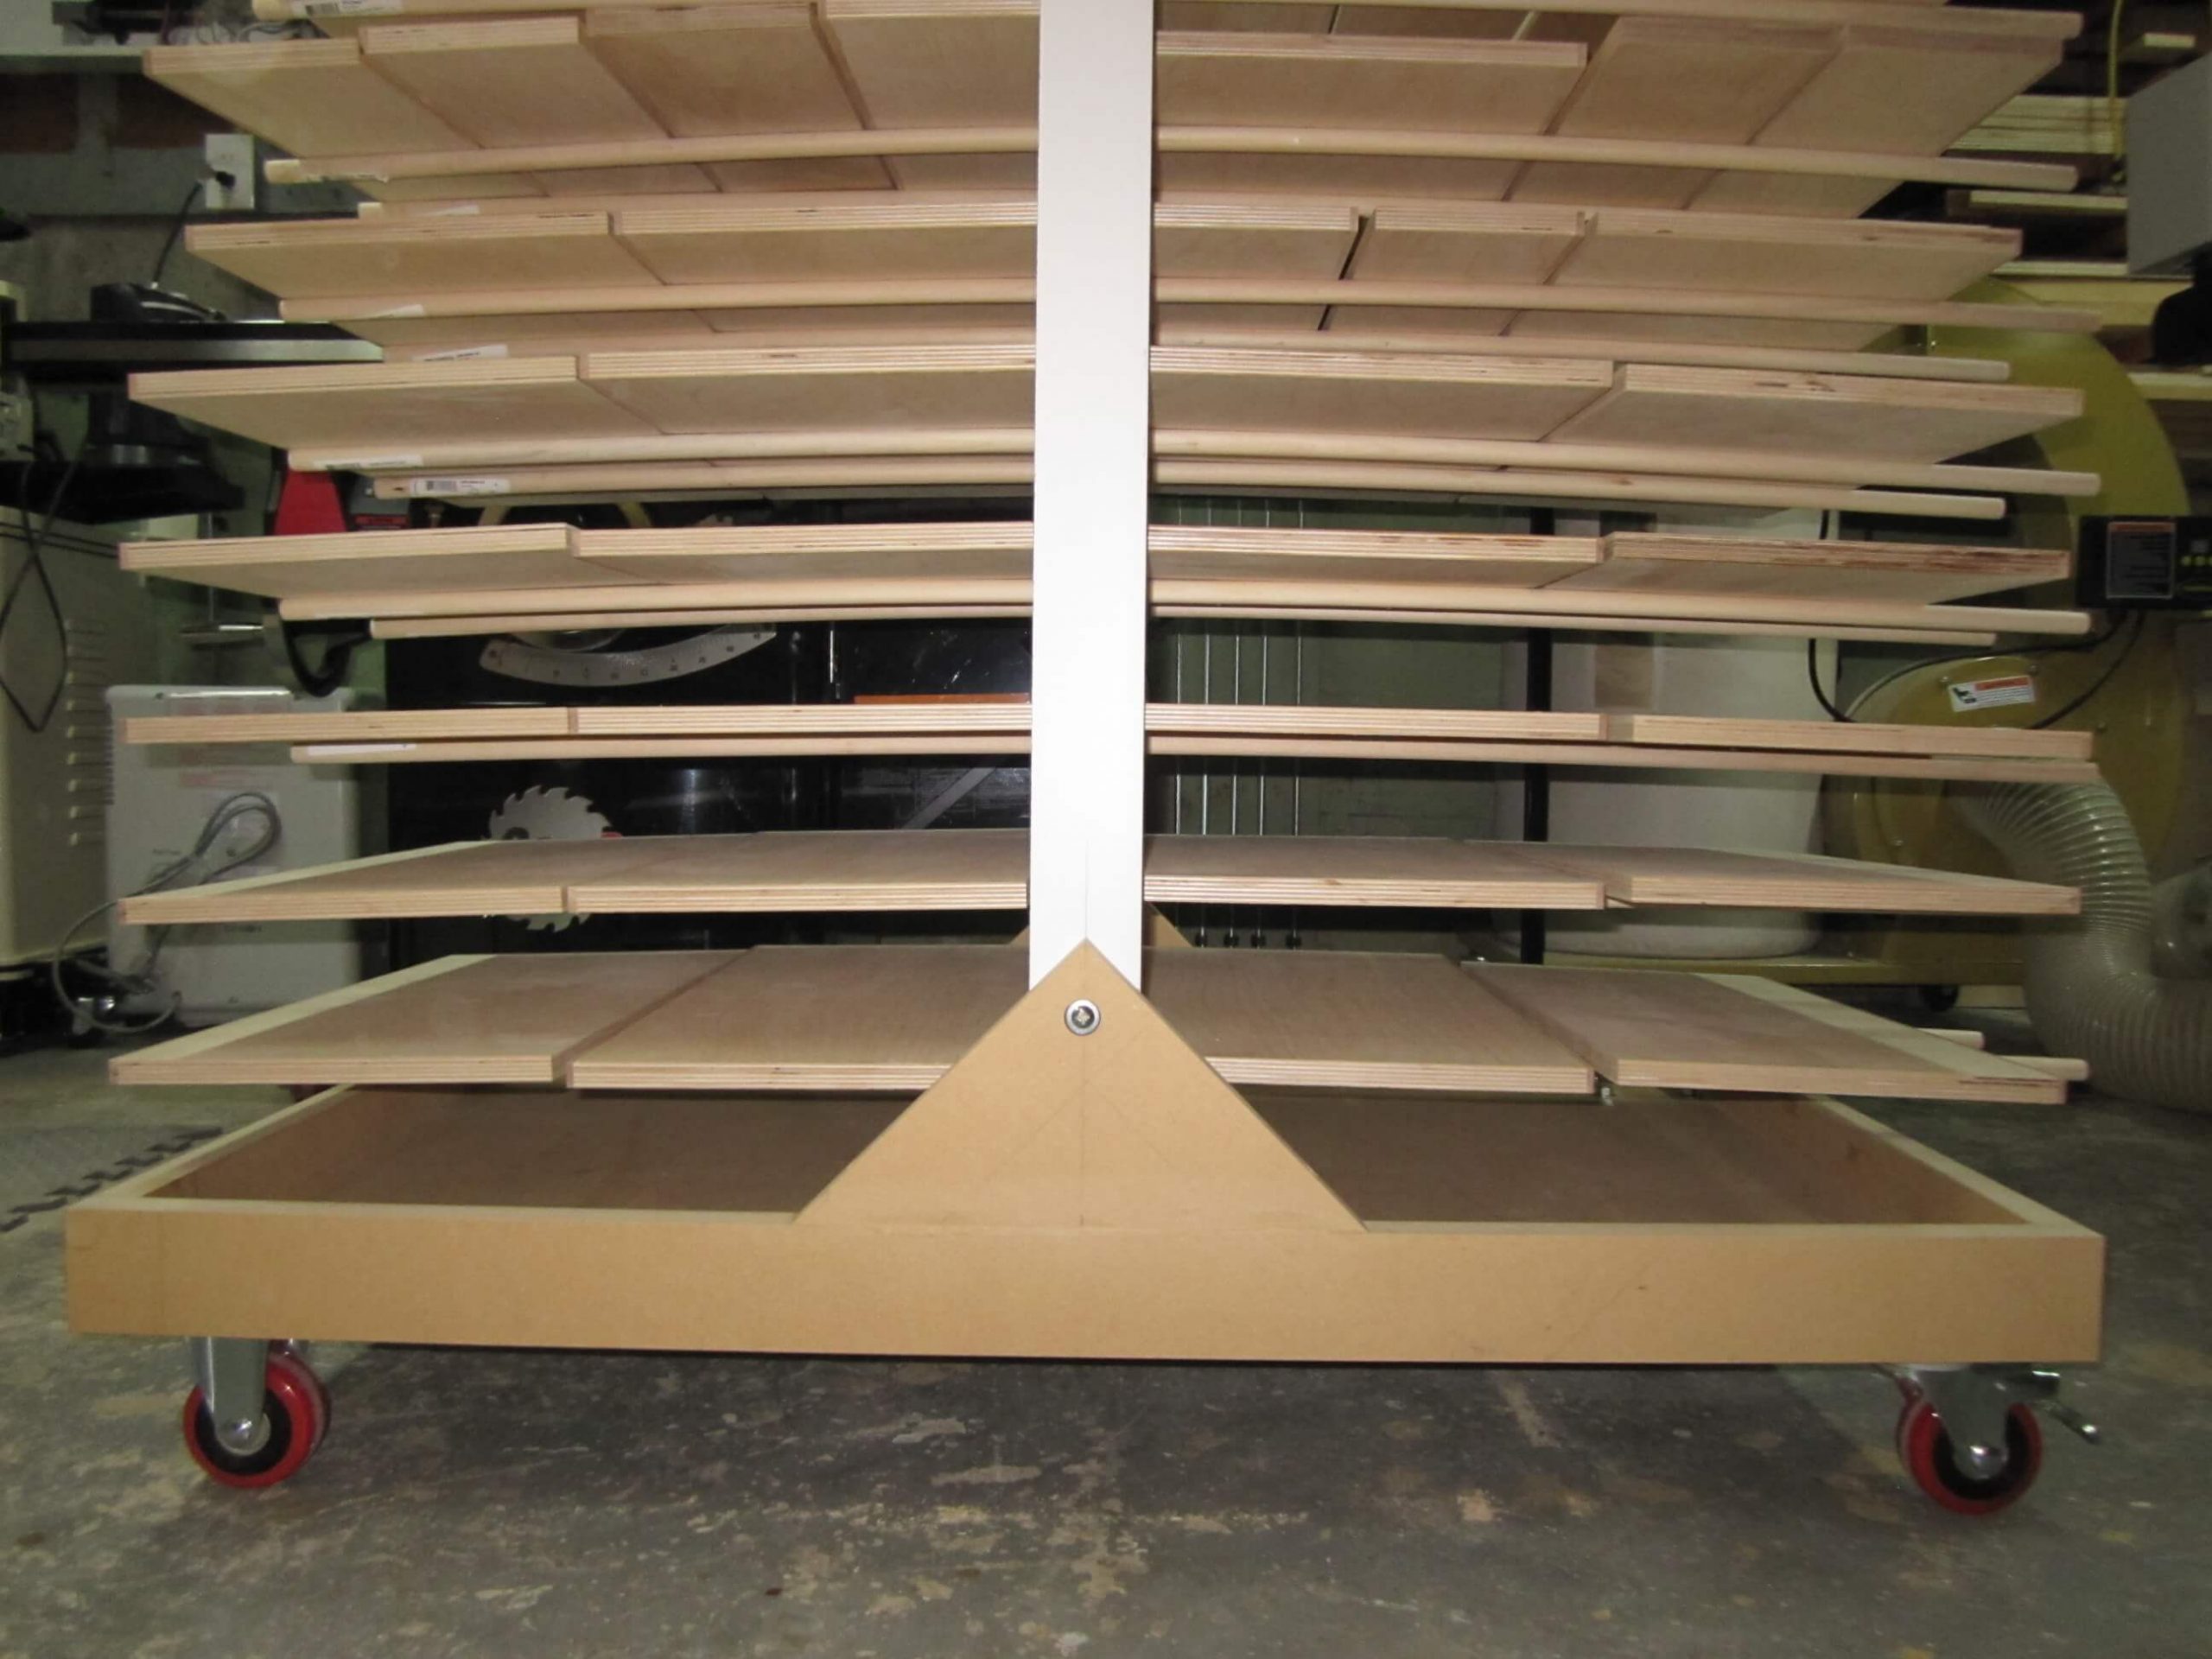
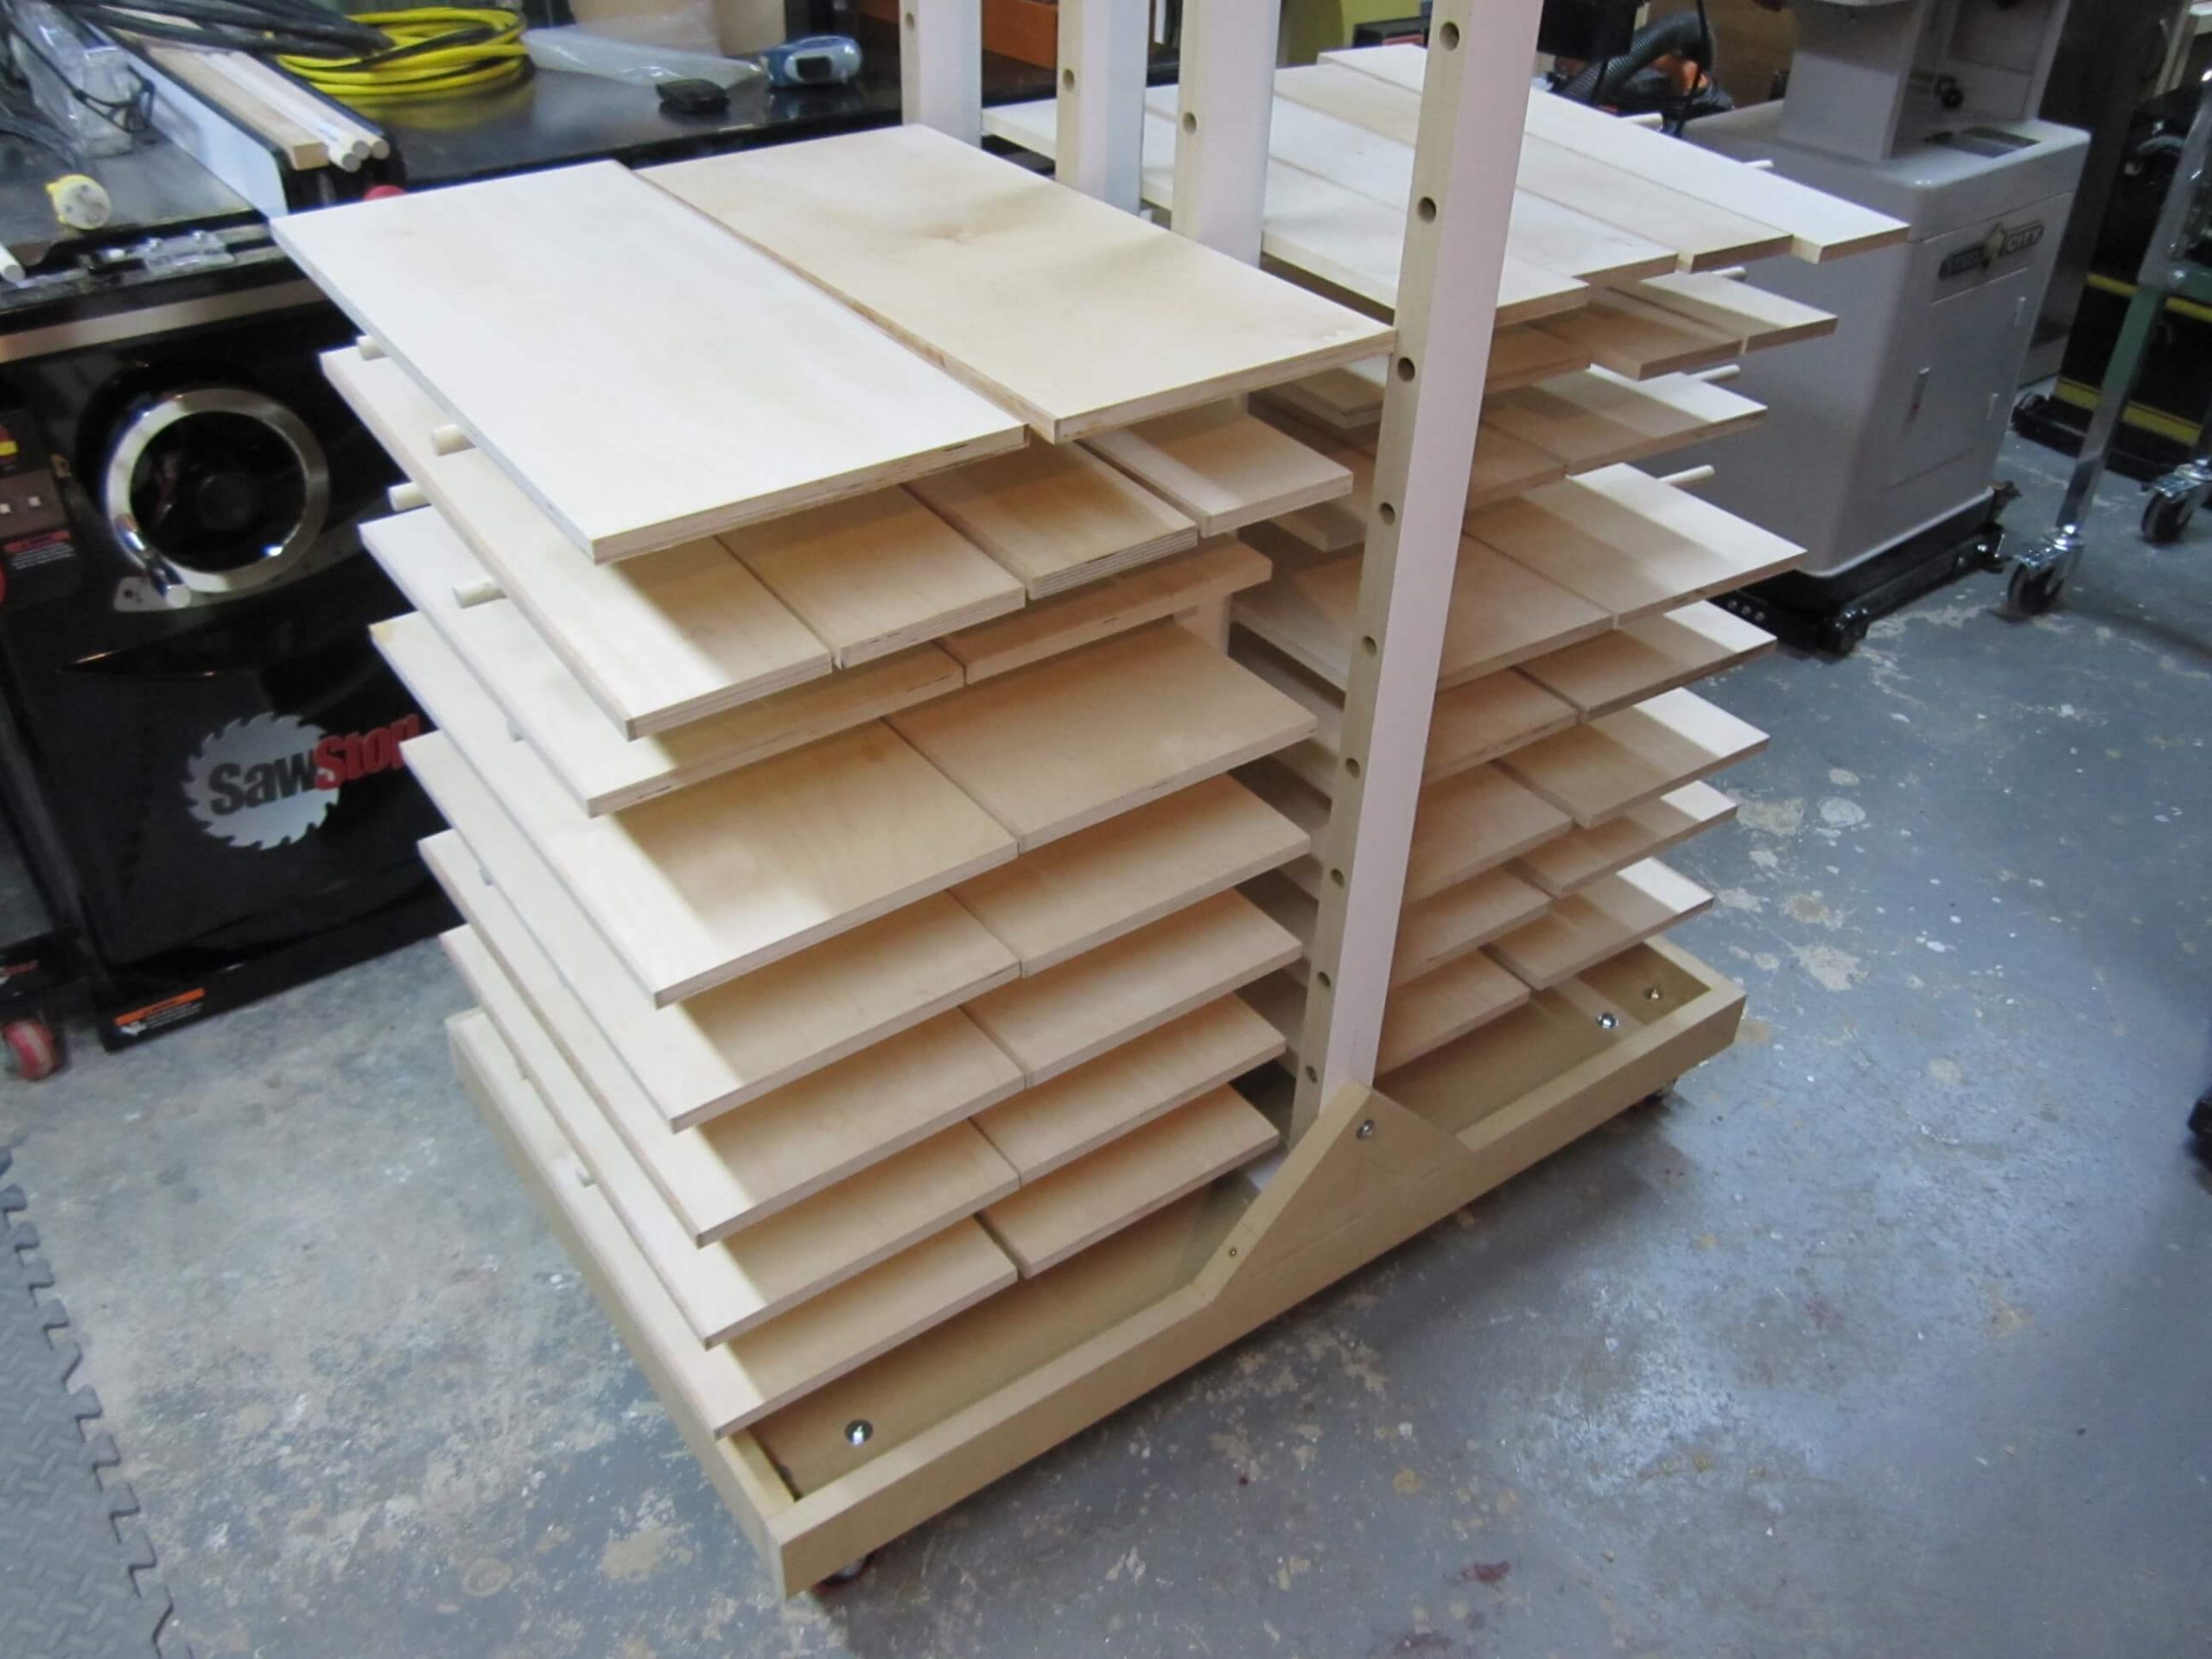
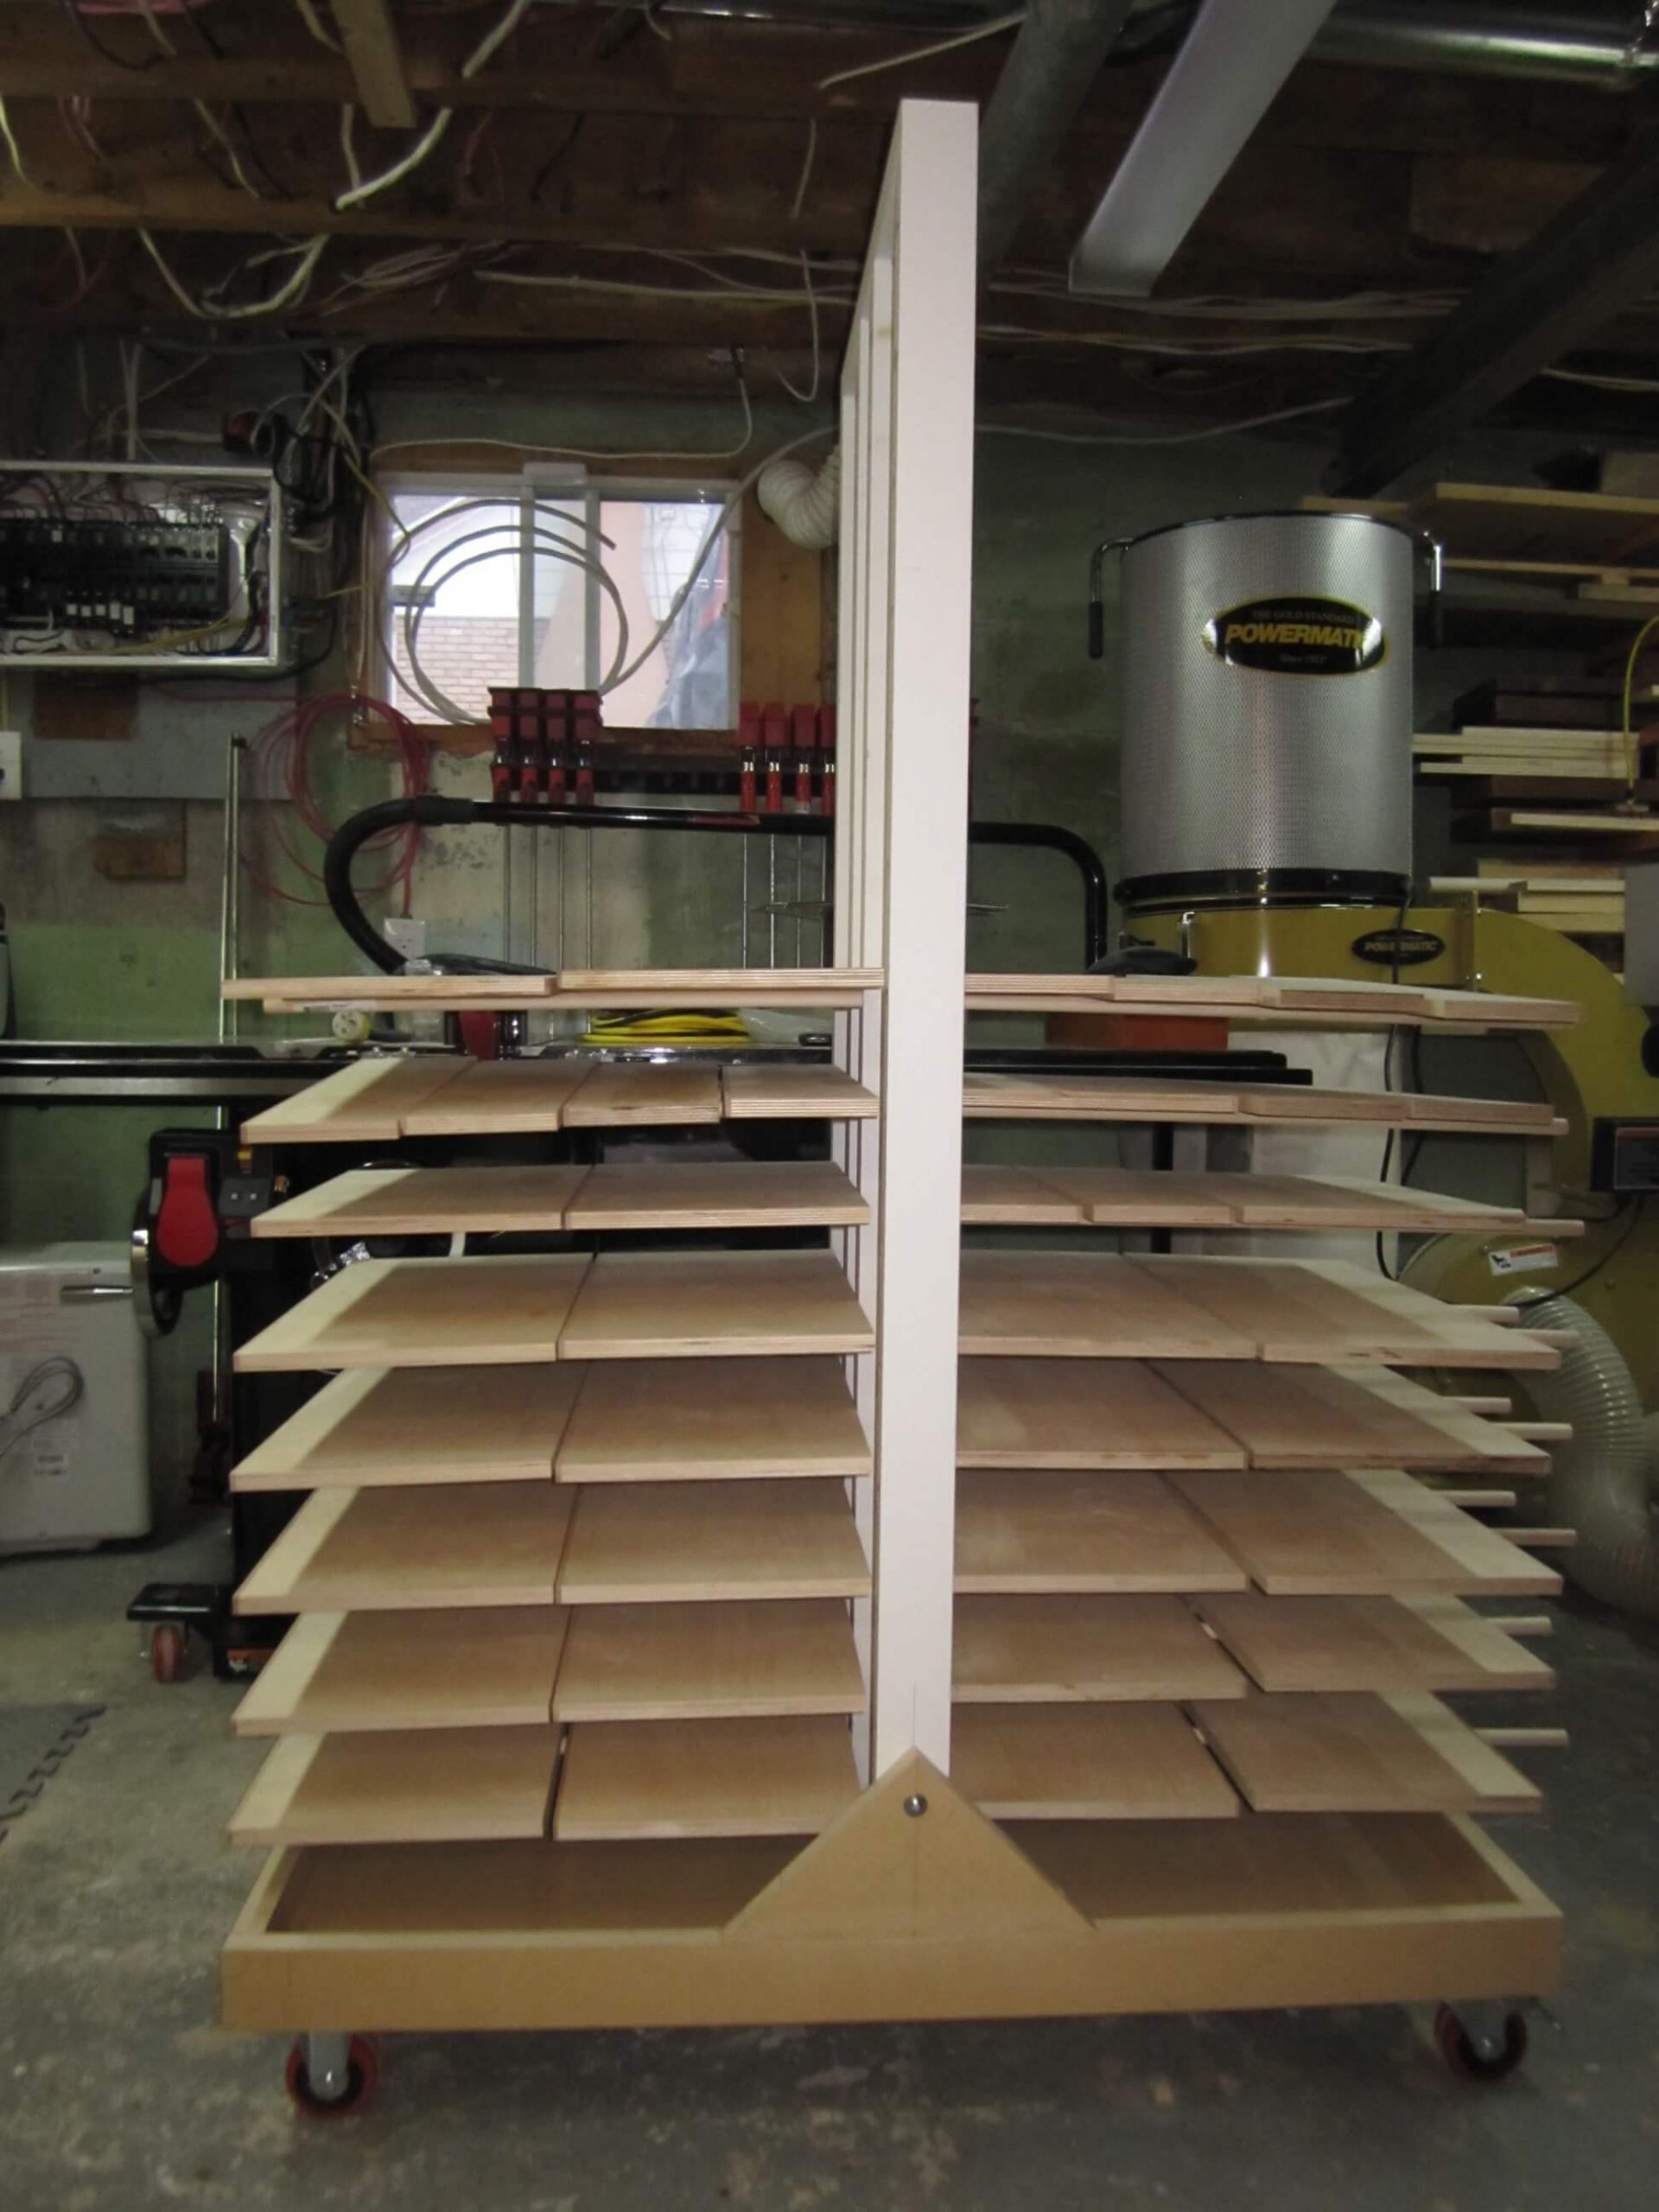
This is a project that I should have realized a long time ago, so this dryer is practical and useful.