
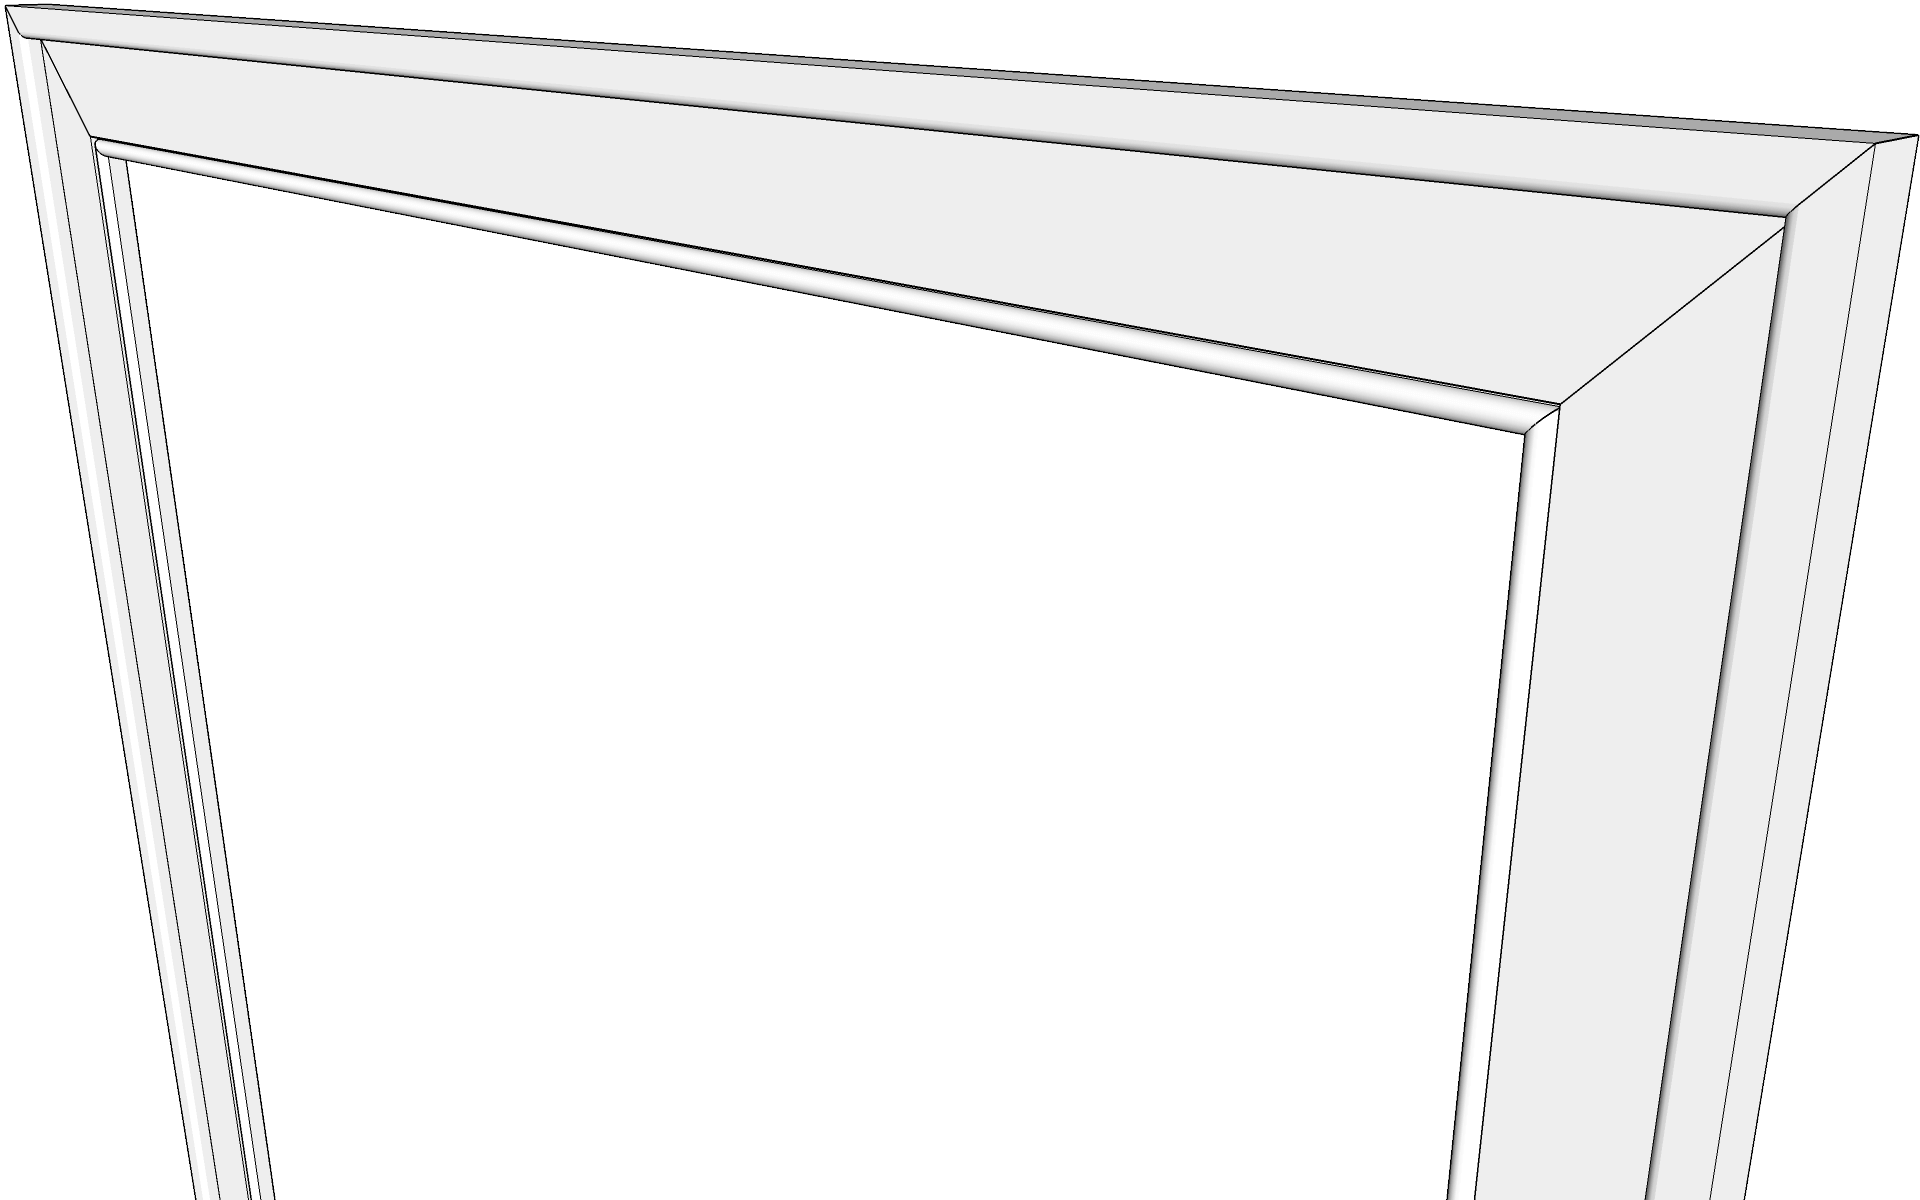
There are probably hundreds models on the market but we wanted a style of our own. Rather modern and refined. After a few hours of reflection (and drawing), we arrived at the following models:


I take this opportunity to thank the “chief designer” 😉
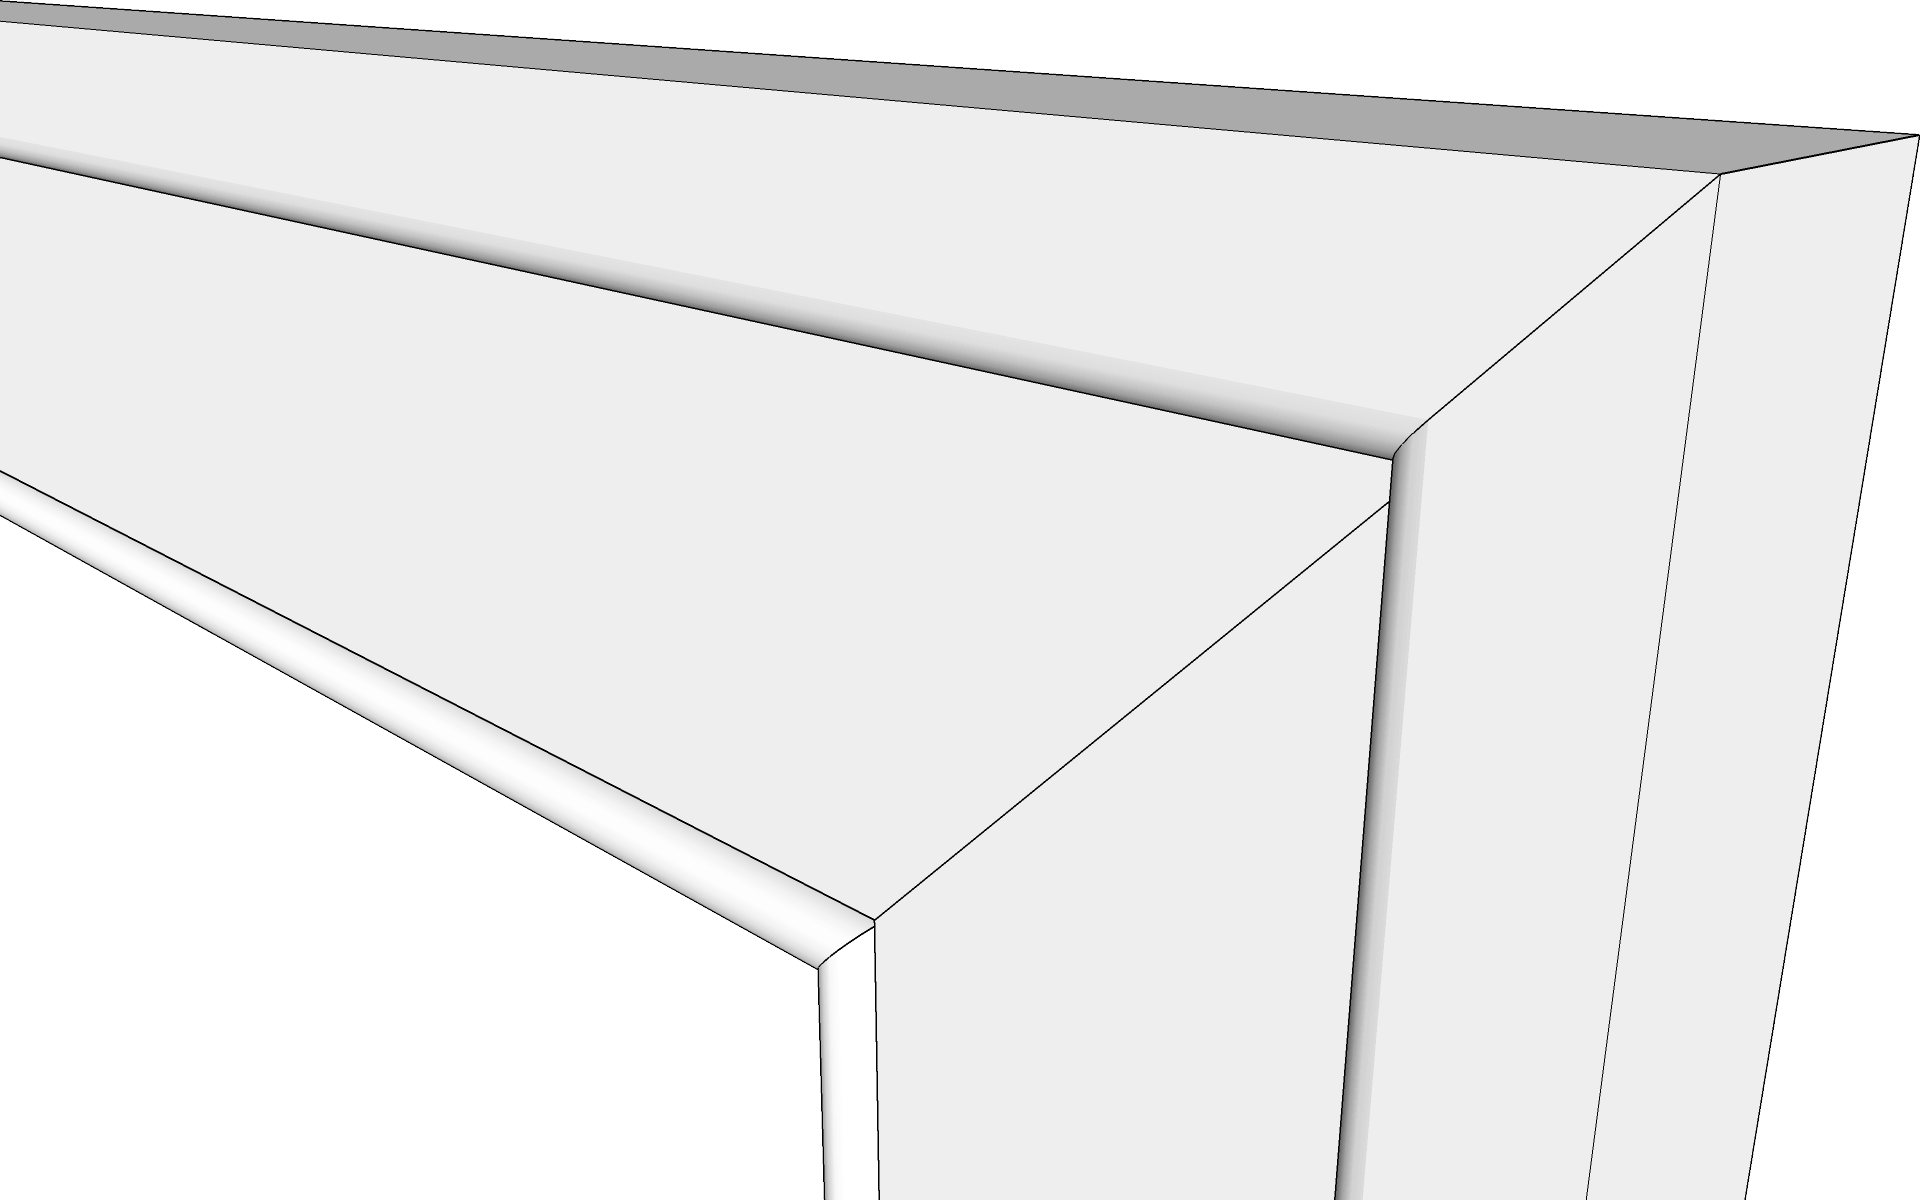
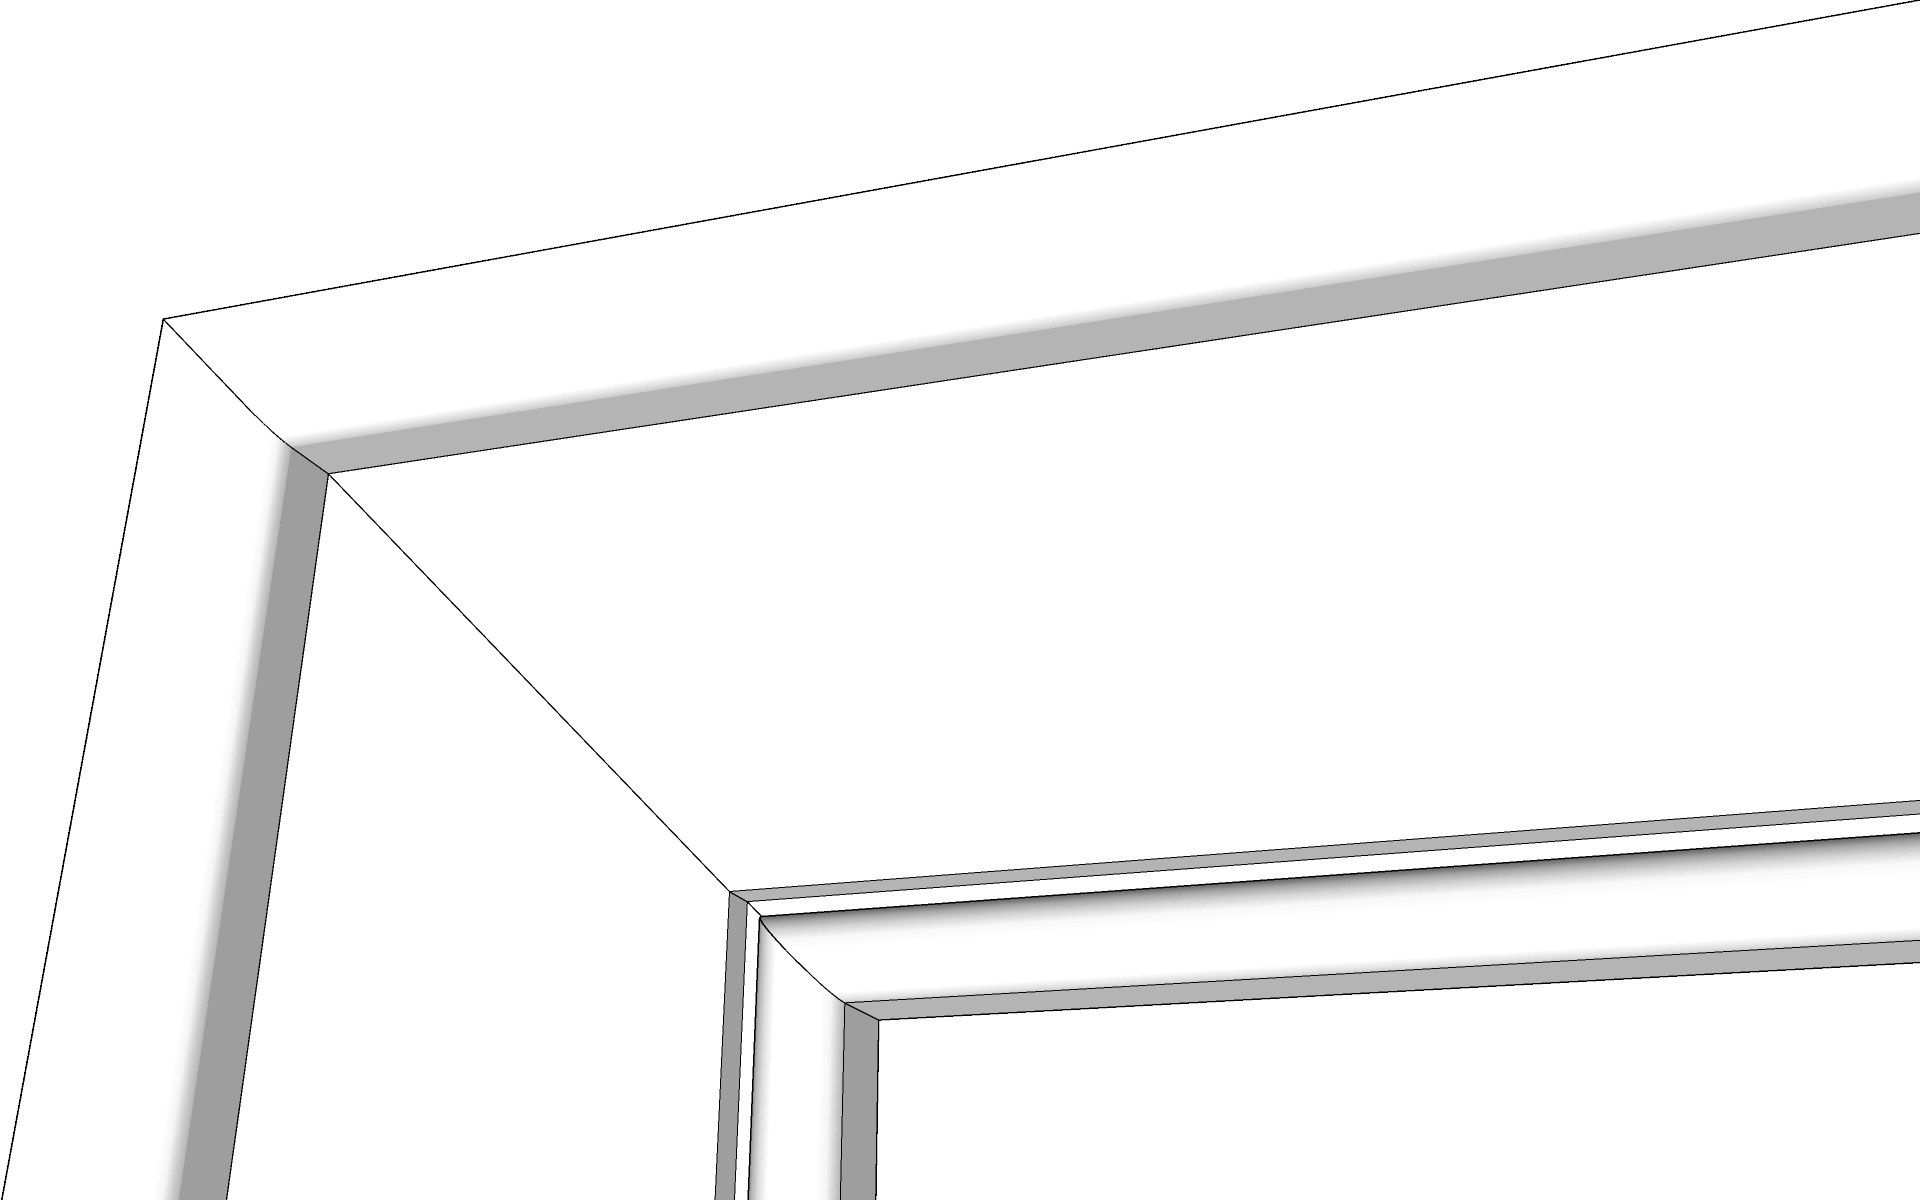
View from another angle:

The moldings will be made of MDF and realized on the moulder.
1. Few words on the moulder

Although expensive, it is really a fantastic and very effective tool. Indeed, the molding out of the tool only has (almost) to be primed.
It allows me to make pieces of 10′ or 12′ (about 3 m and 3.65 m). This allows me to avoid joints when I have to “dress” large walls or large windows. It’s very useful.
I have thousands of linear feet of moldings to realize, it will be quickly profitable and will serve again for other projects.
I buy and have my knives made to measure at Molding Knives. Craig, the owner, offers excellent service and great value. In addition, the delivery is neat and very fast.
- There are planers that also doing moulder simply by changing the knives.
- I always take my knives in tungsten carbide. It is a bit more expensive but the price difference is worth it. They last longer and work better in hardwoods.
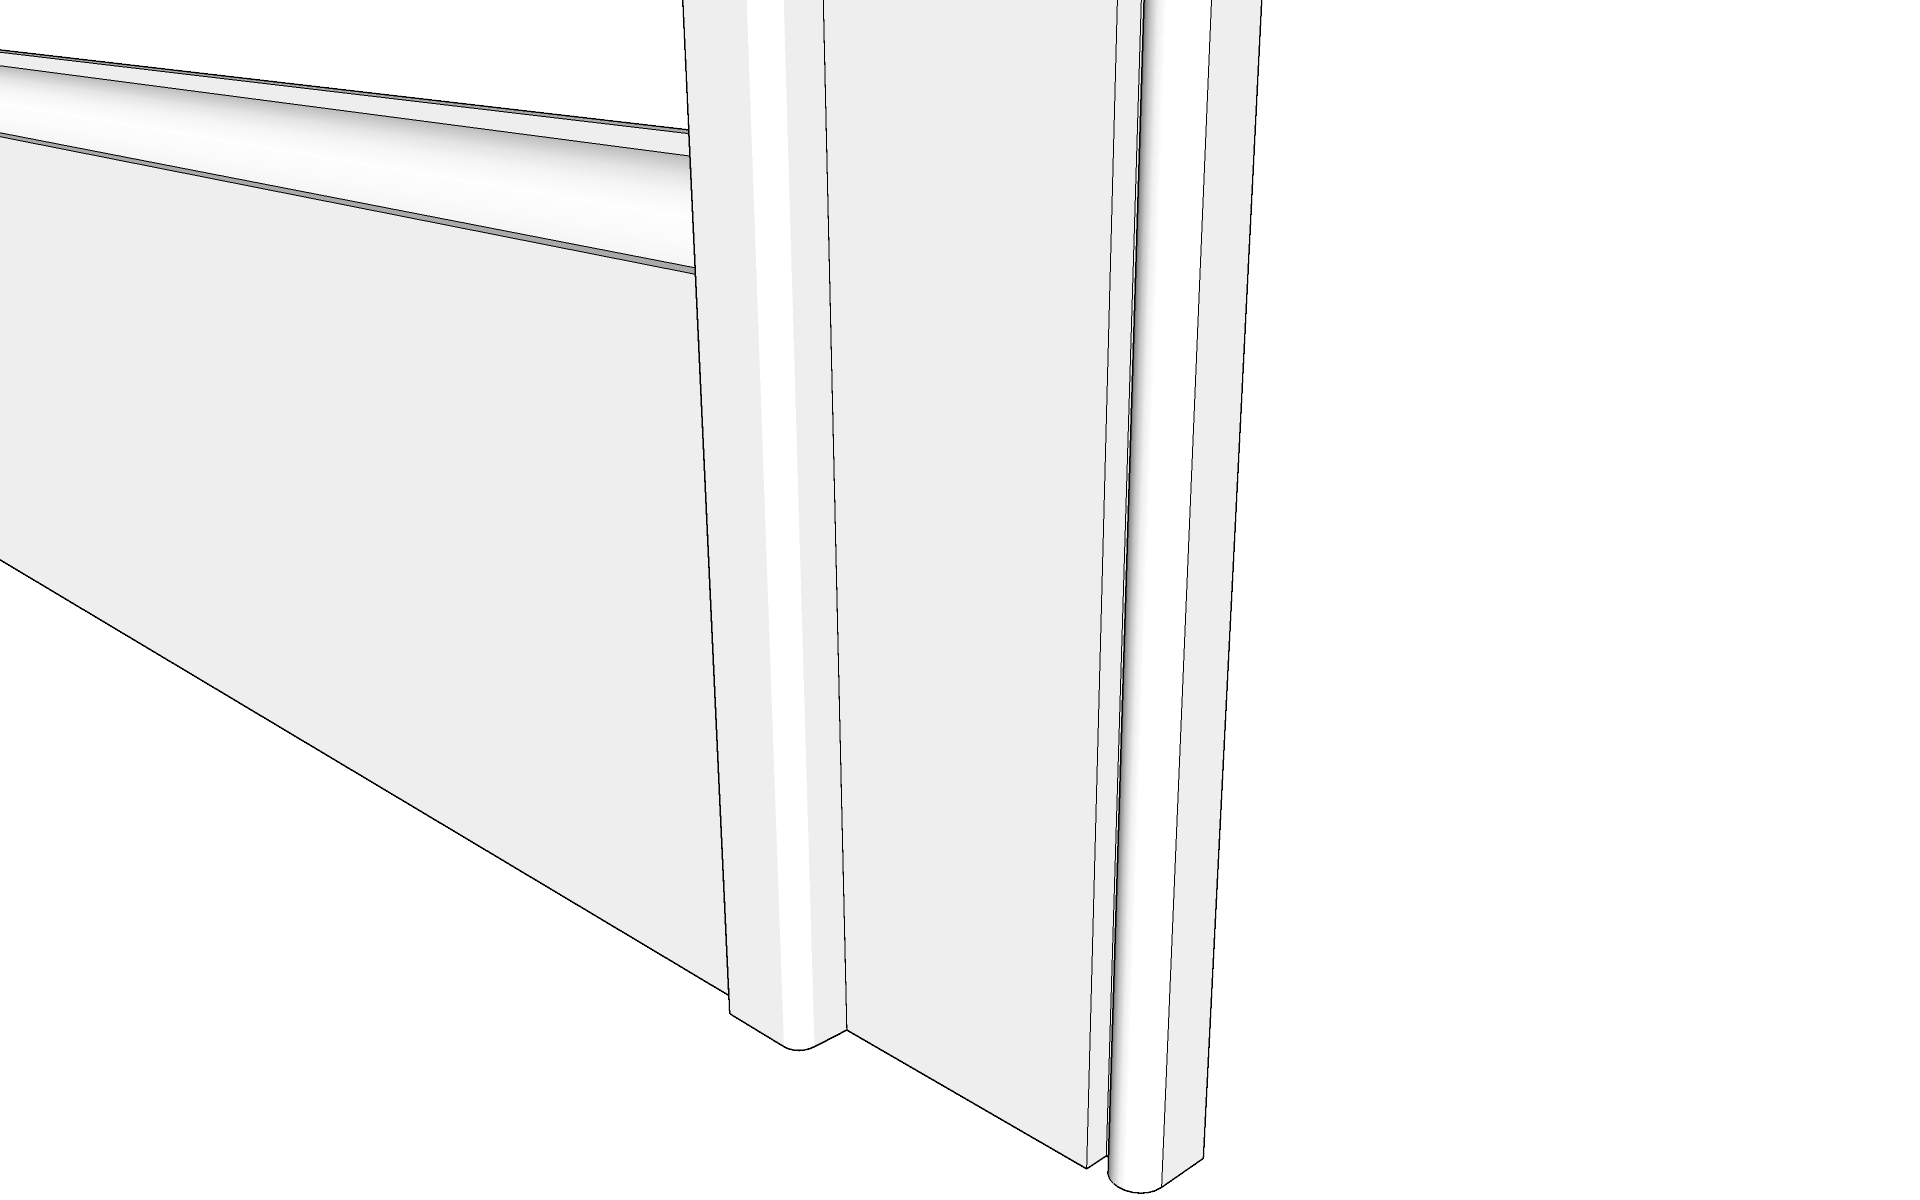
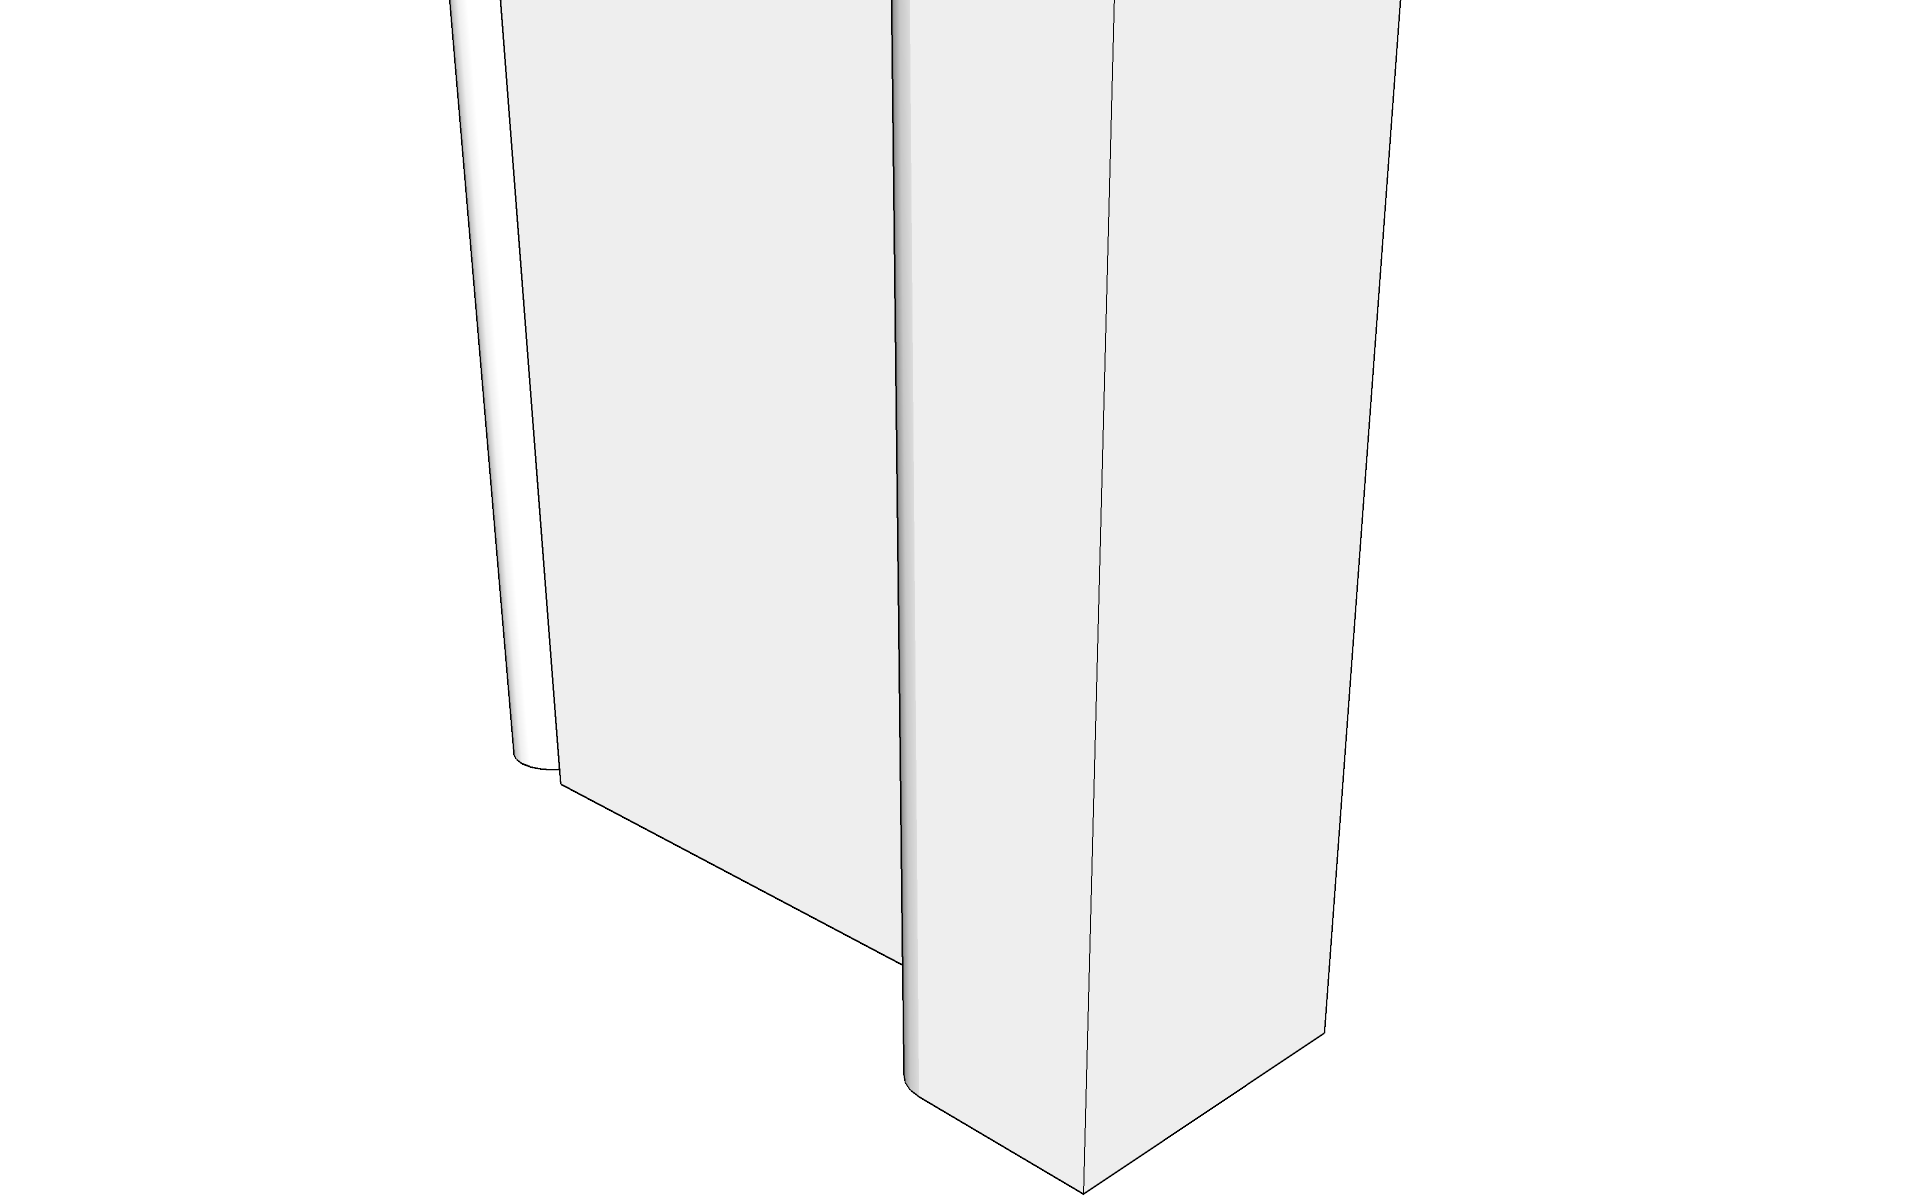
2. Framing
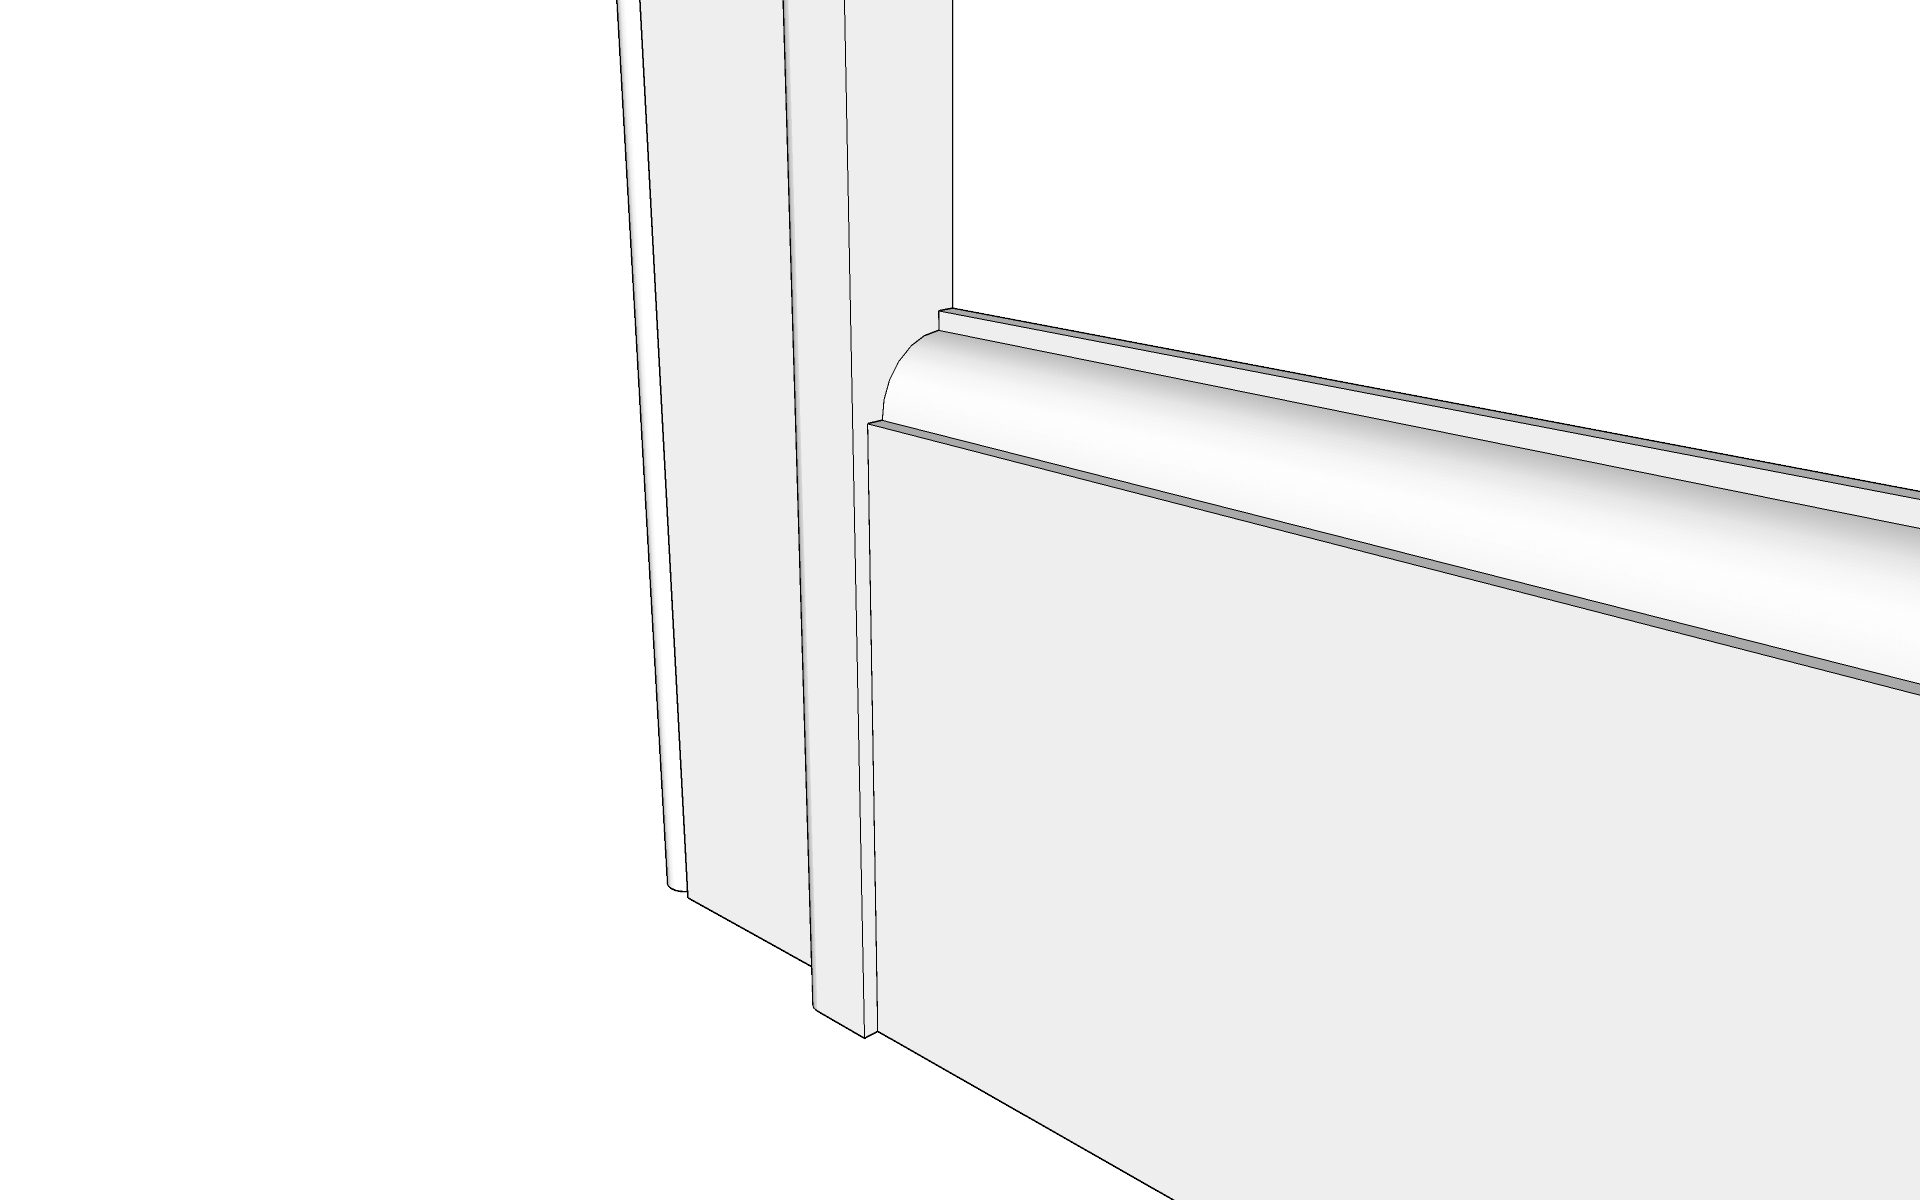
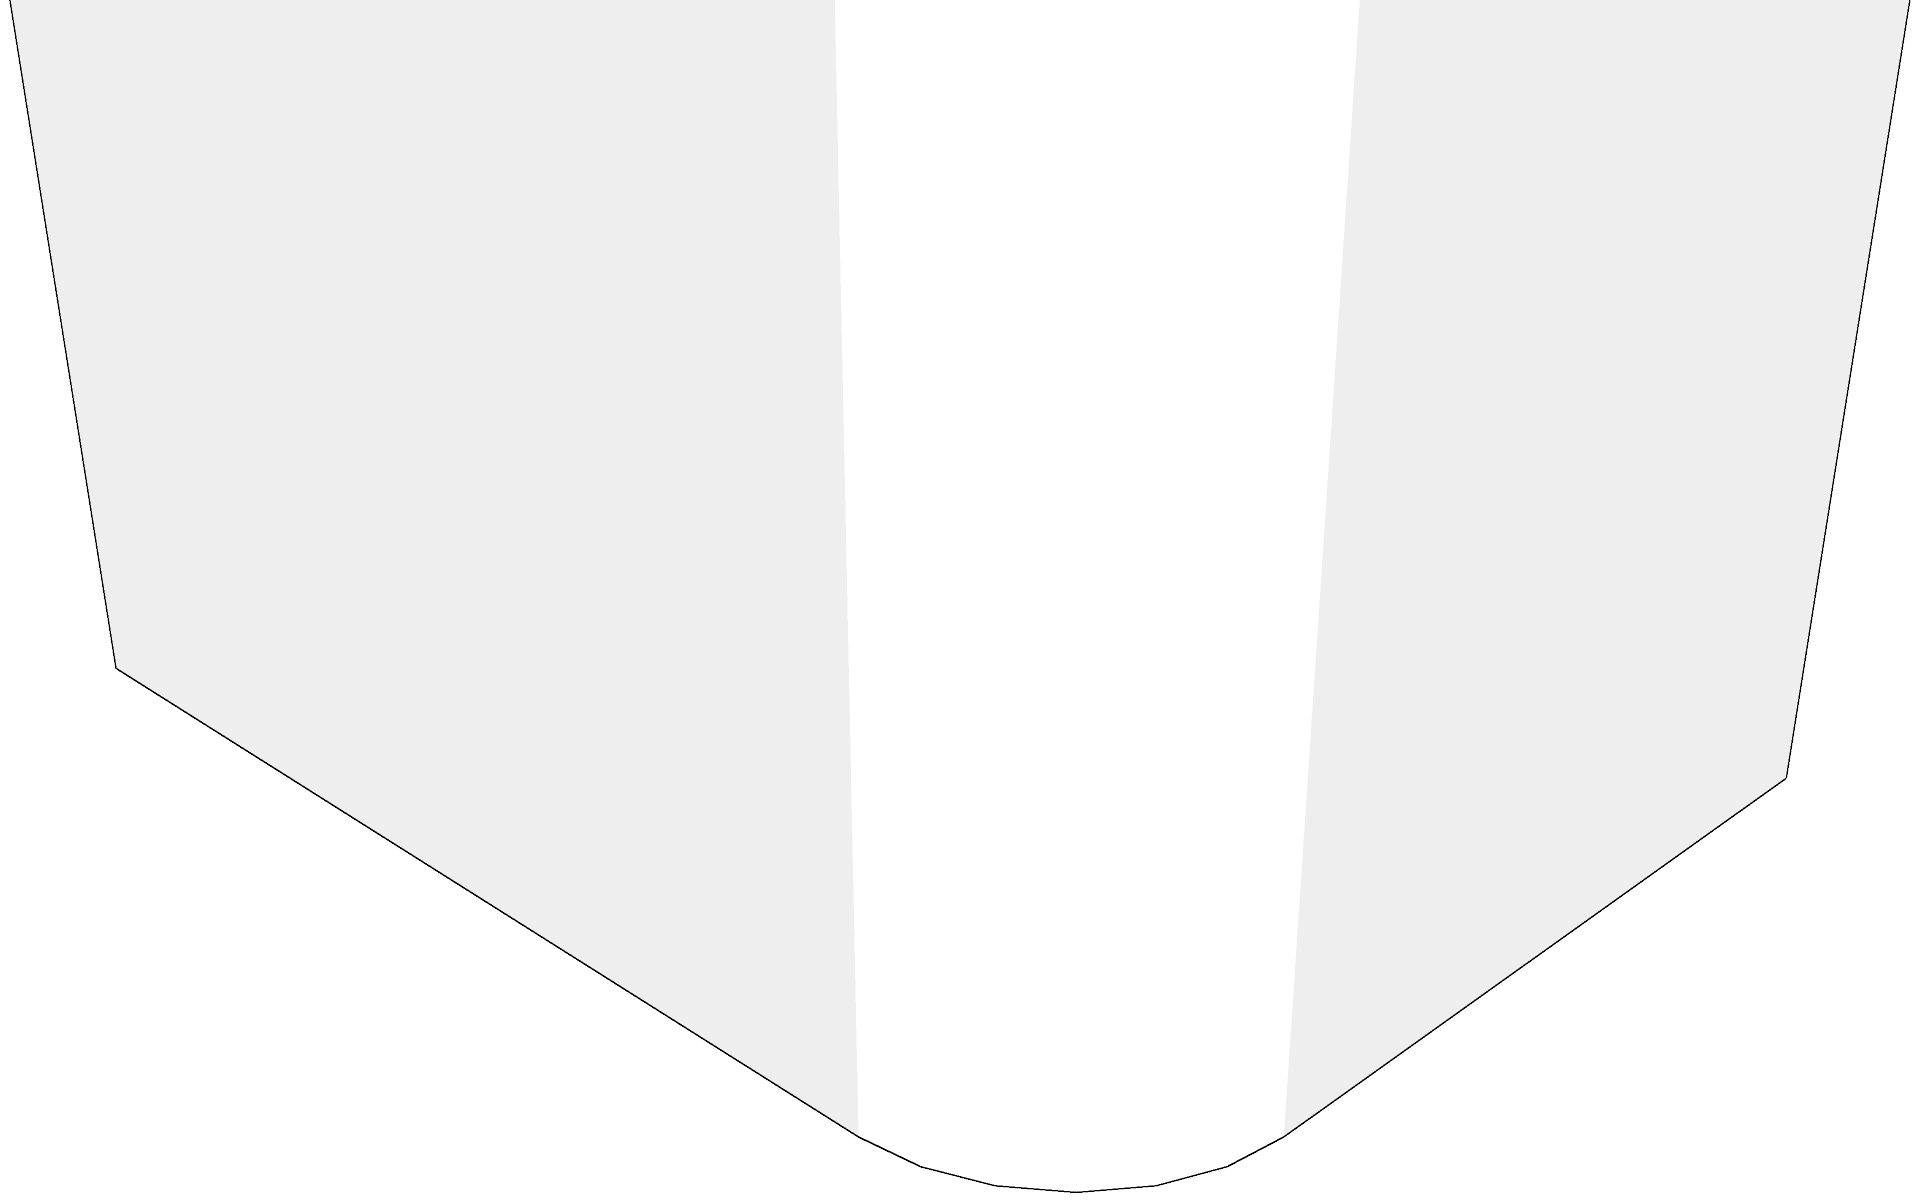
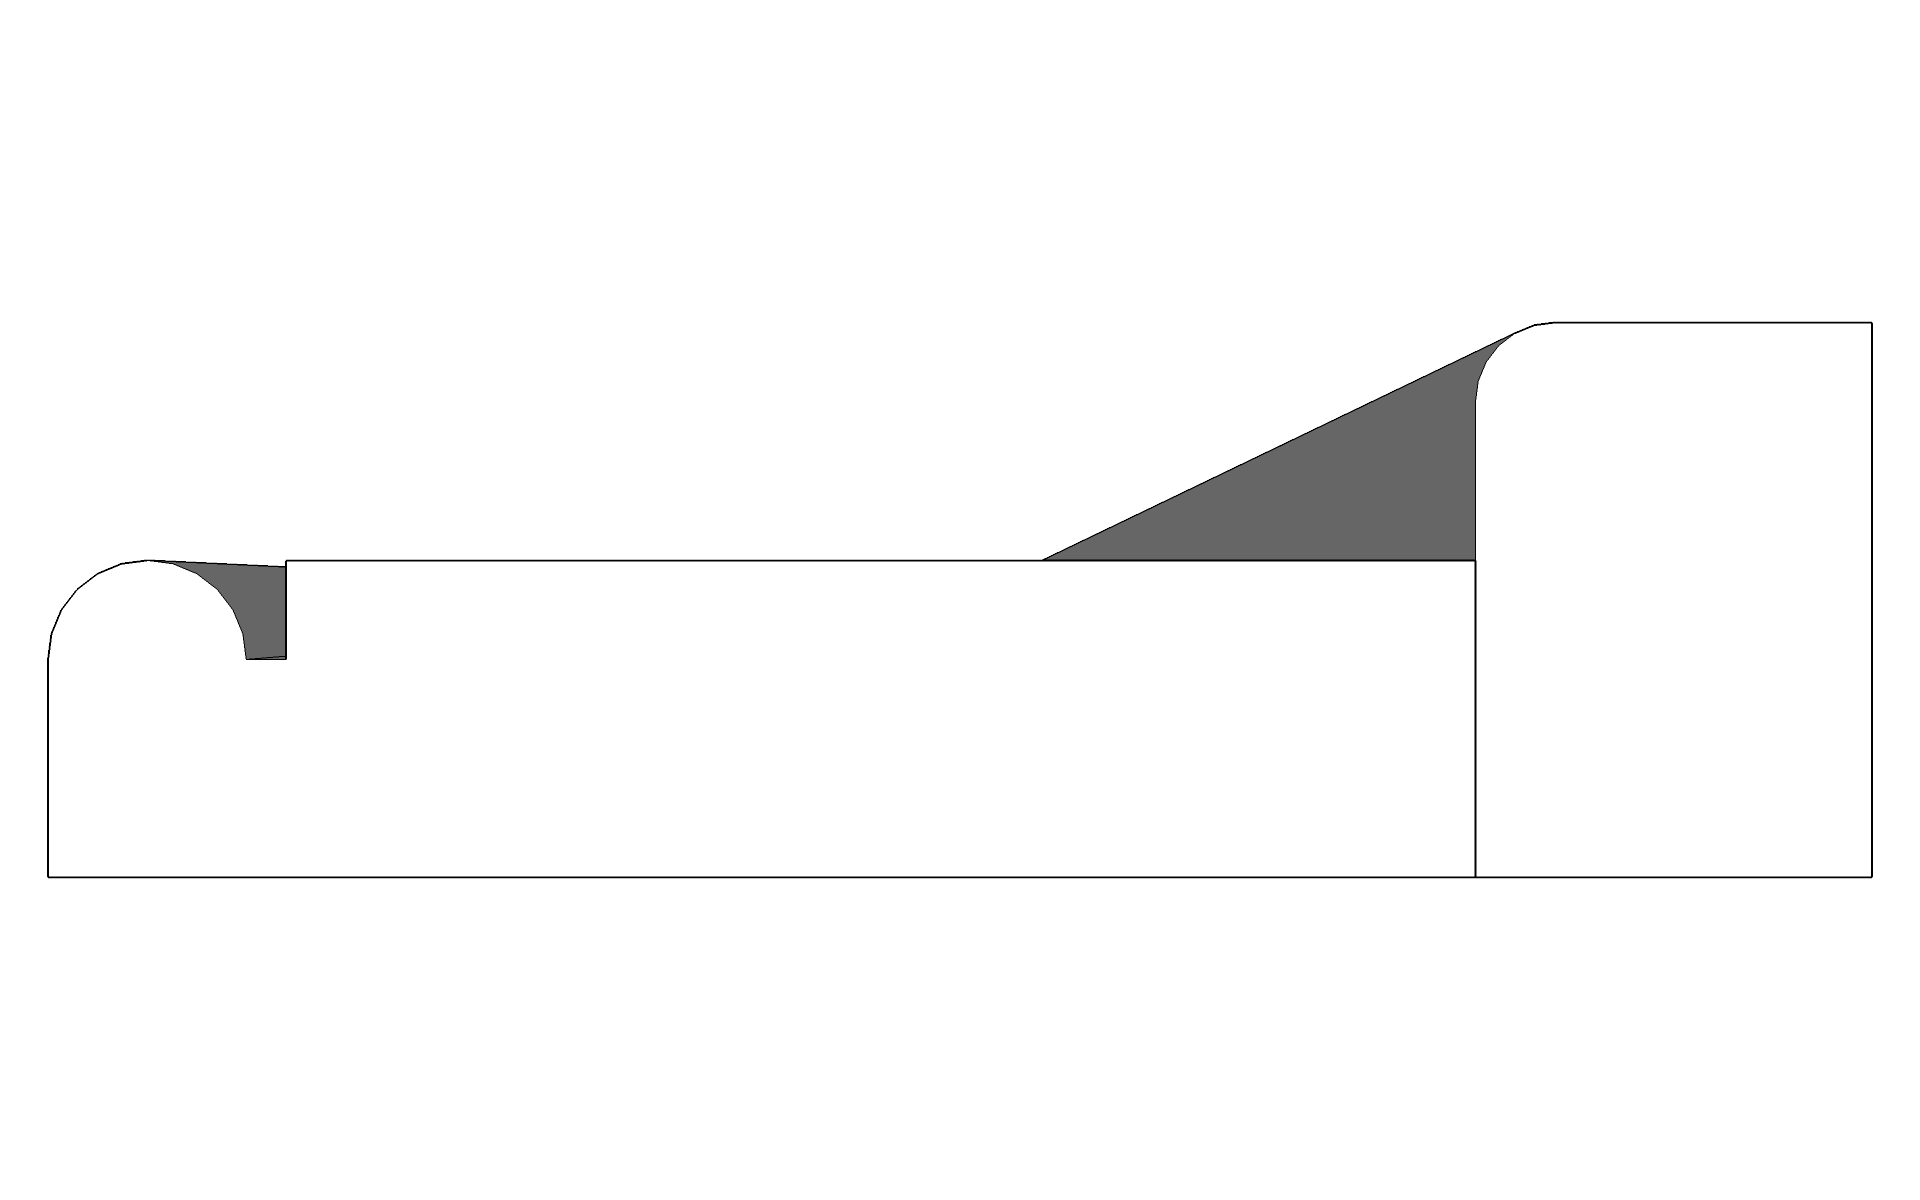
They are composed of two pieces. The side stick brings depth to the whole. It also allows the baseboard to come alongside, leaving a shoulder of 1/8″(about 3 mm).
2.1 Fisrt part


2.2 Second part


2.3 The assembled molding

2.4 The Knife
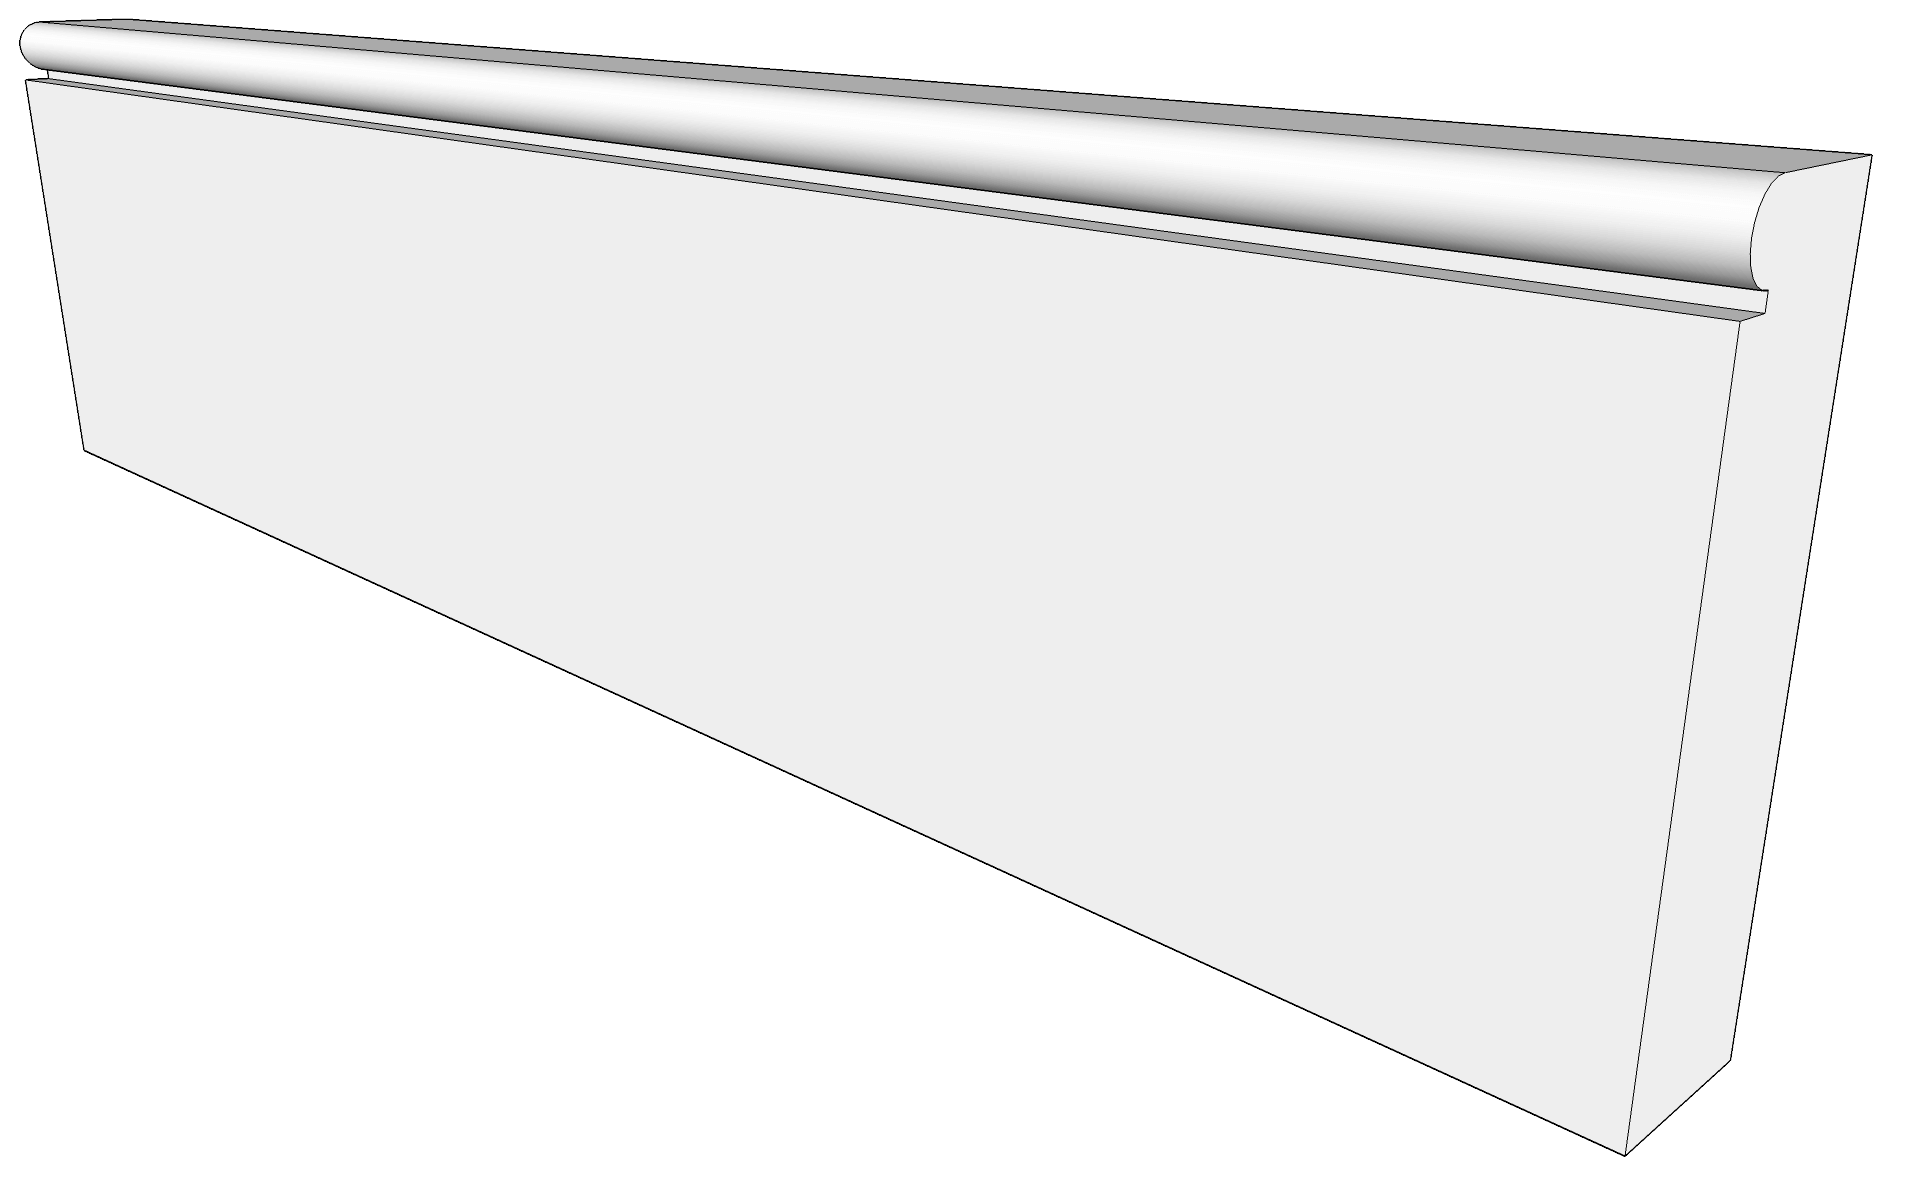
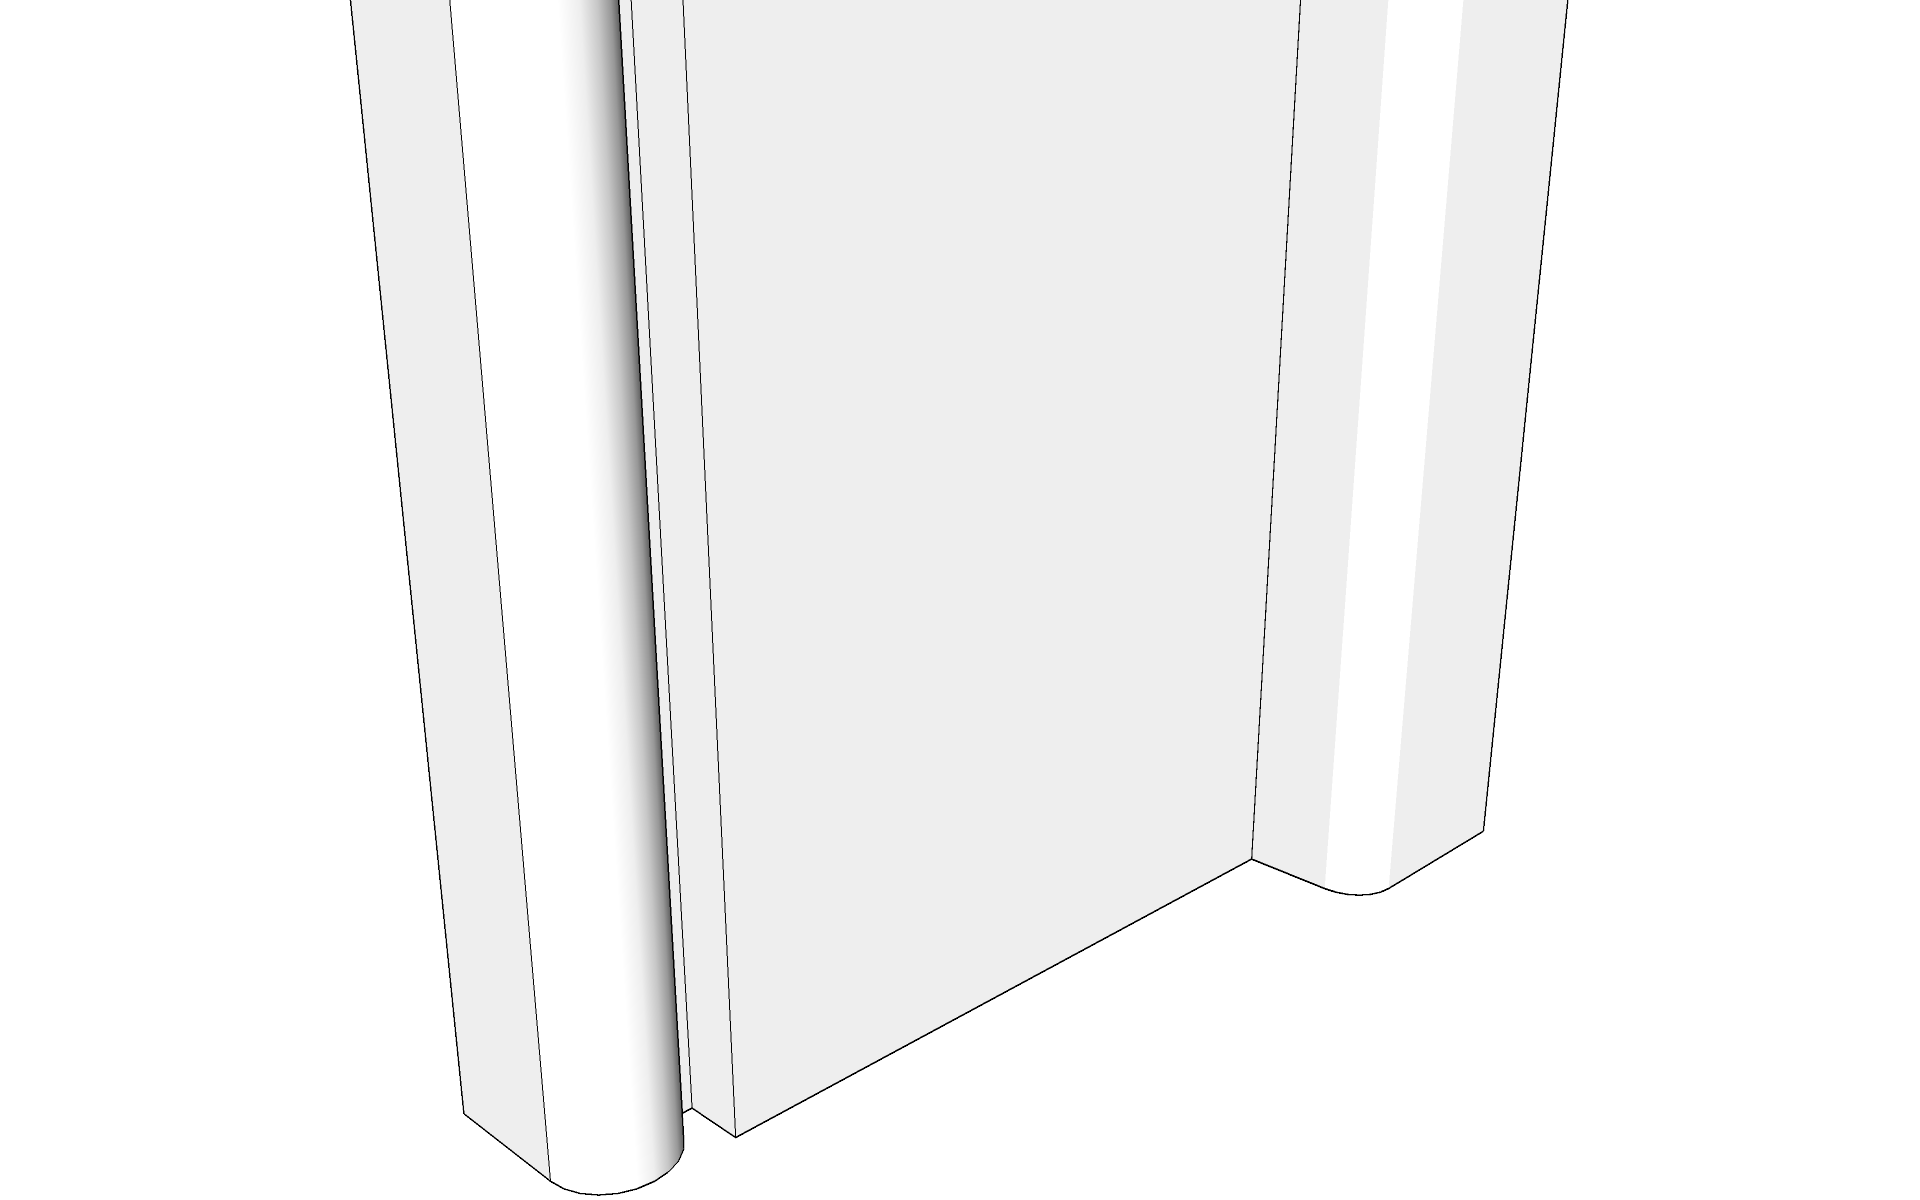
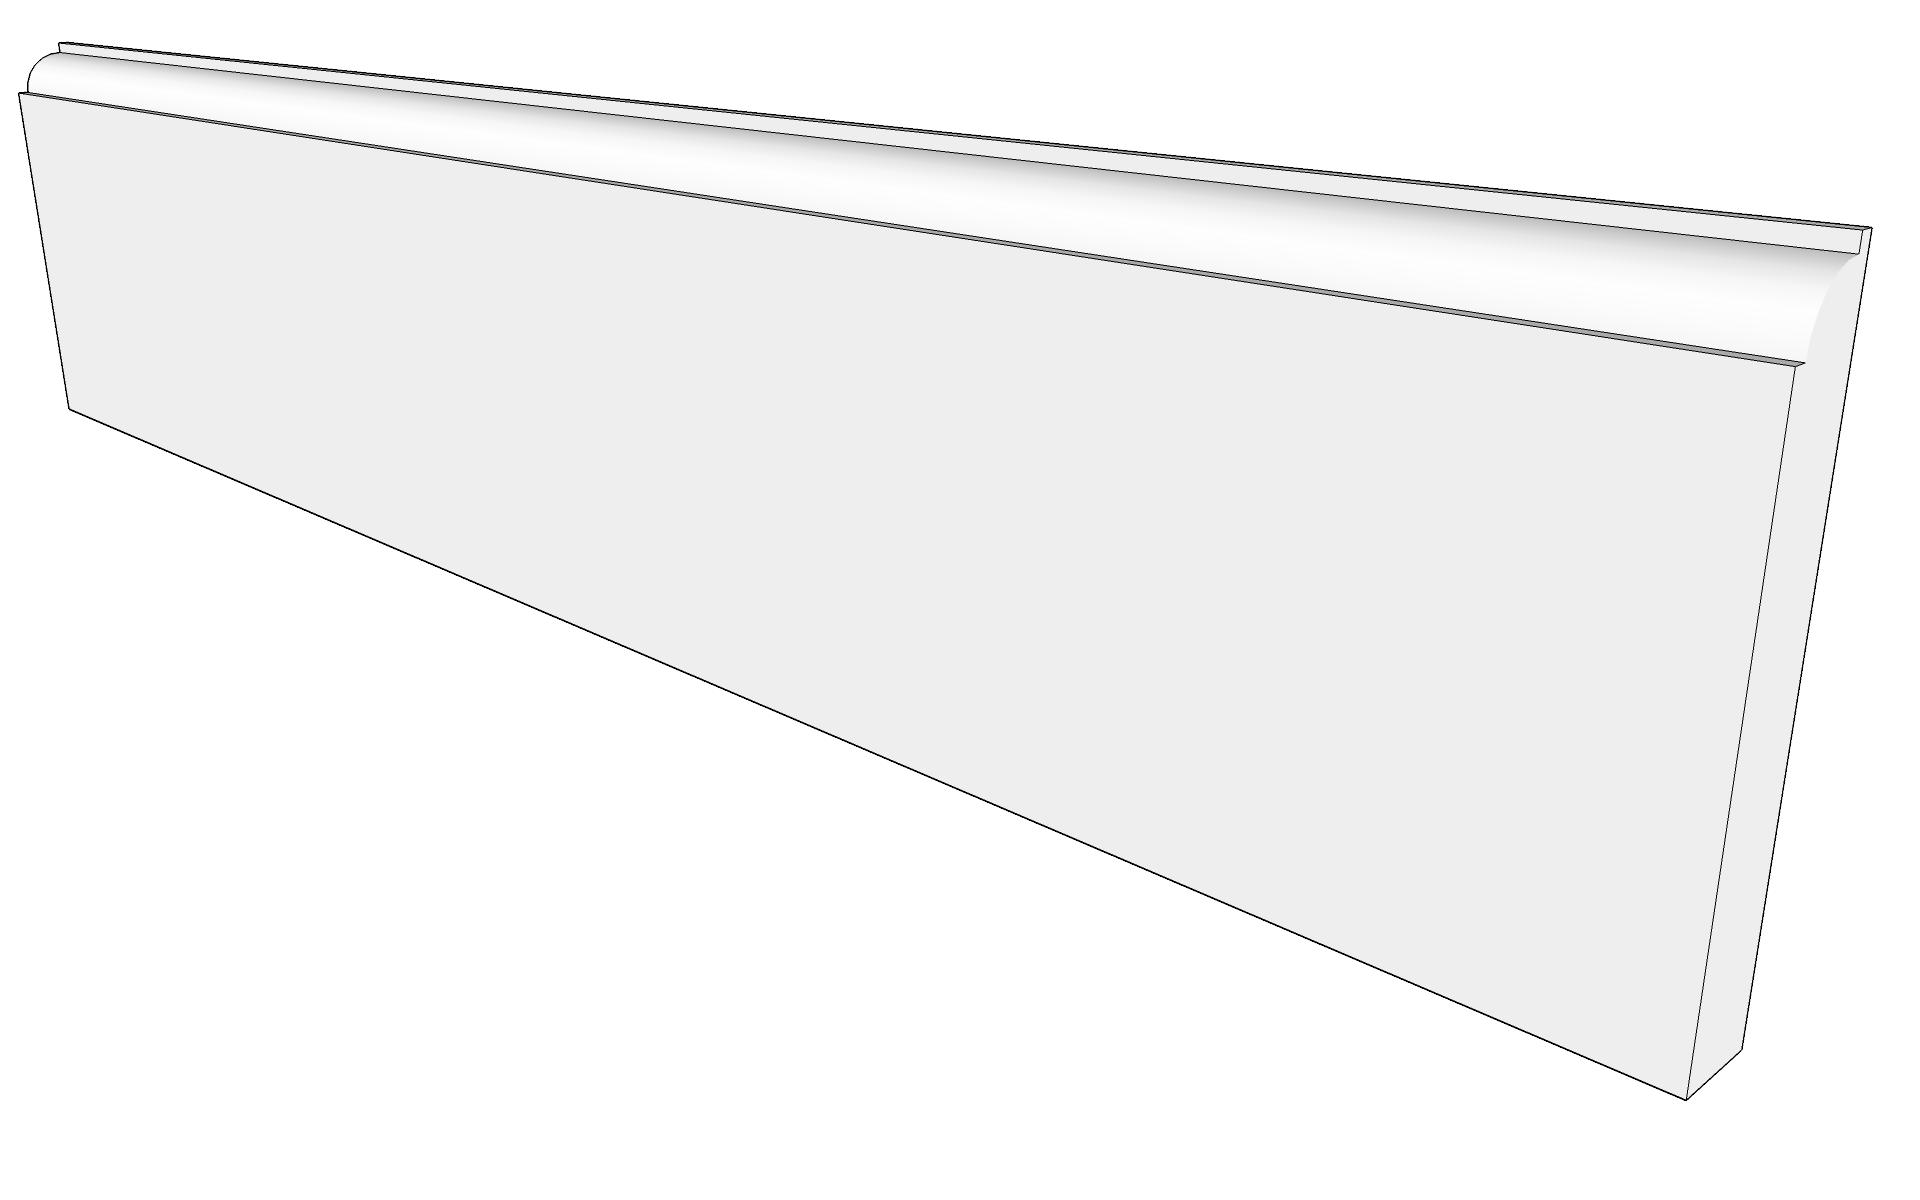
3. Baseboard
They are composed of a single piece and the style is very simple to marry the framing. Everything is a matter of taste 🙂

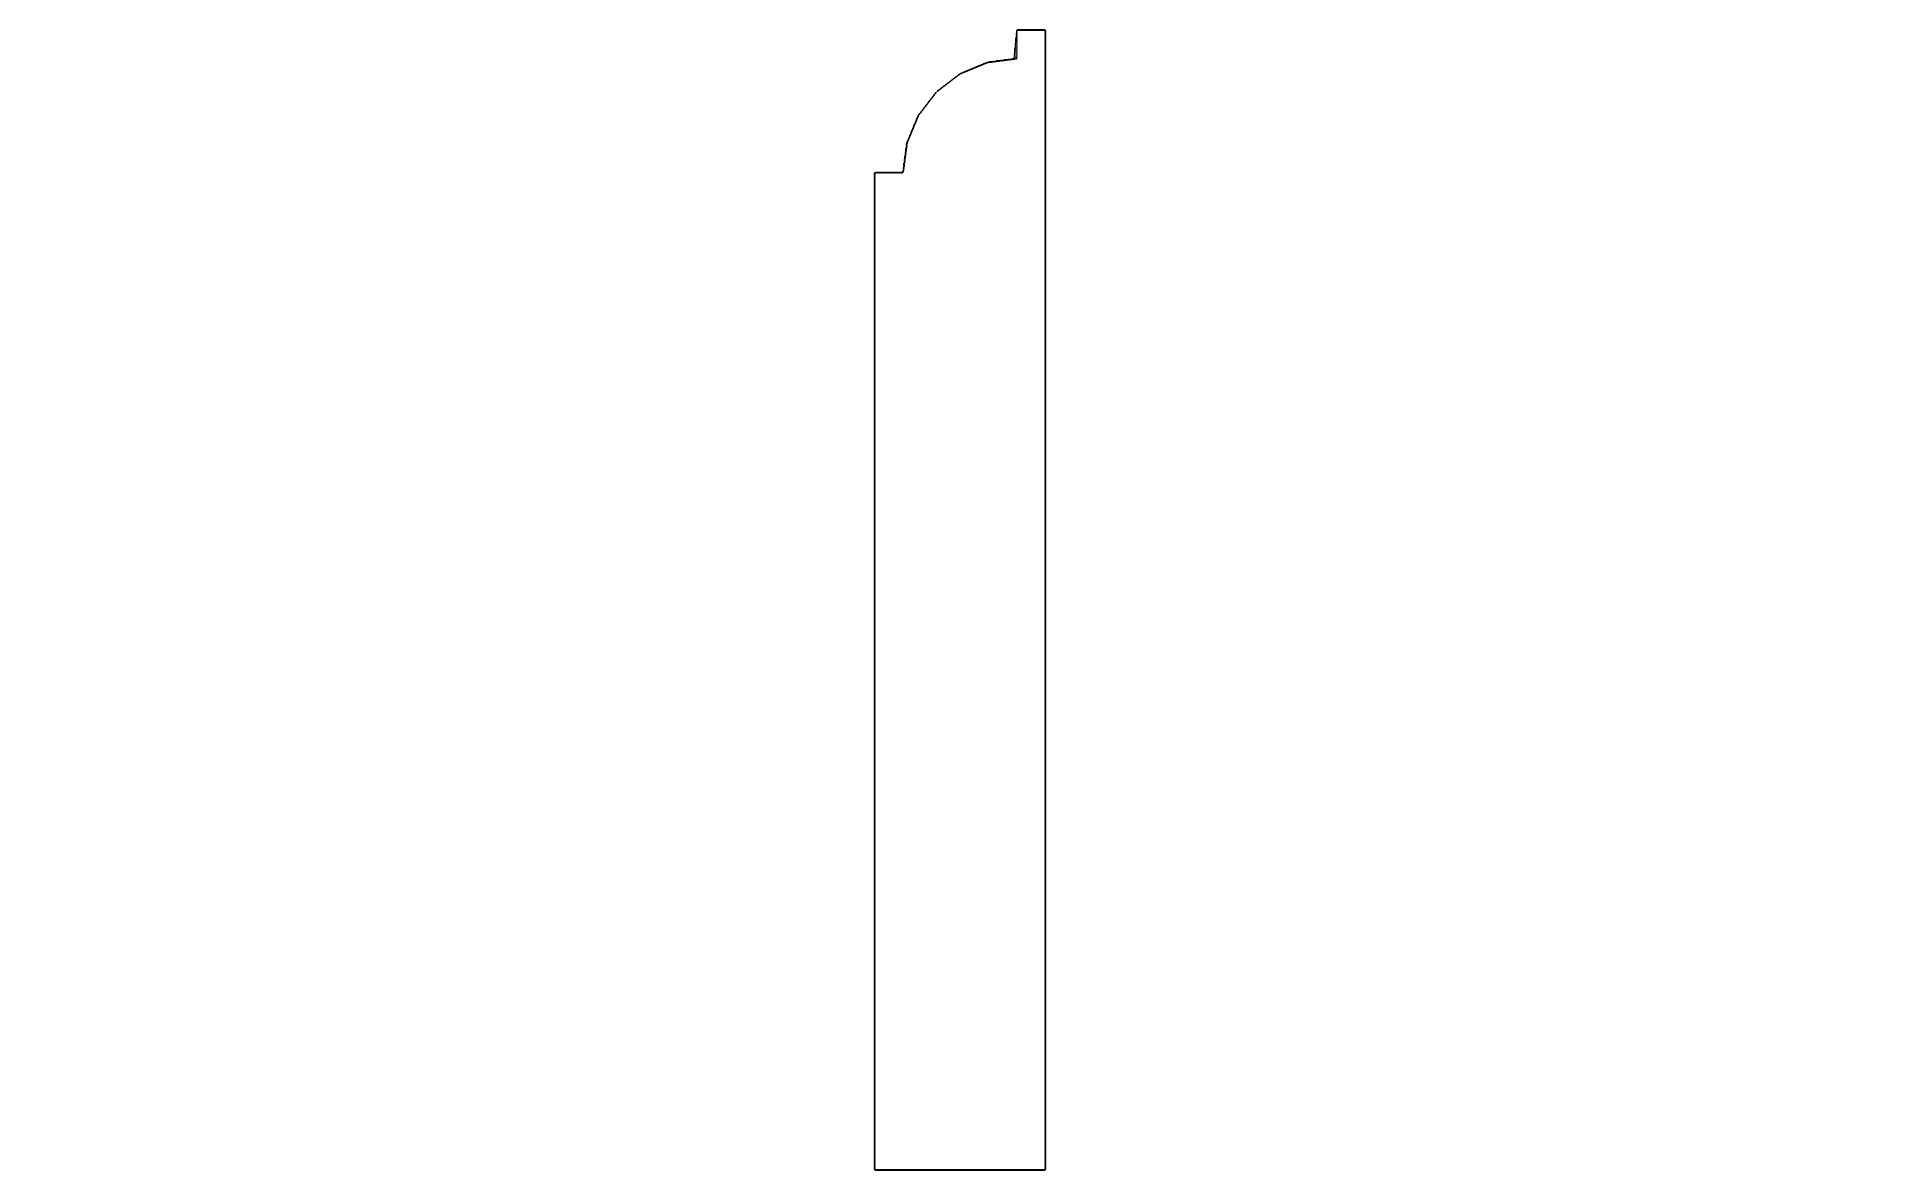
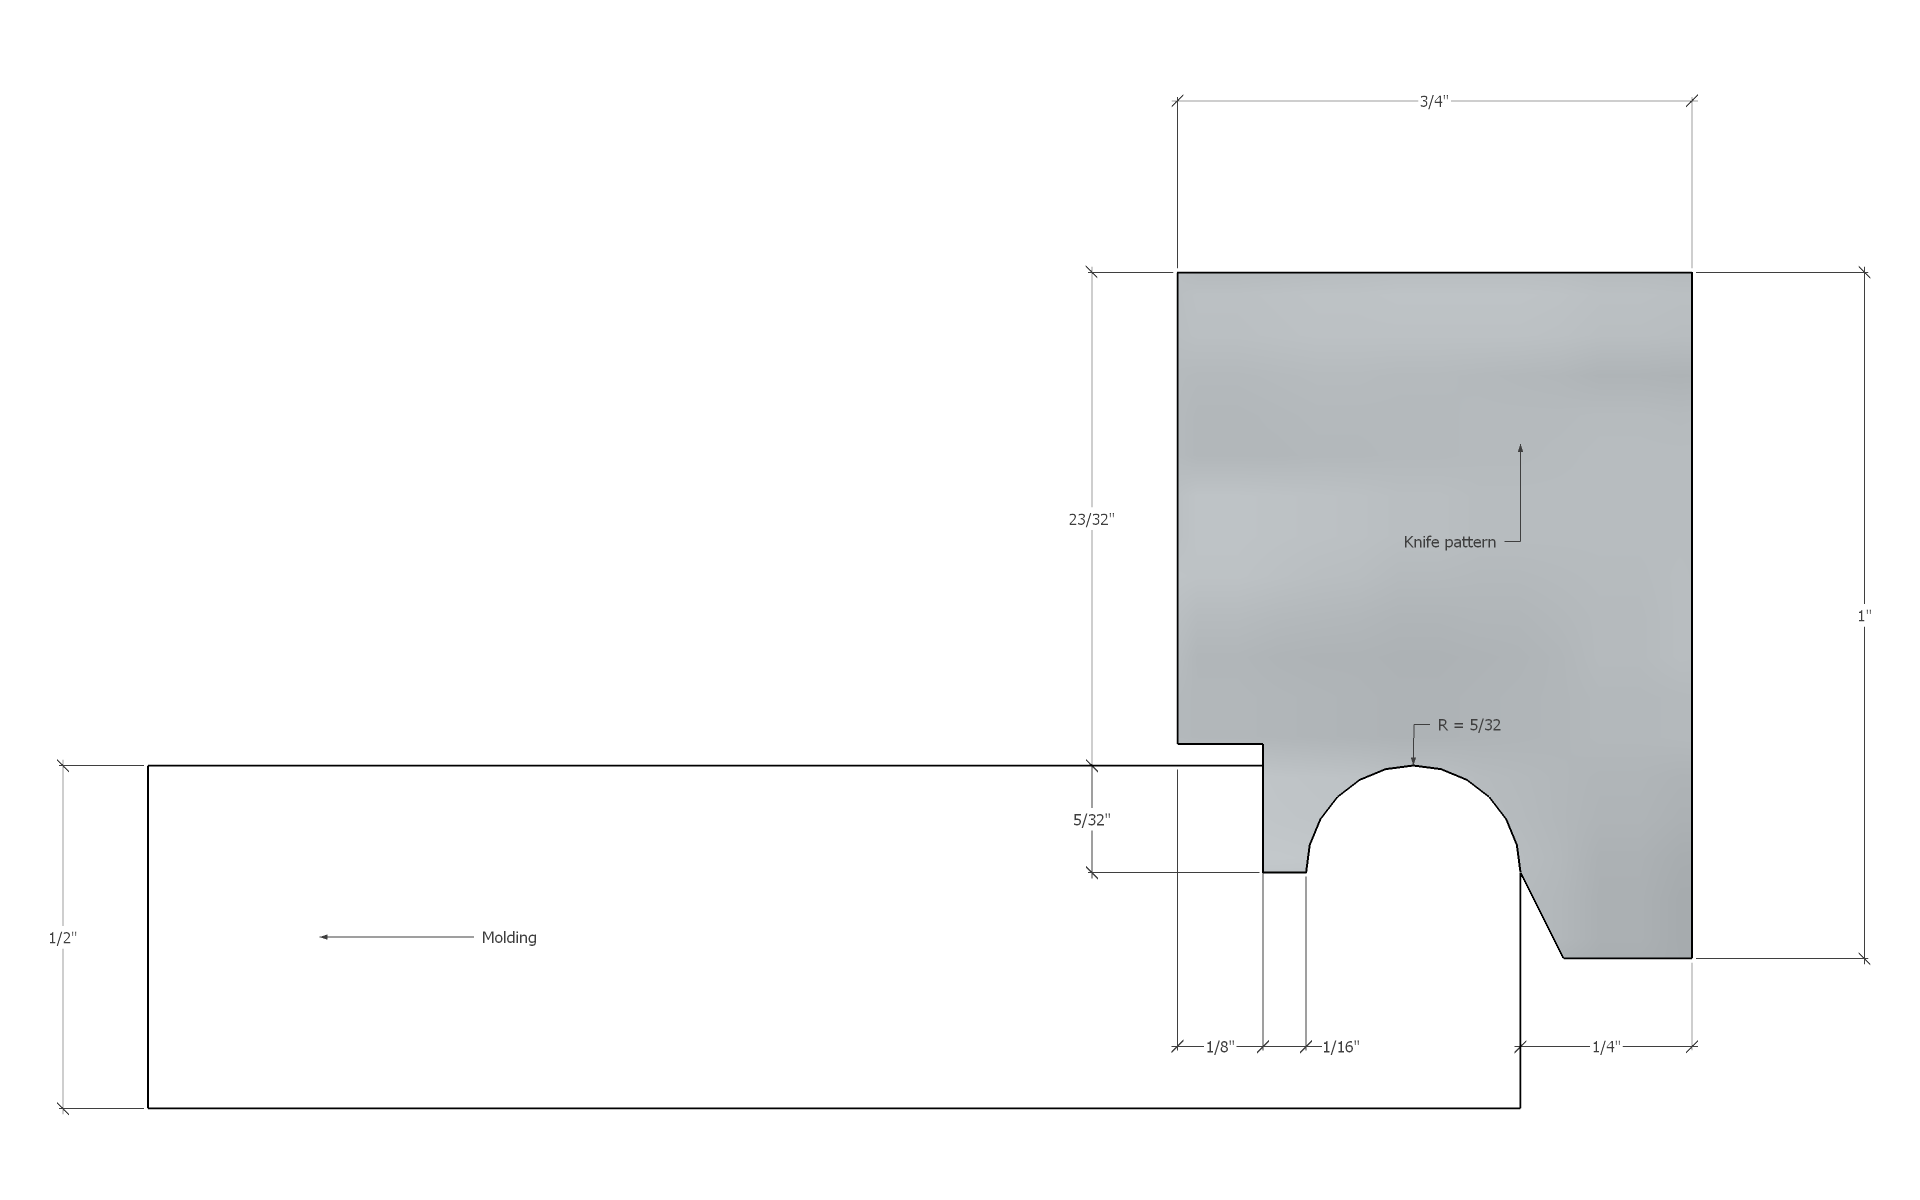
3.1 The Knife

4. Realisazion
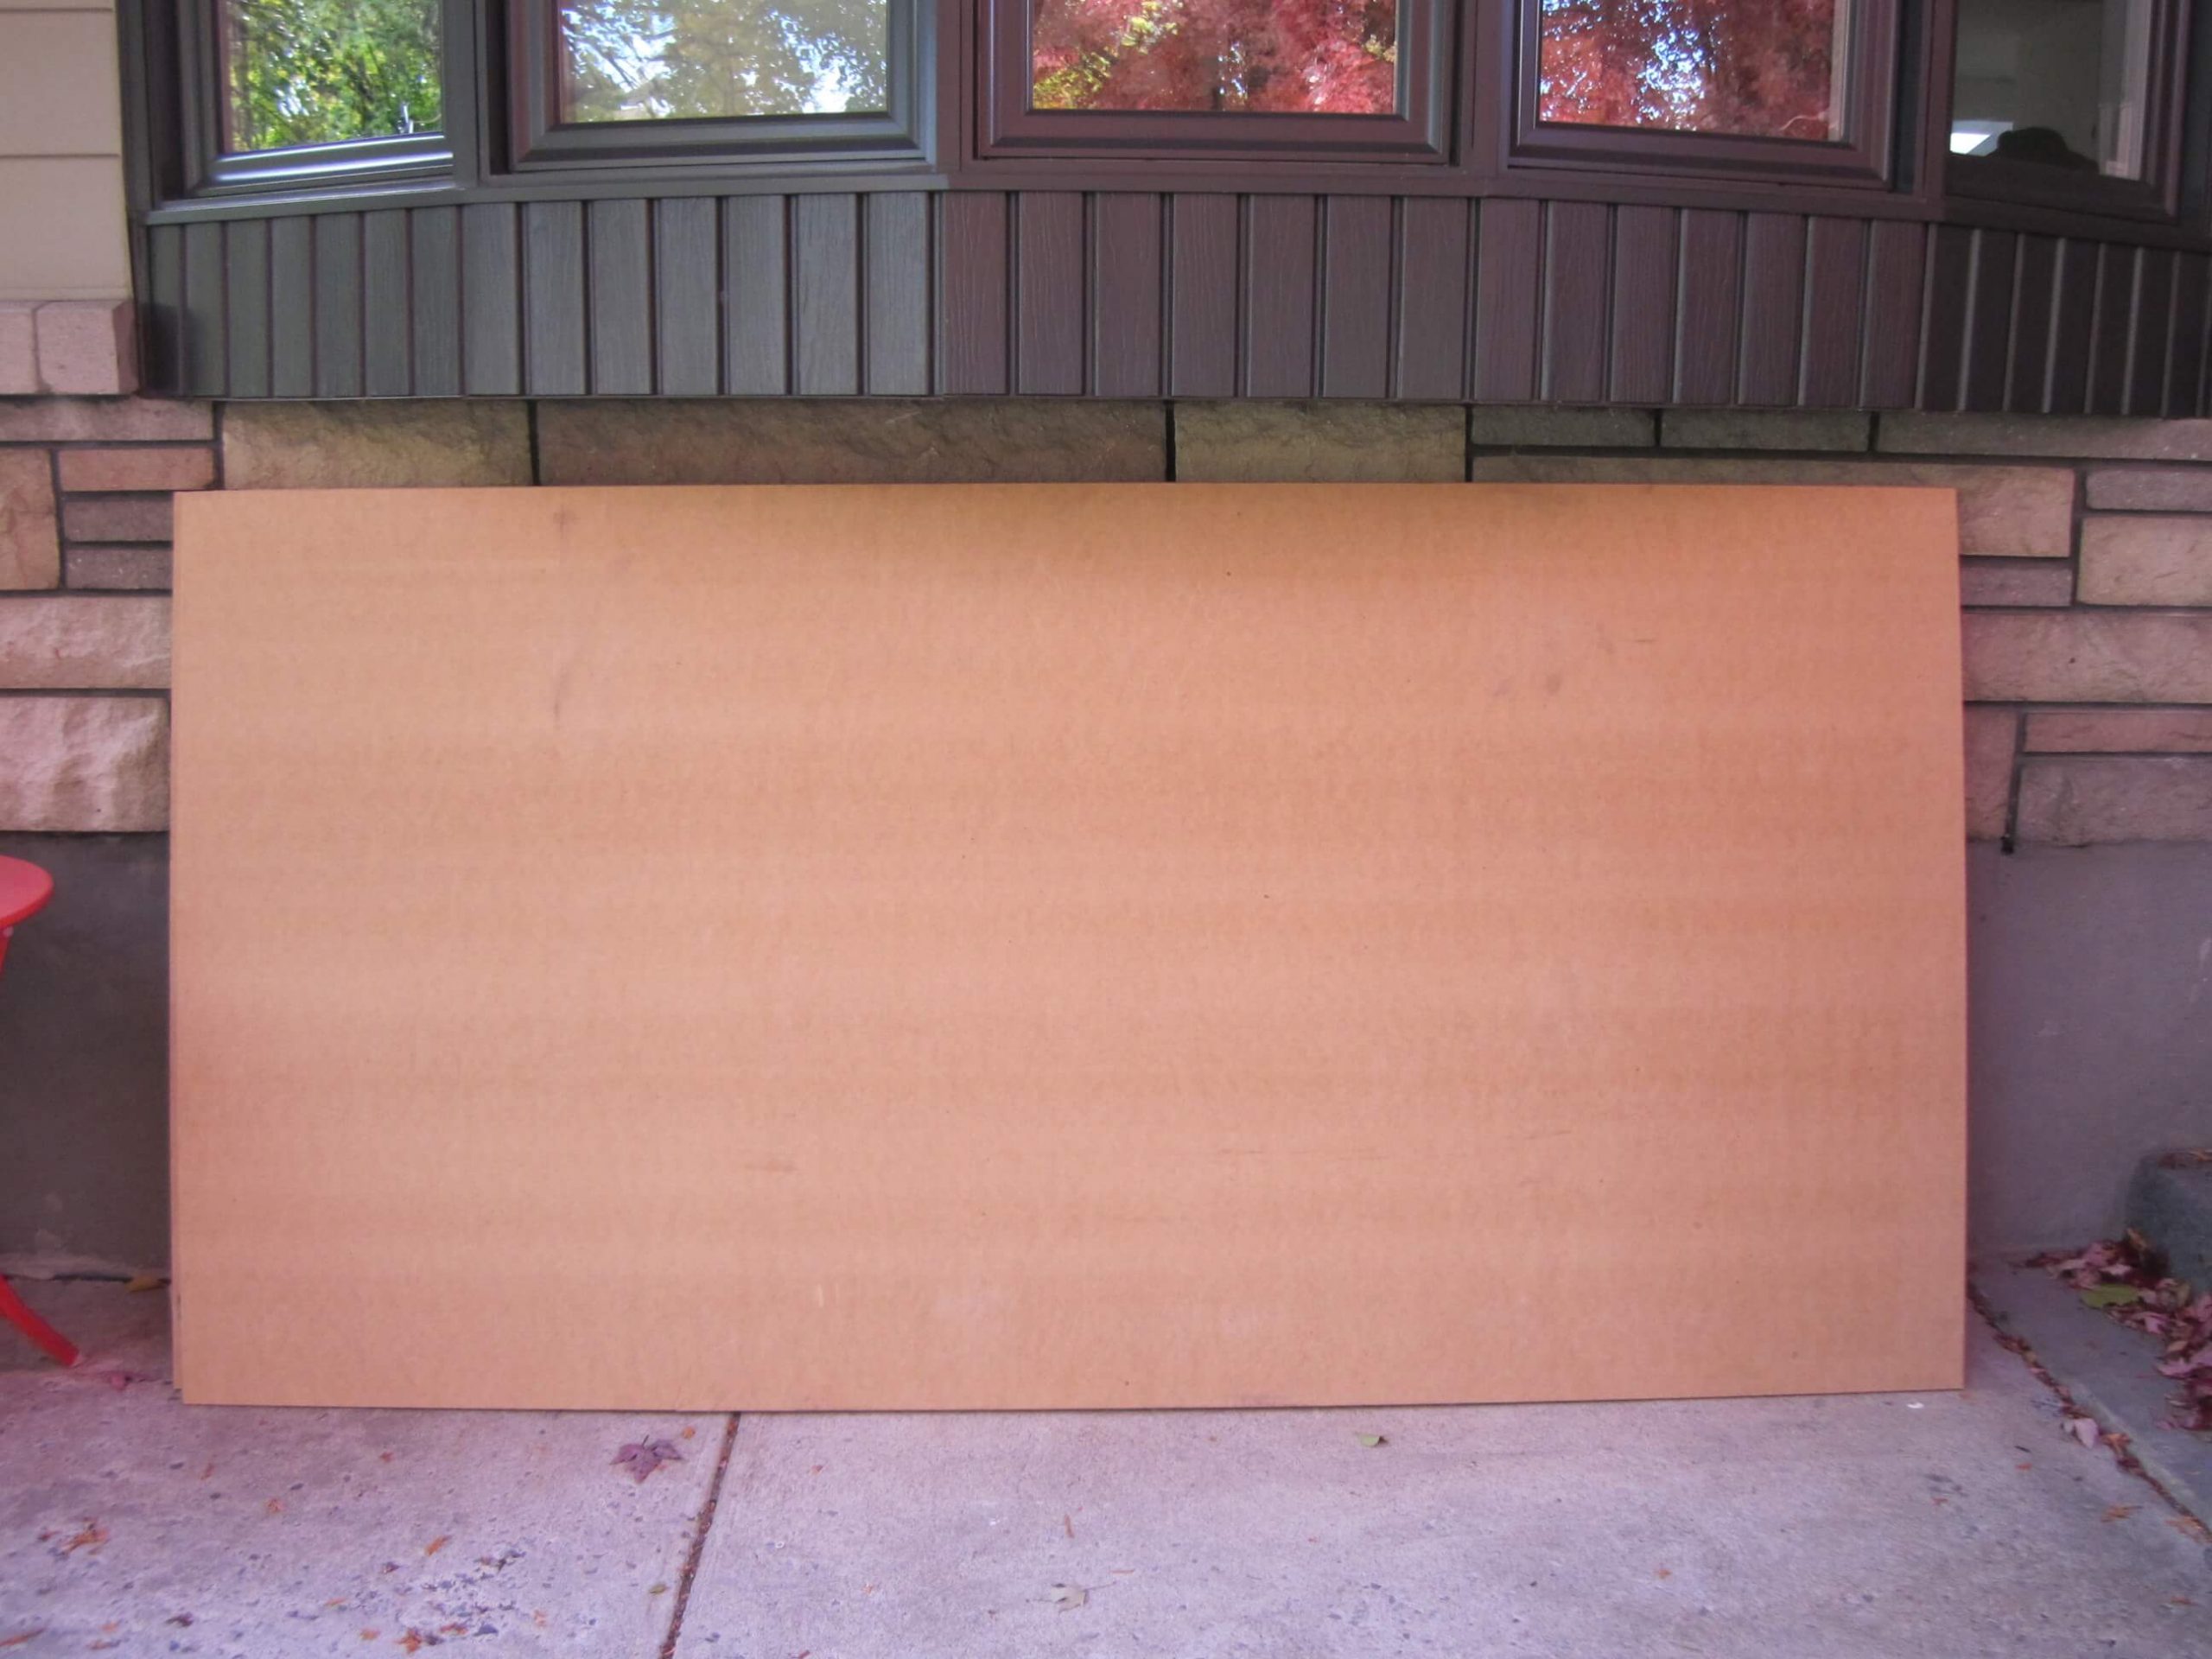
Step #1: order the materials. Two MDF sheets of 3/4″ x 49″ x 96″ (19mm x 1,245mm x 2,490mm) , 1 sheet of 5/8″ x 49″ x 96″ (16mm x 1,245mm x 2,490 mm) and 5 sheets of 1/2″ x 49″ x 96″ (13mm x 1,245mm x 2,490mm).
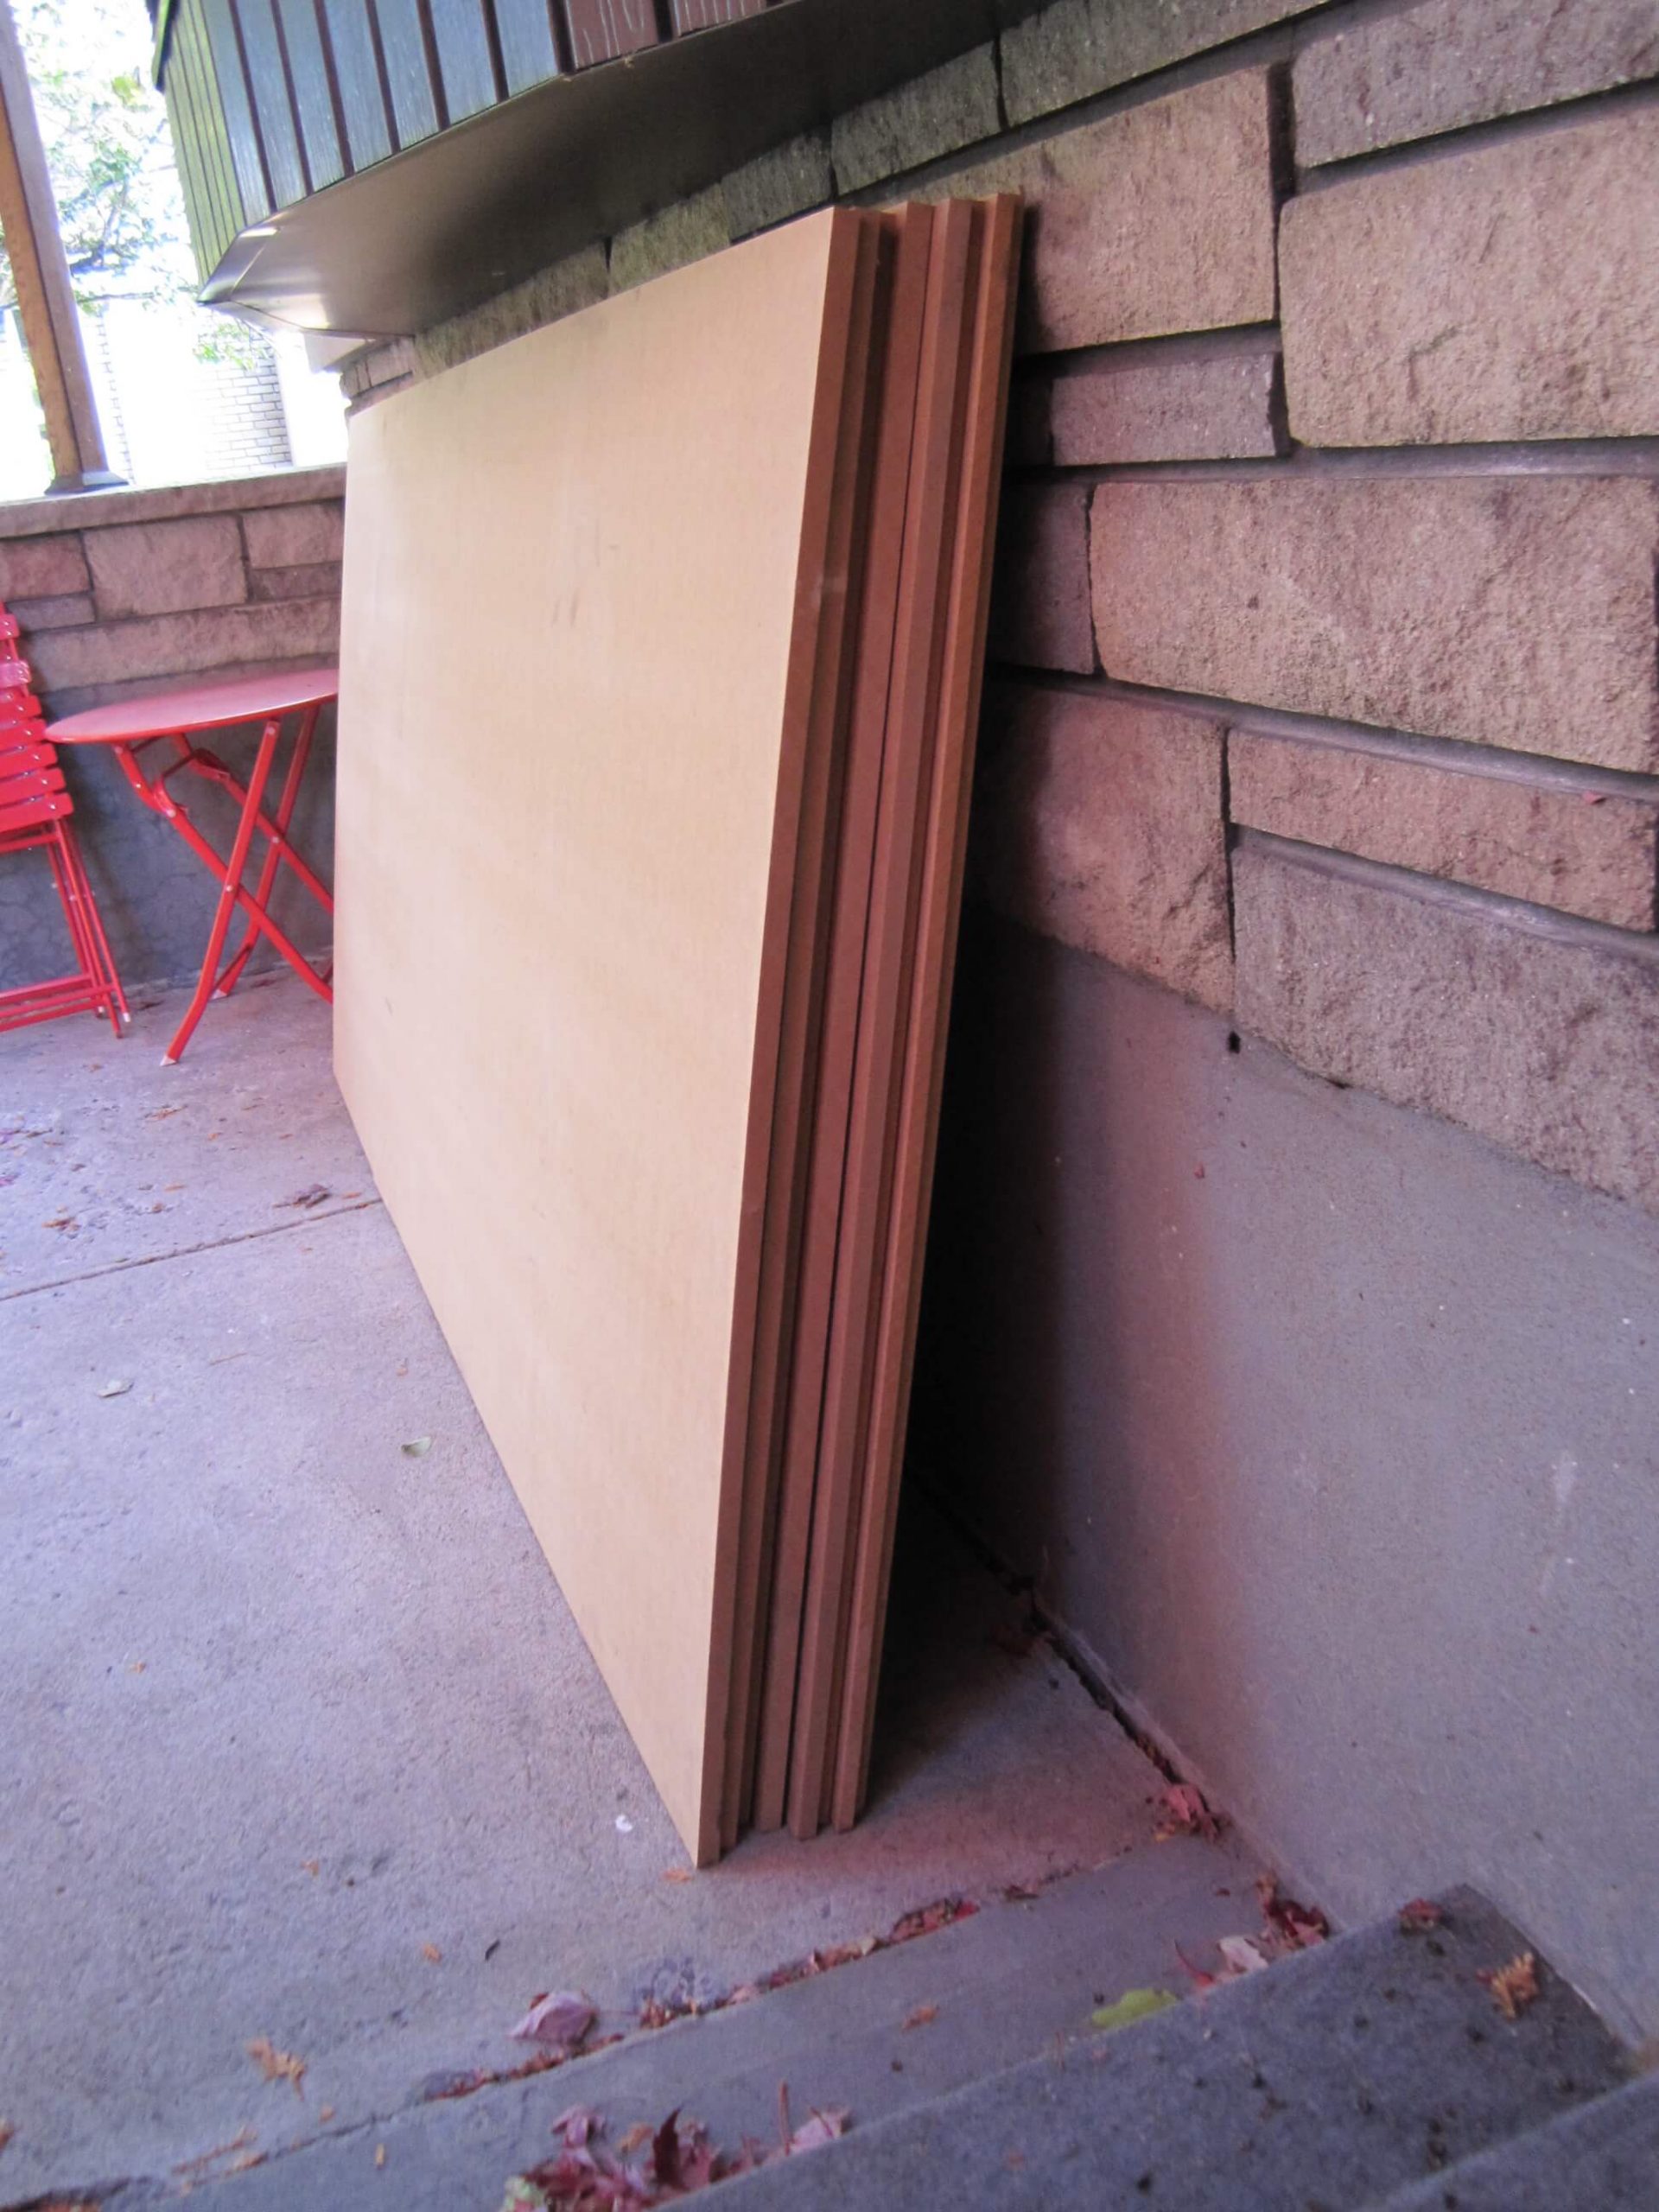
Step #2: rip.
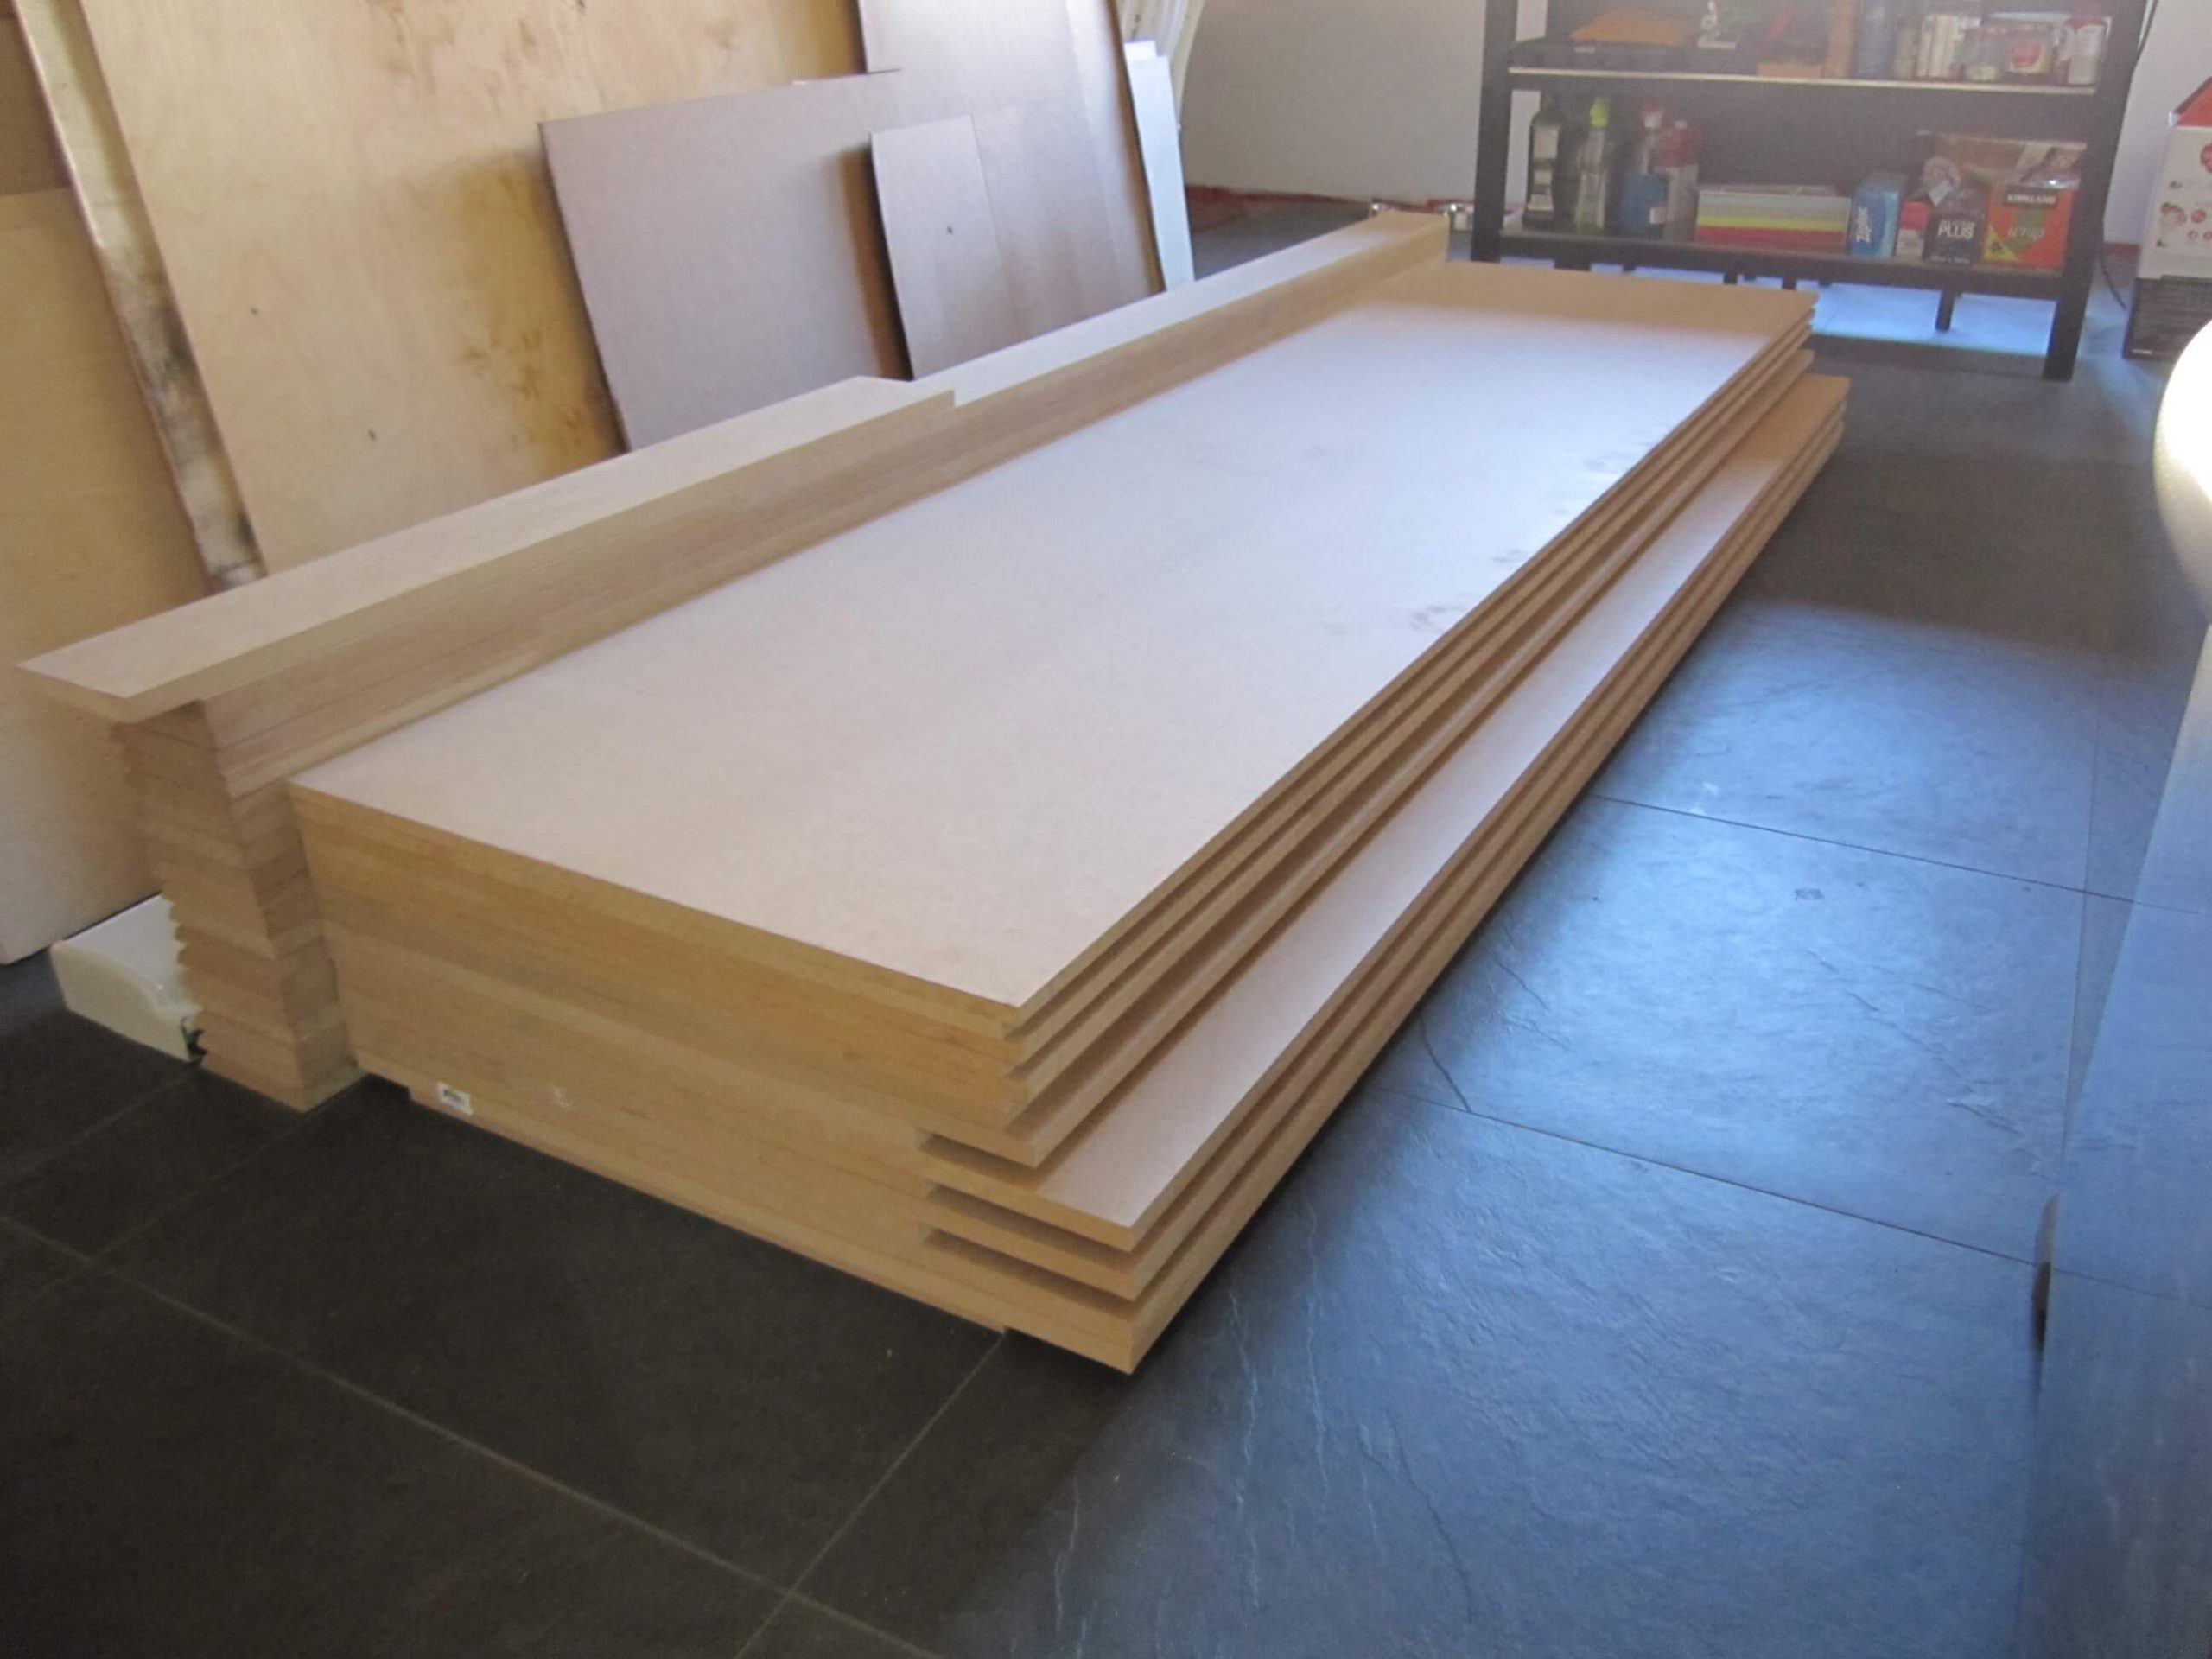
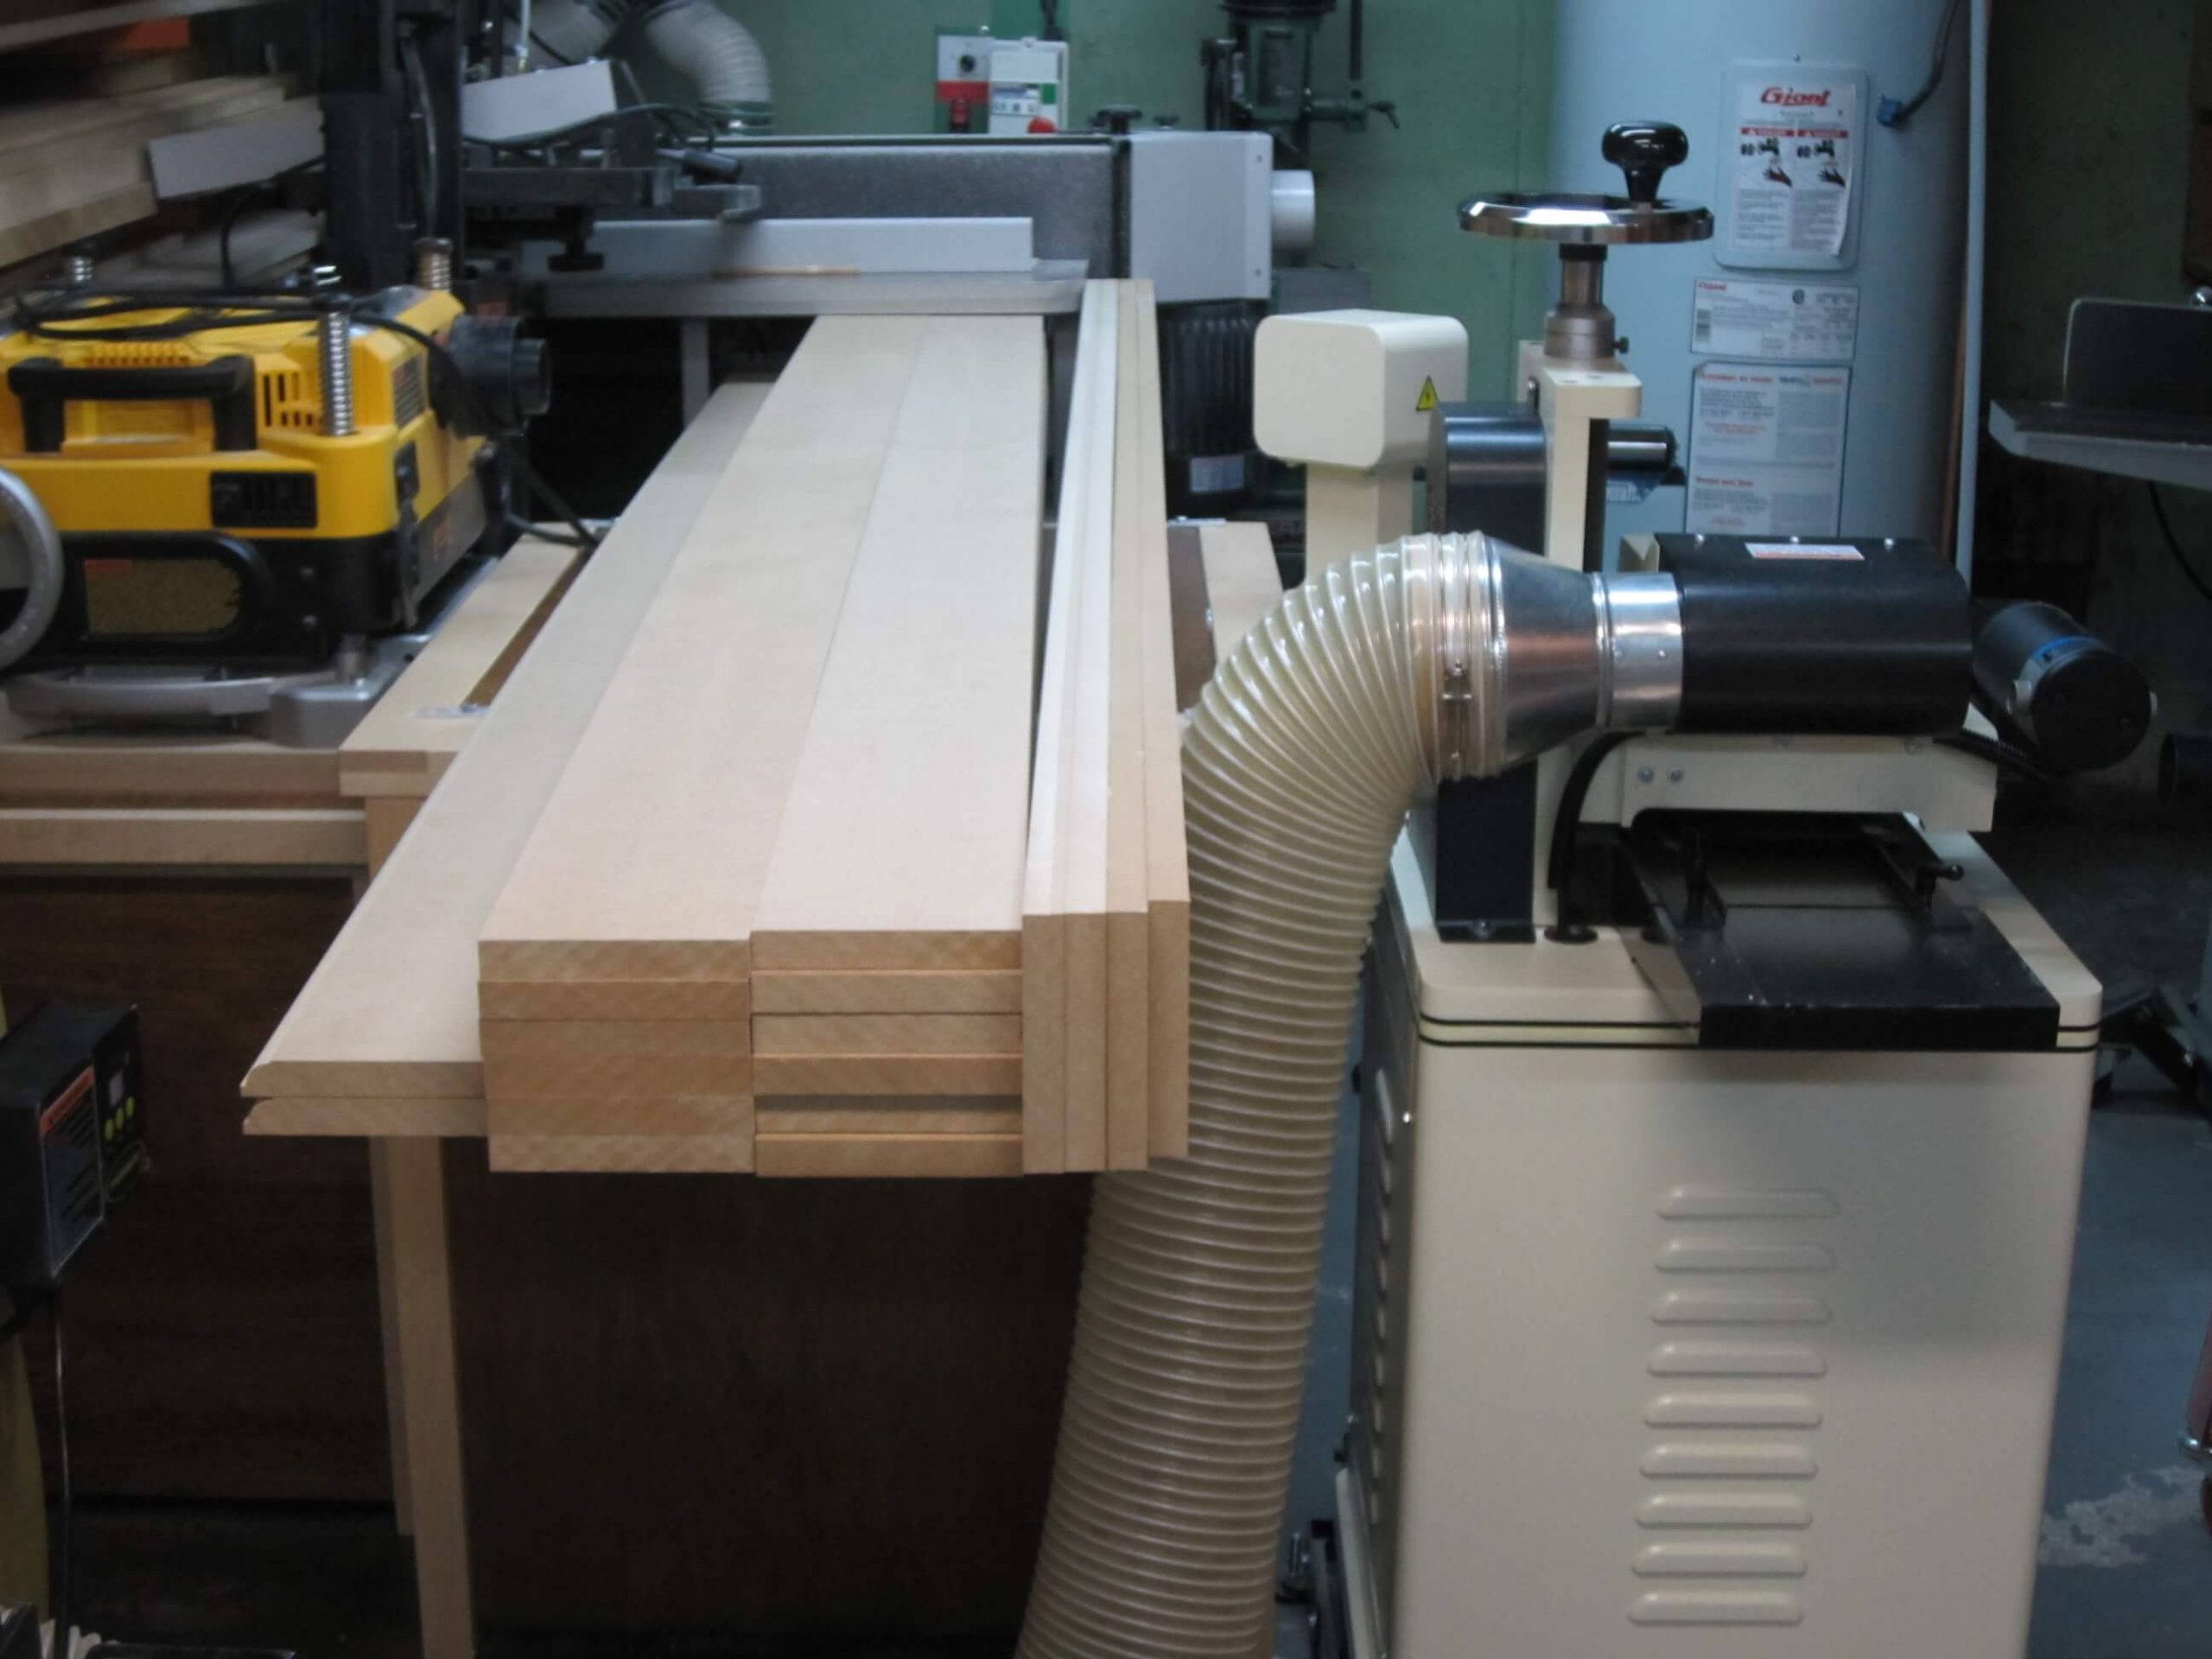
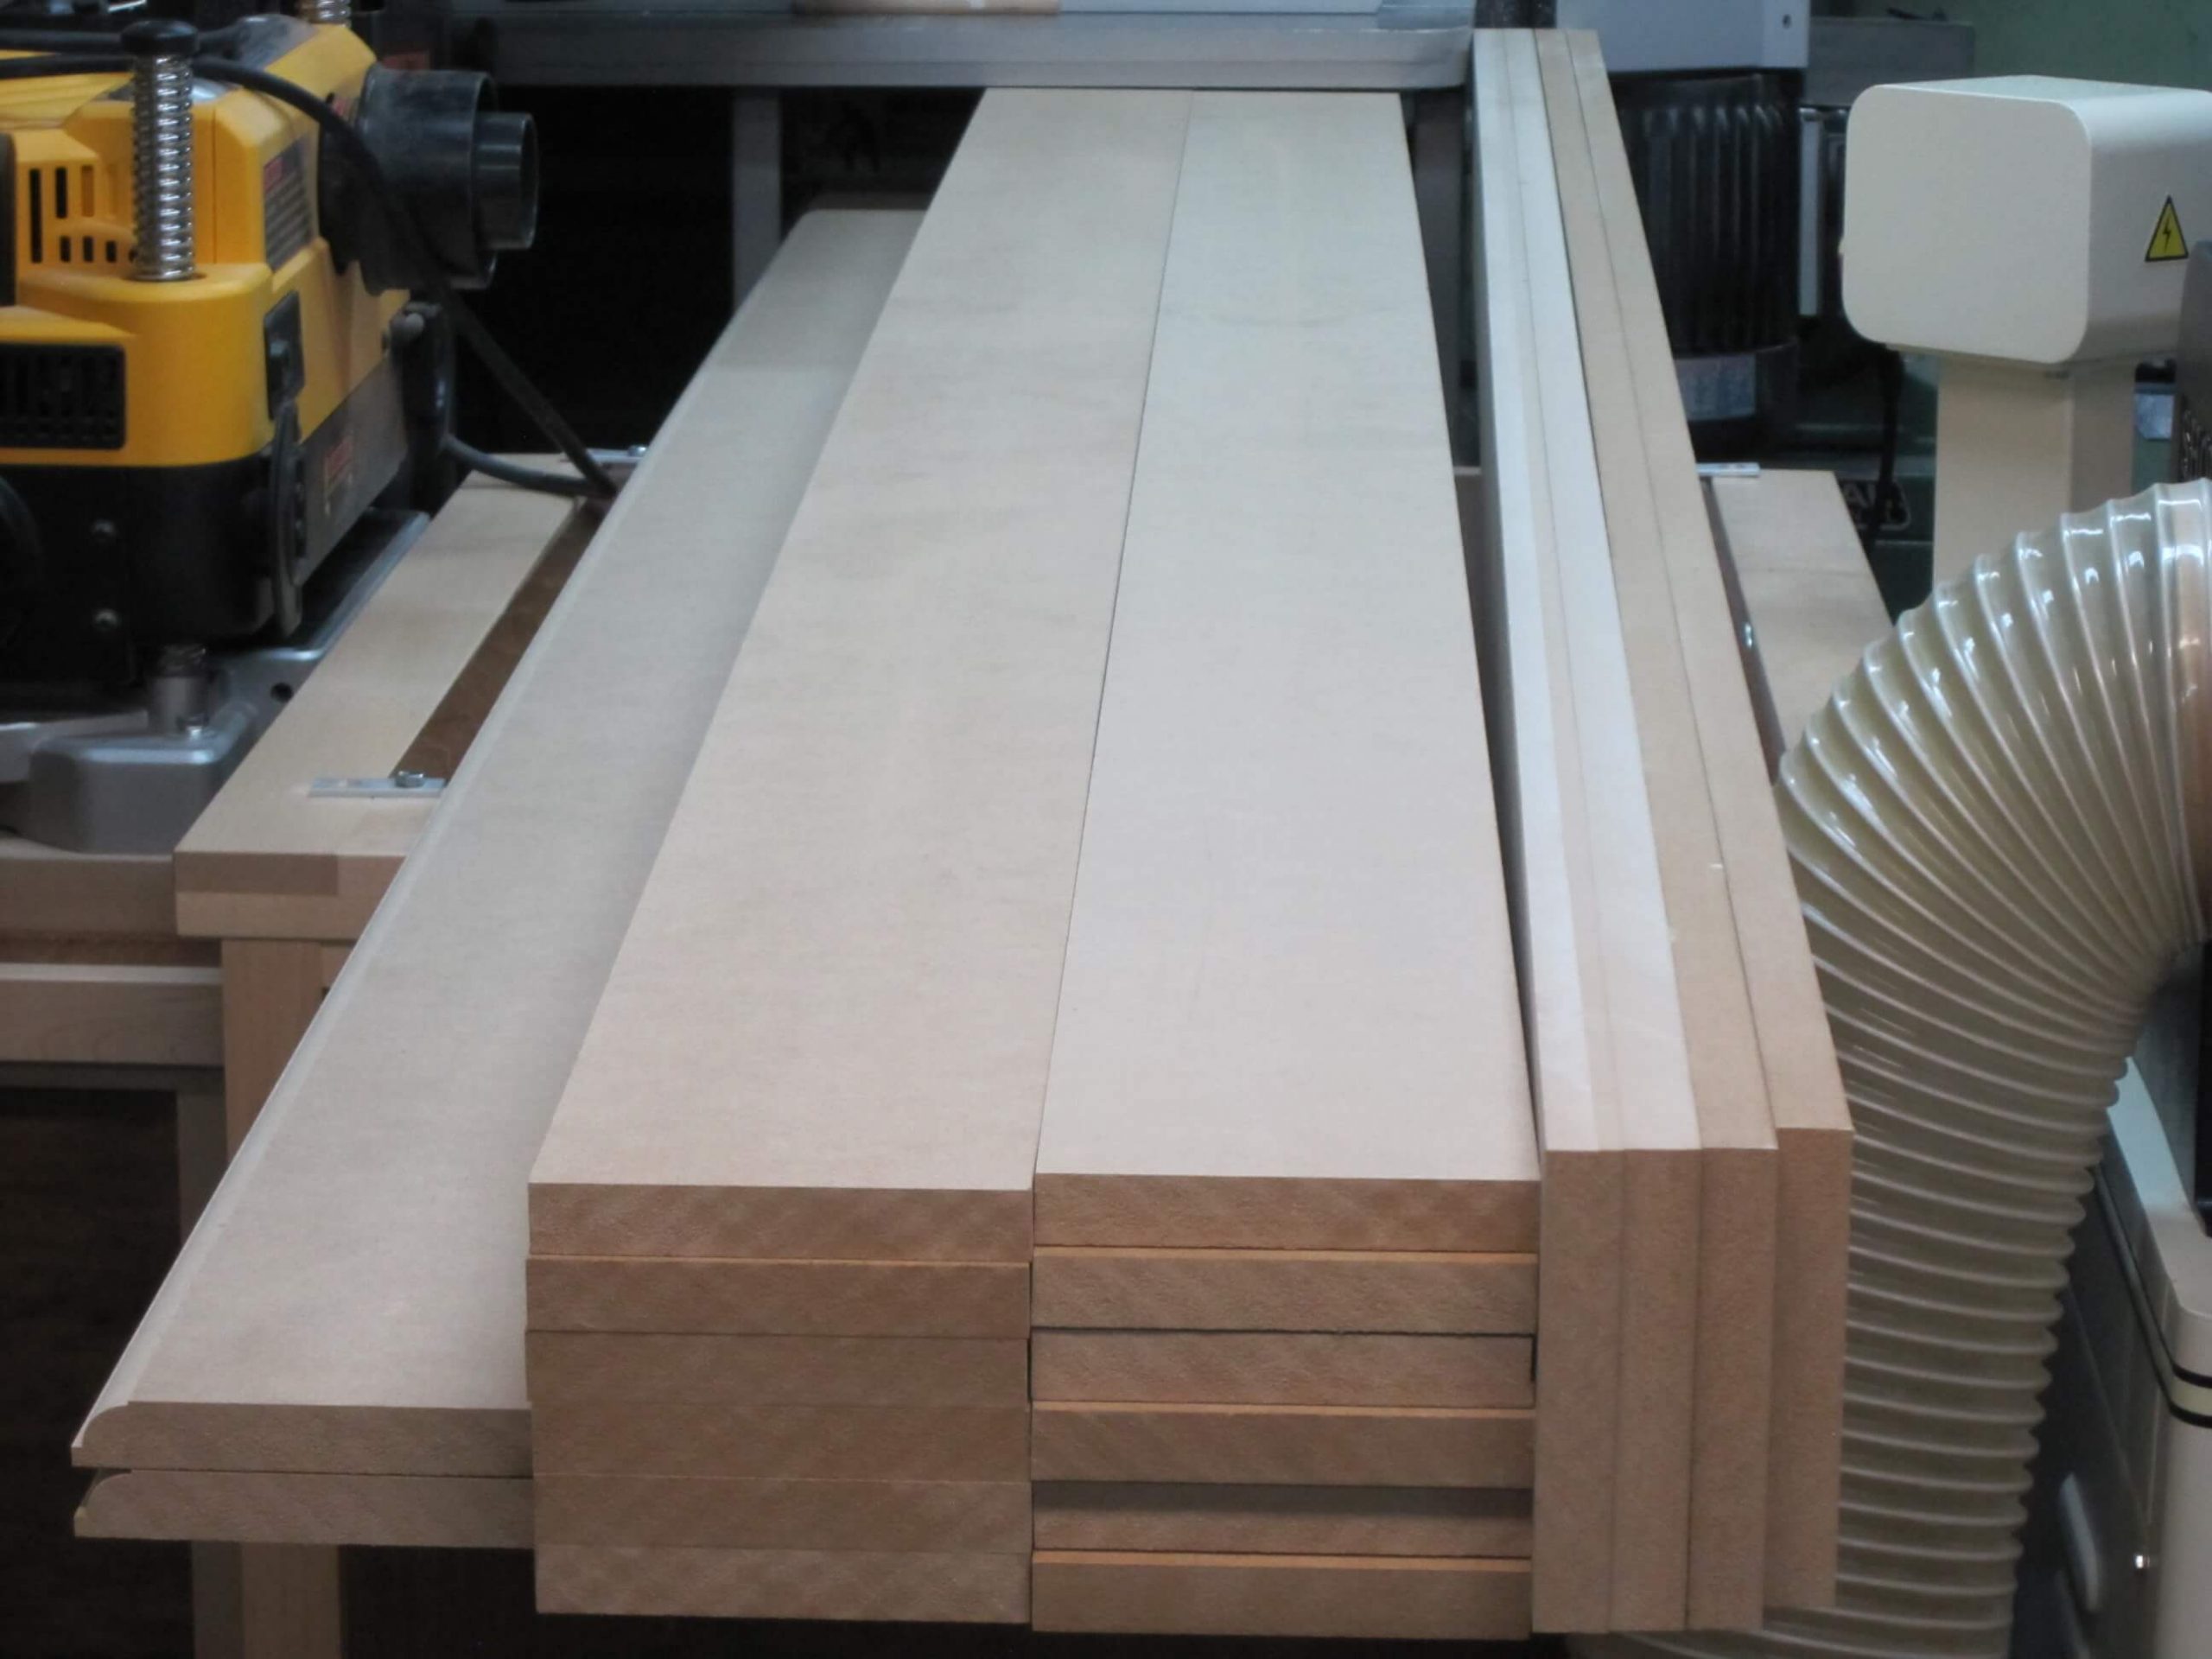
Step #3: pass them to the moulder. Here, the realization of a baseboard.
Here are the results:
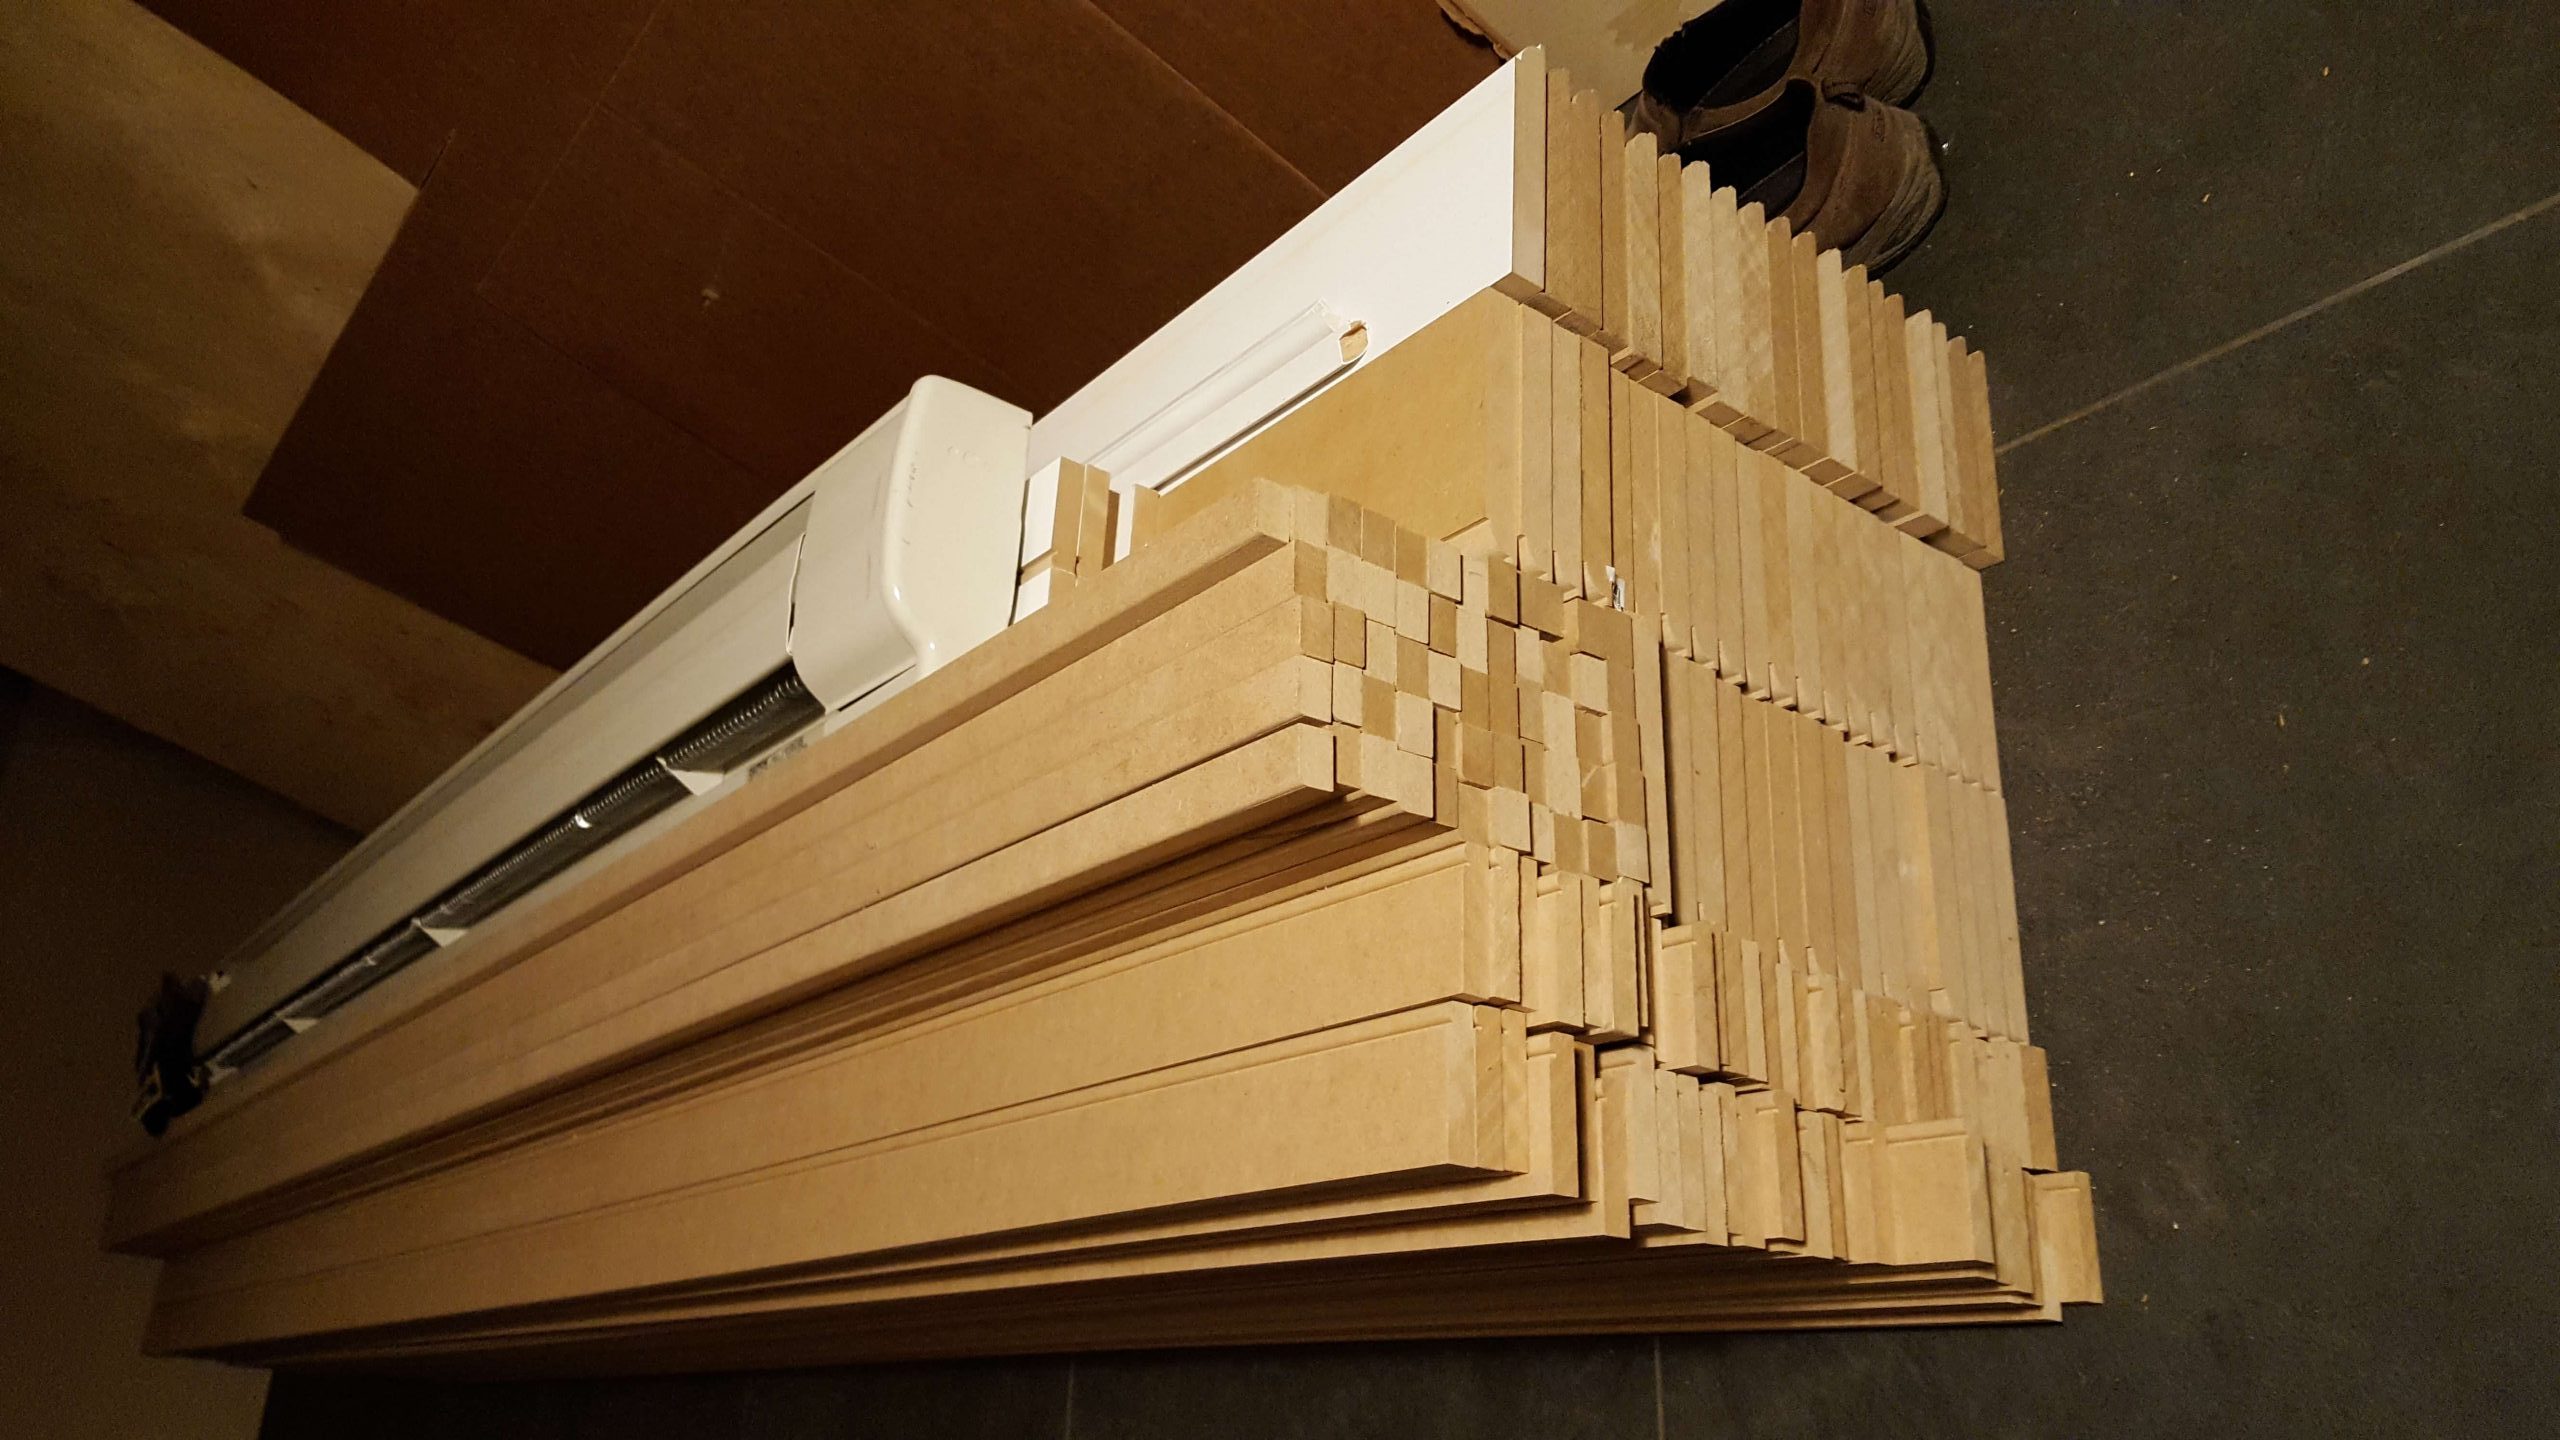
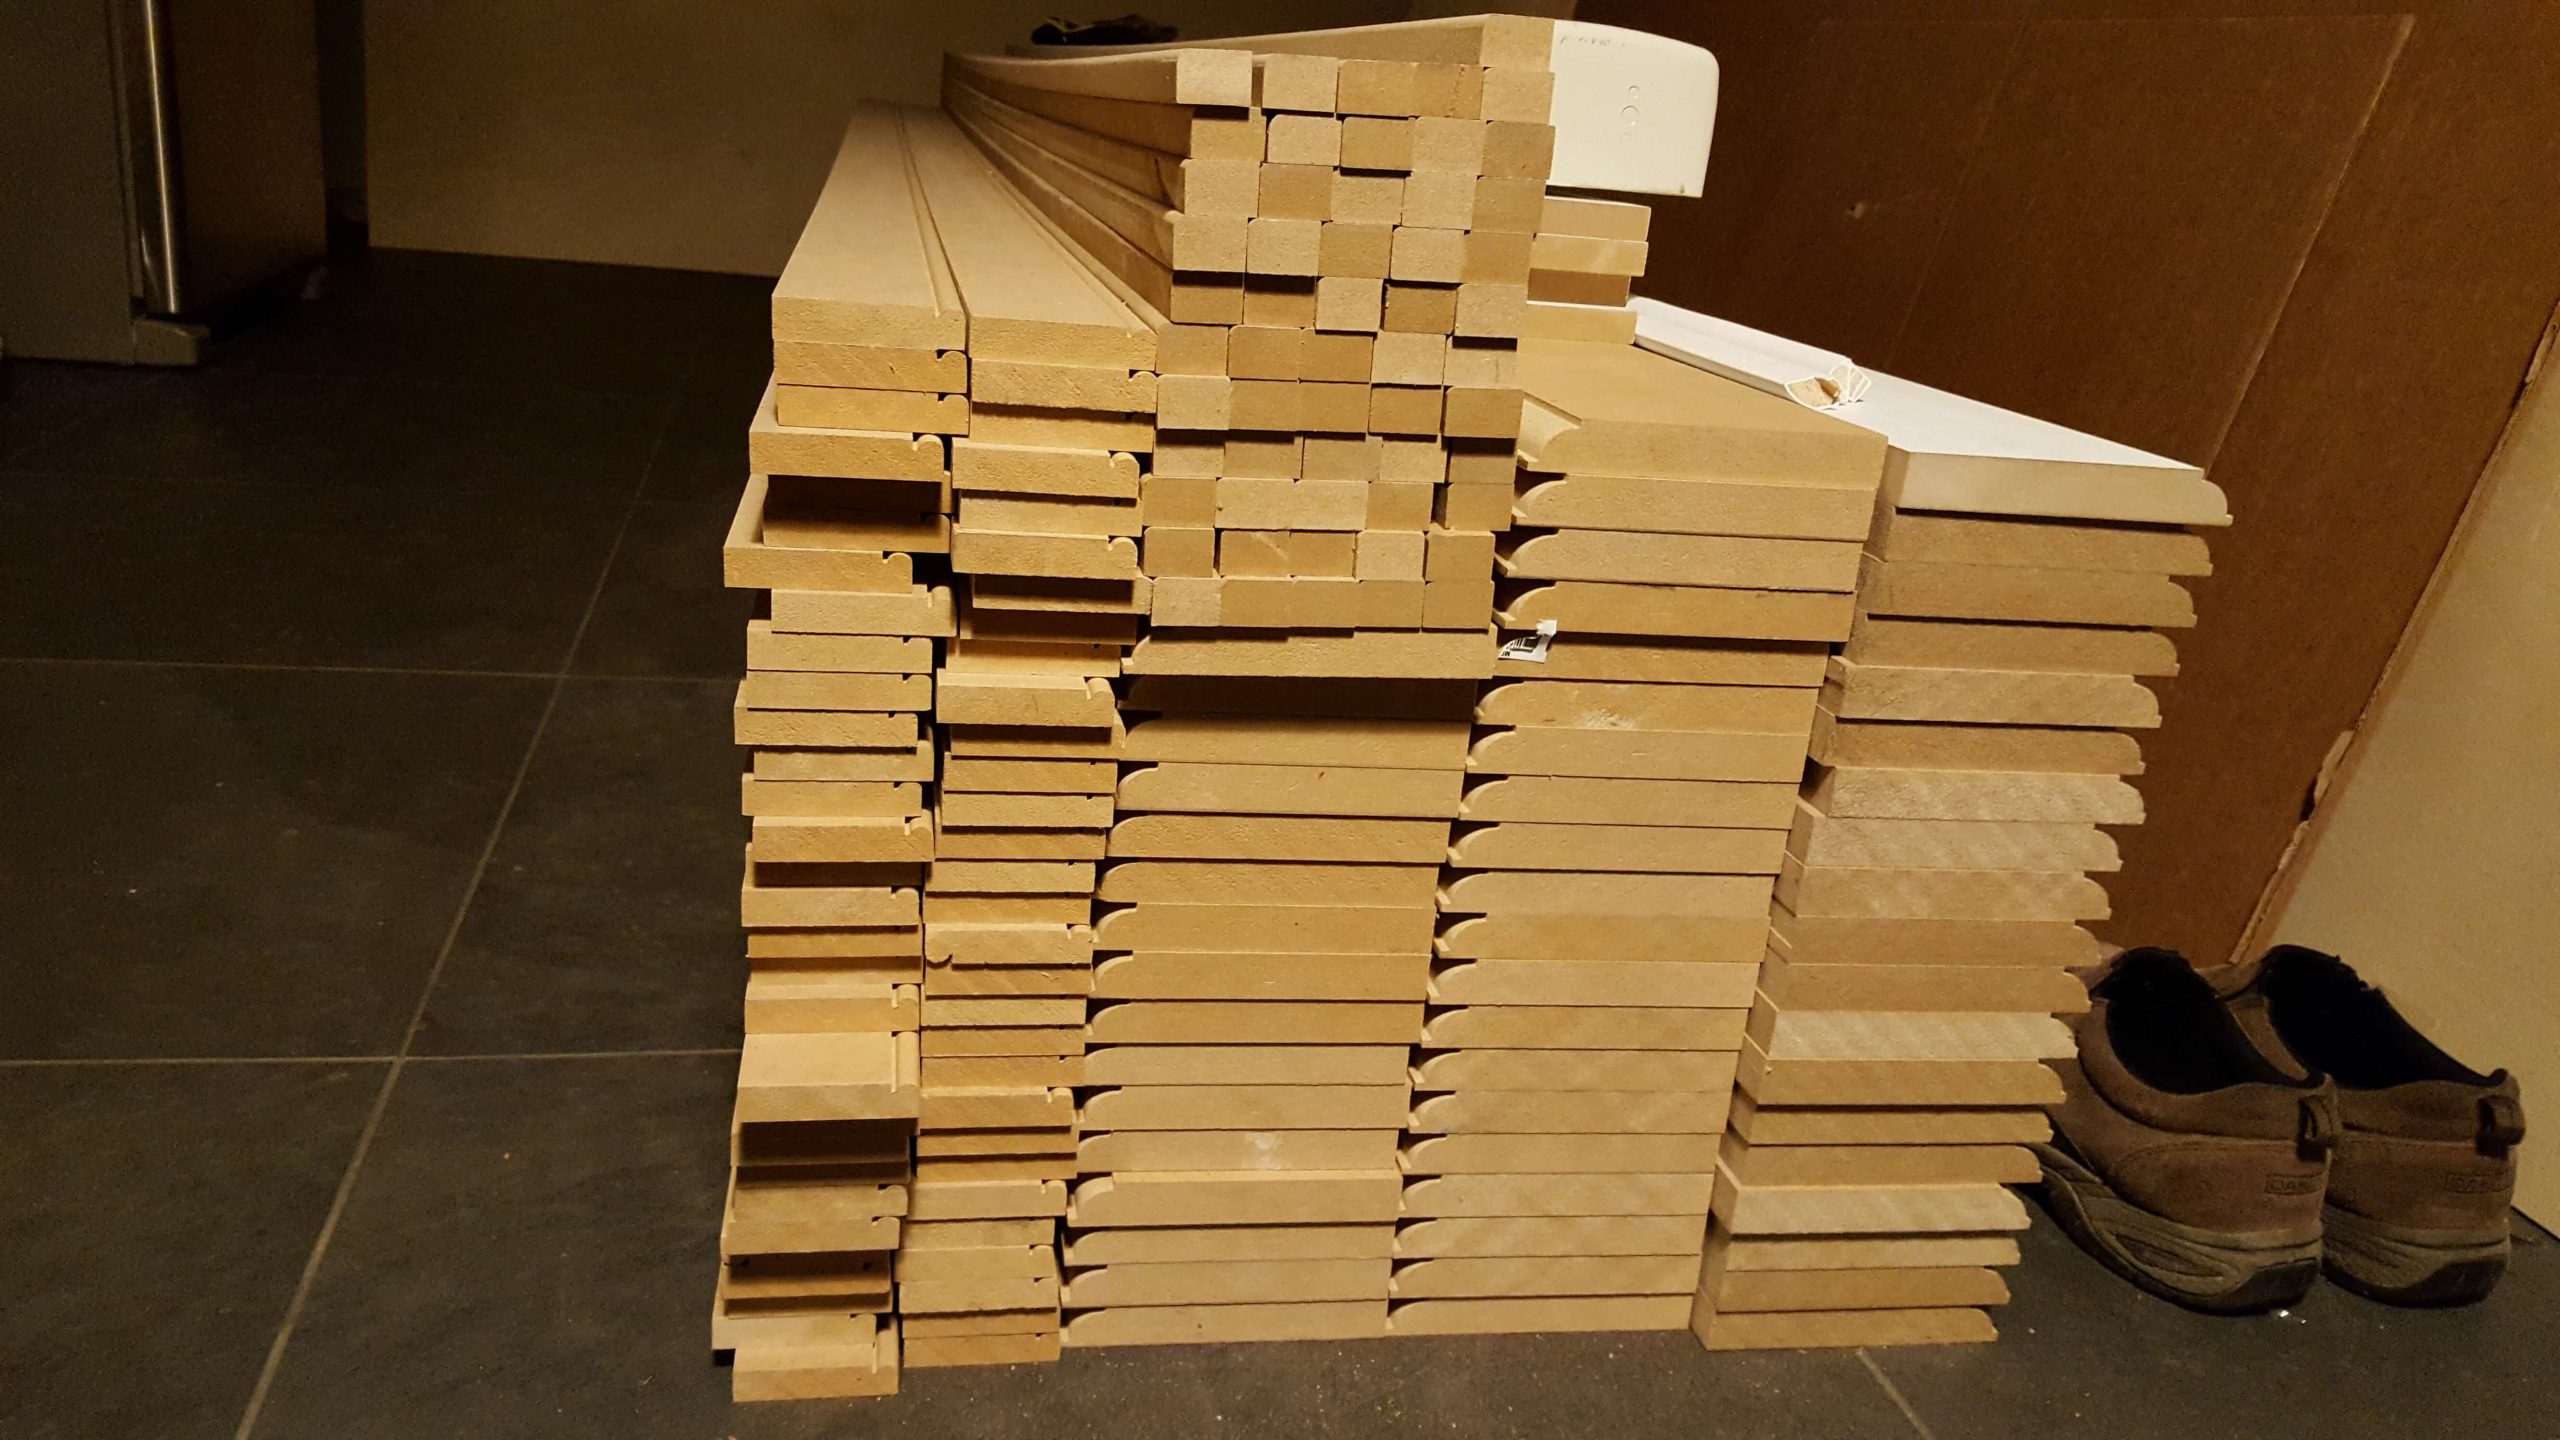
In the case of framing, the sticks are made on the router table, then glued and pinned to the first pieces.
Last step: 2 layers of primer and the moldings will be ready to be laid and painted.
5. Results
Sorry, I will take pictures as soon as I can.
To be continued…